Little Passports: England

LP England alt

Travis enjoyed learning about England in this month’s kit from Little Passports, not least of all because it involved lots of puzzles (and I mean lots!). As with the India package, he had a personal interest, too, because he has some English heritage.

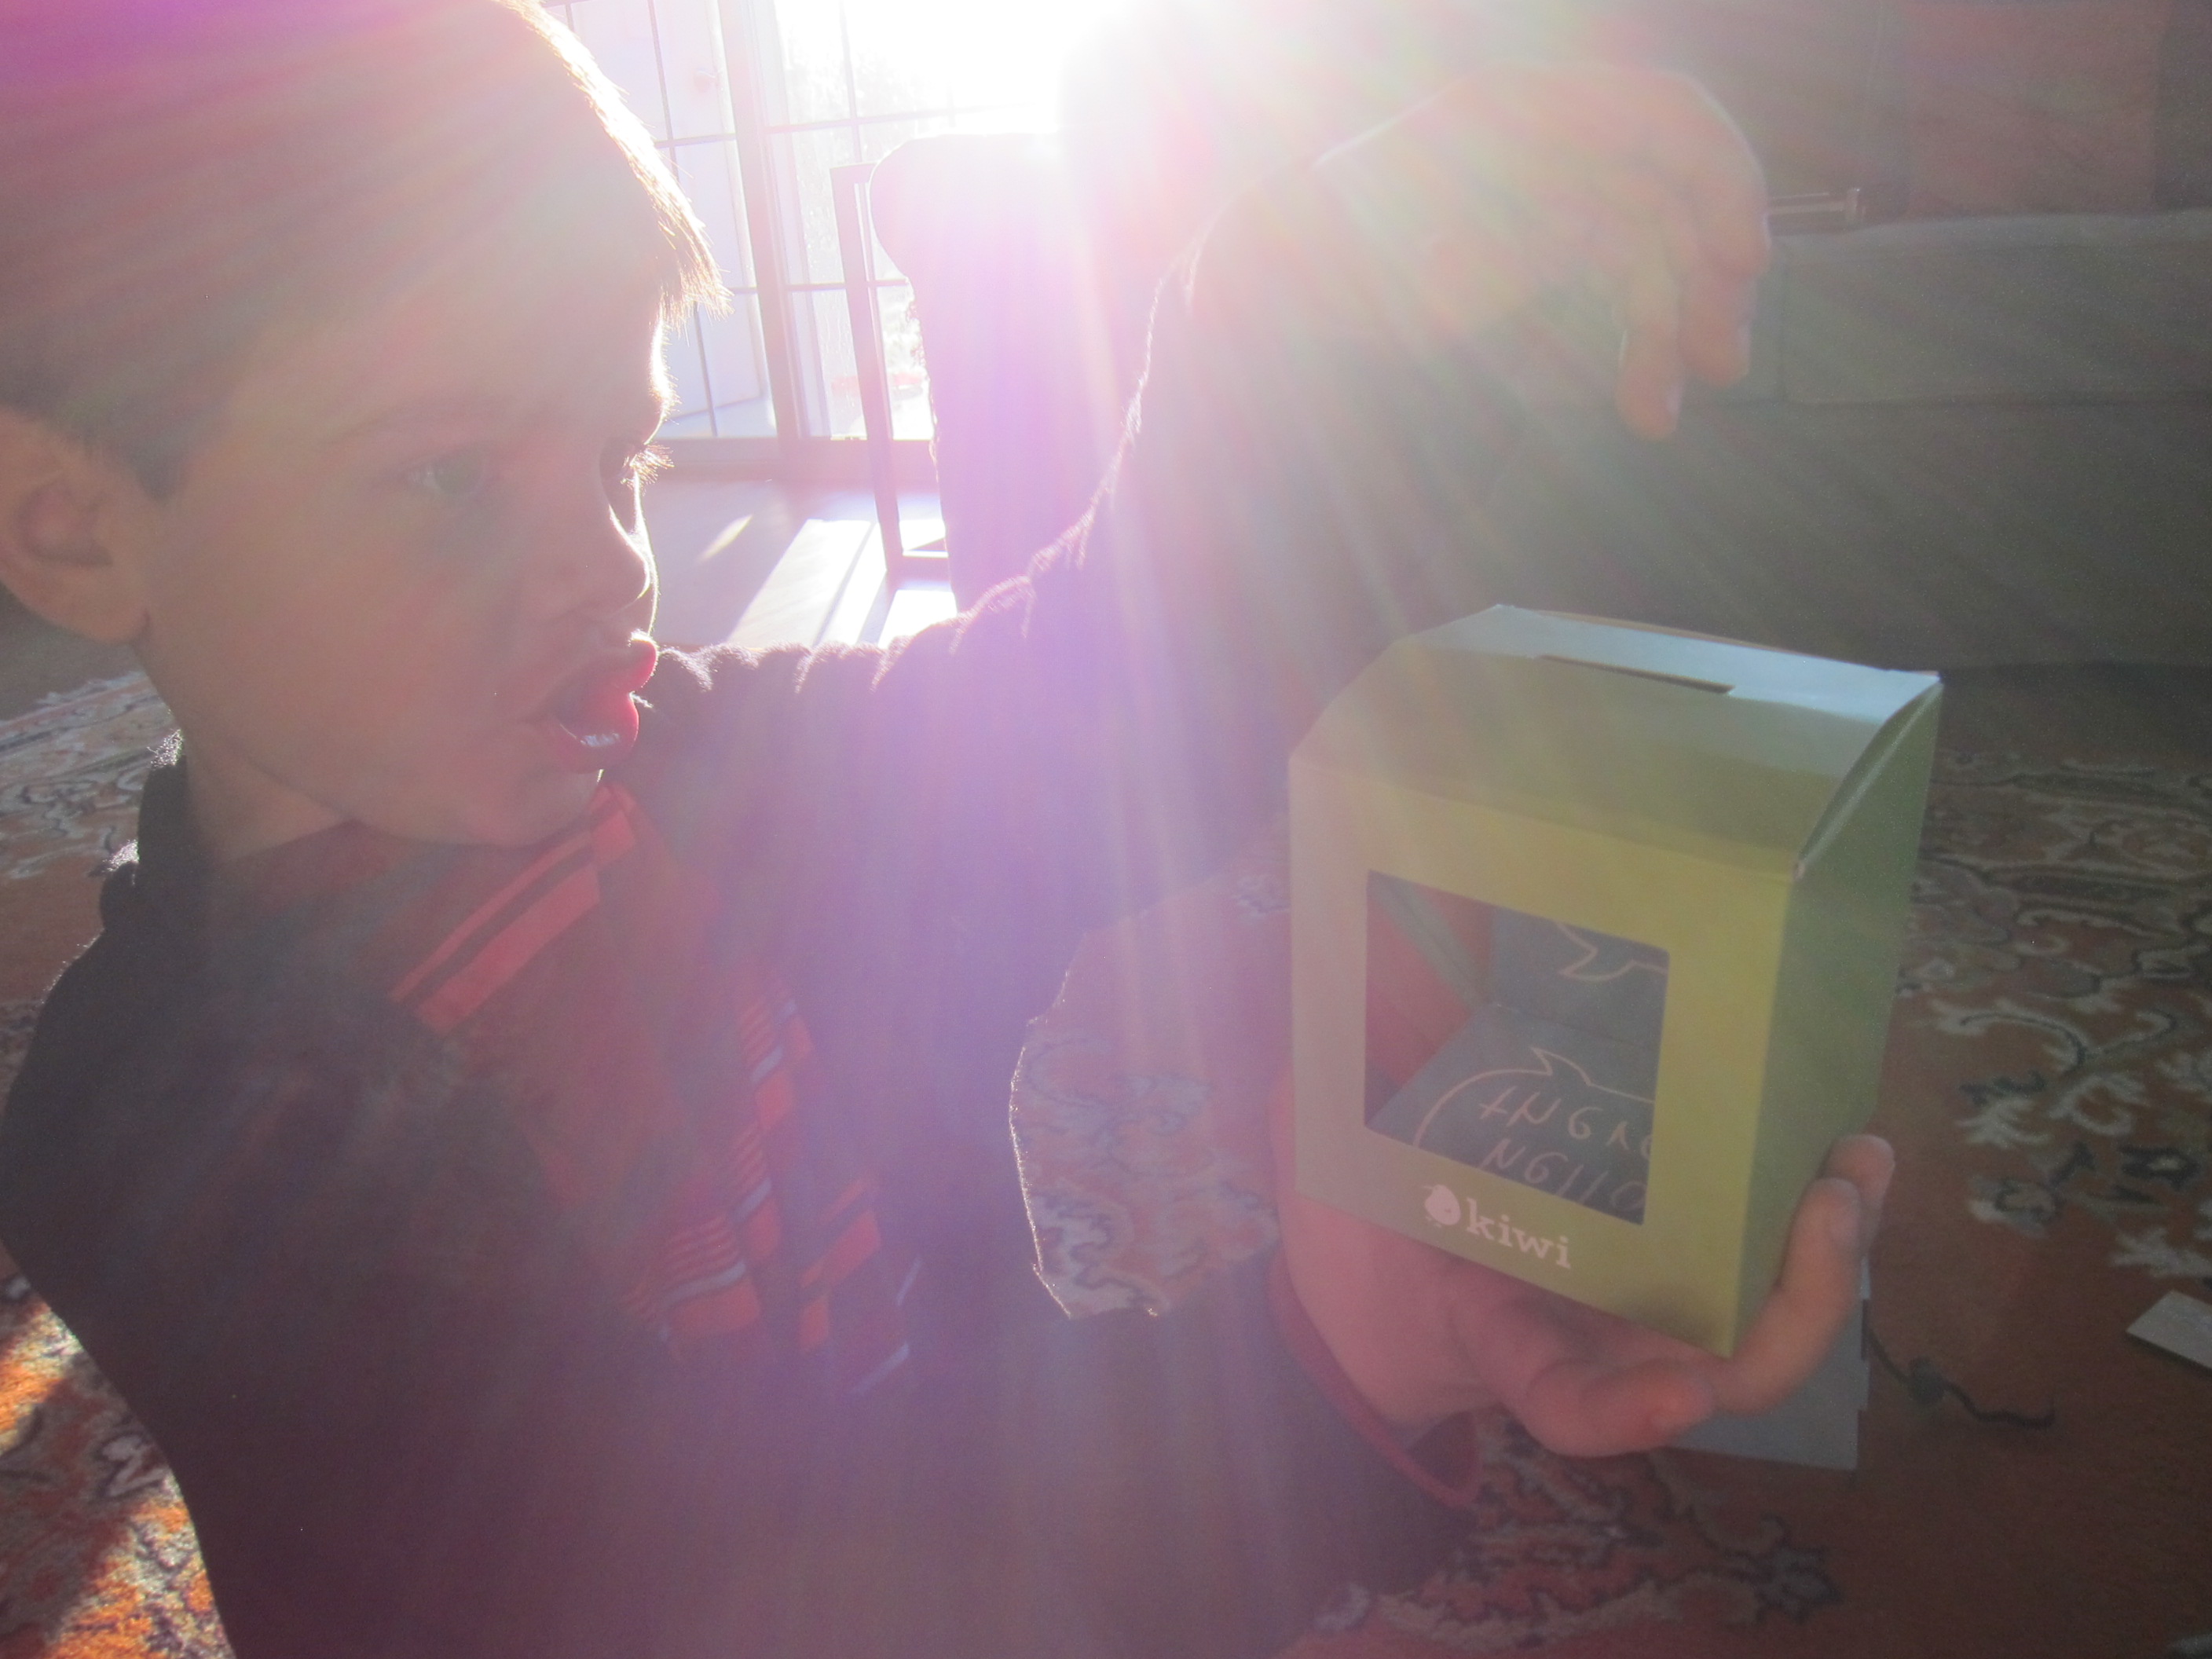
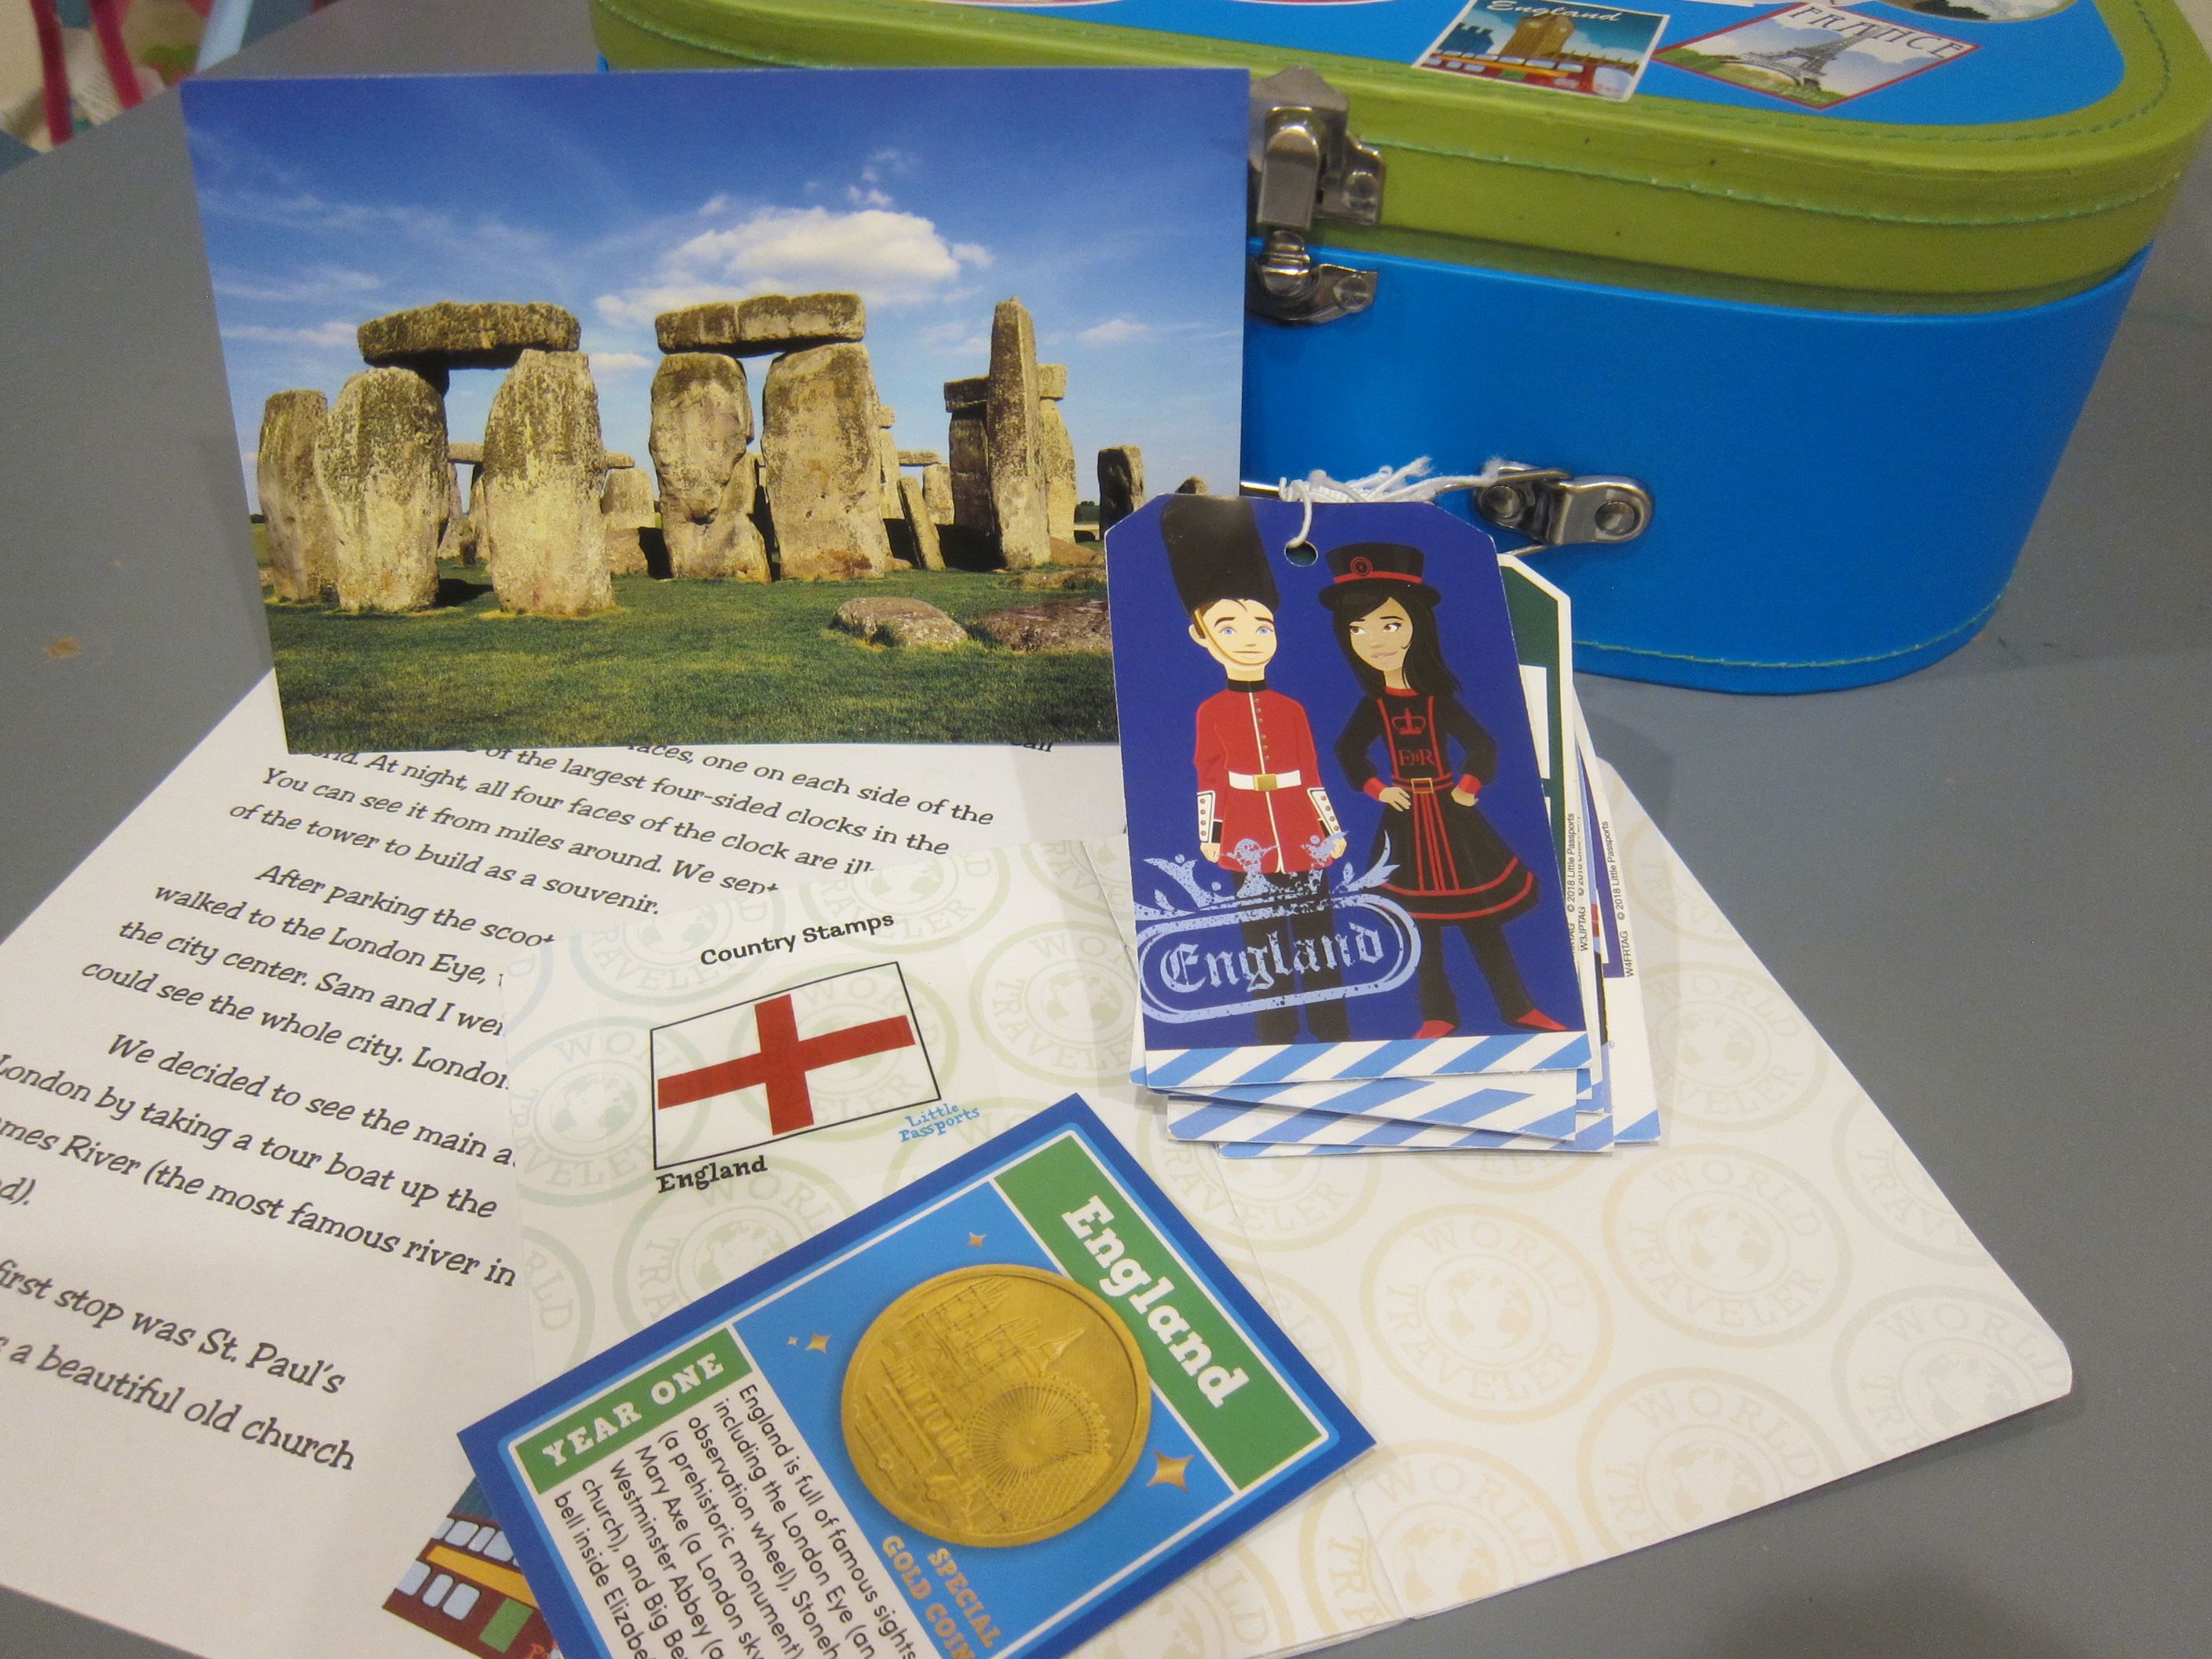
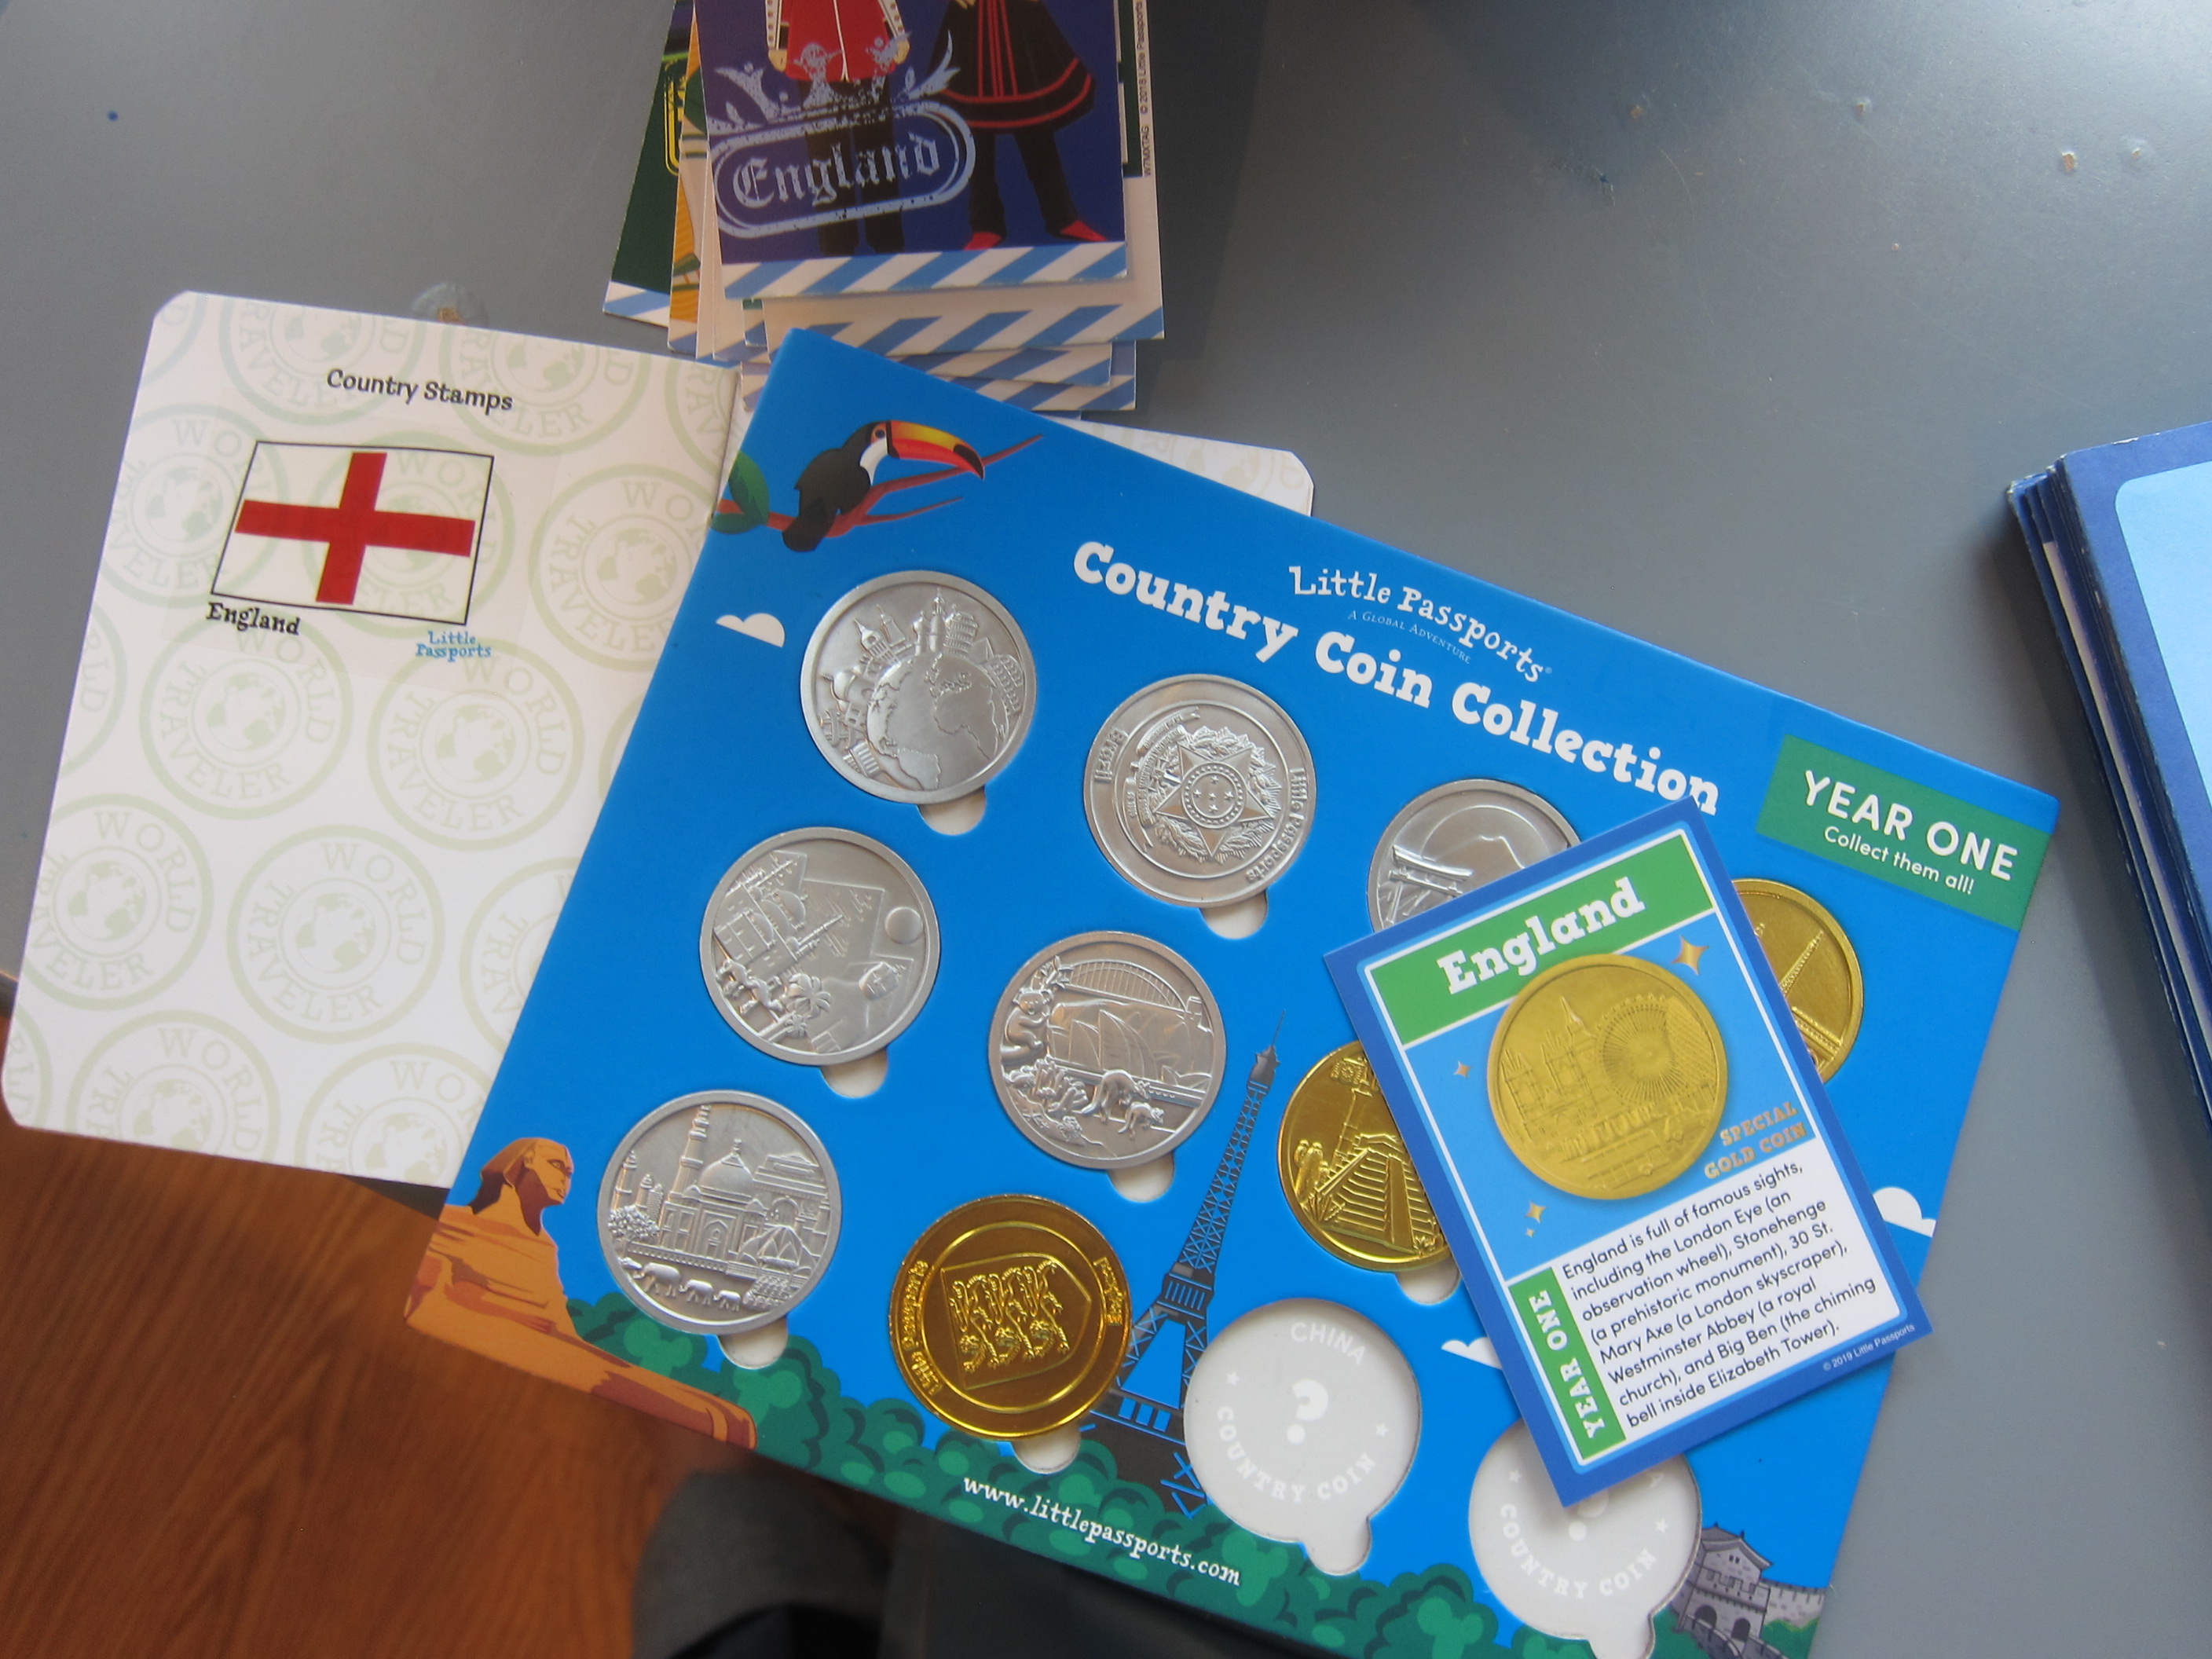
After familiar finds in his package like a world coin and stickers for his map, passport, and suitcase, we turned to the booklet.

LP England (7)

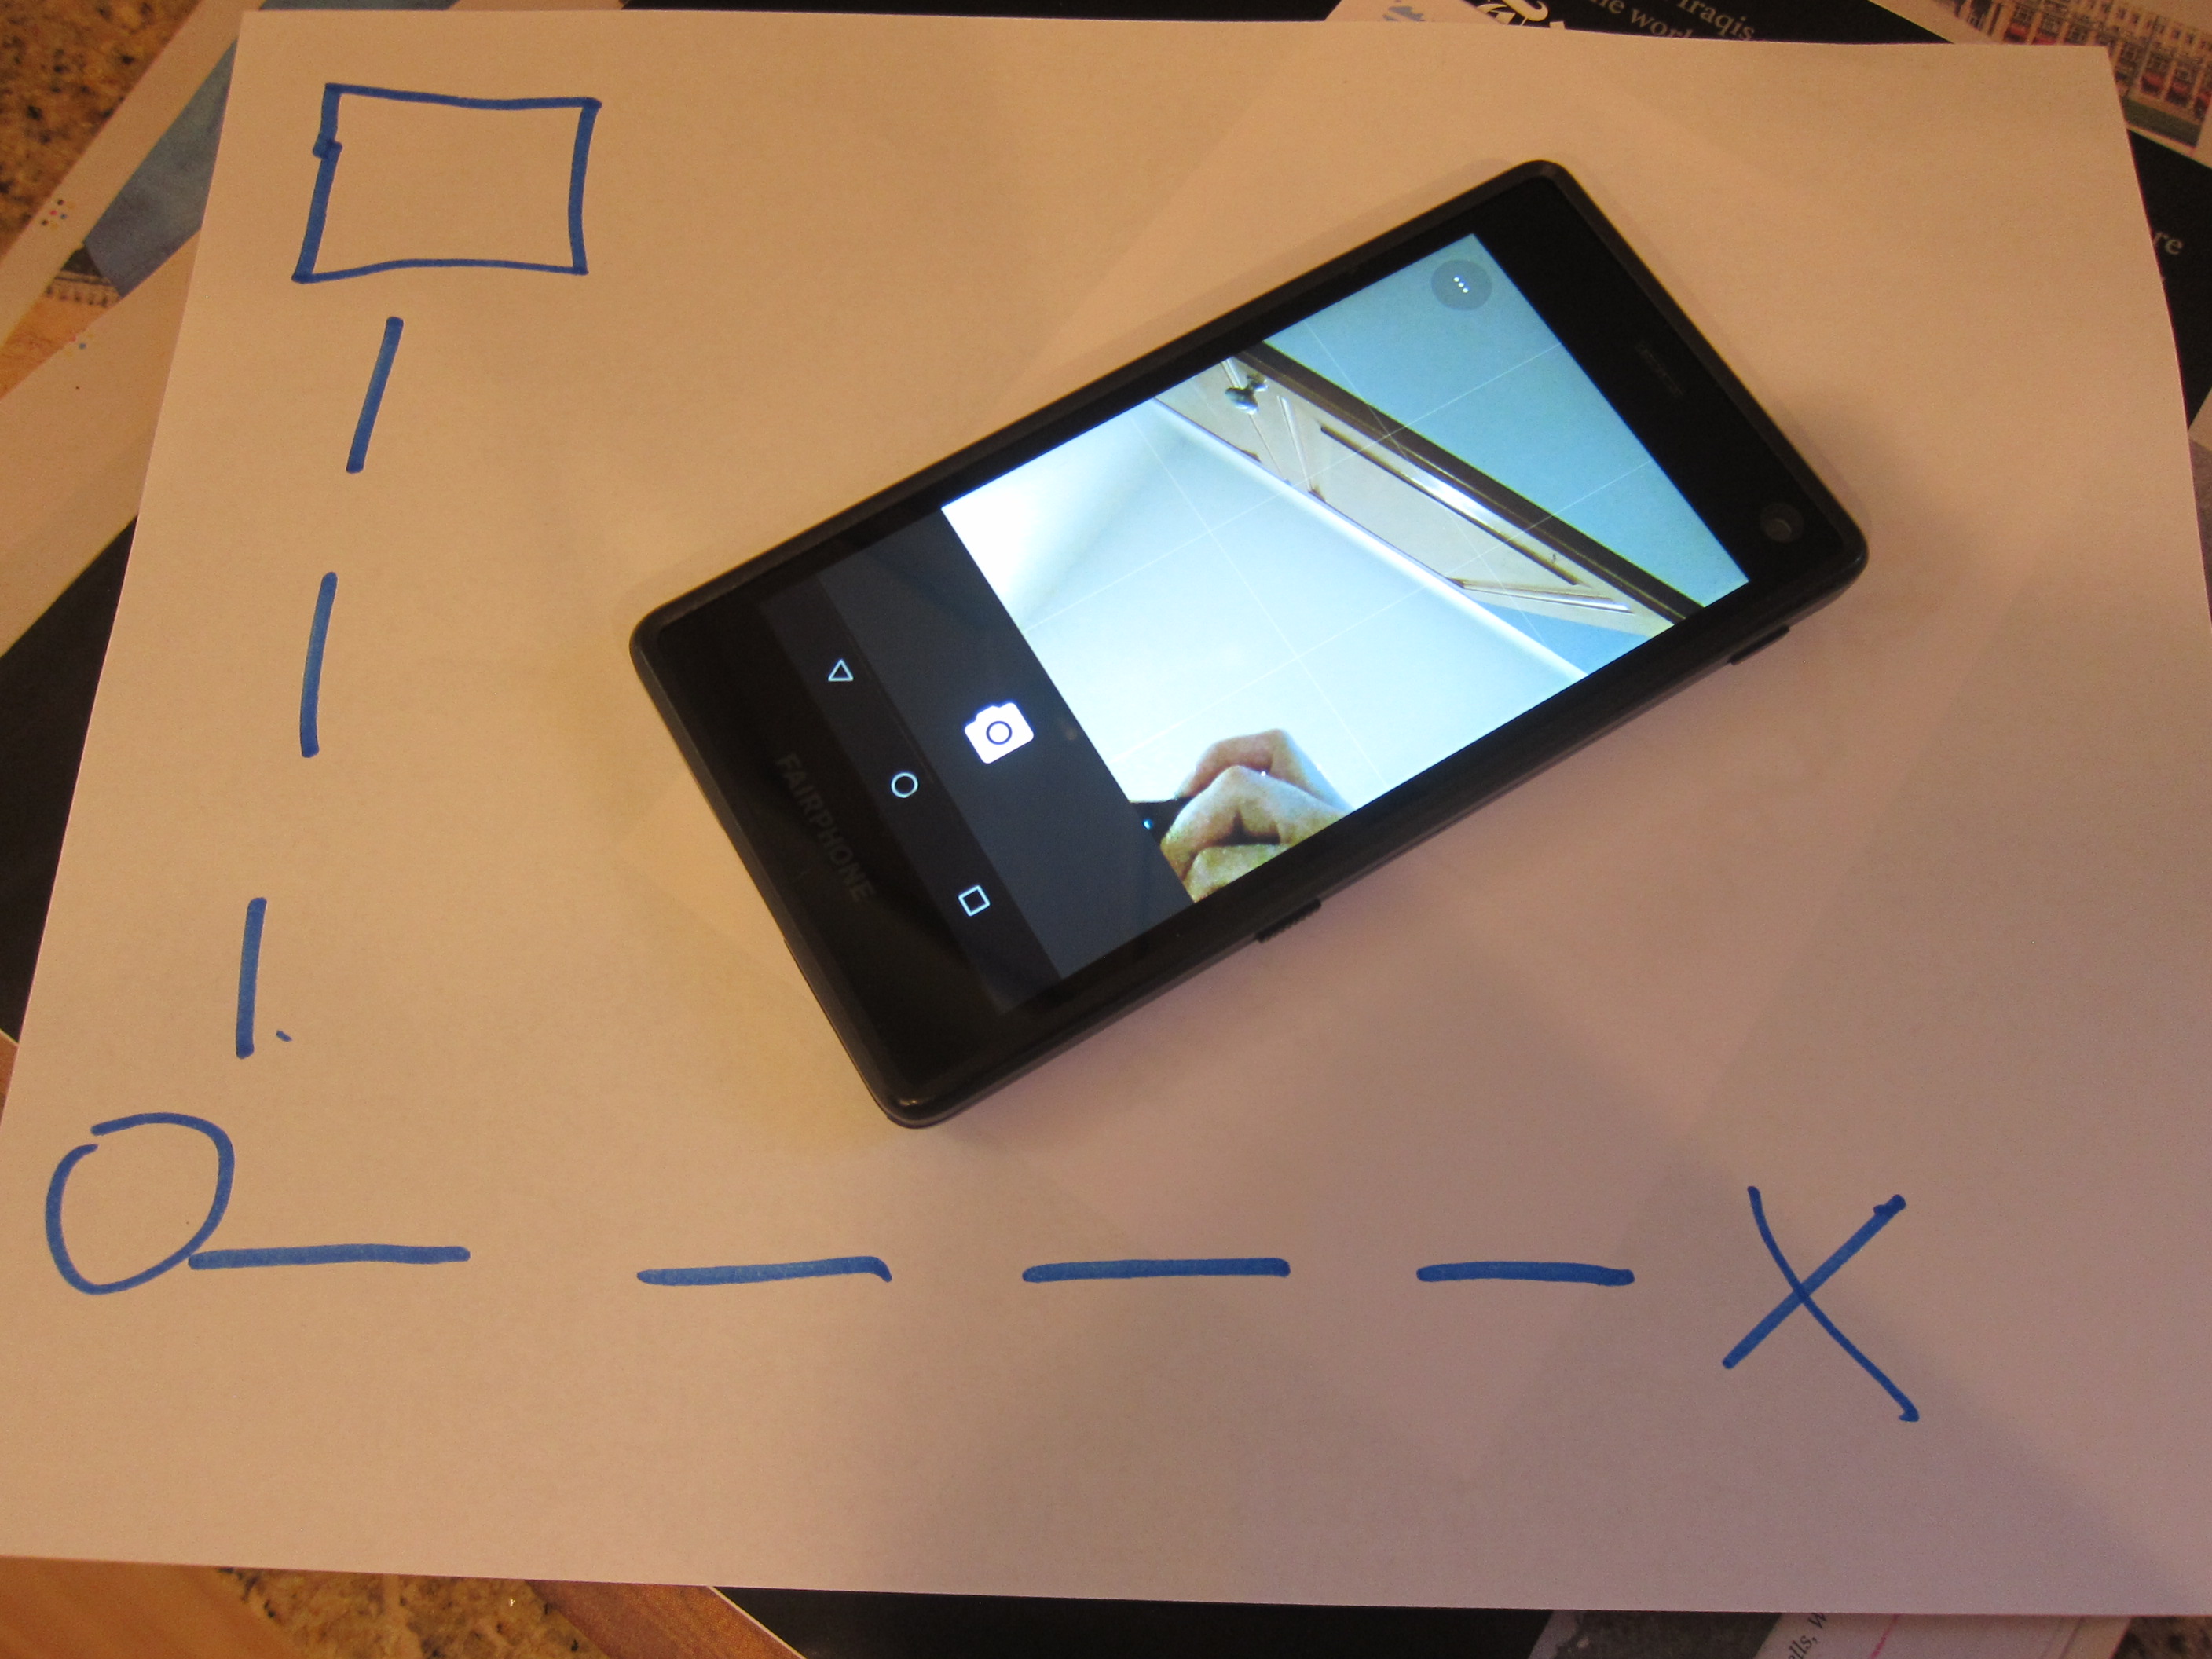
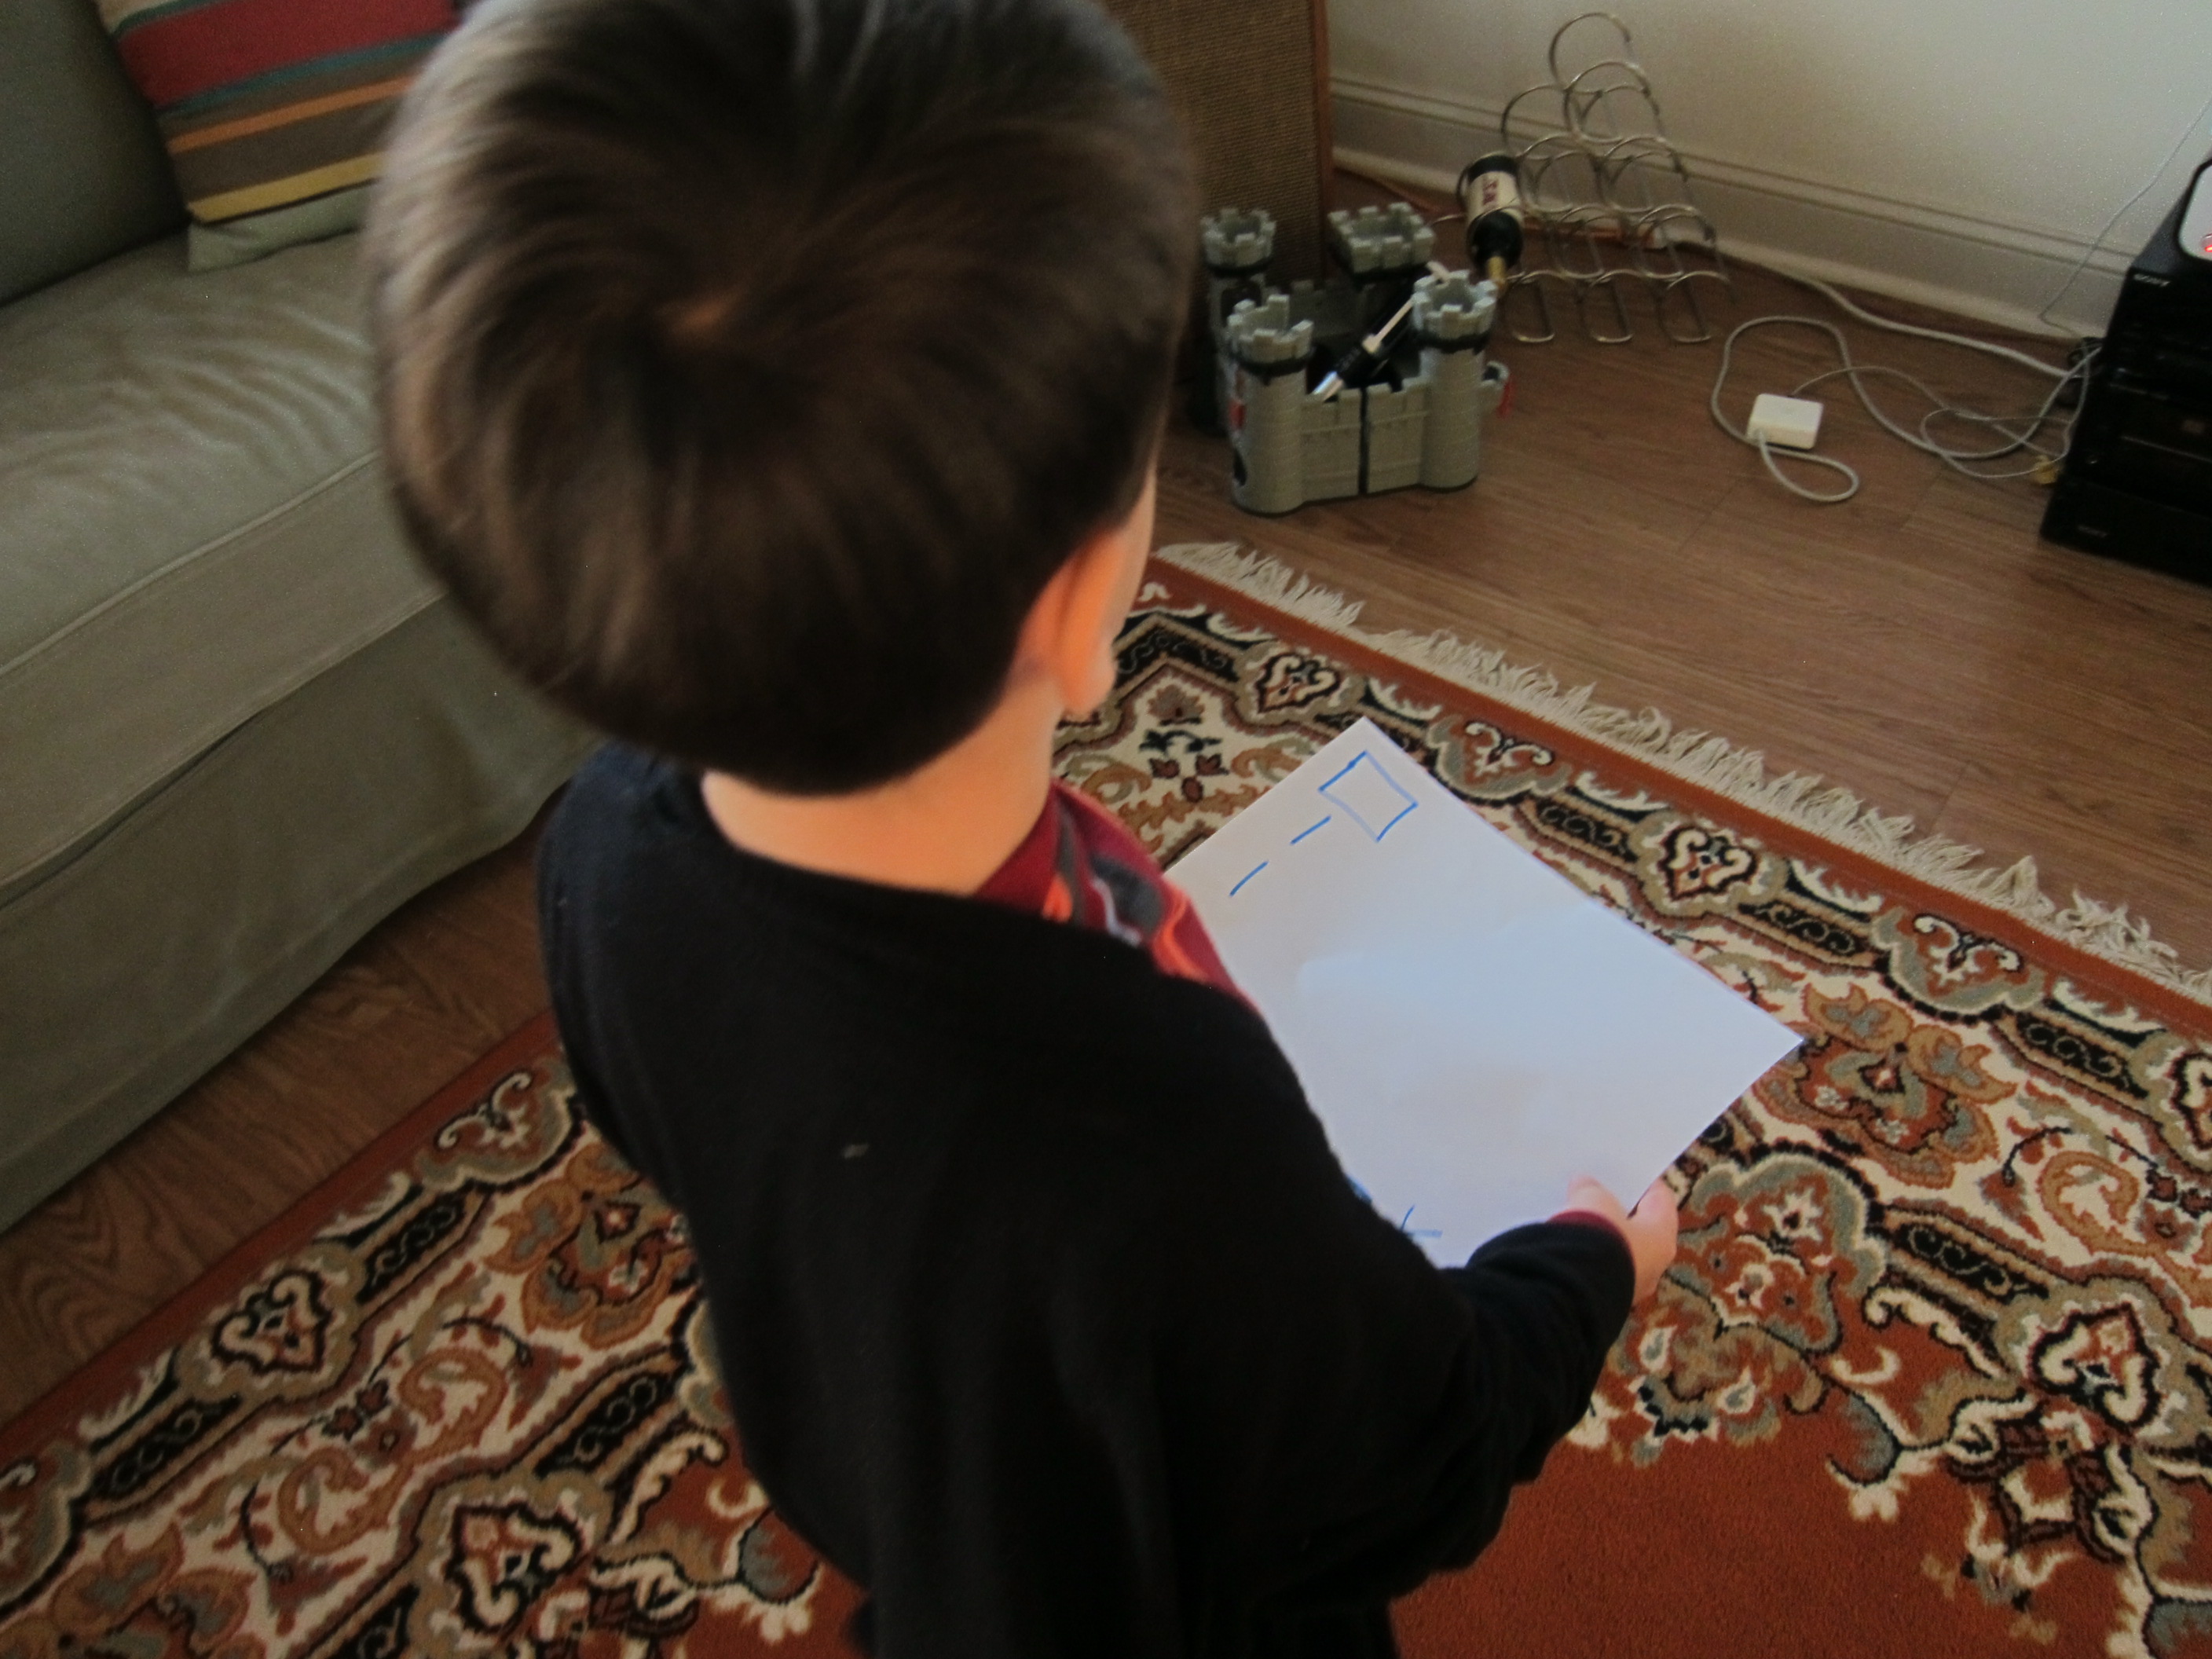
This month’s booklet allowed him to tackle a crossword puzzle, spot four-of-a-kind images, and do a mapping activity.

LP England (12)

That last is the only one I would say was beyond his grade level.

LP England (11)

Souvenir:

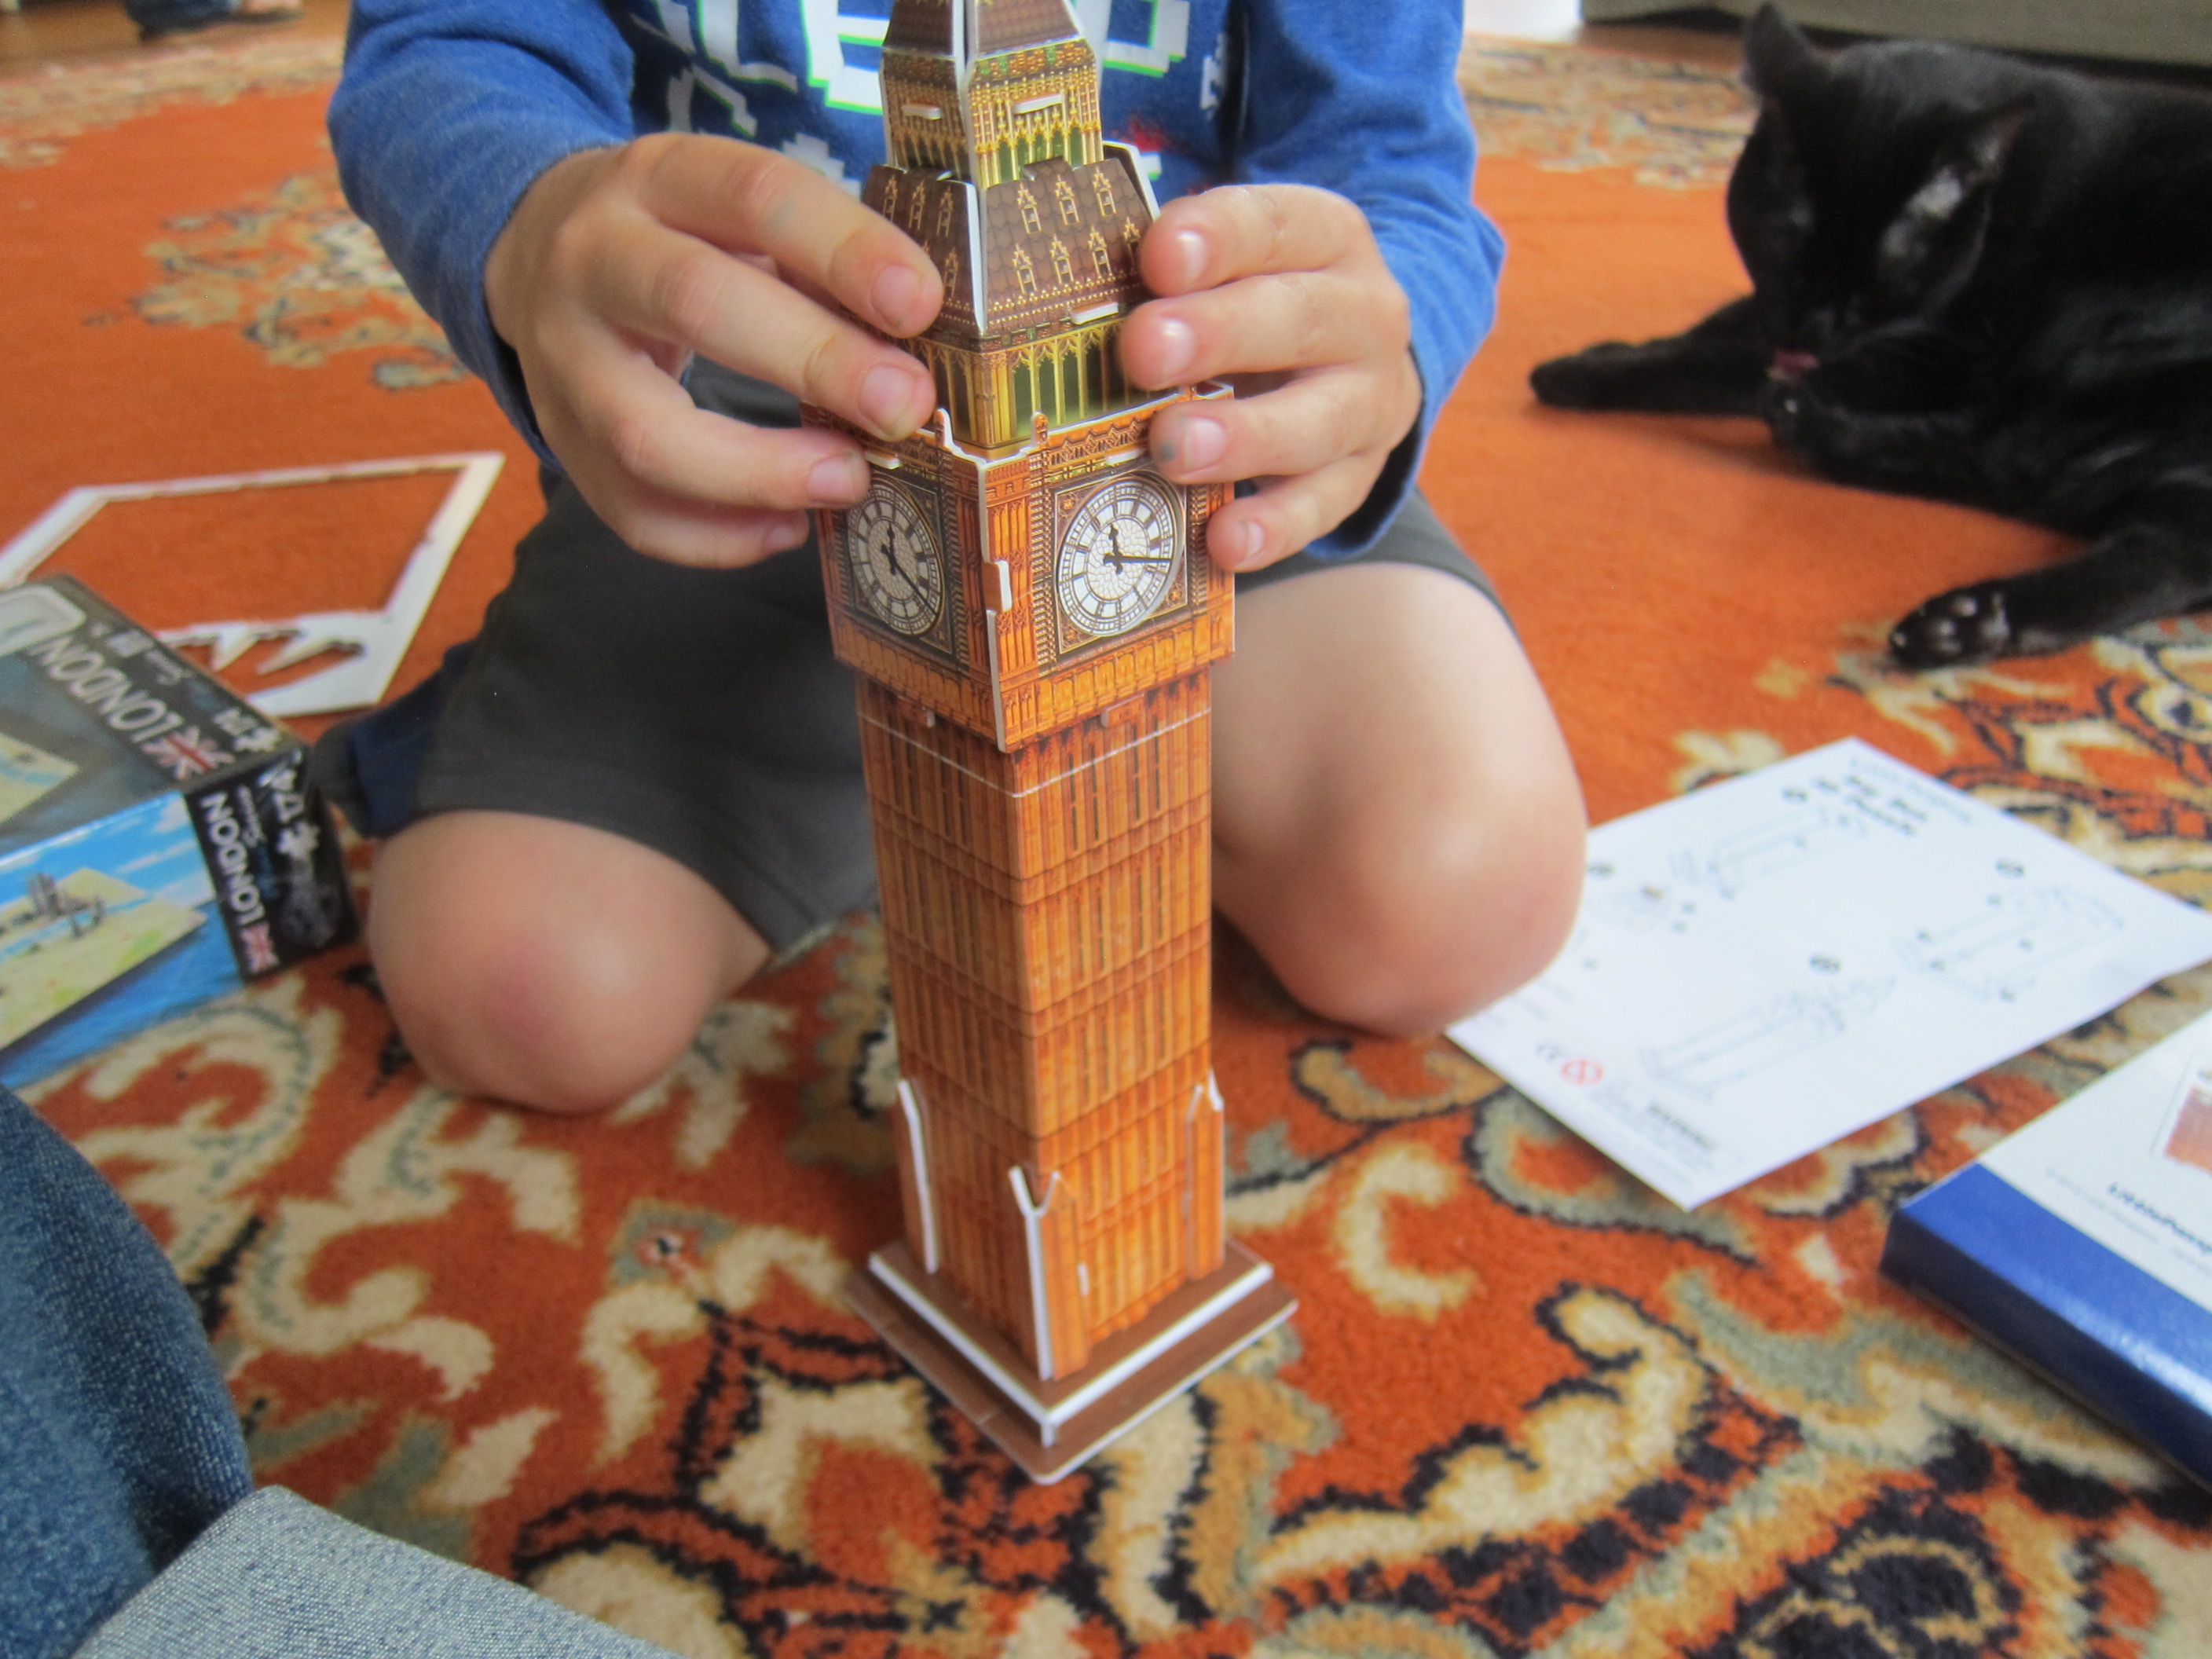
The souvenir was a 3-D puzzle of Big Ben, a huge hit because Travis once had an obsession with this clock tower (yes, we used to watch videos of it chiming). Now we could build it!

LP England (8)

The puzzle slots together easily, but a parental note of caution: it didn’t last long because Travis wanted to play with it more like an action figure.

Further Activities:

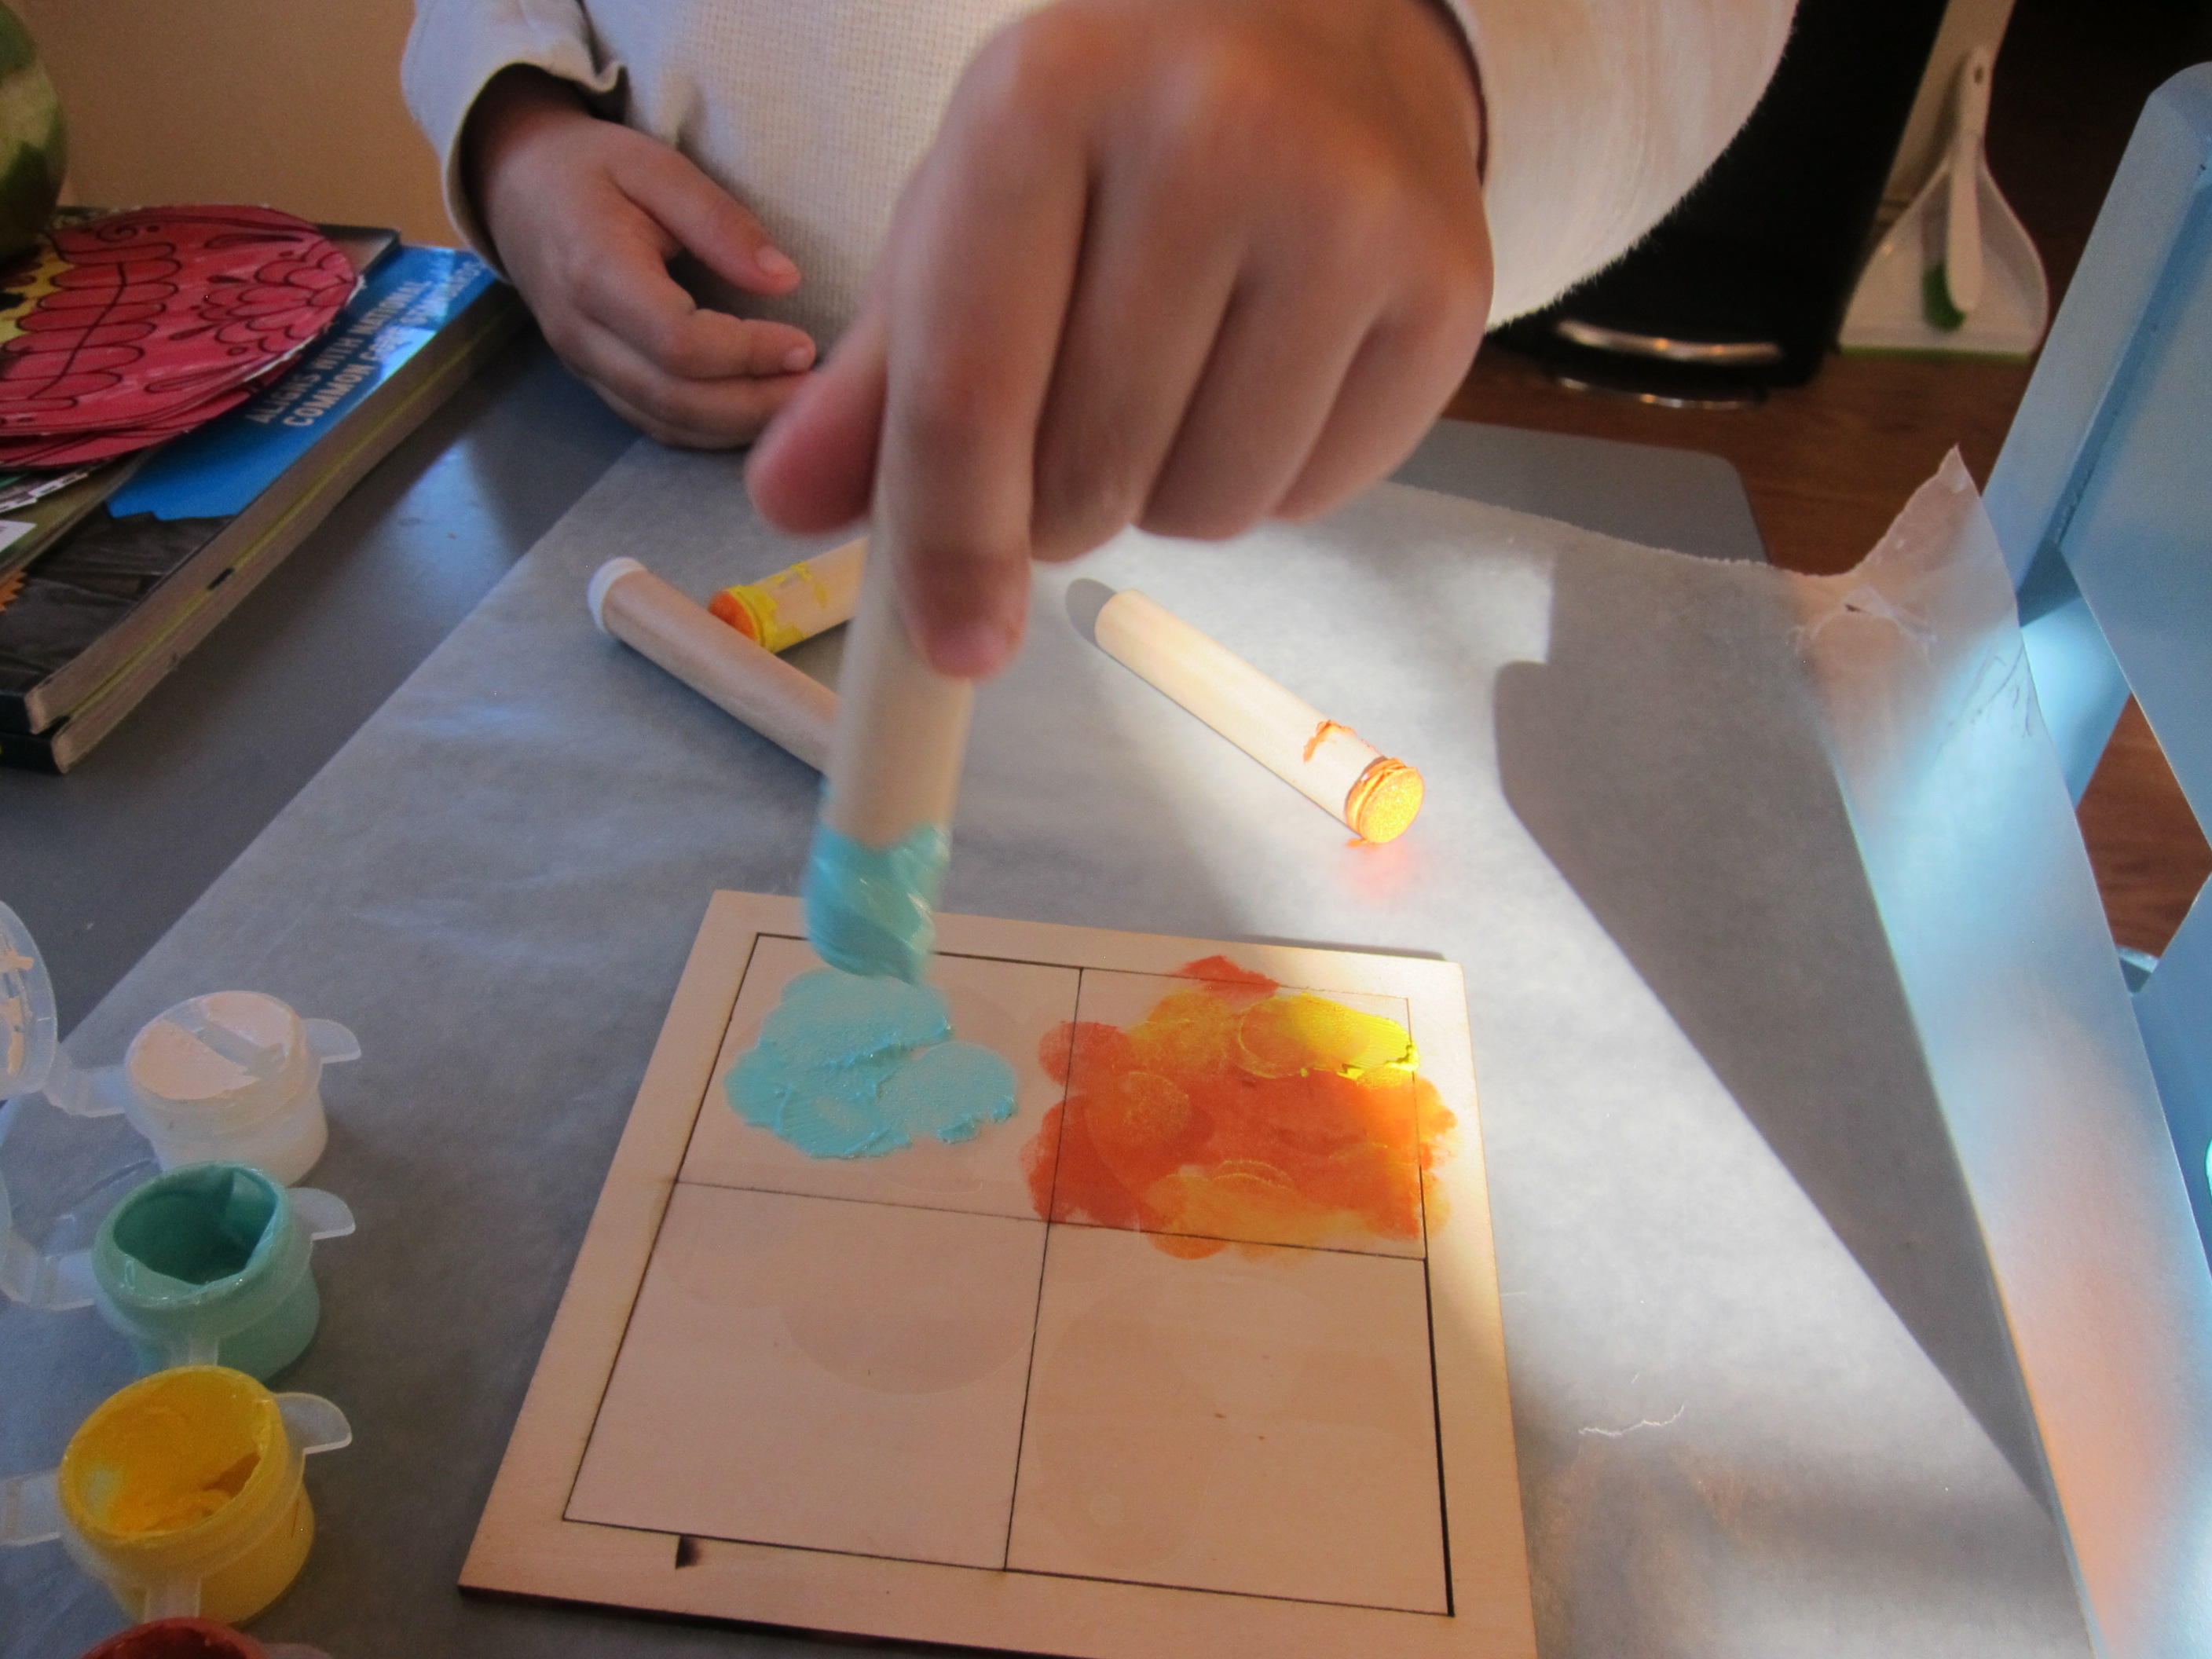
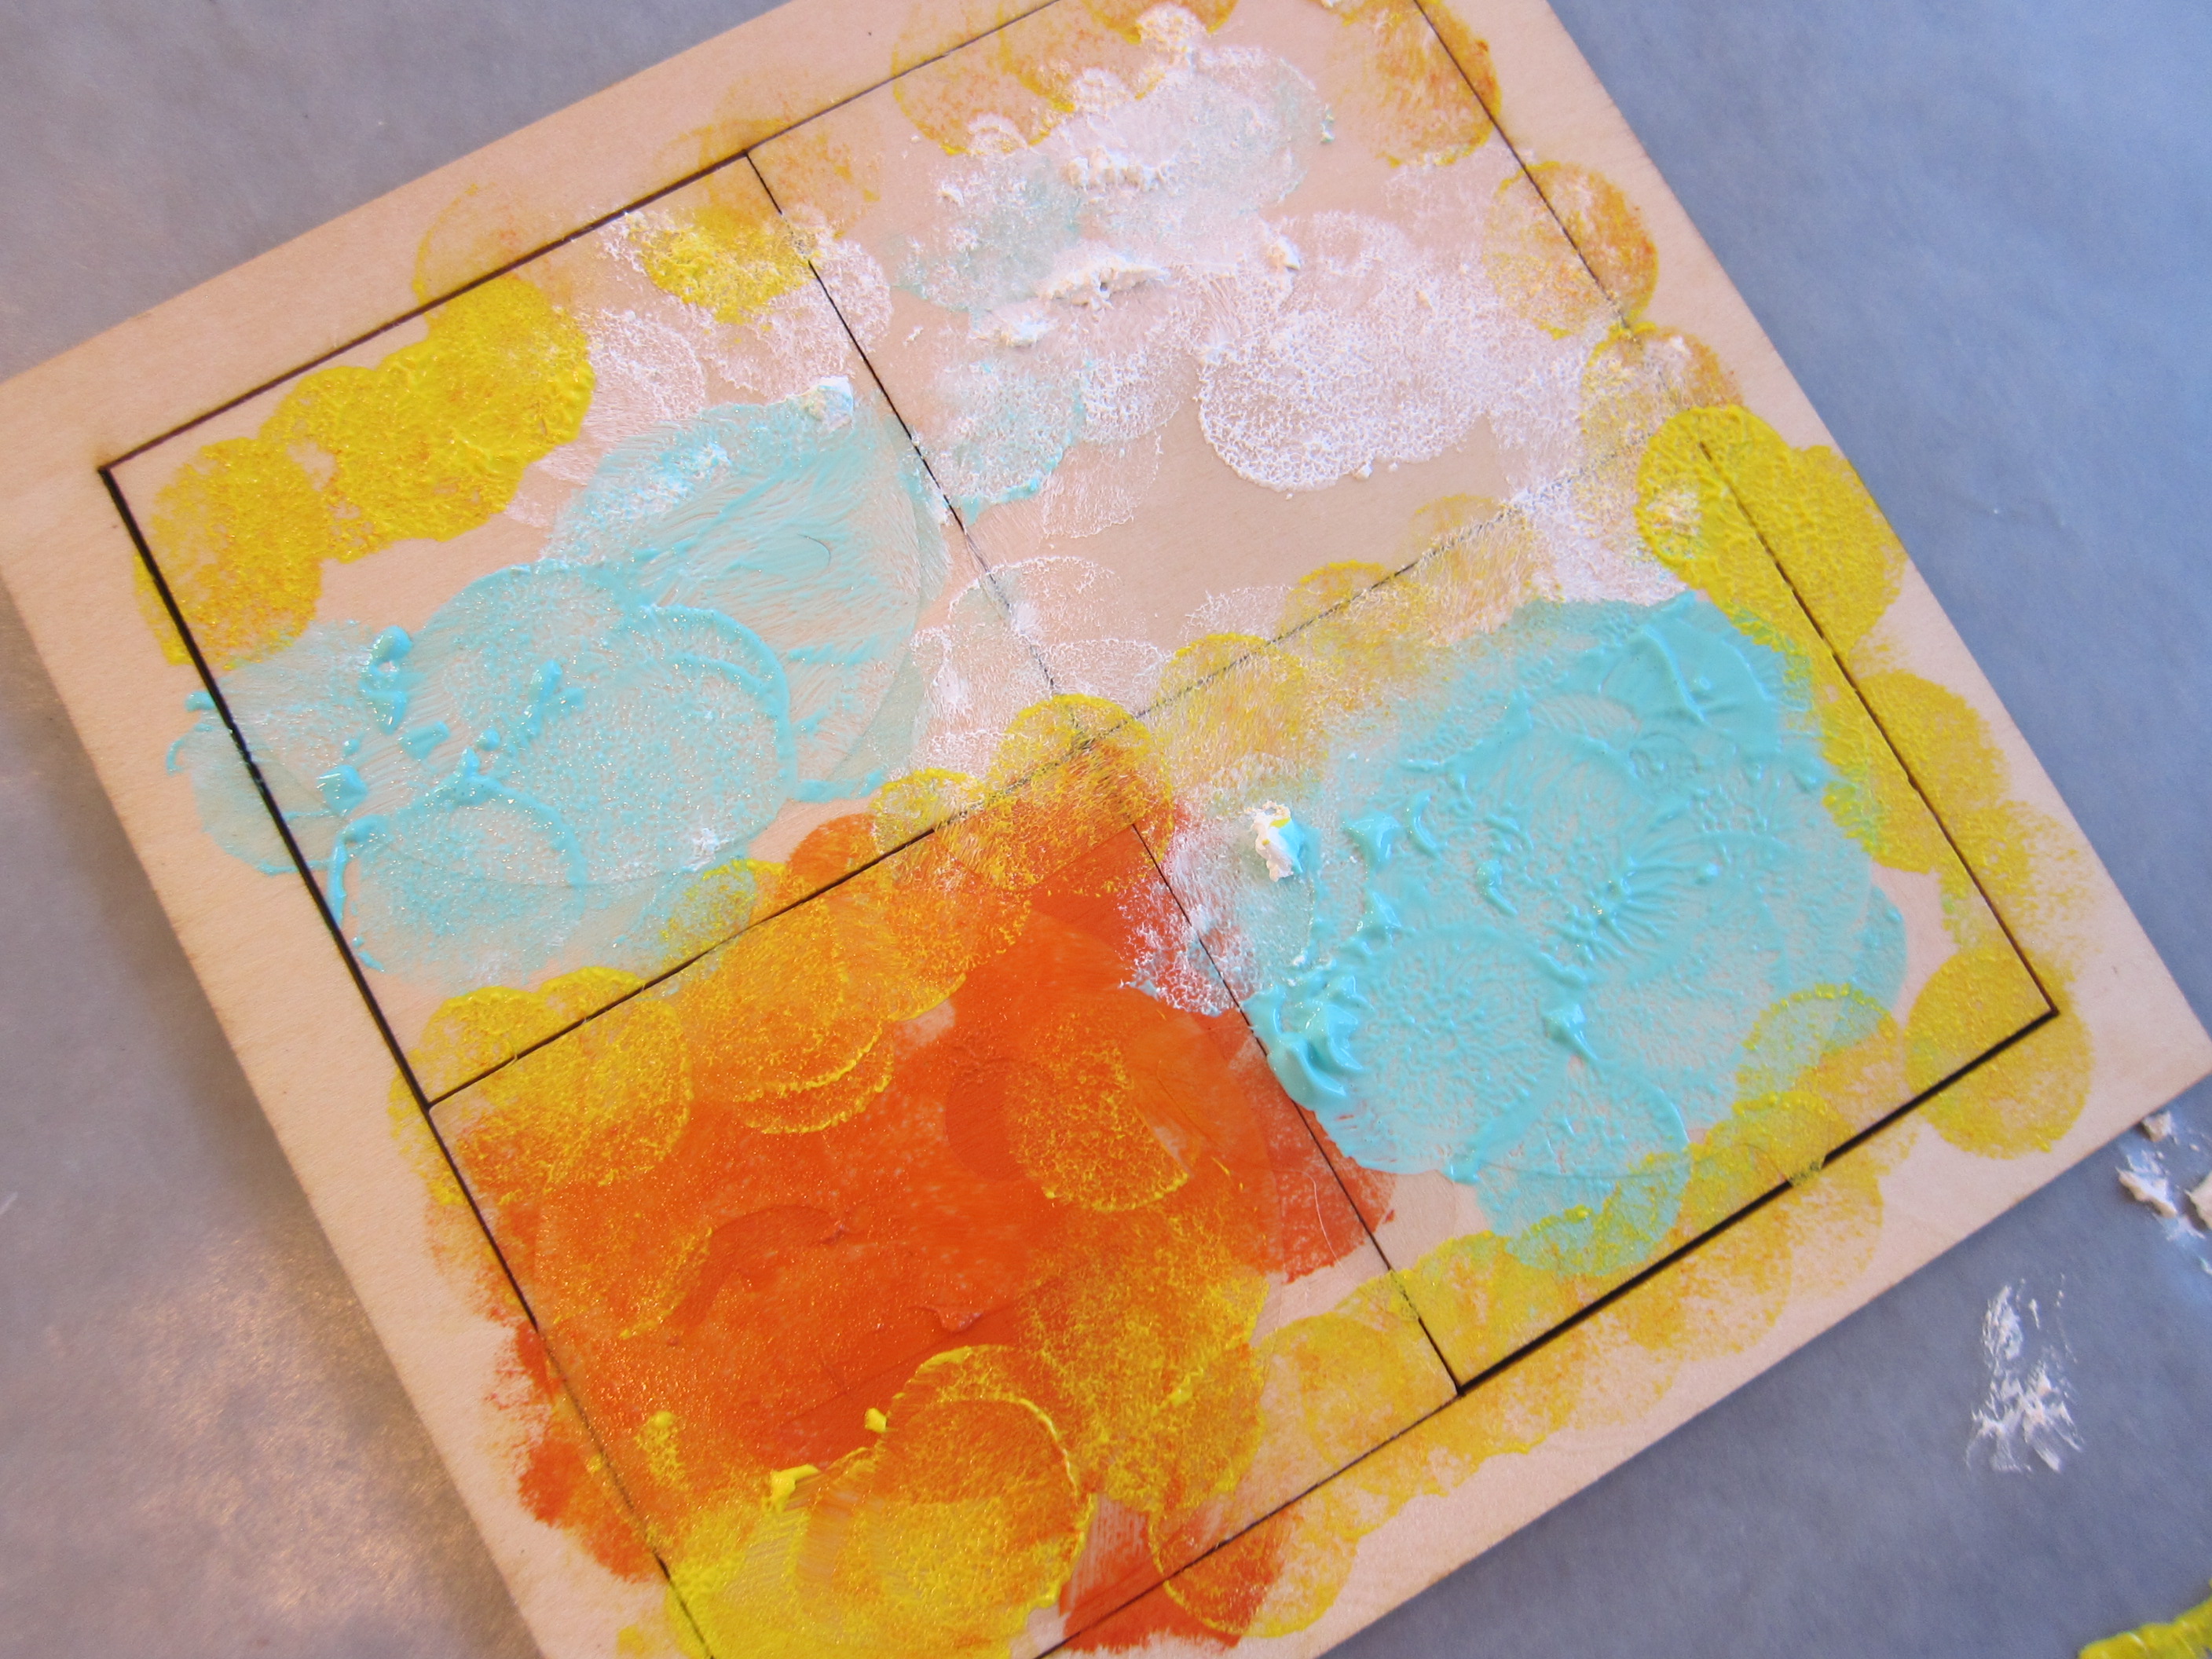
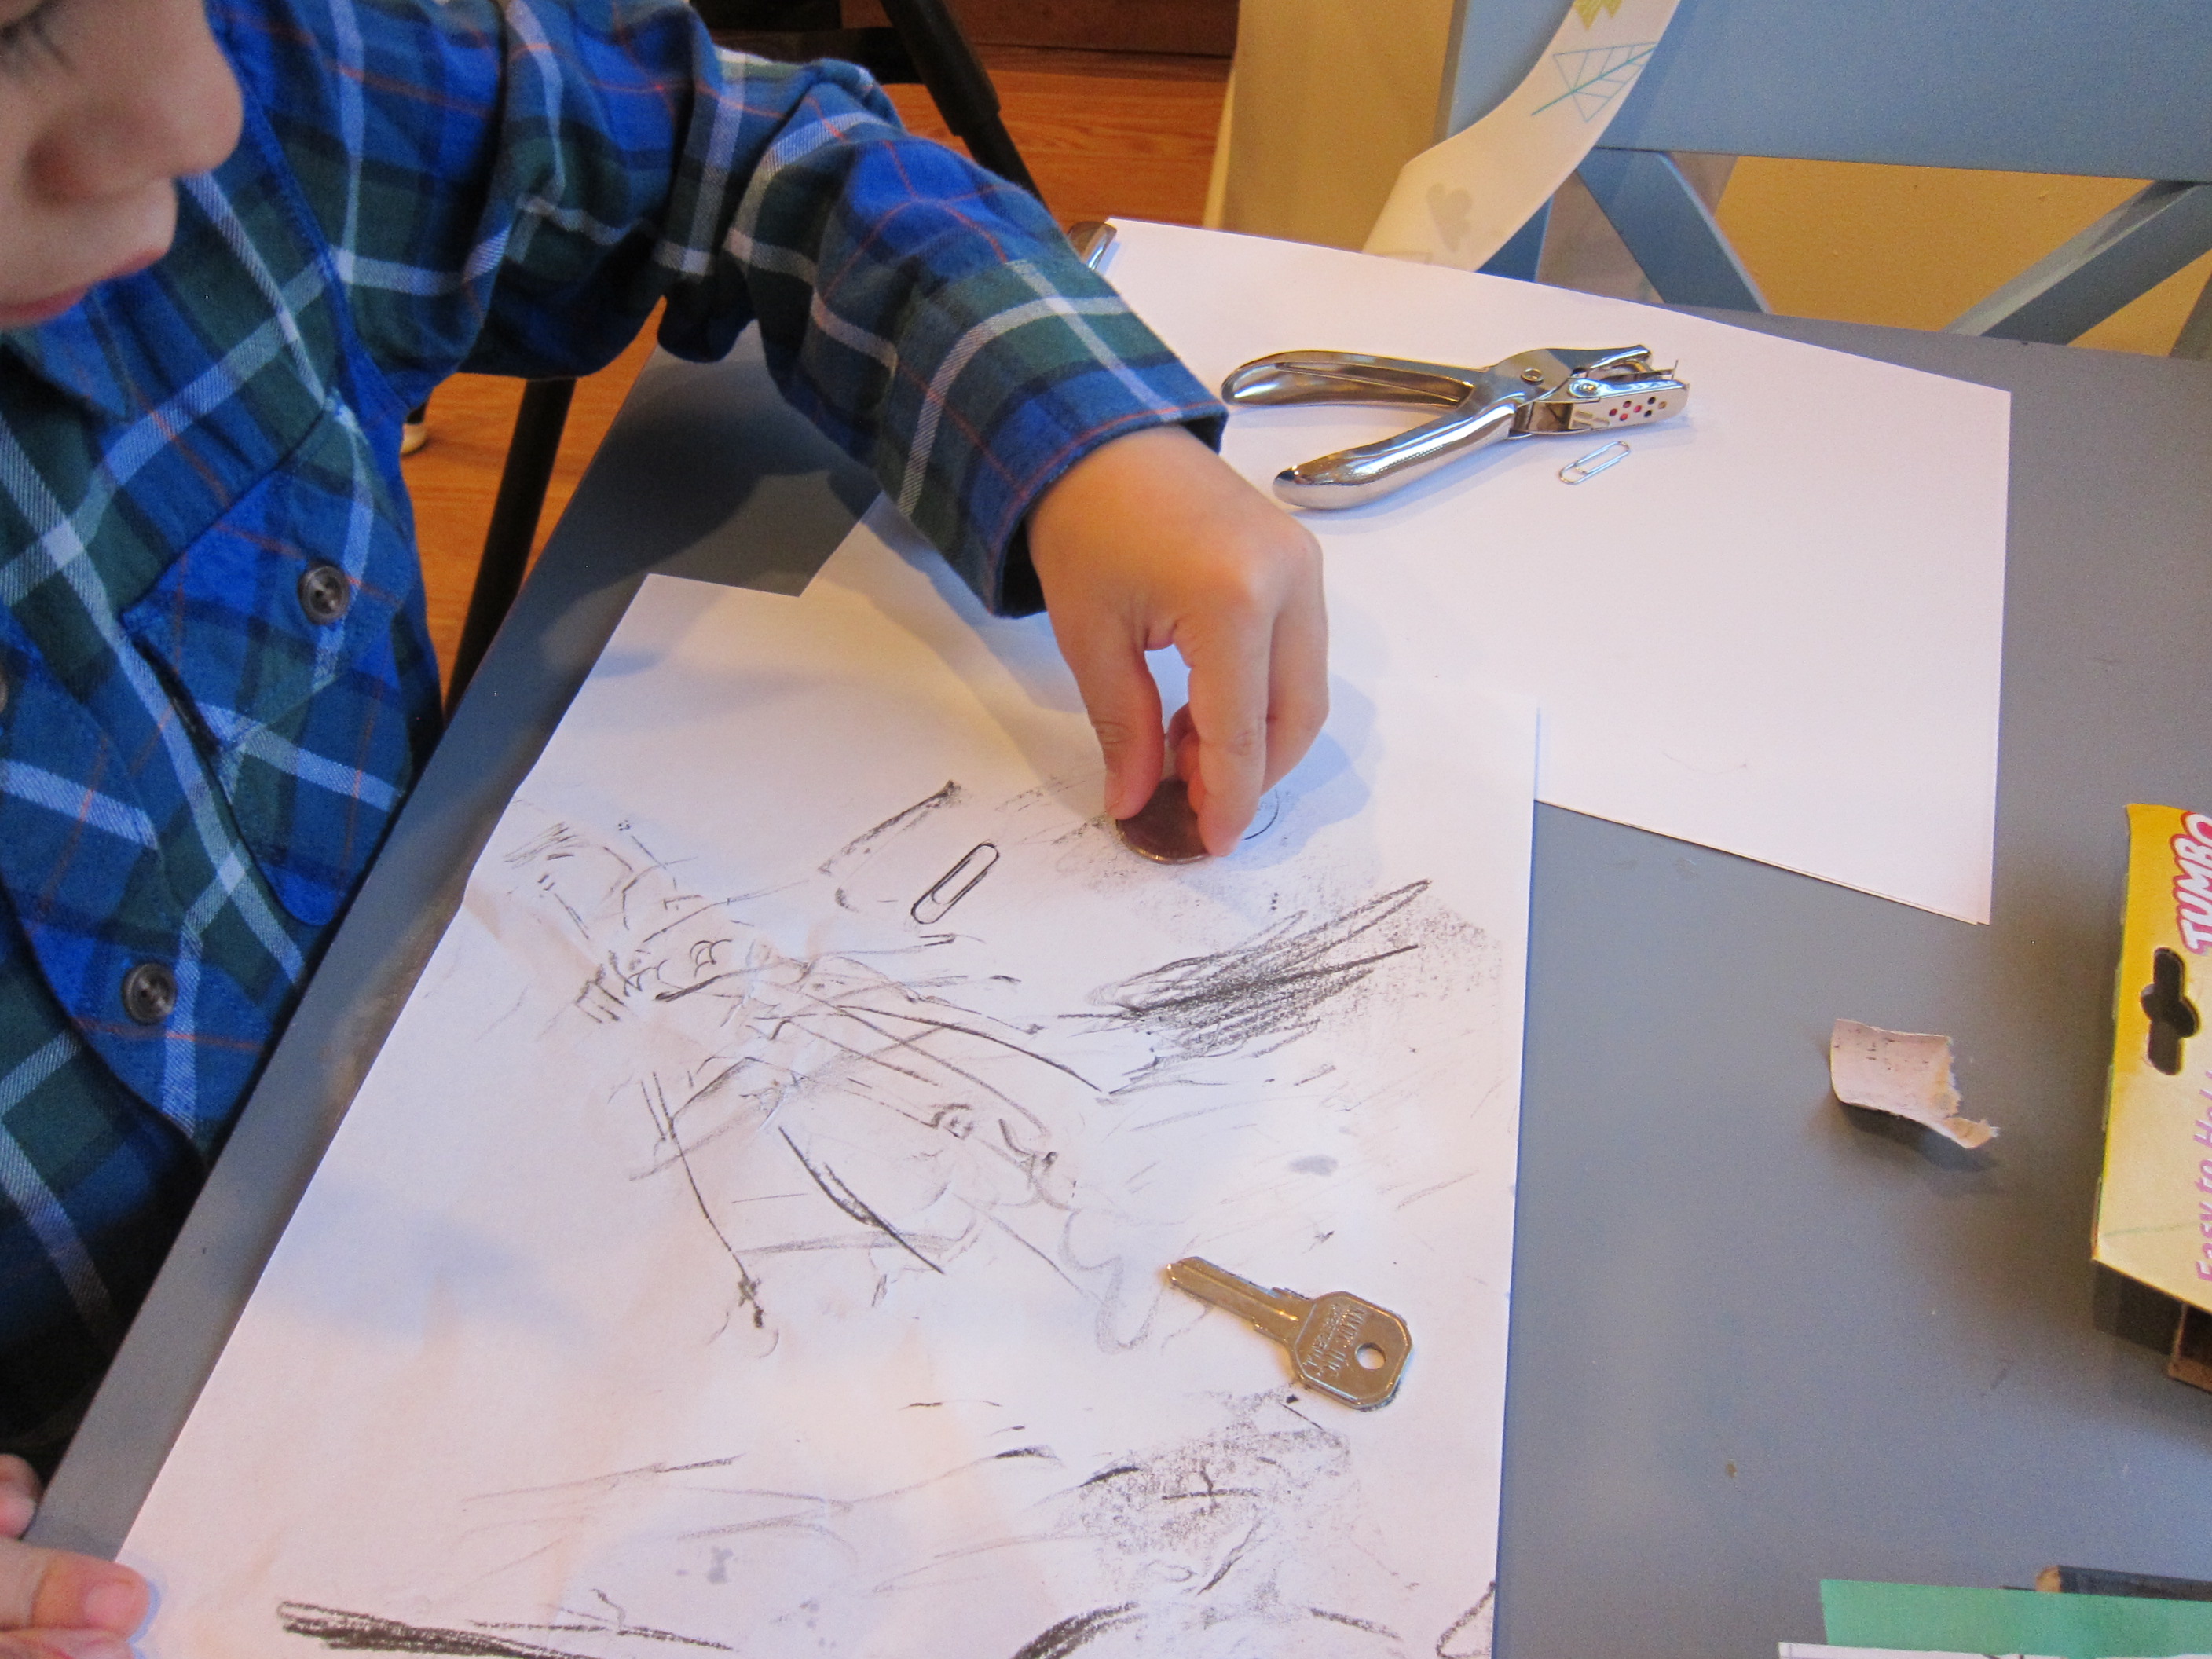
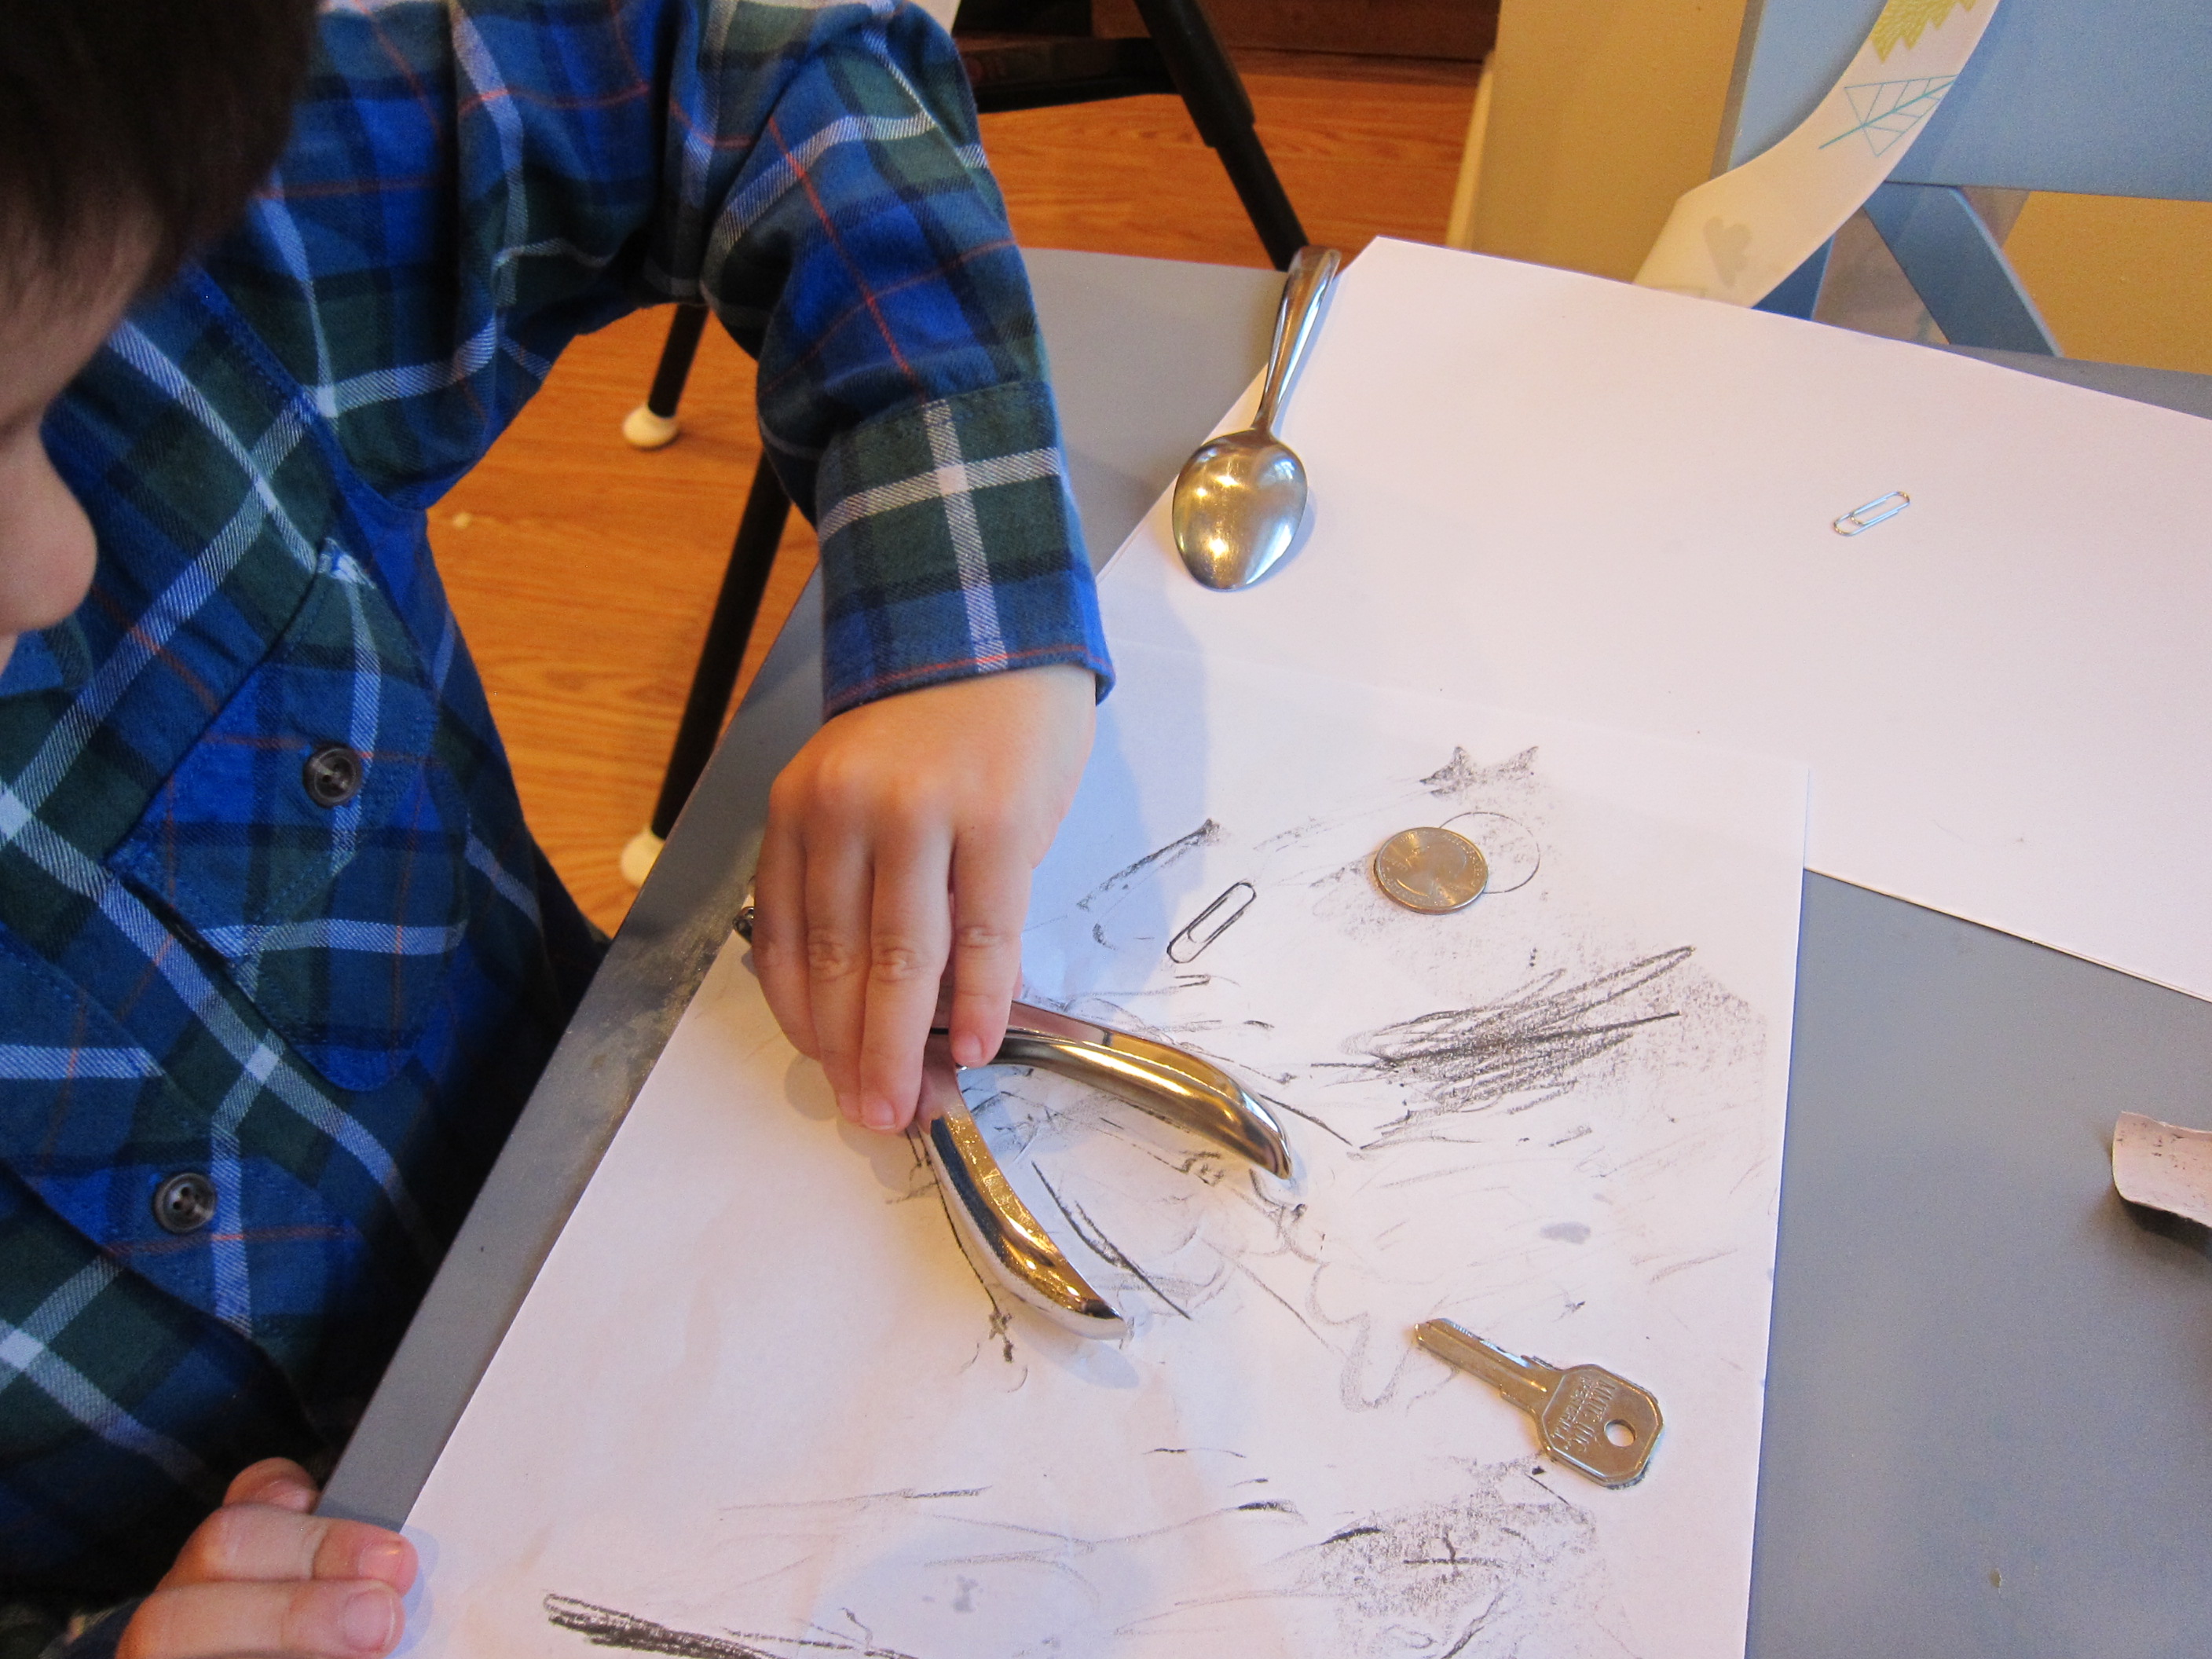
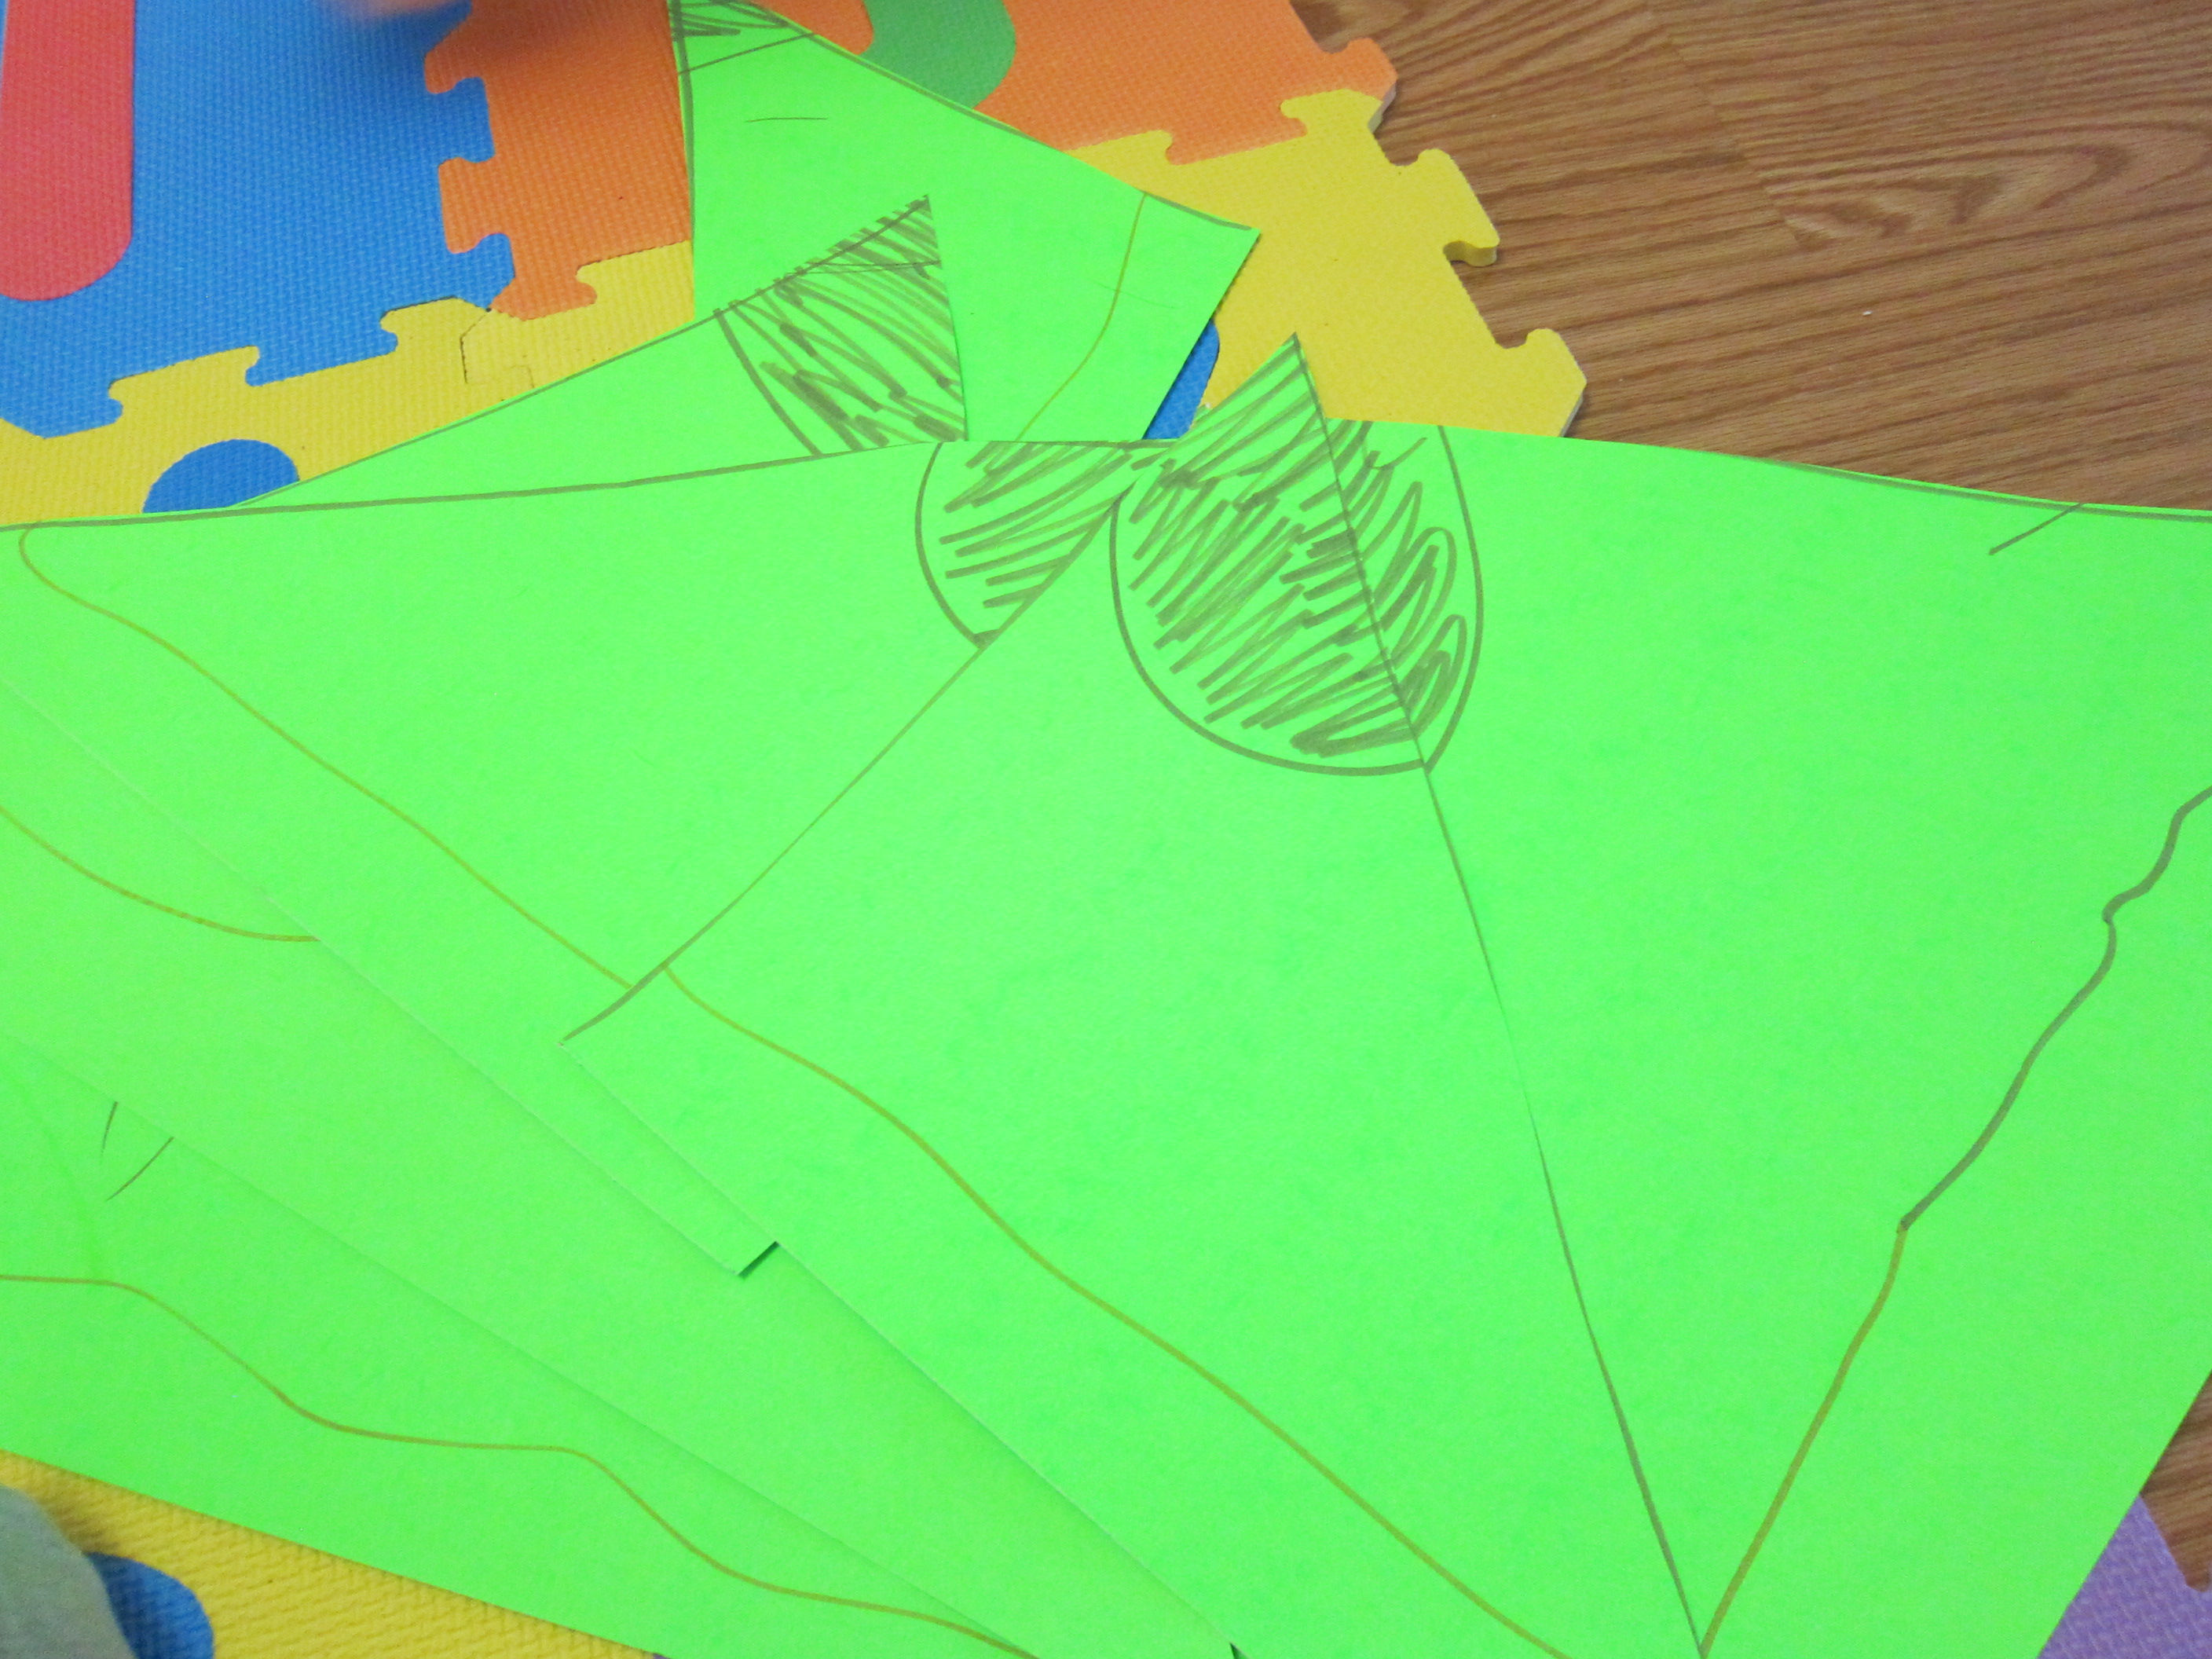
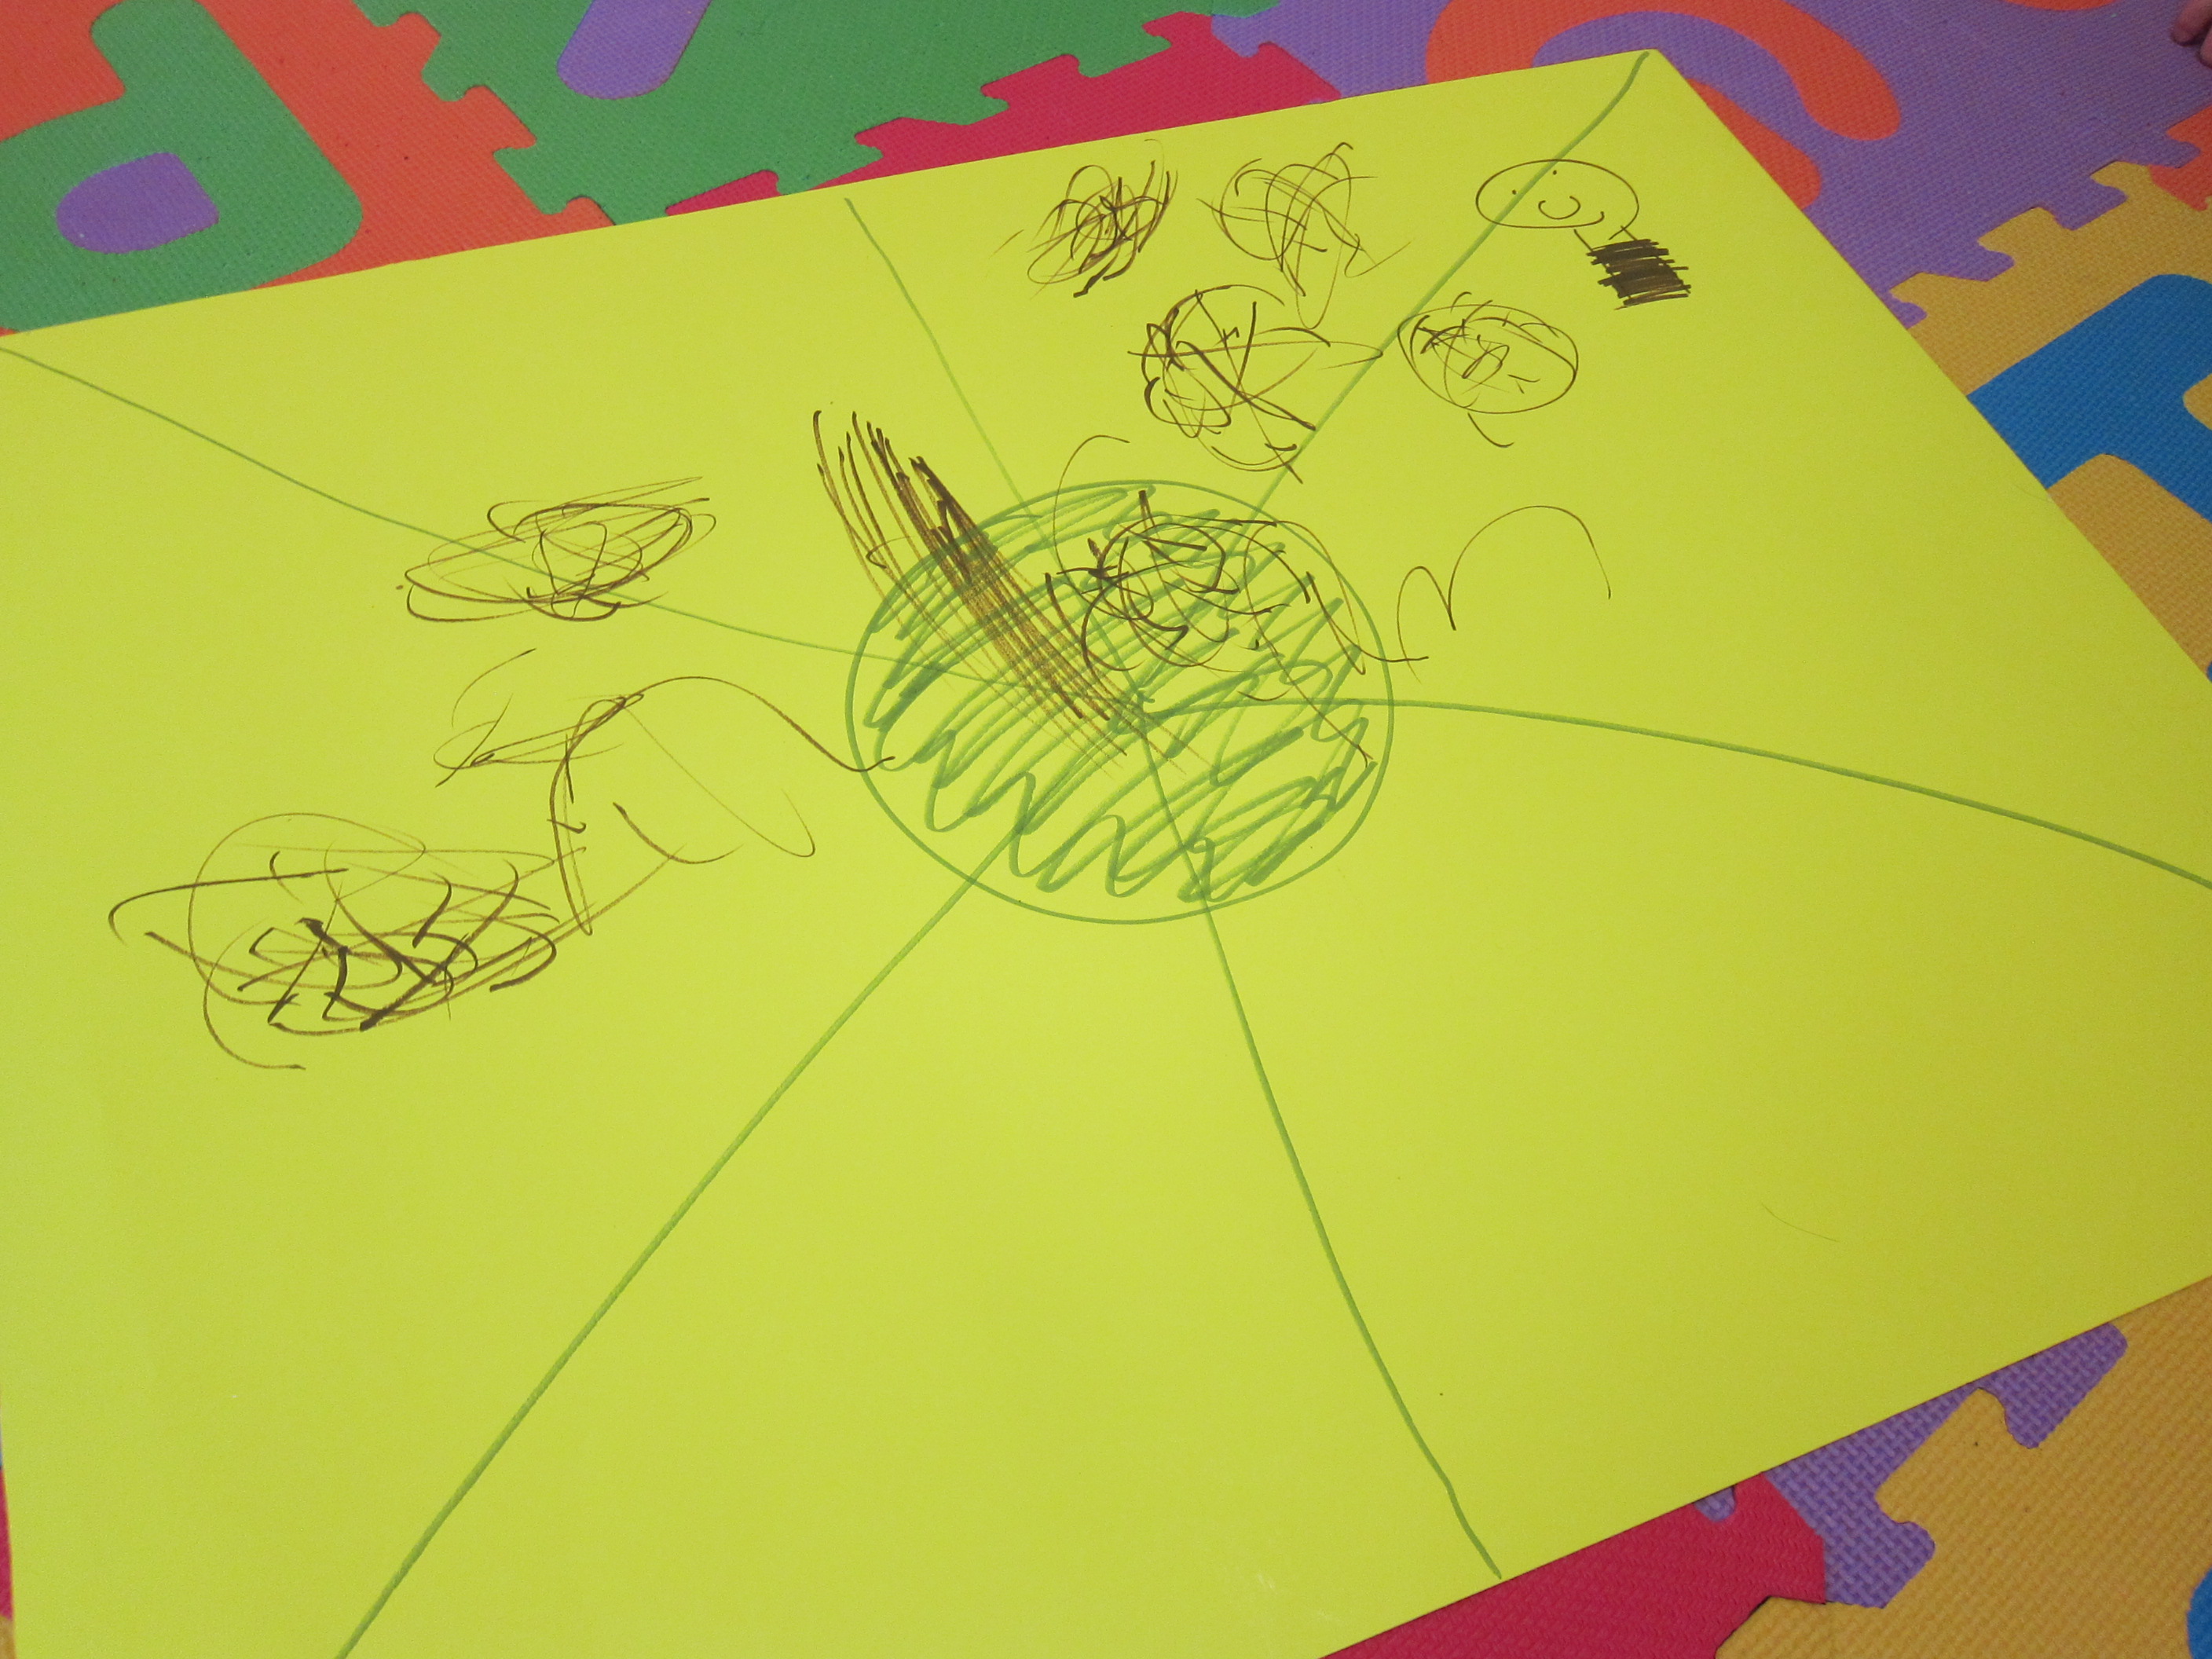
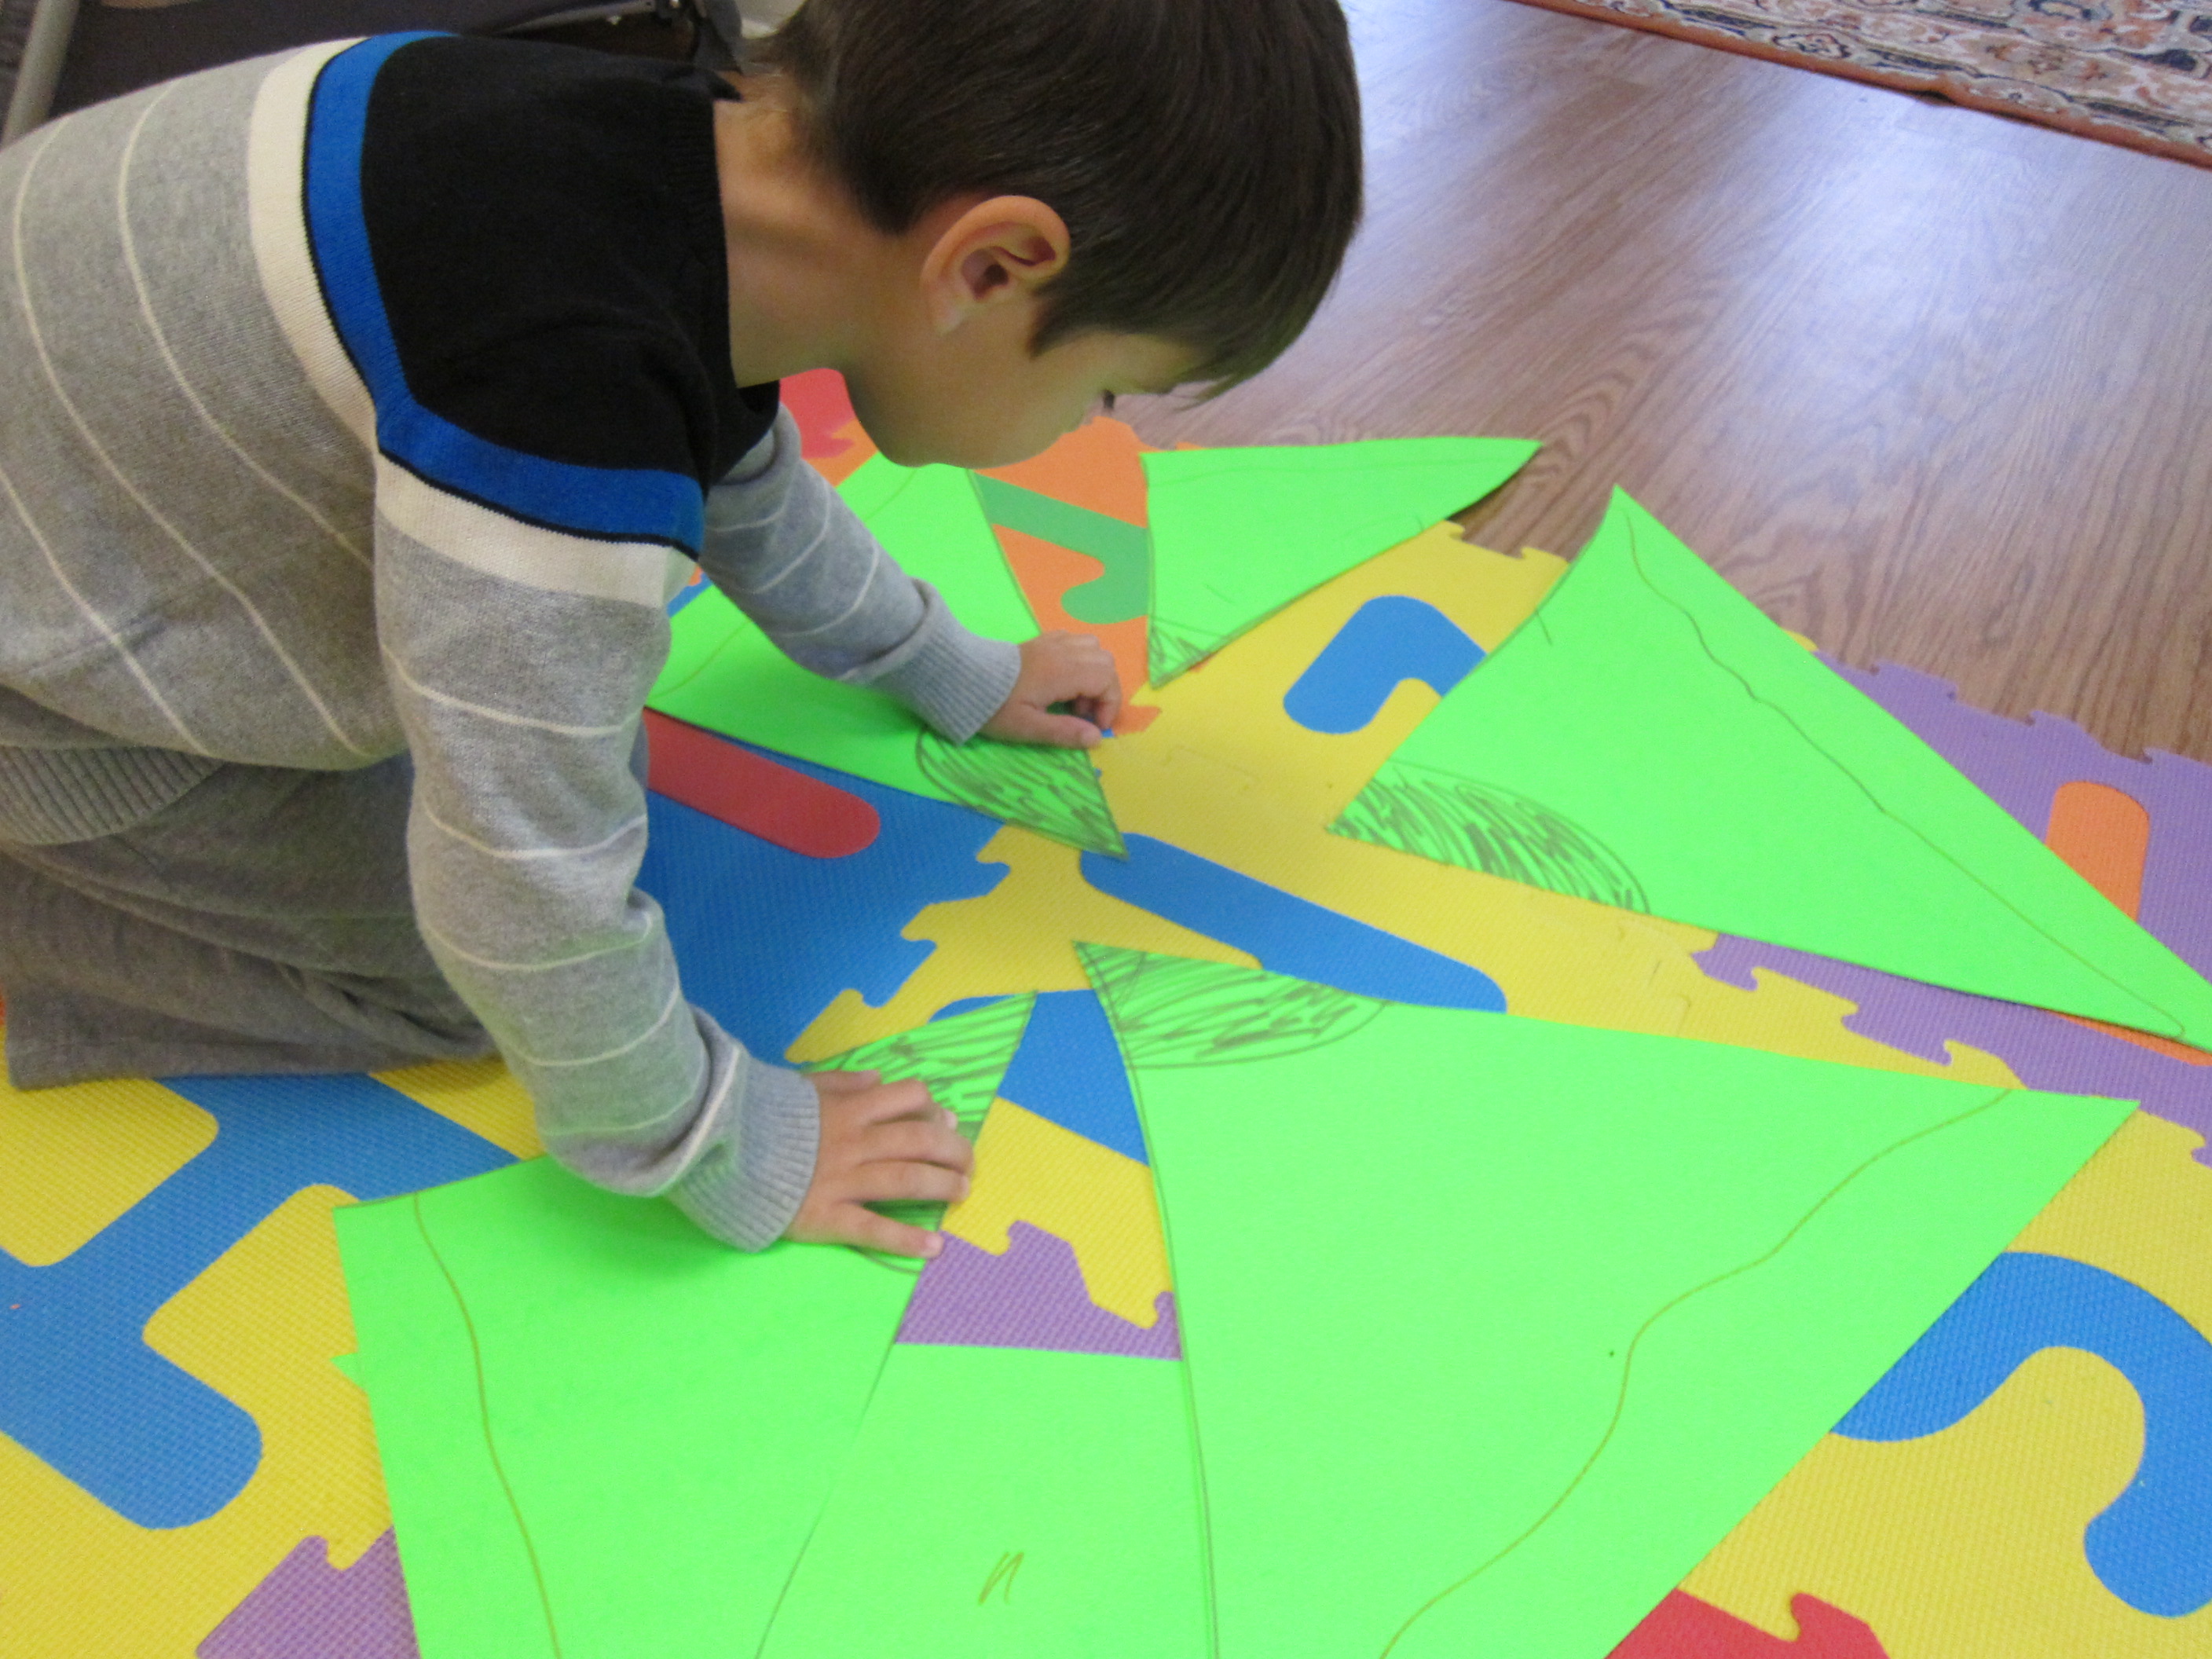
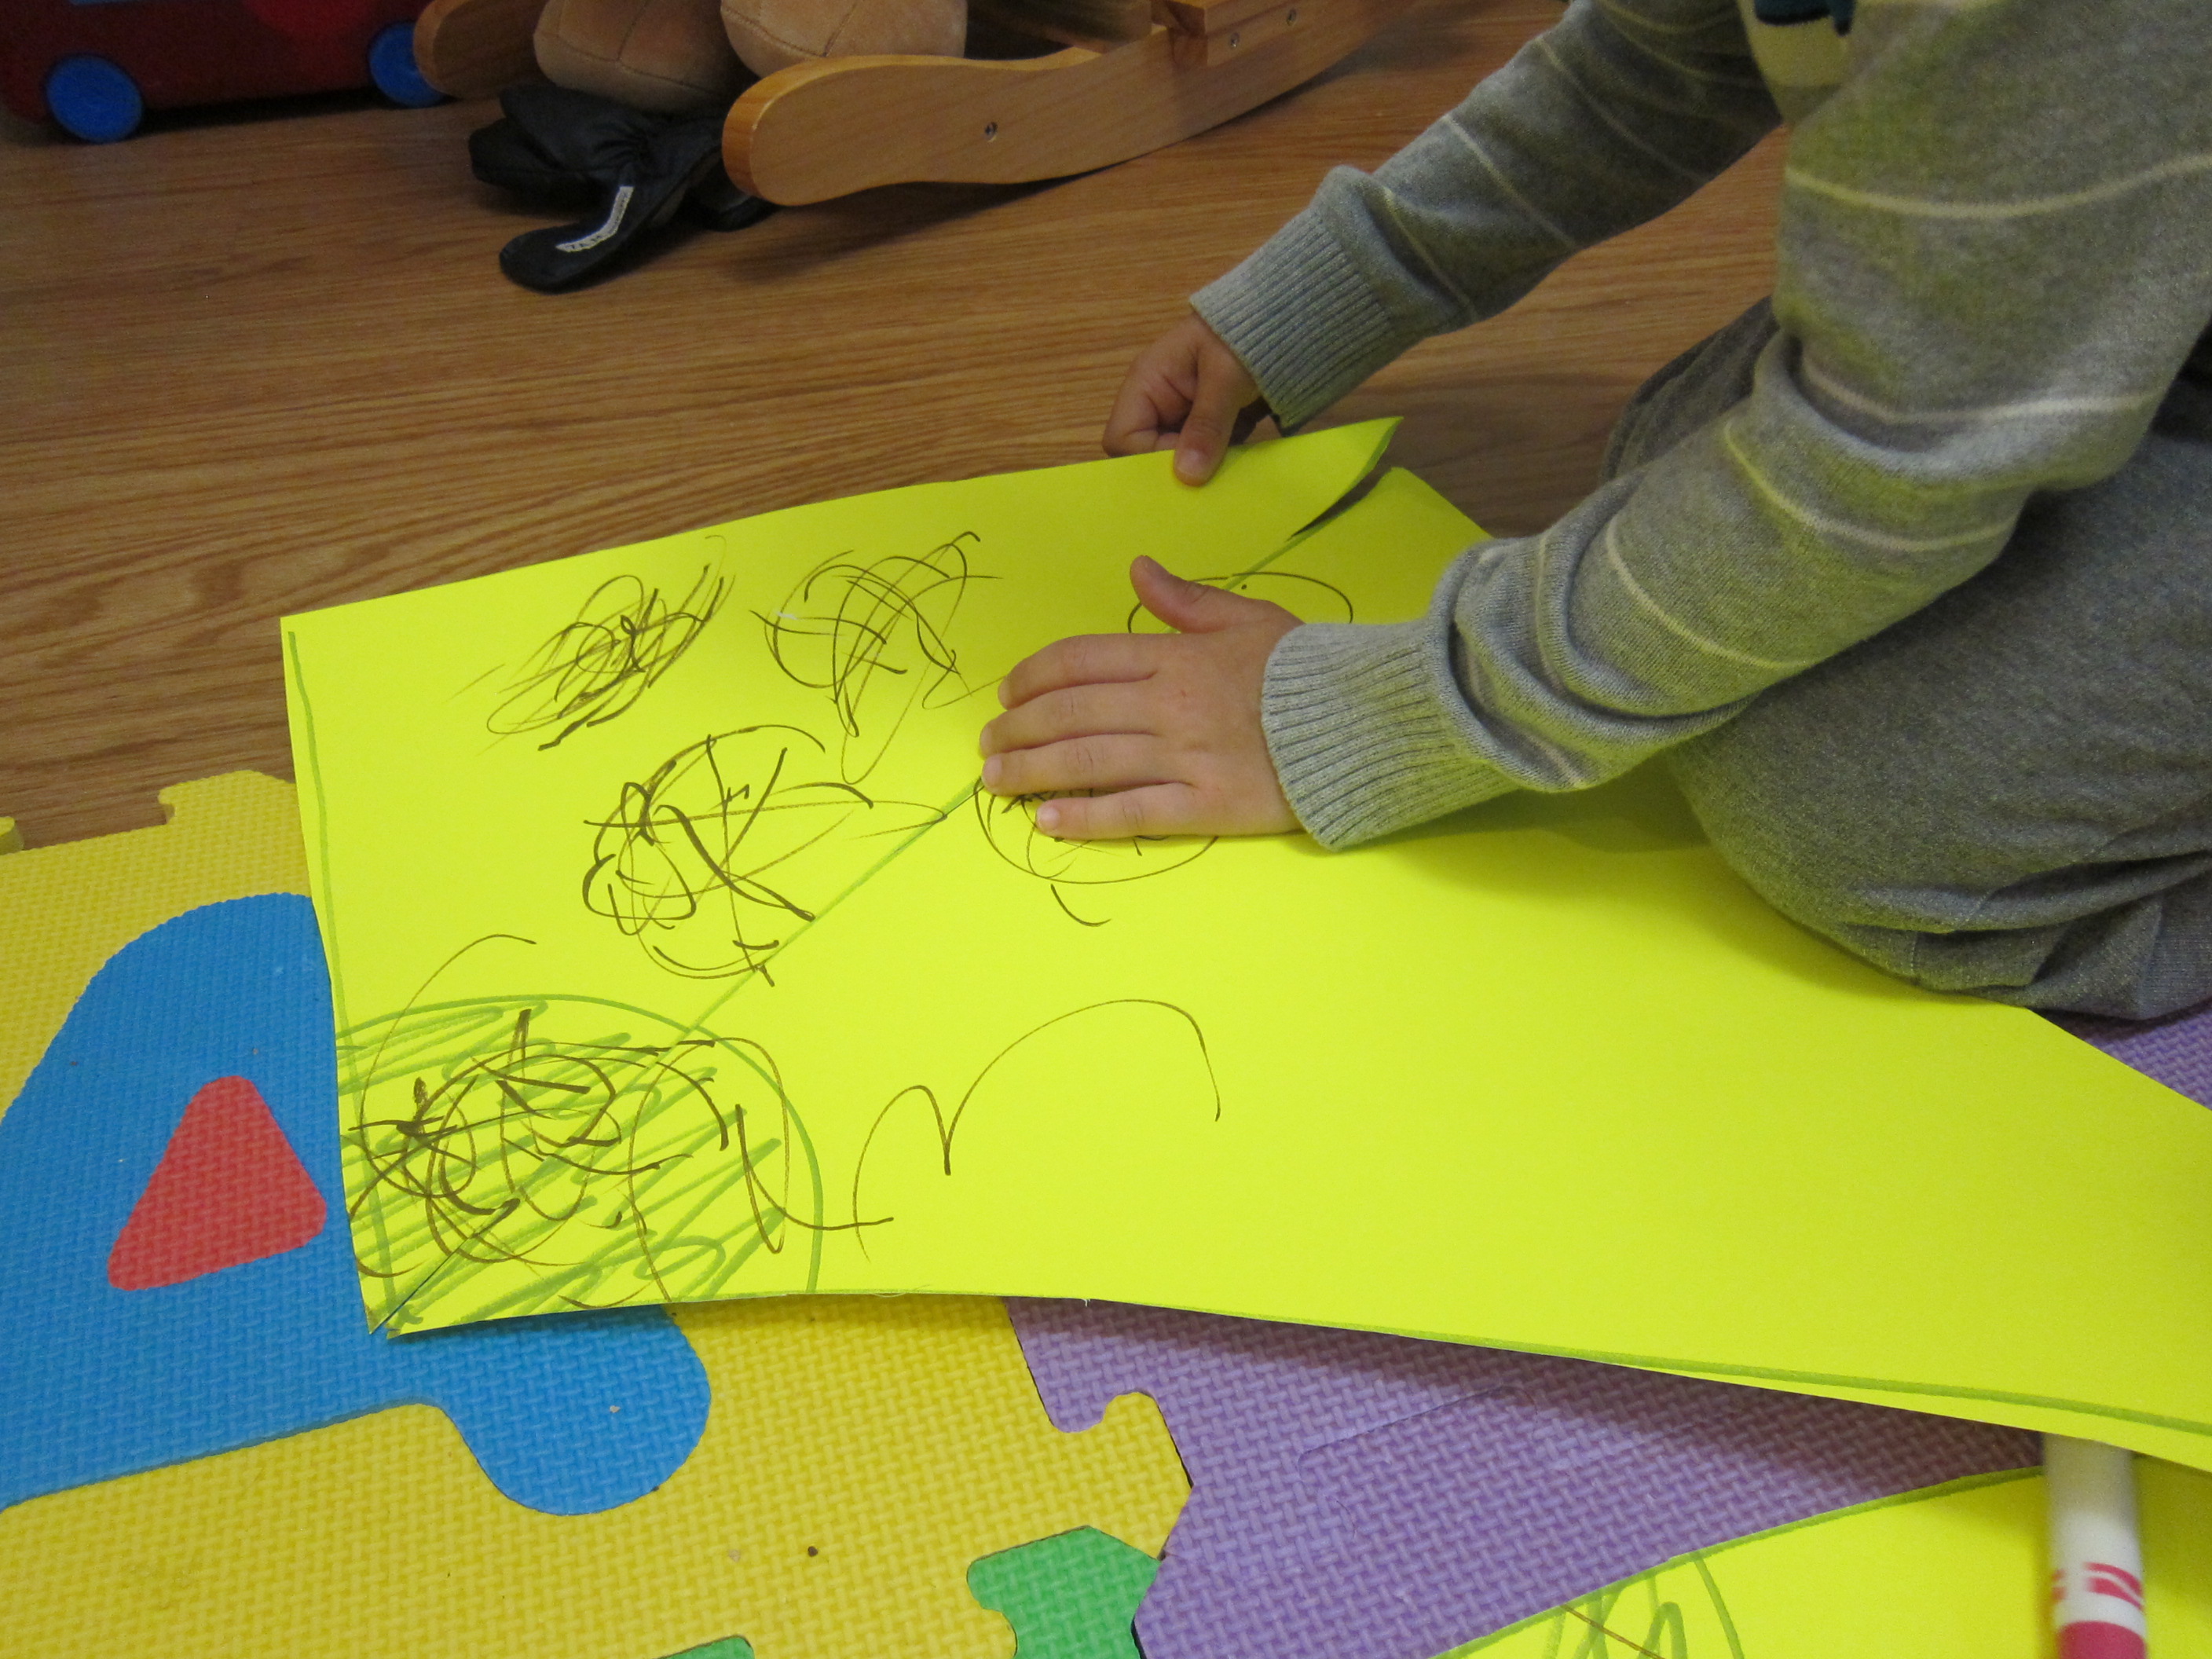
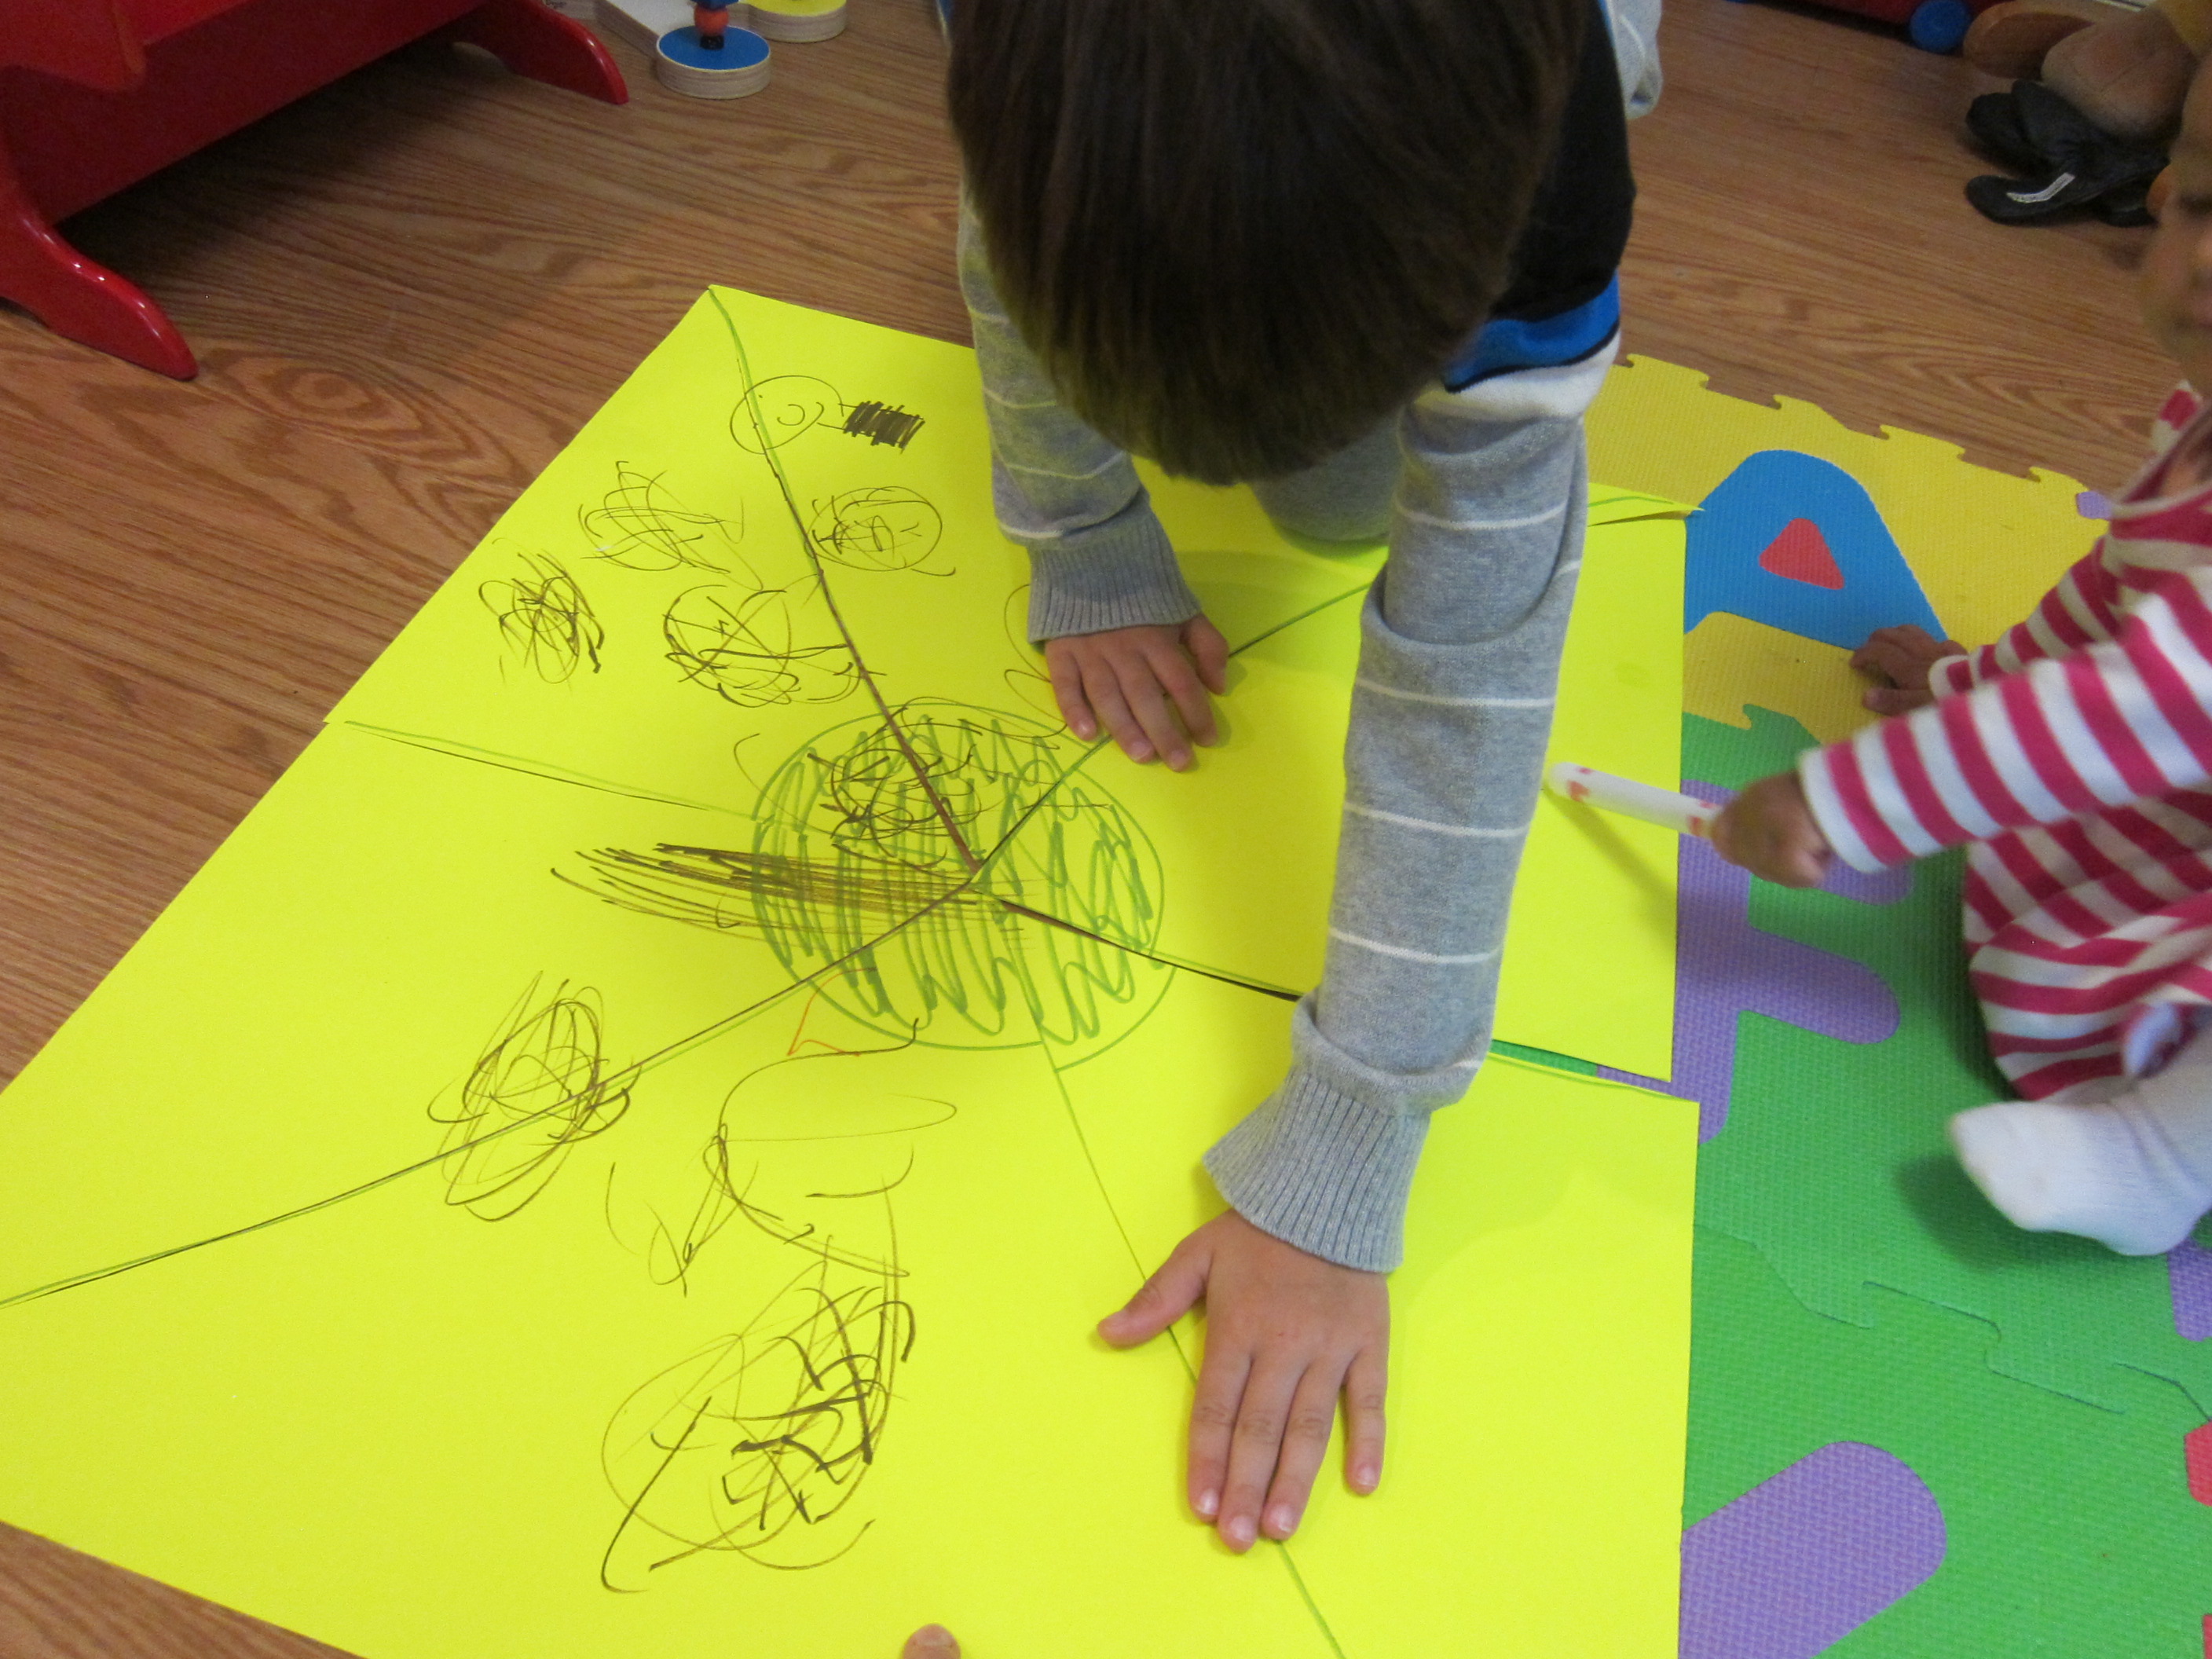
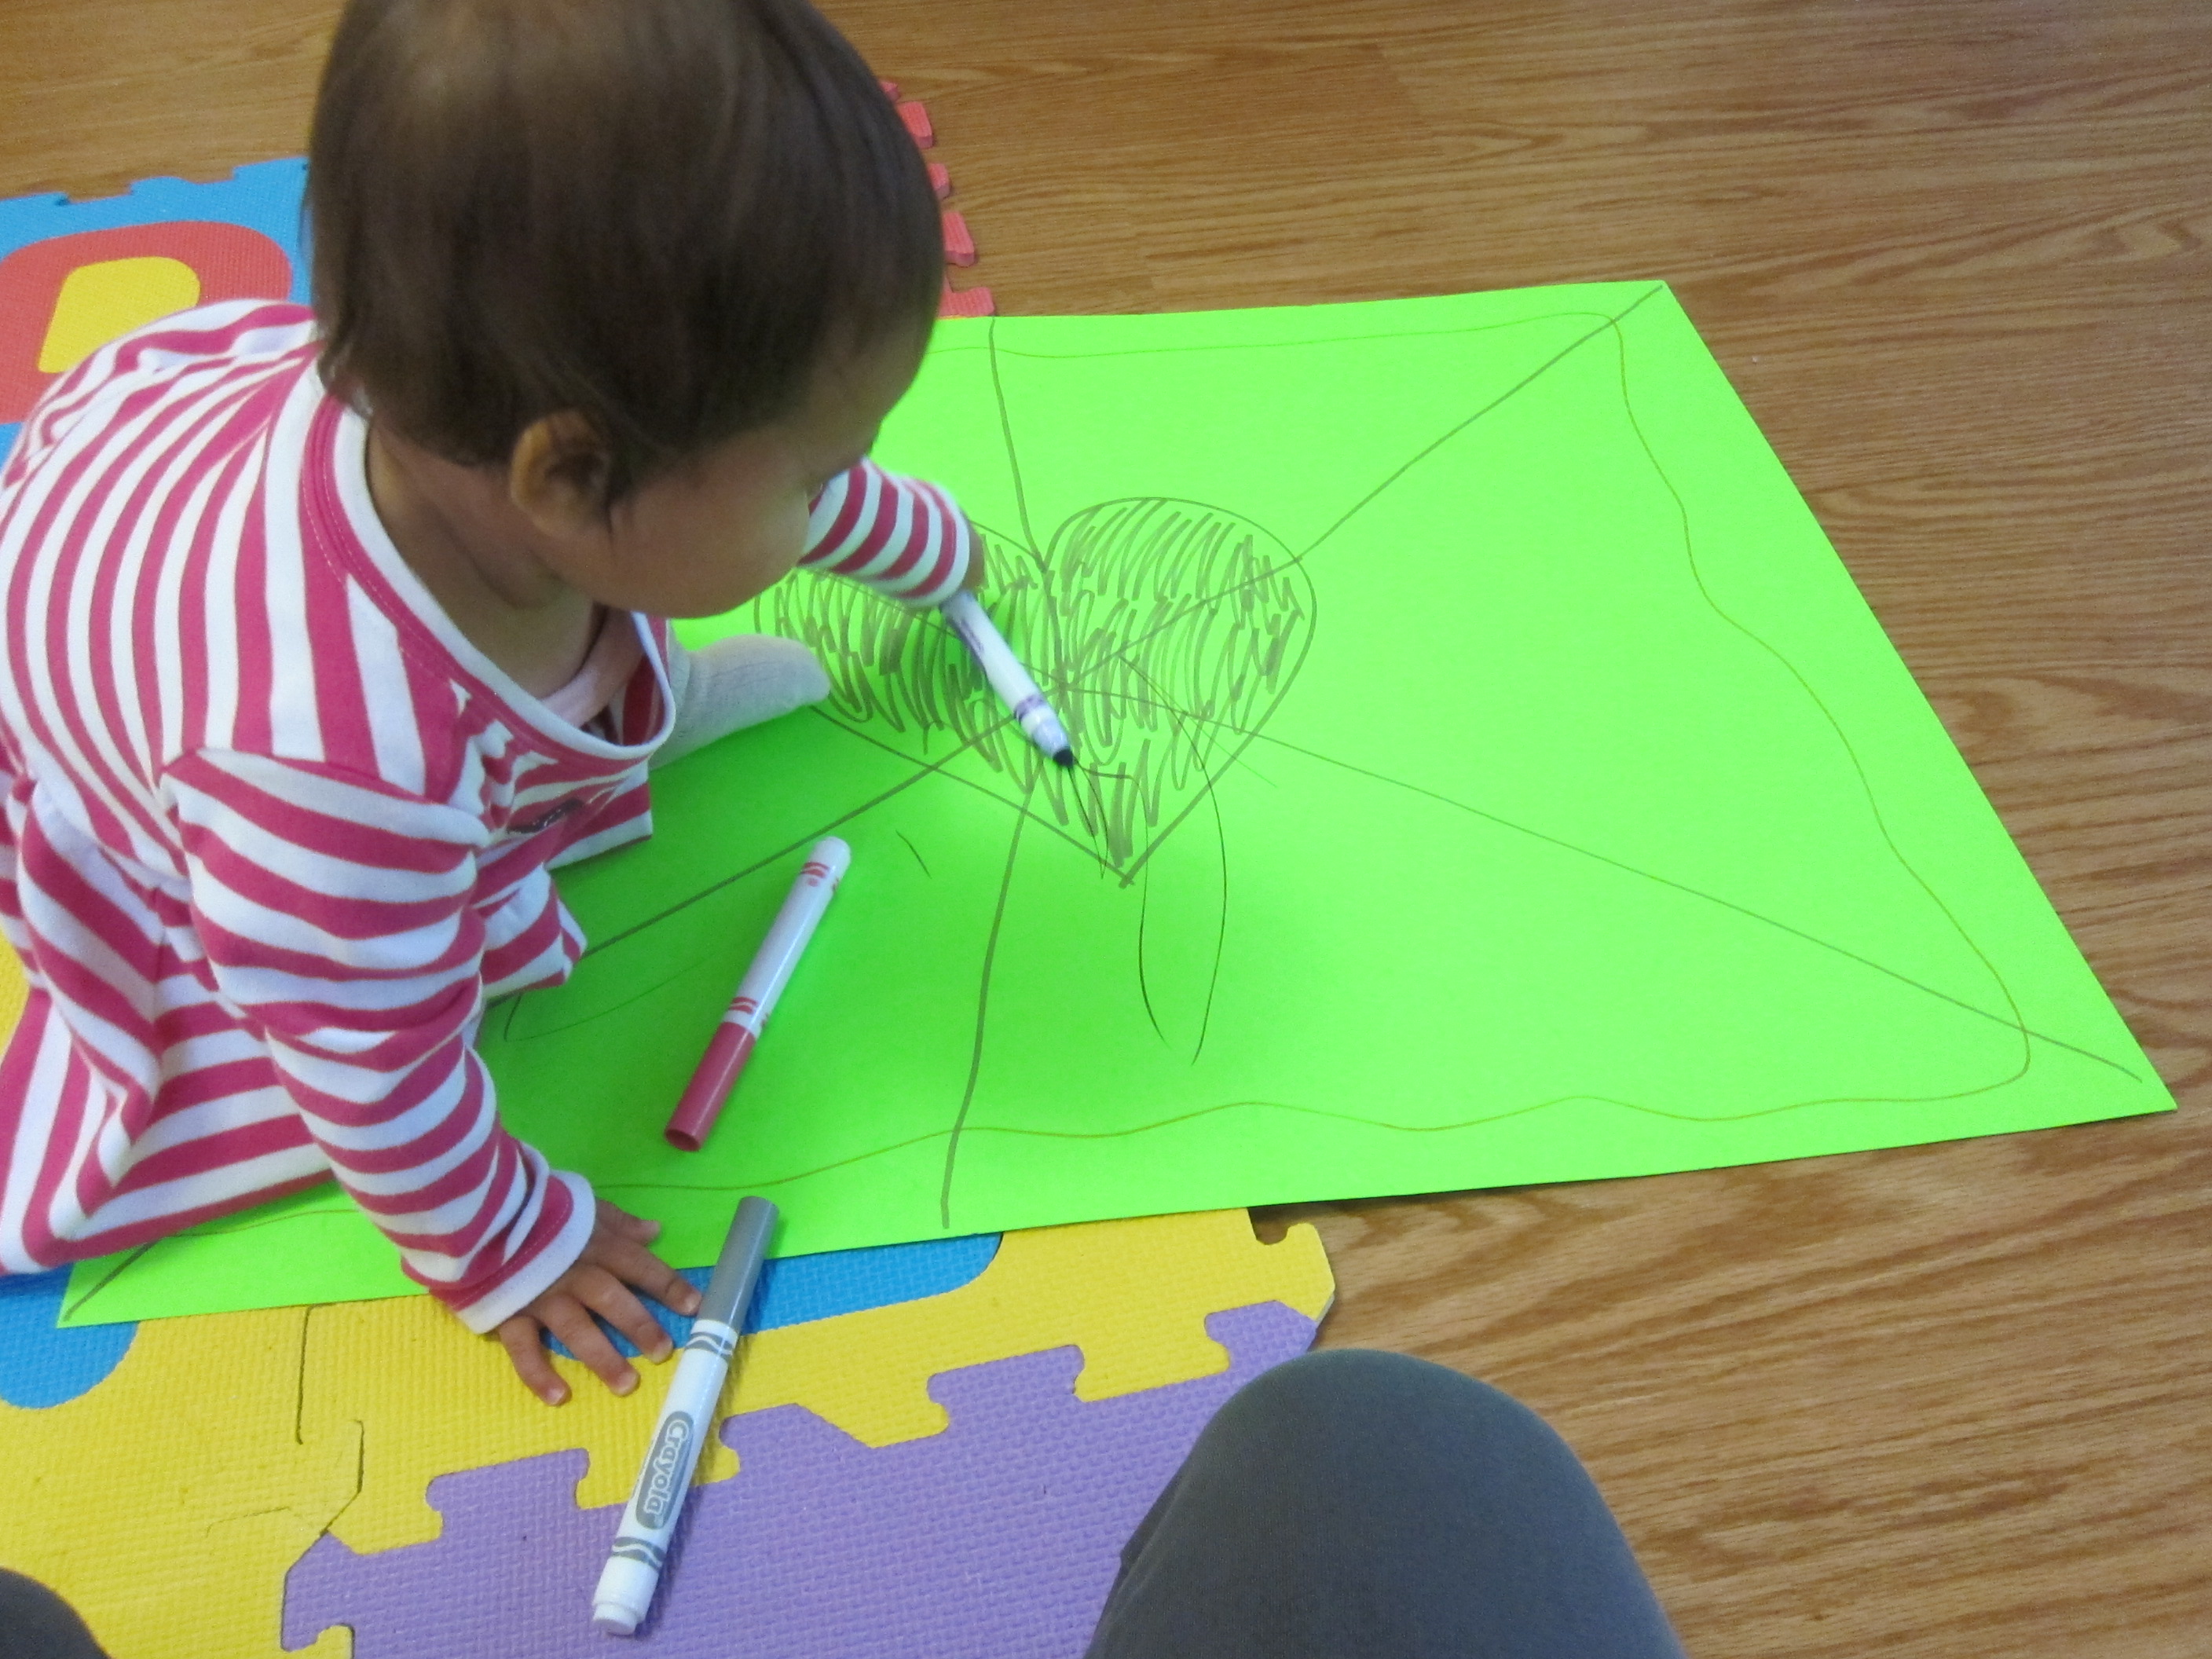
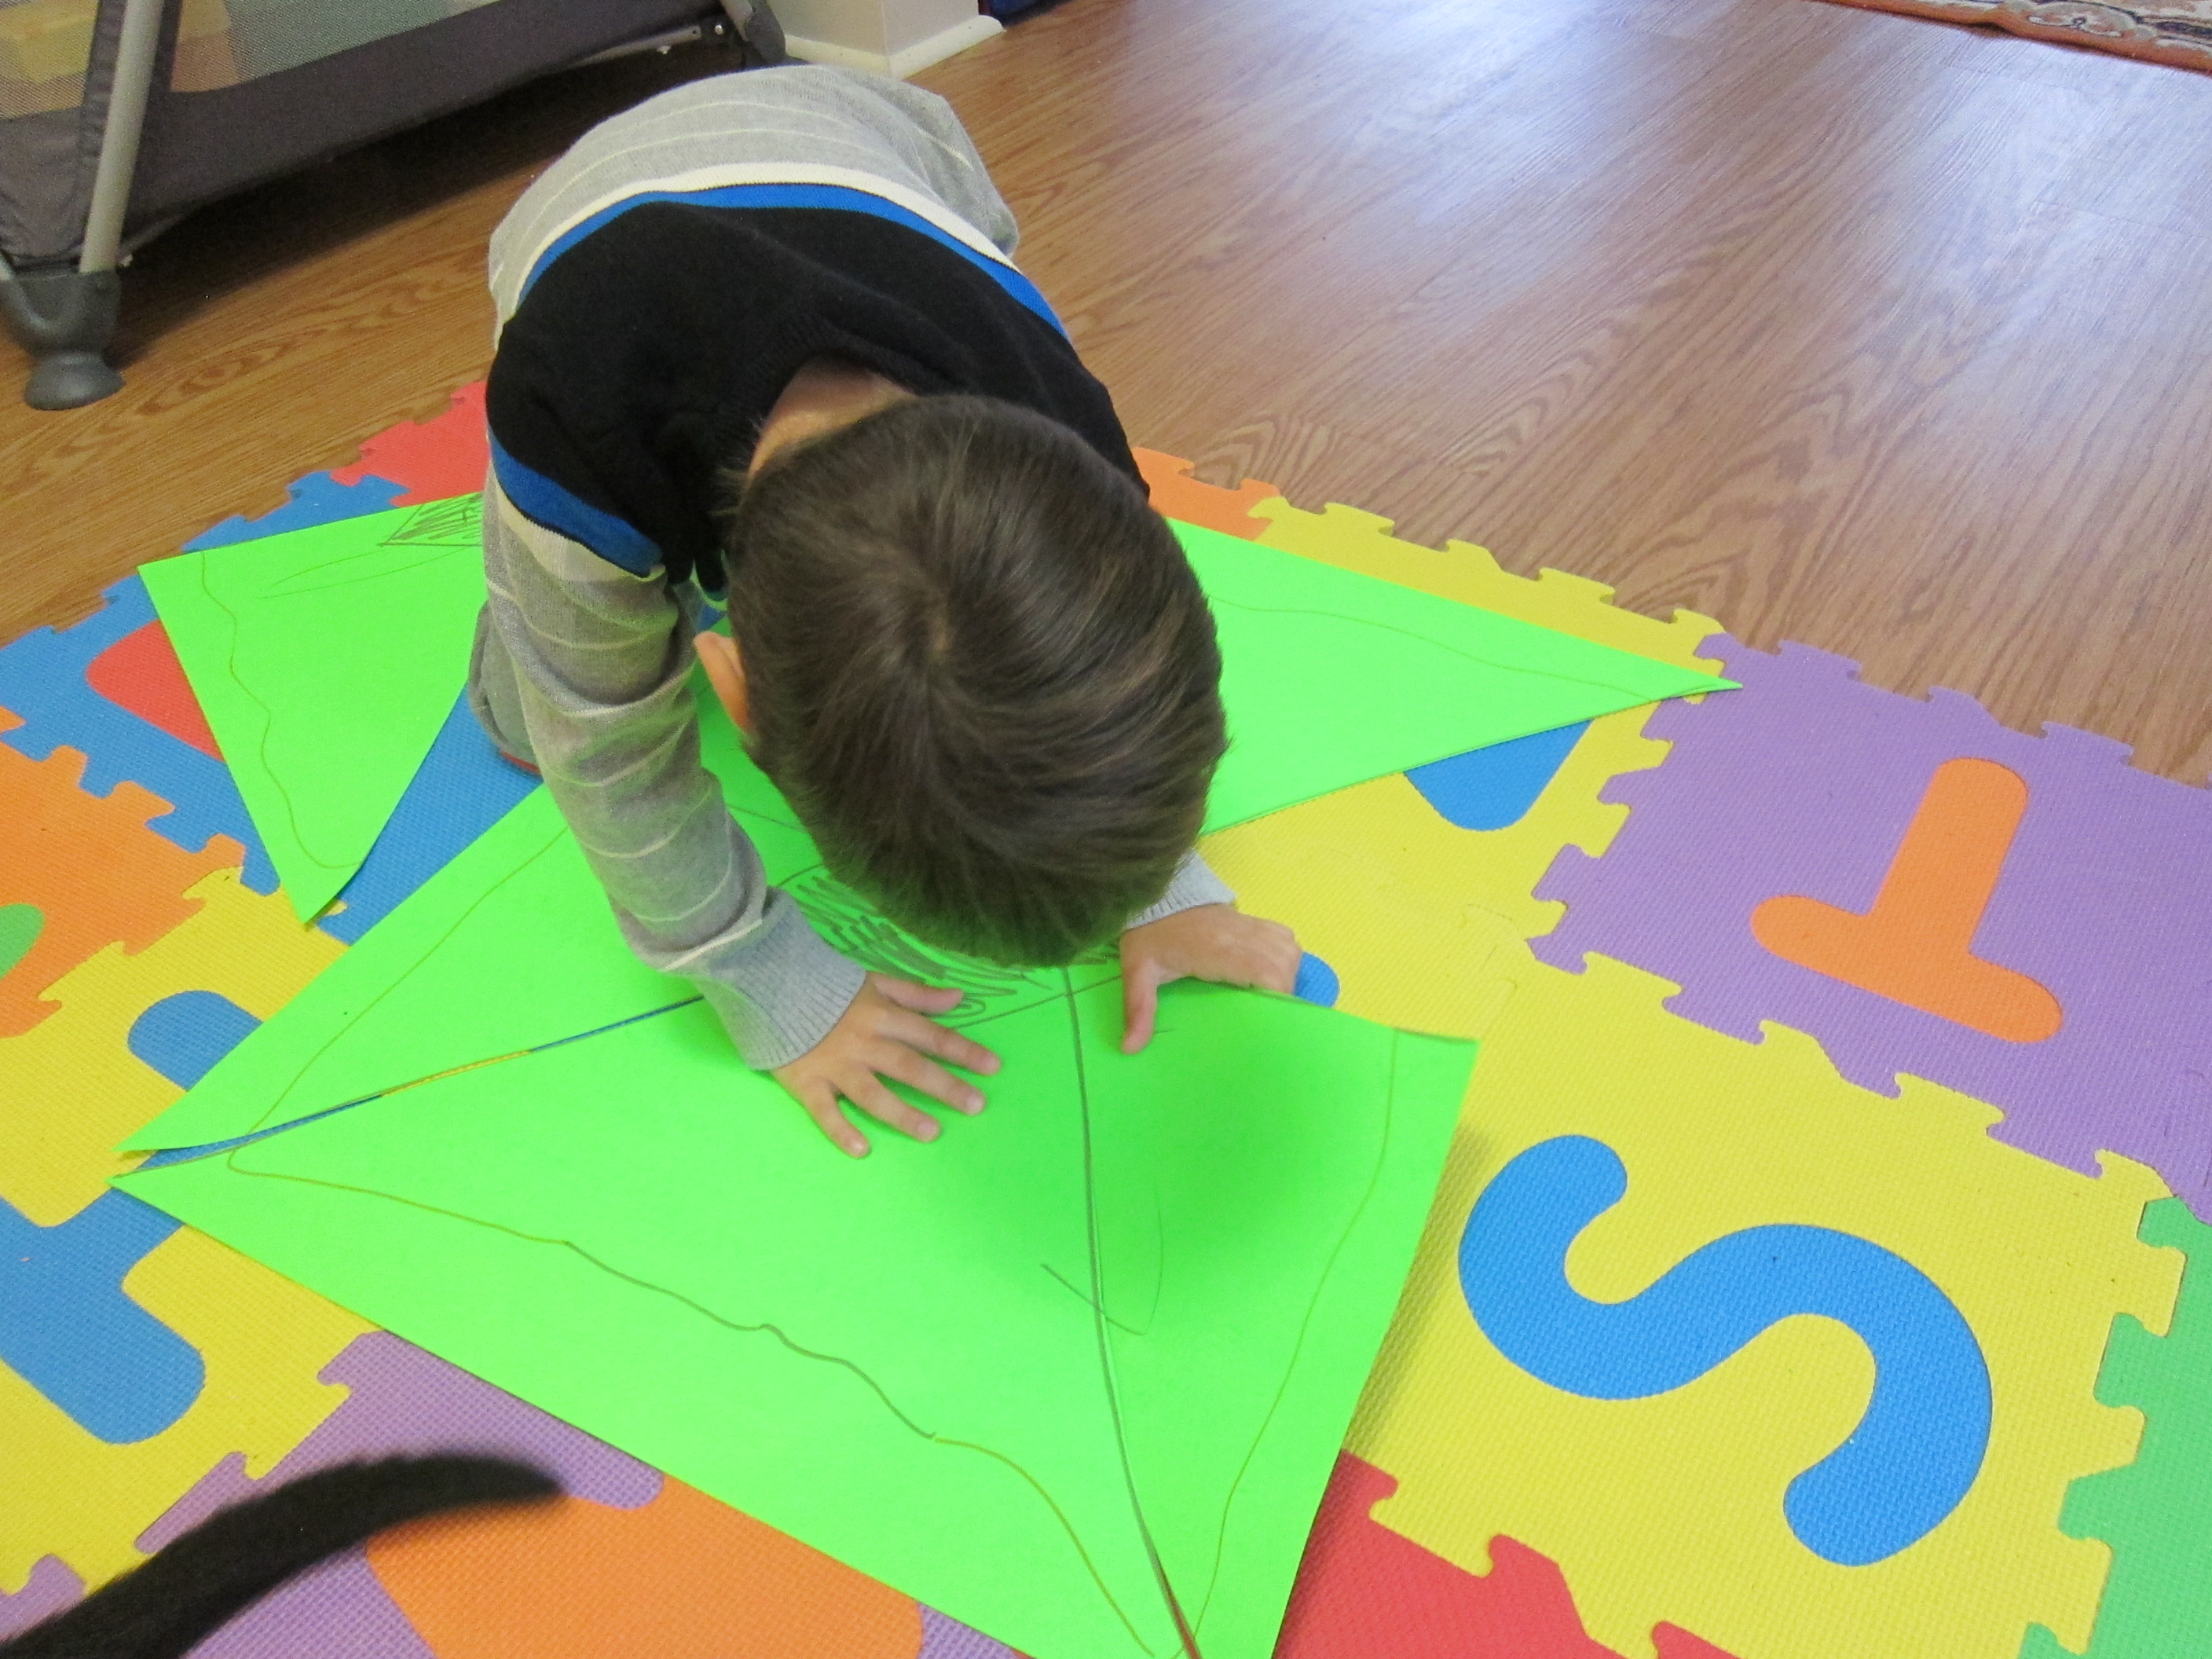
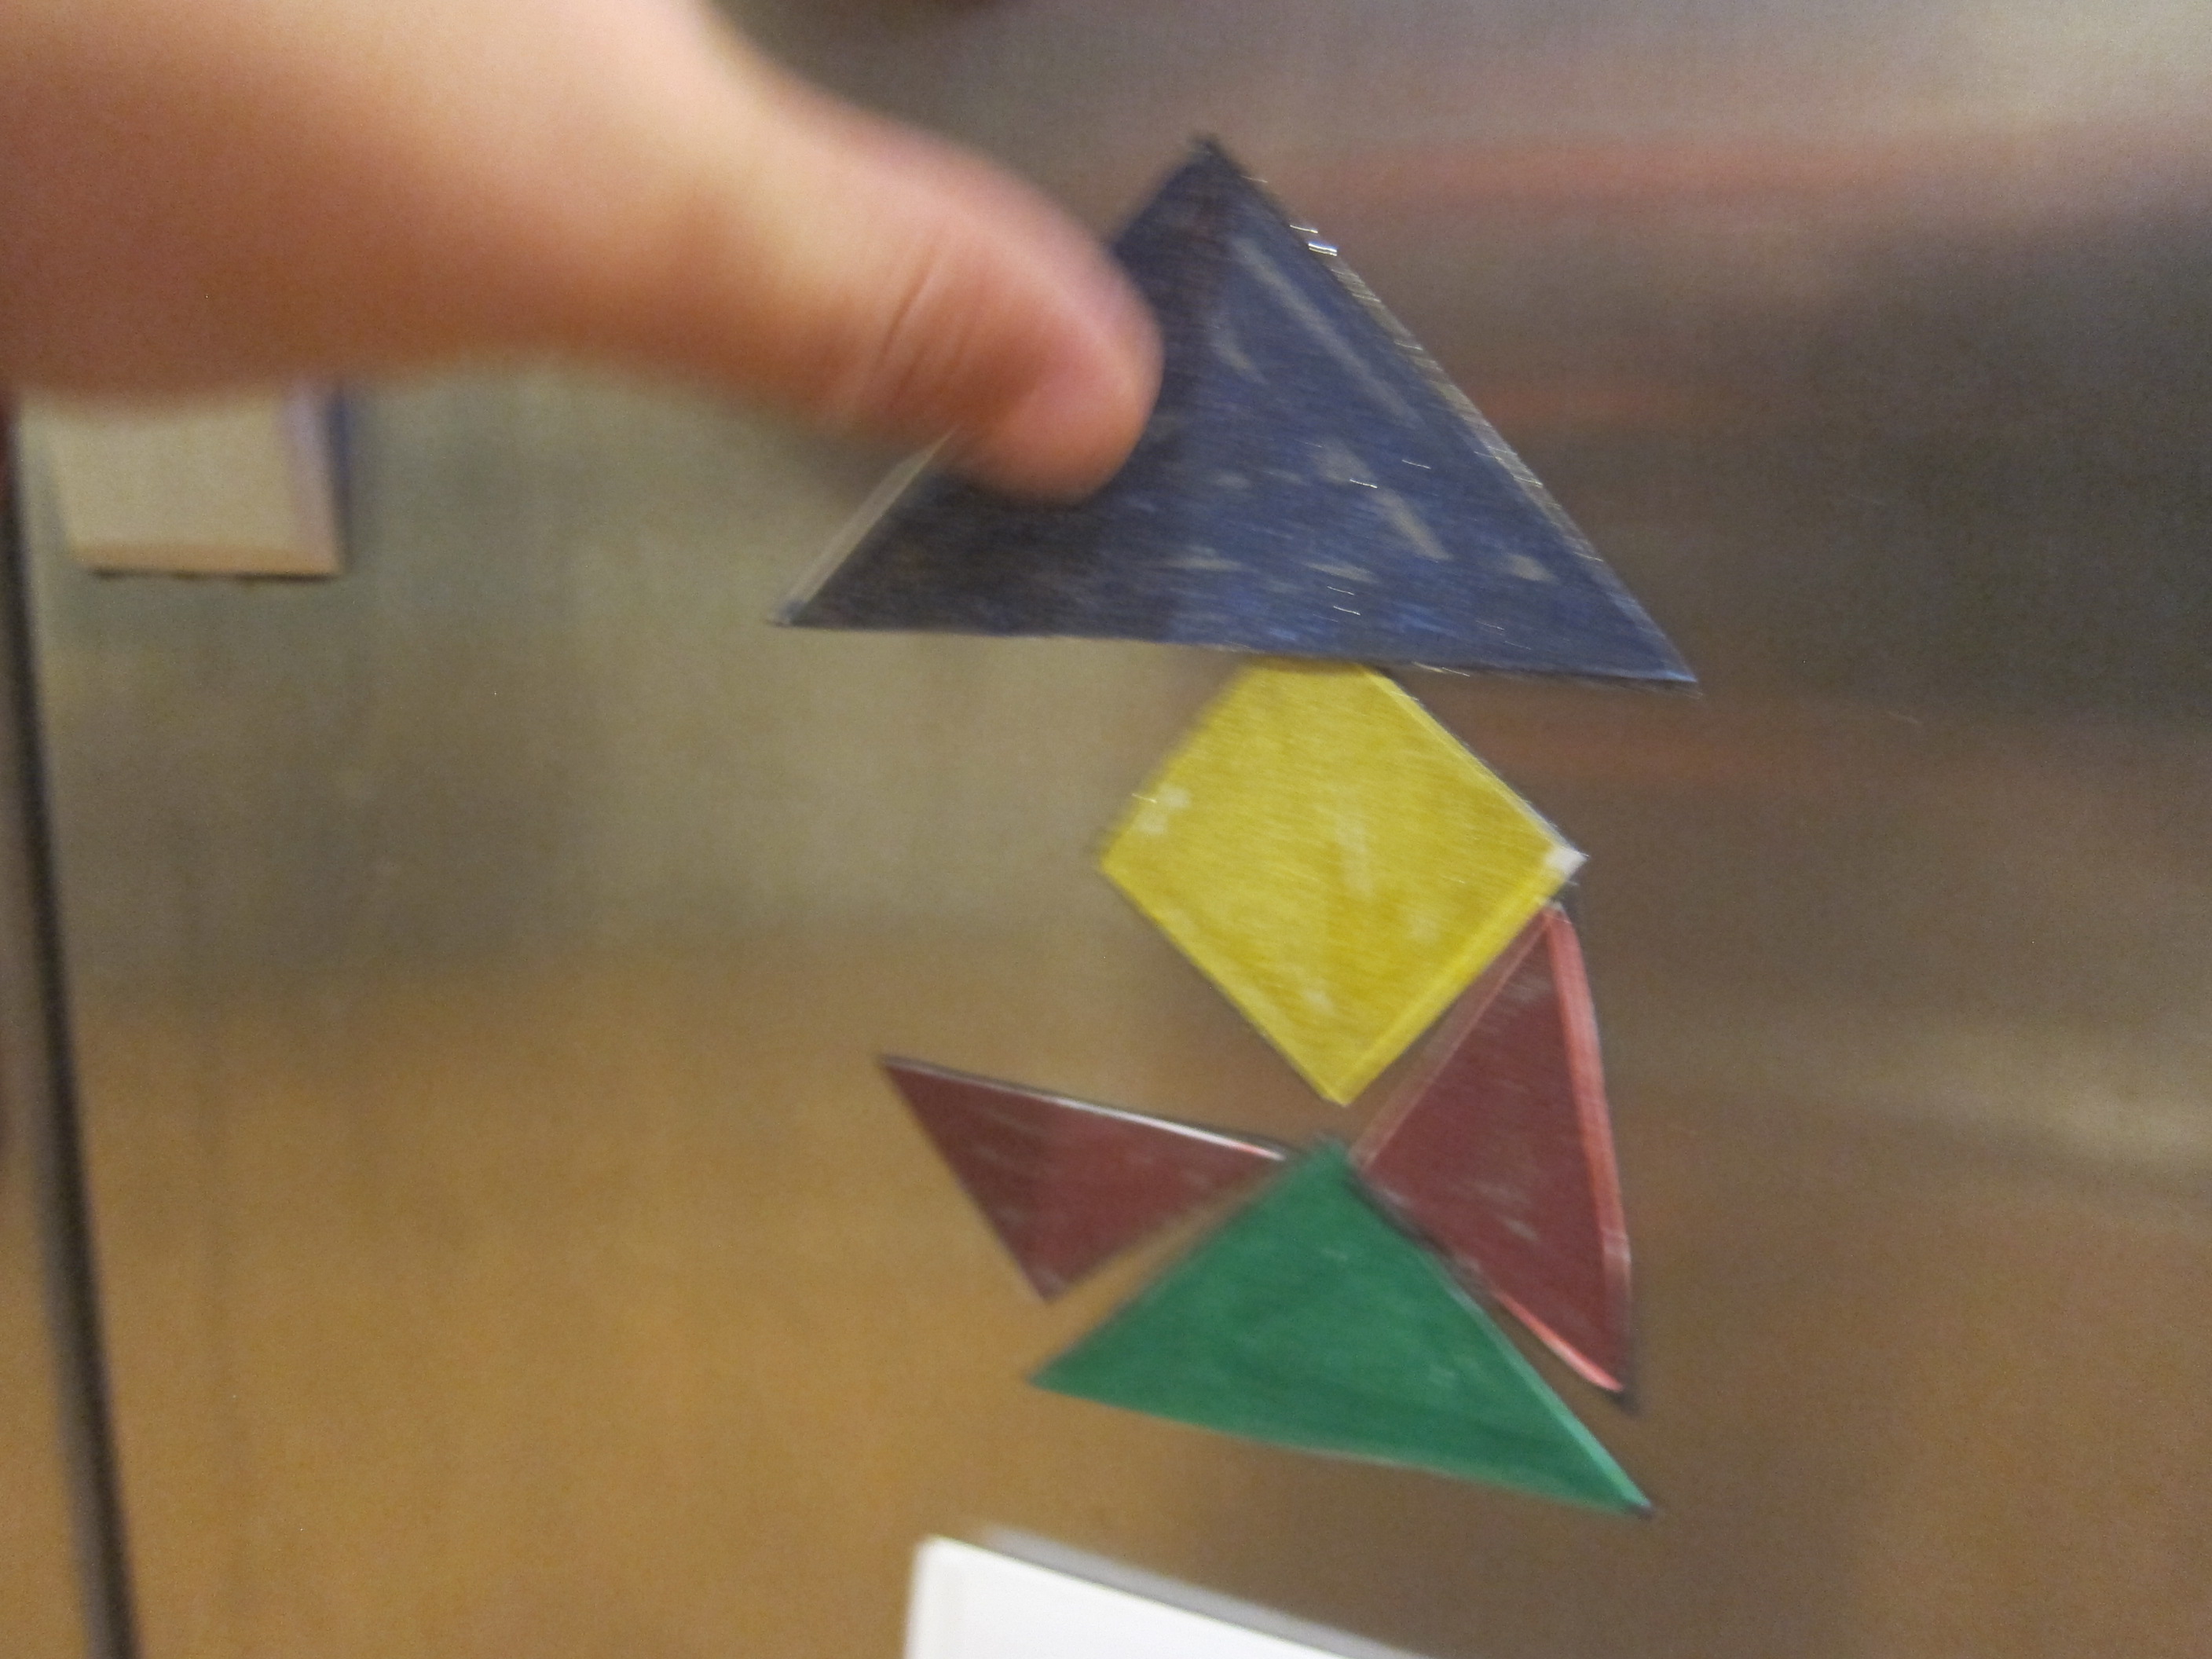
I was happy to see a wide variety of activities this month, both in the booklet and continued online. For science, we printed out a template for Newton’s color wheel. After learning briefly who Newton was, Travis colored in the provided circle in a rainbow.

LP England (17)

Glue onto cardboard for sturdiness and then thread onto a string that is 30 inches long. Wind the string up and then let it spin until unwound; it rotates fast enough that the colors blur back to white.

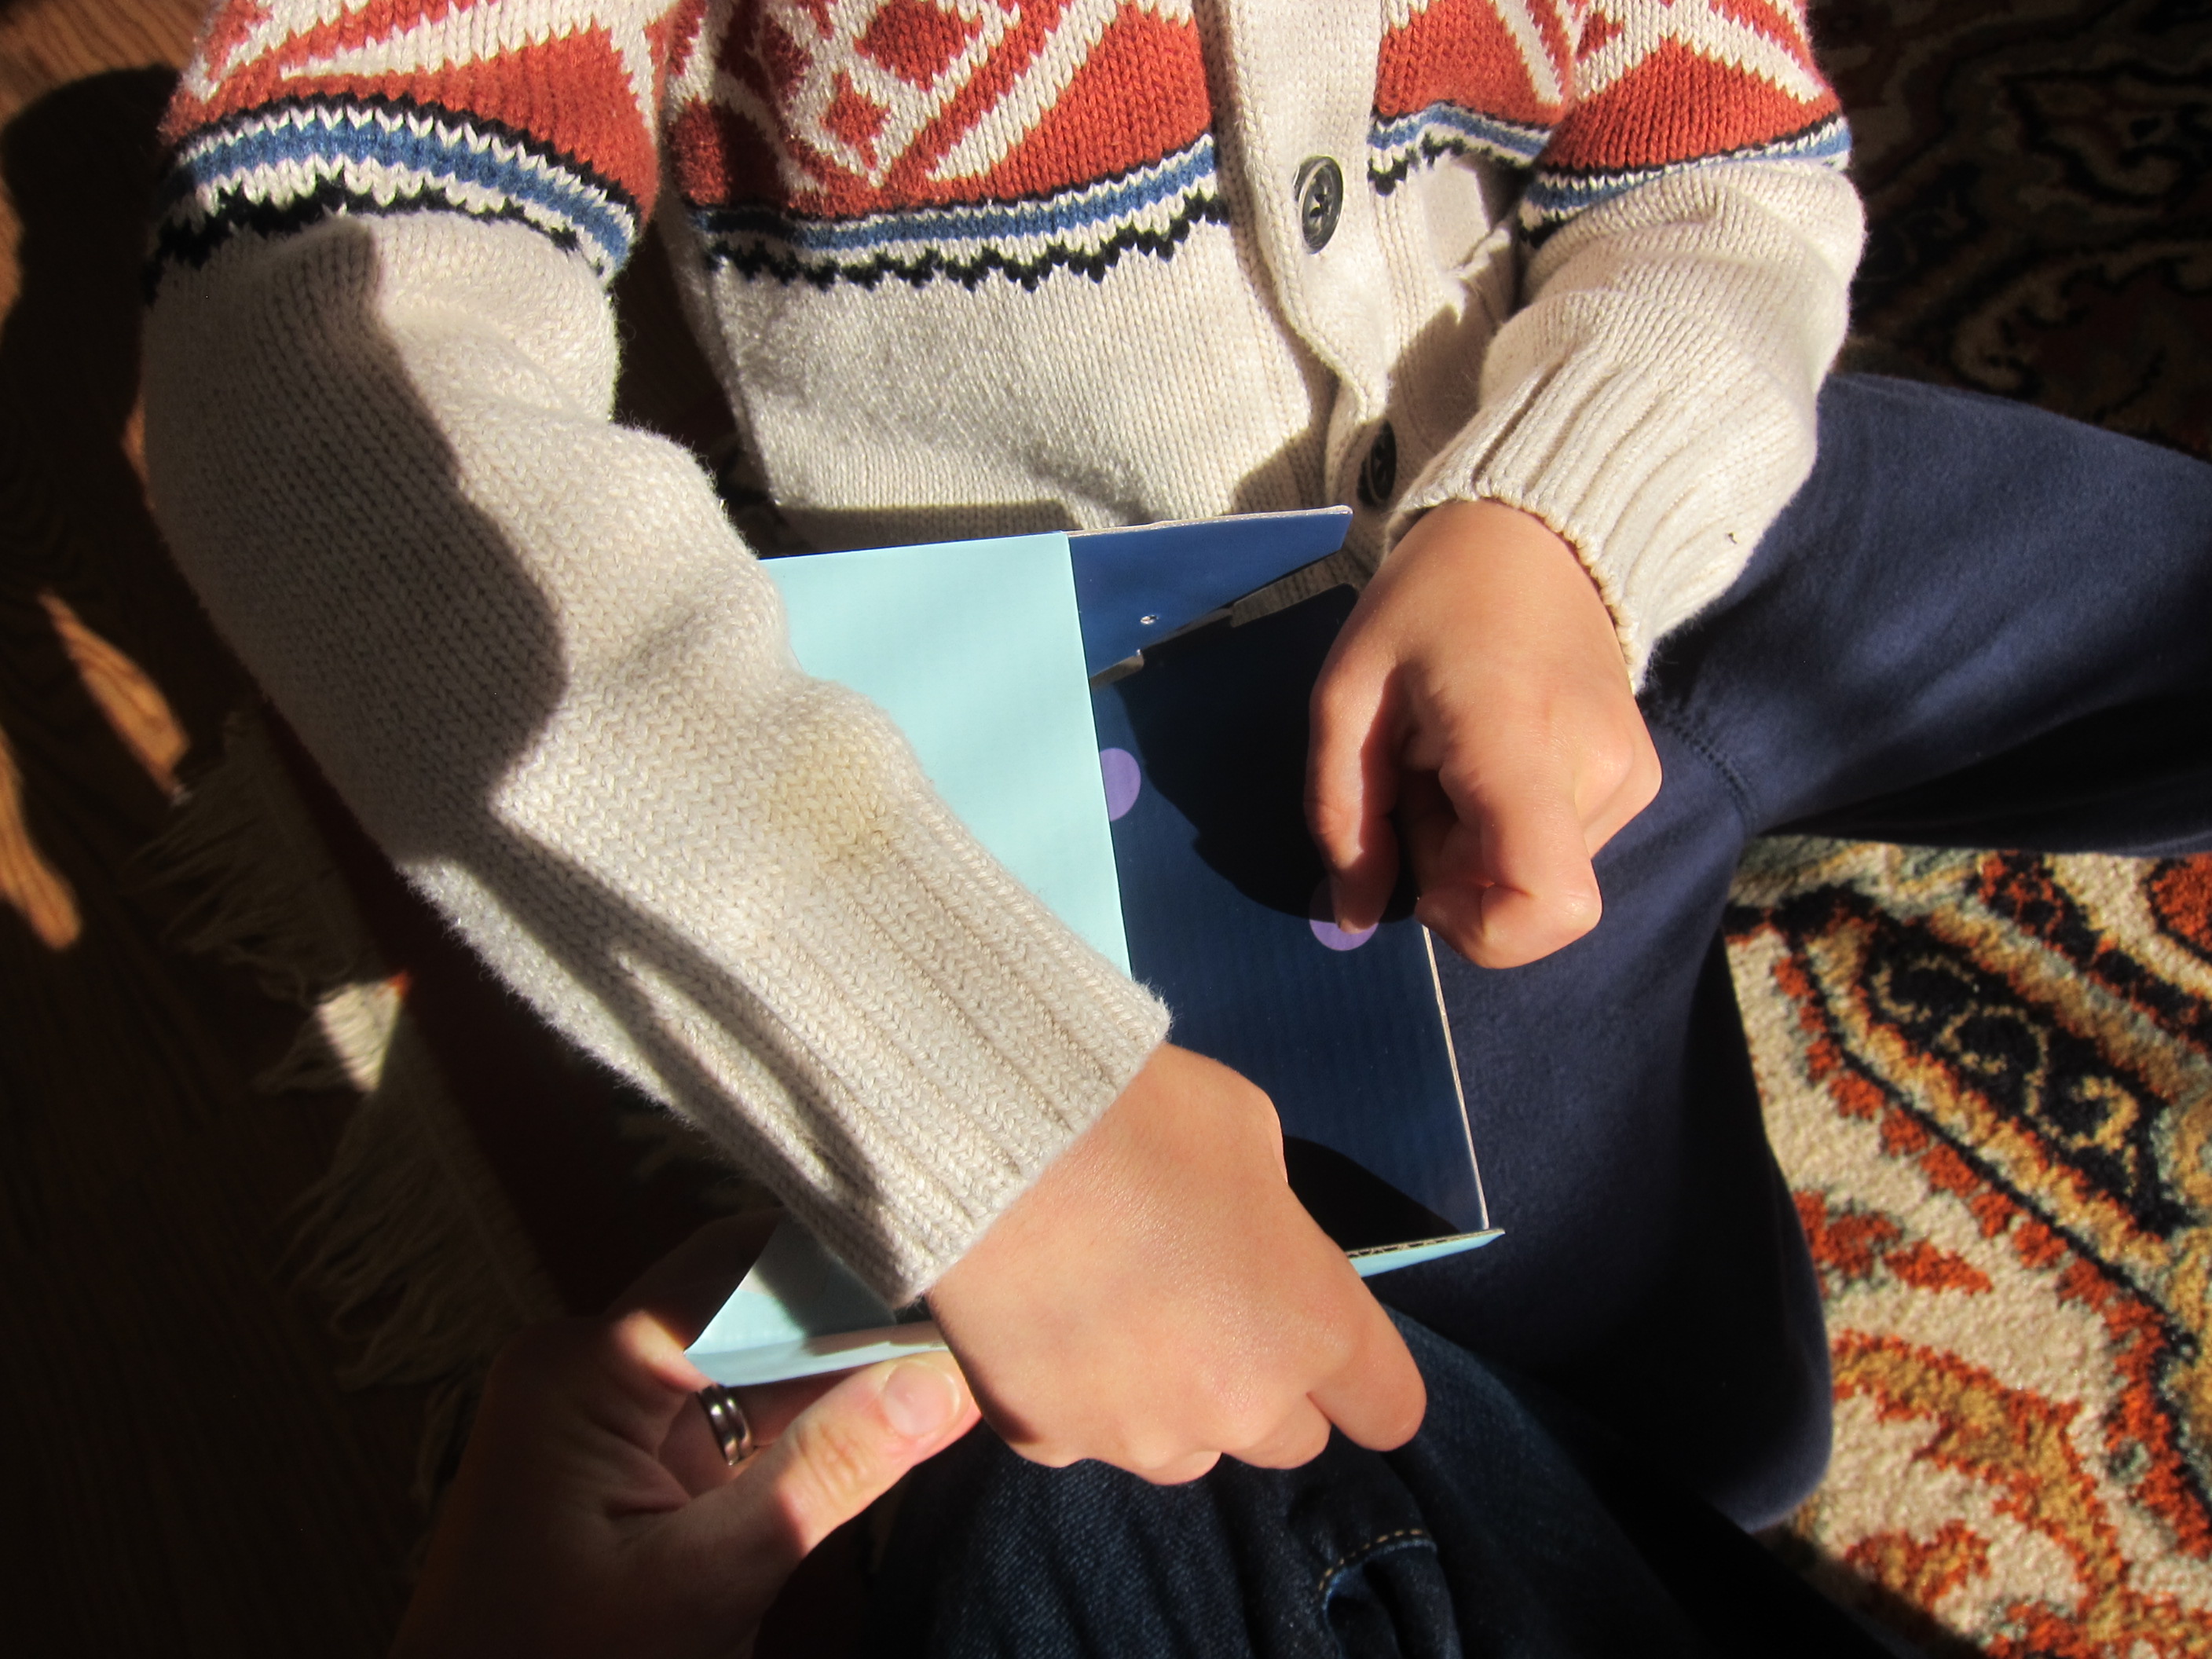
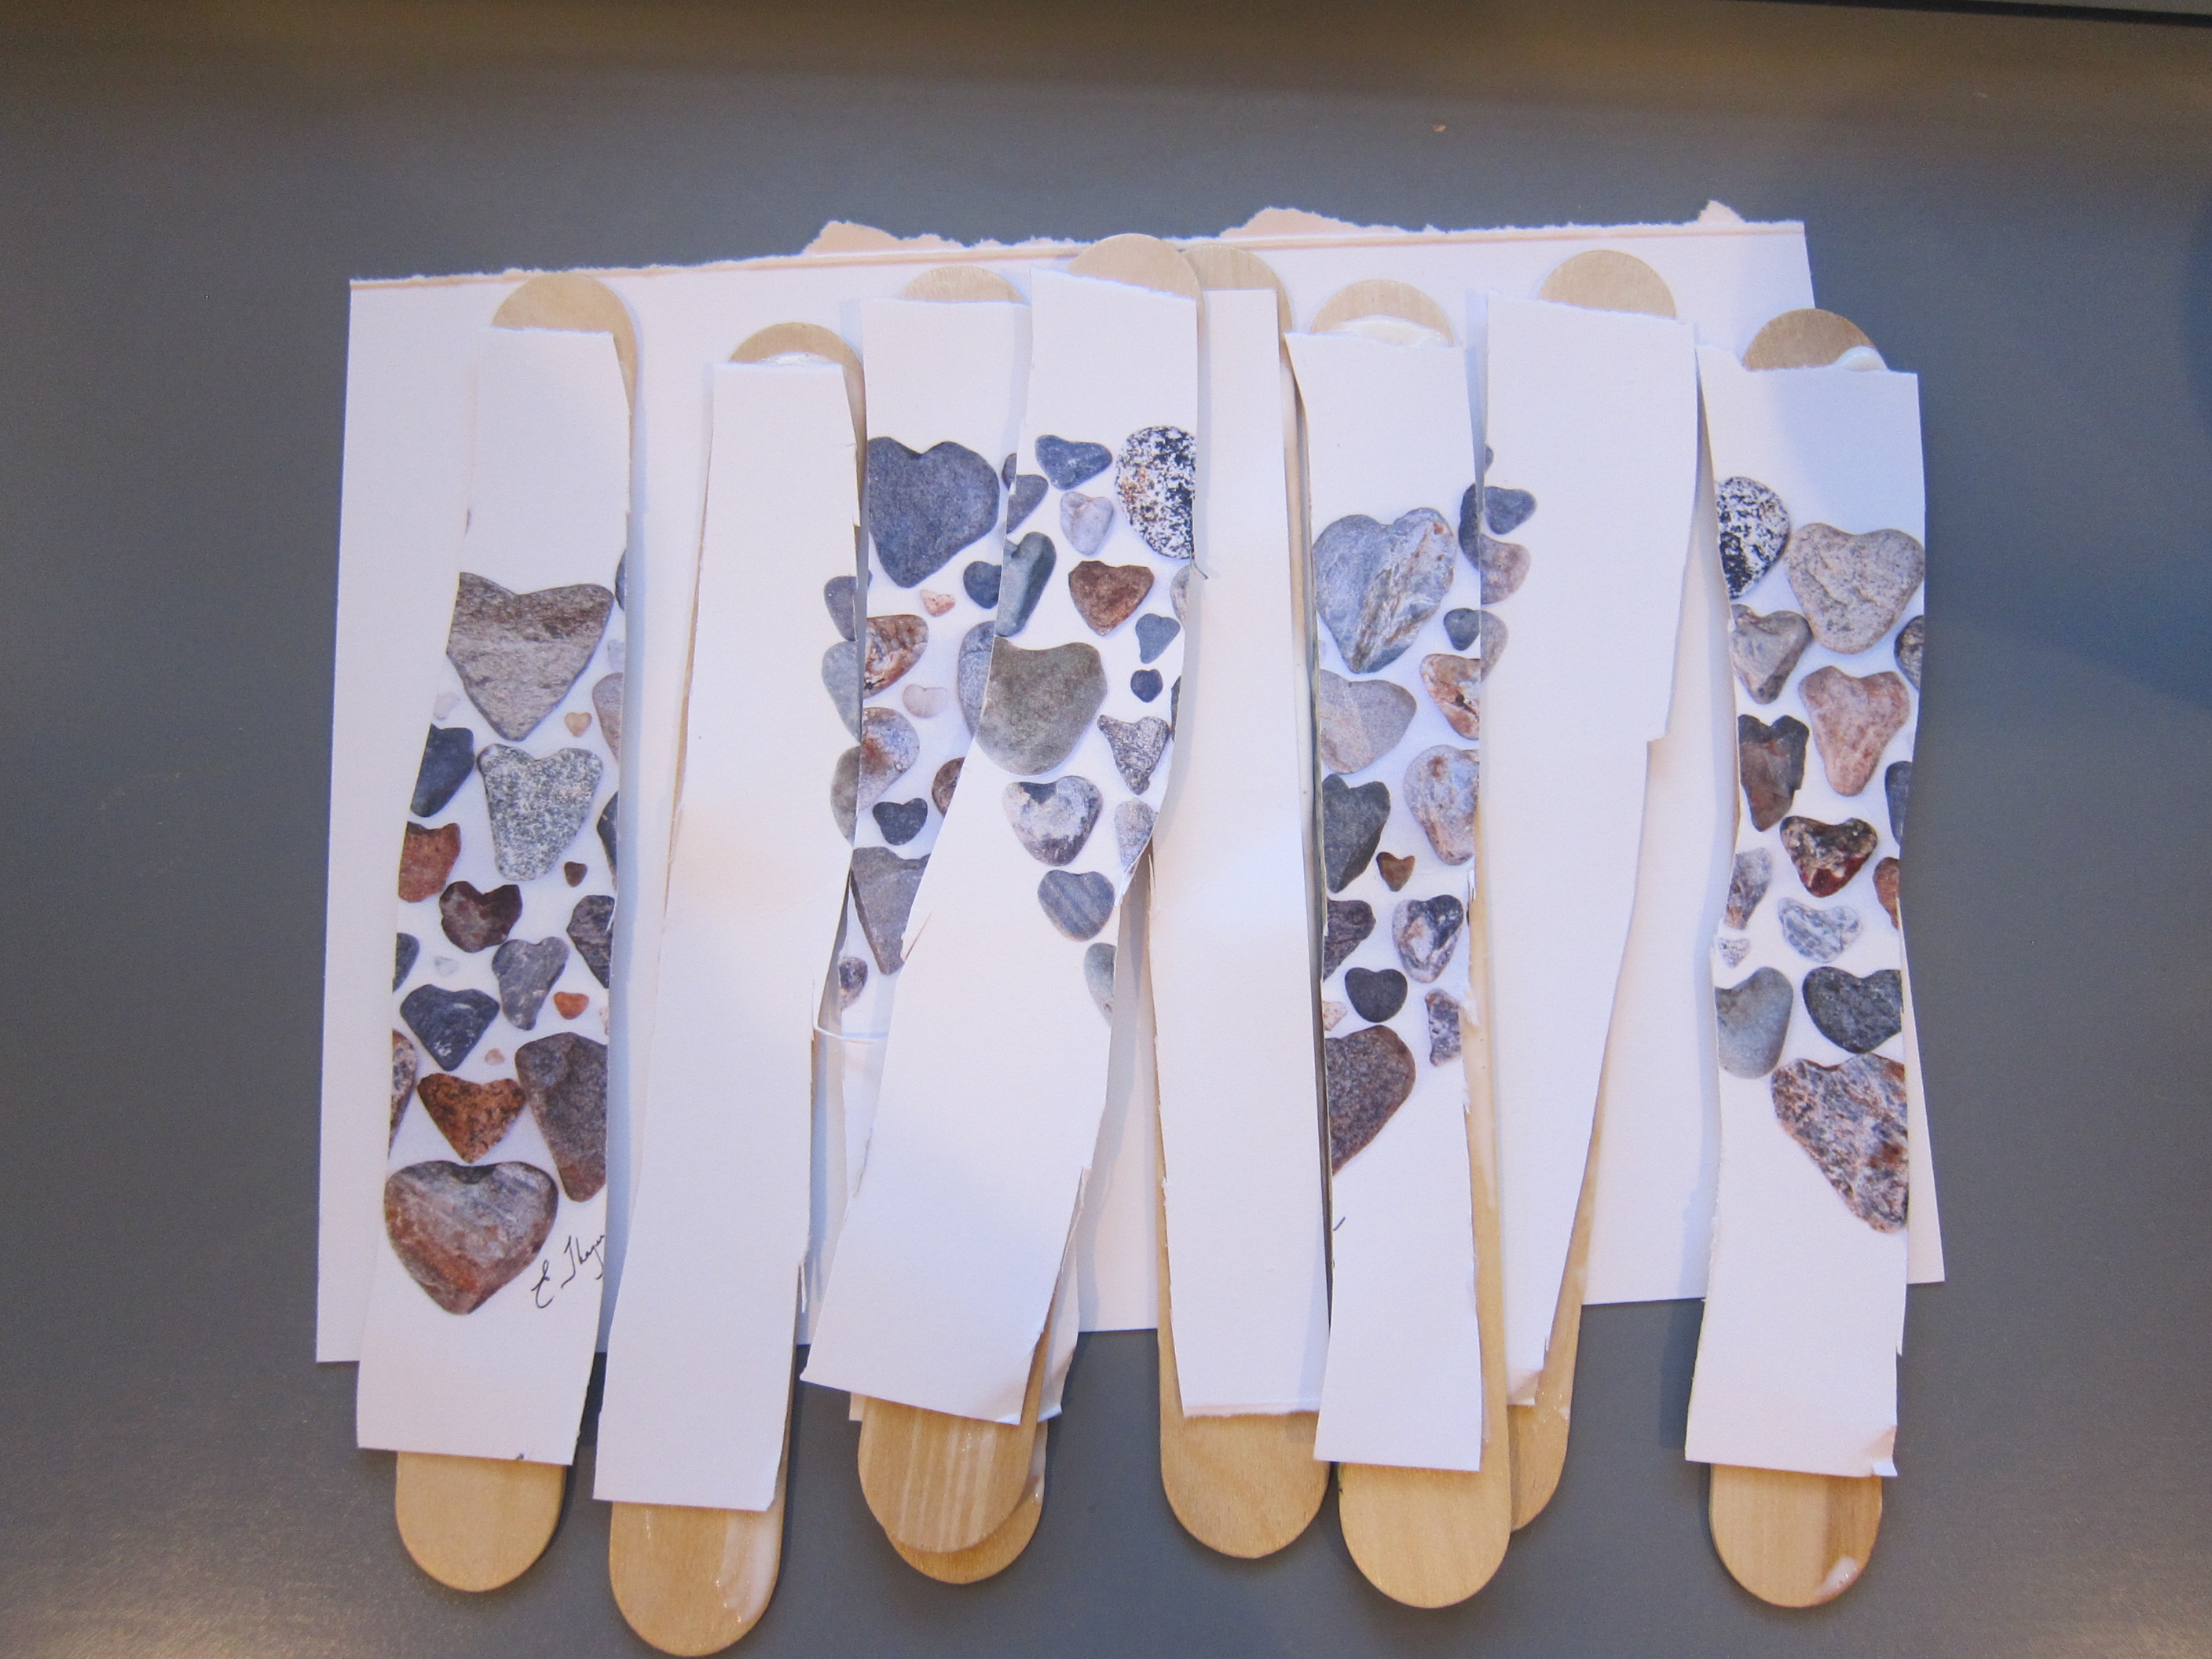
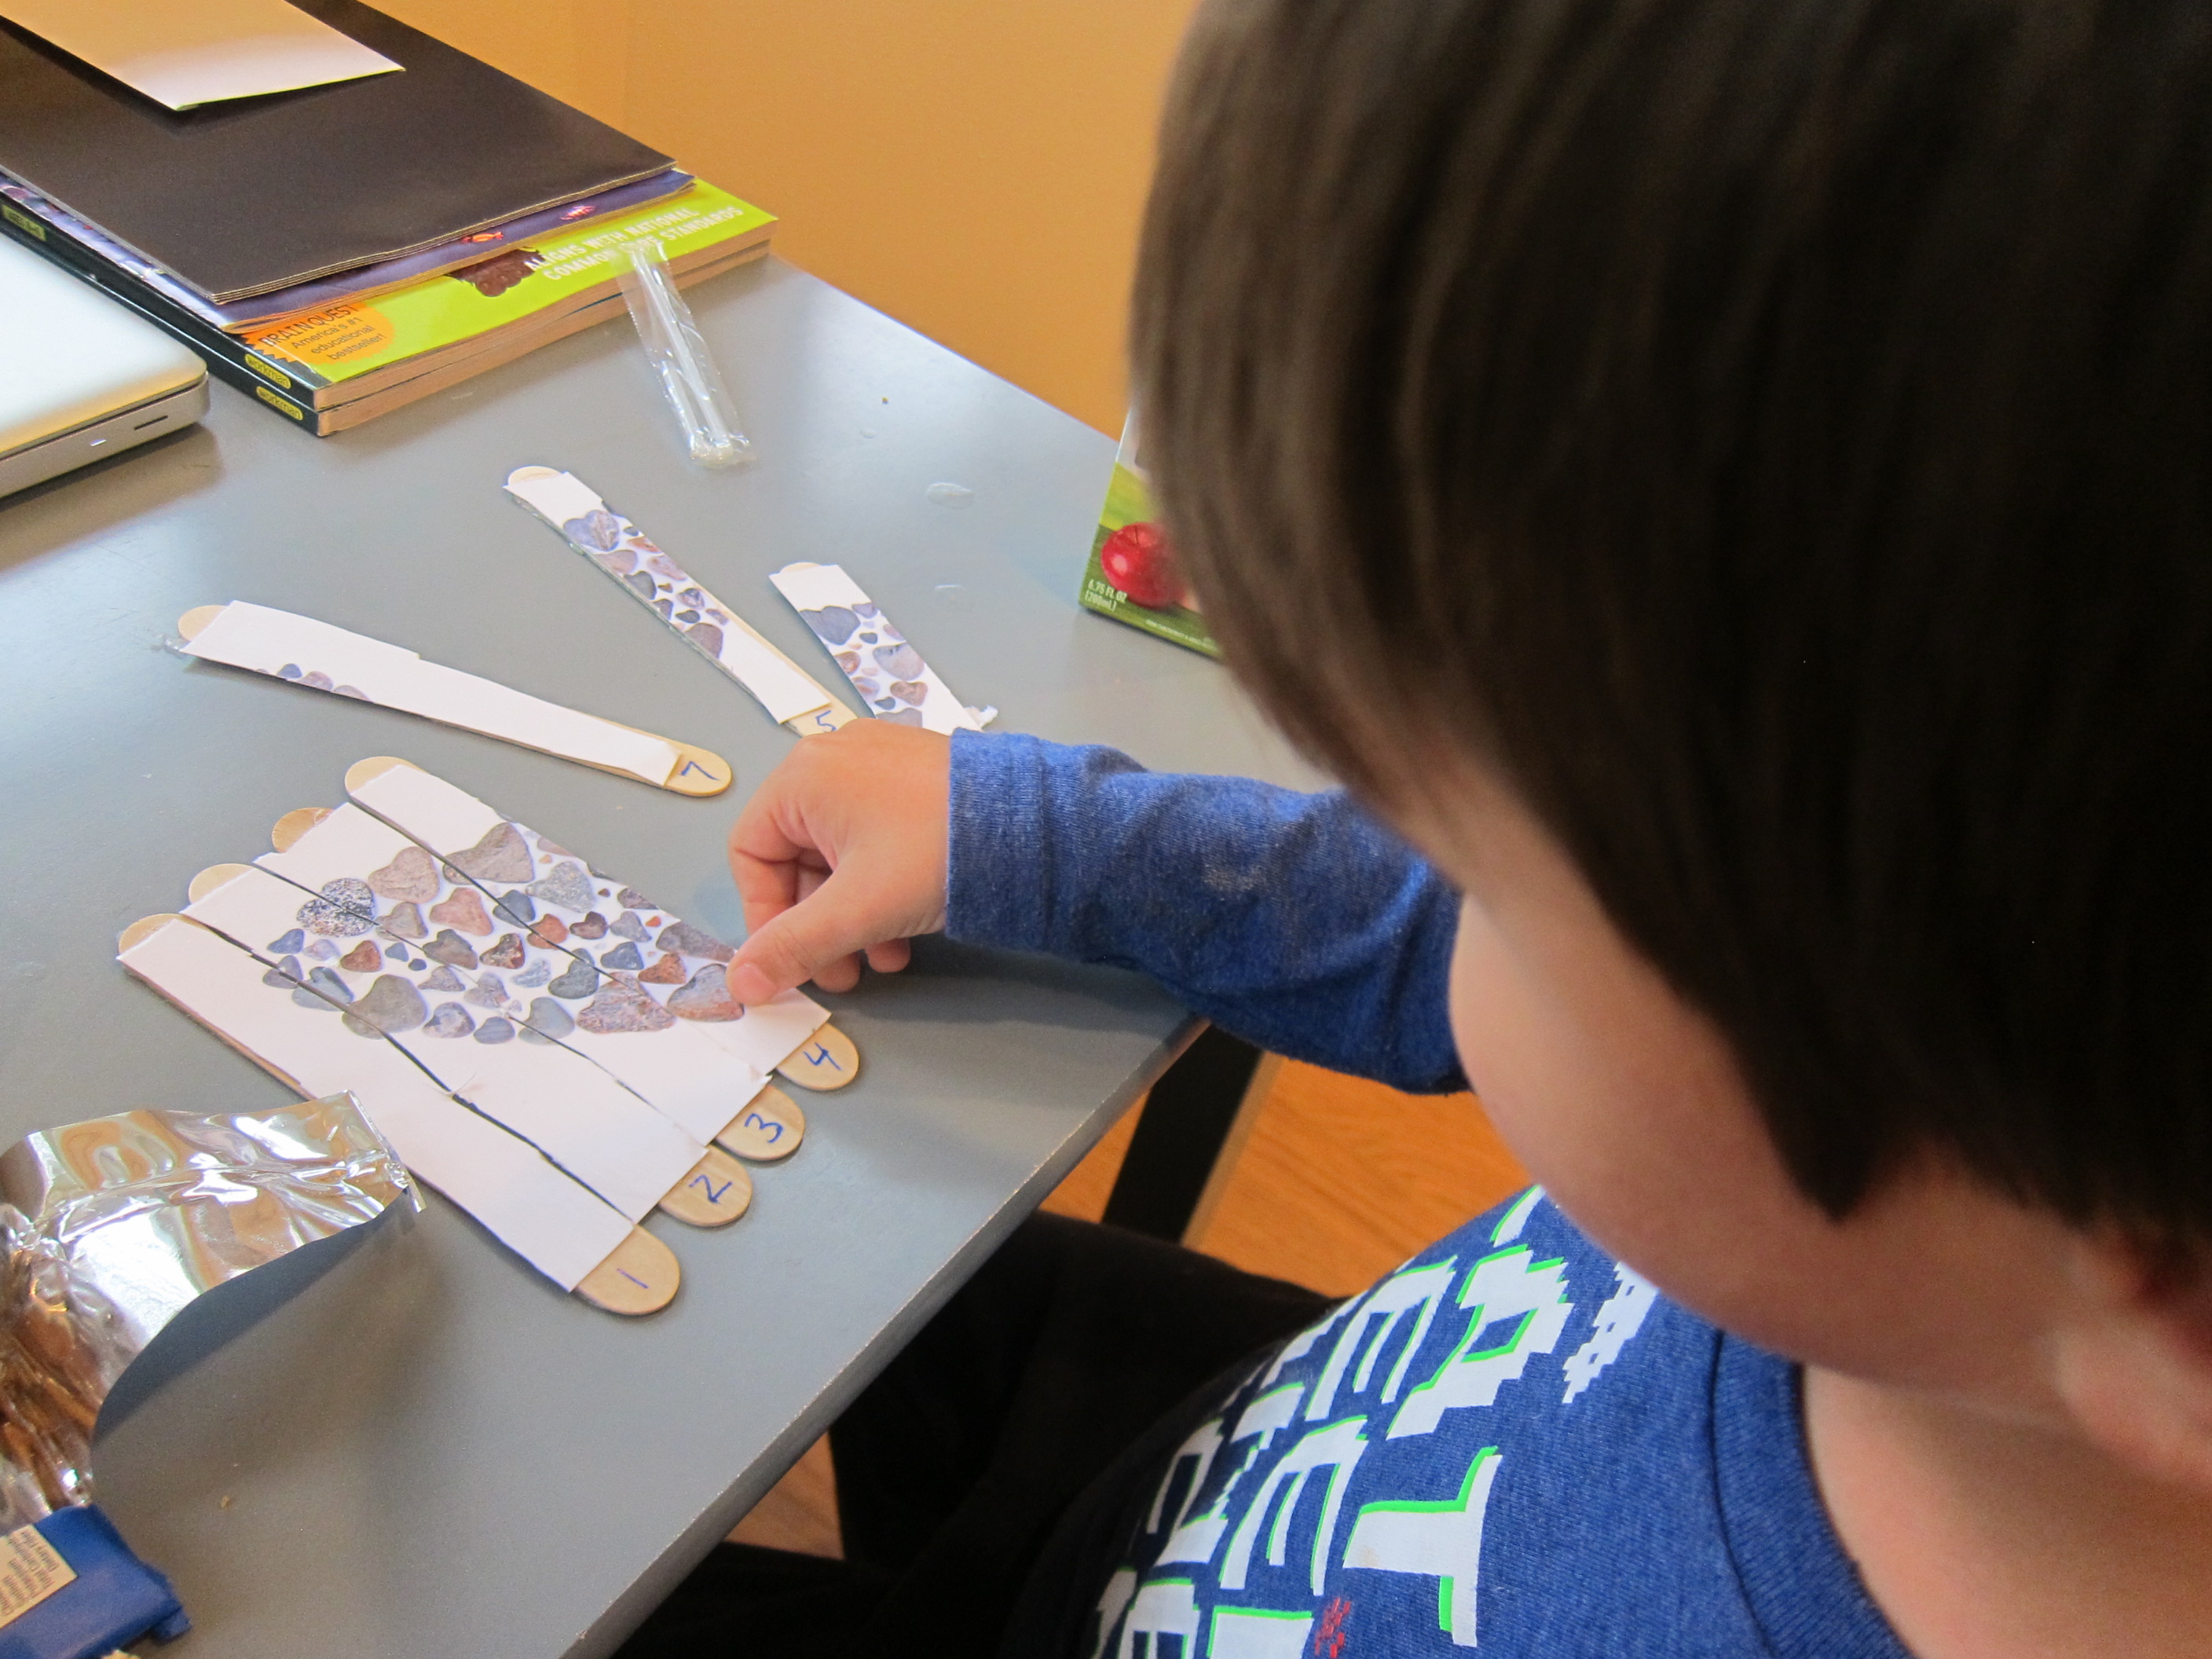
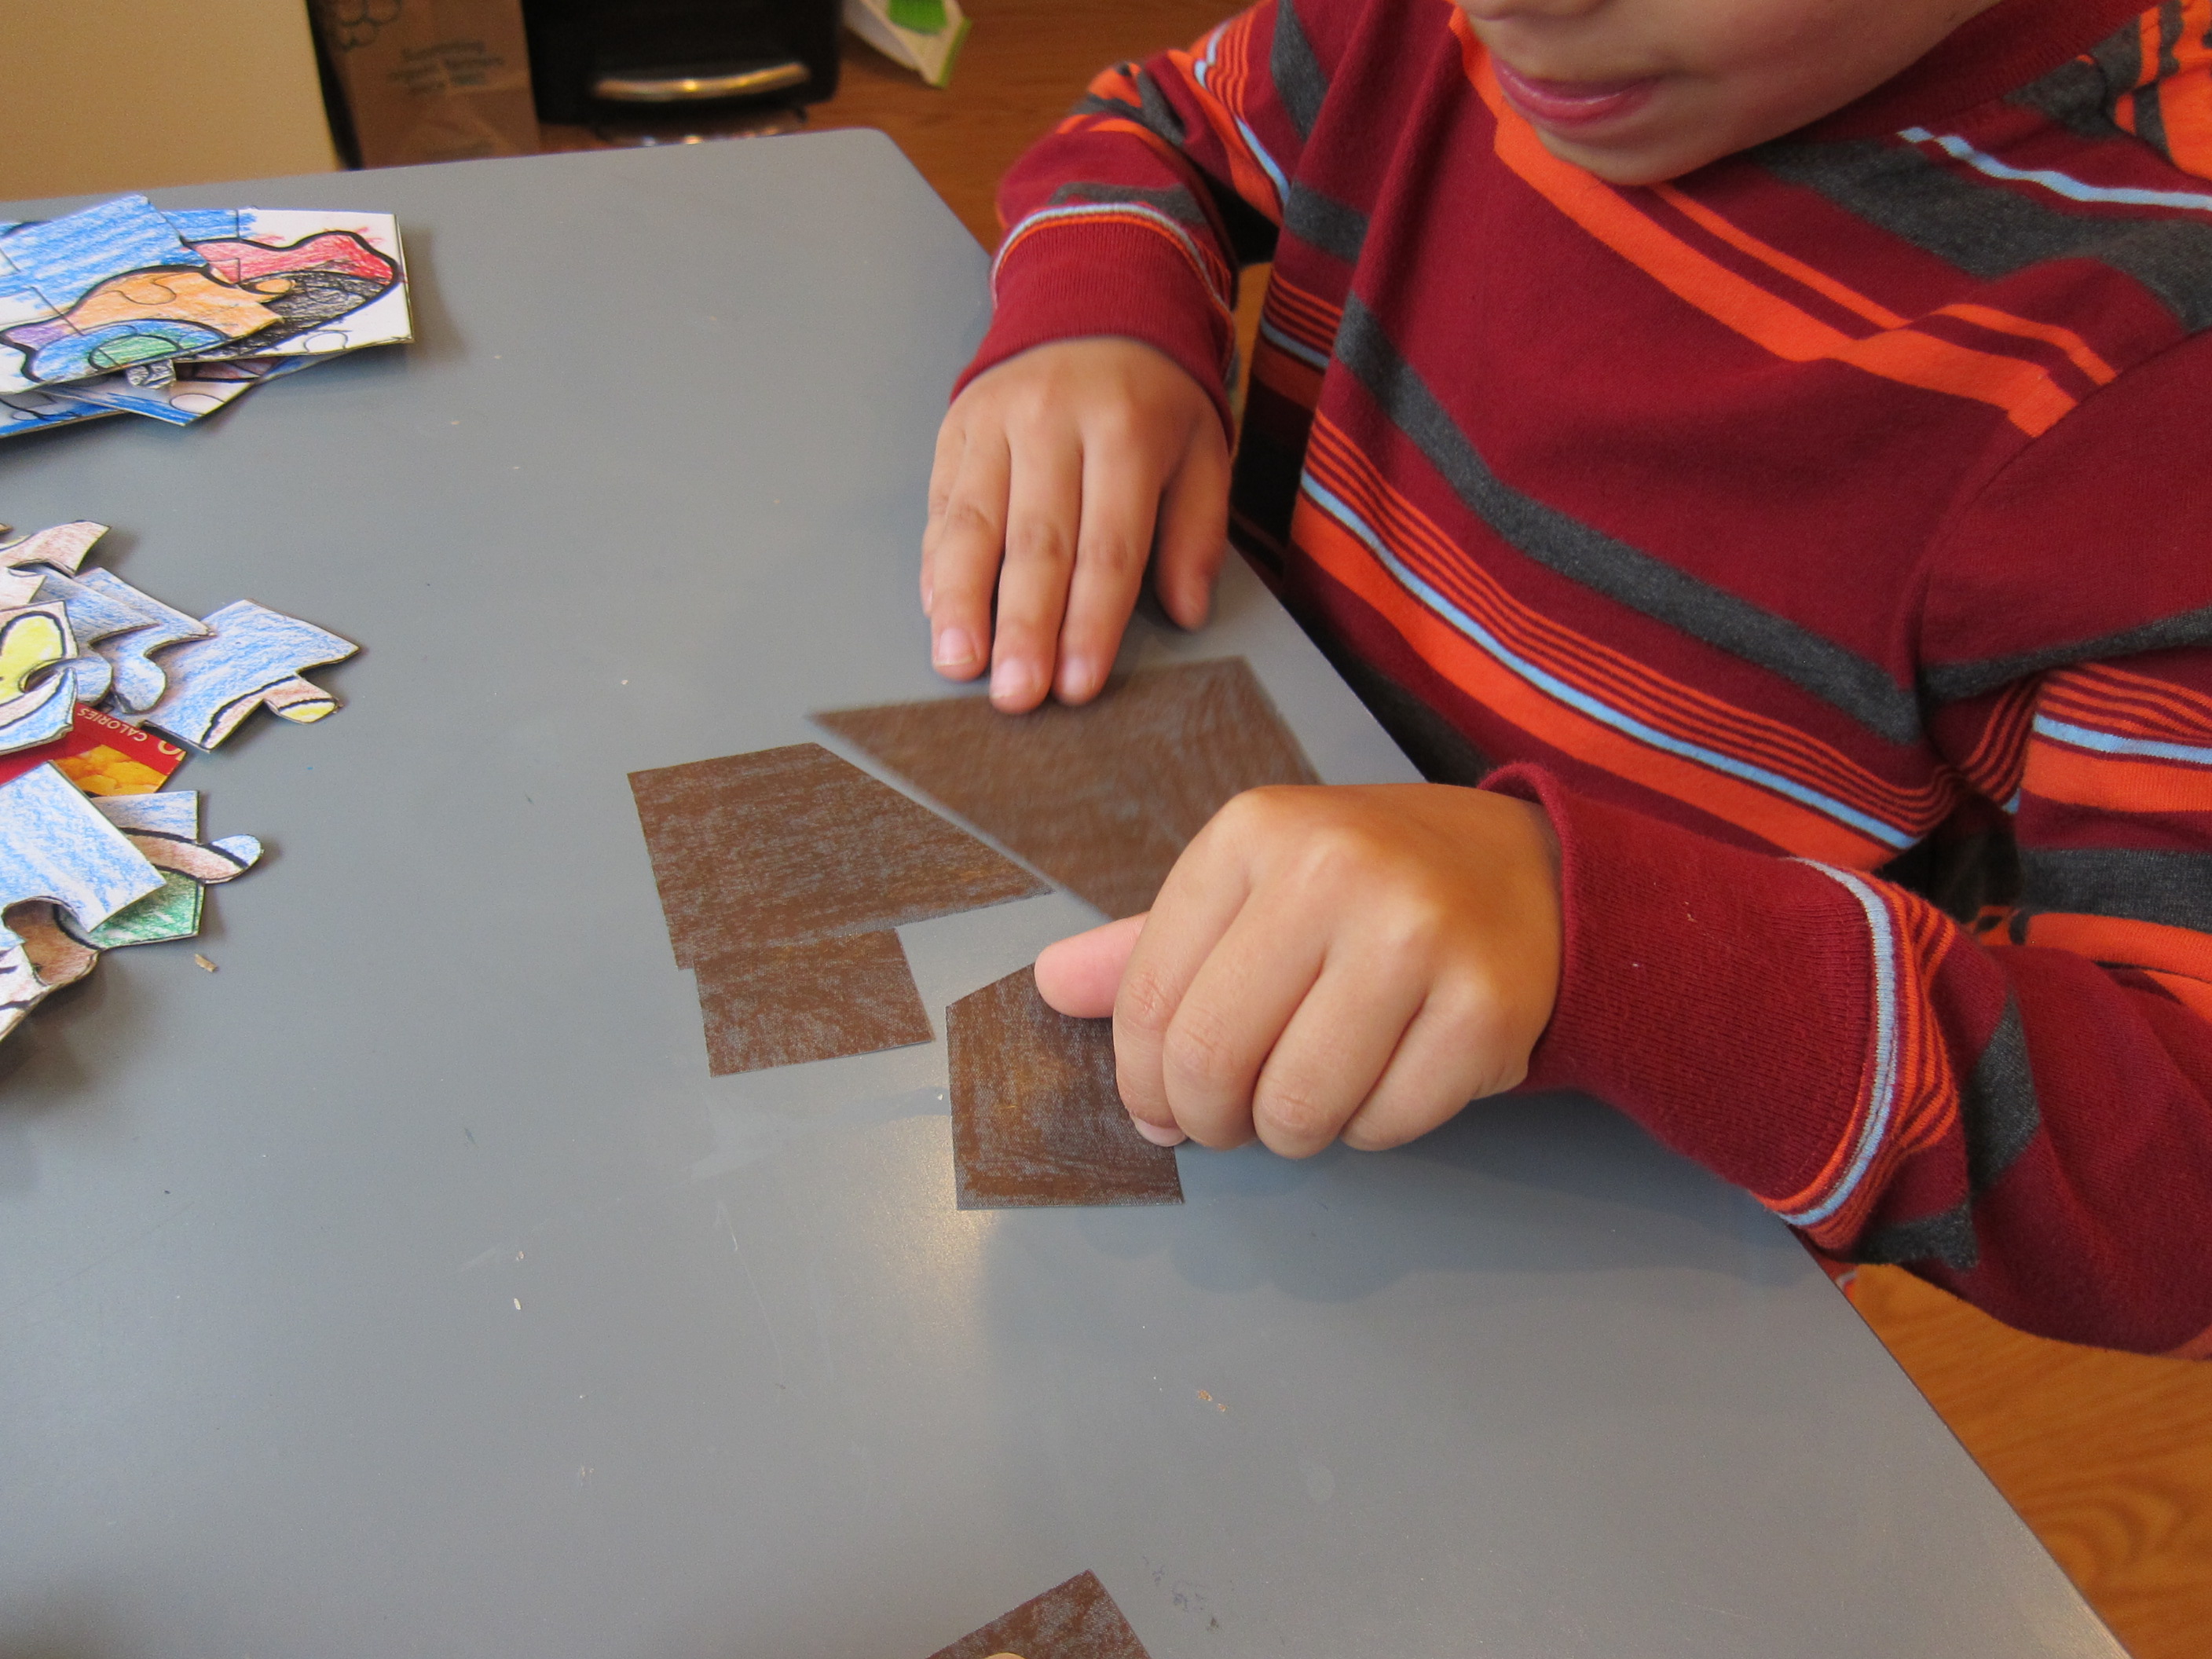
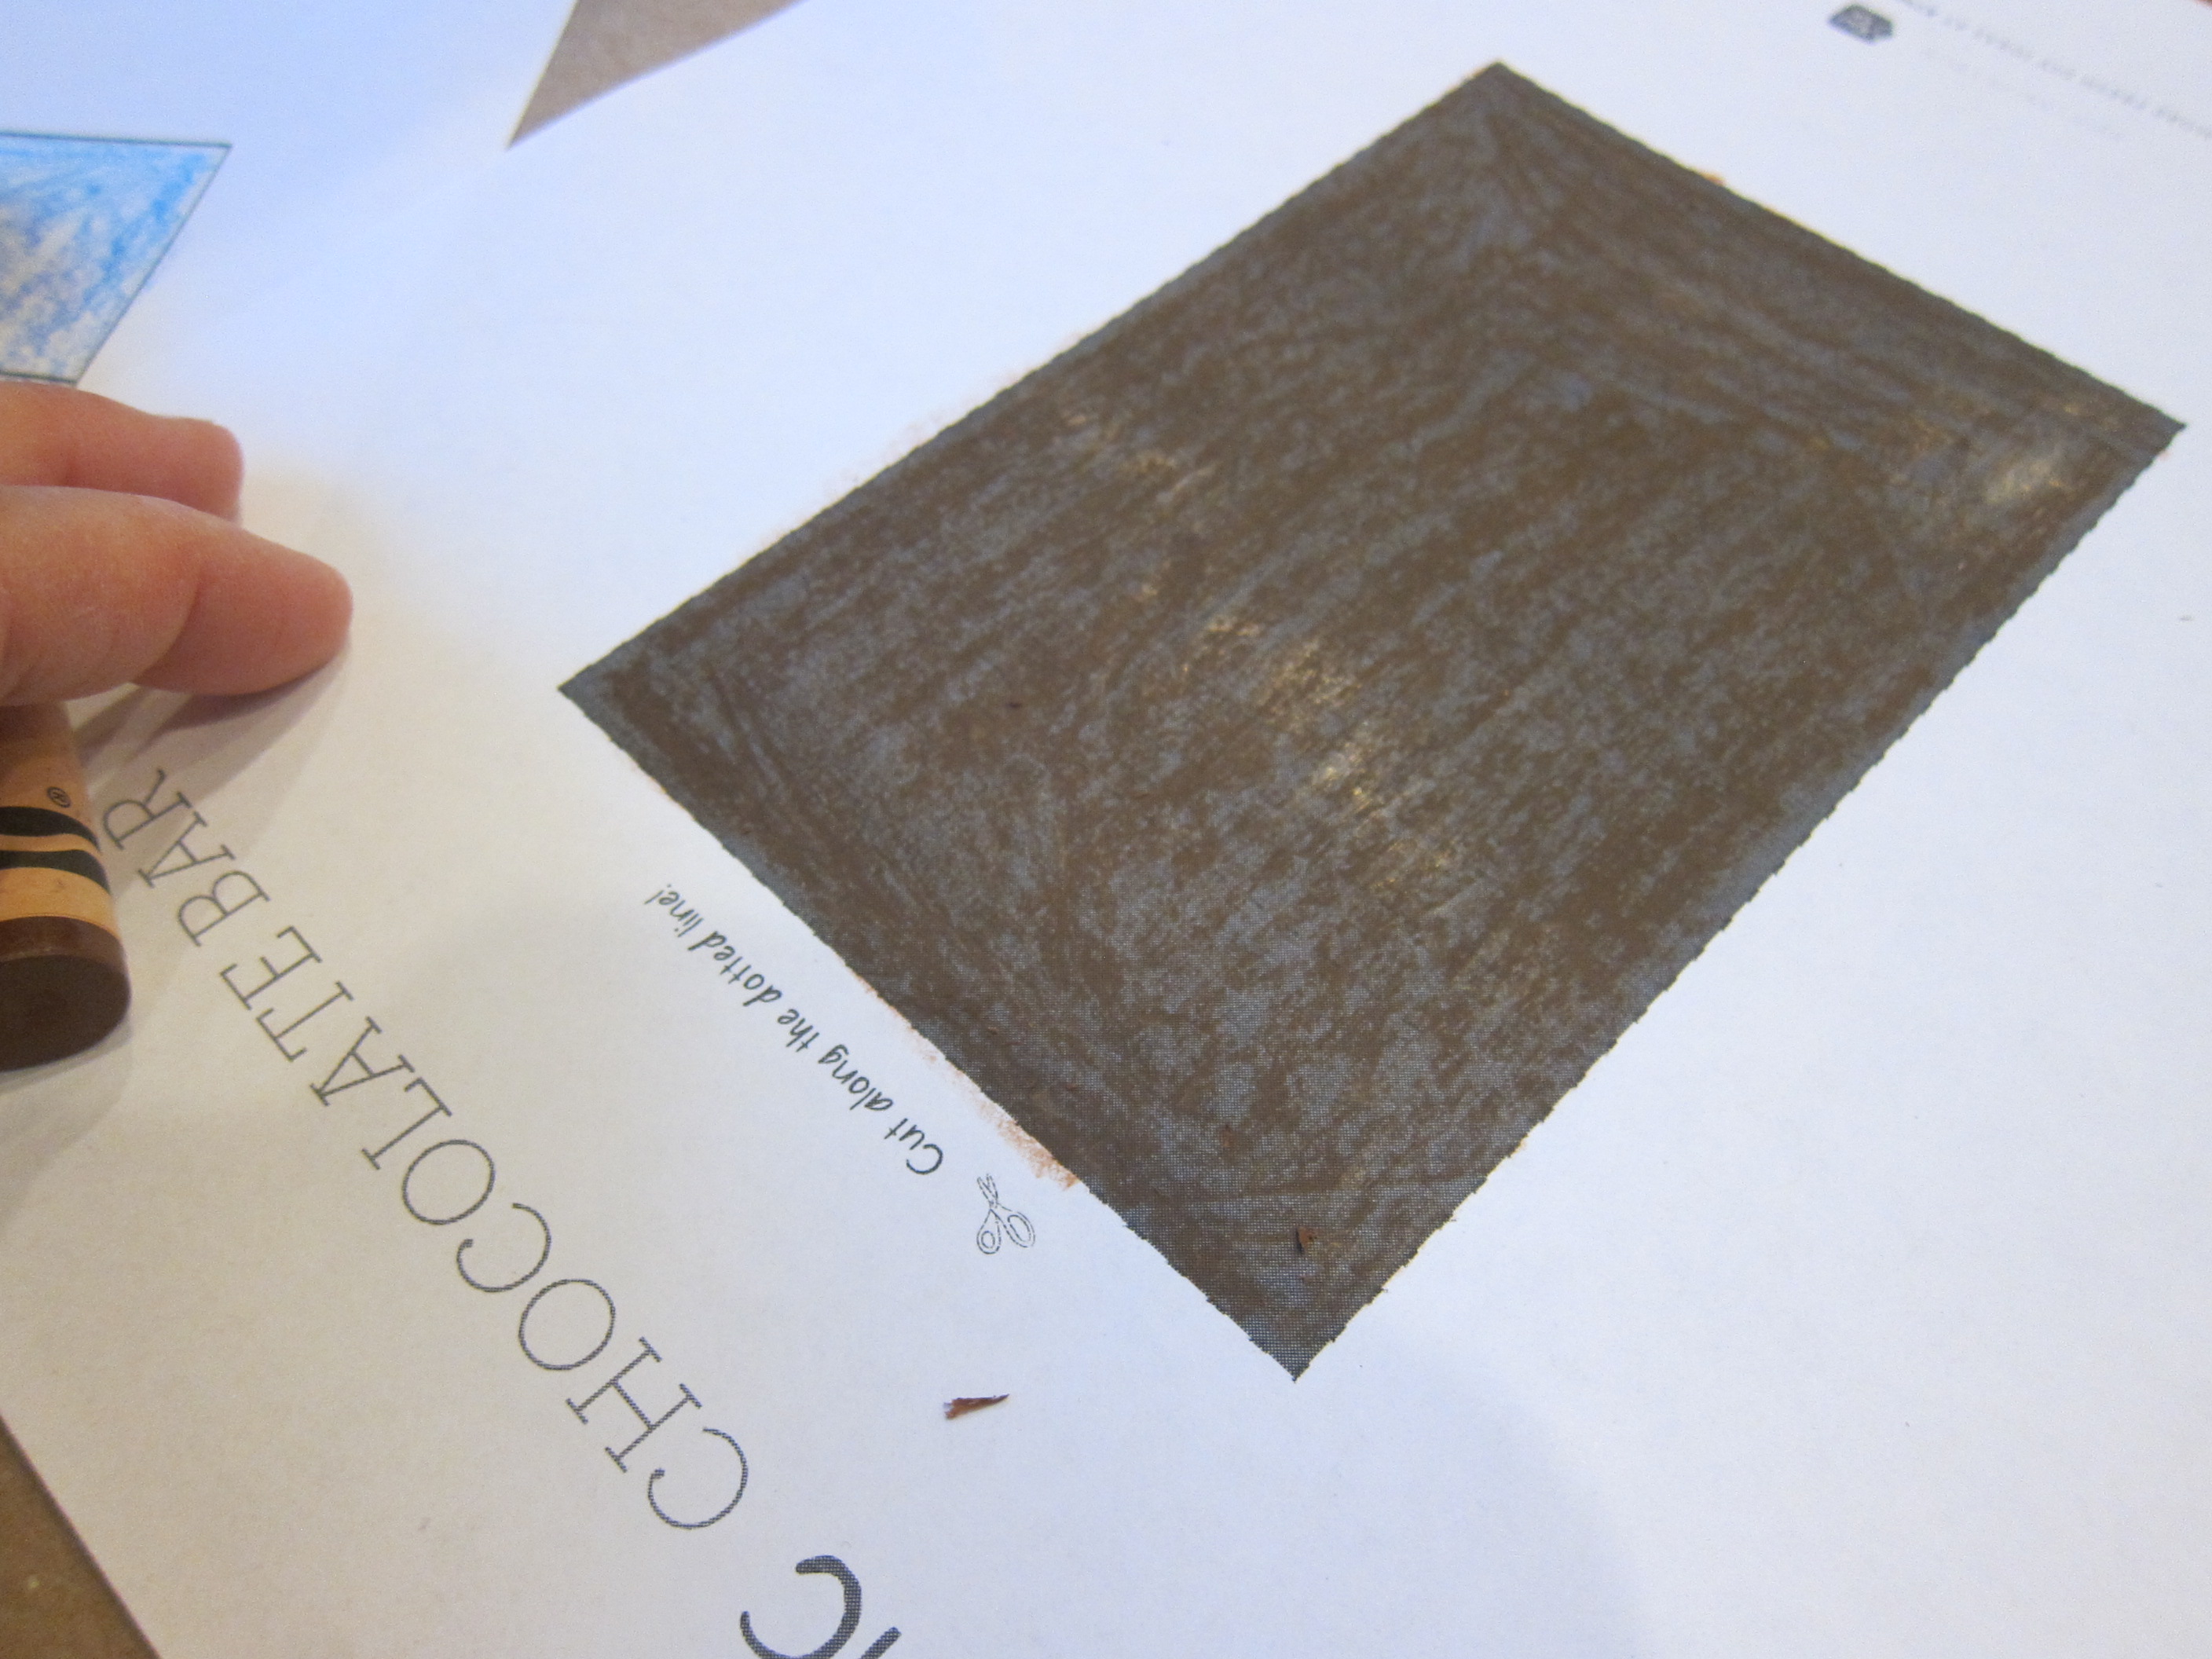
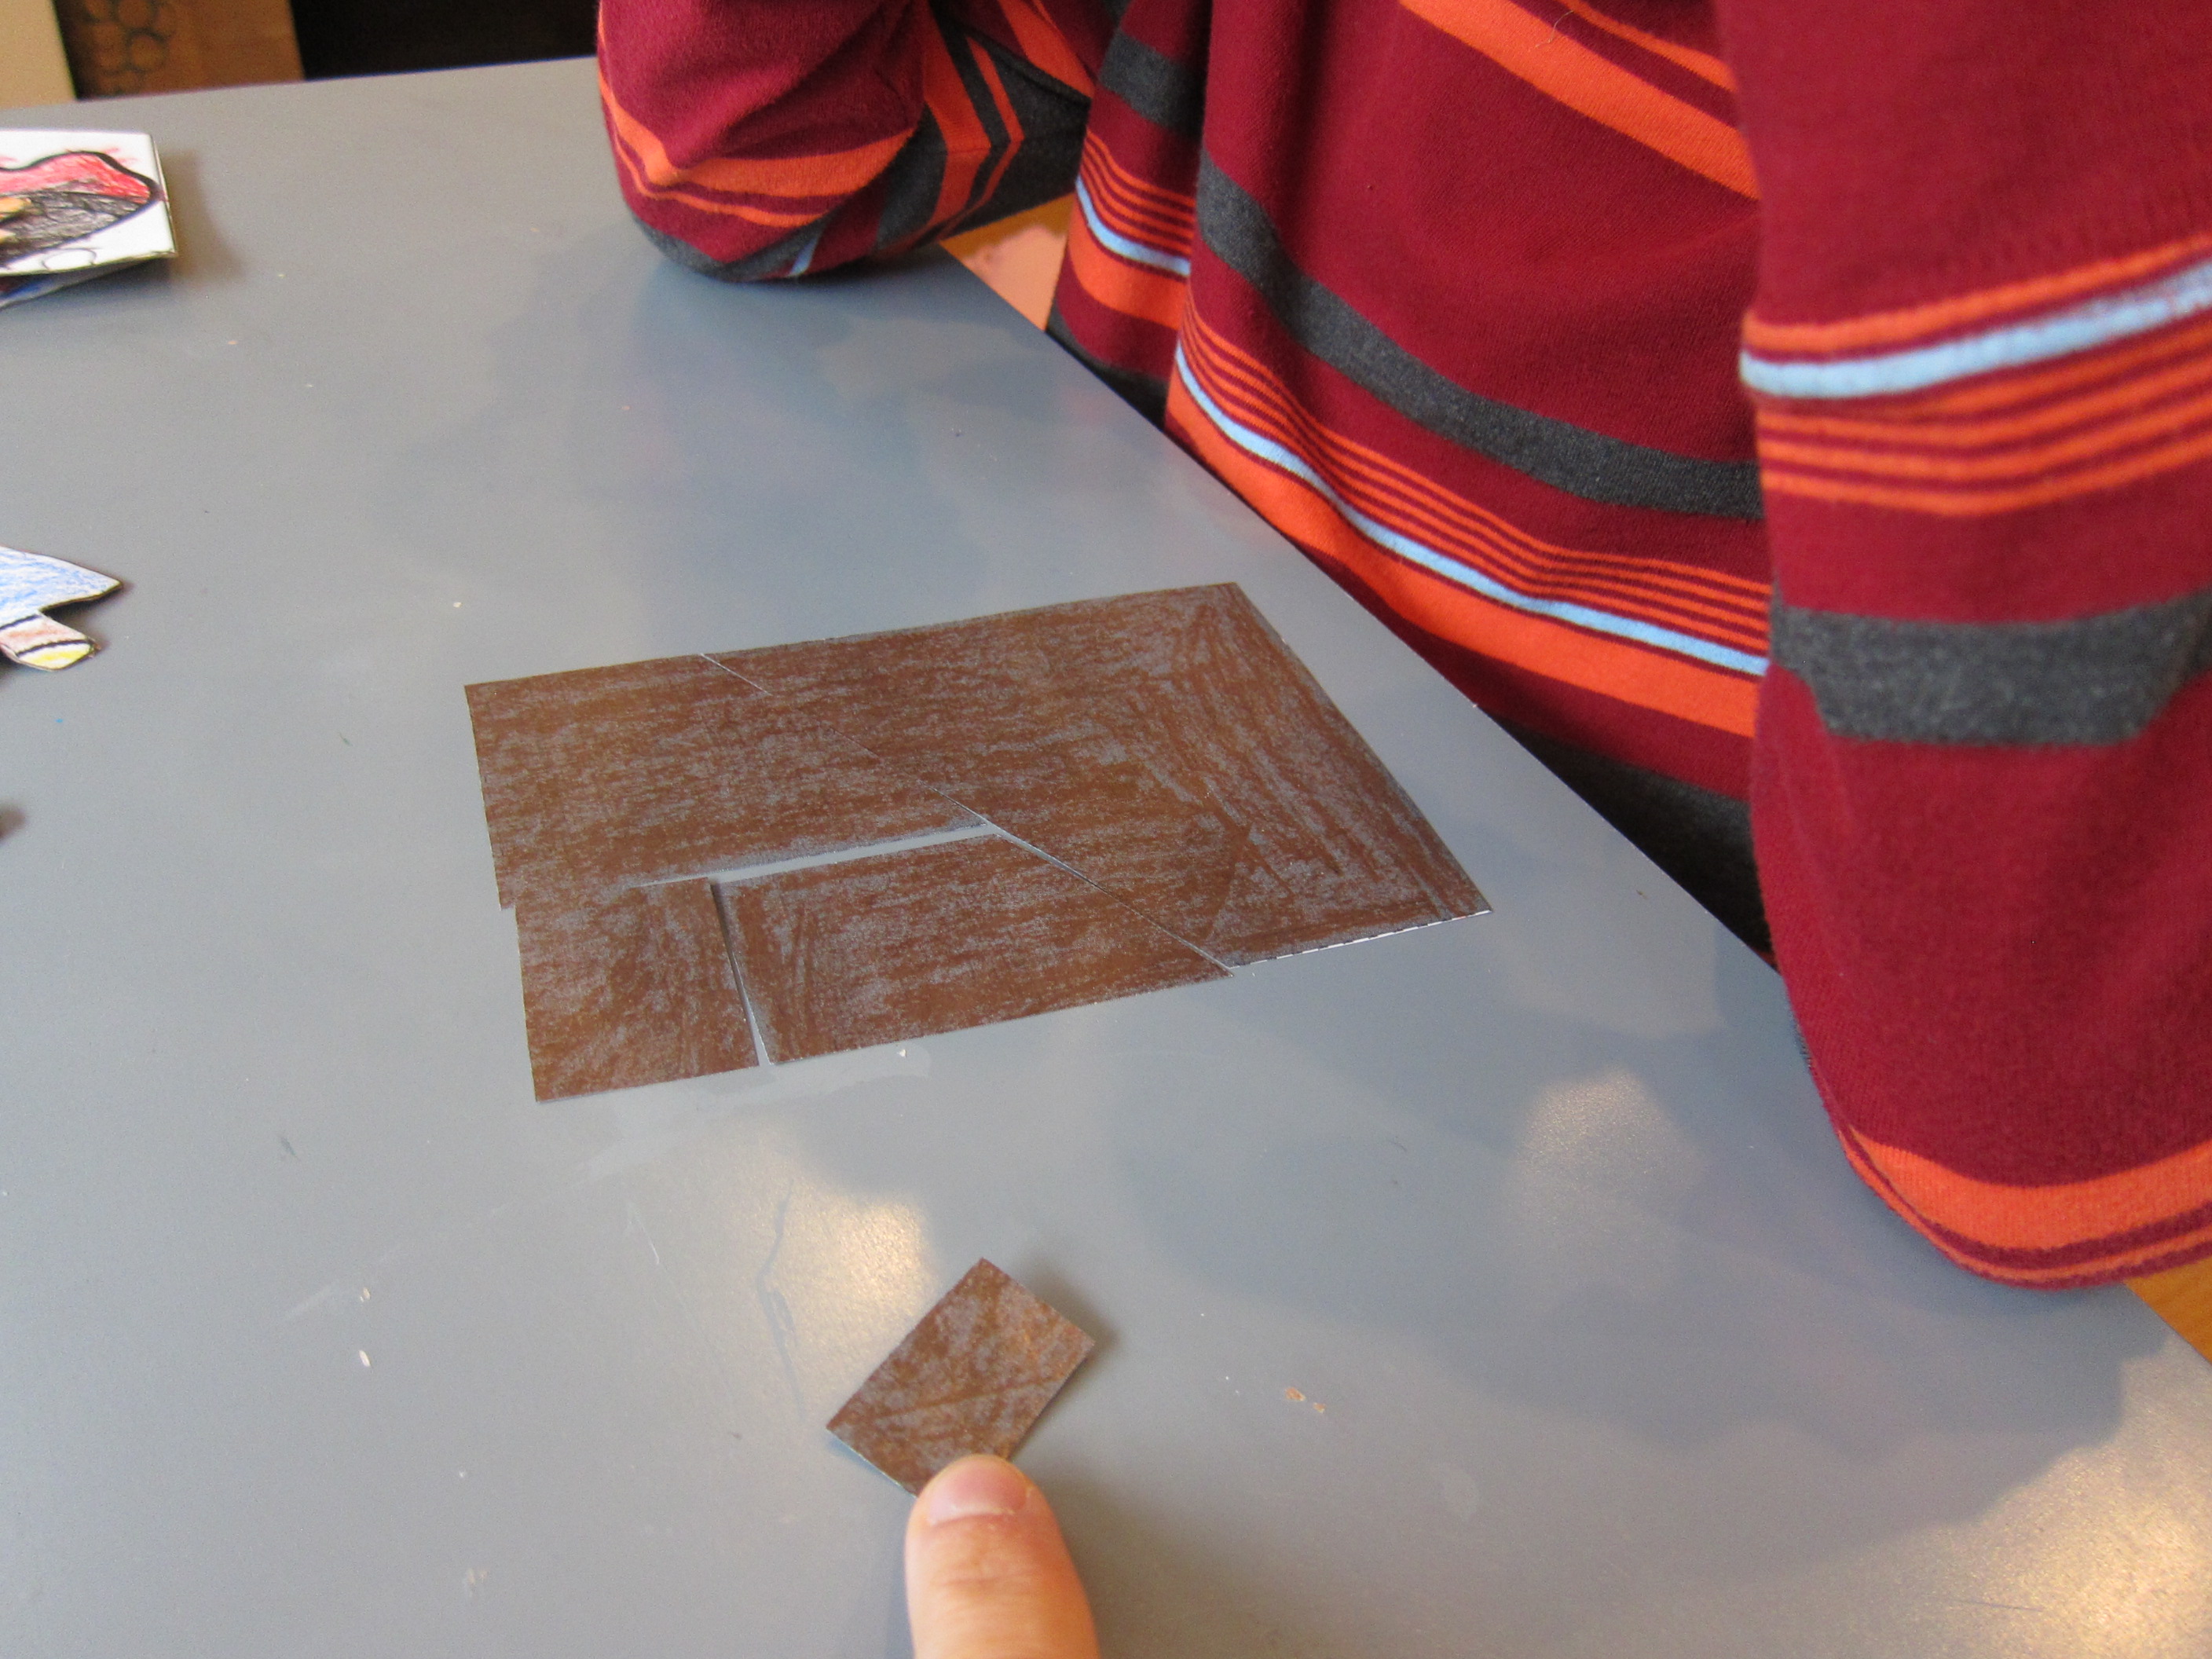
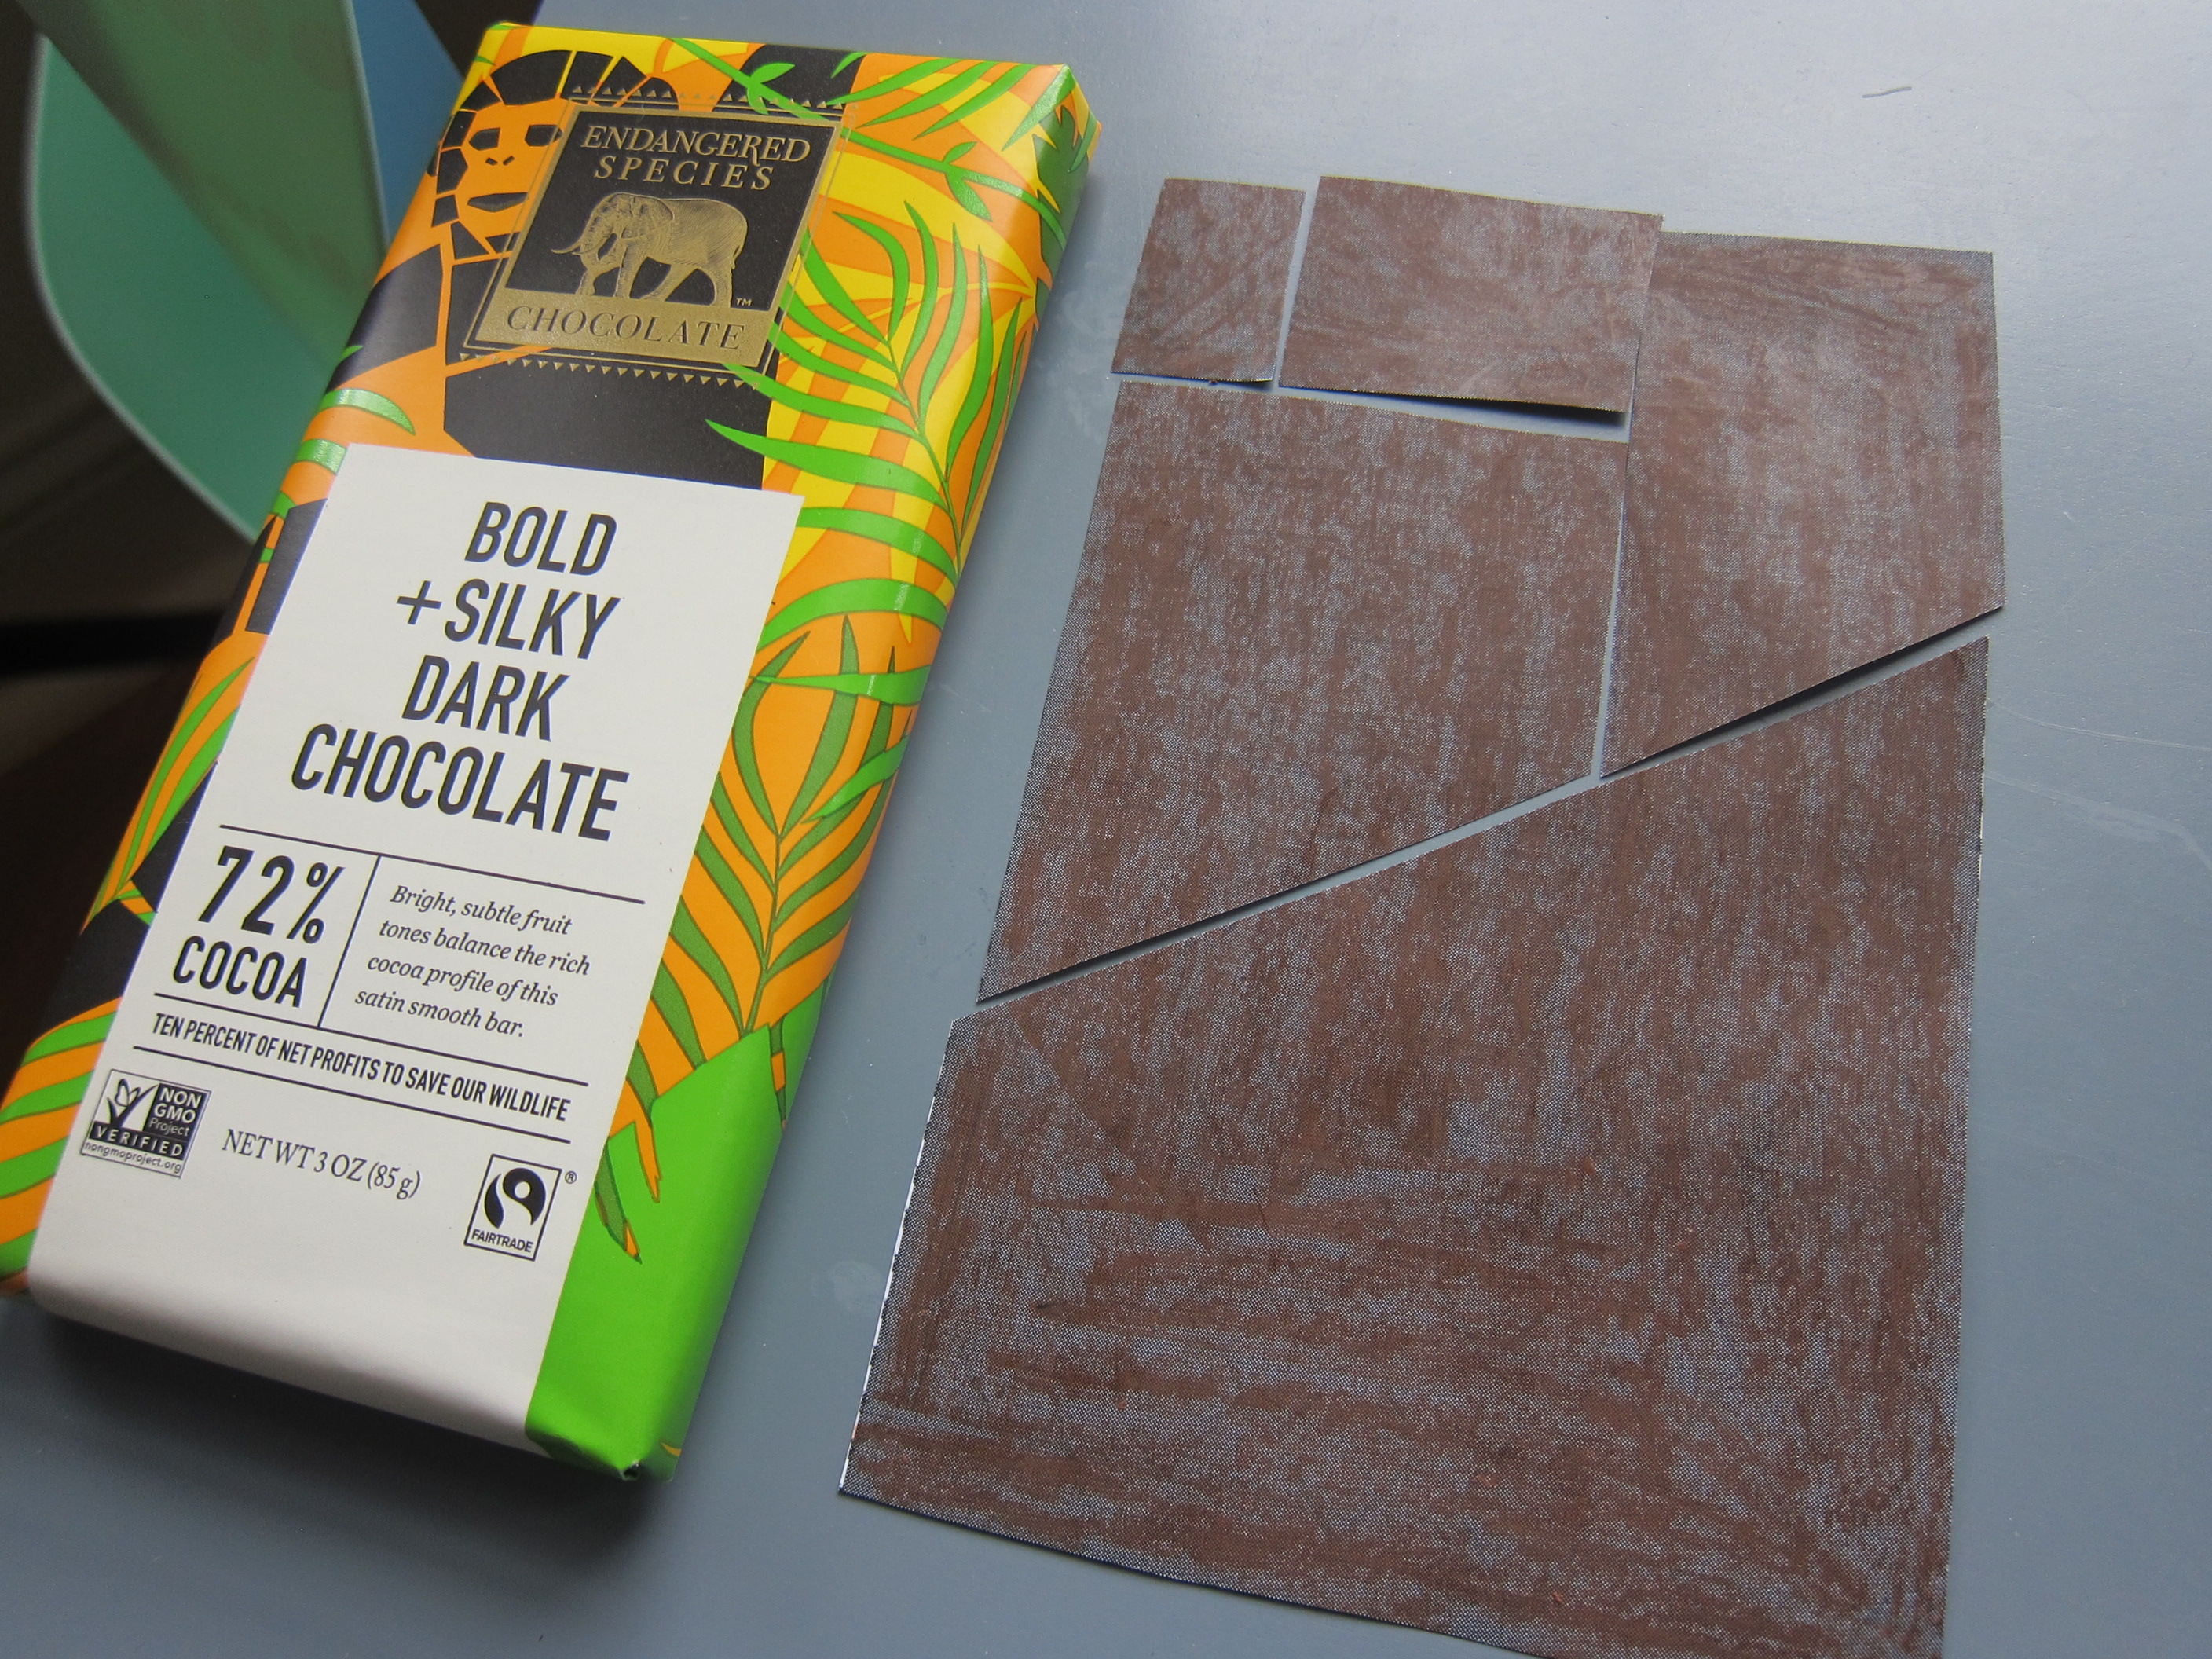
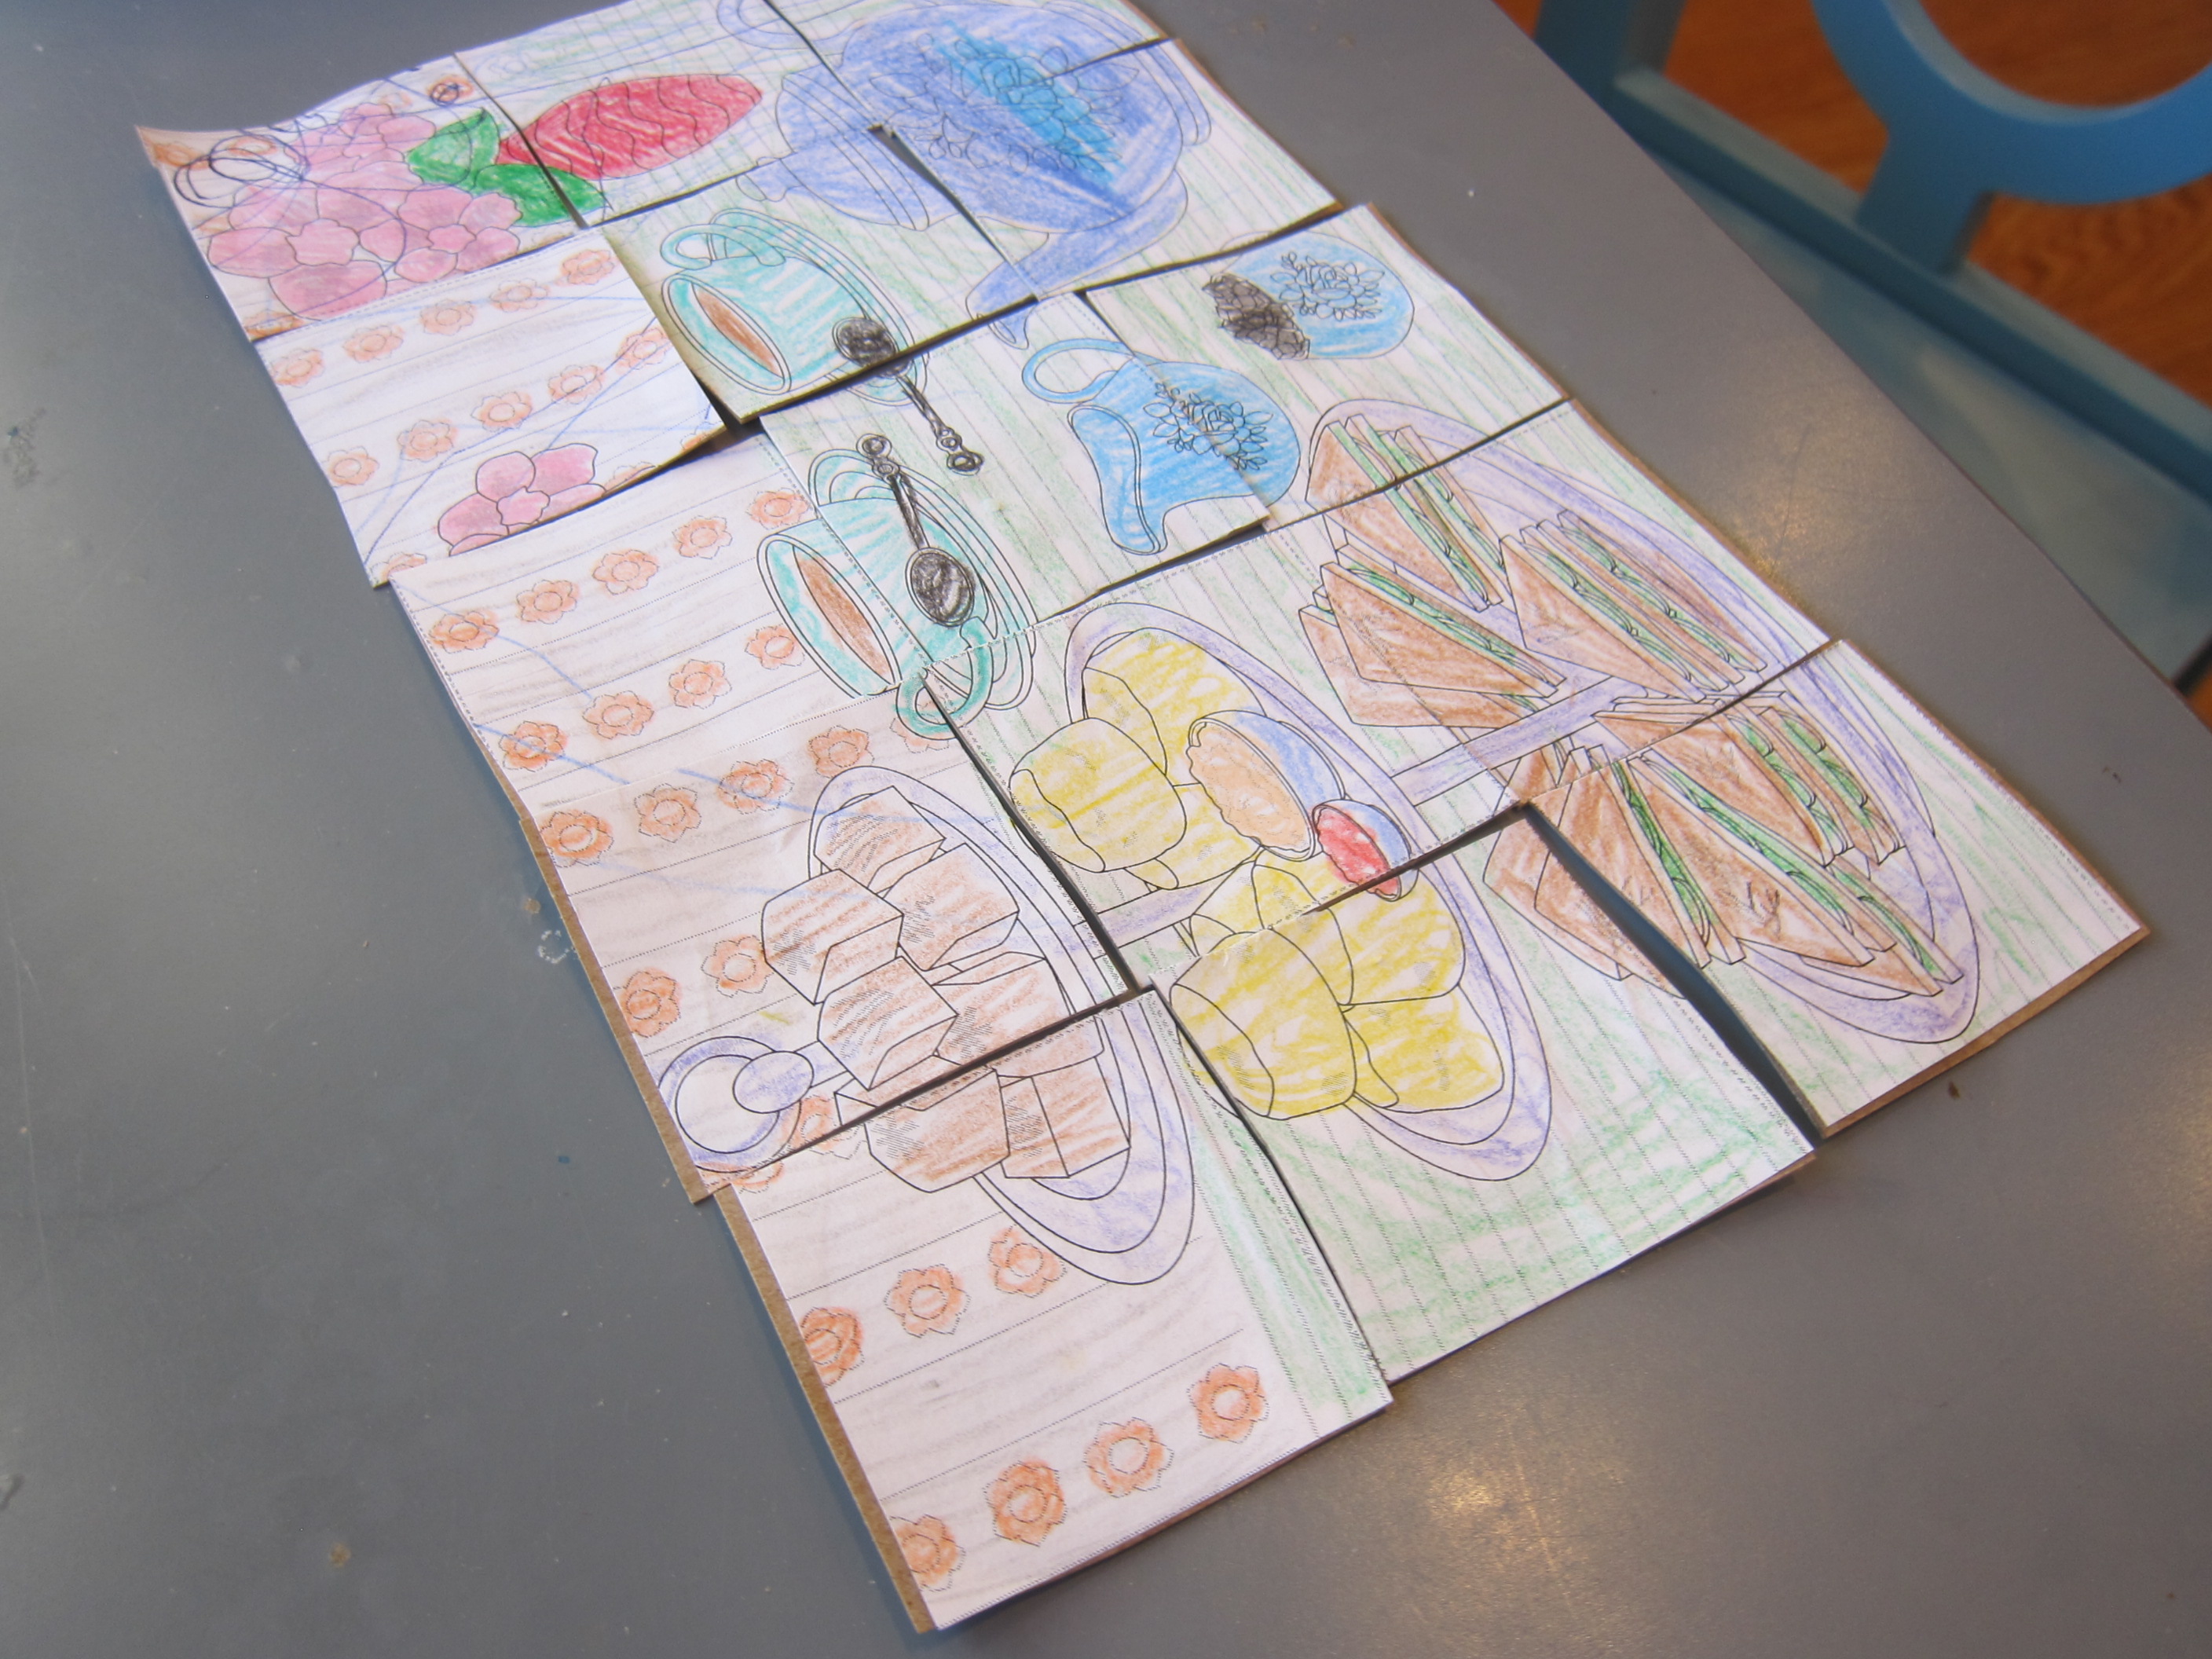
The website also had a printout of a British afternoon tea spread to color, which you can then cut apart and re-do as a puzzle.

LP England (18)

Travis wasn’t terribly interested, but it was nice to color side by side.

LP England (19)

There were two available add-ons from the company with the England kit, and we opted for both. To extrapolate on the theme of Shakespeare and the theater, Travis made shadow puppets. He loved slotting together and decorating the cardboard theater first.

LP England (1)

Turn on the battery-operated lights, and then it’s time for felt puppets to take center stage! This is sure to be a great toy to play with even completely separate from this Little Passport’s package.

LP England (4)

The second add-on circled back to themes of mapping and puzzles: a 3-D puzzle of London.

LP England (10)

The puzzle was far beyond my 6 year old’s ability, but he loved slotting the landmarks into their spaces, and we read about each one in the provided insert.

LP England (6)

And after all that, the neatest project by far was to make Stonehenge from homemade play dough! We mixed 2 cups flour and 1 cup salt in a large bowl. We wanted to make it black, so added red, blue, and green food coloring to 1/2 cup water. It turned our mixture more gray than black, but that’s probably closer to Stonehenge’s hue anyway. Stir until the color is incorporated, then add an additional 1/4 cup water. Knead until you have a workable play dough.

LP England (14)

We arranged the plinths and monoliths on a piece of cardboard and left it to dry for about 1 day. Not only did this look awesome, but it was a great background for his Lego figures to play in, too!

LP England (15)

Recipe:

We always end these country kits in the kitchen. This month’s recipe was for Awesome Apple Crumble, which lived up to its name!

Awesome Apple Crumble (4)

Ingredients:

For the topping:

  • 1 and 1/2 cups flour
  • 3/4 cup brown sugar
  • Pinch of salt
  • 3/4 cup Earth Balance butter, cubed

For the filling:

  • 1 pound Granny Smith apples, peeled, cored, and sliced
  • 1/4 cup brown sugar
  • 1 tablespoon flour
  • Pinch of cinnamon
  1. To prepare the topping, combine 1 and 1/2 cups flour, 3/4 cup brown sugar, and the salt in a bowl. Add the Earth Balance butter and use your fingers to mix until the mixture looks like breadcrumbs; set aside.
  2. To prepare the apples, place the slices in a large bowl. Add the remaining 1/4 cup brown sugar, 1 tablespoon flour, and the cinnamon, stirring to coat.
  3. Spoon the apples into a 9×9-inch baking dish. Sprinkle the topping over the apples and bake at 350 degrees F for 45 minutes.
  4. Serve warm and drizzle with a little non-dairy creamer, which is closer to how the Brits would serve it than serving American-style with ice cream.

Awesome Apple Crumble (5)


Jumbo DIY Cardboard Puzzle

Giant Puzzle (6)

This easy project can be your toddler’s first jigsaw puzzle! With just two pieces, it introduces the notion of interlocking pieces, and your child can proudly solve it all alone.

To start, I cut a cardboard box into pieces and saved the two largest sides. I drew an outline of a simple picture on each, choosing two of Veronika’s favorite things: a butterfly and a heart.

Giant Puzzle (1)

I invited her to help me color them in! Now the process of making the puzzle was just as fun as the final play. She loved talking about colors as we used crayons side by side.

Giant Puzzle (2)

Then I cut a big zig-zag shape down each of our two drawings. Voila: We had two-piece puzzles!

Giant Puzzle (3)

“What happened to butterfly?” I asked her, coaxing her to realize the cardboard was now in two parts. I showed her how to slide the two pieces of cardboard together again.

Giant Puzzle (4)

She echoed my words, and busily began moving the cardboard pieces apart and then back together again.

Giant Puzzle (5)

It hadn’t occurred to me, but because we made two puzzles, she did some mixing and matching as well. She was confused when the heart wasn’t the other half of the butterfly until I helped her solve it.

IMG_0039

I loved that I could really see her brain at work here!

Giant Puzzle (8)

In sum, this is a fantastic first jigsaw puzzle, and so easy to make.

Giant Puzzle (7)

Mirror Illusions Kiwi Crate

Kiwi Mirrors (17).JPG

Travis’s Kiwi Crate this month focused on mirrors and the tricks of light that allow for illusions. There was a bit of overlap with the Secret Agent crate, so I was surprised it was next in our queue from the company, but he still enjoyed the projects!

First up was making a Trick Box. This very simply involved folding open the provided green cardboard box and slipping in an illustrated insert. (Kids also have the option to illustrate their own insert).

Kiwi Mirrors (7)

Place the insert in the box, then slip in the provided mirror, making sure it is at the correct angle (arrows marked inside help kids to ensure a proper alignment).

Kiwi Mirrors (8)

Peeking through the box now reveals the image in reverse. This was a bit lost on Travis, as he couldn’t read the “hello there” message he’d chosen either forwards or backwards.

More of an impact came from the penny trick you can perform: Drop a penny through the slot in the top and it seems to disappear, when really it is just falling behind the angled mirror. This is a fun one for kids to play a “magic trick” on friends and family.

Kiwi Mirrors (16)

Next up was making a Painted Puzzle. Place the provided wooden squares in a frame, and cover with one of the provided clear stickers. Travis did this a bit differently, attaching all four clear stickers, so our results weren’t perhaps perfect.

Kiwi Mirrors (9)

But the painting method was neat! Travis liked using the paint stampers, which are dipped into provided tiny paint pots. Cover the surface of the wooden tiles, let dry, then peel off the stickers.

Kiwi Mirrors (10)

The painted puzzle can now be taken apart and put back together again. But even cooler is viewing it through…

…Mirror Goggles, the final project. To make these (which look almost like Google’s VR viewer), open up the provided cardboard goggle box.

Kiwi Mirrors (1)

Travis got to exercise his fine motor skills to attach the sides with a brad; add padding foam around nose and forehead for comfort; and place a sticky donut and bead on top. This bead is going to help you keep your head up later, read on!

Kiwi Mirrors (2)

Thread an elastic through the holes on either side and secure with cord stoppers, then attach a mirror to the underside of the goggles with sticky foam. Your goggles are ready for viewing!

Kiwi Mirrors (4)

Wearing them took a bit of practice, with the goal of piecing together your Painted Puzzle or a provided wooden puzzle. I had Travis watch me first, as you really need to keep your head up to have the mirror show you what’s on the work surface below. Don’t tilt your head down for peeking or the bead will fall from the donut!

Kiwi Mirrors (5)

Once he got it the hang of it, Travis thought it was so cool. I loved watching his hands move, forward when they needed to go backwards and vice versa, until he started to understand he was seeing in reverse; it was like observing the gray matter of his brain at work.

Kiwi Mirrors (14)

If it won’t frustrate your kids, have them try writing their name or drawing a picture while wearing the goggles. Full disclosure, this is hard. Here’s my attempt to write his name!

Kiwi Mirrors (15)

There was lots more fun to be had in Explore magazine. First, we made a map (a bit of an overlap from Secret Agent). When read normally, it led him nowhere. Then he looked at it through the selfie feature on my phone.

Kiwi Mirrors (11)

Aha, he spots the treasure…

Kiwi Mirrors (12)

Success!

Kiwi Mirrors (13)

Then I showed him an example of backwards writing (again an overlap from Secret Agent).

Kiwi Mirrors (20)

There’s also a mirror word search for older kids, and a few cool mirror illusions you can try to recreate at home like multiplying apples…

Kiwi Mirrors (19)

…or a disappearing middle!

Kiwi Mirrors (18)

We finished with a bedtime read of two suggested books: Light: Shadows, Mirrors, and Rainbows by Natalie Rosinsky and Mirror, Mirror: A Book of Reverso Poems by Marilyn Singer. The latter features fantastic poems that can be read both backwards and forwards.

Rubbings Collage and Puzzle

Rubbings Collage (6).JPG

Here’s a neat way to create your own shadow puzzle, an advanced version of a game Travis and I played long ago. One child can challenge him or herself with the final product, or invite a friend or sibling fill in the puzzle once created.

First, Travis and I gathered metal items from around the house. We ended up with a coin, a paper clip, a hole punch, a spoon, and a key.

Rubbings Collage (1)

Place the items on a piece of paper and cover with a second sheet of paper. Rub with the side of a crayon to reveal the shadow of the images underneath.

Rubbings Collage (2)

It was interesting to see what worked well (the flatter things) and what didn’t; the spoon was quite tricky!

Rubbings Collage (3)

We removed the items and now Travis had to match everything up to its silhouette, a challenge he enjoyed.

Rubbings Collage (4)

Again, this was fun with one kid but would be a great game for two kids: one to make the puzzle and the other to fill it in.

Rubbings Collage (5)


Poster Board Puzzles

Poster Puzzles (9).JPG

These giant puzzles are a cinch to make and just hard enough to put together. On other words, super fun.

On a large piece of poster board, draw any puzzle picture you and your kids like. I kept one simple for Travis with a heart shape in the middle and a squiggle around the outer edge.

Poster Puzzles (3)

He drew on the second piece of poster board, and I reminded him he’d need cues to know which pieces lined up where (and eventually added the circle in the center).

Poster Puzzles (2)

Draw 5 or 6 big lines from the outer edge to the center; cut along these lines to make your puzzle pieces.

Poster Puzzles (6)

Now put it all back together again! Travis was so pleased seeing his drawing line up.

Poster Puzzles (4)

Some of the pieces neededto be turned and fiddled, and then success.

Poster Puzzles (5)

You’ll notice that little sister Veronika loved the giant pieces of poster board and watching it all take shape! Feel free to give younger siblings a marker for scribbling, too, as long as you’re sure they’ll keep the ink on the big poster board pieces.

Poster Puzzles (1)

I had one happy scribbler, and one proud puzzle solver!

Poster Puzzles (7)

Geometric Refrigerator Magnets

Refrigerator Magnets (7)

We now officially have tangrams all over the house, whether felt versions to make in the playroom or this handy set for the fridge!

Travis loved making the magnets. You can purchase sheets of magnetic paper at the craft store with a sticky backing on the other side. We printed out and colored tangram shapes, and simply stuck these onto the sticky side.

Refrigerator Magnets (1)

Travis was fascinated with how it worked: where was the magnet? he wanted to know. How did the shapes stick?

Cut out your shapes (this was a lot of cutting for mama!) and transfer to the fridge.

Refrigerator Magnets (2)

At first Travis just played with them and made up his own designs.

Refrigerator Magnets (4)

For a challenge, print out a few tangram shapes and set your child loose. Bigger kids can work with just the outline; younger kids can rely on the answer code at the end of the pdf.

Refrigerator Magnets (3)

Now when I hear those whines of, “Is dinner ready yet?” I set him loose to solve a tangram at the fridge. Built-in kitchen entertainment!

Refrigerator Magnets (6)

Craft Stick Puzzles

Craft Stick Puzzle (5).JPG

This is a fast, easy way to make a puzzle at home, much more reliable than the cereal box version Travis and I tried earlier in the week!

Craft Stick Puzzle (1)

Cut a pretty greeting card into strips the width of a jumbo craft stick. I drew guiding lines for Travis, who so proudly cut straight along the lines. “This is fun!” he said, before we even got to the puzzling.

Craft Stick Puzzle (2)

Apply a layer of mod podge to each craft stick and glue on a piece of your puzzle. Let dry completely, then apply a second layer of mod podge over the strips.

Craft Stick Puzzle (3)

Once dry, I numbered the craft sticks 1 through 7.

Craft Stick Puzzle (4)

This numbering allowed him to puzzle in two ways; the harder way was simply to put it together relying on the picture. For a little assistance, Travis only had to refer to the numbers at the bottom!

Craft Stick Puzzle (6)

Happy puzzling!

Craft Stick Puzzle (7)

Tangram Toast

Tangram Toast (3)

Travis had a tricky time of it with tangram puzzles recently, so I made things a little more accessible in the best way possible: edible tangrams!

Toast slices of bread first until nice and crispy, making as many as you’d like for the project. Cut into shapes as shown:

Tangram Toast (2)

In a bowl, stir together 1/2 cup softened Earth Balance butter, 1 teaspoon cinnamon, 1/2 teaspoon vanilla extract, and 4 tablespoons sugar. Travis loved mixing all this up!

Tangram Toast (1)

Through trial-and-error, we found it easiest to make the tangrams while the toast was plain, otherwise our fingers got messy (as we learned while designing a slightly-lopsided house).

Tangram Toast (6)

So instead, we spread the cinnamon butter on after, but first Travis helped design a rocket…

Tangram Toast (4)

…and what could this jumble be?

Tangram Toast (7)

Aha a bird!

Tangram Toast (8)

After the puzzling, he was so proud I gave him a real butter knife to spread our cinnamon-sugar mixture over his own toast pieces.

Tangram Toast (11)

He proudly served up triangles, squares, and trapezoids. This was a great way to get kids puzzling while thinking it’s just a messy fun snack!

Tangram Toast (9)

Wooden Puzzles

Wooden Puzzles (3)

We were out and about a lot today, but I did take time to focus on one classic activity with Veronika: wooden puzzles.

For this age (11 months old), find puzzles with knobs that your little one can easily grab and lift.

There are two versions I like. In the first, a colored shape is on top, and an image is revealed underneath. When you play with these, name the image as your baby makes it appear!

Wooden Puzzles alt.jpg

The second kind has the image visible from on top, but the fun comes when the puzzle piece goes back into the frame and makes a sound. Veronika and I played with wild animals first…

Wooden Puzzles (1)

…and then domestic animals.

Wooden Puzzles (4)

Again, point to the picture and name the object or animal while your little one puzzles.

Wooden Puzzles (2)

Veronika was so enamored with the duck piece that she made me do that shape over and over, and I think was trying to say quack!

Wooden Puzzles (6)

This is her, “Mom you better do that duck again,” face.

Wooden Puzzles (7)

Obliged!

Wooden Puzzles (5)

Wooden puzzles like these are great not just for little fingers, but for little minds, too.

Magic Chocolate Bar

Magic Chocolate (5)

What’s better than one chocolate bar? One you get to eat twice!

Okay, perhaps not really, but this neat puzzle will have your child thinking hard about shapes and how they fit together. We printed out a chocolate bar template, and cut into 5 pieces along the dotted lines.

Magic Chocolate (1)

I told Travis he was going to “eat” the smallest piece, which gets removed from the rectangle. Now the challenge is to fit the remaining 4 pieces back into a whole rectangle. It was a matter of turning the pieces…

Magic Chocolate (3)

…puzzling…

Magic Chocolate (4)

… and tada!

Magic Chocolate (6)

As a fun reward, we cut up a real chocolate bar in the same way for a little after-school treat!

Magic Chocolate (2)