Learning Things That Go

Stamps (4)

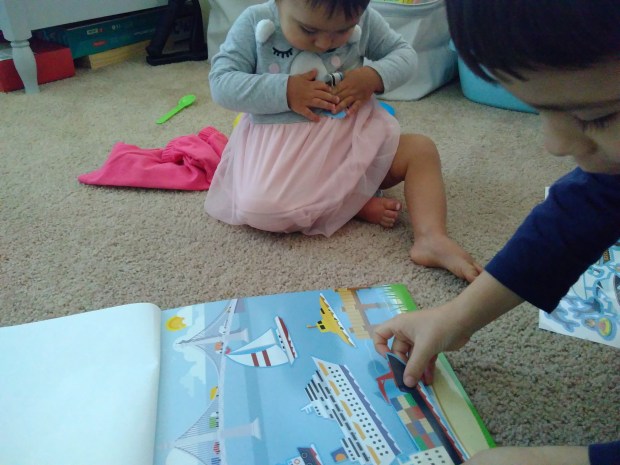
There are so many ways to teach toddlers about the various vehicles in the world, whether that means cars and trucks, or boats, or planes, or everything in between. Most obviously you can point these things out in the real world or read about them in books. But toddlers are so tactile, so consider hands-on learning with stamps or stickers that depict things that go!

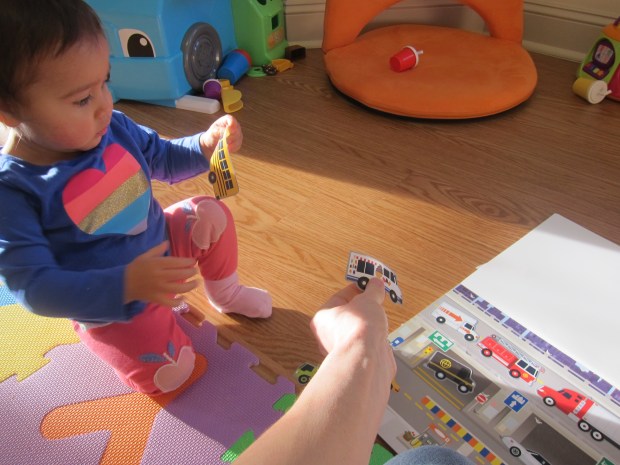
First up: stickers. Veronika is currently obsessed with stickers, so we had lots of fun with a reusable sticker book from Melissa & Doug. She was a little frustrated that the big planes and trucks wouldn’t stick to her belly…

Stickers (5)

…but loved that she could lift them off the page over and over.

Stamps (5)

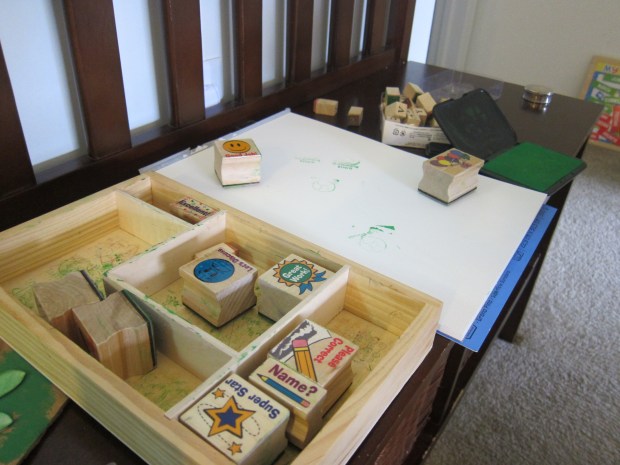
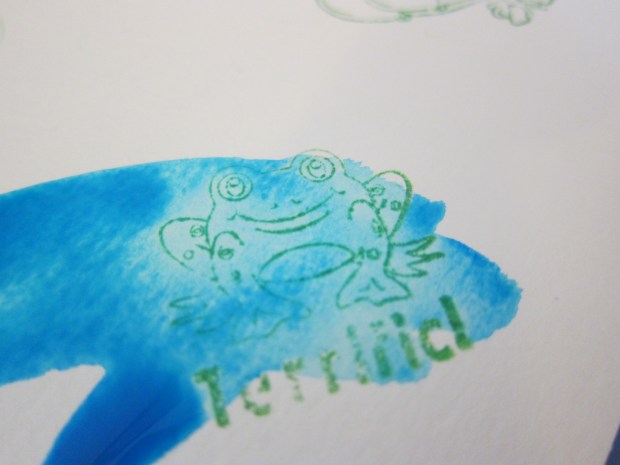
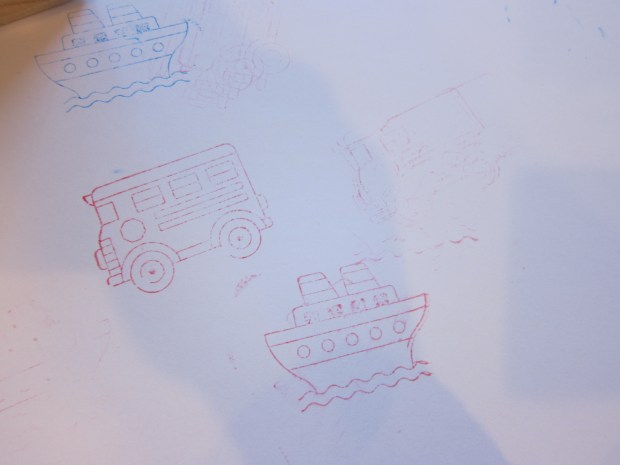
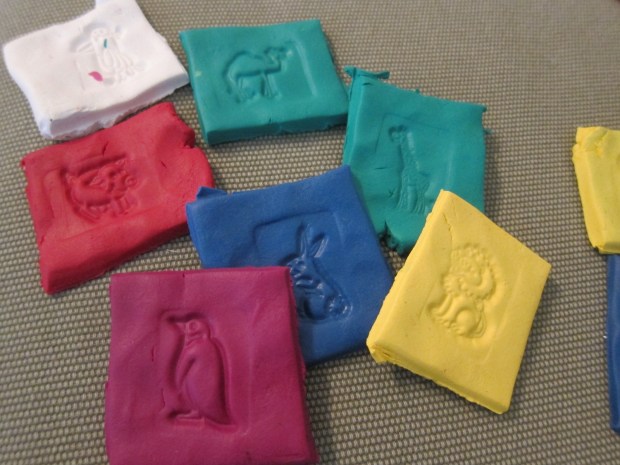
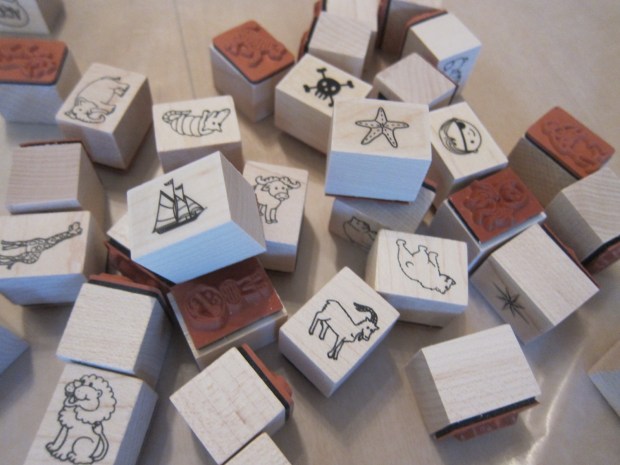
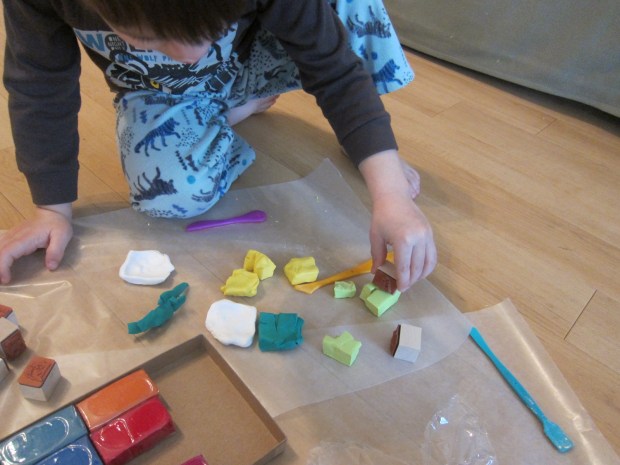
Next up: stamps! I purchased a stamp set with big chunky ones just right for toddler-sized hands.

Stamps (1)

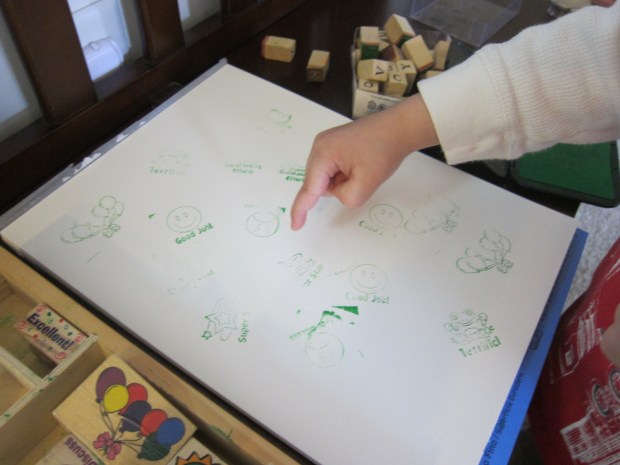
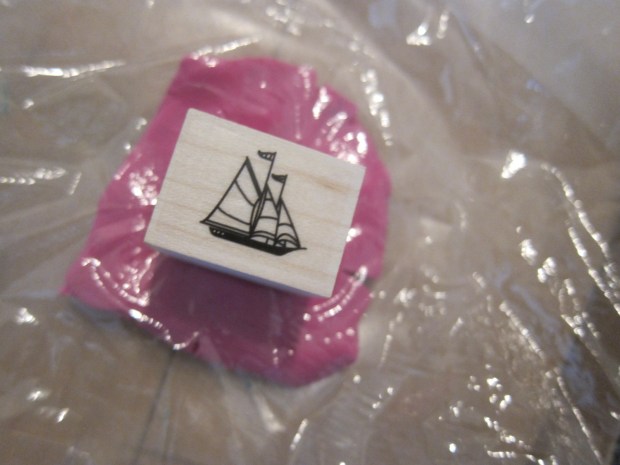
We talked about the image on each stamp before I pulled out the ink pads. Of course the ink itself was more fascinating for a while!

Stamps (2)

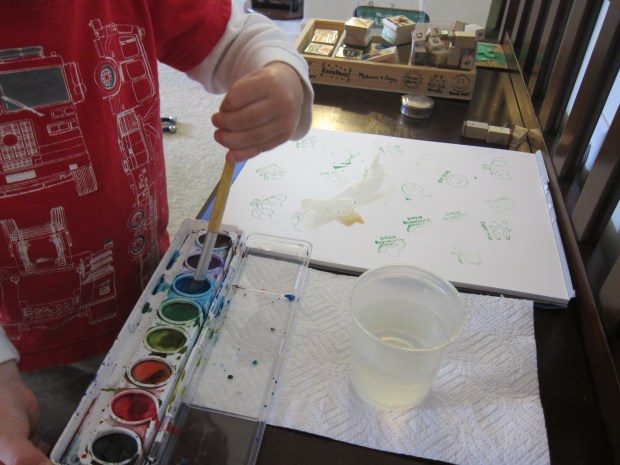
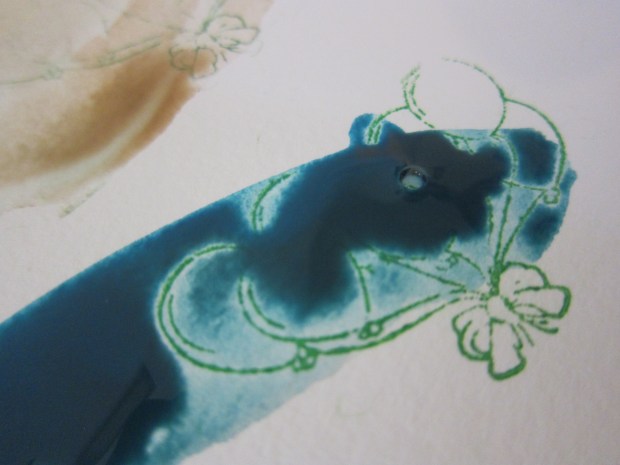
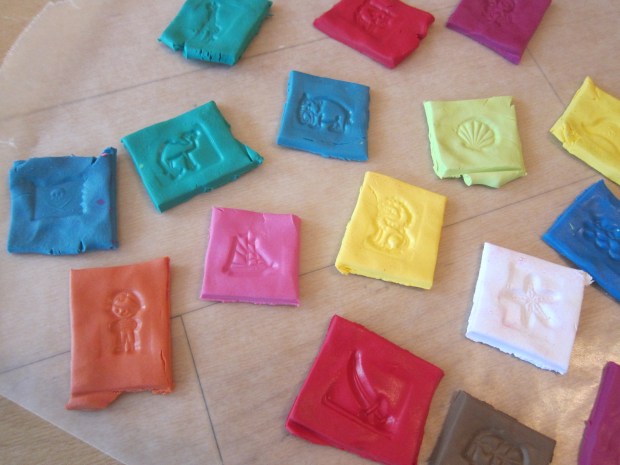
But soon I showed her how to press a stamp down into the ink, which then appears like magic when pressed on paper. She was a little young for this activity, impishly trying to eat the stamps, so we tucked the ink pad away. But I loved that this was both a vocab lesson and an “art” activity.

Stamps (3)

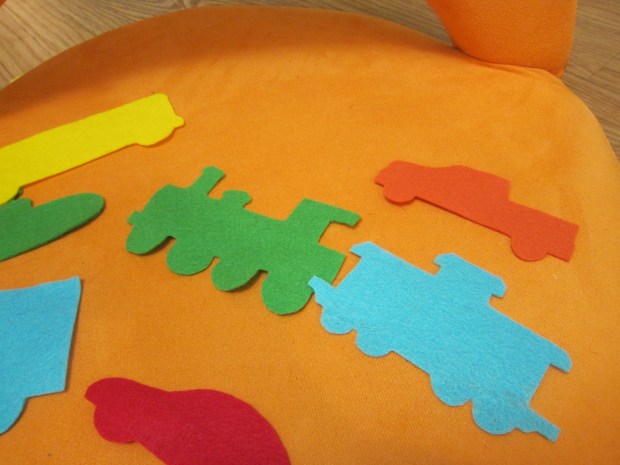
One final option: felt pieces featuring things that go. Veronika loves her set with cut-outs of planes, trains, and more.

Things That Go alt

Little felt shapes like this of things that go are great for, well, when you’re on the go!

Things That Go var

Whichever medium you choose, there’s lots of hands-on learning and fun to be had!

Stamp and Stencil Stories

Stencil Scene (7)

Well I’ll be darned – we’re having our fourth nor’easter blizzard since the month of March began… which means another snow day from school. Cue up the storytelling fun with these two simple projects!

For this first version, I gathered some materials, including pretty paper cut into squares, stamps, and markers.

Story Stamps (2)

I showed Travis how to stamp a story and fill in the designs with markers to make a scene. You can plan carefully with a plotline in mind as you go, or just stamp randomly and see what story unfolds.

Story Stamps (3)

Our story was coming together!

Story Stamps (5)

Once we had filled enough pages, we added hole punches and laced them together. Hole punching was definitely Travis’s favorite part of the project.

Story Stamps (1)

Voila, your own little story book!

Story Stamps (4)

After I helped put together this first booklet, Travis got more involved with the second.

Story Stamps (6)

Don’t worry if your child stamps repeat images on the same page. The story doesn’t need to look perfect!

Story Stamps (7)

As he worked, he told me the plot that was unfolding, so I jotted it down.

Story Stamps (8)

He was so proud to see his own story take shape.

Story Stamps (10)

Next up we decided to try a new stencil pack as the basis for stories and scenes. We’ve never used stencils before, and now I am a convert; Travis did a fantastic job following around the lines. At first he only dared to try simple shapes like carrots and tomatoes…

Stencil Scene (2)

…but soon he was proudly tackling complicated shapes like bugs and dinosaurs.

Stencil Scene (6)

For each scene, we filled in the background or just colored them in.

Stencil Scene (4)

For some of the scenes that I stenciled, Travis would tell me a caption, which I added in.

Stencil Scene (8)

We ended up with some adorable “conversations.”

Stencil Scene (3)

What are your go-to plans for a snow day? Please share in the comments!

Stencil Scene (11)


Pressed Tiles

Pressed Tiles (13)

It’s rare that I can grab Travis’s interest for more than 30 minutes of crafting these days, so when this activity occupied us for nearly an hour, I knew we had a winner!

I came home with a new package of oven-bake clay, quite different from the white air-dry clay we normally use.

Pressed Tiles (1)

Travis was thrilled with all the colors, and in no time he had an assortment in front of him for chiseling, shaping, and rolling.

Pressed Tiles (7)

To make a lasting project, we used our collection of stamps – animal and pirate-themed sets worked perfectly – and pressed images into the clay. Once baked, I knew these tiles could be used for numerous games!

Pressed Tiles (2)

For the cleanest method, press the clay into a square, cover with plastic wrap, and press the stamp on top.

Pressed Tiles (6)

Travis didn’t always use the plastic wrap, which was just fine.

Pressed Tiles (5)

He mostly did his own thing with the stamps and clay while I made an actual set of tiles we could use in the future. I confess my fingers hurt by the end from warming up so many different colors and flattening to 1/4-inch thick! Travis meanwhile pretended he was baking some of his in an “oven.”

Pressed Tiles (10)

When it’s time to really bake the clay, arrange your tiles on a parchment paper-lined baking sheet and bake according to package instructions – ours went in at 275 degrees F for 30 minutes.

Pressed Tiles (8)

Now what to do with them! We decided we could use these as a more permanent version of our printable story cards.

Pressed Tiles (12)

You can also play games with the animals, assigning them by habitat or finding other ways to sort them.

Pressed Tiles (11)

If you want any of your tiles to be jewelry, make sure to poke a hole with a toothpick before baking. However you use them, these tiles are great for arts and crafts, fine motor skills, imagination, and more.

Paper Bag Valentine Satchel

Paper Bag Valentine (6)

This project is a neat way to upcycle any paper bags you have from the grocery store, just in time for Valentine’s Day! The finished satchel makes a great gift for teachers, grandparents, or friends.

To start, I traced a heart (using red marker of course) on a brown paper bag, and guided Travis’s hand with safety scissors to cut out.

Paper Bag Valentine (1)

Once you have the first heart, trace onto a second piece of brown paper and cut out so the two sides match.

I added red dots around the heart as guidelines for Travis to hole punch – Valentine’s Day 2018 is quickly becoming the year of the hole punch for us!

Paper Bag Valentine (2)

Next up help your child develop their lacing skills by threading a shoelace through the holes. I picked up a cheap heart-print shoelace on Amazon in keeping with our Valentine theme. If you want your gift recipient to use the heart as a real satchel, don’t lace along the top, and knot the ends of the shoelace to form a handle.

Paper Bag Valentine (3)

We decorated our satchels with stamps. I set out a few that felt Valentine’s-ish (hearts, lips, and flowers), and suggested Travis use red ink, although he preferred blue. No problem, it’s his creativity!

Paper Bag Valentine (5)

You can add a note to your recipient on the back as a final touch, or leave it blank.

Paper Bag Valentine (7)

Sponge-Print Wrapping Paper

Sponge Wrapping Paper (8).JPG

Enlist the kids help with gift wrapping this year… not just to wrap up the presents, but to make the wrapping paper first. Not only will they enjoy making this easy DIY gift wrap, but they’ll be so proud when they see gifts presented to loved ones in the paper that they made.

To start, cut sponges into shapes and glue onto old jar lids – the sponge should be cut until about the same size as or smaller than the lid. Simple shapes like triangles and squares are easiest, but get fancy if you’re handy with a paring knife!

Sponge Wrapping Paper (1)

I spread out a leftover roll of craft paper, and Travis immediately set to dipping his sponge stamps into paint…

Sponge Wrapping Paper (5)

…and dotting all over the paper. He liked making “patterns” as he worked.

Sponge Wrapping Paper (4)

Sometimes he spaced the stamps far apart, and sometimes he liked clustering them, so we ended up with a final product that was decidedly his creation.

Sponge Wrapping Paper (7)

We also had fun swirling together blue and white paint to make a light blue.

Sponge Wrapping Paper (9)

Once the paint is completely dry, it’s gift wrapping time!

Sponge Wrapping Paper (10)

What fun wrapping ideas have you used this holiday season? Please share in the comments!

Rolling Pin Stamps

Rolling Stamp (3)

Our stamping fun continues! This time we used old foam stickers to make a 3-D stamp, and used paint instead of ink.

First, apply any foam stickers in fun shapes to an old rolling pin (or one you don’t mind getting dirty!).

Rolling Stamp (6)

In order to roll the entire length of the rolling pin in paint, I slopped the paint down on newspaper – this already made the craft exciting! Once it’s very painty, roll your rolling pin across a piece of sturdy paper or poster board.

Rolling Stamp (1)

“Flowers!” Travis said with delight.

Rolling Stamp (4)

We didn’t have any additional poster board, but he still liked testing out the rolling pin over extra sheets of newspaper, keeping up the fun for quite some time.

Rolling Stamp (5)

Overall, a super cute DIY stamp.

Stamp Pad & Eraser Art

Stamp Eraser (1)
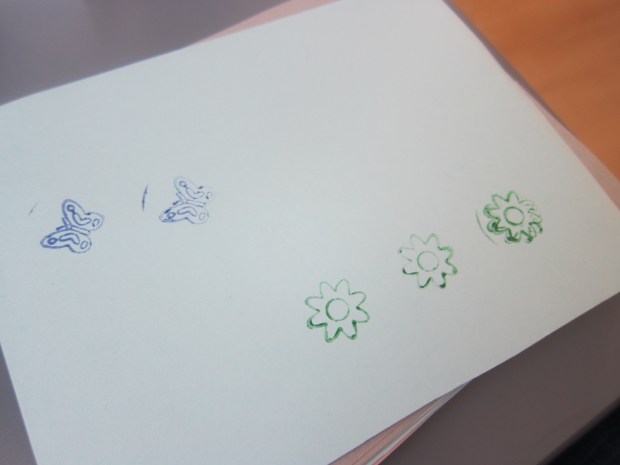
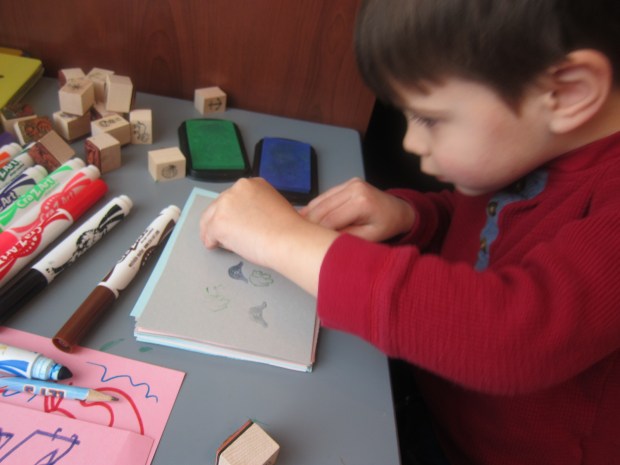
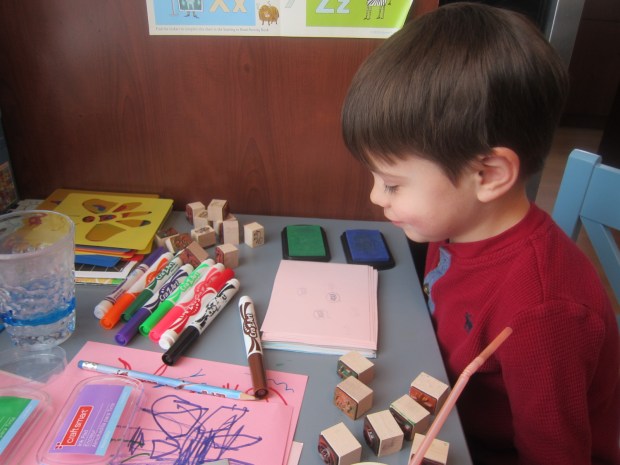
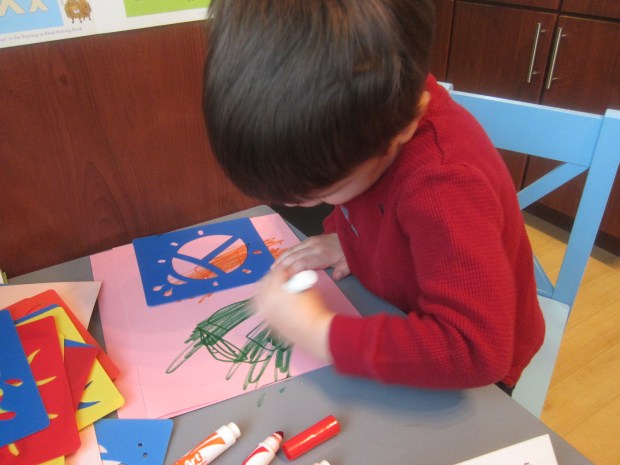
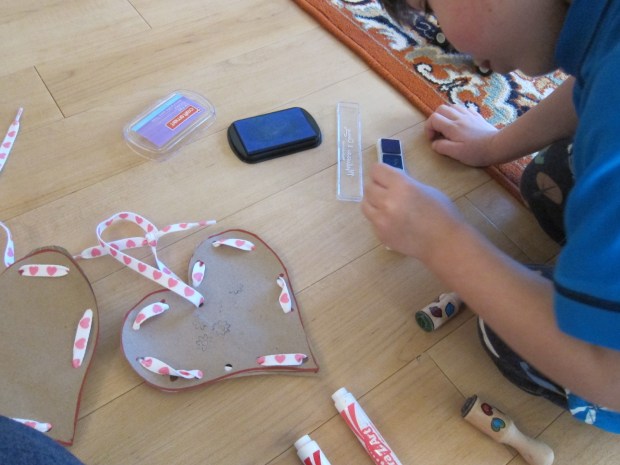
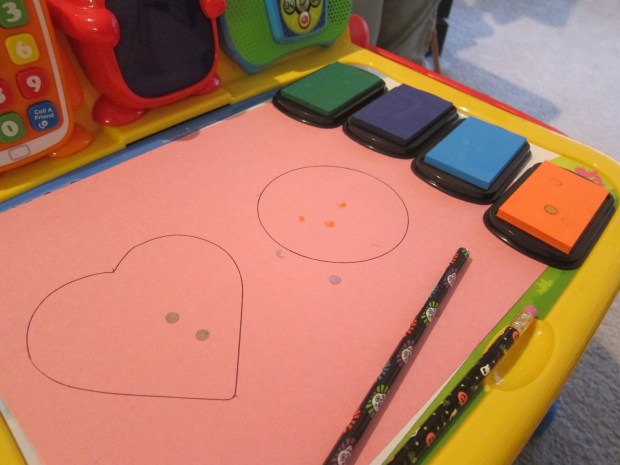
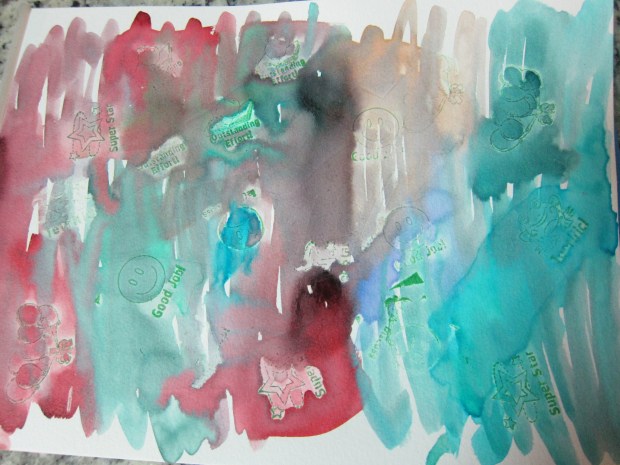
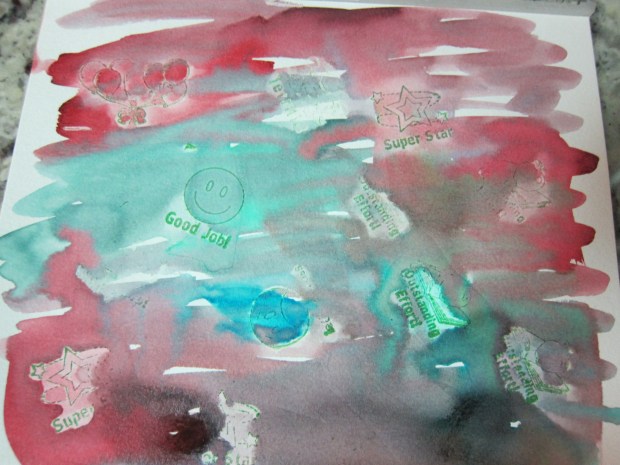
We’ve been playing with stamps a lot this week, including in a few new colors of washable ink. Travis literally greeted me first thing with a demand to use our new ink pads (note to self: don’t leave the ink out where he can see it from his bed), so I wiped the sleep from my eyes and dove into this novel stamping game. I thought the cute variation on dot markers would delight Travis!

First, outline a few shapes on paper for your child with cookie cutters – this part is optional, as of course you can just dot the paper at random, but the shapes mean you’ll have a nice craft at the end.

Stamp Eraser (4)

I set Travis up with a couple of pencils (unsharpened, but with good erasers!) and our washable ink in various colors, and he quickly took to pressing the eraser into the ink before transferring over to the shapes.

Stamp Eraser (3)

The craft turned out to be a little tricky for his hands! Most times he only pressed down a half-circle of eraser, instead of achieving a full circle. Also, you never realize how tiny a pencil eraser is until your child is trying to fill in a cookie cutter shape! When he got bored, I filled in a few final dots.

Stamp Eraser (5)

These looked pretty hanging in our window! Had we done them in the winter, they might even make cute homemade ornaments.

Stamp Erase r (6)

Cardboard Postcard

Cardboard Post (6)

For kids interested in stamps and letters, this project is fantastic. Not only do they get to make a unique creation, but you can really mail it!

For sturdy backing, we made our postcards on cardboard, which I simply trimmed from a package that had arrived earlier in the week. Travis decorated with a “message” – he loves pretending to write words these days!

Cardboard Post (2)

I made sure to leave room on the side for lines and the address of our recipient.

Cardboard Post (1)

Turn the card over and decorate – we used glue and cut up pieces of tissue paper.

Cardboard Post (3)

If you like, use a paintbrush to deal your design with an additional layer of glue; this gives your creation a better chance of making it through the mail intact… though I confess we skipped this step!

Cardboard Post (7)

Once the glue dried, we were off to the post office! I think we made the clerk’s day when we showed her what we wanted to mail. Now your lucky recipient will receive a surprise in the mail!

Cardboard Post (8).JPG

Stamps and Watercolors

stamp watercolor (11)

This mixed media project was perfect for a lazy Sunday morning – no special equipment required, very hands on, and with a neat little twist that kids will love.

It started when Travis requested his set of stamps, so first we simply dotted them all over a piece of watercolor paper.

stamp watercolor (1)

Our ink is running out just a tad, but this almost made it more interesting – Travis was quite intrigued that some stamps came out “full” and some only “half” if the ink had faded.

stamp watercolor (3)

Then I asked him if he wanted to use watercolors over the stamps, which received an enthusiastic yes! He’s very deliberate about choosing colors lately, and loved selecting which watercolor to use before applying to the paper.

stamp watercolor (6)

The twist is that the watercolor will run off the stamped areas quite quickly – the same effect as when you paint over waxy crayon – which had him so excited he was nearly shaking with enjoyment.

stamp watercolor (7)

He proceeded to choose which color should go over which stamp for some time.

stamp watercolor (8)

The end result is a bit messy and haphazard, but still a delight!

stamp watercolor (9)