Sticker Christmas Tree Craft

Sticker Christmas Tree (9)

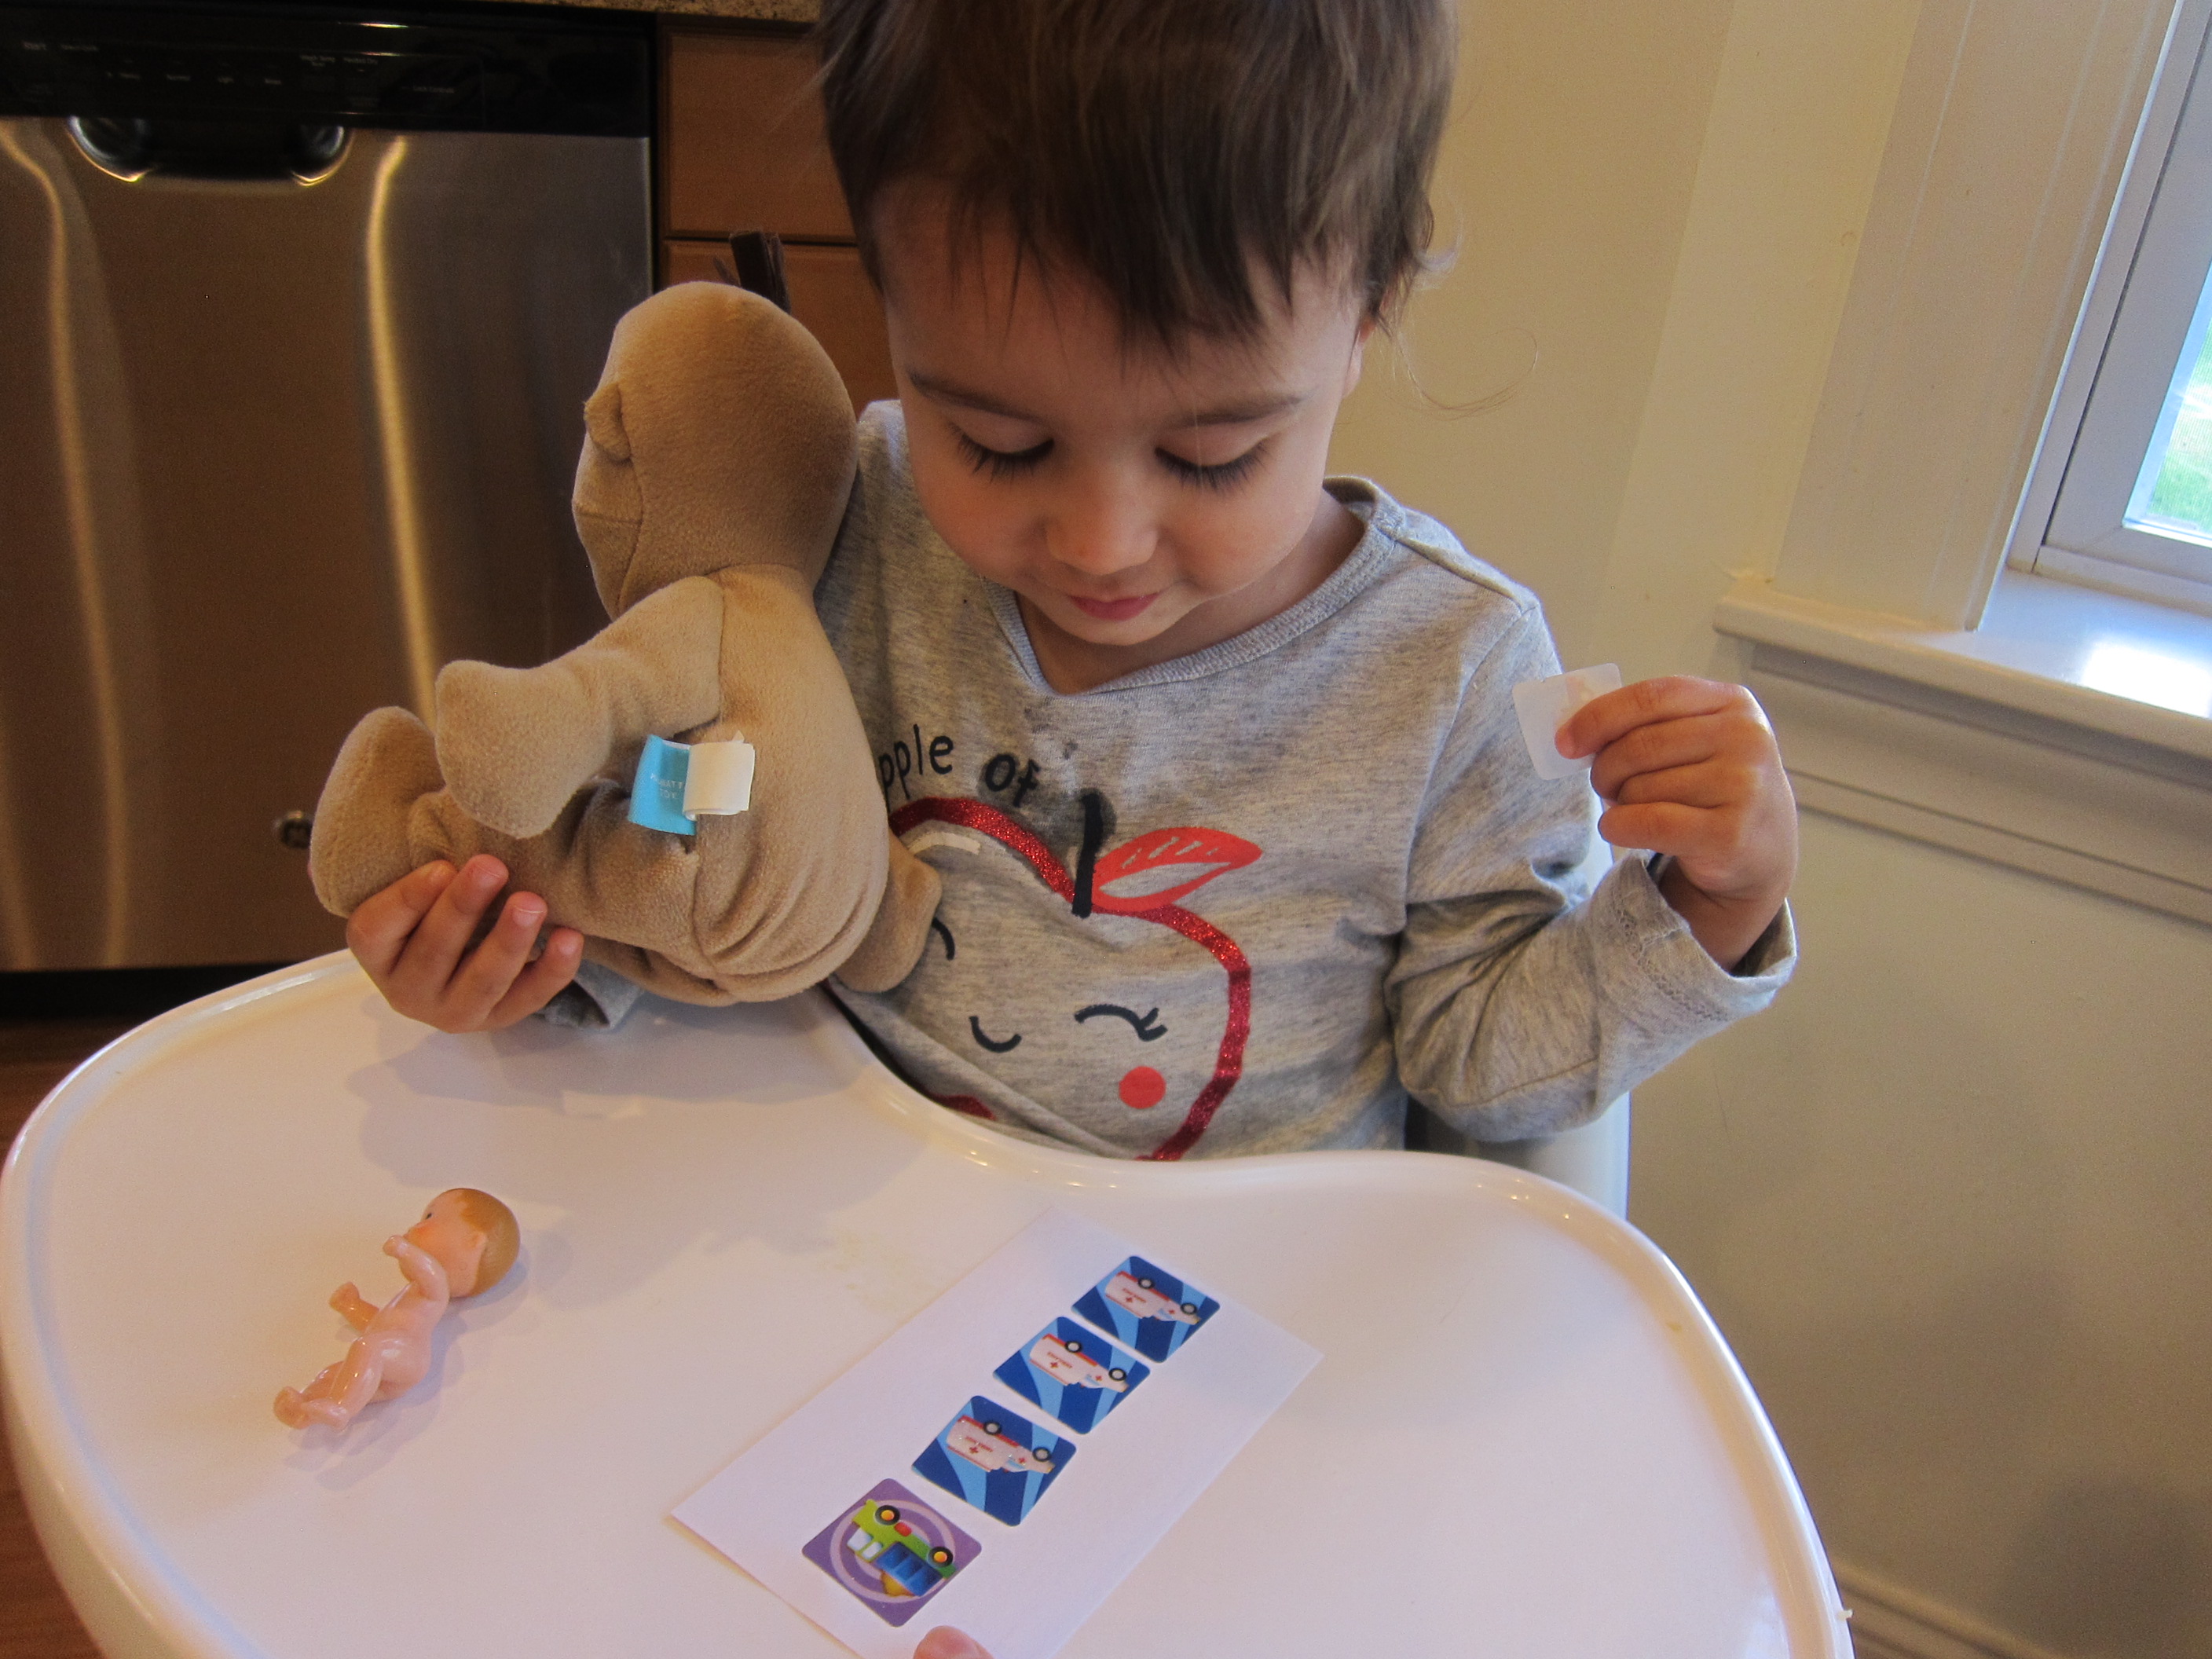
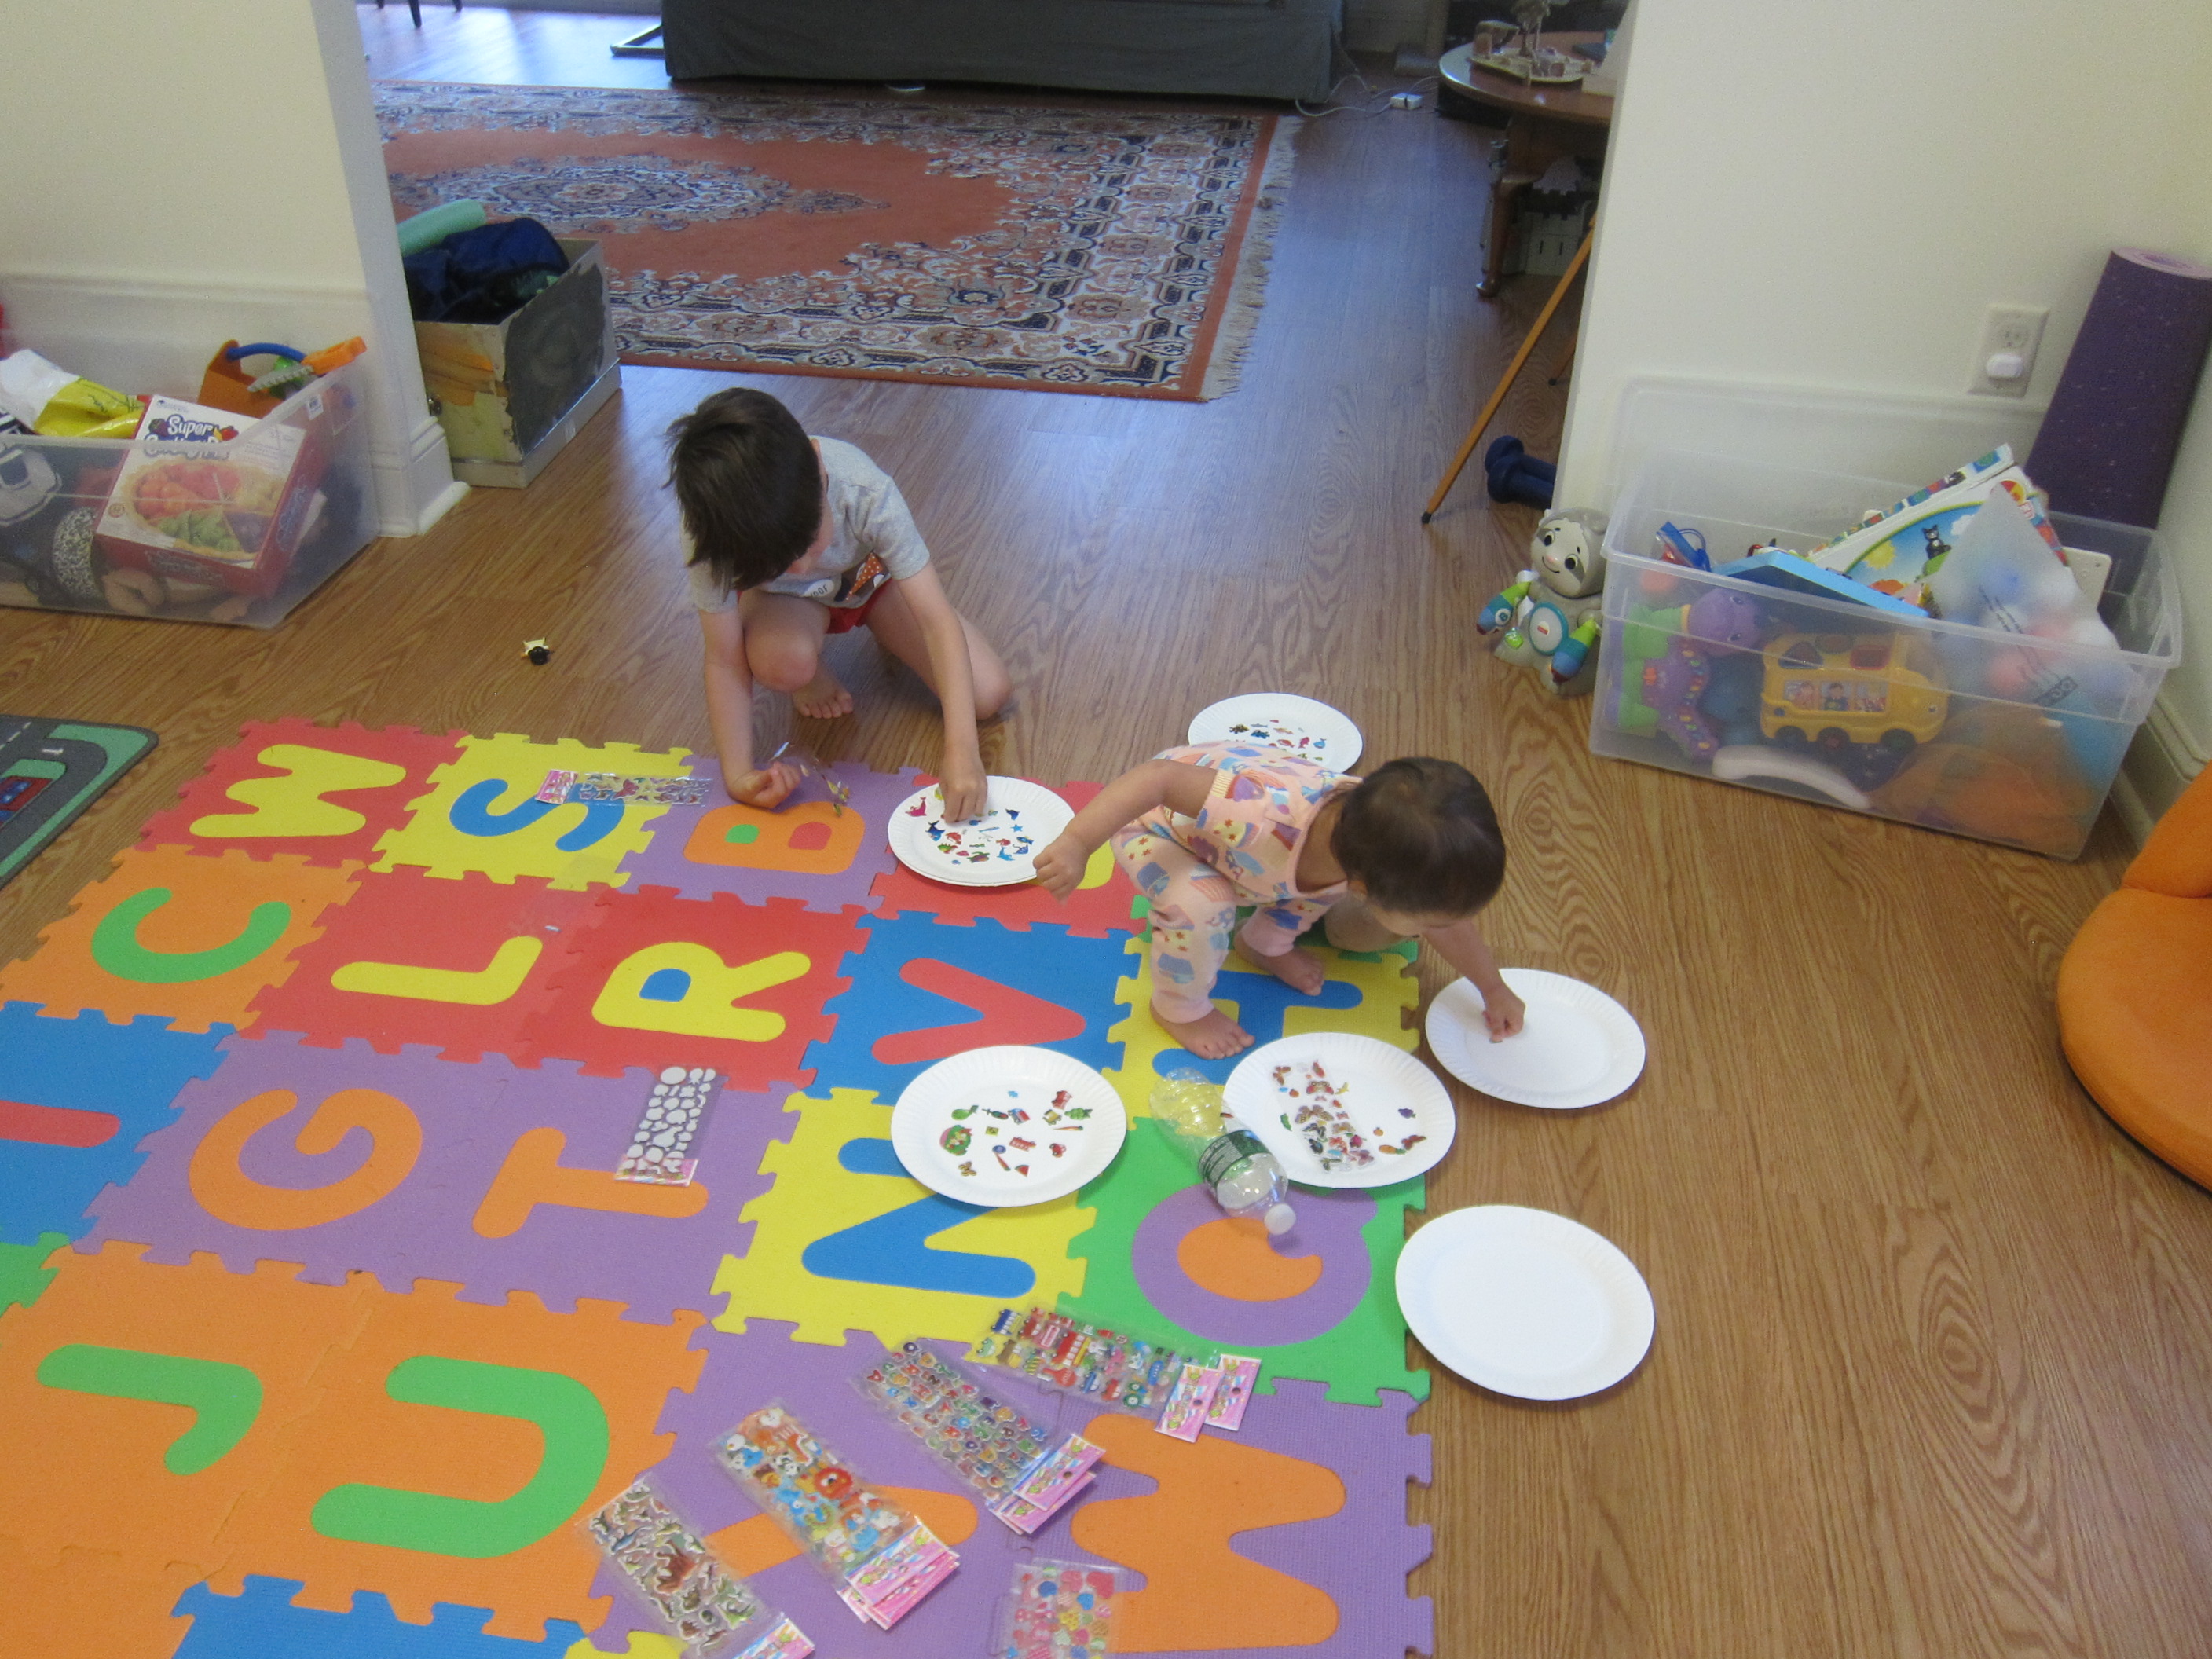
This activity will appeal to both kids and caregivers equally; toddlers will think they’re simply having fun with stickers, but you’ll secretly know that the craft hones fine motor skills and teaches direction-taking!

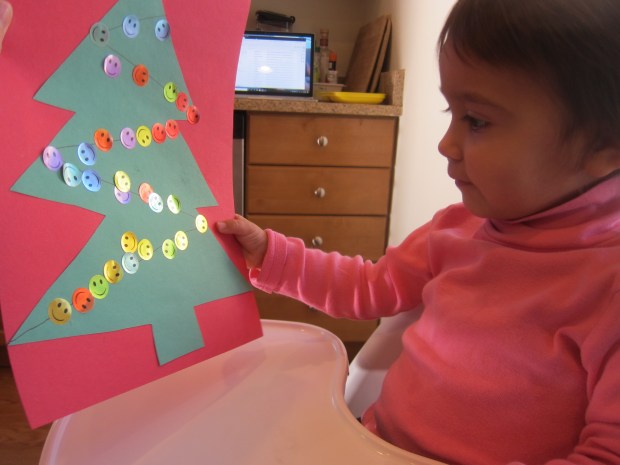
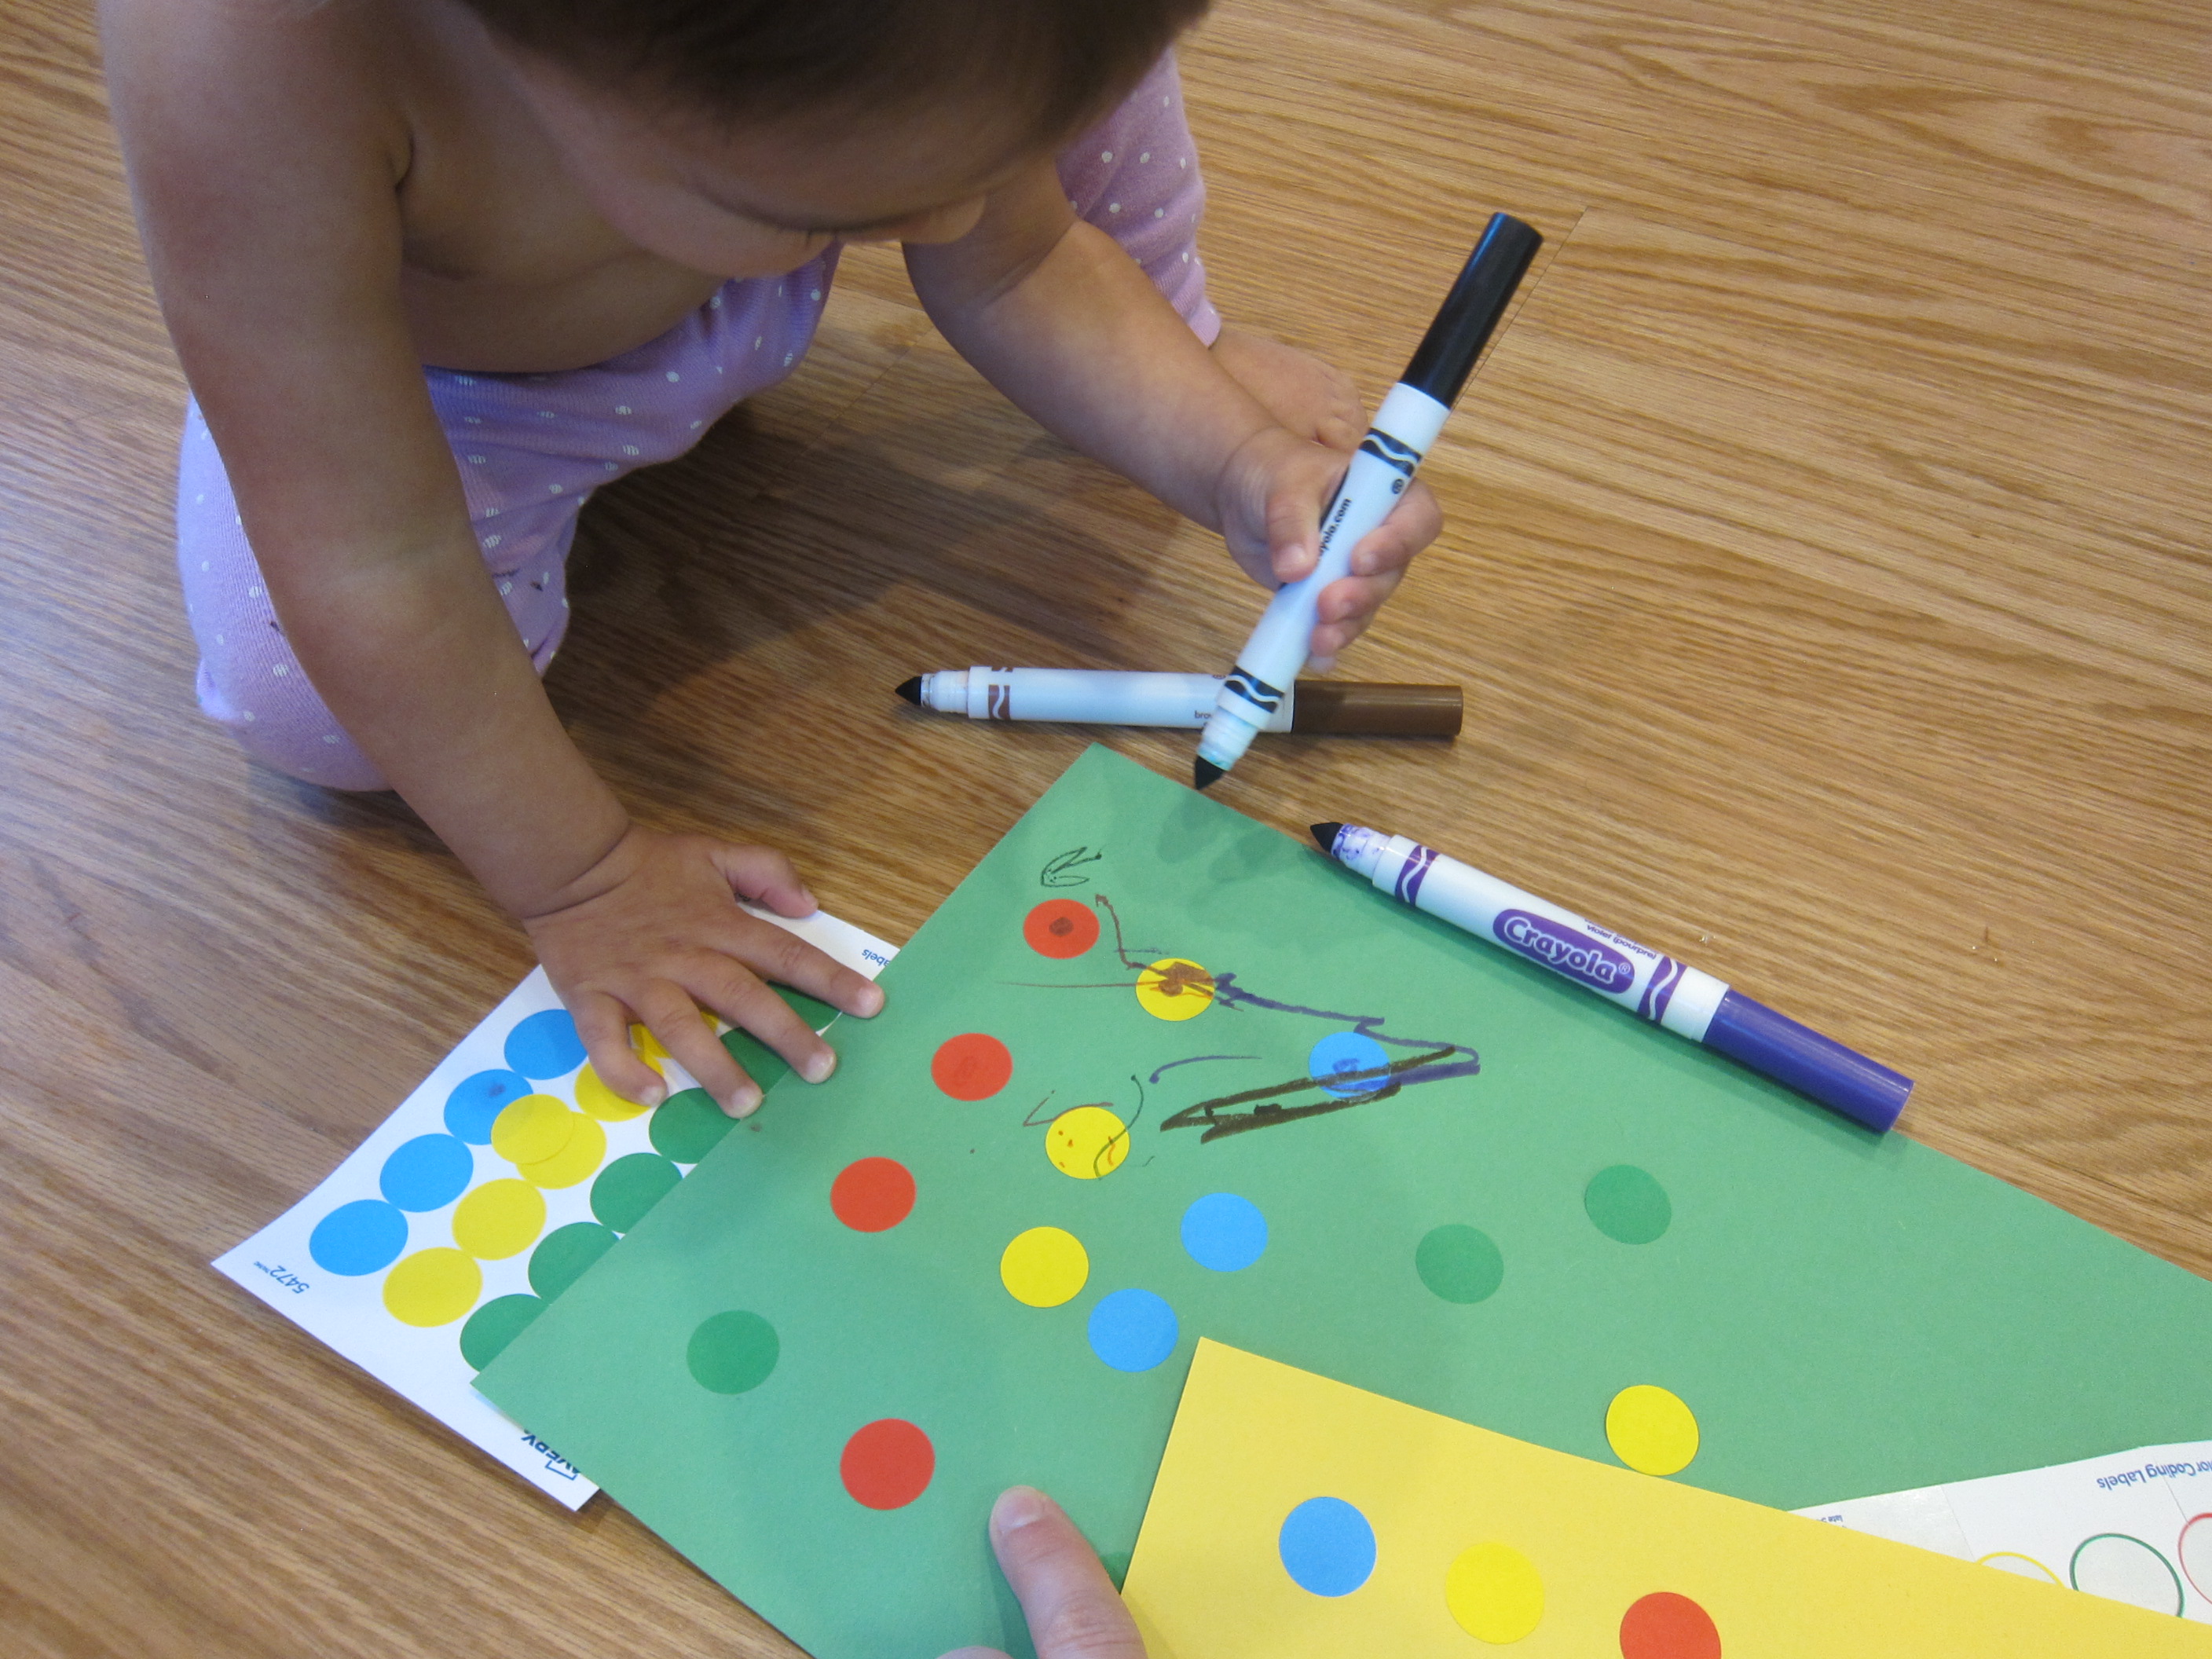
To start, I drew a Christmas tree shape on green construction paper, then cut out and glued down to a sheet of red paper.

Sticker Christmas Tree (1)

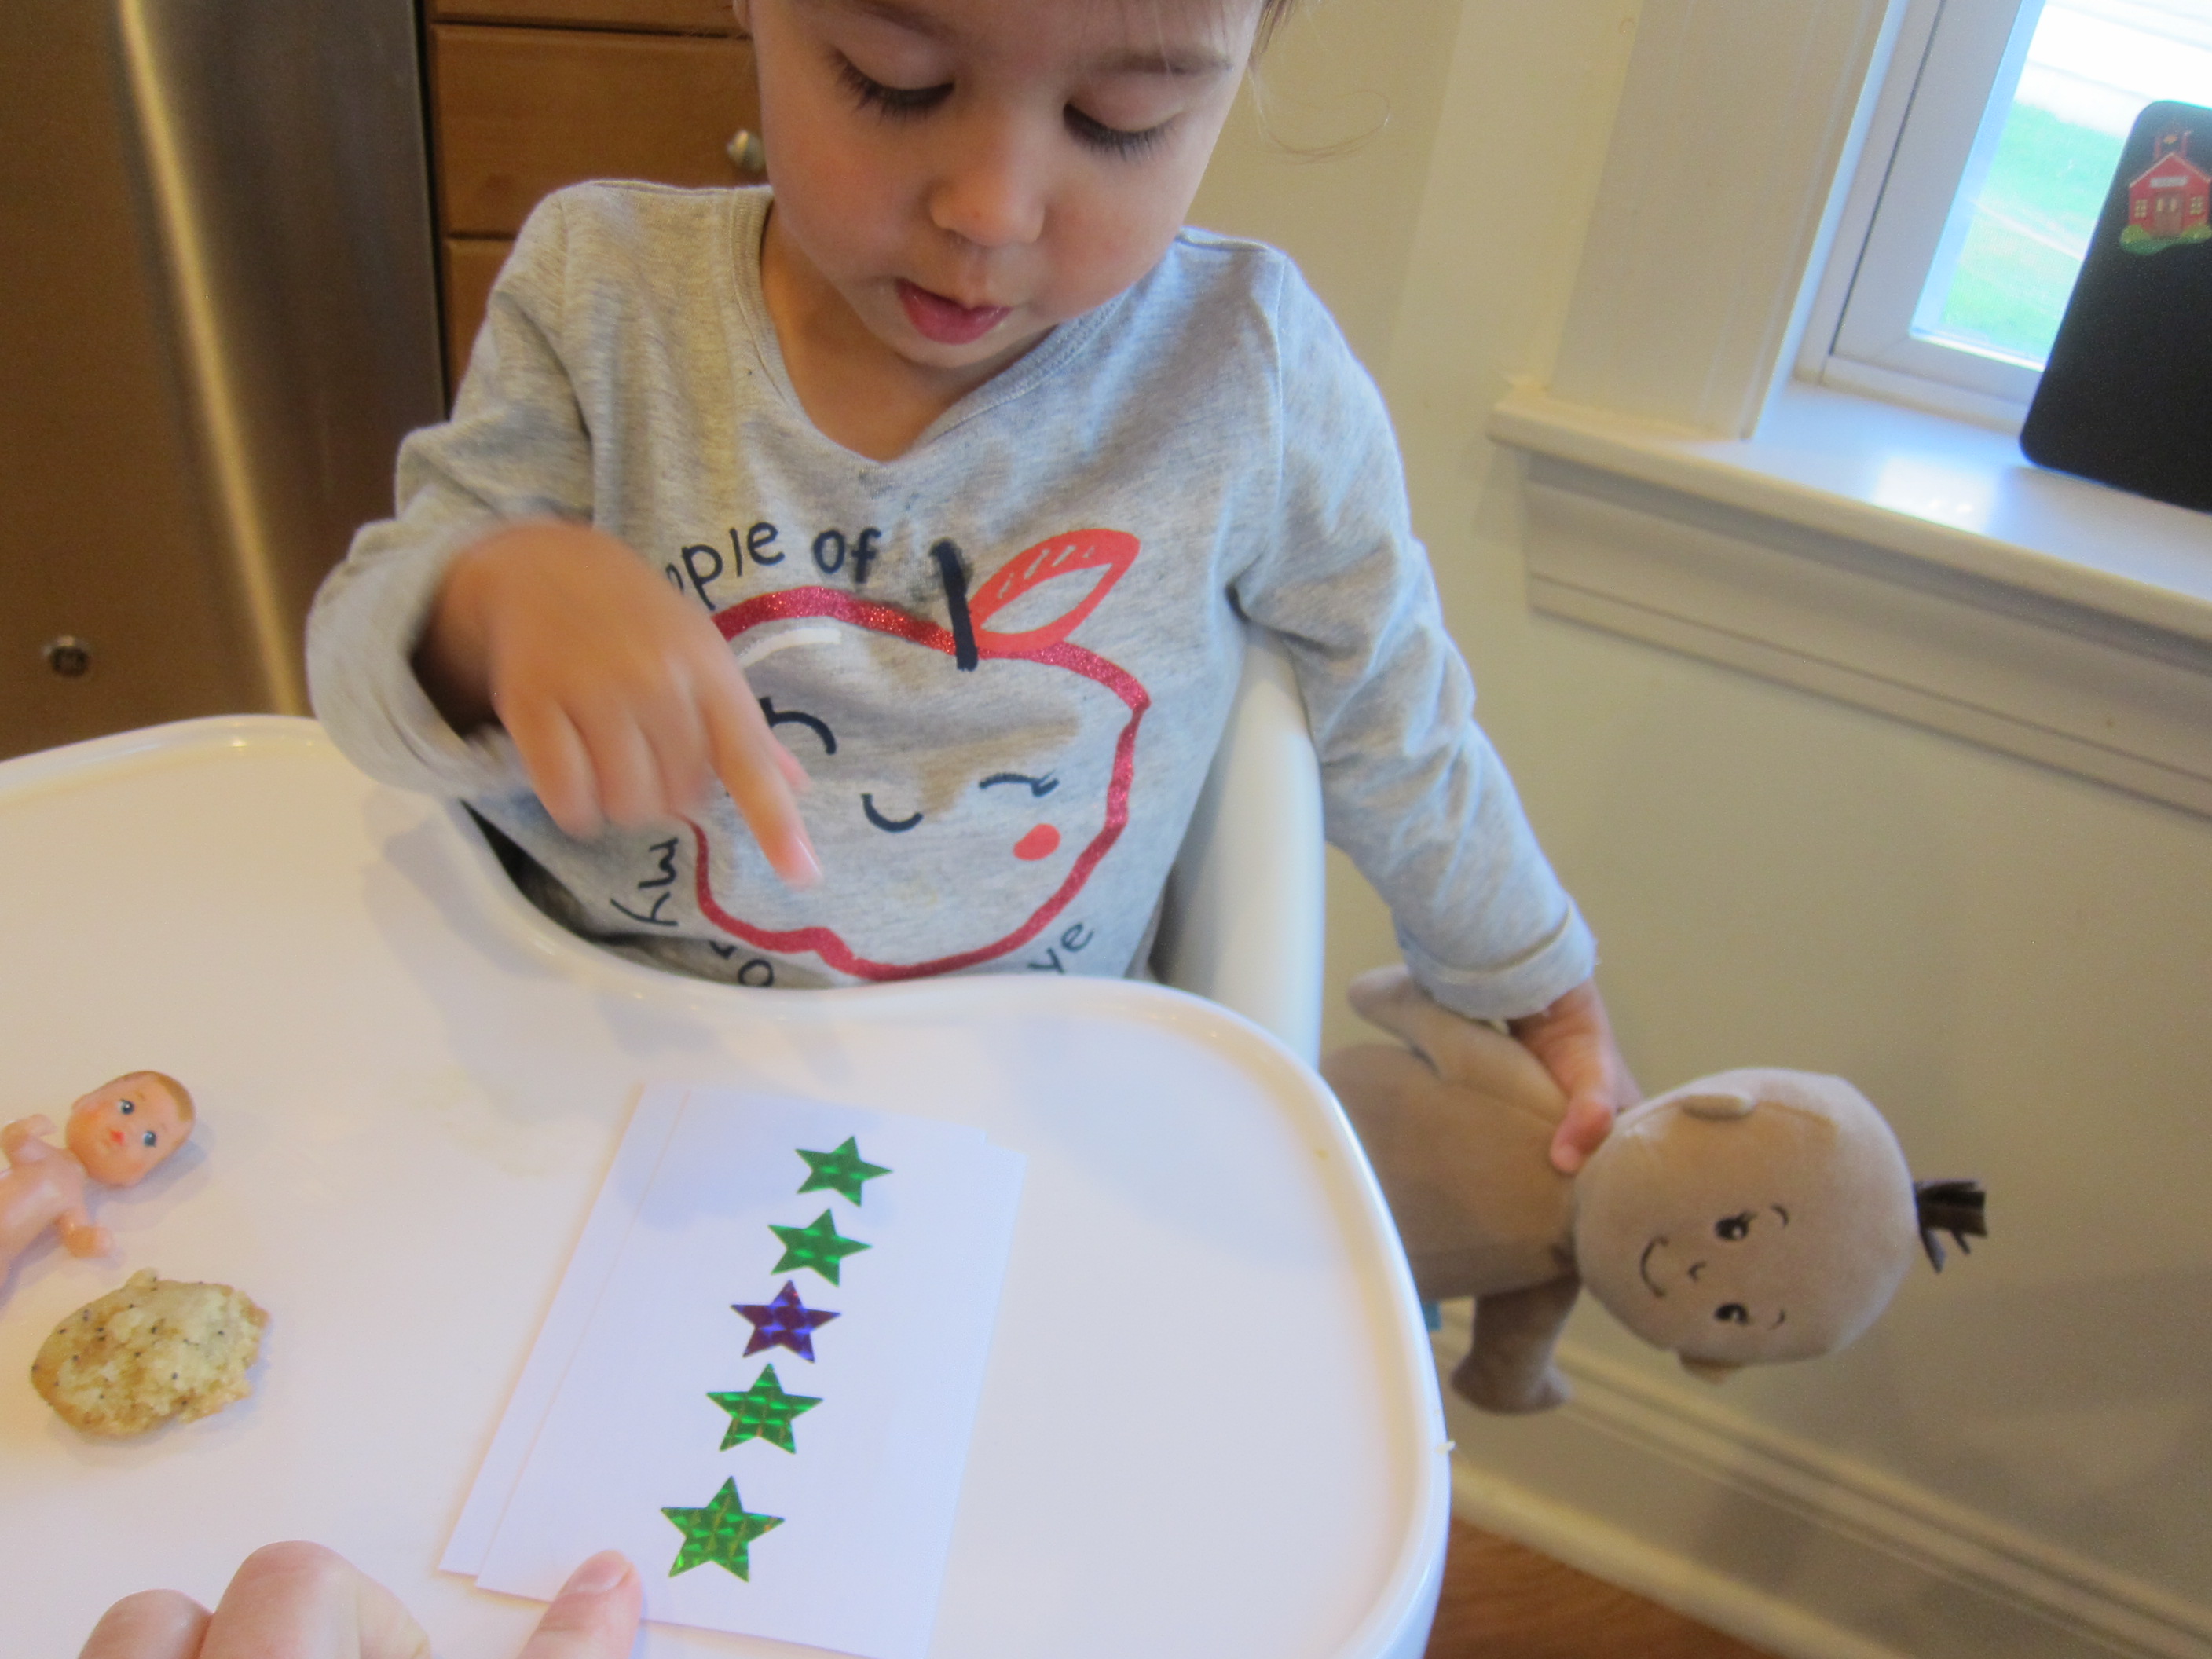
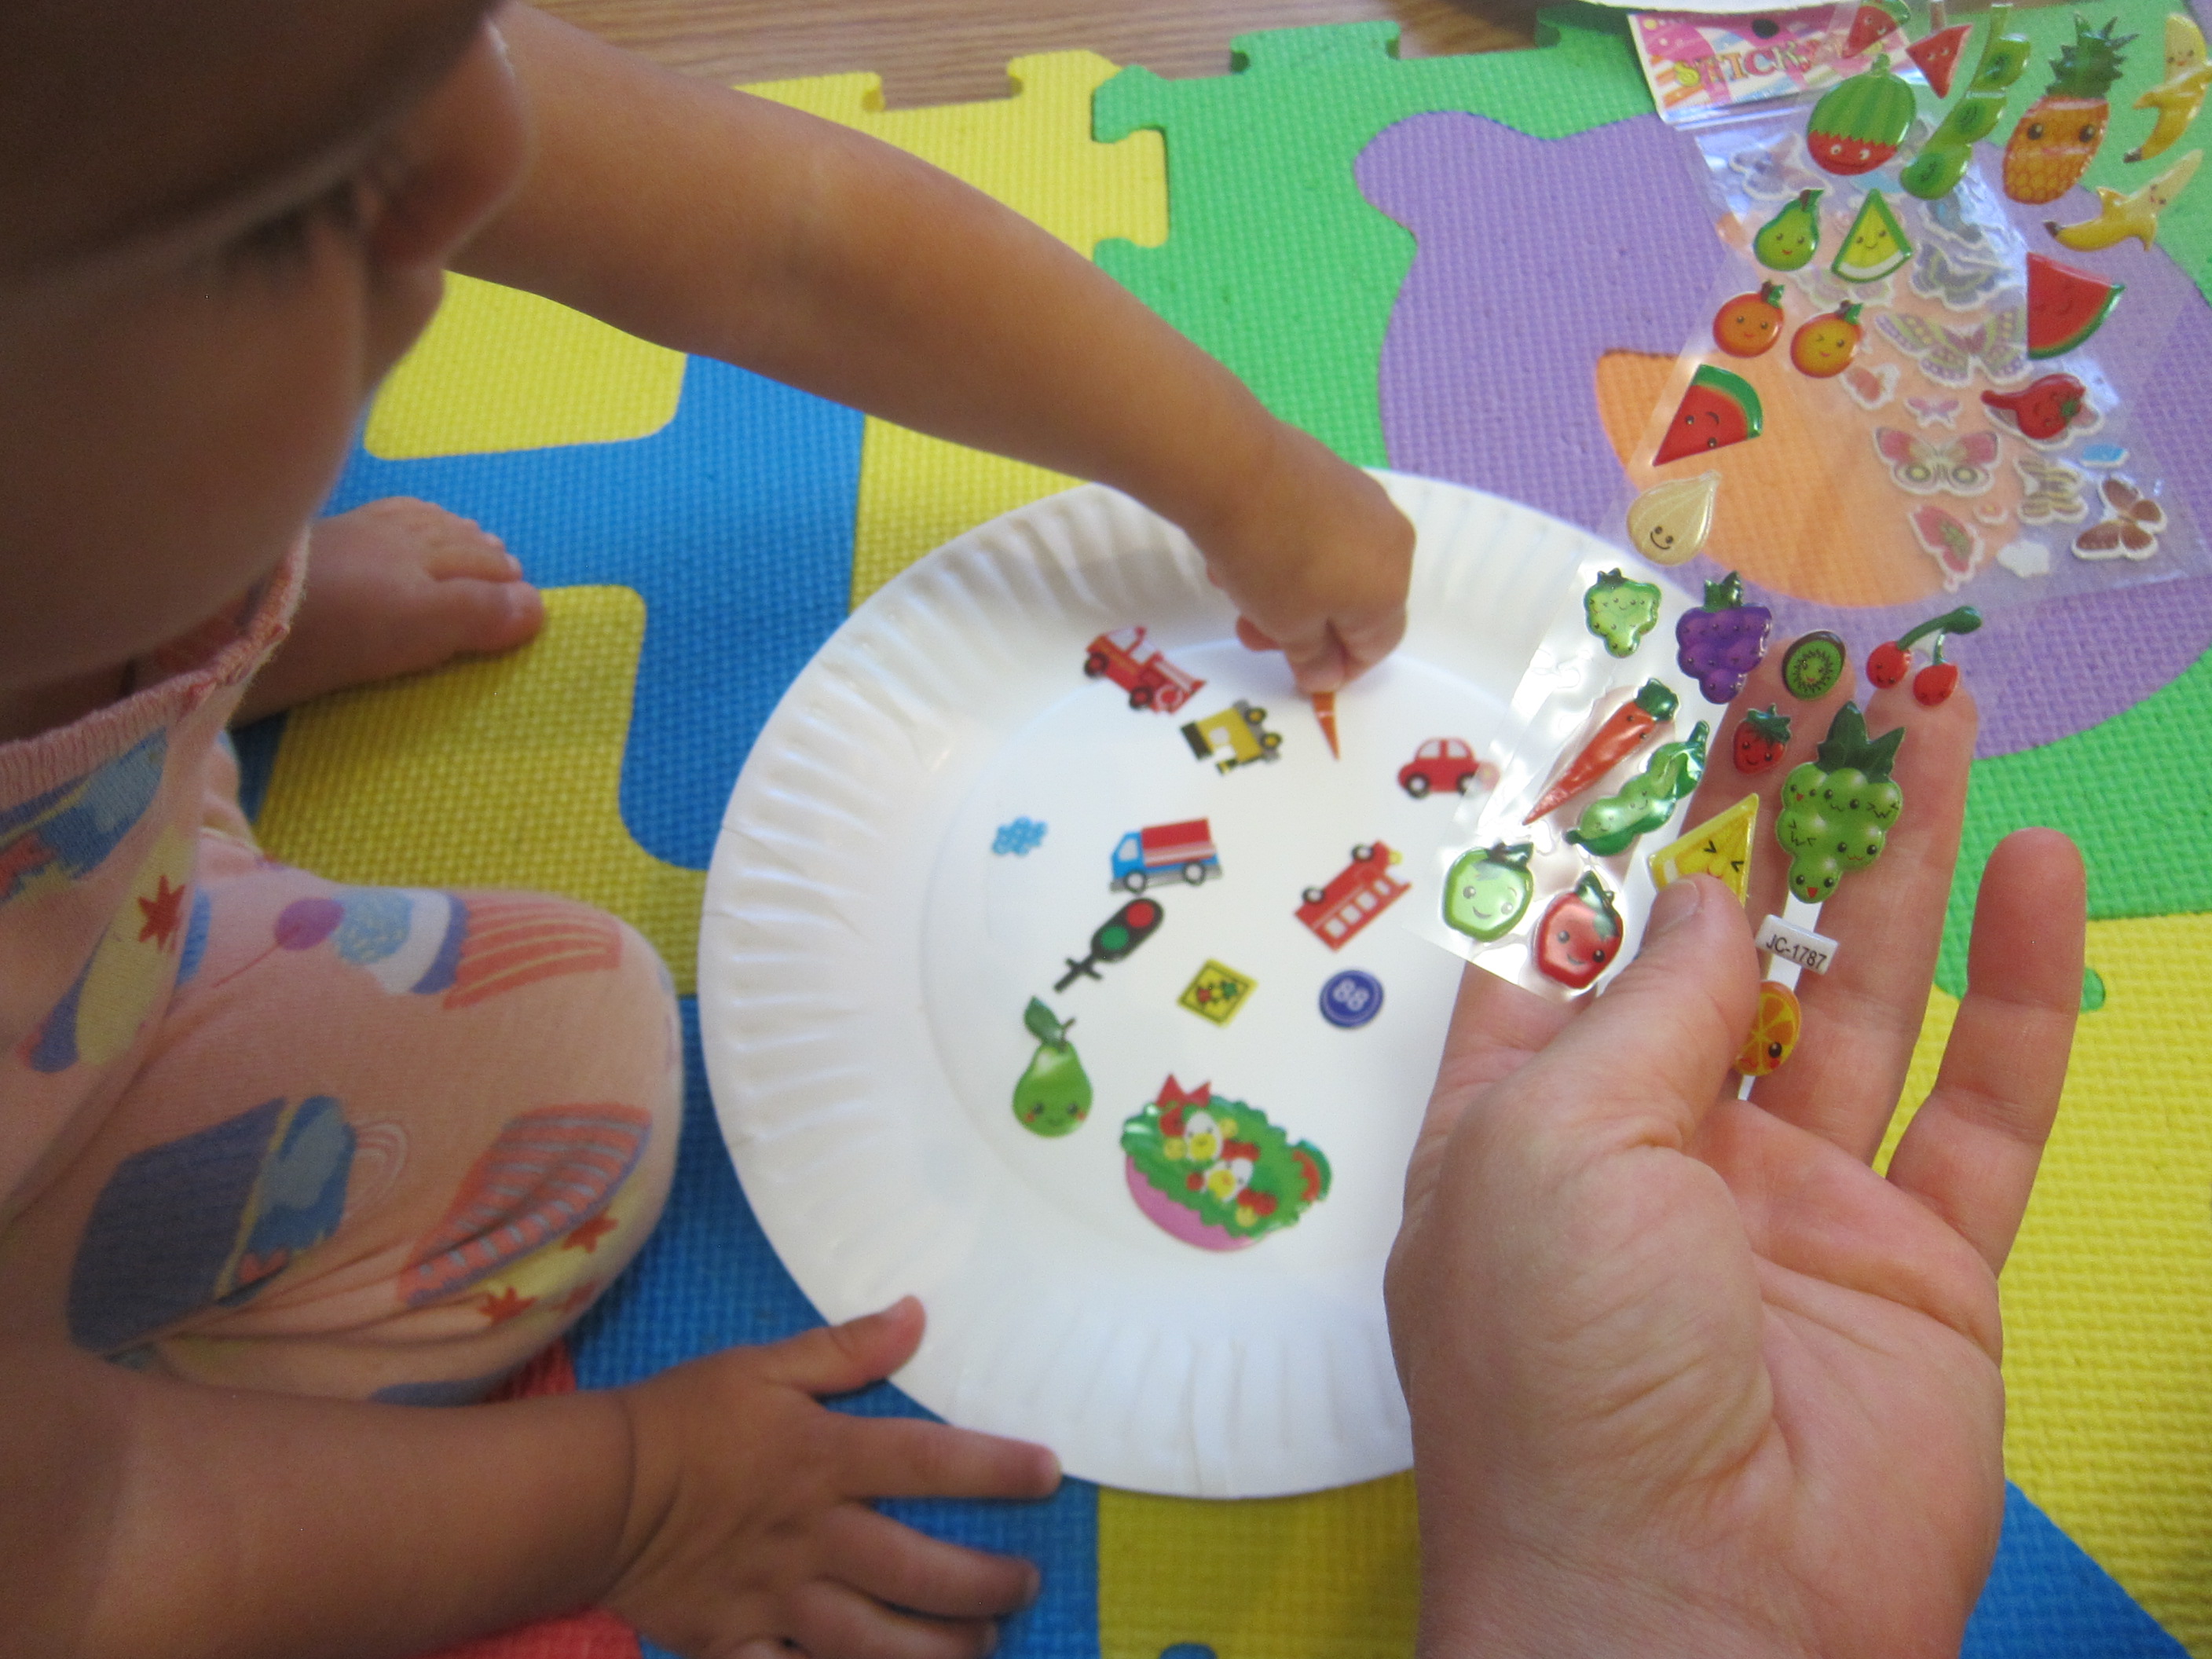
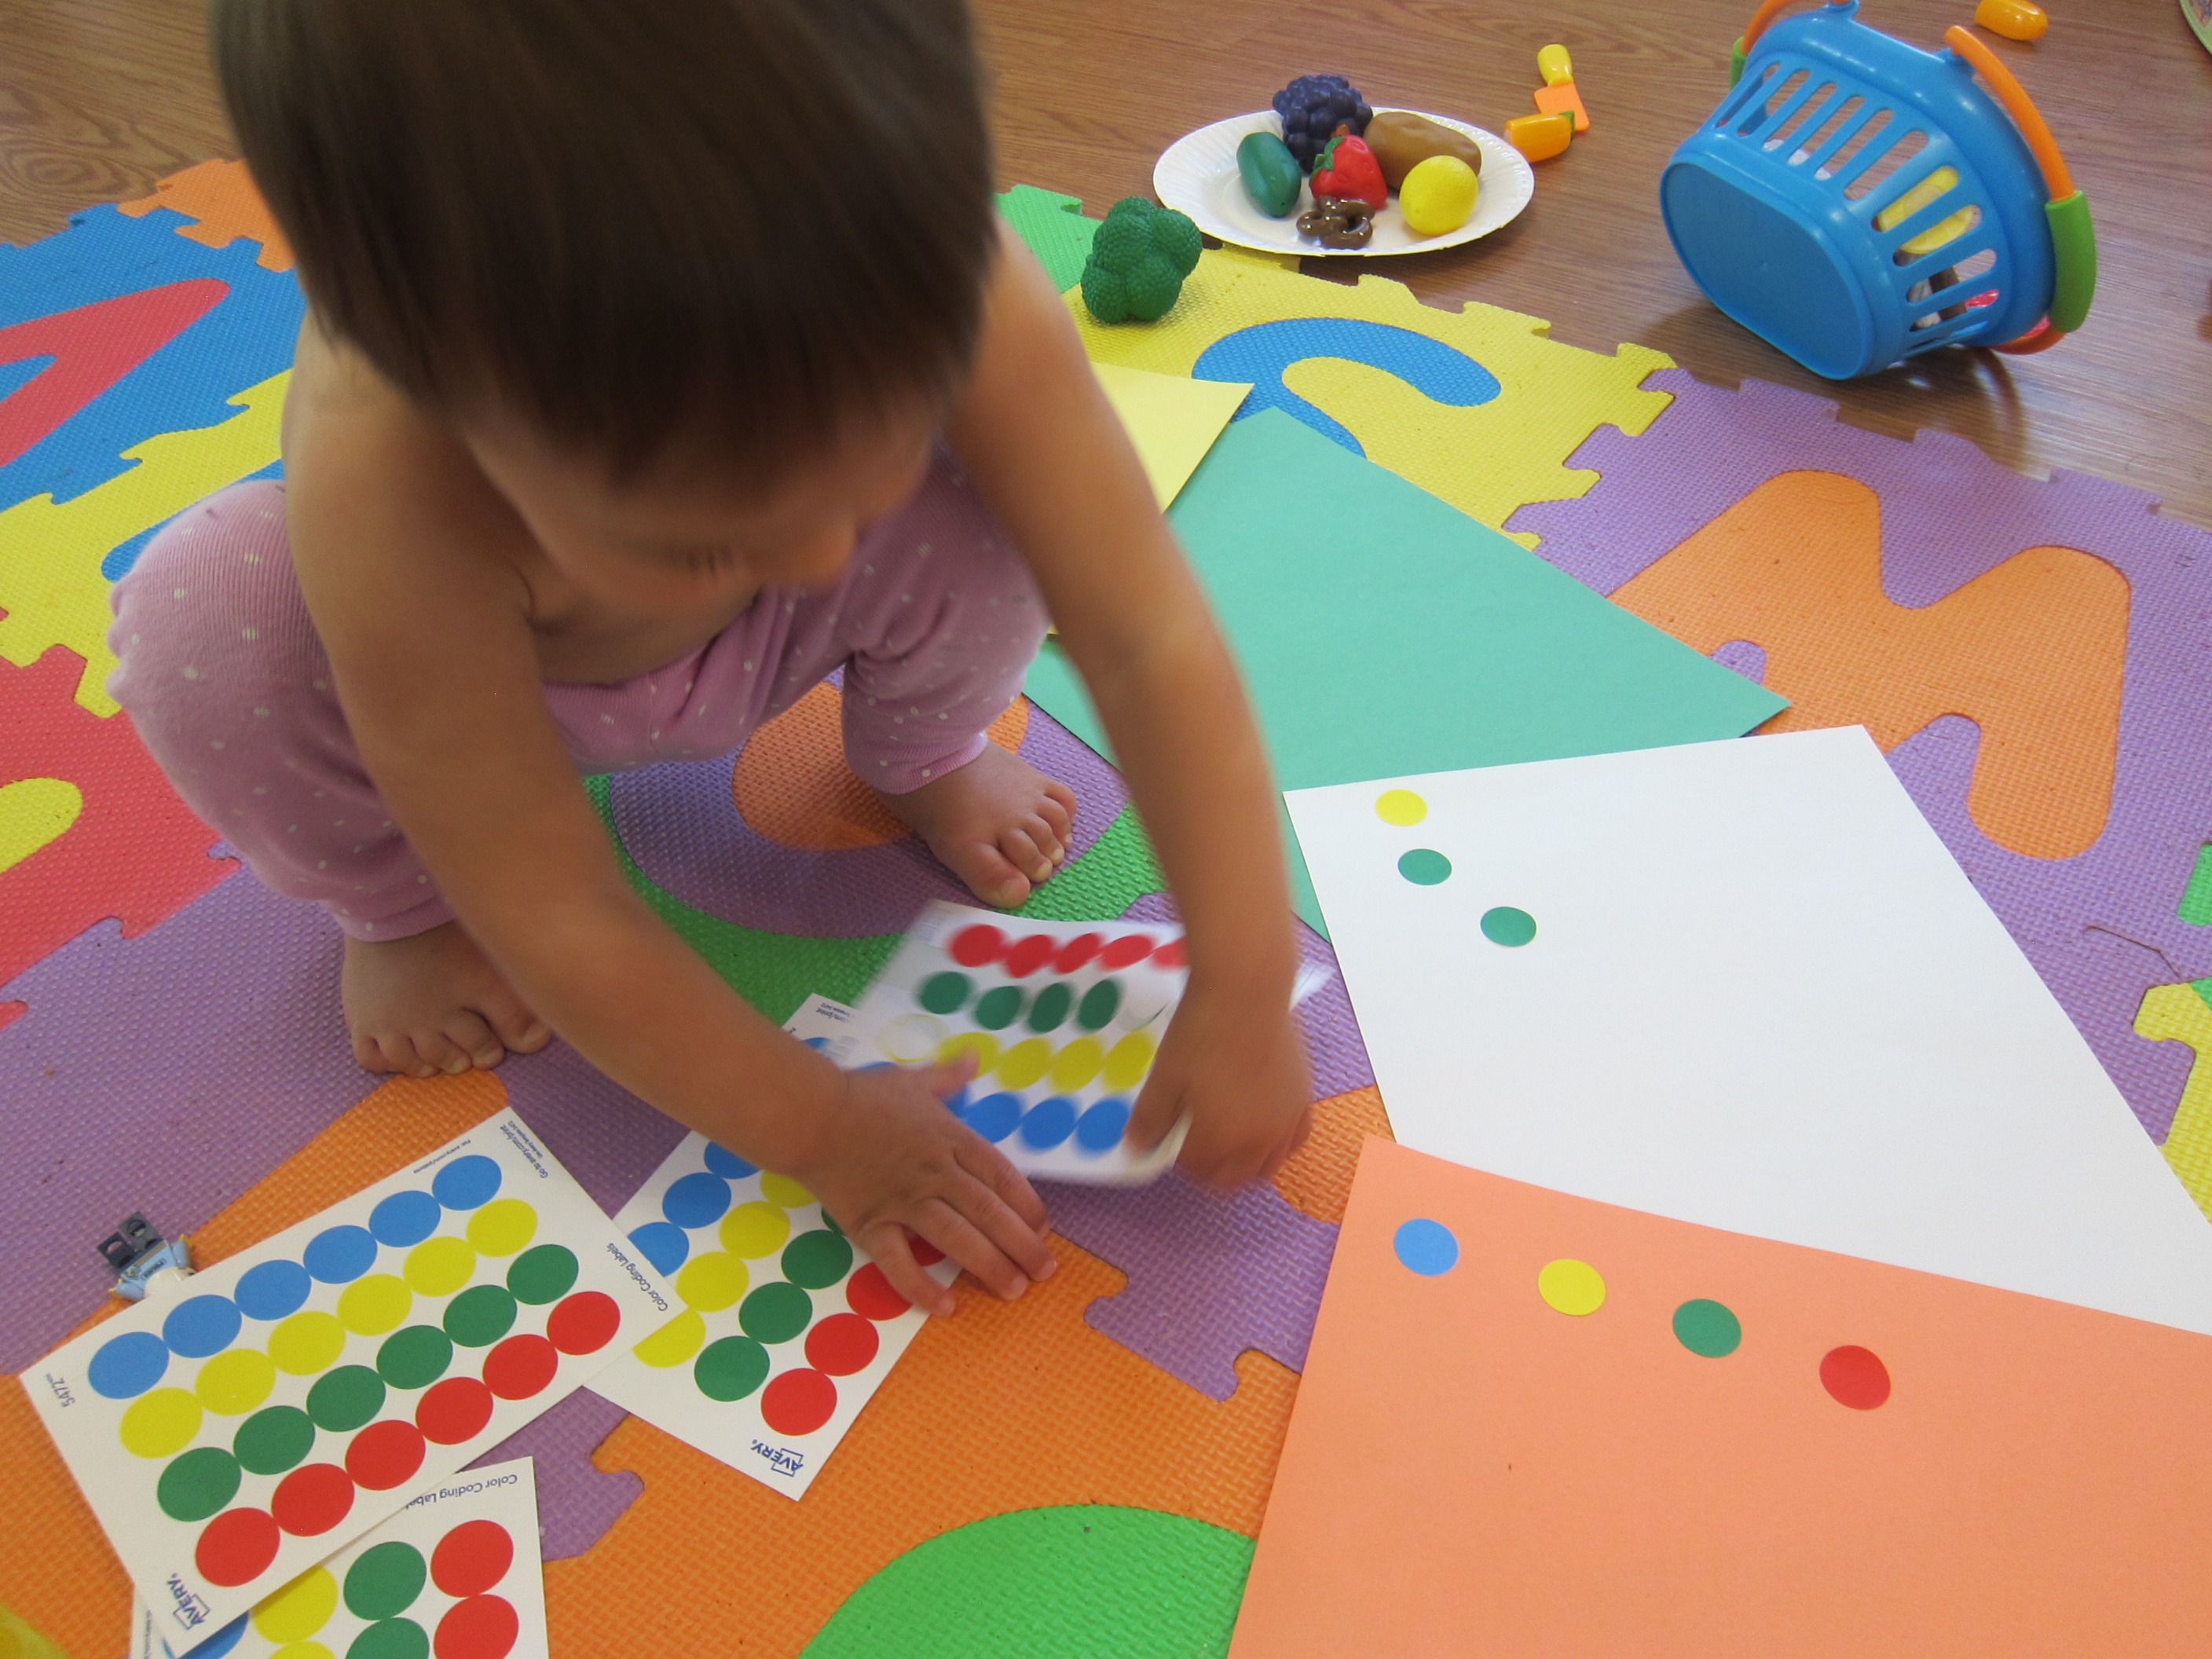
Next, draw zig-zag lines across the tree with pen, as if you’re drawing on strings of lights or garlands. I sat Veronika down with this tree and a bunch of happy face circle stickers. You can use Christmas-themed stickers instead, but I wanted her focus to be on the placement of the stickers, not the images.

Sticker Christmas Tree (2)

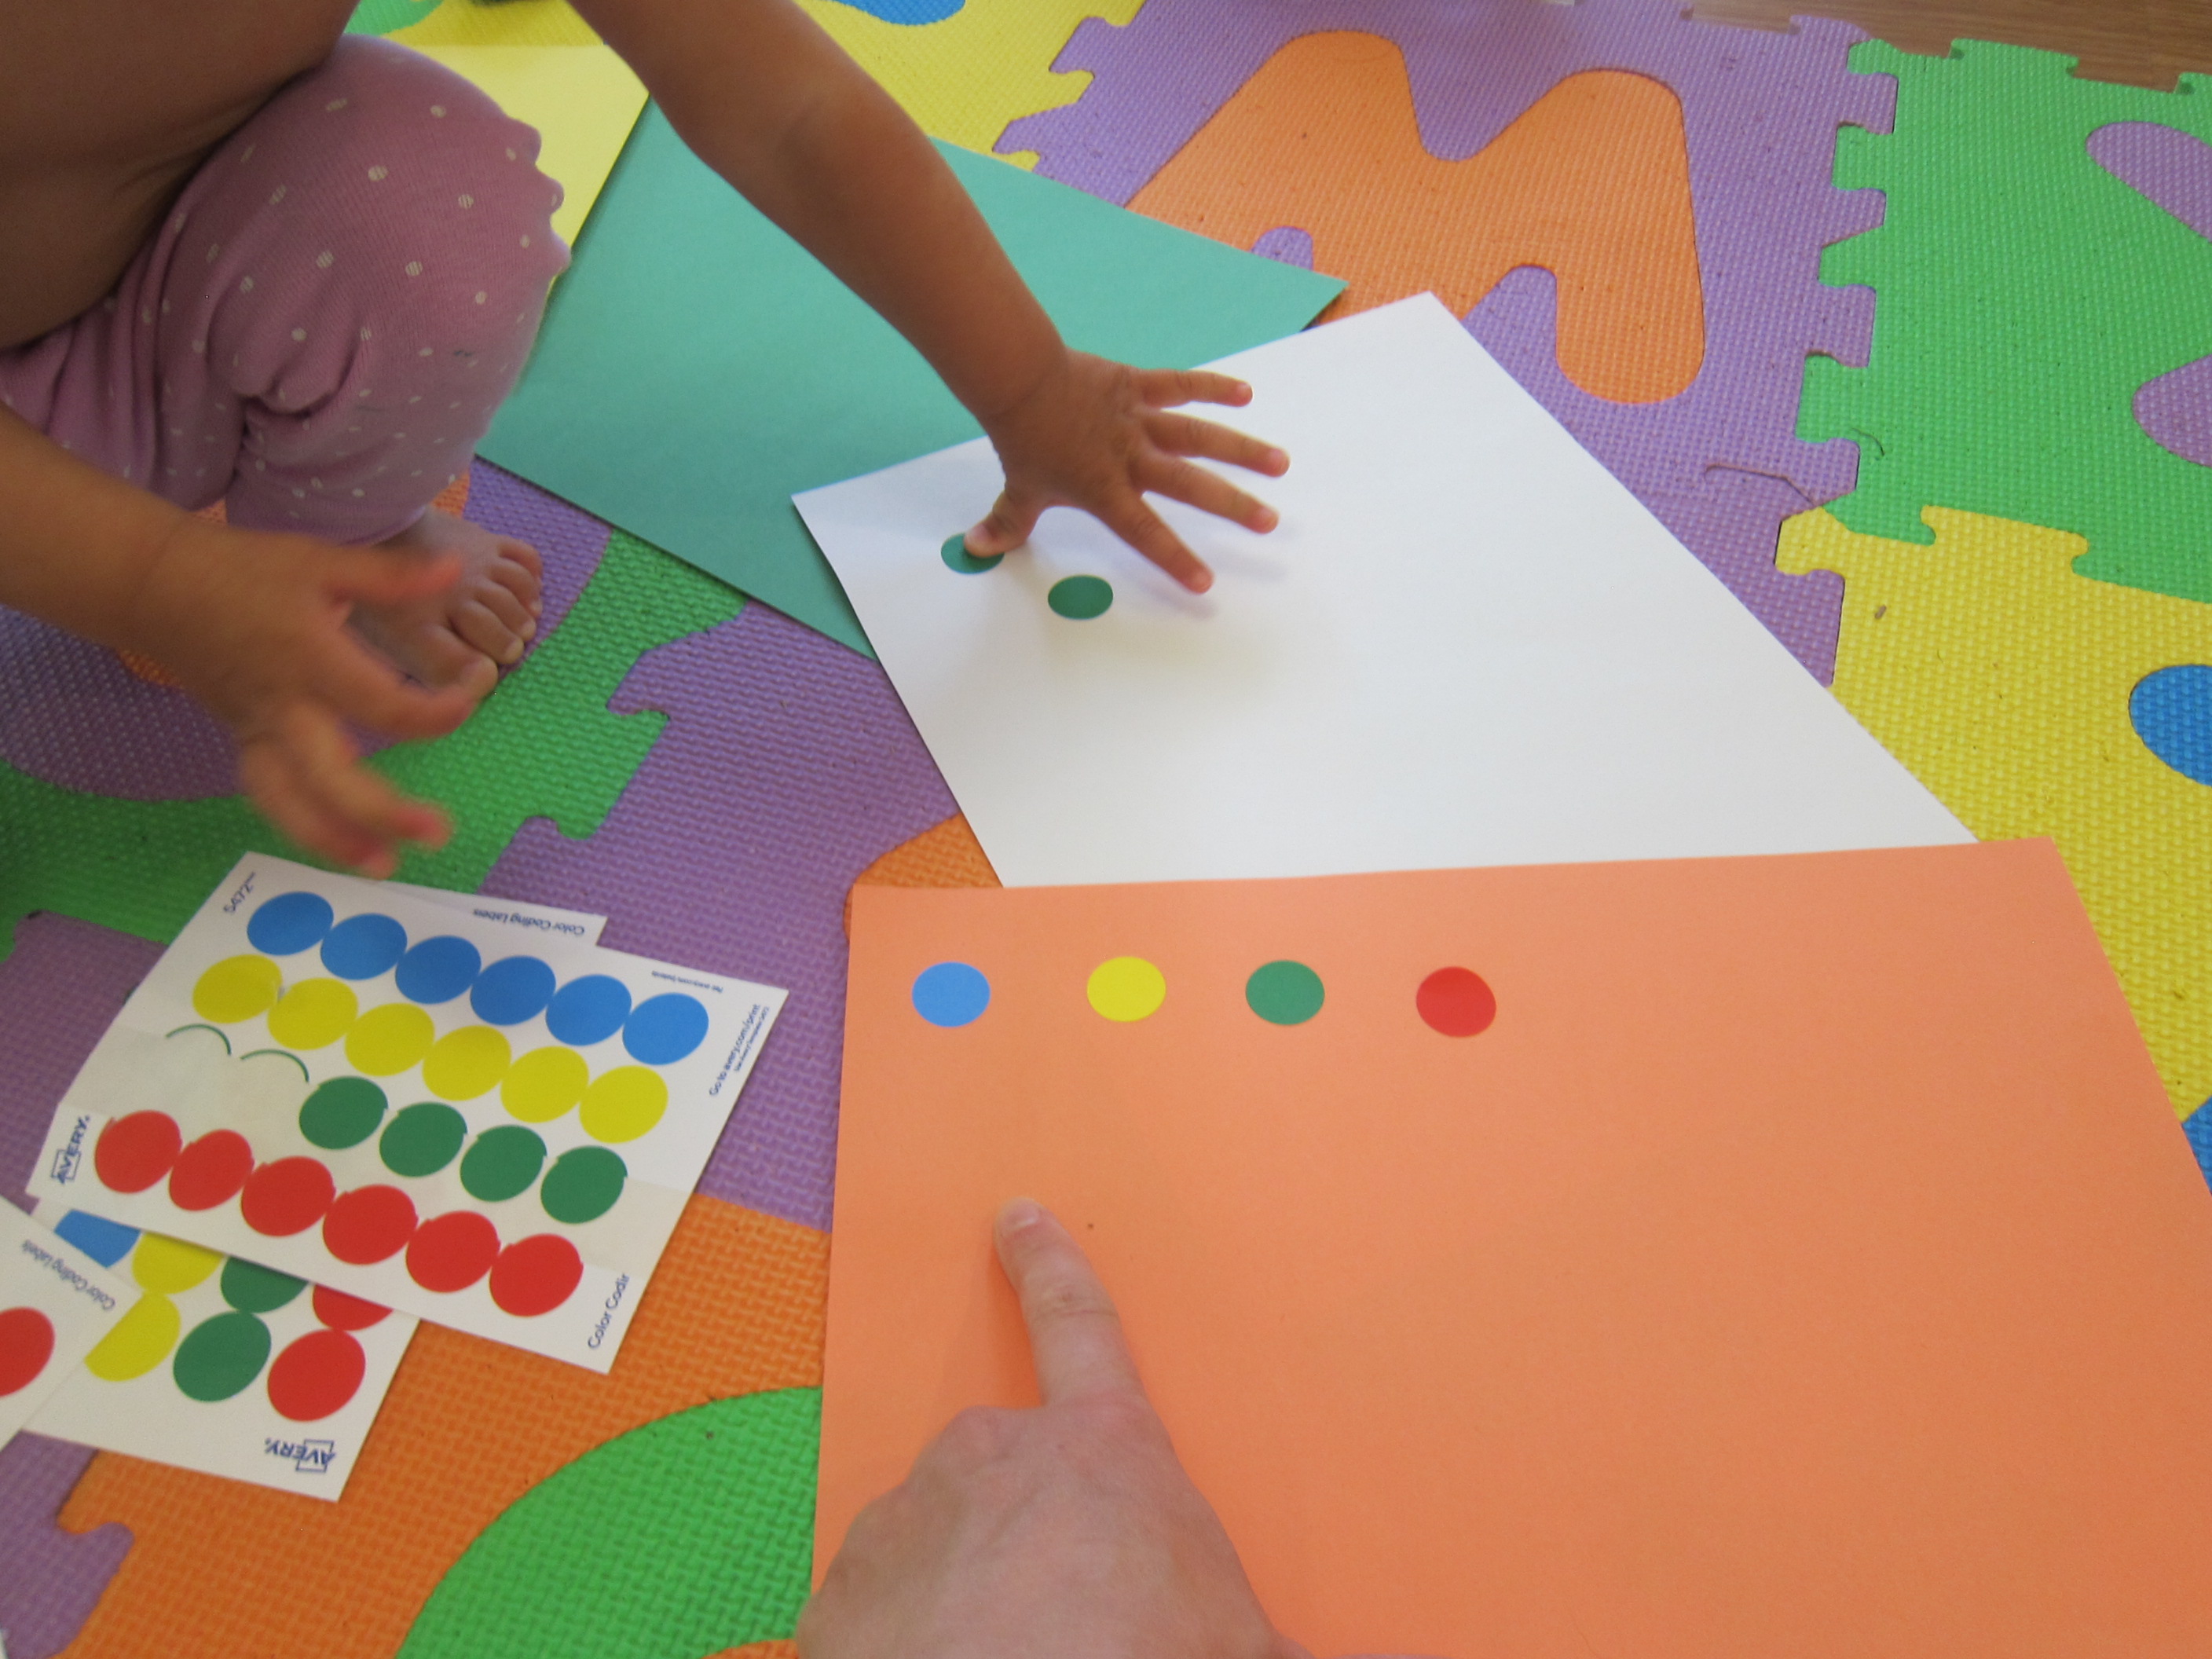
I asked her if she could put a sticker directly on the black line I had drawn. “Anywhere you see black!” I told her with a big smile. After one moment of hesitation, Veronika aced the task every time!

Sticker Christmas Tree (5)

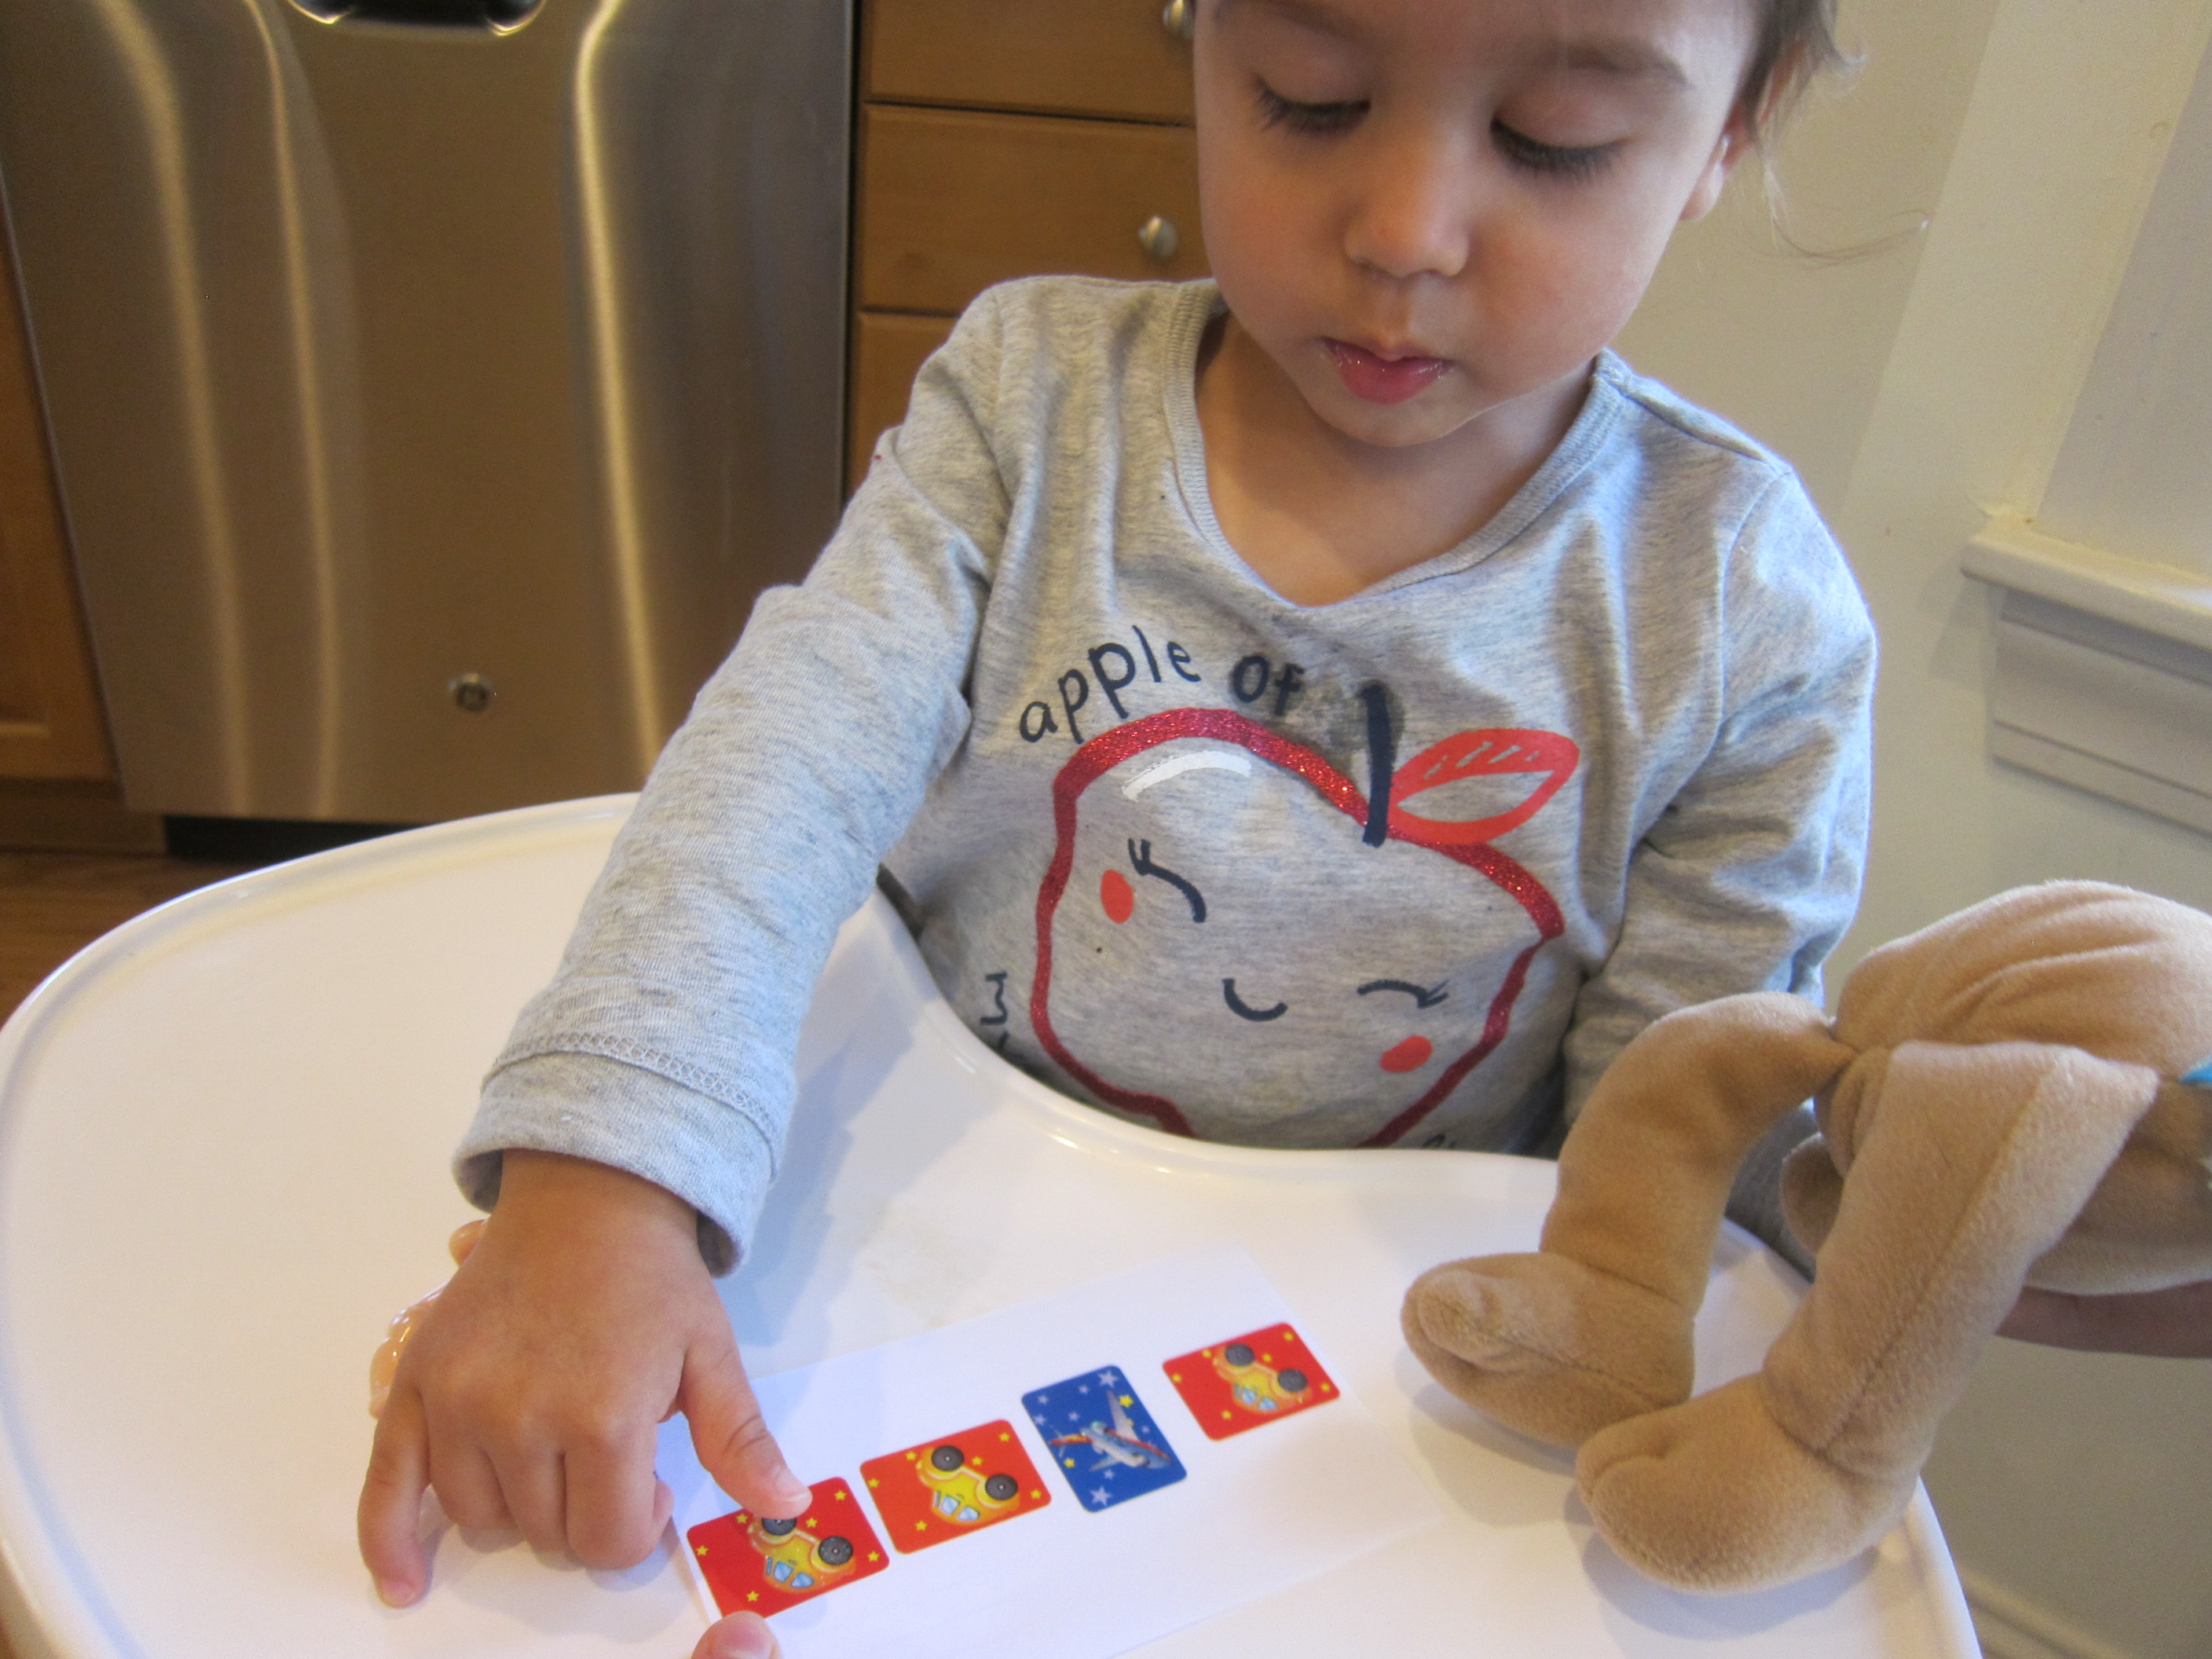
In fact, when I worried she was running out of blank spaces to cover on the line, I suggested she could start to sticker anywhere. She looked at me like I was crazy and stuck to the line! She even fixed her own errors a few times.

Sticker Christmas Tree (6)

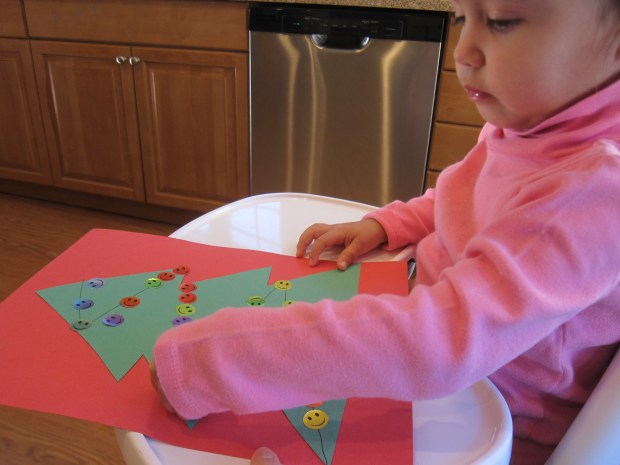
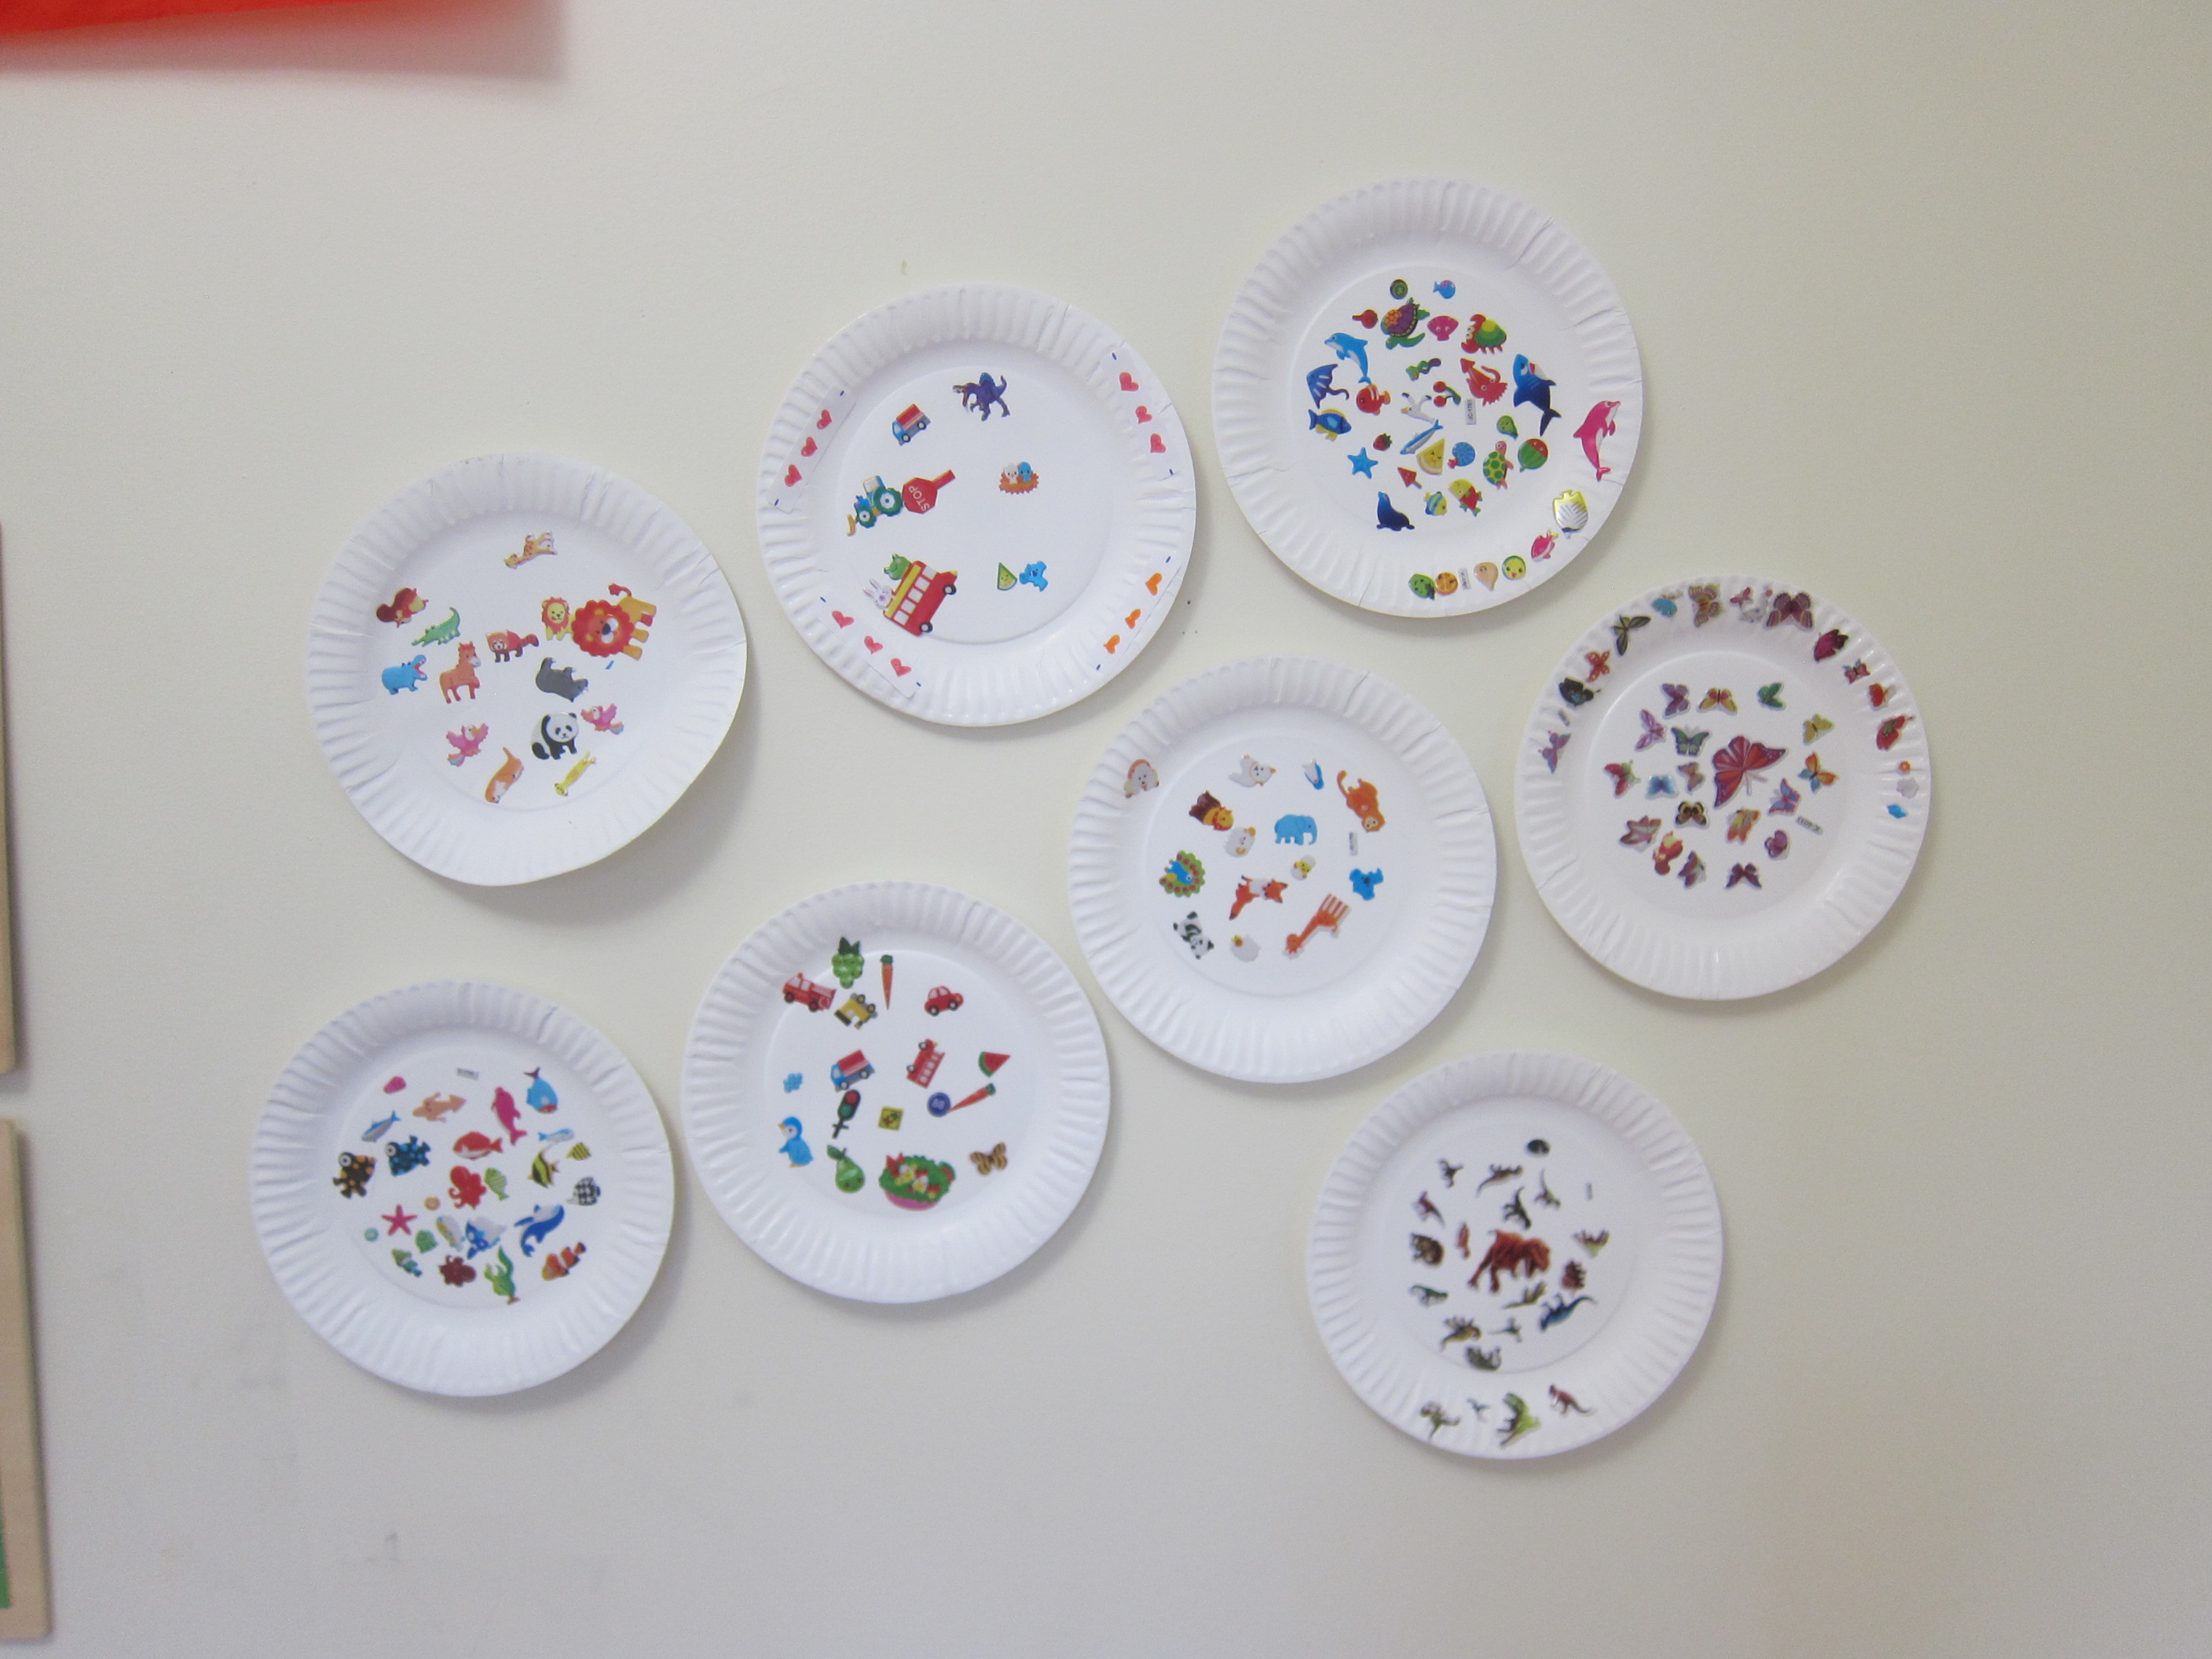
I had intended the activity as a test in listening to instructions only, and never would have guessed my 26-month-old would do so well. Look at this work!

Sticker Christmas Tree (7)

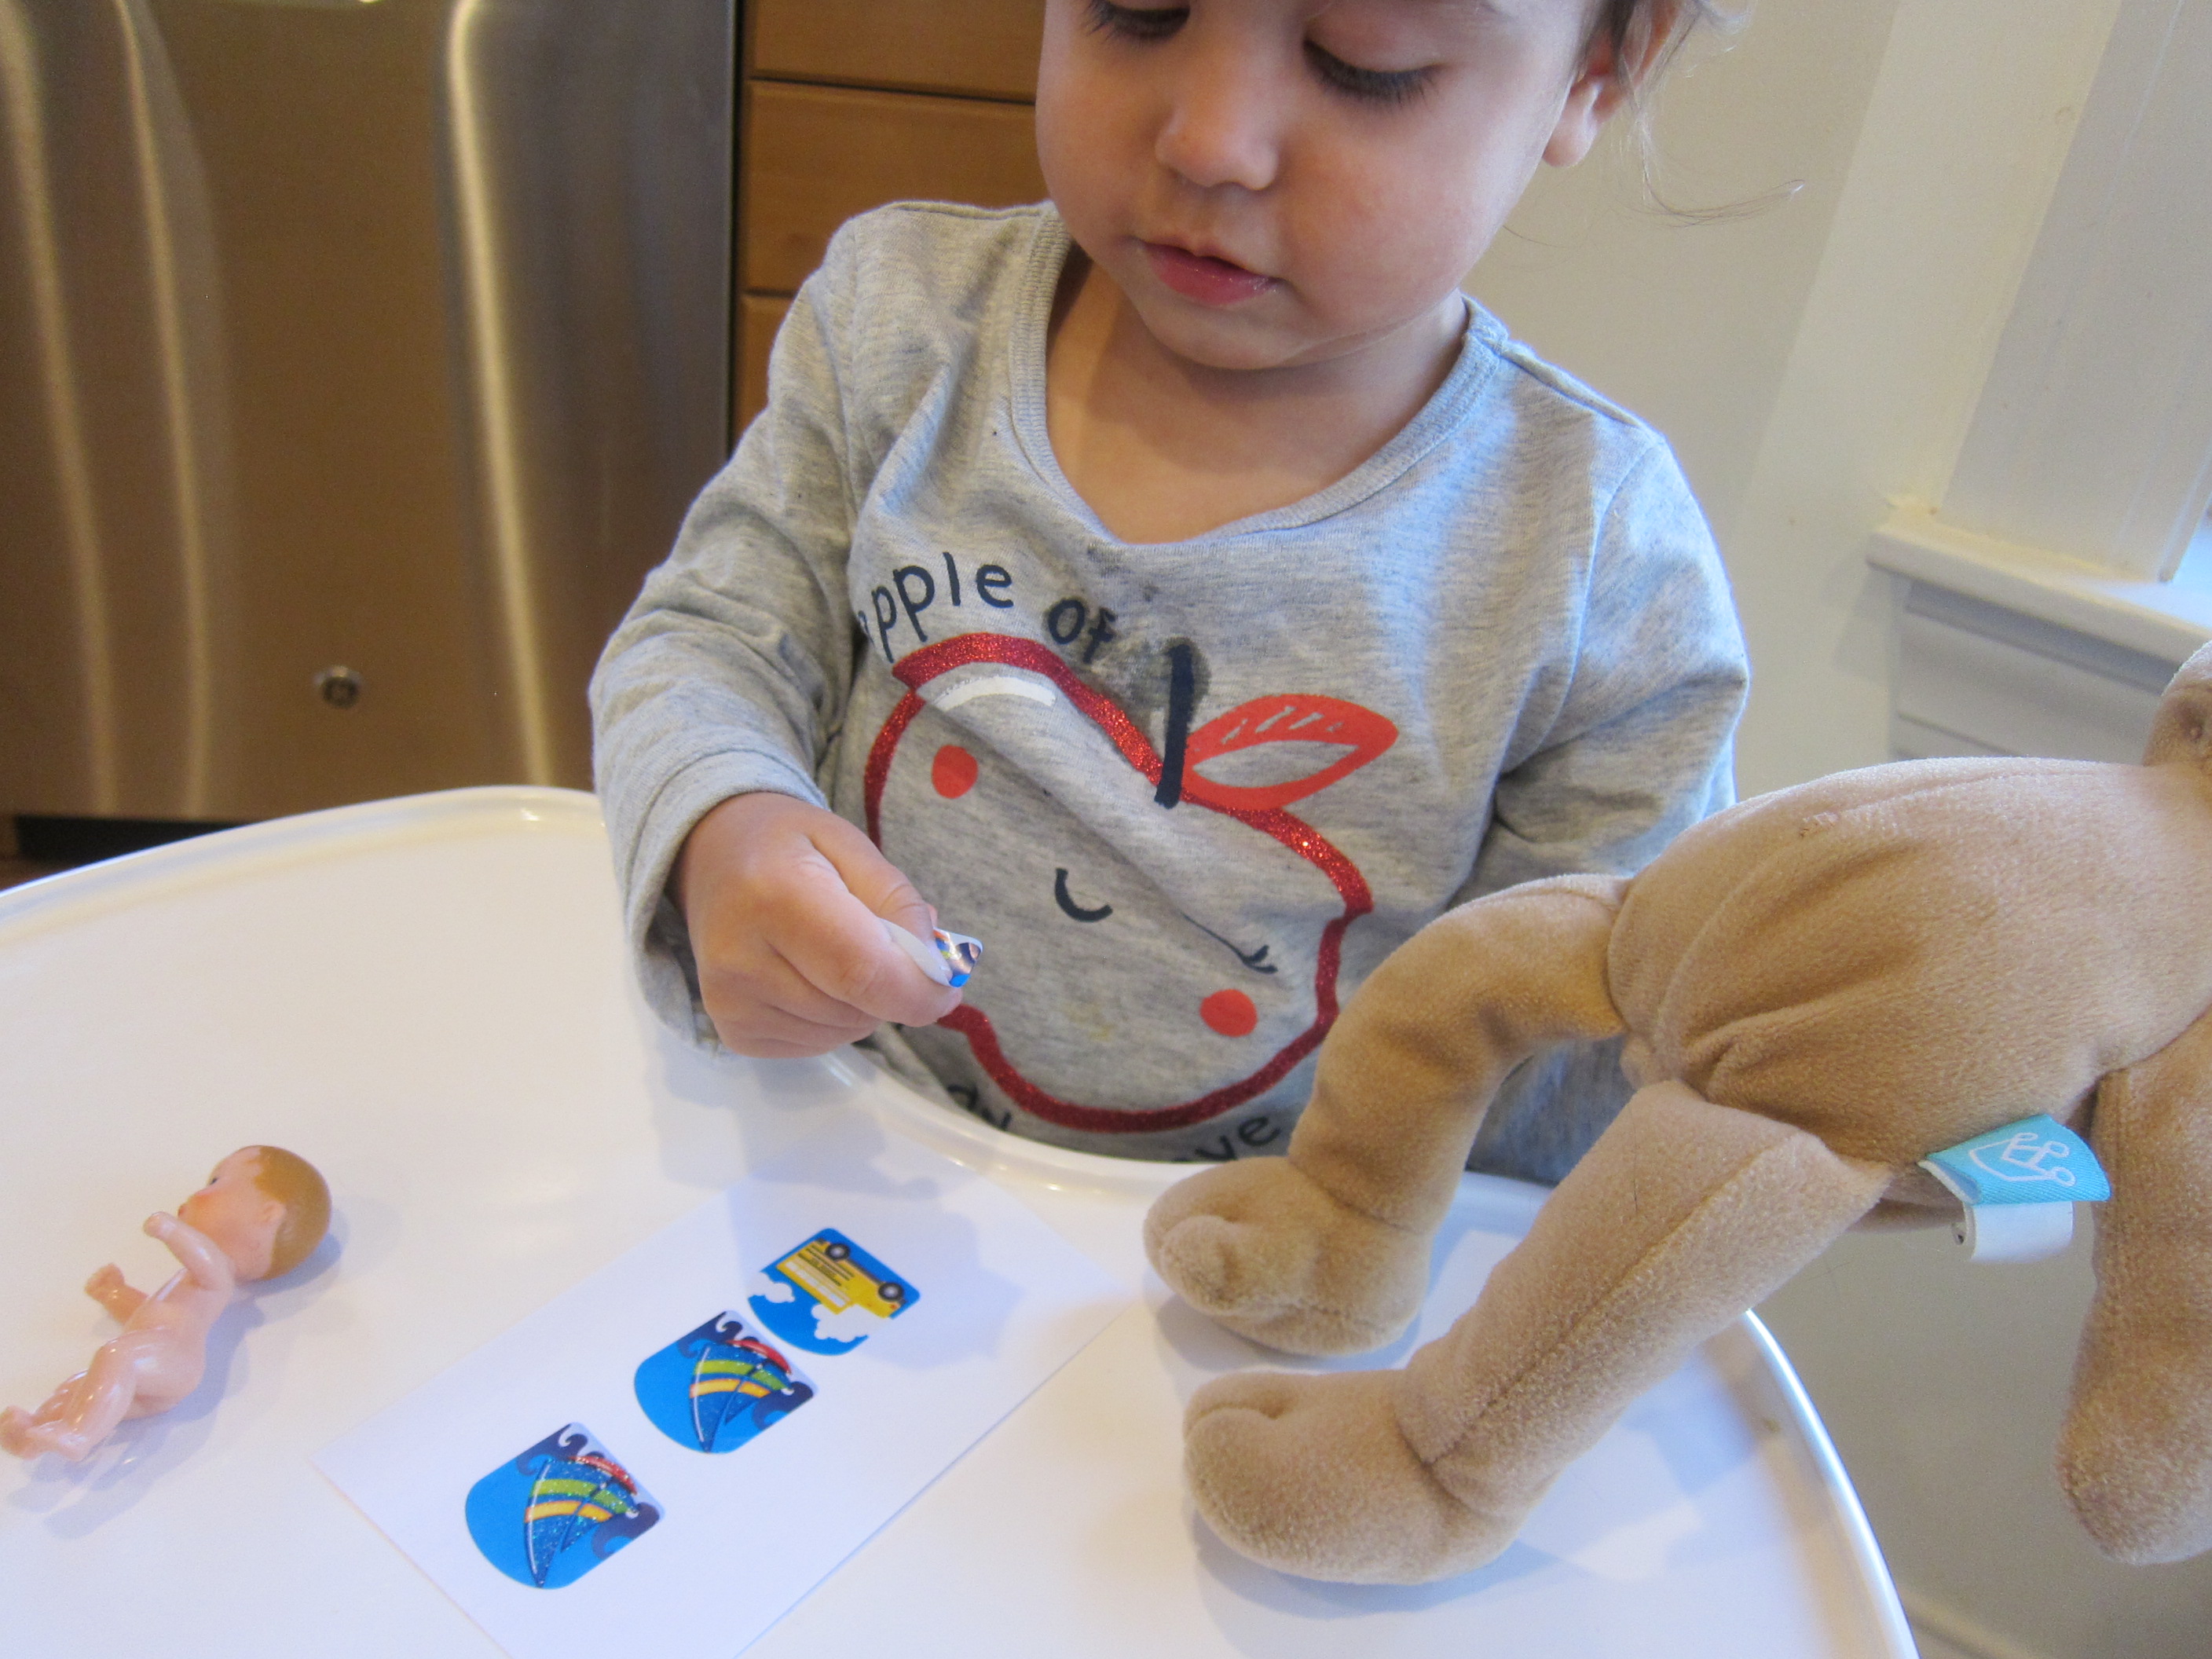
If you have preschoolers, this would make a great “busy bag” activity to work on solo, particularly if you need to, oh, wrap presents.

Sticker Christmas Tree (8)

Christmas Bag

Christmas Bag (5)

If you have lots of  Christmas-themed tidbits in your craft bin, here’s the perfect craft to use them up. And you can put it to good use once it’s finished, too!

I gave Veronika a brown grocery bag and set out lots of odds and ends that she could use to decorate. She especially loved an assortment of felt stickers, including tree lights, silly animals skiing, and candy cane shapes.

Christmas Bag (1)

Peeling the backing off the stickers was excellent exercise for her little fingers!

Christmas Bag (3)

I also gave her a glue stick and some leftover gift ribbon. She smeared the glue stick all over the bag and then pressed down pieces of the ribbon.

Christmas Bag (4)

I thought she might want to use markers in red and green, too, but she declared the bag finished and looked so proud of her work.

Christmas Bag (2)

This festive bag now has a useful purpose! On Christmas morning, make it your toddler’s special bag to store all their gifts in (especially those tiny stocking stuffers!). That way nothing will be misplaced.

Christmas Bag (7)

Under the Sea Play Scene

Under the Sea Play (6)

Here’s a fun sticker art project that turns into a game at the end!

First, I told Travis we were simply making underwater scenes. He’s been learning about coral reefs, which made this a neat extension. We added stickers to thick white paper featuring coral, sea stars, fish, and more.

Under the Sea Play (3)

I also added a background with crayons to show sand, water, and extra seaweed. Next, fill zip-top bags with blue paint. Insert your sticker scenes, and seal tightly.

Under the Sea Play (4)

I showed Travis that now he could uncover his ocean scene beneath the waves! In addition to the cool tactile feel of this, it was fun to watch the crabs and fish appear on the “surface”.

Under the Sea Play (5)

If your child is learning to spell, the paint is great for practicing: F-i-s-h, fish!


Under the Sea Play (7)

Note: I would use a lot more blue paint next time, since I didn’t have much and ours barely covered the paper, which sort of spoiled the “reveal” of the scene beneath. But Travis still enjoyed it!

What will go in your ocean scene? Please share in the comments!

Find the Oddball

Find the Oddball (5)

This quick activity is a nice early lesson for toddlers on spotting the difference (a.k.a. the odd one out), which is a starting step for later visual perception and attention to detail.

For this super-simple toddler version, I put stickers on index cards, always using several of one kind and one oddball.

Find the Oddball (1)

I started with a version that focused on color difference, using all star-shaped stickers: 4 of one color and the outlier hidden somewhere among them.

Find the Oddball (2)

She was quick to tell me the dominant color out loud (i.e. “Green!”), which told me that her eye was quickly spotting the majority. Each time I told her, “Look, the purple is different,” to bring her focus in that direction.

Then we moved on to a version with vehicle stickers. Here, I had three of a kind and one oddball. Again, her eye always went to what was dominant, naming it for me. “I see a car!”

Find the Oddball (3)

Sometimes I almost felt like she couldn’t see the oddball at all, even after I named it!

Find the Oddball (8)

It became clear that the game was a little advanced for her, too, because inevitably she wanted to hold a sticker, and this was a bigger draw than my insistence on, “Look, the bus is different. There’s only one bus.”

Find the Oddball (6)

Note: You can also draw the images, if you don’t have stickers on hand. Try smiley faces with one sad face, for example, or circles followed by one triangle. If you want your cards to be more permanent, cover them with contact paper.

Find the Oddball (7)

One way or another, this is a fun intro to the concept.

Sticker Art

Sticker Fun (4)

What can’t you do with stickers? They are the ideal material for kids in so many ways, whether on reward charts, for crafts, to make gifts, or more. Sometimes (like, say, a rainy morning) all you need to do is pull out your current sticker collection and let your kids go to town!

Right now I have loads of puffy stickers since these are easy for Veronika to pull from the sheets with little toddler fingers.

Sticker Fun (1)

I gave her paper plates as her canvas and she simply set to work. Peel off sticker, stick onto paper plate, repeat. This turned out to be excellent not just for keeping her busy, but also for vocabulary practice, since she wanted to name each sticker as she placed it on. “Bus! Tractor!” and so on.

Sticker Fun (3)

It also was great for the concept of matching since sometimes there were two of a given item in her sticker sheet. “One carrot, two carrot! One banana, two banana!”

Sticker Fun (9)

But mostly she just loved creating “art” with all the bright, colorful stickers. Big brother Travis joined in, too, deliberately creating themes on each of his paper plates.

Sticker Fun (5)

When the kids were done, I taped the plates to the wall for an easy “art gallery”.

Sticker Fun (8)

Veronika had also used heart stickers all over an empty water bottle.

Sticker Fun alt

This turned into an impromptu flower vase, and actually looked quite beautiful!

Sticker Fun var

As a final component of the morning’s play, we made DIY stickers on blank office labels. Veronika scribbled on them with marker and then was delighted to realize they could peel and stick just like other stickers.

Sticker Fun (6)

We added a few of these to the paper plates, too.

Sticker Fun (7)

What is your toddler’s favorite sticker craft? Please share in the comments!

Super Quick Sticker Art

Quick Sticker Art (3)

Looking for a quick way to occupy a toddler’s endlessly curious hands? Look no further than the top drawer of your desk for office supplies!

To wit, Veronika loves the stickers in her big brother’s home school workbook, but I can’t let her have them. Thinking quickly to avoid a tantrum today, I pulled out office dot stickers, the kind you can buy in bulk from any drugstore or office supply store.  And that was it!

Quick Sticker Art (1)

I gave her a few sheets of colored construction paper and just let her start sticking stickers all over.

Quick Sticker Art (2)

Older toddlers might want to be deliberate with their stickers, either grouping them by color, or making a pattern, or lining them up in straight rows. You can even encourage sticker piles, aiming to have your child place one circle directly atop another. For Veronika at a year and half old, this activity was just about pulling them off the sheet and pressing them onto the paper.

Quick Sticker Art (4)

She was so happy to do so!

Quick Sticker Art (5)

When she seemed on the verge of losing interest, I added anther office supply: pens and markers!

Quick Sticker Art (8)

At first I showed her how to draw right on the dots. But okay, this was too advanced for her coordination. Instead, she loved using the markers all around the dots.

Quick Sticker Art (7)

She even tried using two markers at once!

Quick Sticker Art (9)

And best of all, she was very busy.

Quick Sticker Art (10)

Set Design

Set Design (5)

Here’s an easy hack to turn empty cardboard boxes into play spaces with zero mess: use stickers as the backdrop to create scenery for a “stage”!

To put this together, I simply taped the background pages from a sticker set inside a large cardboard box.

Set Design (2)

We started out with an ocean page, and Veronika could go “under the sea” simply by crawling in. She loved peeking out from this watery cave, and also adding animals to the backdrop. It was almost like a virtual aquarium!

Set Design (6)

As an alternative, you can cut the box so it stands flat, and tape pages to the outside of it. In this way, the box now became her jungle! Use stickers or other pictures to create a farm, beach, or whatever else strikes your little stage actor’s fancy.

Set Design (3)

This was a neat way to build on Veronika’s imaginative play as she becomes less interested in merely manipulating objects, and more interested in acting out stories. I talked about her trip to each place, and the various animals she could see.

Set Design (7)

Other fun ideas? Use stickers to make a backdrop like a castle or outer space! If you’re more artistic than I am, of course feel free to paint these scenes. But relying on stickers was a great hack with no mess.

Set Design (8)

Sticker Easter Egg

Sticker Easter Egg (5)

It seems strange even to think about the upcoming Easter holiday, knowing we’ll be celebrating with family at a distance… but that’s all the more reason to decorate here at home! This simple-as-can be sticker project allows even little toddlers to have egg decorating fun.

I cut an egg shape from construction paper, choosing purple for the background. and then gave Veronika a sheet of stickers. Knowing we wanted a springtime feel, I chose stickers of butterflies and flowers.

Sticker Easter Egg (1)

These were puffy stickers, which are the perfect type to help toddlers learn to peel stickers off the sheet. If I folded the sheet ever so slightly, the puffy edge of a butterfly would stick up and Veronika could pull it up.

Sticker Easter Egg (3)

In the past, she’s loved just adorning herself with stickers, which I worried might be the case today.

Sticker Easter Egg (2)

But when I said, “Veronika, can you put the sticker on the purple paper?” she followed directions perfectly!

Sticker Easter Egg (4)

She had started to pile a lot of them in one place on the paper, which was just fine; it’s her art work!

Sticker Easter Egg (6)

But when I pointed to other areas of the “egg”, she moved her stickers over to that area. Again, this project turned out to be great for following directions.

Sticker Easter Egg (7)

If big siblings want to join in on the project, challenge them to be more deliberate with their stickers, making rows or patterns.

Learning Things That Go

Stamps (4)

There are so many ways to teach toddlers about the various vehicles in the world, whether that means cars and trucks, or boats, or planes, or everything in between. Most obviously you can point these things out in the real world or read about them in books. But toddlers are so tactile, so consider hands-on learning with stamps or stickers that depict things that go!

First up: stickers. Veronika is currently obsessed with stickers, so we had lots of fun with a reusable sticker book from Melissa & Doug. She was a little frustrated that the big planes and trucks wouldn’t stick to her belly…

Stickers (5)

…but loved that she could lift them off the page over and over.

Stamps (5)

Next up: stamps! I purchased a stamp set with big chunky ones just right for toddler-sized hands.

Stamps (1)

We talked about the image on each stamp before I pulled out the ink pads. Of course the ink itself was more fascinating for a while!

Stamps (2)

But soon I showed her how to press a stamp down into the ink, which then appears like magic when pressed on paper. She was a little young for this activity, impishly trying to eat the stamps, so we tucked the ink pad away. But I loved that this was both a vocab lesson and an “art” activity.

Stamps (3)

One final option: felt pieces featuring things that go. Veronika loves her set with cut-outs of planes, trains, and more.

Things That Go alt

Little felt shapes like this of things that go are great for, well, when you’re on the go!

Things That Go var

Whichever medium you choose, there’s lots of hands-on learning and fun to be had!

A+ for Teachers

A+ Teachers (5)

May 7 is National Teacher Day, so in appreciation, Travis put together “report cards” for his two preschool teachers!

A+ Teachers (1)

Ahead of time, I bought a few packs of school-themed stickers. These served as helpful prompts as I asked him to think about how his teachers help him. For example, cookies and juice reminded him, “They help me at snack time.” Glue, scissors, and paint jar stickers reminded him, “They help me with crafts.”

A+ Teachers (2)

We also added a few more abstract ideas, like “they are patient with me” or “they encourage me.”

Of course for each sentence, we graded his teachers an A+! Once he’d written in his name, the cards were complete.

A+ Teachers (4)

What will you do for your kids’ teachers in appreciation? Please share in the comments!