Coffee Can Games, Two Ways

Jingle Bell Roller (5)

I had an empty coffee can in the house, and knew better than to recycle it; it would make a perfect prop for Veronika’s play. To wit, we found two great ways to use it today.

First up was a combination of art and musical play. To decorate the coffee can, I wrapped a piece of contact paper around it, sticky side out. I gave Veronika pieces of old gift wrap and old postcards so she could adorn the outside.

Jingle Bell Roller (2)

Once it was decorated perfectly according to her toddler standards, I wrapped a second piece of contact paper on top, sticky side in, to seal her design.

Jingle Bell Roller (3)

I then put small jingle bells inside the coffee can and secured the lid.

Jingle Bell Roller (4)

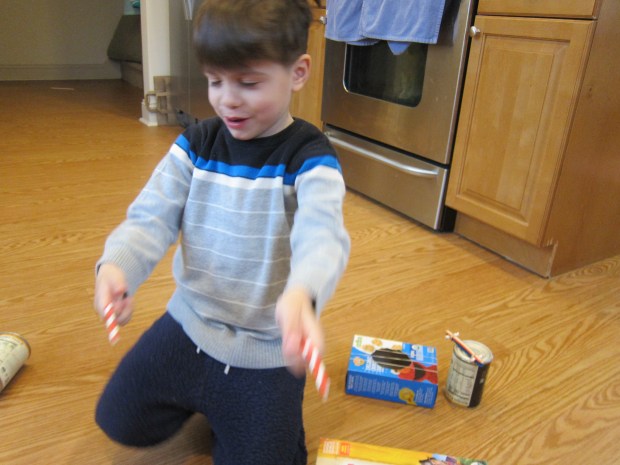
Shake shake shake! We sang along (admittedly to unseasonable songs like Jingle Bells!) and she had a huge grin on her face.

Jingle Bell Roller (6)

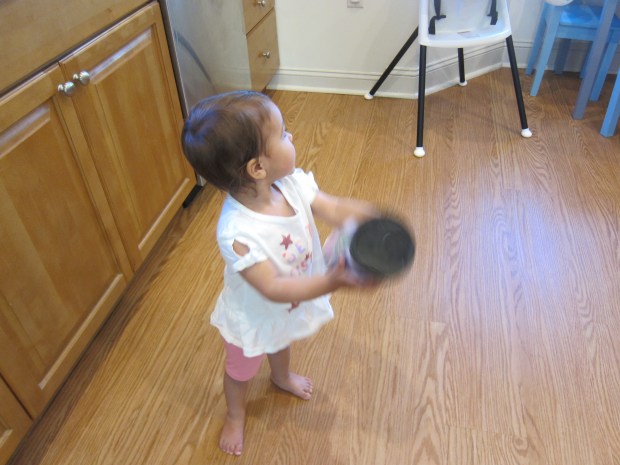
Then she discovered that she could roll the can along the floor and make it jingle. She chased it all around the house this way.

Jingle Bell Roller (7)

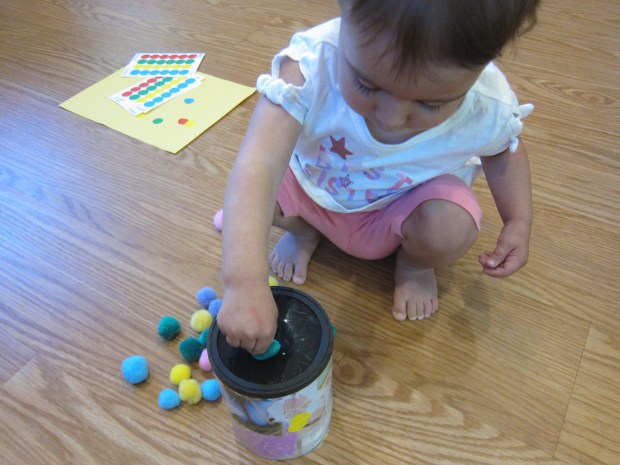
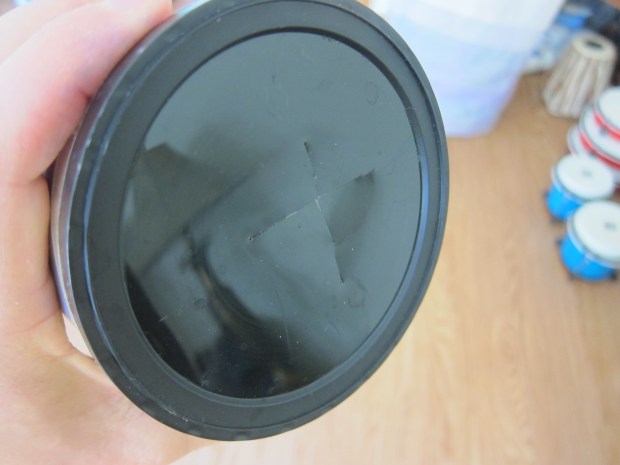
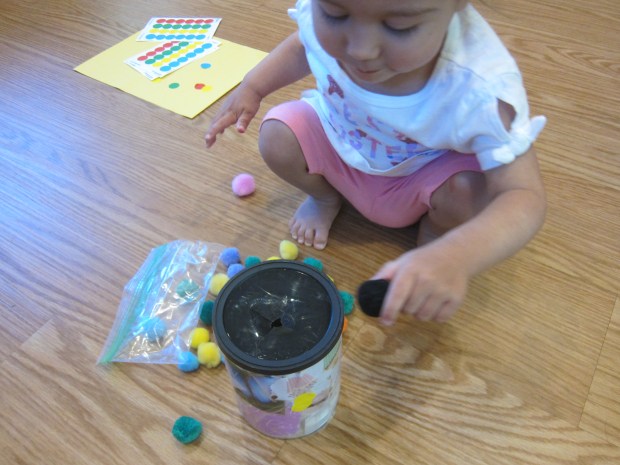
The drawback to this game was that she wanted to open the lid and get at the bells inside, but I worried about them as a choking hazard. So we repurposed the coffee can! I cut a slit in the top with an X-acto knife and then rounded the corners slightly so she wouldn’t cut her fingers.

Fine Motor Pom Pom f

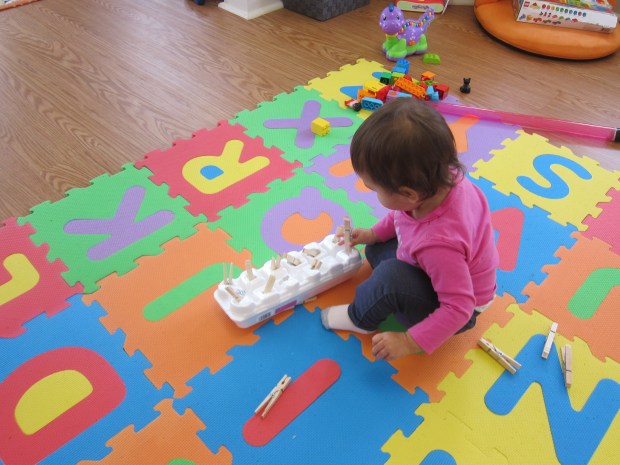
Now she could post (a.k.a. push) pom poms through. “Where did green go?” I asked, popping down the first one as a demonstration.

Fine Motor Pom Pom a

She mimicked my words perfectly and talked her way through the entire pile, mostly getting her colors right. “Where did blue go?” “Where did yellow go?”

Fine Motor Pom Pom d

When they were all inside, we opened the lid for the big reveal and dumped them out. And then she wanted to do it again! What a great way to keep busy.

Fine Motor Pom Pom e

What would you do with an empty coffee can? Please share in the comments!

Fine Motor Pom Pom b

Set Design

Set Design (5)

Here’s an easy hack to turn empty cardboard boxes into play spaces with zero mess: use stickers as the backdrop to create scenery for a “stage”!

To put this together, I simply taped the background pages from a sticker set inside a large cardboard box.

Set Design (2)

We started out with an ocean page, and Veronika could go “under the sea” simply by crawling in. She loved peeking out from this watery cave, and also adding animals to the backdrop. It was almost like a virtual aquarium!

Set Design (6)

As an alternative, you can cut the box so it stands flat, and tape pages to the outside of it. In this way, the box now became her jungle! Use stickers or other pictures to create a farm, beach, or whatever else strikes your little stage actor’s fancy.

Set Design (3)

This was a neat way to build on Veronika’s imaginative play as she becomes less interested in merely manipulating objects, and more interested in acting out stories. I talked about her trip to each place, and the various animals she could see.

Set Design (7)

Other fun ideas? Use stickers to make a backdrop like a castle or outer space! If you’re more artistic than I am, of course feel free to paint these scenes. But relying on stickers was a great hack with no mess.

Set Design (8)

Jumbo DIY Cardboard Puzzle

Giant Puzzle (6)

This easy project can be your toddler’s first jigsaw puzzle! With just two pieces, it introduces the notion of interlocking pieces, and your child can proudly solve it all alone.

To start, I cut a cardboard box into pieces and saved the two largest sides. I drew an outline of a simple picture on each, choosing two of Veronika’s favorite things: a butterfly and a heart.

Giant Puzzle (1)

I invited her to help me color them in! Now the process of making the puzzle was just as fun as the final play. She loved talking about colors as we used crayons side by side.

Giant Puzzle (2)

Then I cut a big zig-zag shape down each of our two drawings. Voila: We had two-piece puzzles!

Giant Puzzle (3)

“What happened to butterfly?” I asked her, coaxing her to realize the cardboard was now in two parts. I showed her how to slide the two pieces of cardboard together again.

Giant Puzzle (4)

She echoed my words, and busily began moving the cardboard pieces apart and then back together again.

Giant Puzzle (5)

It hadn’t occurred to me, but because we made two puzzles, she did some mixing and matching as well. She was confused when the heart wasn’t the other half of the butterfly until I helped her solve it.

IMG_0039

I loved that I could really see her brain at work here!

Giant Puzzle (8)

In sum, this is a fantastic first jigsaw puzzle, and so easy to make.

Giant Puzzle (7)

Fun with Toilet Paper Rolls

Fun with Toilet Tubes (2)

After building towers with toilet paper tubes, I helped Veronika discover another fun way to upcycle rolls today. I originally planned to tape together toilet paper tubes, but decided longer paper towel rolls were sturdier for this particular activity. Duct-tape as many as you like (or have stockpiled!) together securely in a long line.

Fun with Toilet Tubes (1)

I placed the tube line about midway up our stairs, aiming the bottom into an empty toy bin.

Fun with Toilet Tubes (4)

Depending how old your kids are, you can make this chain even longer and go all the way to the top of the stairs. But I was worried about Veronika’s safety, so we kept ours shorter. I showed her how to put a toy car into the tube, and then whee!

Fun with Toilet Tubes (3)

It landed in the bin at the bottom. As soon as she realized the cause-and-effect, she loved slotting the cars in and waiting for them to land.

Fun with Toilet Tubes (6)

What a delight!

Fun with Toilet Tubes (5)

The bucket was angled in such a way that we couldn’t see them land very well, so I rotated the tube and the cars drove out directly at the bottom of the stairs. Arguably this was even more enjoyable!

Fun with Toilet Tubes (8)

I also made a short, hand-held version that was easier for her to slot a car in and instantly see it drop through.

Fun with Toilet Tubes (9)

She loved doing this on the floor for a while, with lots of vrooming noises to go along of course. Thank goodness for upcycled tubes!

Fun with Toilet Tubes (11)

Toilet Paper Tube Towers

Toilet Paper Tube Towers (6)

Since we stocked up on all that toilet paper during social distancing, I figured I might as well start saving the toilet paper tubes once they were empty. We now have quite a stockpile: 12 in total! So when Veronika was fussy before dinner and I needed to keep her little hands busy, I knew exactly what to give her.

I invited her over first just to explore the tubes with her senses. She could roll them, or peek through them. “I see you!” she said.

Toilet Paper Tube Towers (5)

I wanted to show her how to build towers with them, though it turned out that the methods I chose were a tad complicated for a toddler. In the first, we stood the tubes upright, then added a thin layer of cardboard, followed by another layer of upright tubes, another layer of cardboard and so on.

Toilet Paper Tube Towers (1)

But these towers quickly toppled when the balance wasn’t right… or when Veronika impishly knocked them over! Needless to say, we never built very high.

Toilet Paper Tube Towers (3)

Next I showed her how to stack them almost like honeycomb. This too was unstable with an eighteen month old around.

Toilet Paper Tube Towers (4)

But she sure loved the way they rolled! So I left her just to play on her own from there, and wouldn’t you know, she found her own method for building a tower. She began placing them so carefully on a board game box as a base.

Toilet Paper Tube Towers (9)

Mostly she stopped at one level high, but sometimes she succeeded in stacking two levels.

Toilet Paper Tube Towers (8)

She counted the tubes out as she went, as high as “5”!

Toilet Paper Tube Towers (10)

She also said “white” when she noticed the one white roll; I hadn’t realized she knew this color word yet.

Toilet Paper Tube Towers (11)

I loved watching her busy at her building, and all the more so because she created her own method for doing so.

Toilet Paper Tube Towers (7)

Big brother Travis did later help me stack all those thin cardboard layers up to 4 levels high.

Toilet Paper Tube Towers (13)

He was so proud!

Toilet Paper Tube Towers (14)

Older kids might also like making two notches in the top and bottom of each tube, after which you can build towers that slot together.

IMG_0038

Living Room Maze

Living Room Maze (5)

This activity is a great way to entertain a toddler on a rainy morning, not to mention it makes use of leftover boxes! You’ll need large enough boxes that your child can crawl upright through them.

In the past, we’ve decorated boxes to be more like a house or even a castle. The purpose this time wasn’t so artistic, but more about letting Veronika explore spatially. I attached two boxes together to make a big tunnel, and cut two windows so she could poke her head out.

Living Room Maze (2)

There was also a third box branching off to the side to make it a “maze”.

Living Room Maze (7)

Well of course she was eager to explore! The windows were great fun for peekaboo.

Living Room Maze (8)

She crawled back and forth, and in and out, and through and around. I used all of these spatial words as she played.

Living Room Maze (9)

She also delighted in bringing toys inside with her.

Living Room Maze (6)

Eventually big brother wanted in on the action, and he was just the right height for popping through the sun roof!

Living Room Maze (10)

I loved watching the kids turn it into a cozy nook for reading. In sum, this kept us busy all morning!

Living Room Maze (11)


Kitchen Instruments

Kitchen Instruments (6)

Travis and I plan to make a few “musical meals” soon thanks to his latest Raddish Kids, so this morning we made some simple instruments with kitchen objects to kick off the fun!

The most complicated was a Pop Stick Kazoo. You’ll need two leftover Popsicle sticks (or craft sticks) for this instrument. First, wrap one stick with a thick rubber band lengthwise.

Kitchen Instruments (1)

Cut 2 (1-inch) pieces of drinking straw and slip under the rubber band. Secure a second Popsicle stick on top using two thin rubber bands. Blow for a kazoo-like sound!

Kitchen Instruments (2)

Next we made Cereal Box Guitars: Cut a circle in the middle of an empty cereal box and stretch long rubber bands over the box for the strings. We made a smaller version using a cracker box for baby sister, and decided this was her ukulele!

For Water Bottle Maracas, we filled empty water bottles about a third of the way with rice and glued on the lids.

For Tin Can Drums, simply turn empty, rinsed out metal cans upside down. Add chopsticks to play!

Kitchen Instruments alt

We sat down to rock with our band, and what fun the kids had!

Kitchen Instruments (5)

Travis’s favorite was the guitar, which he loved strumming with extra cut straws or chopsticks.

Kitchen Instruments (10)

Veronika gravitated towards the shaky maracas.

Kitchen Instruments (9)

Both kids loved drumming with chopsticks. For some musical learning, we went over a few concepts. First up, Travis thought of a beat (a.k.a. rhythm, or a pattern that repeats). His was “Bo-ba, Bo-ba, Bo-ba”.

Kitchen Instruments (7)

Then we played around with speed (a.k.a. tempo). We practiced his beat super fast, and then slow on the drum.s

Next you can try making up silly lyrics, although this was harder for Travis to do on the spot. I also challenged him to add style (a.k.a. dynamics), sometimes quiet, sometimes loud.

Kitchen Instruments (12)

Don’t forget to harmonize as you all sing and play along! In sum, there’s lots of musical exploration to be had, just in your kitchen.

Kitchen Instruments var


A Box to Extend Train Play

Box Extend Train Play (10)

Chances are you have lots of extra boxes these days; certainly we’re having more items delivered in this time of social distancing, and are so thankful to the fearless delivery folks out there! We put one such box to good use this morning by making it a tunnel for Veronika’s trains.

The set up was simple (although you could get really detailed and crafty with this if you have the time). First, I cut a few holes to be tunnel entrances and and exits.

Box Extend Train Play (3)

Next, I placed a strip of masking tape on the top as a road. Little bits of orange tape down the center served as the lane divider.

Box Extend Train Play (2)

I put the box on the ground and showed Veronika how she could make a train enter through one hole…

Box Extend Train Play (4)

…and pop out through another!

Box Extend Train Play (6)

She loved it, although she seemed mildly disappointed that she didn’t fit in the tunnels herself. Soon she was happily chugging trains to and fro.

Box Extend Train Play (5)

The road on top was a big hit, too!

Box Extend Train Play (7)

The box happened to be the perfect height for her to stand and zoom her cars around, which interested her almost more than the trains.

Box Extend Train Play (8)

This is a great way to keep your toddler busy, even if trains aren’t necessarily his or her “thing”!

Box Extend Train Play (9)

Clothespin Poke

Clothespin Poke (6)

Much as with tape or tissues, it doesn’t take much to keep a toddler busy. For this game, I used an upcycled egg carton and spring-type clothespins for a simple fine motor activity.

Poke a hole into the bottom of each egg carton portion, just large enough for the clothespins to slot in (I poked the initial hole with scissors).

Clothespin Poke (1)

For the first round, I pushed all the clothespins in and presented the egg carton to Veronika, so it was her job to pull them out!

Clothespin Poke (2)

A few of them got a little snagged on the springs but she was very patient puzzling this out, and so proud when they came free.

Clothespin Poke (3)

Once she had a pile of clothespins next to her, of course she had to poke them right back in again.

Clothespin Poke (5)

And again.

Clothespin Poke (7)

And again.

Clothespin Poke (8)

I loved seeing her return to this throughout the day, pausing to insert a few or pull out a few and then heading off to other games. It was a great way to keep little hands busy!

Shoe Box Train

Shoe Box Train (8)

We had a few leftover boxes around the house, so it felt like the perfect day to make Veronika a cardboard train. Okay, technically none of these were shoe boxes, but I use the term in the title because they were all about that size. Use any similarly-sized packages for this terrific tot train.

To put it together, simply puncture holes in the sides of each box, and attach them together with yarn or string.

Shoe Box Train (1)

To make even this part fun, I made lots of drilling and clanging construction sounds as I worked.

Shoe Box Train (3)

Veronika wanted to hold a pair of safety scissors to get in on the action! Once our train was complete, it was time to load up passengers. Some stuffed animal friends happily climbed aboard at the station.

Shoe Box Train (5)

I showed Veronika how to hold the yarn so she could pull the train along with her as she walked forwards. I realized this was the first time she’s used a toy that pulls, rather than pushes, so it was great for her motor development.

Shoe Box Train (6)

After a while, she did prefer to push the train cars along, which was just fine too.

Shoe Box Train (7)

Station change! Next it was all aboard the dinosaur train.

Shoe Box Train (9)

There were so many elements to this game that I loved, whether watching her busily load the passengers in and out, the way she said “roar!” to the dinosaurs, or how determined she was to make the train move. She even decided to test out a seat for herself!

Shoe Box Train (10)

Motor skills, imaginative play, and so much more, all thanks to a few upcycled boxes.