Valentine Postcard

Valentine's Postcards (7)

Paper heart doilies always featured into the homemade Valentines of my youth, so imagine my surprise when I had to go to three stores before I could find them! Perhaps this classic decoration is becoming passe? That would be a shame, and I was glad Veronika got to enjoy the whimsy of doilies with this little craft. Our mission: to make Valentine postcards for the relatives.

To start, cut squares from sturdy white paper and then use a paper clip to attach a doily heart to each one.

Valentine's Postcards (1)

I then set out a tray with pink and red paint, along with a few sponges I had cut into small pieces so they would fit more easily in Veronika’s hands. I showed her how to dip a sponge in the paint and then dab over the hearts.

Valentine's Postcards (2)

When you lift up the doily, a beautiful heart shape is left behind!

Valentine's Postcards (3)

Note: We discovered that a light touch with the sponge works best here, or the image becomes a bit muddied.

Valentine's Postcards (4)

Let dry, then use stickers or markers for any final decorations before shipping off with love in the mail!

Valentine's Postcards (6)

Valentine’s Day Tissue Paper Wreath

Valentine's Tissue Wreath (5)

We thought it would be nice to decorate our door with a Valentine’s Day wreath, and I wanted one that even a toddler could help out with. I found inspiration from a tissue paper version from Hands on as We Grow! Veronika could fit in some arts-and-crafts for the day, and the end result would make a beautiful door decoration.

To start, I needed to cut a circle from cardboard. I opted for a scissor-friendly frozen pizza box rather than thicker cardboard packaging.

Valentine's Tissue Wreath (1)Next, I cut white tissue paper into squares about 8 inches long. I crumpled these into little “flowers” and then handed over to Veronika. Her job was to dip them in red and pink paint!

Valentine's Tissue Wreath (2)

This was way messier than I had imagined, but we set them aside to dry.

Valentine's Tissue Wreath (3)

Meanwhile, I also wadded up tissue paper that was already in shades of pink and red and stapled these around the outer rim of the cardboard circle. Once Veronika’s painted ones had dried, I stapled these along the inner rim.

If your kids want to add further details, consider painting and cutting out hearts from construction paper, or sprinkling on a dash of red glitter. We skipped those steps, though, and Veronika was delighted to help hang the wreath on the door.

Valentine's Tissue Wreath (6)

It looked so pretty and spot-in for the season, especially just after a snow storm!

Shaken Painted Hearts

Shaken Painted Hearts (6)

Veronika recently enjoyed painting with a ball dipped in paint, an idea from her Zoom Tinkergarten class. So today we put a simple Valentine’s Day twist on the activity!

I cut out a few heart shapes from construction paper, choosing pink, red, and purple as our background colors. I taped two of them at a time into the bottom of a shoebox with a lid, and added a few drops of pink paint. Make sure the paint is near the hearts, but not directly on them.

Shaken Painted Hearts (1)

Next, add any toys that can shake around! These don’t need to be round balls; in fact Veronika thought it was silly to put in some of her plastic vegetable toys. Anything plastic that can be rinsed and cleaned easily will work just fine.

Shaken Painted Hearts (2)

Close the lid and shake shake shake!

Shaken Painted Hearts (4)

We opened up the lid for the pretty reveal, with the hearts now splattered in paint.

Shaken Painted Hearts (5)

Repeat as many times as your toddler desires! These make great Valentine’s Day cards for relatives or friends, with the bonus that you can make quite a few in a short amount of time.

Jell-O Play for Valentine’s Day

Jello Paint (9)

Kids love painting with Jell-o (or vegan alternatives like the jel desserts from Simply Delish), and today we gave the activity a Valentine’s Day spin!

Instead of preparing the jel dessert, I simply stirred a packet of red powder (strawberry flavored) into a dish with a little water. We instantly had a gorgeous red paint that smelled incredible!

Jello Paint (1)

It’s hard to say which Veronika enjoyed more: smelling the paint or smearing it all over the white heart shape I had cut out!

Jello Paint (5)

The paint sets and dries nicely, and Veronika kept trotting over to this holiday decoration to say, “It smells really good!” She’ll display this one with pride until Valentine’s Day is over.

Jello Paint (10)

Meanwhile, I also prepared two more batches of the jel dessert (in yellow and orange) according to the true directions. That meant we had nice blobs to “paint” with, too.

Jello Paint (6)

You can set down dollops of it for a toddler on a large sheet of paper (or right on a high chair tray for a baby!) and simply let the smashing and painting fun begin. Don’t be surprised if the play tempts older kids, too; my 6-year-old came running over, because Lego figures trapped in Jell-o are decidedly good fun.

Jello Paint (3)

Scratch, Roll, and Resist Valentine Art

Scratch Roll Resist Vday (8)

Veronika has made tape resist art before, but with this clever idea from Hands on As We Grow, she now had a chance to combine that art method with two others! I loved the mix of tools that went into this craft, making it a great way to hone a toddler’s fine motor skills.

To start, I used painter’s tape to create a heart shape on a piece of sturdy white paper. Smaller pieces of tape work best for the curvy parts of the heart.

Scratch Roll Resist Vday (1)

Time for the second method: a rolling pin! I placed the paper in a tray and squirted on a few blobs of pink and peach-colored paint, then showed Veronika how to use a plastic rolling pin to smear the paint. At first she wanted to use the rolling pin more like a paintbrush, stabbing down at the blobs, but then realized she could copy my motion and roll. With a little mommy help, we smeared our paint toward the edges of the paper.

Scratch Roll Resist Vday (3)

Now for the final method: a comb! I showed her how to drag a comb through the thick wet paint to make neat textured lines.

Scratch Roll Resist Vday (6)

She loved observing the squiggles and lines that appeared.

Scratch Roll Resist Vday (5)

I find that it’s best to remove the painter’s tape immediately, while the paint is still wet, and then set the project aside to dry at this point. Veronika loved spotting the heart she had made.

Scratch Roll Resist Vday (7)

Finally, big brother Travis wrote in a Valentine’s message for their grandmother, making this their second sibling collaboration of the day!

Scratch Roll Resist Vday (9)

Sibling Valentine’s Day Cards

Simple Valentine's Card (9)

Here’s a fantastic way for your kids to collaborate on cards for Valentine’s Day even if they are different ages, each contributing according to his or her own skill level. The brilliant hack is to make one big card then cut it into pieces at the end! This can make the task of making Valentine’s for multiple recipients feel less daunting.

Veronika was in charge of the decorating, because as a toddler she loves things like dot markers, crayons, and stickers. I set out pink construction paper and divided it into quarters with lines of pink marker. Then I gave her the above-mentioned supplies, all in various shades of pink and red.

Simple Valentine's Card (1)

First she wanted to add jeweled heart stickers, and loved placing these any which way on the paper.

Simple Valentine's Card (3)

Some fun with dot markers followed next!

Simple Valentine's Card (5)

Keep decorating with whatever other supplies you have on hand, whether pink or red crayons, pink or red colored pencils, or even heart stamps and ink pads.

Simple Valentine's Card (6)

When she was done, I cut along the lines so we now had not one card, but four, all decorated and ready to go.

Simple Valentine's Card (10)

Travis’s job was to write each cousin’s name at the top and sign the cards with love, all great writing practice!

Simple Valentine's Card (8)

We hope these cards bring big smiles to cousins’ faces when they arrive in the mail.

Valentine’s Day Soapy Sensory Foam

VDay Soapy Sensory Foam (3)

Soapy sensory foam is an idea we first found at Hands on As We Grow when Travis was a toddler, and it’s one of those easy activities you can return to over and over. You can switch it up for just about any holiday simply by adding that season’s colors with food coloring. To wit, today Veronika and I turned the foam pink!

I added about 2 tablespoons of water and a squirt of dish soap to a blender, along with a few drops of red food coloring. Run the blender for just a moment and you’ll get a thick foam that’s ready for play!

VDay Soapy Sensory Foam (2)

I spooned the mixture onto a tray for Veronika and set out kitchen utensils such as a whisk, spoon, and a few measuring cups. Let the soapy, foamy bakery begin!

VDay Soapy Sensory Foam (8)

Veronika told me that she was adding cups of “flour” very seriously as she scooped the foam into a loaf pan.

VDay Soapy Sensory Foam (5)

She also loved using one measuring cup to fill another.

VDay Soapy Sensory Foam (7)

The whisk was great for stirring it around!

VDay Soapy Sensory Foam (4)

This activity kept her busy for quite a while. And while it looks like messy play, don’t forget that you literally just have soap in all those containers. It rinses off in a moment and everything is sparkly clean.

Hunt for Love Bags

Hunt for Love (10)

Here’s an adorable way to teach even young toddlers about the connection between Valentine’s Day and love (both in terms of the emotion and in terms of things they love).

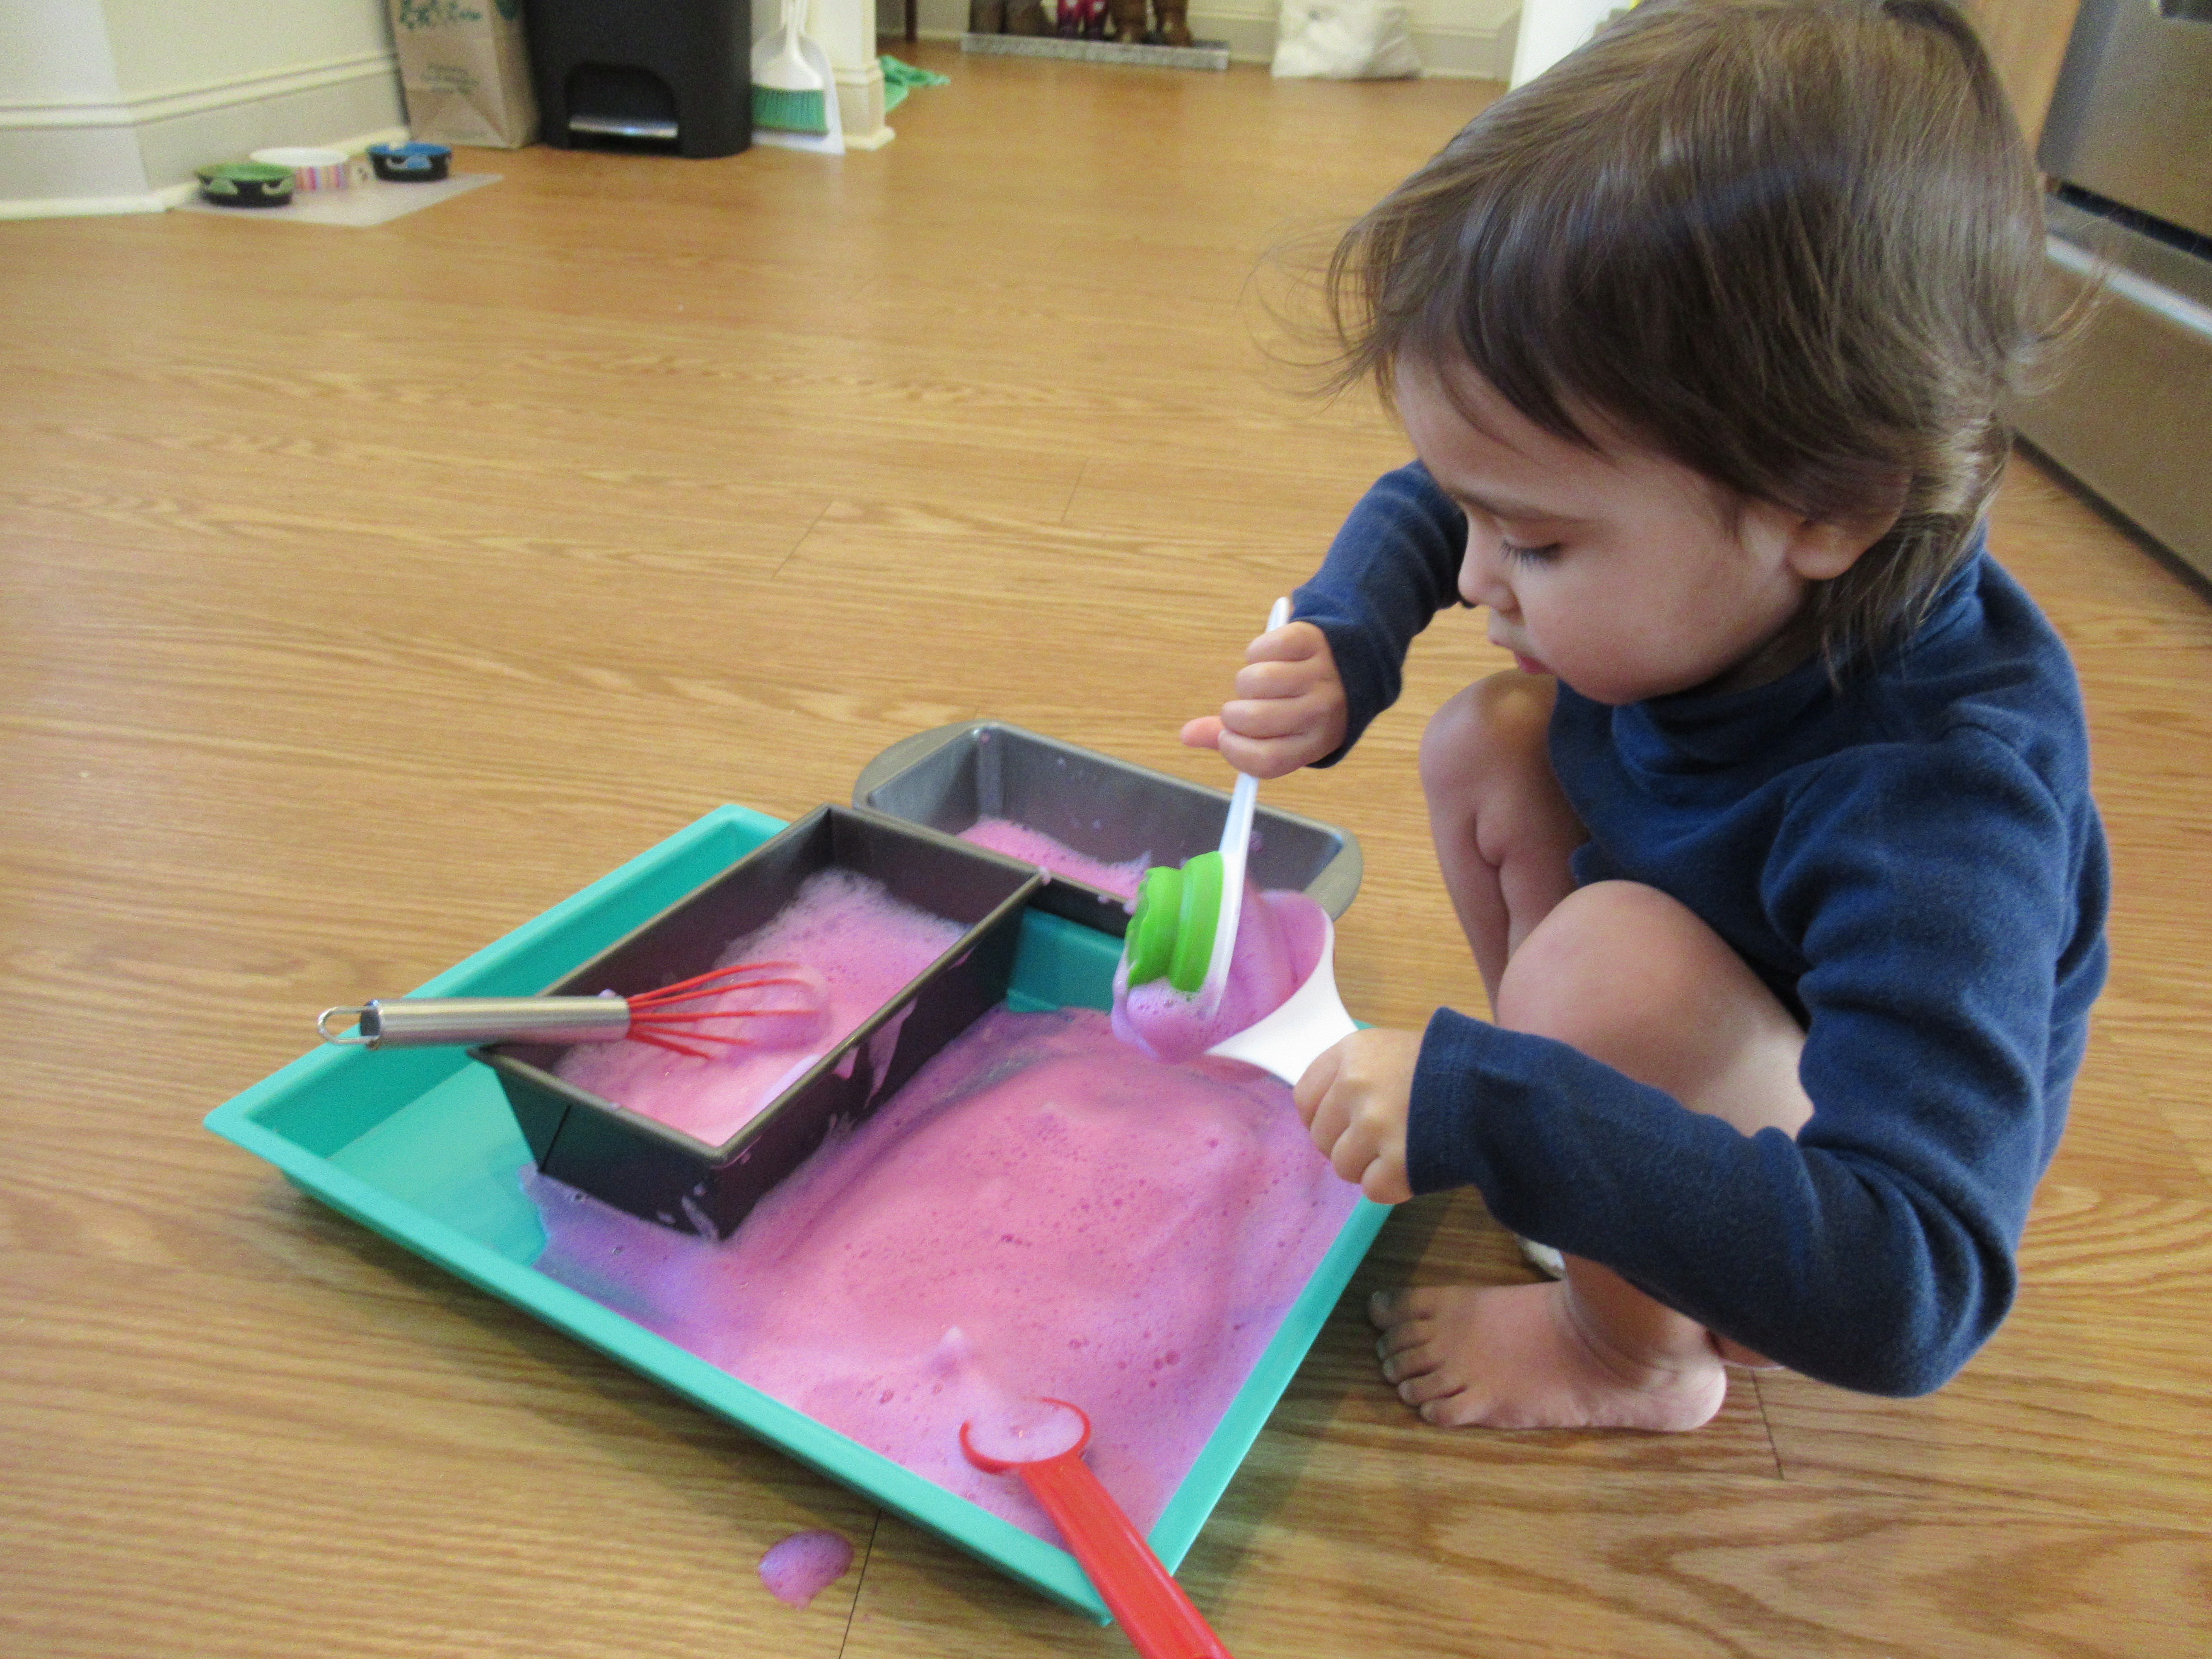
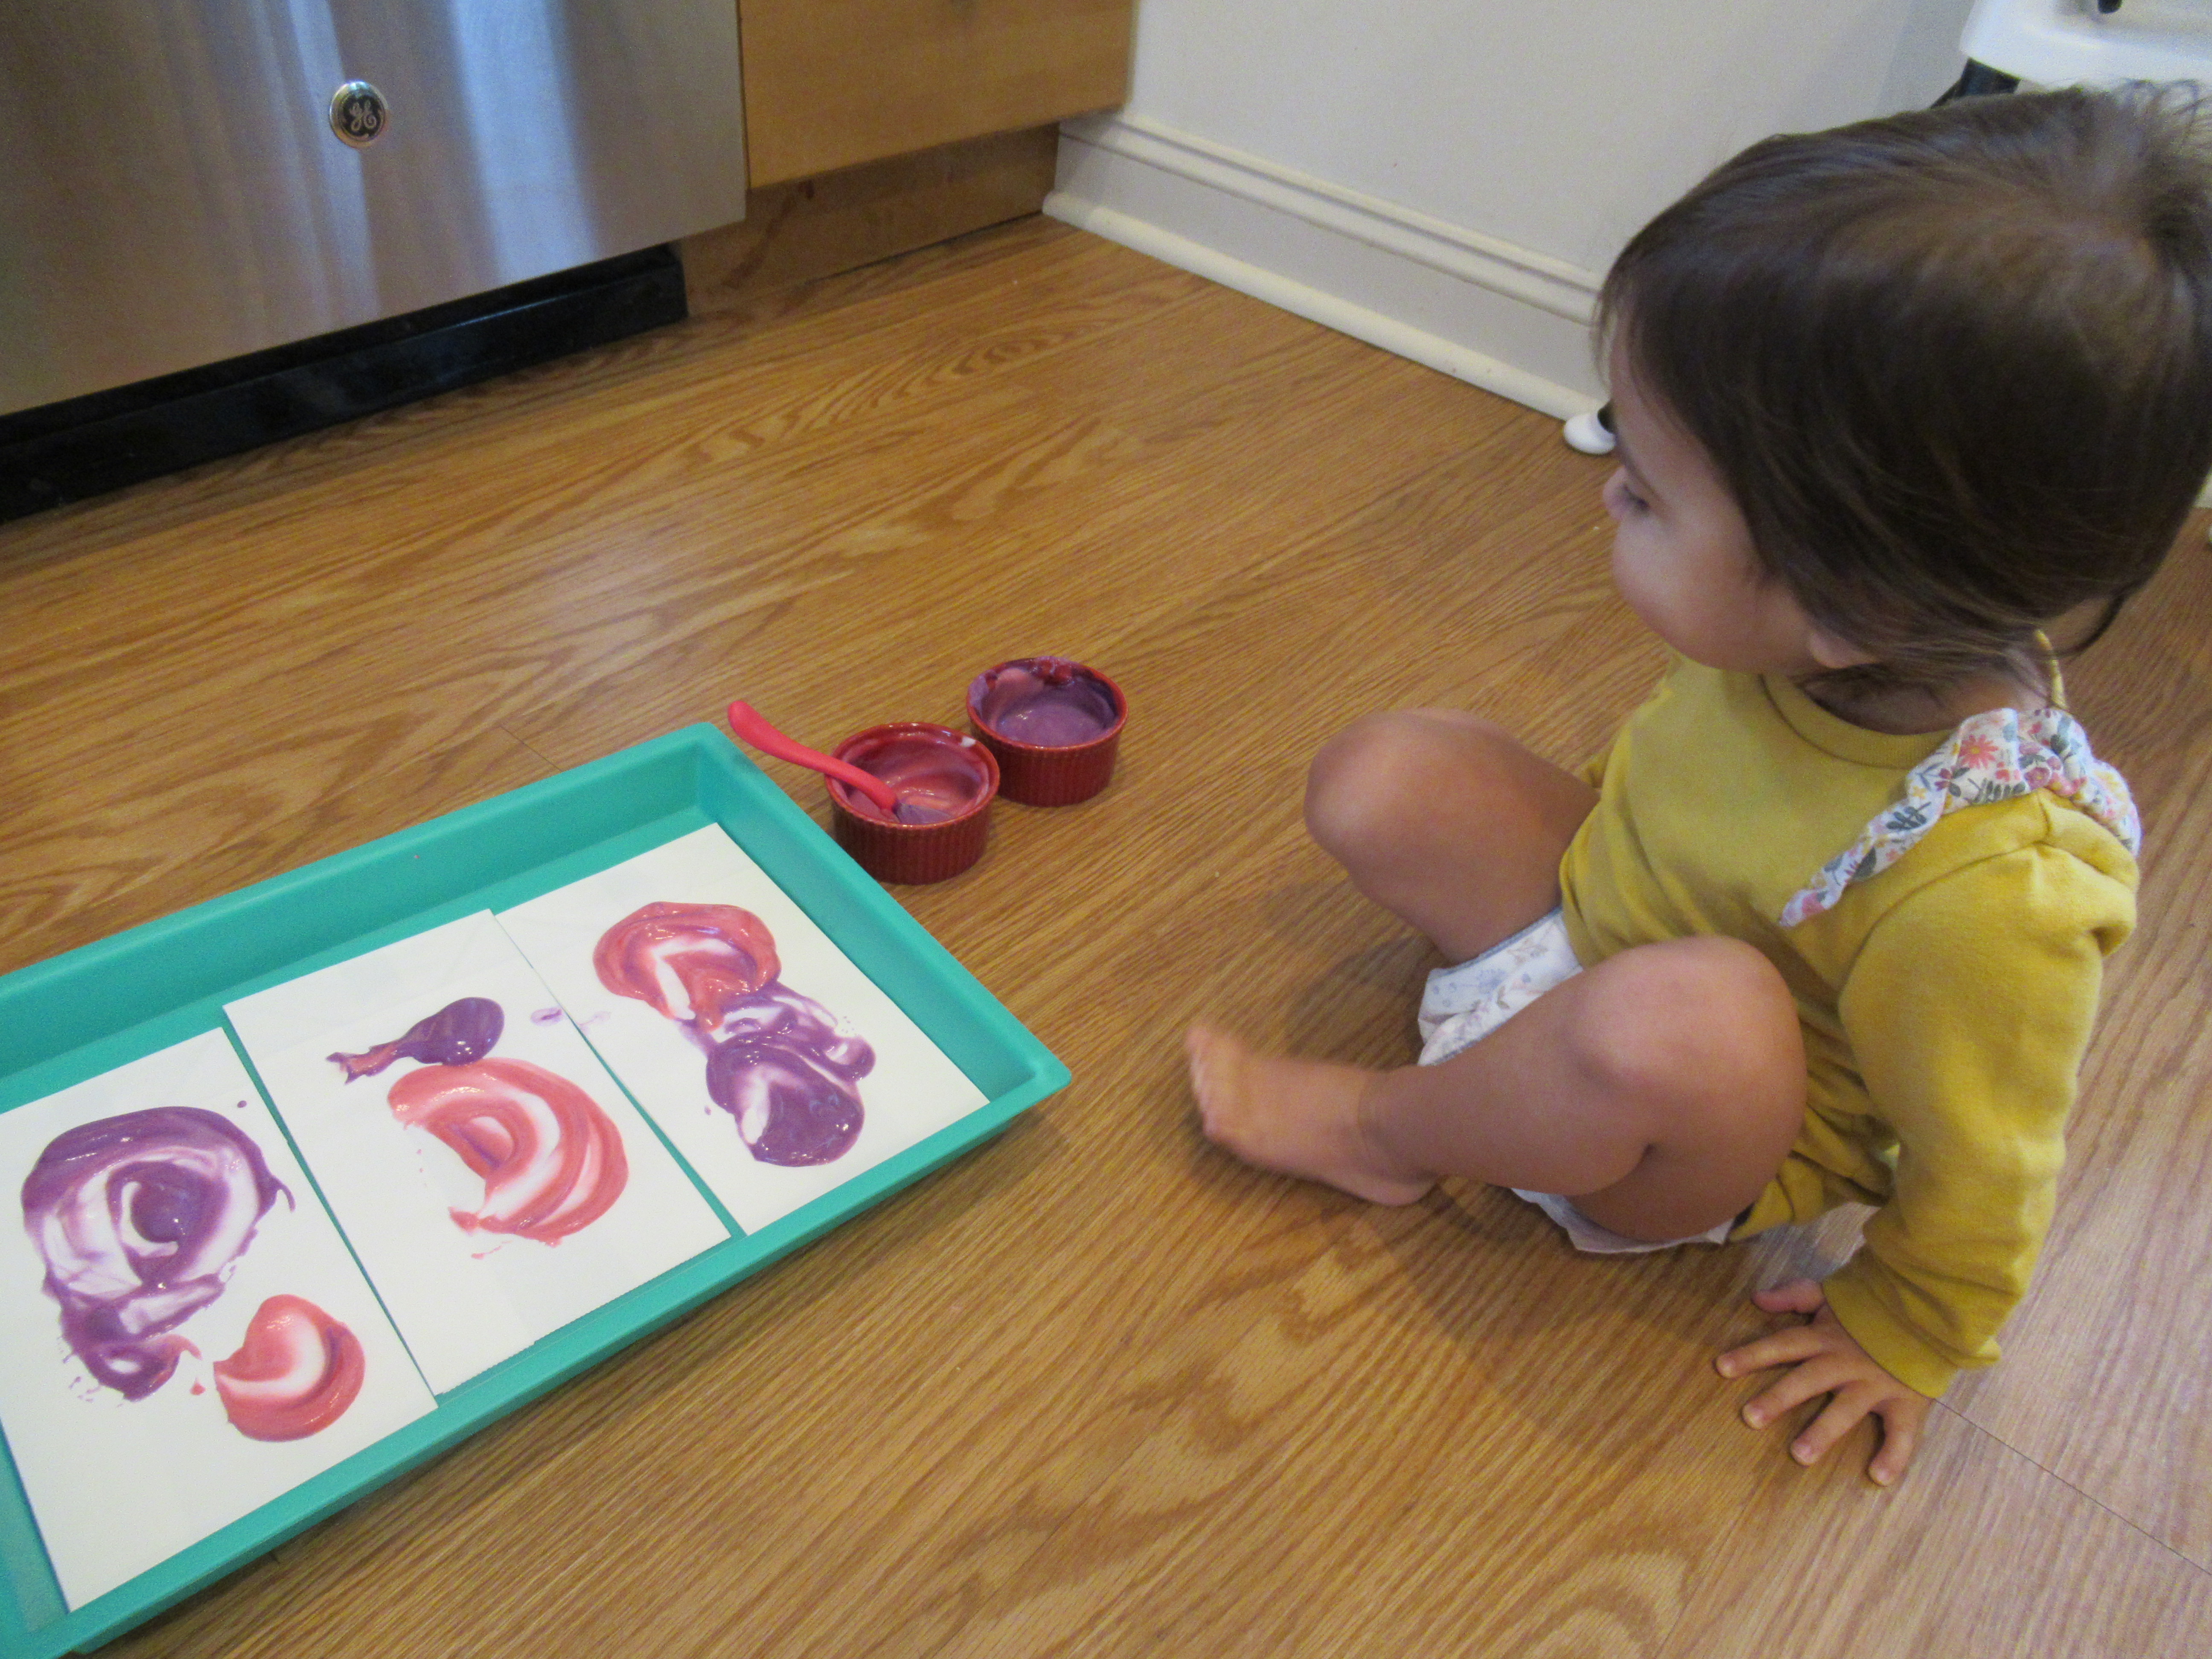
First, Veronika and I decorated bags for the upcoming love hunt, and I thought edible paint would make the project even more fun (not to mention delicious!). I poured some coconut yogurt into containers and we tinted one pink and one purple.

Hunt for Love (2)

Veronika was almost too busy eating (she particularly loved the purple!) to paint, but eventually we had smeared three white treat bags with the yogurt paint.

Hunt for Love (3)

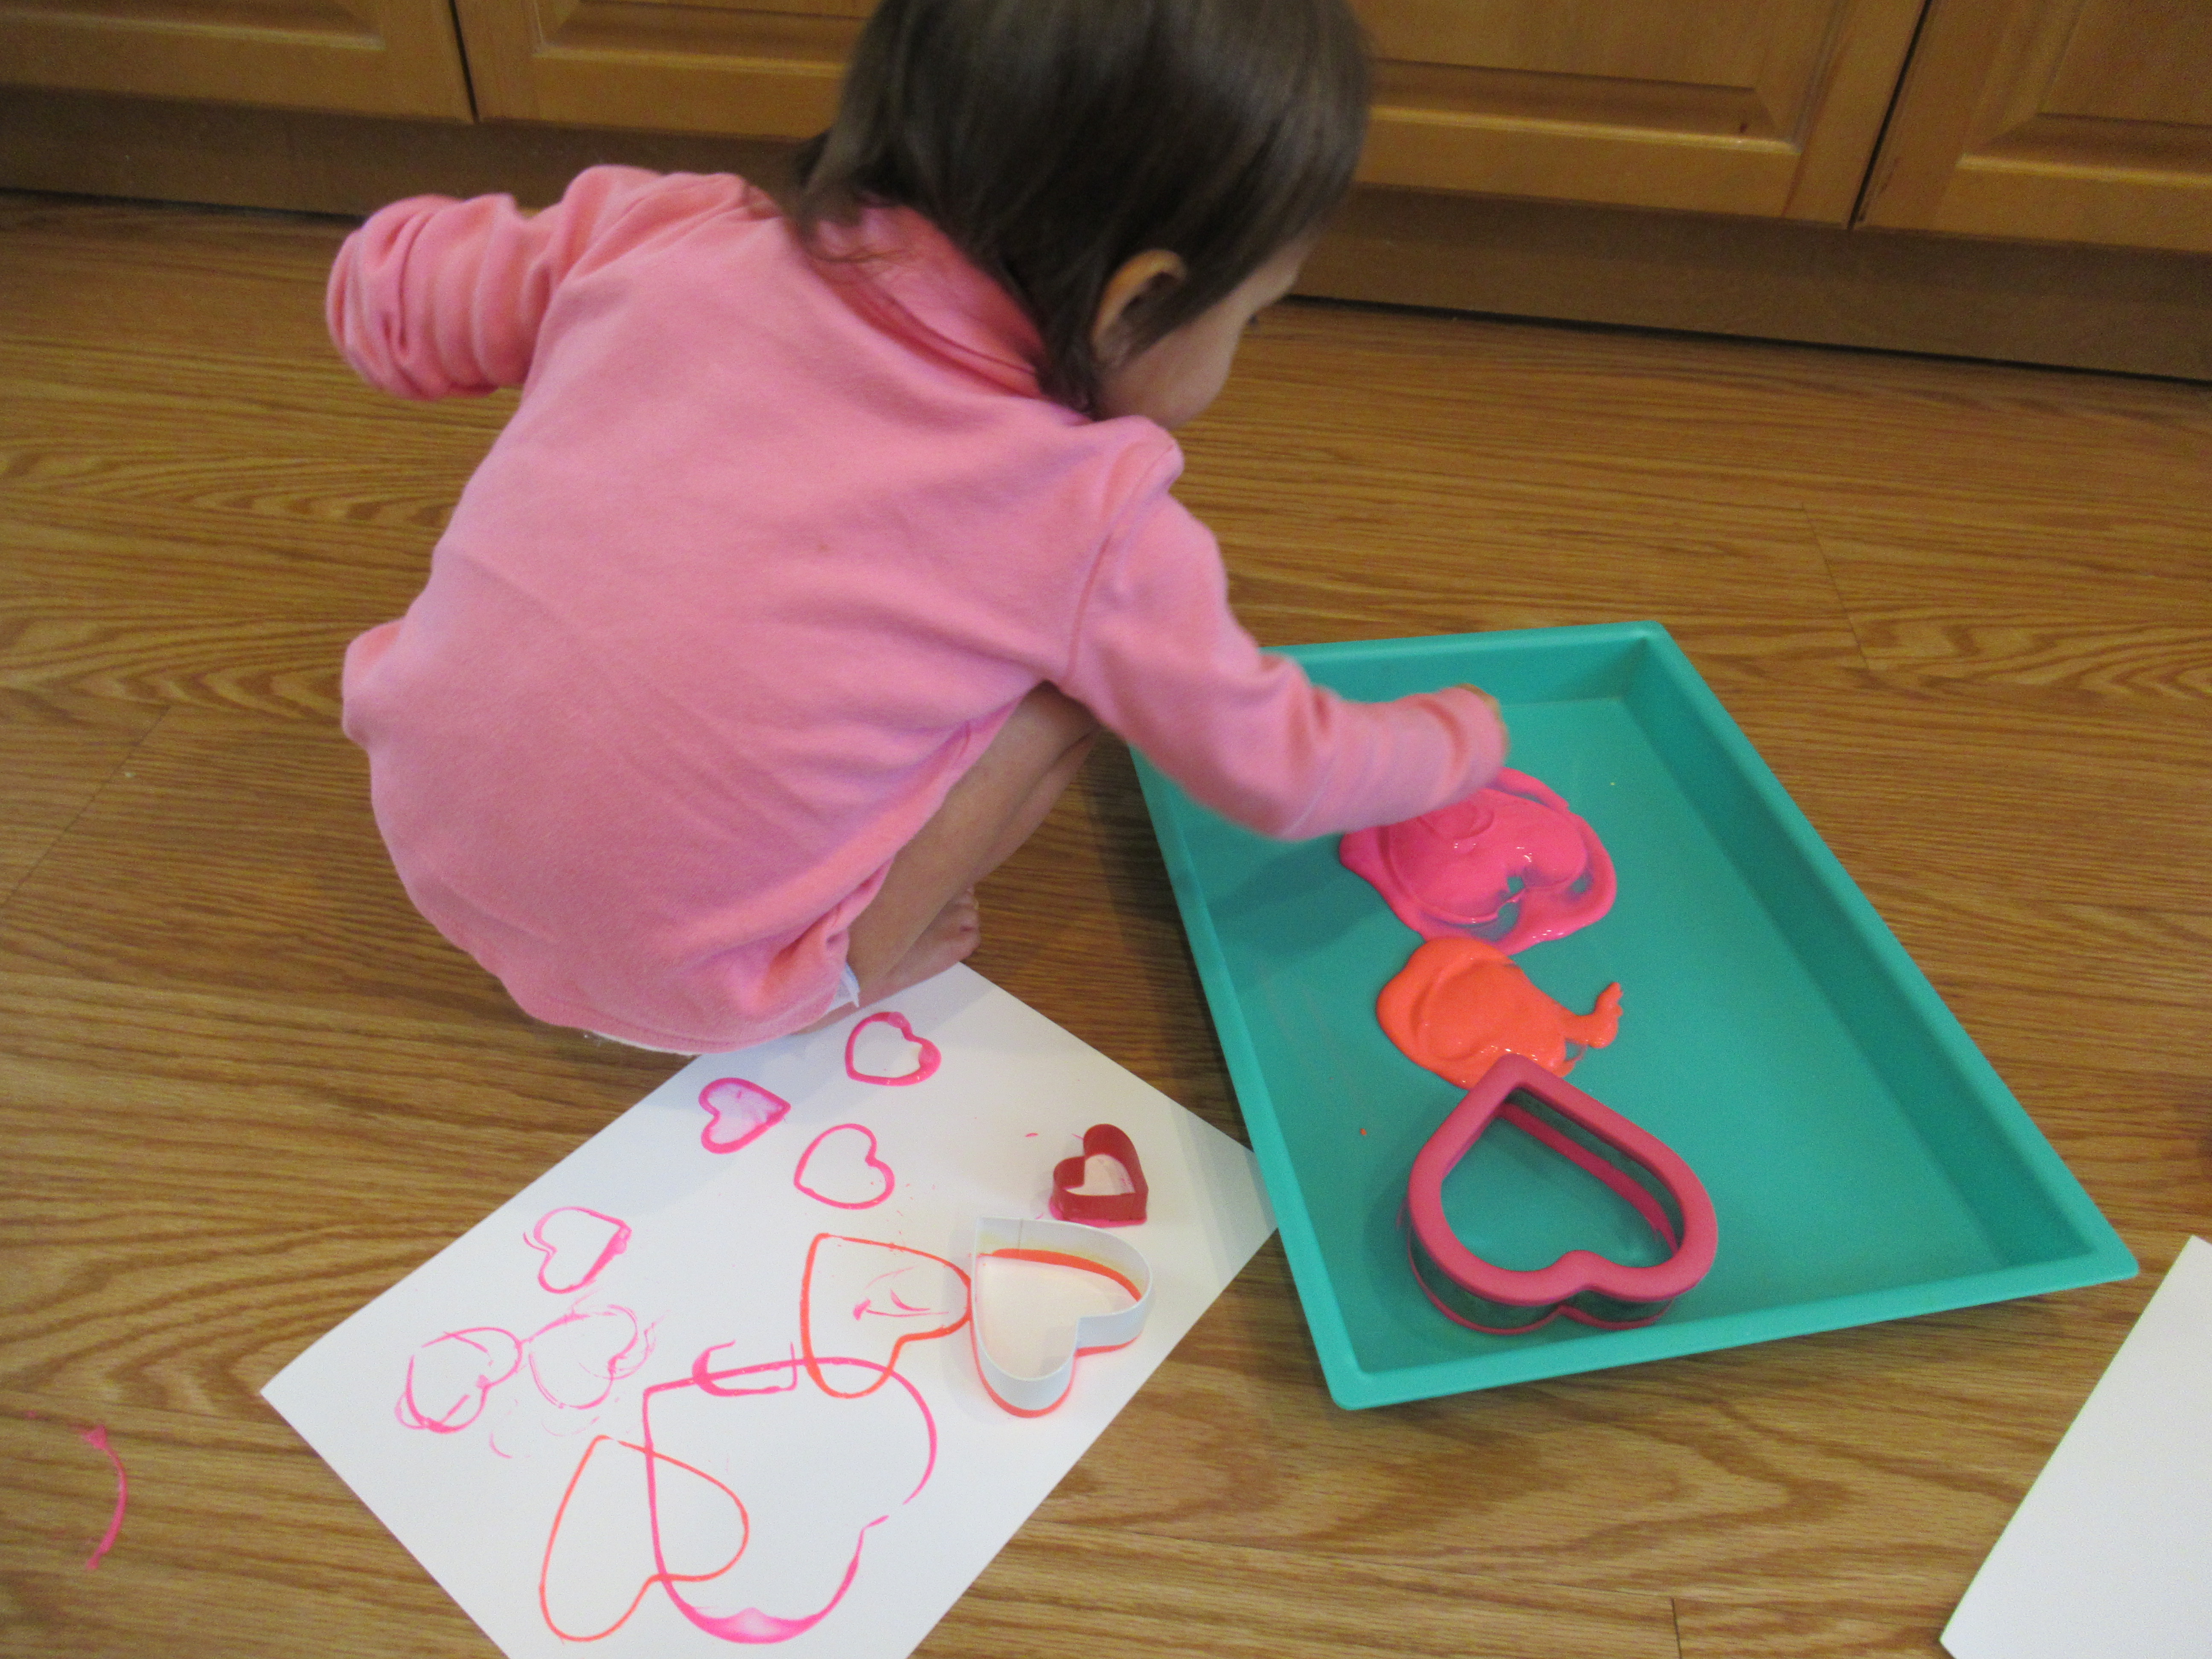
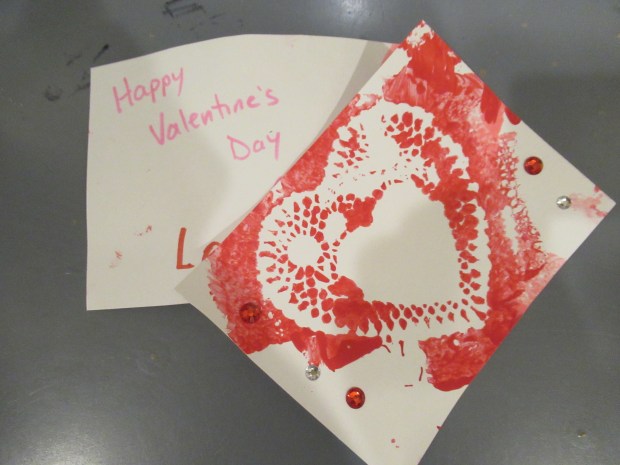
We tried adding glitter in the middle using a heart cookie cutter as a stencil. Veronika requested a butterfly, too!

Hunt for Love (4)

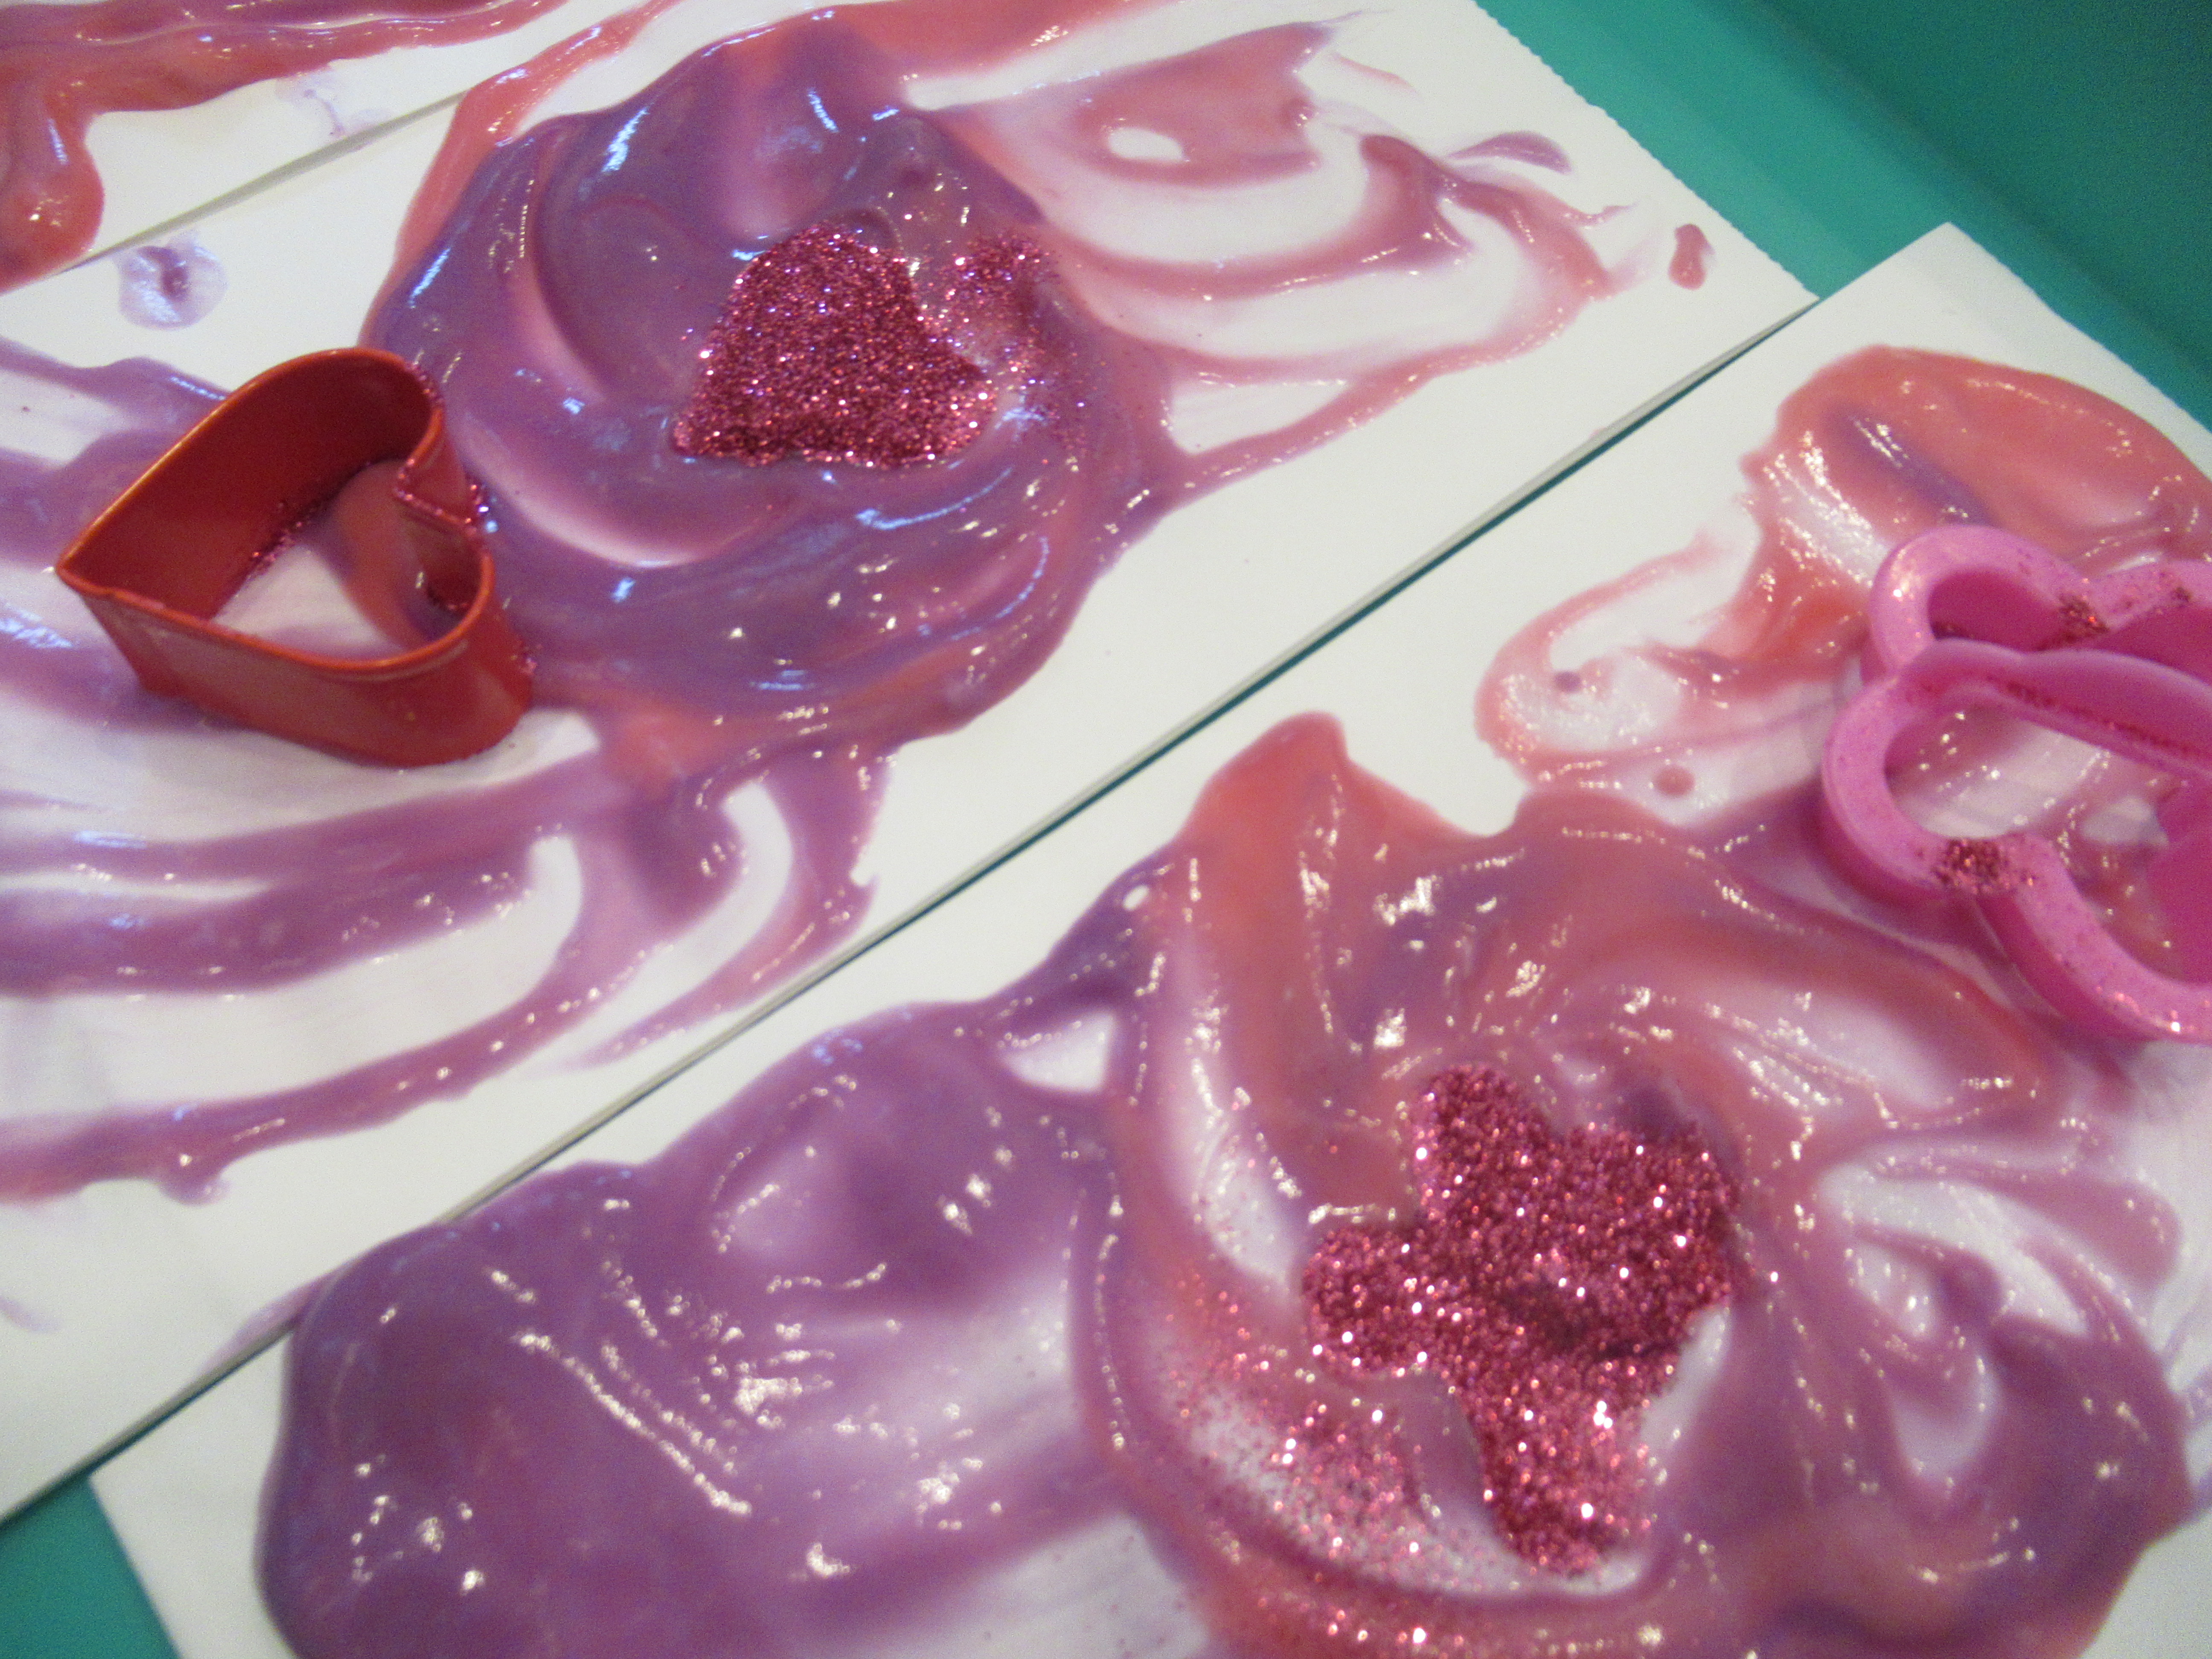
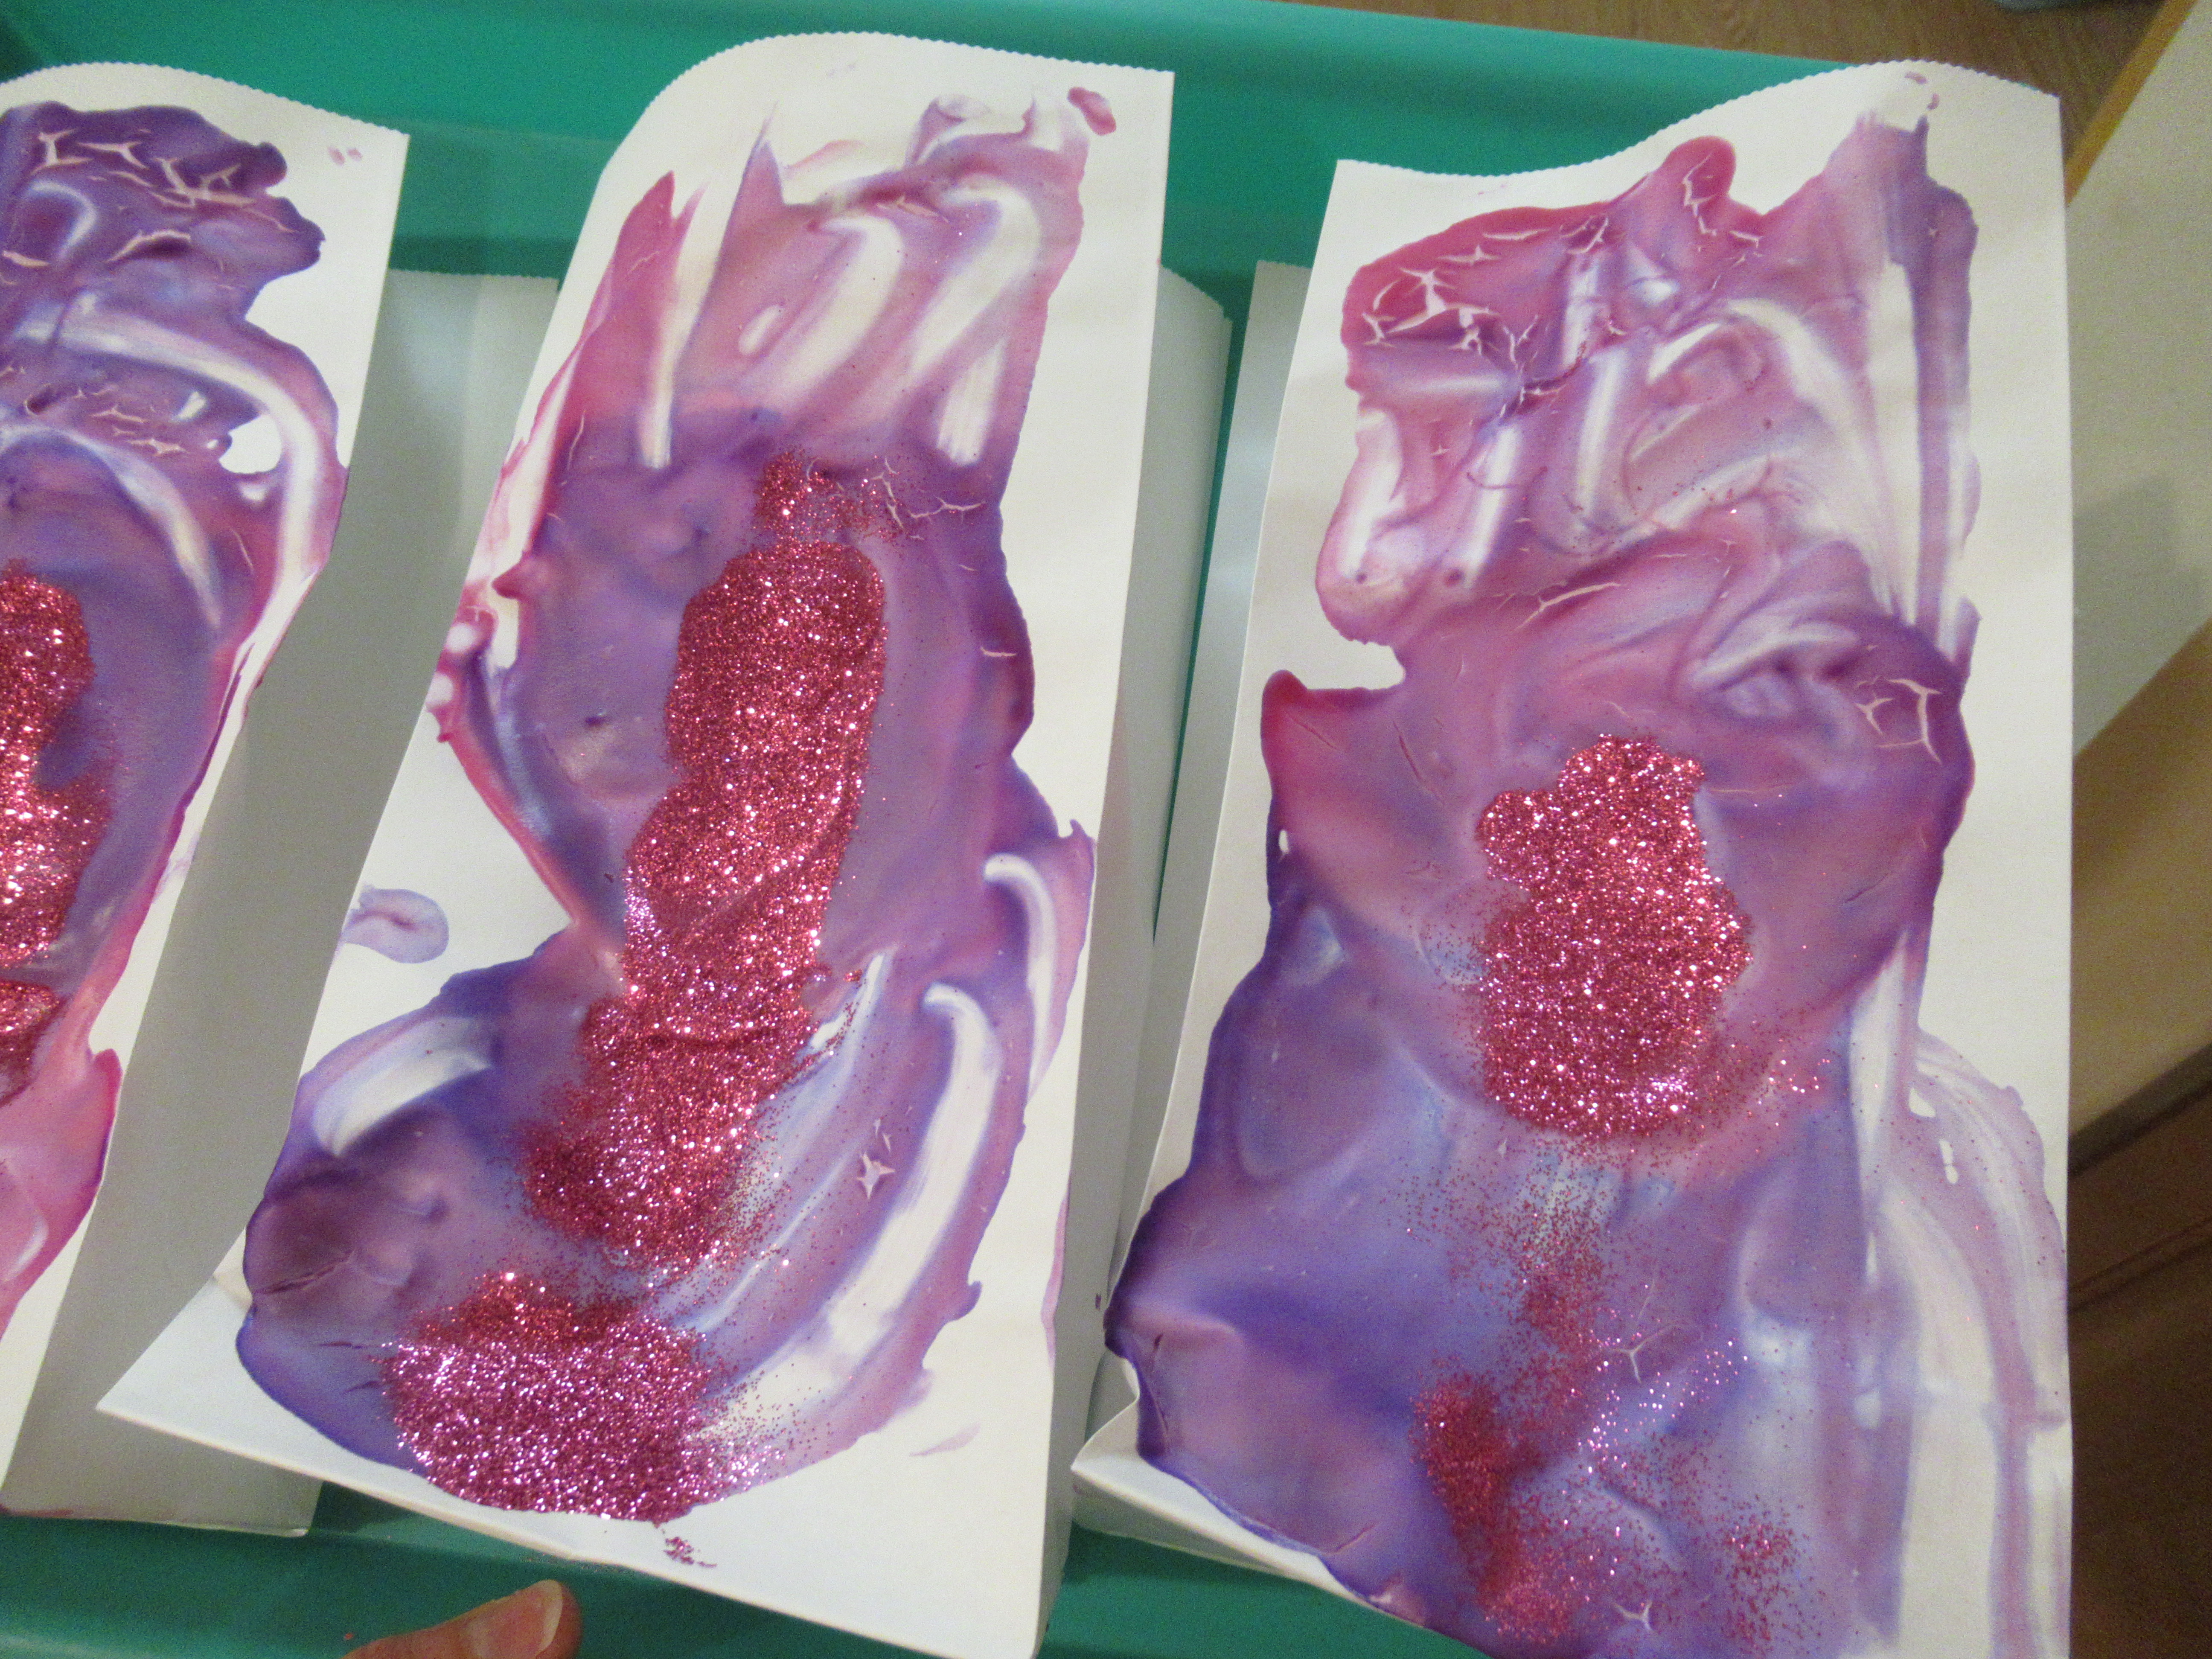
Unfortunately once I stood the bags upright to dry, the glitter sprinkled right off – whoops! I left them to dry lying down but propped open slightly by old paper towel tubes (newspaper would work, too), since the yogurt paint is so thick and messy.

Hunt for Love (12)

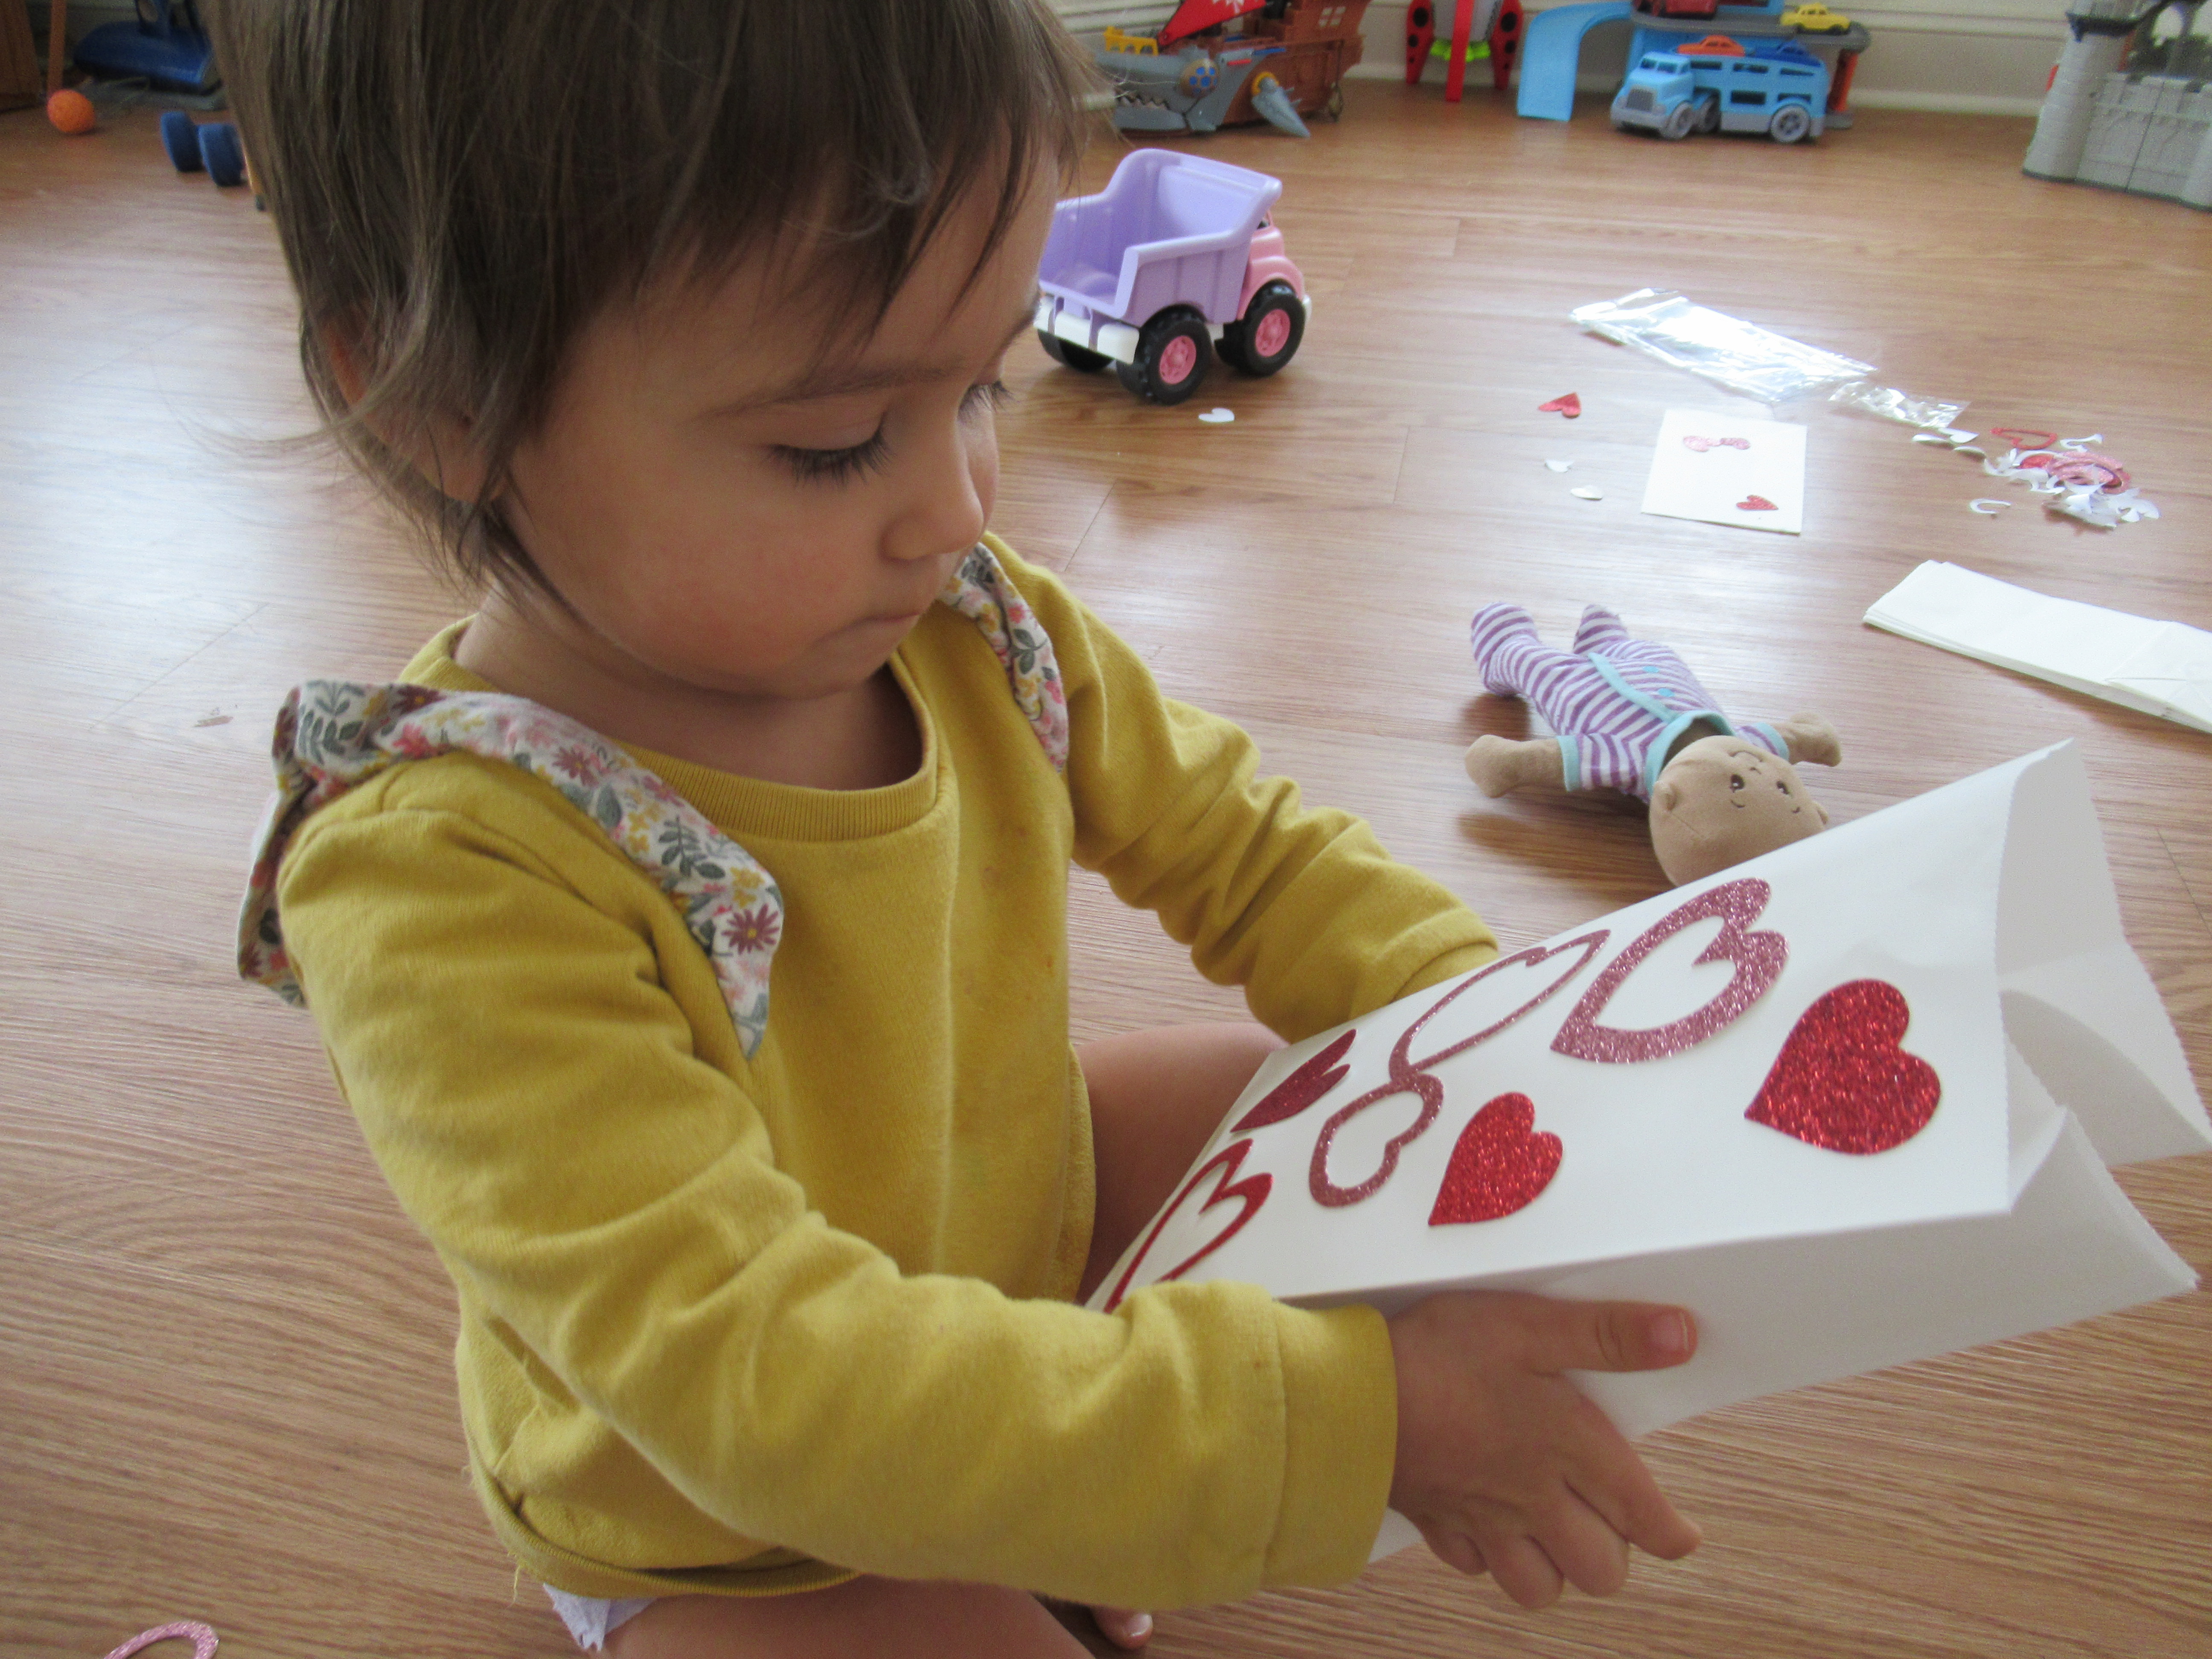
It became quite clear, though, that this paint was going to take forever to dry. So when Veronika was impatient for the next part of the activity, we quickly made a plan B and decorated a few more treat bags with heart stickers.

Hunt for Love (5)

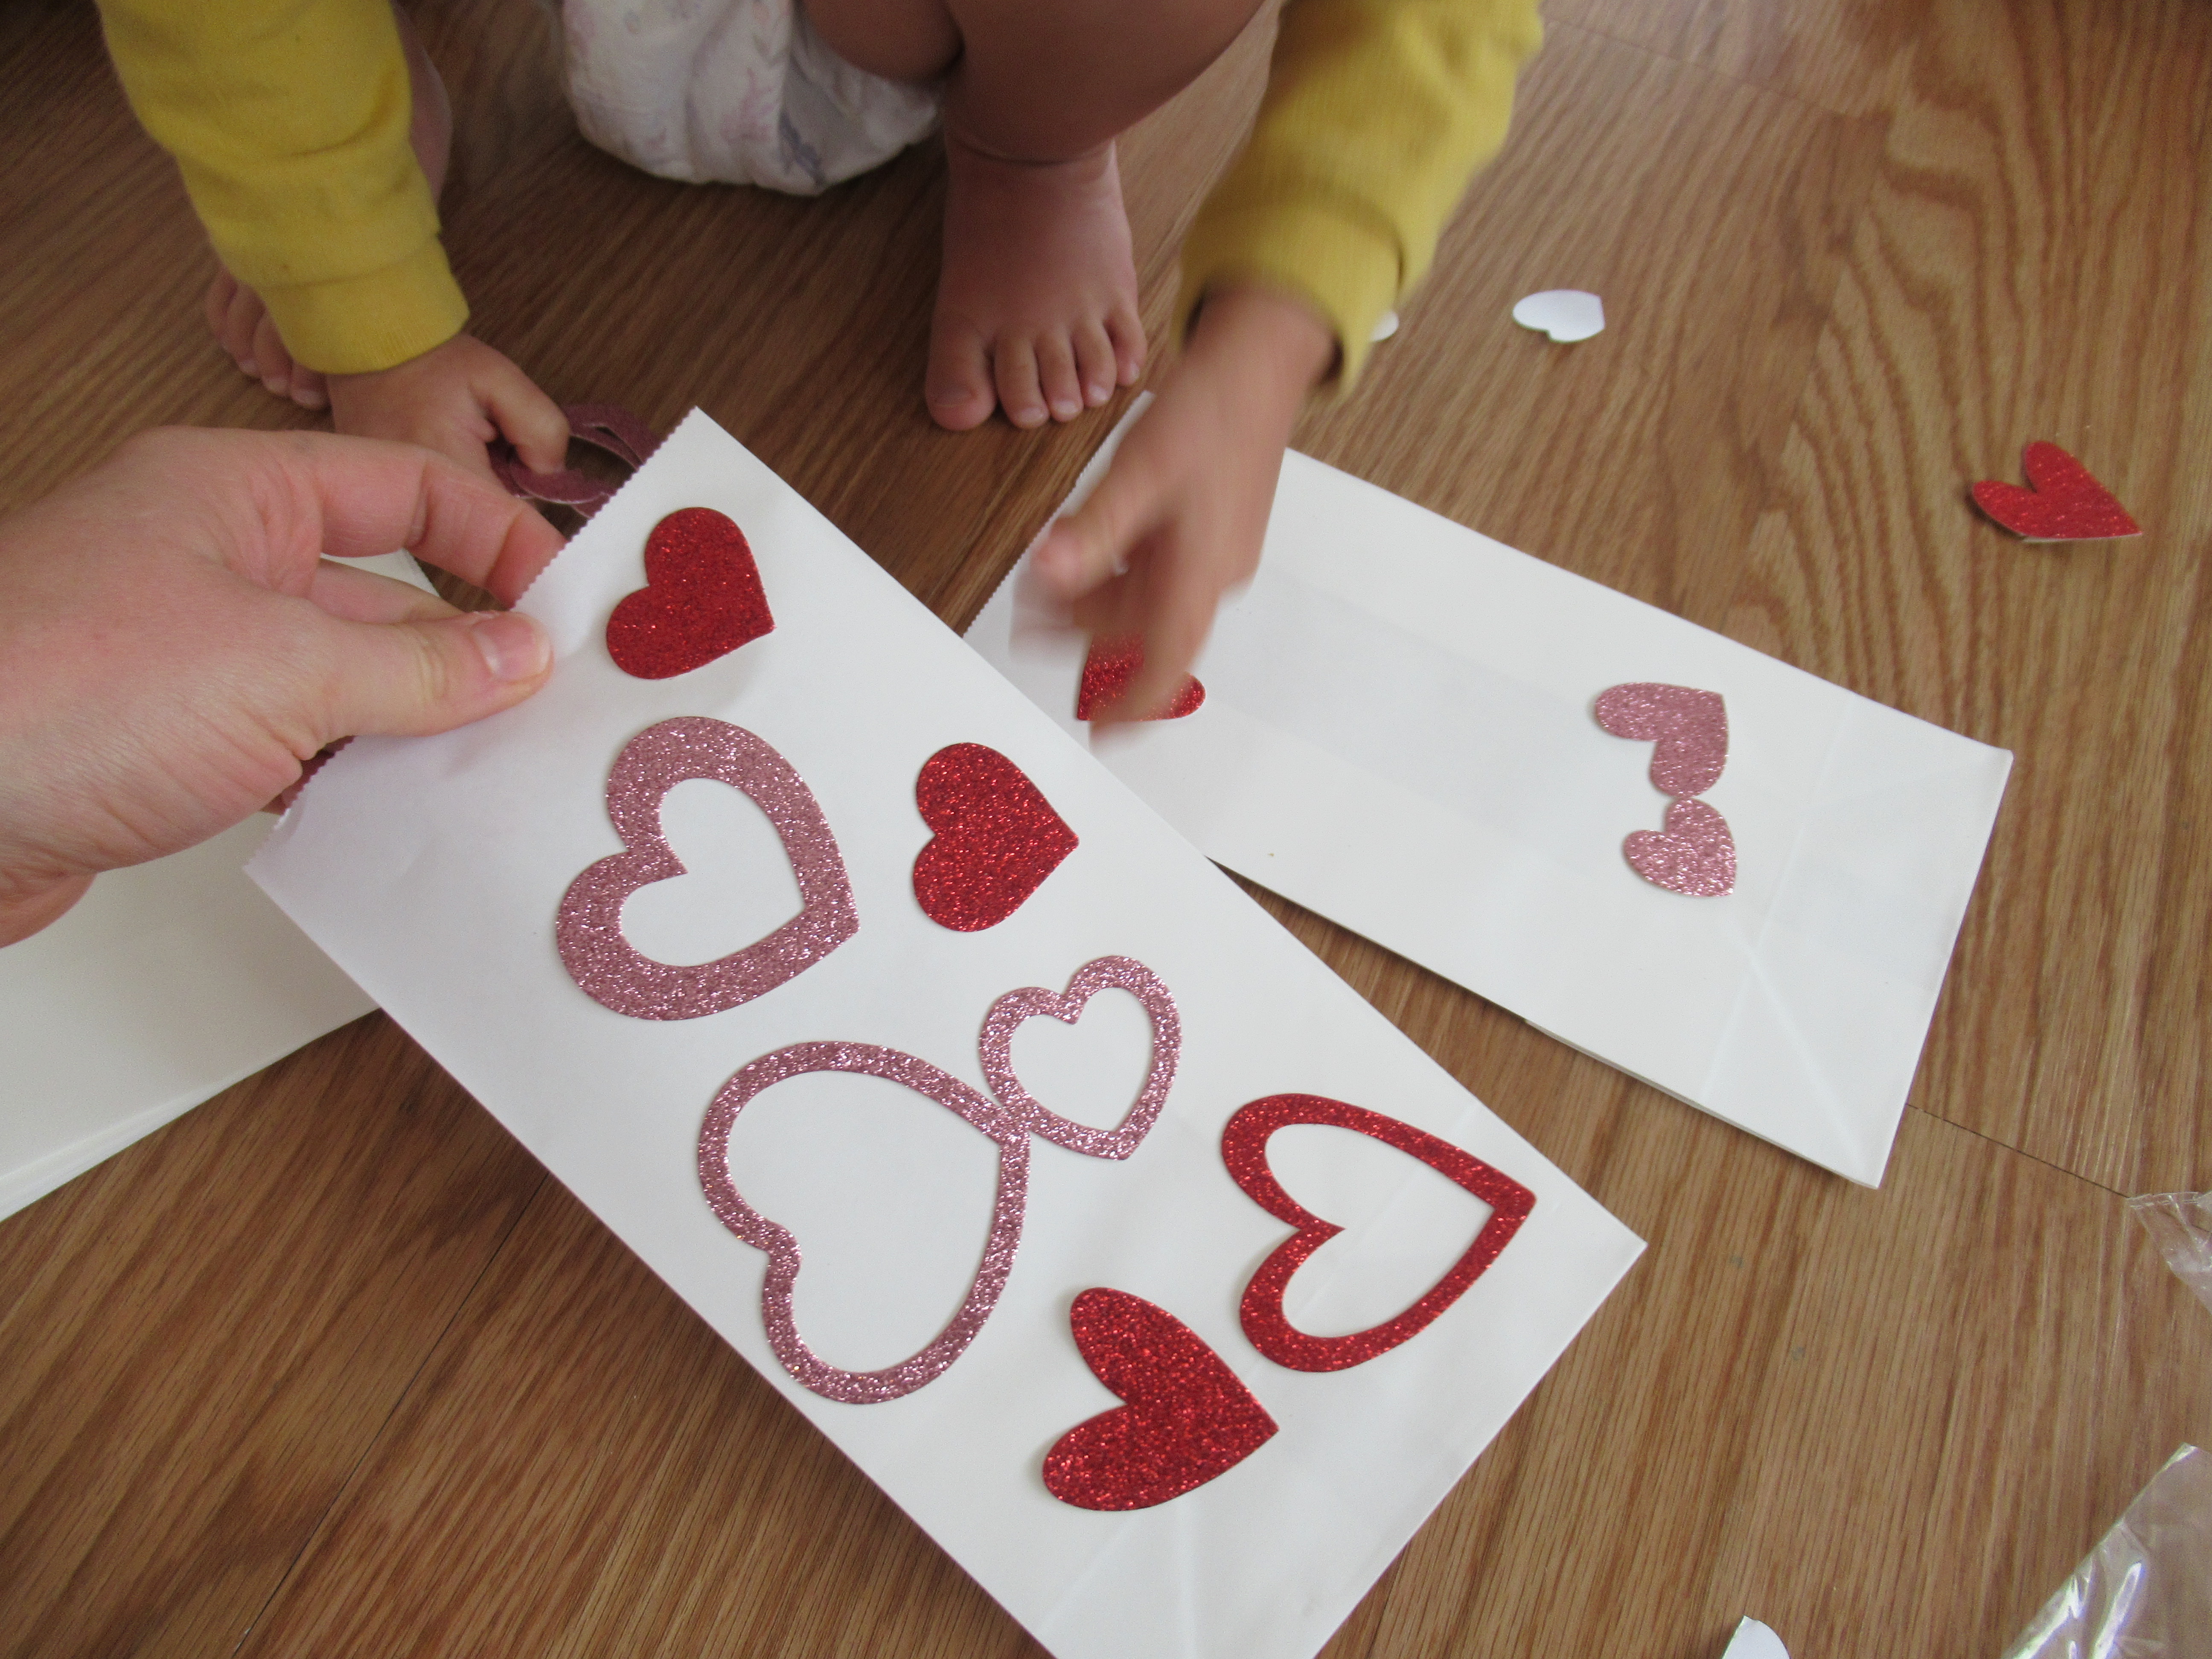
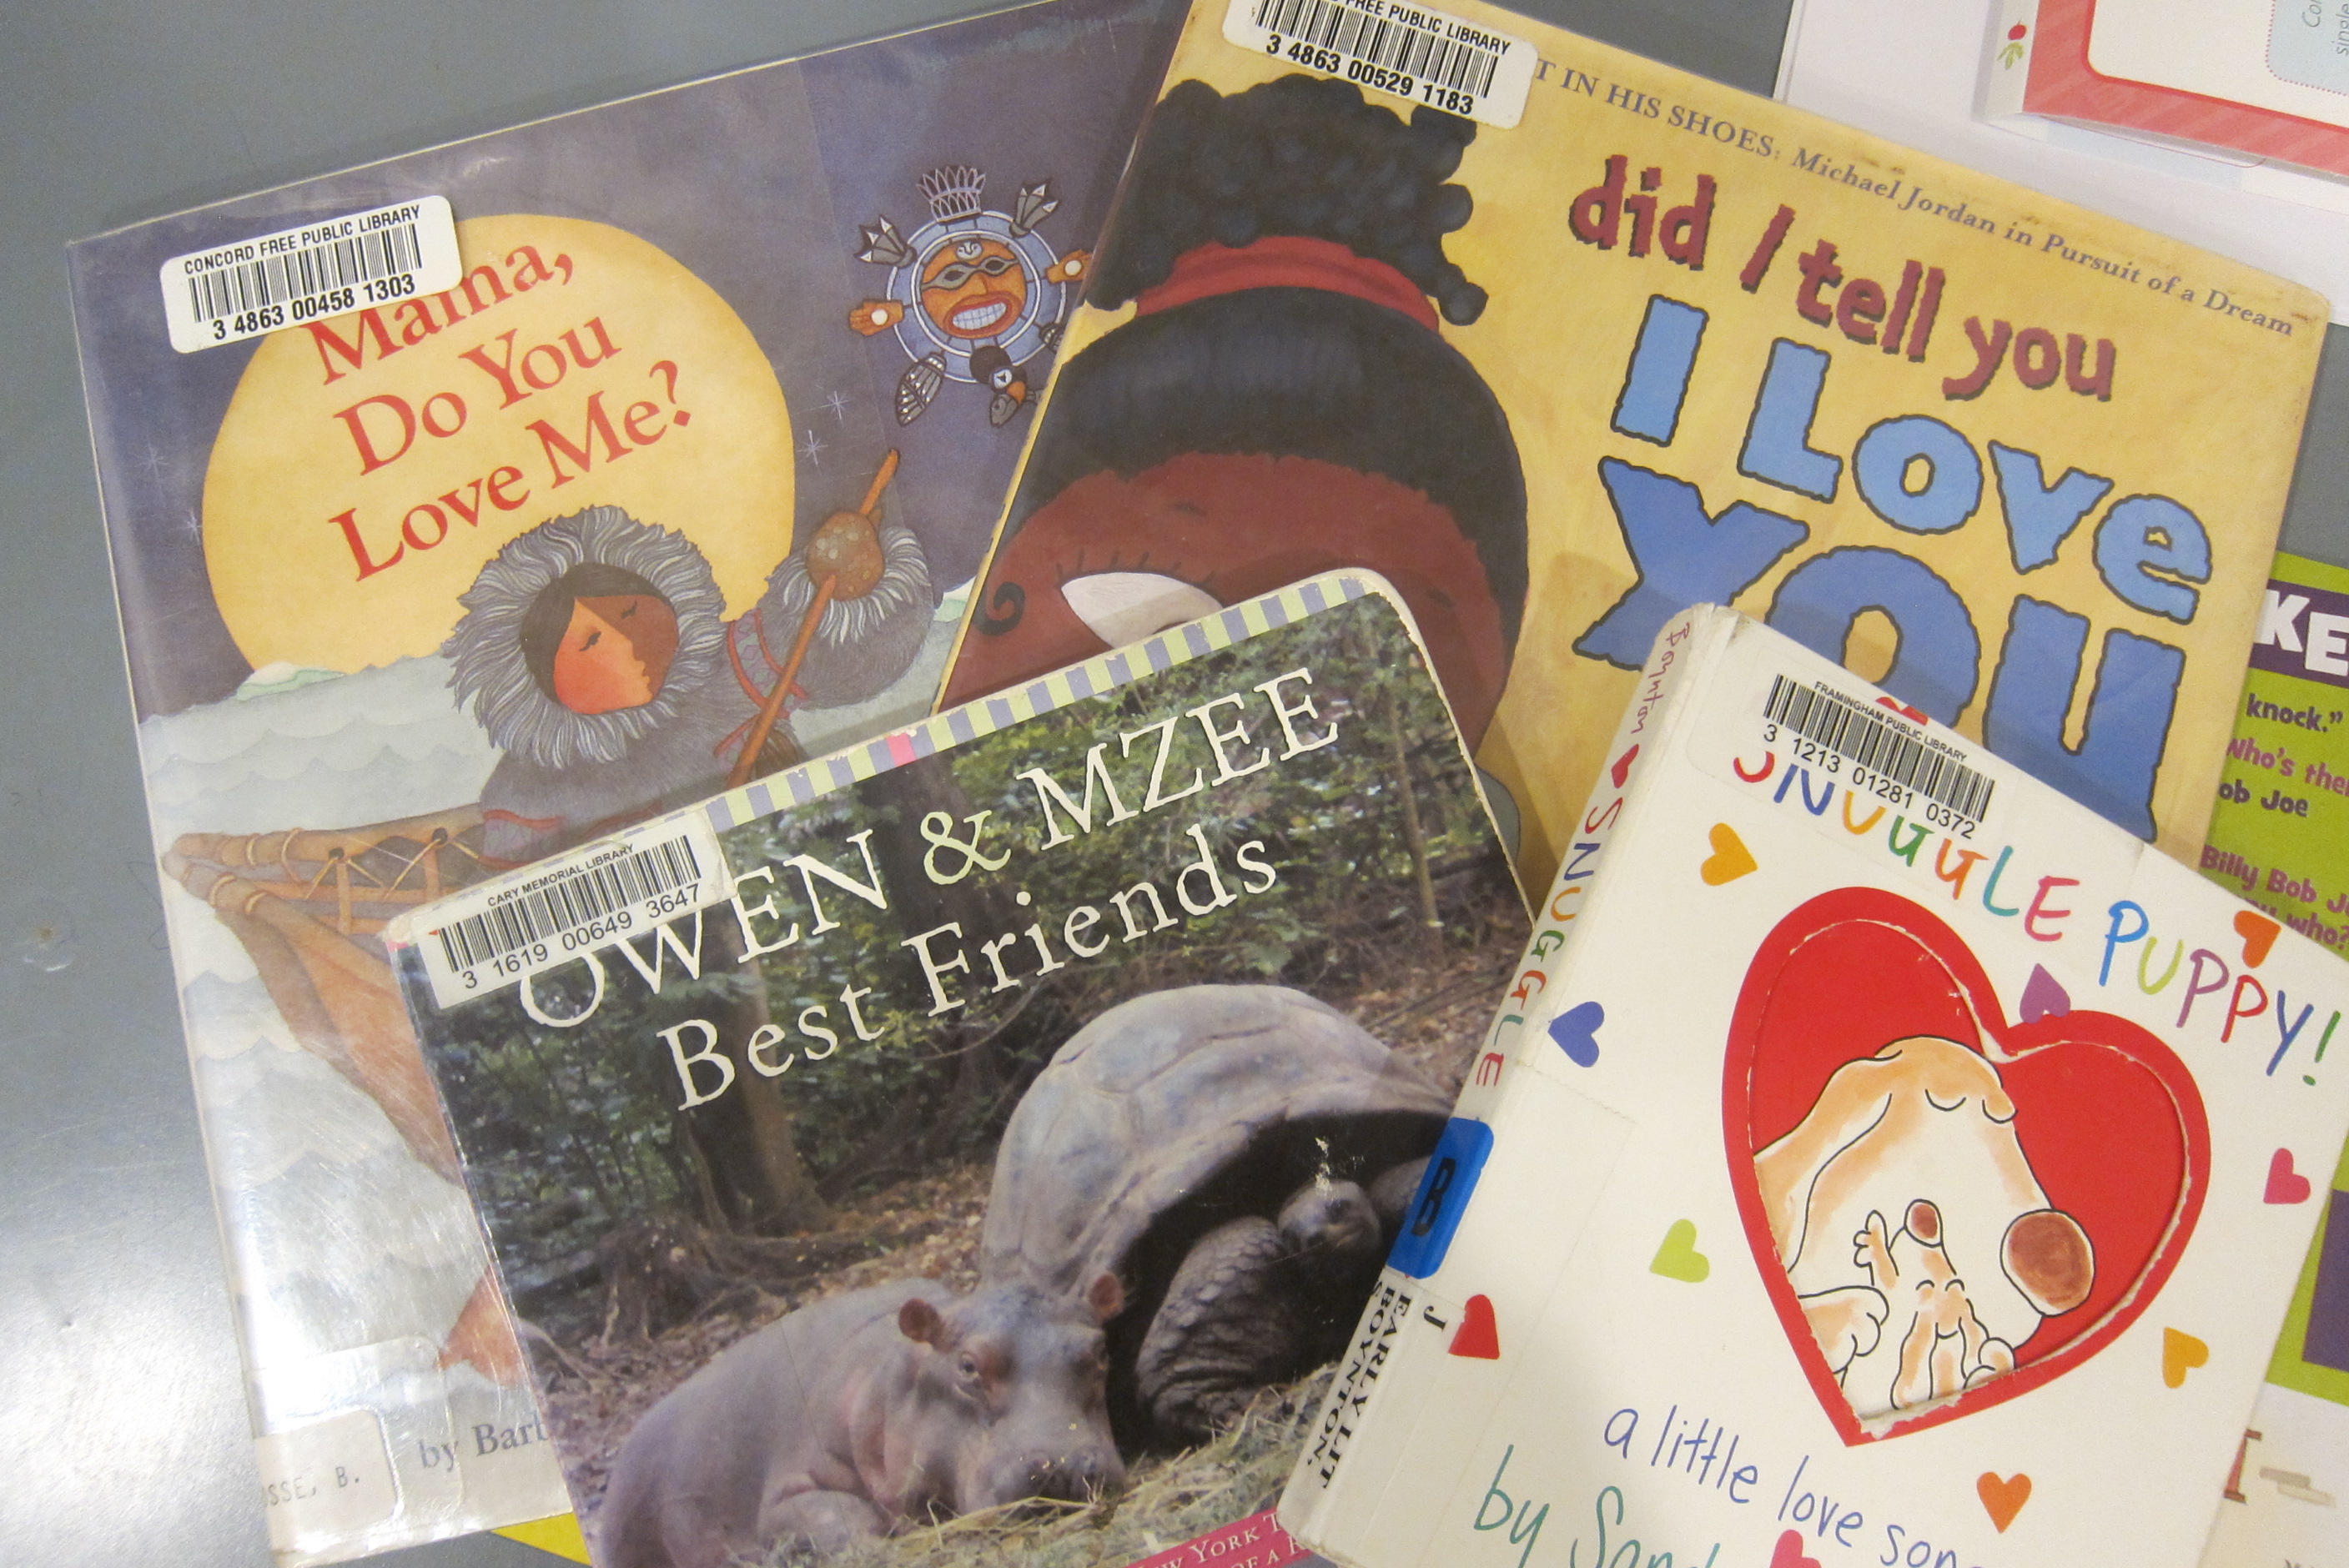
No drying time required now! As we put on the heart stickers, I talked to her about how hearts represent love, and we were going to hunt around the house for things she loves. I put in one of her favorite toys as an example. “You love penguin. Penguin goes in the bag!”

Hunt for Love (6)

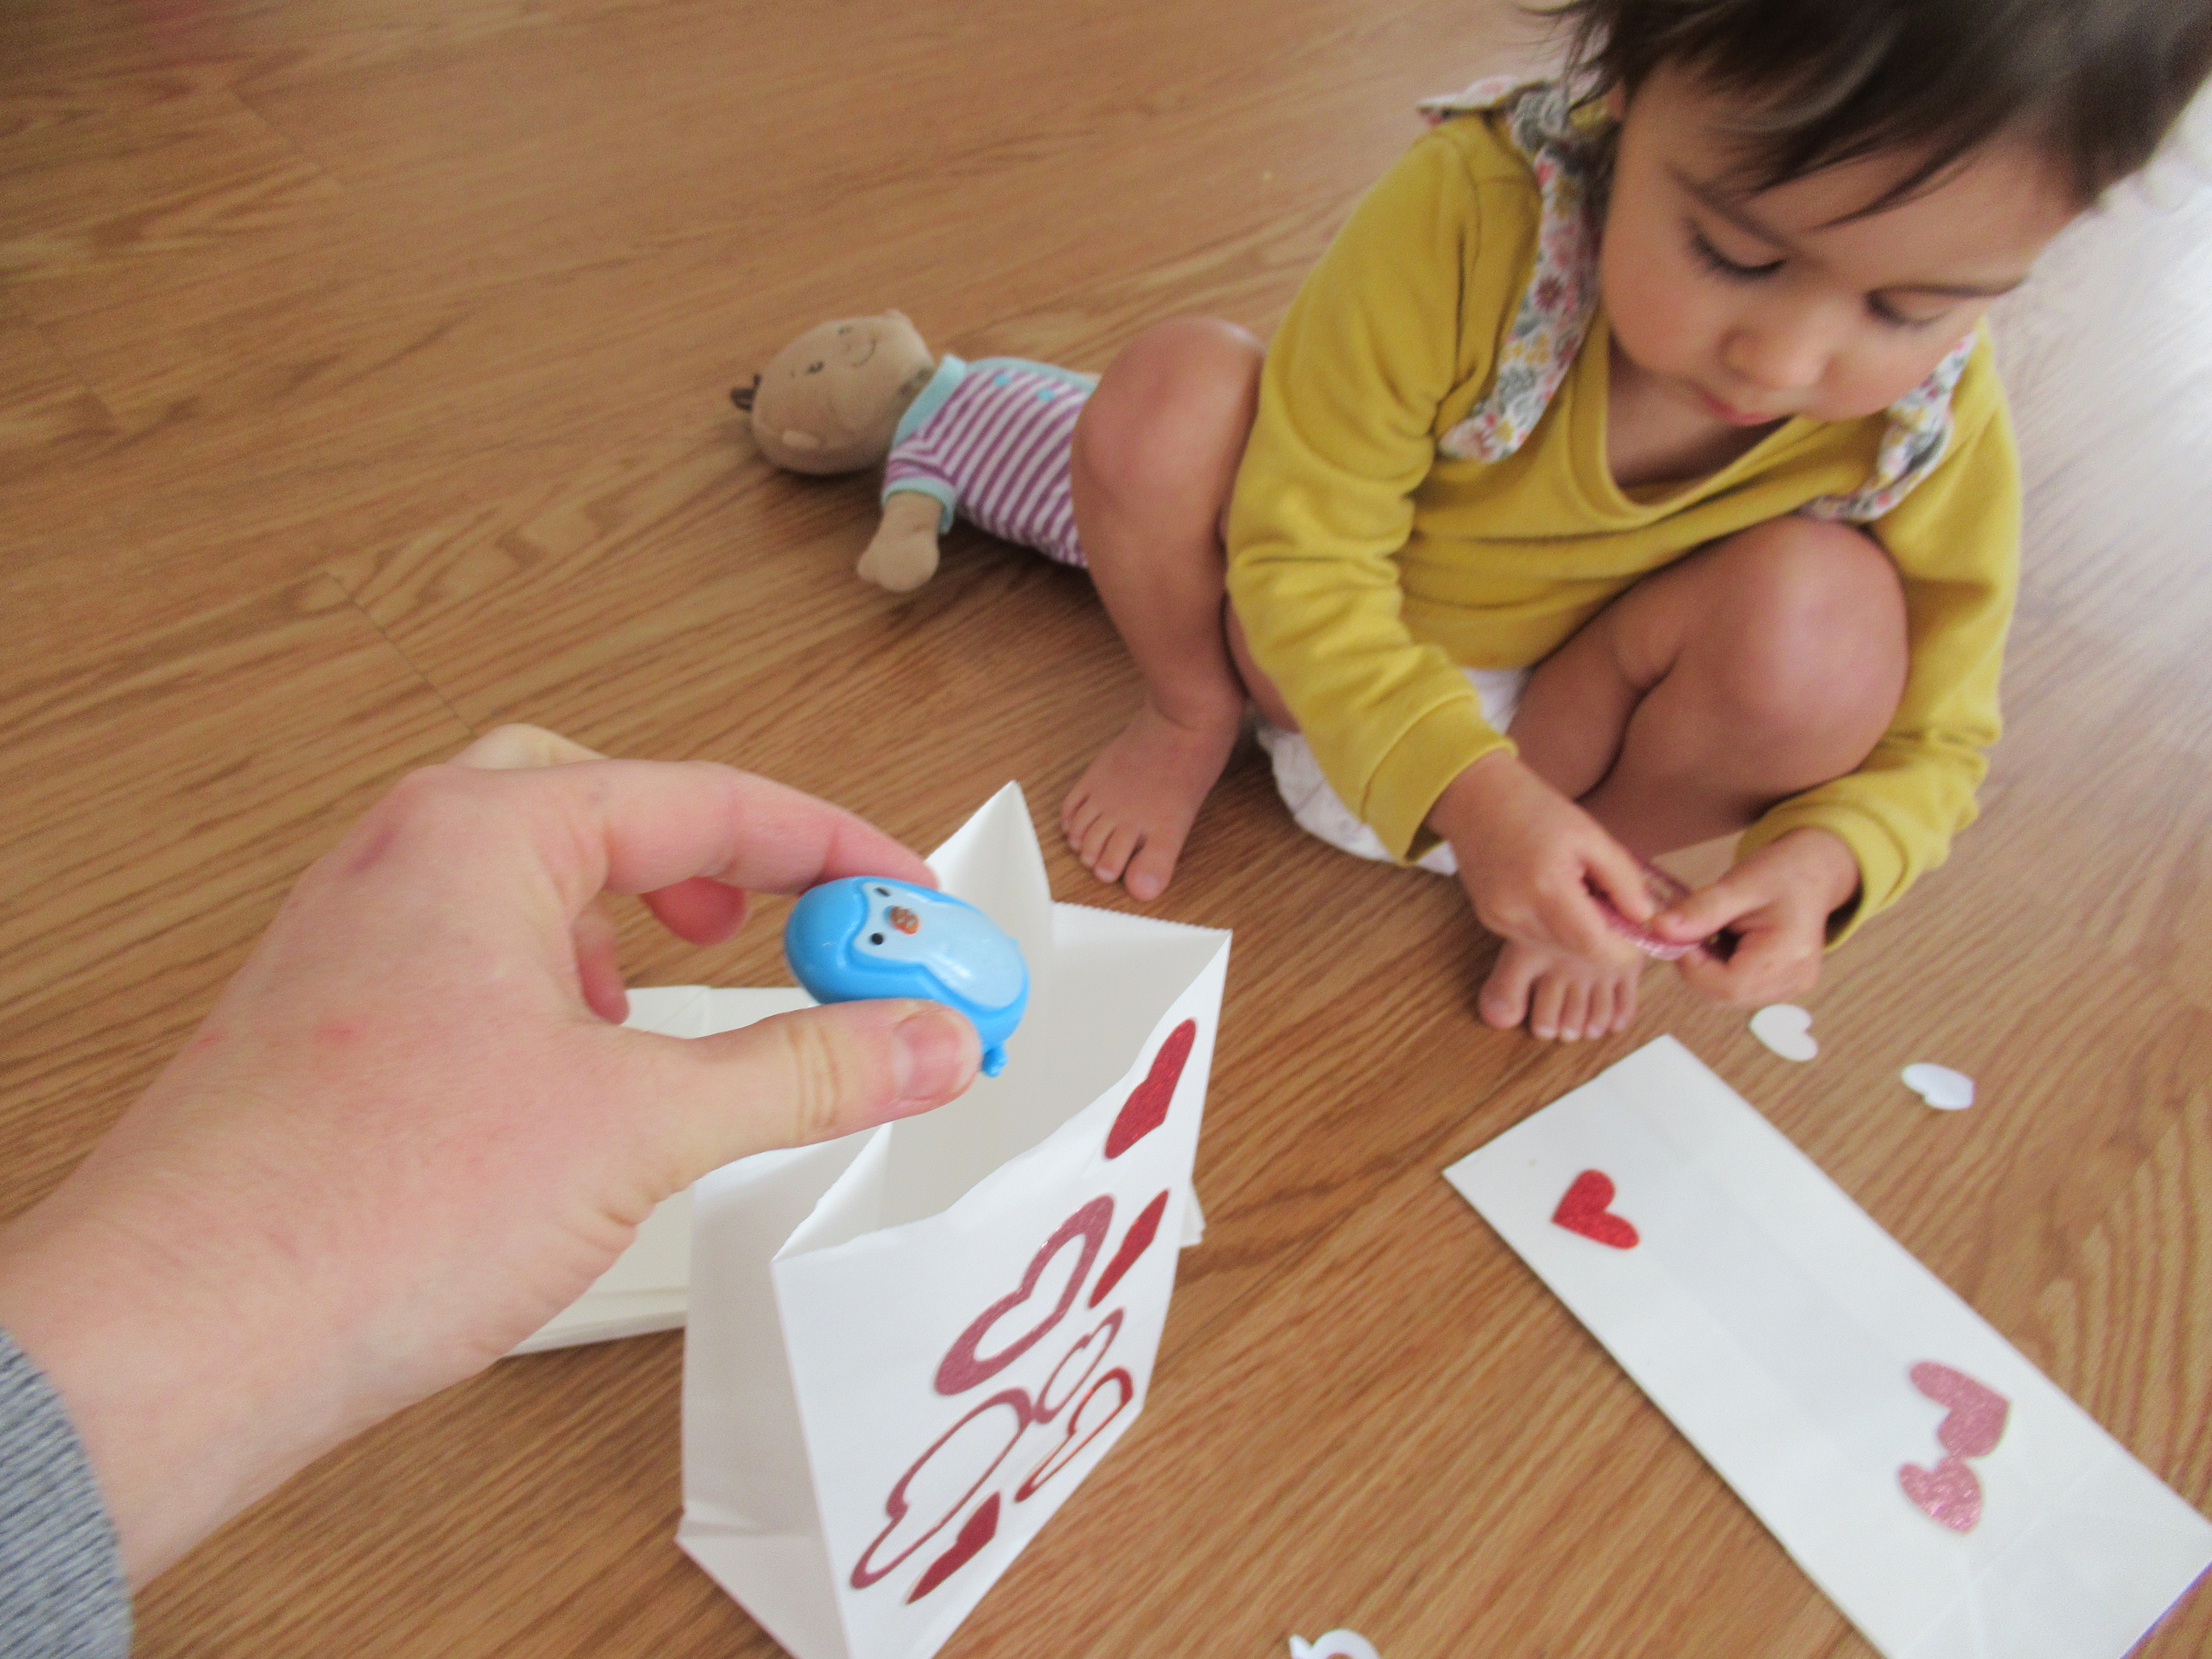
I was amazed at how quickly she understood the concept! She filled the bag with favorite toys and began talking about how much she loves them.

Hunt for Love (7)

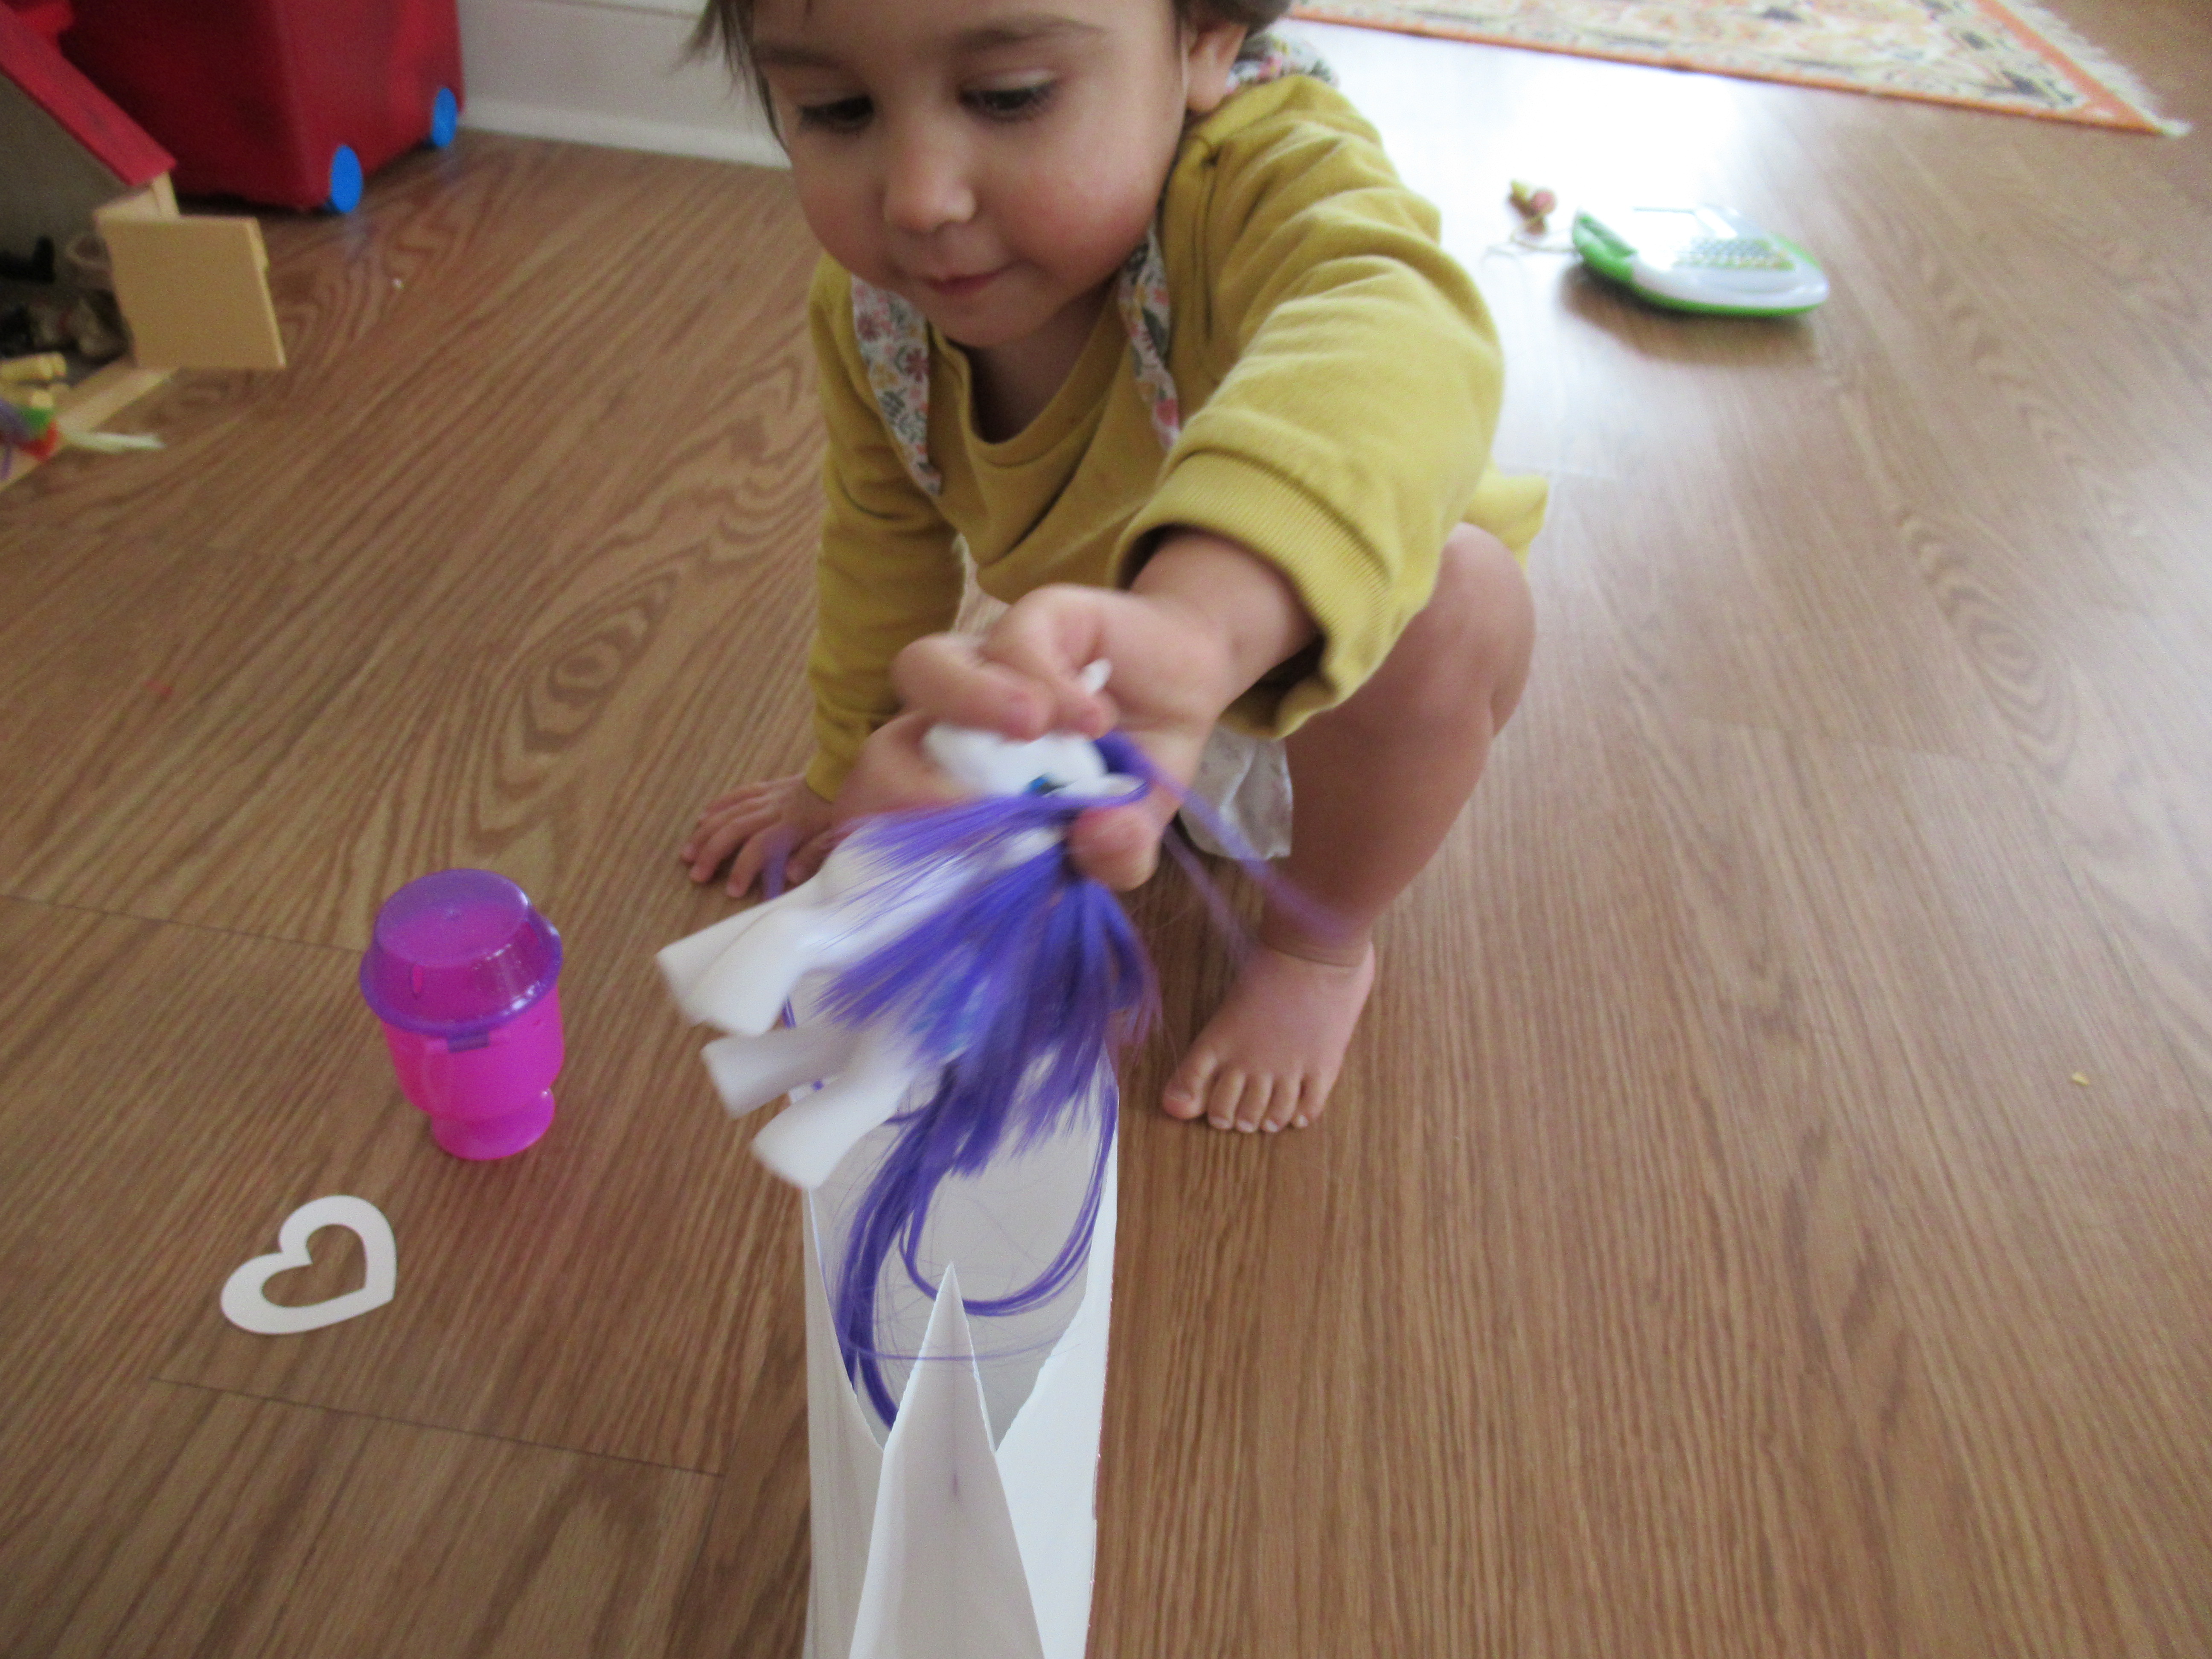
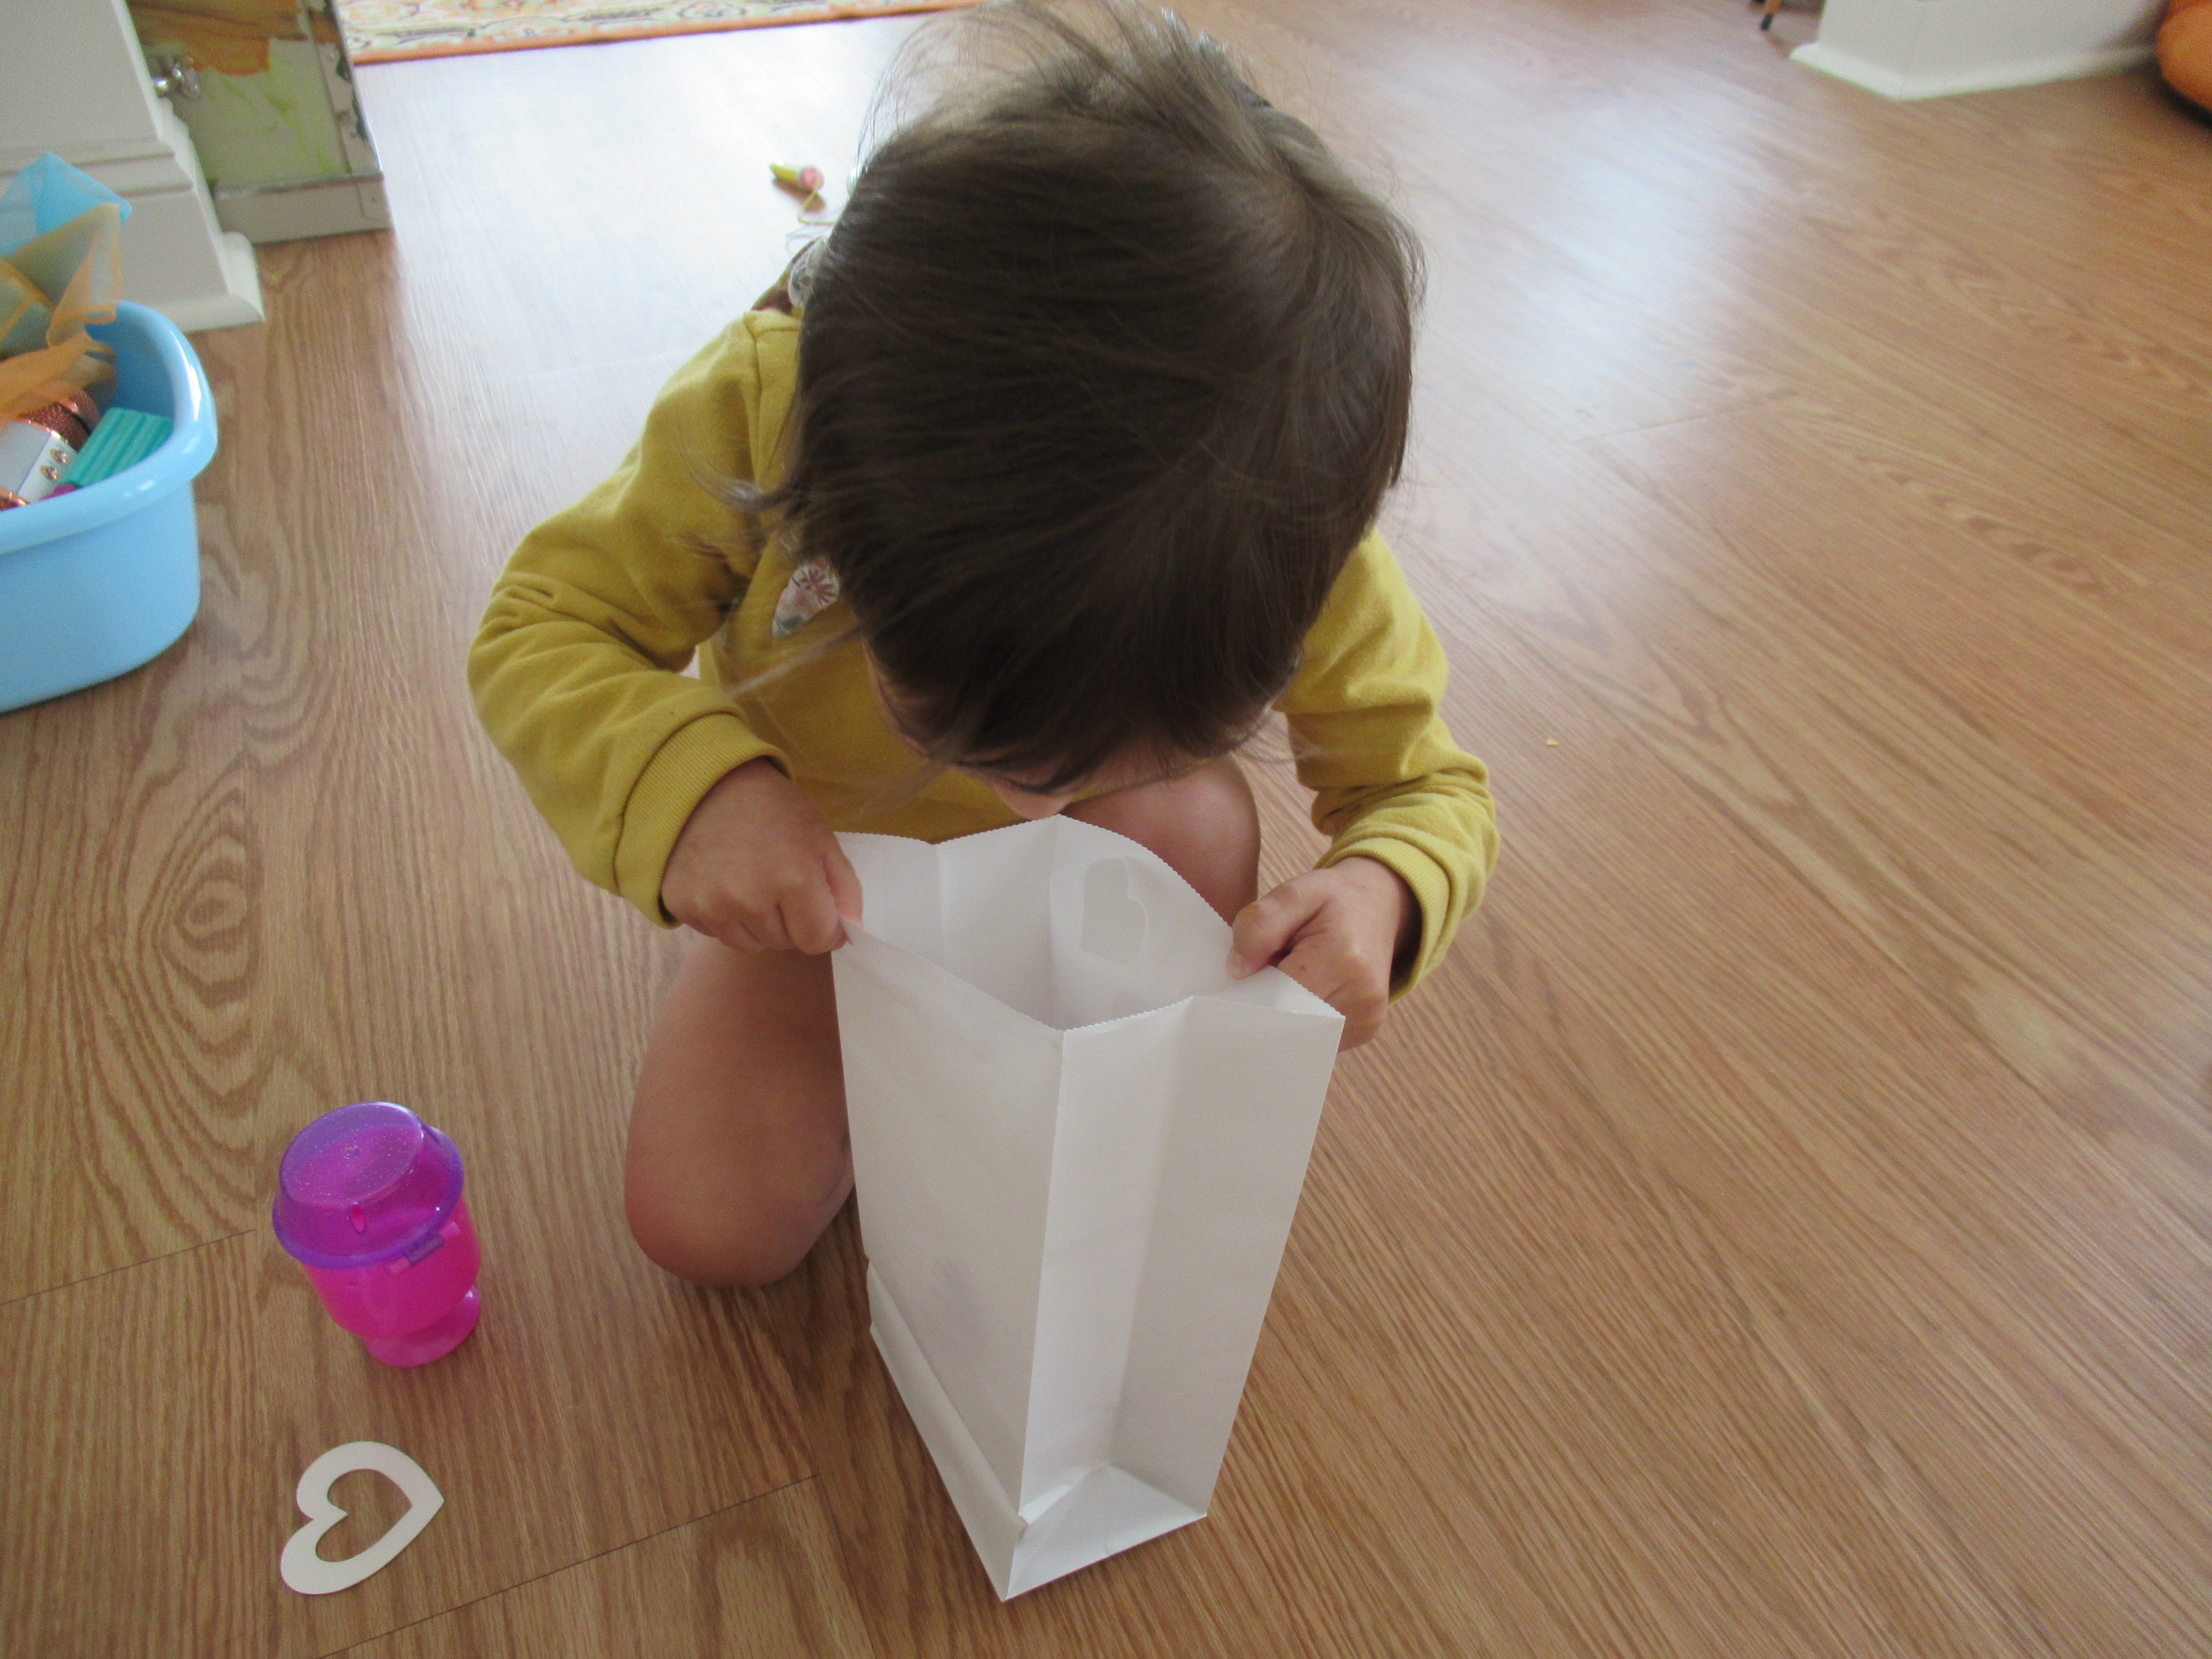
This is not a term she normally uses in her play, so I knew she was making the connection for the first time. Don’t be surprised if your toddler wants to add loved items that don’t fit in the bag. That’s just fine, and serves as a quick lesson on relative sizes! Baby doll didn’t fit, but Veronika can still love her.

Hunt for Love (11)

Once the bag was full, she was delighted with her little bag. “I got anything I love!” she said. And then when I asked her what big brother Travis might put in his bag, she said without any prompting, “Travis will put in all his Lego guys!”

Hunt for Love (9)

She really understood! Note: Eventually the yogurt painted bags did dry, so we might keep these on hand to fill with Valentine’s goodies as the holiday approaches.
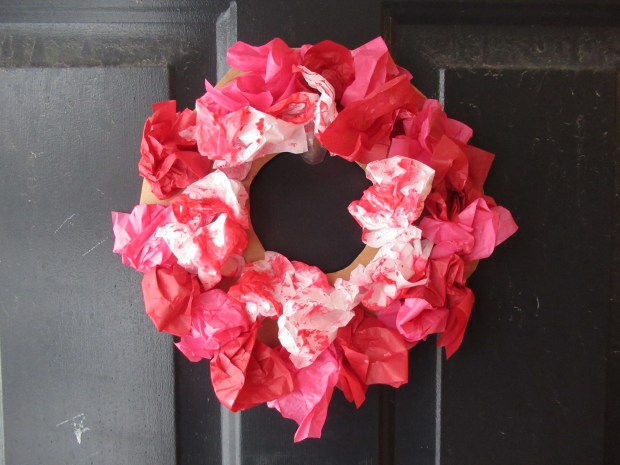
Cookie Cutter Painting for Valentine’s Day

Cookie Cutter Valentines (7)

It’s February, which means we’re starting to think about all things Valentine’s Day, especially with regards to crafts. Cookie cutters are a great medium for toddlers because your child will delight in creating a recognizable shape on paper, even before he or she is able to draw shapes by hand.

I set out a tray for Veronika with two shades of pink paint and heart cookie cutters in various sizes.

Cookie Cutter Valentines (1)

Veronika loved seeing all the hearts! She quickly had a knack for dipping a heart in the paint, transferring to the paper, and then turning back to dip again. “I made a heart!” she said proudly.

Cookie Cutter Valentines (4)

Because we happen to have several heart cutters, this was also a great moment to talk about size. I had her point out to me which was the big heart, which was the small, and – the tricky one! – the medium.

Cookie Cutter Valentines (5)

I love that cookie cutter crafts like this result in fool-proof art even for toddlers, meaning you wind up with great art to send to relatives or friends. Folded in half, the resulting heart paintings would make lovely Valentine’s Day cards.

Cookie Cutter Valentines (6)

Show Love Around the World

Love World (9)

Raddish Kids had a heart-warming lesson this month about different ways that cultures celebrate love, specifically on Valentine’s Day, but also throughout the year. As a kindergartner, Travis is working on learning and showing empathy, so it was a nice lesson to make things concrete. First, we spent a few nights devoting story time to books about love, including:

  • Snuggle Puppy by Sandra Boynton
  • Best Friends (Owen and Mzee) by Isabella and Craig Hatkoff
  • Mama, Do You Love Me? by Barbara M. Joose

Love World (1)

After each one, we discussed the type of love relationship it entailed. Sometimes it was two friends, sometimes a parent and child, and sometimes members of different species! This was a great jumping-off point for talking about what love means, and how we might express love differently towards different people (or animals).

Travis said he shows love to a parent by hugging, but love to a friend by playing.

Love World (2)

Raddish provided lots of links to learn more about other cultures’ love traditions, including silly bits like how to say “love” in Klingon. Some made Travis giggle, like walking barefoot in Slovenia. Overall, though, this section of the lesson was geared towards older children and Travis was too antsy to sit and go through all of the customs.

Instead, we jumped ahead to the project: making up his own love celebration. The provided worksheet helped direct Travis’s thinking, but he gave a lot of silly answers before honing in on a real idea.

Love World (3)

He wanted to celebrate sibling love (aww!) so we ended up combining this with a winter picnic for Veronika.

Love World (5)

I loved watching them play and share the moment together!

Finally, we put together a Love Jar. Decorate any container you like, whether a shoe box or a mason jar or anything in between. Travis drew designs on a mason jar with permanent markers, including hearts and arrows.

Love World (8)

I left out post-it notes by the jar with the idea that he can write down a moment he appreciated or loved each day.

Love World (10)

Reading these out can become a special moment each week! We finished off all the heart-shaped fun with a quick compound word game from Raddish, filling in the blanks on “broken hearts” to complete each word.

Love World (4)