Finger-Paint Art

Finger-Paint Art (9)

I’m getting braver when it comes to Veronika and art, but as a safety measure, it’s still a good idea to keep art materials contained or edible at this age. This edible finger-paint is a cinch to whip up!

To make the paint, combine 4 tablespoons boiling water and 4 tablespoons cornstarch, mixing well with a whisk.

Finger-Paint Art (1)

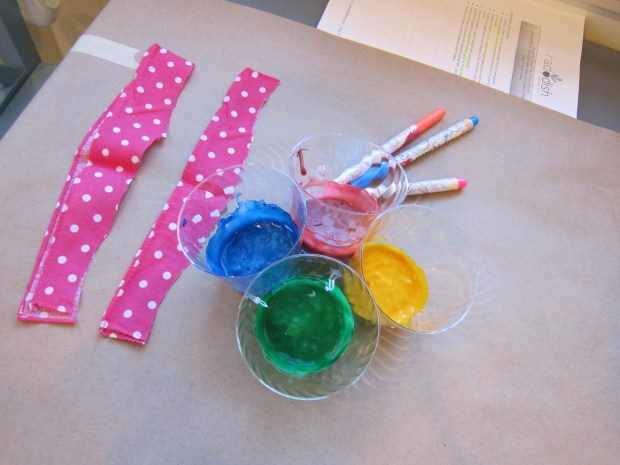
Continue to add boiling water just until the paint looks like heavy cream. Divide among 4 cups and add food coloring. Let cool completely.

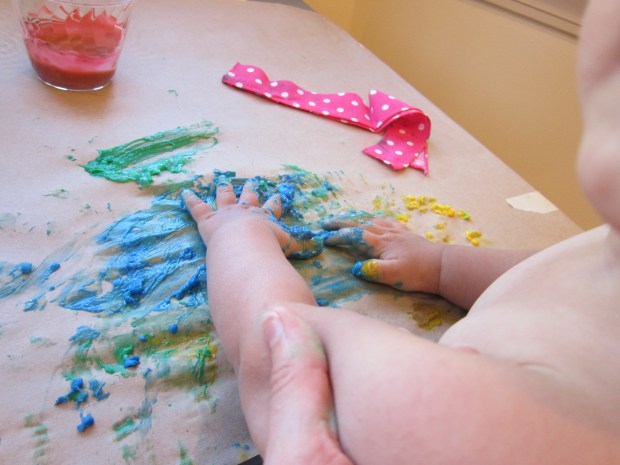
I stripped Veronika down to her diaper and taped a large piece of craft paper to the table (precautions are still necessary to avoid a huge mess) and sat down with Veronika on my lap.

Finger-Paint Art (2)

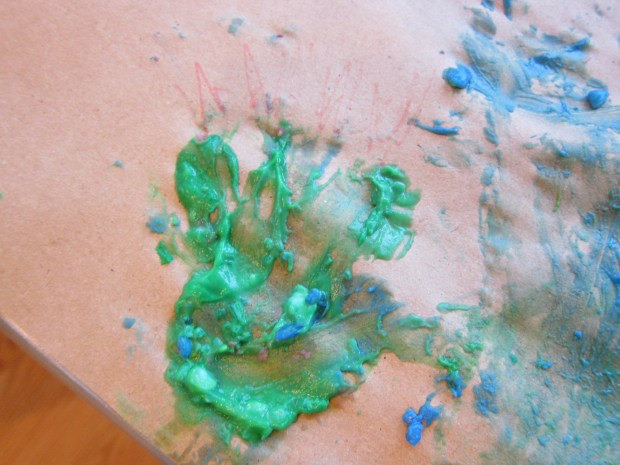
I showed her how to dip her fingers or whole hand into the cups of paint, and then press onto the paper. She seemed hesitant at first…

Finger-Paint Art (4)

…but soon was smearing away!

Finger-Paint Art (3)

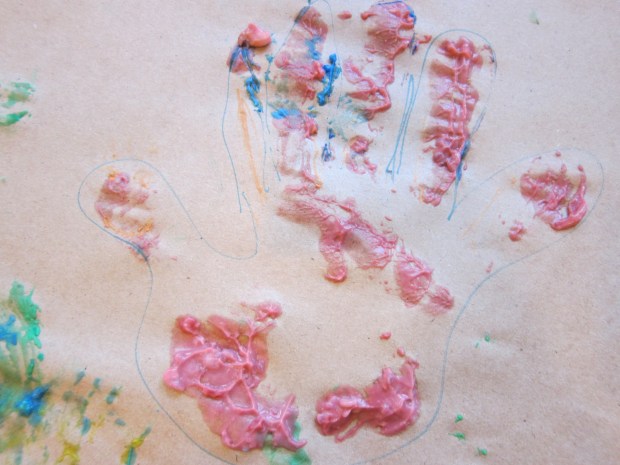
My hope had been to get some nice finger- or handprints that could be transformed into little pictures. Alas, most of hers were too messy, so I made a mommy handprint and turned it into a little turkey with markers.

Finger-Paint Art (8)

Drawing flowers or bugs or any other creation would be cute, too! Another fun idea was dipping some fabric into the paint, and then smearing this all over our paper.

Finger-Paint Art (5)

Once we had lots of nice blobs, I folded the paper in half and then opened back up again to introduce the notion of symmetry.

Finger-Paint Art (11)

And then the art lesson was done and it was time for clean up and new clothes!

Finger-Paint Art (7)

Advertisement

Seasons in the Hemispheres

Hemispheres (4).JPG

This very simply lesson from Raddish Kids was informative, though it lacked the “wow” factor of other lessons from the company. Still, Travis was intrigued and stuck with it from start to finish.

First, I asked him to name the four seasons. Chart your child’s answers, and then make a list of different aspects of the seasons. Travis came up with things like: cold versus hot; snow versus sun; and different colors, like white versus green.

Now time for a little lesson; the world is divided into northern and southern hemispheres, separated by an imaginary line called the Equator. When it it is summer in the north, it is winter in the south, and vice versa.

Hemispheres (1)

To illustrate this point in a tangible way, draw a line around an orange. We labeled the top N and the bottom S. I had him point out where we lived, and we drew a simple outline for North America. An outline of Argentina, where our recipes came from, went into the south.

Hemispheres (2)

Spear the orange with a chopstick from “north pole to south pole” to show Earth’s axis. Now hold up a soccer ball as your sun. As you rotate the “Earth” around at a slight tilt (fun fact, Earth’s axis is tilted 23.5 degrees), your child will start to see why sometimes it is summer and sometimes winter.

Hemispheres (3)

We watched two suggested videos for a slightly more in depth explanation.

Hemispheres (5)

Now it was time for Travis to plan his winter birthday party! As a summer baby, I had him imagine what it would be like to live in a southern continent. He decided it would be an ice party, where everyone drank hot cocoa and came in snow boots.

Hemispheres (7)

If you really wanted to go all out for this lesson plan, you could recreate a mini birthday celebration of opposite seasons for your kids! At the very least, celebrate with some dulce de leche cookies.

Finally, we checked out the difference in temperature in the hemispheres today. Because it is fall/spring, the difference wasn’t thrillingly obvious. Older kids may want to pick a city in the opposite hemisphere and chart the differences in temp over a whole week.

Hemispheres (8)