Okay, this is likely the last time Travis and I will play with LED lights and batteries for a while, but we’ve had lots of fun with them this month. Of all our light-up projects, this was the simplest. But by now Travis is an expert!
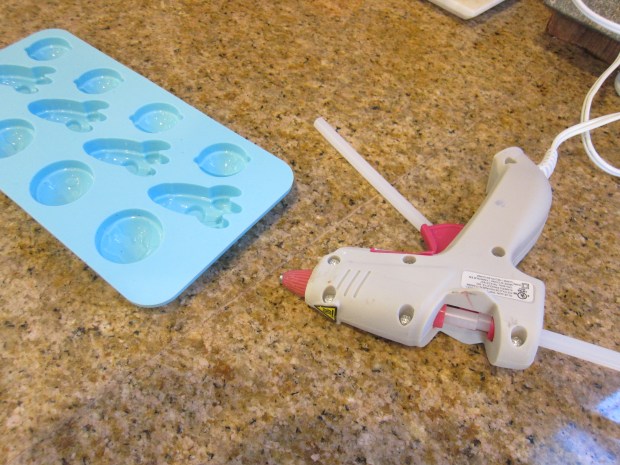
To start, we needed to make magnets using a silicone mold and hot glue. We have a mold in fun rocket and planet shapes that was perfect.
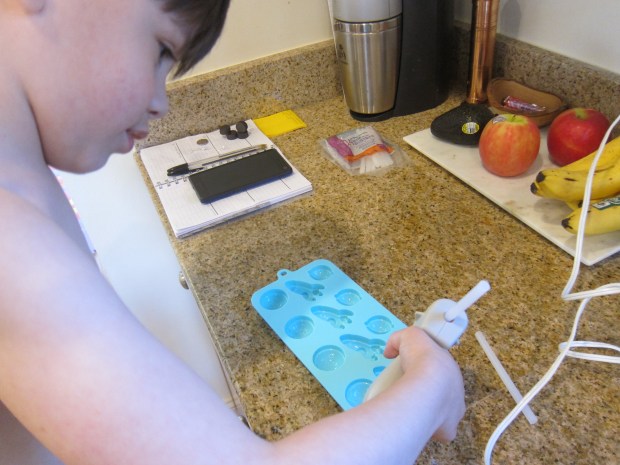
Because it required squirting a lot of hot glue into a relatively wide receptacle, this was the first time I let Travis use the gun solo. He was so proud! You’ll likely go through three or four glue sticks to fill a couple of molds.
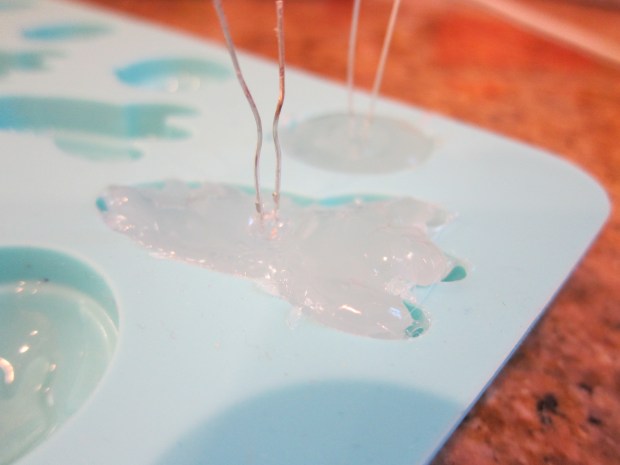
Let the glue cool slightly, but before it’s completely set, push an LED light in. Make sure the wires are still sticking out.
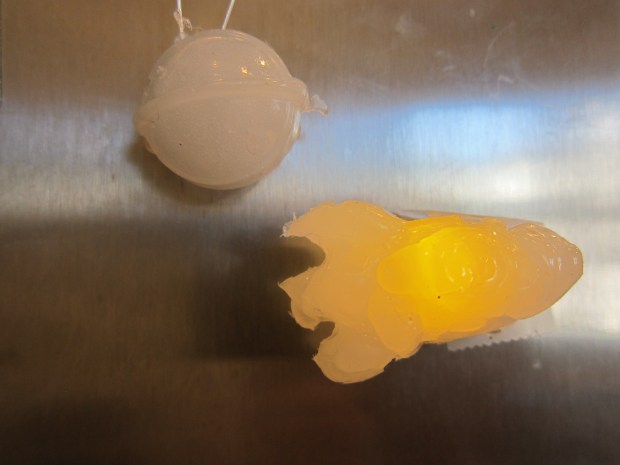
Glue the positive (longer) leg of the LED to a circular magnet. Attach a 3V battery to the magnet with small pieces of tape so that it touches this positive leg, and then tape the other (negative) leg of the LED to the negative side of the battery.
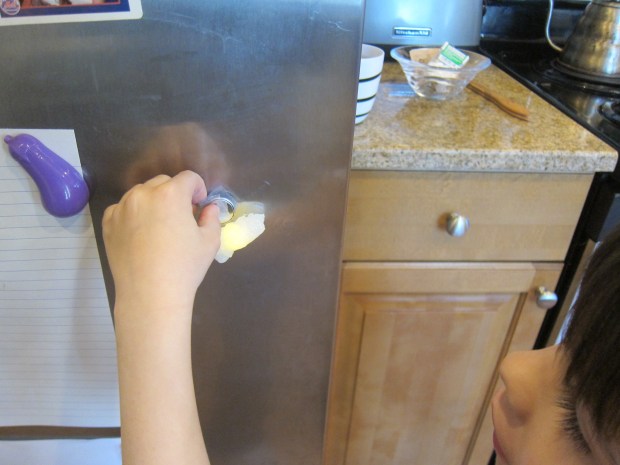
Perhaps you can use these magnets to hang up any home school work!
Here’s our planet in action:
