Kindergarten Home School Week 4: Thursday

Home School 19 k

It was a busy one! And honestly, I’m finding that the busier a home school day is, the better, in that it keeps us all from going stir-crazy. Please note that when I delineate the day by hours, we’re not spending a full hour on each subject. Rather, it’s generally closer to 20 minutes per topic; then Travis fits in some free play, or zones out for a bit, and I can do a few chores around the house or change a diaper or whatever it is that needs doing in life before we move on to the next block of time. I’ve found it helpful to think of the day in these hour chunks, though, and I hope it’s helpful to other novice Covid-19 home school parents, too!

9-10: ELA. We started out with a sight-word poem, and Travis was so proud circling or underlining all his sight words. Then we acted it out, lots of jumping and clapping and smiles!

Home School 19 a

Next up was a lesson on syllables: We clapped out words and circled the correct number of syllables for each.

Home School 19 b

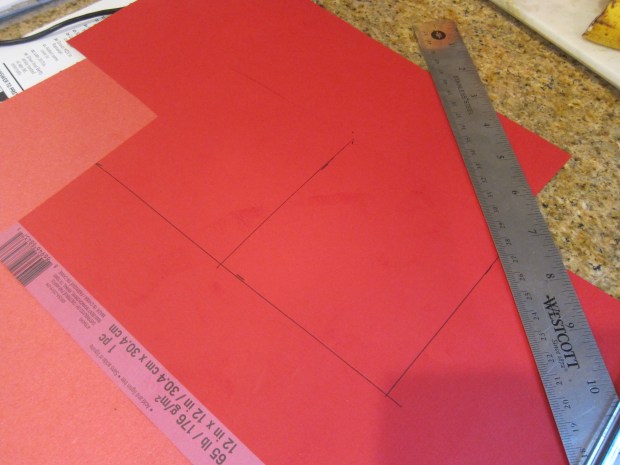
To make it interactive, play syllable hopscotch! Make a board on your floor with masking tape (or outside with chalk if it’s sunny), up to 4 levels high.

Home School 19 c

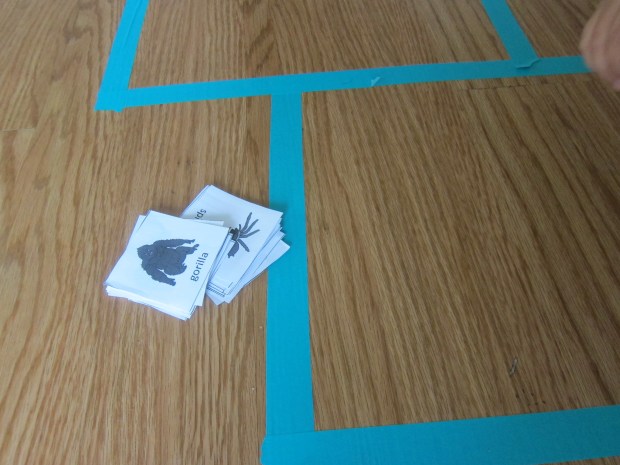
Draw cards from a pile and jump the proper number of spaces. This was fun for a few rounds, and then of course the kids had more fun pulling up all the tape.

Home School 19 d

10-10.30: Math. With the assignment to sort a toy by color, Travis chose Magnatiles and was avidly interested to see which color “won”. Then we colored in a graph with the results.

Home School 19 e

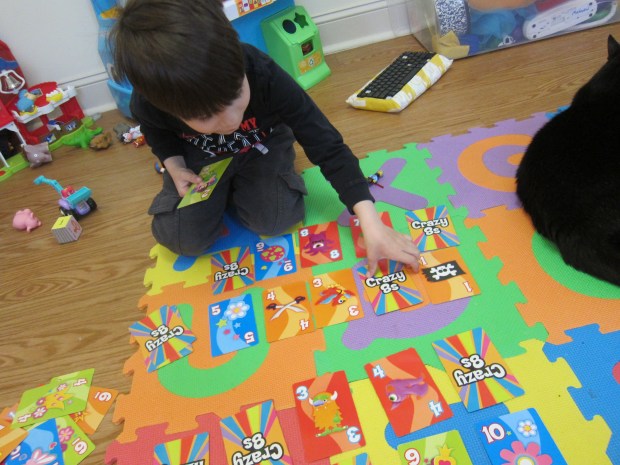
We then played a round of a card game called Garbage, which teaches kids to recognize where a number fits in on a line from 1 to 10. “Mom, this is really fun!” he said. So a win!

Home School 19 h

10.30-11: Snack/free play (indoors due to rain).

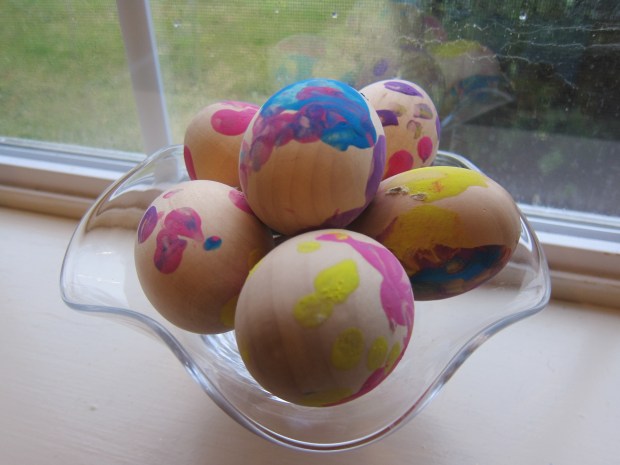
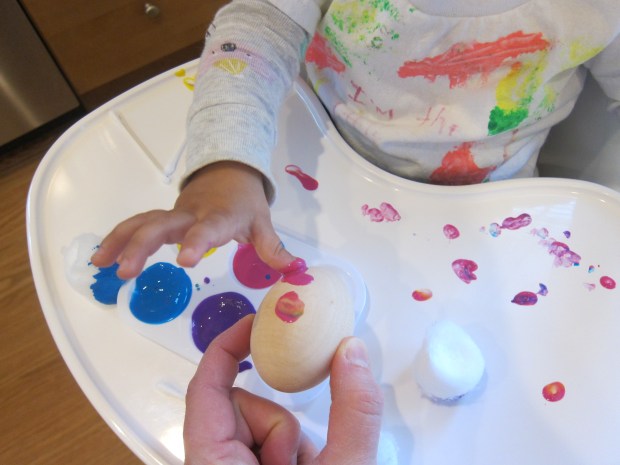
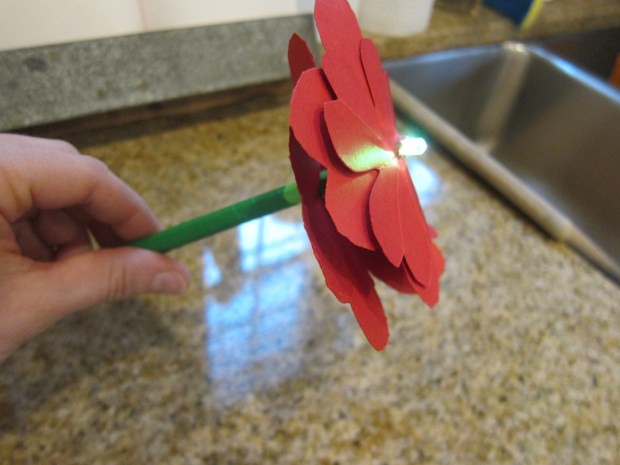
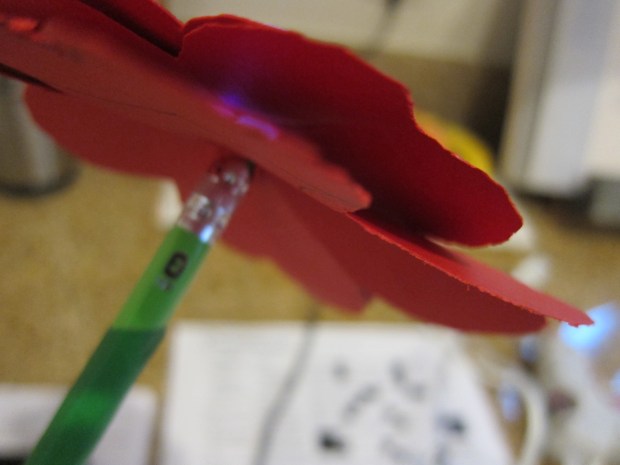
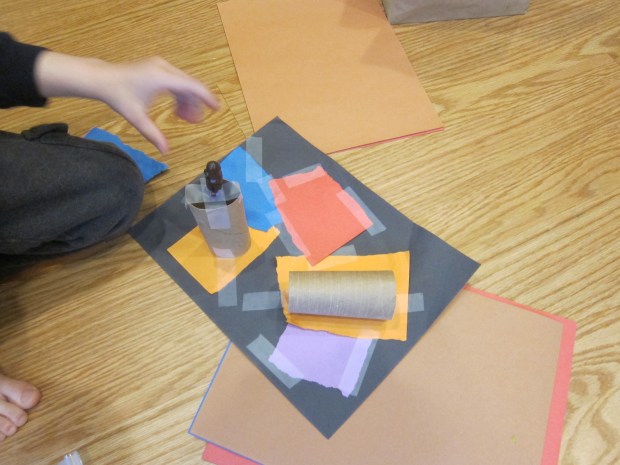
11-11.30: Science. After watching a video on how to make a collage, Travis made one with our recyclables. He was initially fussy but then confessed he doesn’t like collages because of messy glue. So we used tape, and he got so into it!

Home School 19 g

11.30-12: Social studies. We made a thank you card for First Responders in our area as part of his school’s initiative. I was proud to teach him about local heroes in this moment.

Home School 19 i

12-1: Lunch/free play.

1-1.30: Spanish. His teacher’s suggestions had us laughing and moving today, including a game of “Simon dice” (Simon Says), to learn Spanish verbs. He sang me his Spanish days-of-the-week song and hunted for three objects in the house that that were “azul.”

1.30-2: Music. By the time we got around to his Thursday special, Travis was tired and grumpy and didn’t like that class felt “different” online. Basically I let the teacher’s class stream in the background while he played.

2-3: We finished on a high note with an indoor fort!

Home School 19 l

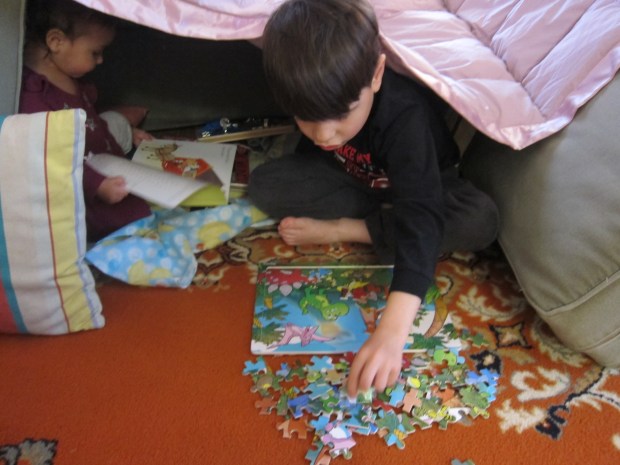
This was the perfect place for puzzles, quiet “reading”, and just being silly with baby sister. Hopefully the weather is nice enough for a walk, tomorrow, because we all need it.

Advertisement

Italian Eggplant

Italian Eggplant (1)

Layers of breaded eggplant, warm marinara sauce, and gooey Daiya cheese are the ultimate comfort food, making this the perfect recipe for a rainy evening. Mozzarella would be a bit more Italian, but my kids prefer this recipe with Daiya’s cheddar.

Ingredients:

  • 1 large eggplant
  • 1 tablespoon salt
  • 1 cup breadcrumbs
  • 2 tablespoons olive oil
  • 3 cups marinara sauce
  • 1/2 cup shredded Daiya cheese
  1. Peel and thinly slice the eggplant. Place in a colander and sprinkle with the salt; let stand for 20 minutes, then rinse and set aside.
  2. In a bowl, combine the breadcrumbs and olive oil. Add the eggplant slices and toss to coat.
  3. Alternate adding the eggplant and the marinara sauce to a 9×13-inch baking dish, beginning and ending with the sauce. Sprinkle with the cheese.
  4. Bake at 350 degrees F for 50 minutes.

Italian Eggplant (2)

Easy Easter Eggs

Easy Easter Egg (7)

For Veronika’s final contribution to Easter decorations this year, I gave her wooden eggs to paint instead of egg-shaped paper. To set up, simply squirt pastel colors into a paint tray, then give your toddler q-tips and cotton balls to paint with rather than a regular paint brush!

Easy Easter Egg (1)

Of the two, Veronika definitely preferred the q-tips. She loved delicately dipping them into the paint and then dotting onto the egg. The little spots she produced seemed to fascinate her!

Easy Easter Egg (3)

I showed her how to dip a cotton ball in the paint, too, and press it against an egg for a larger smear, but she wasn’t as interested.

Easy Easter Egg (2)

She did, though, discover that she could dip a little fingertip into the paint and make a similar dot against the eggs. She so carefully repeated this several times, smearing the paint lightly.

Easy Easter Egg (5)

I didn’t help her out with the paint at all, aside from rotating the eggs. The resulting speckled and spotted eggs were decidedly her project, and she looked so proud.

Easy Easter Egg (4)

They looked so pretty gathered together in a glass bowl for a little Easter centerpiece!

Easy Easter Egg (6)

Light-Up Heart Flower

Light Up Flower (7)

After lots of experiments with circuits, not only does Travis have a good understanding of how they work, but mommy does, too! In all honesty, this was a project I put together for Travis to make home school pencils feel special, rather than one he learned from. Many of the steps were simply too advanced for a kindergartner’s dexterity. But consider it as a STEM project if you have kids aged 9 and up!

First, wrap a pencil in green tape for a flower stem. I did this against a light green pencil, giving it a nice two-tone look.

Light Up Flower (5)

To make petals, cut two squares of red cardstock that are 4×4 inches, and one square that is 3×3 inches.

Light Up Flower (1)

Fold the squares in half first vertically and then horizontally. Then fold diagonally in both directions. You can now tent up the piece of paper so it forms a smaller square.

Light Up Flower (2)

Draw a heart such that the bottom of it comes to the center fold.

Light Up Flower (4)

Cut out along the heart shape, and when you open the paper up, you’ll have 4 hearts! Repeat with the other pieces of cardstock.

Light Up Flower (3)

Punch a hole in the center of each of these “petals” using the sharp tip of a pencil or pen, and set aside. To put the flower together, glue an LED light to the pencil’s eraser end.

Light Up Flower (6)

Slip one large petal over the light, followed by the smaller petal, and use hot glue to secure in place. Tape a 3V battery underneath the large petal. Make sure that the negative side of the battery lines up with the negative end of the LED light, and the positive with the positive. (Hint: the positive leg is the longer one). Secure one of these connections with tape, but leave the other loose.

Light Up Flower (8)

Now push the final cardstock petal up from the lead end of the pencil. When it presses the other leg of the LED light against the battery, the circuit is complete!

You can secure this bottom piece of cardstock in place with a rubber band, if desired. Hopefully this makes all of Travis’s writing projects more exciting in the home school weeks ahead!