Letter Learning with the ABC Mat

Letter Learn ABC Mat (7)

With our ABC mat currently set up on the floor, I wanted to do a little letter learning and phonics review today. This game can be tailored to just about any age; young toddlers can simply learn their letters, but it’s a phonics review and more like charades for older kids!

I pulled out our bag of wooden alphabet blocks, which are fun because they feature not just letters but also pictures of objects.

Letter Learn ABC Mat (8)

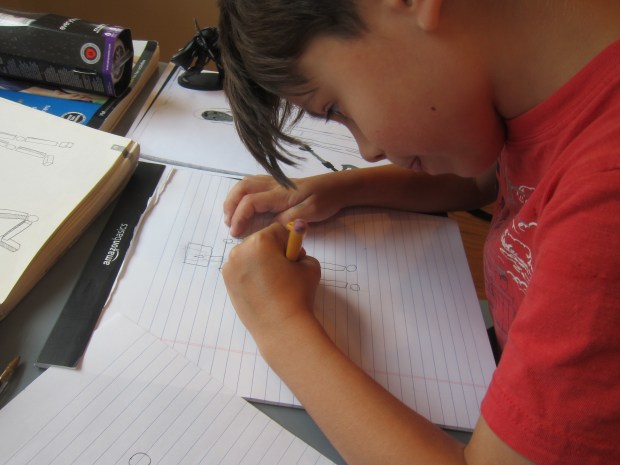
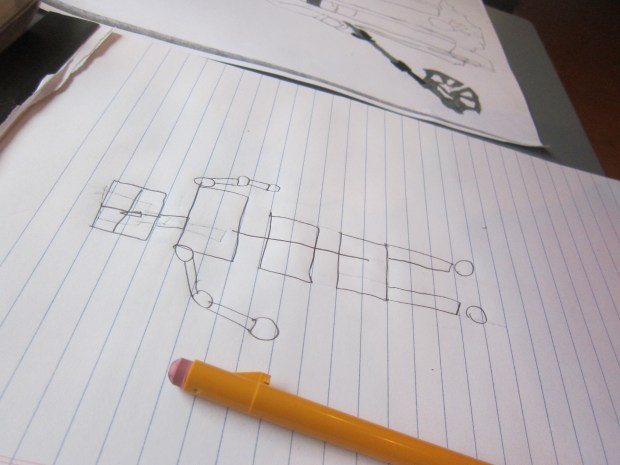
The task for Travis, as the big kid, was to pick a picture and act it out. He got silly with this, including curling up like an apple!

Letter Learn ABC Mat (1)

Others were more obvious, whether buzzing like a bee or making animal noises.

Letter Learn ABC Mat (3)

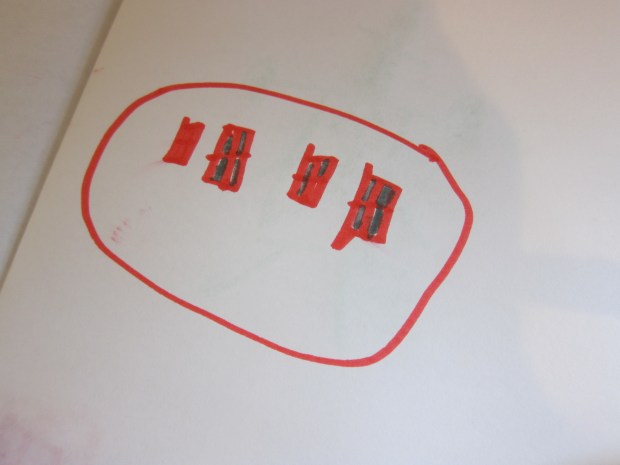
Then he had to put the block on the letter that matched the word’s beginning sound.

Letter Learn ABC Mat (2)

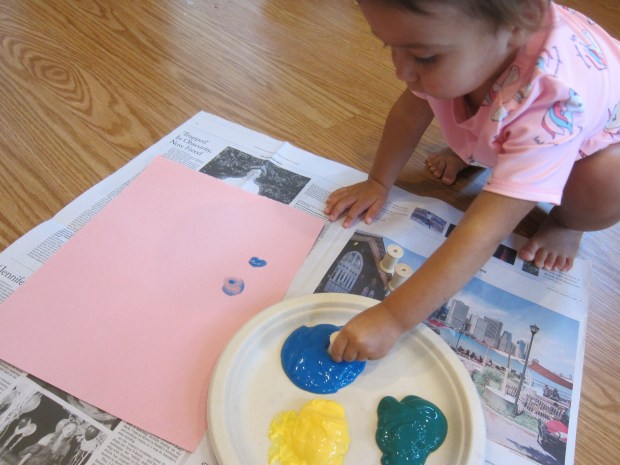
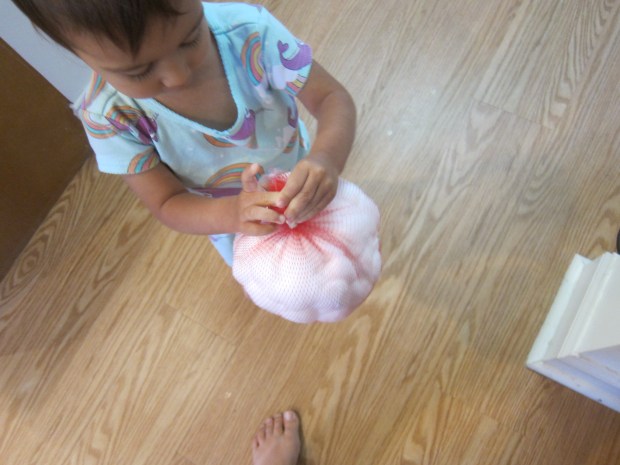
Little siblings will want to get in on the charades, too!

Letter Learn ABC Mat (4)

Then, to tailor it to Veronika’s age, I showed her how to match up letter to letter, rather than picture to letter.

Letter Learn ABC Mat (6)

Check out our other recent alphabet mat fun here!

Bean Bag Toss Sight Word Game

SIght Word Bean Bag (1)

All you need to help prevent the summer slide is one great item: an alphabet mat! Today we pulled it out along with a few bean bags to do a quick review of Travis’s kindergarten sight words, because first grade is quickly sneaking up on us!

His class had a sight word song to the tune of Bingo, so we started with that. “There is a sight word of the day; the sight word is ‘my’. M, Y, My…” and so on.

SIght Word Bean Bag (2)

As he sang through each word, Travis’s task was to toss a bean bag onto each letter, and then remove it from the mat.

SIght Word Bean Bag (4)

To make things tricky, I didn’t arrange the letters in alphabetical order. He really had to seek them out!

SIght Word Bean Bag (5)

Then, he arranged the letters off to the side to spell out each word.

Next up was L-I-K-E, like!

SIght Word Bean Bag (8)

Travis tired out after a few words, but this was a fun way to do a sight word refresher, and we can work through his whole kindergarten list a few words at a time. You’ll notice little sister Veronika wanted in on the ABC mat action, too! Simplify this game for toddlers by tossing the bean bag on a letter and simply naming it.

SIght Word Bean Bag (7)

Spool Printing

Spool Printing (6)

Veronika loves cars and trucks and all things that go, so today we had fun making prints that look just like wheels, then turning the prints into little vehicles. The perfect tool for the job? Spools!

You can use empty thread spools, or wooden ones from the craft store. I set out a paper plate with a few different colors of paint, along with sheets of craft paper and some of the spools.

Spool Printing (1)

I showed Veronika how to dip the end of the cylindrical spool into the paint, then press onto paper.  At first she just loved that this was a way to make dot paintings.

Spool Printing (2)

Next I showed her that if we drew marker shapes around a few of the dots… they looked just like wheels!

Spool Printing (4)

We made a bus and lots of silly little cars.

Spool Printing (7)

She soon decided she wanted to use marker to draw more cars. What else might the circular spool prints turn into? Please share your toddler’s creation in the comments!

Spool Printing (5)

Net Ball

Net Ball (4)

This super-soft ball is perfect for teaching a toddler to catch and throw. Because it’s literally as soft as cotton, there won’t be any bumps or bruises along the way!

I had a net bag full of onions from the market, and instantly knew I could use it instead of simply throwing it away. Snip the top of the bag open carefully so the rest stays intact.

Net Ball (2)

Fill with cotton balls until you’ve formed a round ball, then use a twist tie or elastic to seal it shut. I showed Veronika briefly how to kick with it. But as I mentioned, this ball was truly perfect for working on tossing back and forth with her.

Net Ball (3)

At 22 months, she can’t quite catch a ball yet, but I loved that we introduced the concept and now we know exactly which ball to practice with for future toss sessions.

National Lighthouse Day

National Lighthouse Day (5)

Happy National Lighthouse Day! Yes that’s a thing, and it feels appropriate that the “holiday” falls in summer, when beaches and shorelines are on everyone’s mind. Here’s a cute craft that Travis put together to celebrate.

Use white tape (or any light-colored decorative tape), to make two rings around a red plastic cup. This will be the base of your lighthouse. Turn the cup upside down.

National Lighthouse Day (1)

Cut a door and windows from black construction paper and glue on to the cup.

Now place a battery-operated tea light on top. Cover with a small plastic cup (clear is probably best, but we had a yellow one that looked neat, too!). Your lighthouse is ready to shine.

National Lighthouse Day (3)

Another fun activity? Have your child climb onto a stool (carefully!) and rotate around, flashing a flashlight. This is especially neat after dark.

Of course you’ll want to make story time all about lighthouses. Try Hello, Lighthouse or The Lighthouse Cat.

And if you can, take a trip to a real lighthouse!

mattapoisett (13)

We visited one close to home for a day trip full of fun pics and salty sea air.

National Lighthouse Day (4)

Kitchen Math

Kitchen Math (3)

After a day of math out at the park, it was time for a day of math in at the kitchen.

Veronika and I played around with kitchen math in a few ways. For a simple intro to math concepts, I sat her down for snack and made it all about comparisons. We used three different foods: apple wedges, bananas (cut into circles), and olives.

Kitchen Math (5)

We could discuss the circular shapes of the bananas and olives. The apple wedges were more like semi-circles! Or we could compare items; the apple was longer than the banana. The banana was bigger than the olive. And so on.

Kitchen Math (6)

Next up was far messier math; involve your toddler in cooking! While making a cookie recipe, I set Veronika up with her own station for filling cups of flour and scooping. “Can you help me fill two cups of flour?” I asked her.

Of course she couldn’t really, but I could point out that some measuring cups were bigger or smaller than others, or use vocabulary like “half” and “third” of  a cup even though she’s a long way from understanding that.

Kitchen Math (4)

We also pulled out the kitchen scale to weigh flour together. “I want to scoop!” she said, proudly reaching deep into the flour bag.

Kitchen Math (2)

This of course made a giant mess, but I find that flour play is worth it once in a while. Plus your toddler gets rewarded with a yummy treat if you’ve really baked during the messy play.

Kitchen Math (1)

Note: If you want to introduce measuring to your toddler with less mess, consider a recipe like granola or baked oatmeal.

Thumbprint Cookies

Thumbprint Cookies (2)

Even toddlers can help prepare these easy cookies; your little one will love making the thumb indents that get filled with jelly.

Ingredients:

  • 2 cups flour
  • 1/4 teaspoon salt
  • 1/4 cup applesauce
  • 1/4 teaspoon baking powder
  • 1/3 cup apple juice
  • 2/3 cup melted Earth Balance butter
  • 2 tablespoons plain almond milk
  • 1 teaspoon vanilla extract
  • Jam for filling
  1. Combine the flour and salt in a bowl; set aside.
  2. Whisk together the applesauce and baking powder in a large bowl. Add the apple juice, melted butter, almond milk, and vanilla.
  3. Slowly stir the dry ingredients into the wet ingredients. The dough will be sticky but workable.
  4. Using your hands, shape into 1 inch balls and arrange on baking sheets.
  5. Press your thumb or a small measuring spoon into the center of each cookie to form an indent. Fill with your jam of choice.
  6. Bake at 350 degrees F for 11 minutes. Transfer to a wire rack to cool.

Thumbprint Cookies (3)

Shaker Bottle

Shaker Bottle (5)

When you need to occupy a toddler quickly, it’s useful to have something on hand that’s both visually stimulating and makes noise, a double-dose of sensory play. This one ticks both boxes!

The toy is simple as can be: an empty plastic bottle filled with colored pasta and rice. To color the rice and pasta, fill a cup with 1/2 cup rubbing alcohol. Add the food coloring of your choice, then add the rice or pasta. Let soak, then transfer to wax paper to dry.

Shaker Bottle (2)

This method worked great on the rice, but not so much on the pasta, probably because I used a dark, whole-wheat variety. So I do recommend standard white pasta (and rice) for this project.

Once dry, add the pasta and rice to a clear, empty water bottle. Use hot glue to secure the cap.

Shaker Bottle (3)

Then just store the bottle in a cabinet and hand it over as soon as your toddler needs an activity! Veronika had seen the pink rice as I was pouring it into the bottle (a funnel makes this step much easier), and so she was eager to get her hands on the bottle and investigate. As I hoped, she loved the sound this made. It was like a giant maraca.

Shaker Bottle (4)

And then there was the visual stimulation, as she watched all the colored bits shake around inside.

Shaker Bottle (6)

Needless to say, this easy toy is a winner.

Shaker Bottle (7)

Pulled String Paintings

Pulled String Painting (7)

Travis loved testing out this novel painting method; not only was the process new and different, but the final product is a truly beautiful work of art, worthy of framing and keeping around!

To set up, fill small plastic cups with a little bit of liquid watercolor.

Pulled String Painting (1)

Cut pieces of string, and dip them into the cups, one for each color, making sure the string is completely saturated.

Pulled String Painting (2)

Working with one string at a time, place on a piece of thick paper. Cover with tracing paper, then place a small (empty) picture frame on top.

Pulled String Painting (4)

Pull quickly on the end of the string that is dangling out, and the liquid watercolor will splash down in the frame.

Pulled String Painting (5)

Travis was captivated! We repeated with three more colors, and then he decided it was finished. He loved that our red looked like a funnel, and that we had just a hint of purple.

Pulled String Painting (6)


Japanese Travel Guide

Japan Travel Brochure (4)After preparing a Japanese meal for dinner, Travis got to learn more about Japanese culture today. This lesson plan from Raddish Kids was a fun extension to the culinary journey we’ll be on this month.

First up was locating Japan on a map. Once Travis pinpointed that it was an island, we discussed how geography can influence culture. Raddish provided talking points like how this has given Japan a strong sense of identity, and a unique culture.

Japan Travel Brochure (1)

Now it was time for fun videos; Travis loved one about the shinkansen (high speed trains) so much that he insisted on watching the full thing, even parts I thought might bore a 6 year old!

Japan Travel Brochure (2)

You can extend the lesson by looking at a map of the rail system, or even turn it into a math lesson for older kids by calculating costs or distances between stations on a pretend journey.

Next up was a video clip of Japanese baseball, and we discussed similarities and differences to games we’ve attended in the U.S.

Japan Travel Brochure (3)

Finally, we learned about the popular genre of anime. Travis picked one to watch before bed, and chose Pokemon! You might also consider renting a classic from your library like My Neighbor Totoro or Ponyo.

Or check out how-to books to draw your own anime!

Japan travel alt

I was so proud of Travis following along with one we checked out.

Japan travel var

Now it was time for Travis to pretend he was a travel writer explaining this country to another person, and he put together a travel brochure. He was so proud spelling out Japan on the cover. Inside, he drew high speed trains…

Japan Travel Brochure (6)

…baseball players (I thought this one resembled a Japanese calligraphy character!)…

Japan Travel Brochure (7)

…and lots of noodles of course.

Japan Travel Brochure (8)