
Toddlers are so determined to use their own utensils, but that often means mealtime is a giant mess. This project is perfect then: your child gets to make a mess guilt-free while putting together the craft, and then has a placemat to contain future messes at the end.
This was Veronika’s first introduction to rubber cement as a material, and boy did she love it. I showed her how to dip in the brush (I’d forgotten how this cleverly attaches right to the lid!) and then hold it over a sheet of thick watercolor paper to watch it dribble down.

“Dribble!” she said with glee. I thought I might need to guide her hand, but this girl wanted to do it “all by myself”.

Once the paper is good and goopy, let the rubber cement dry for 30 minutes. Next, I set out tempera paints and we painted all over the paper.

The rubber cement will act much the same way as wax resist painting with crayons.
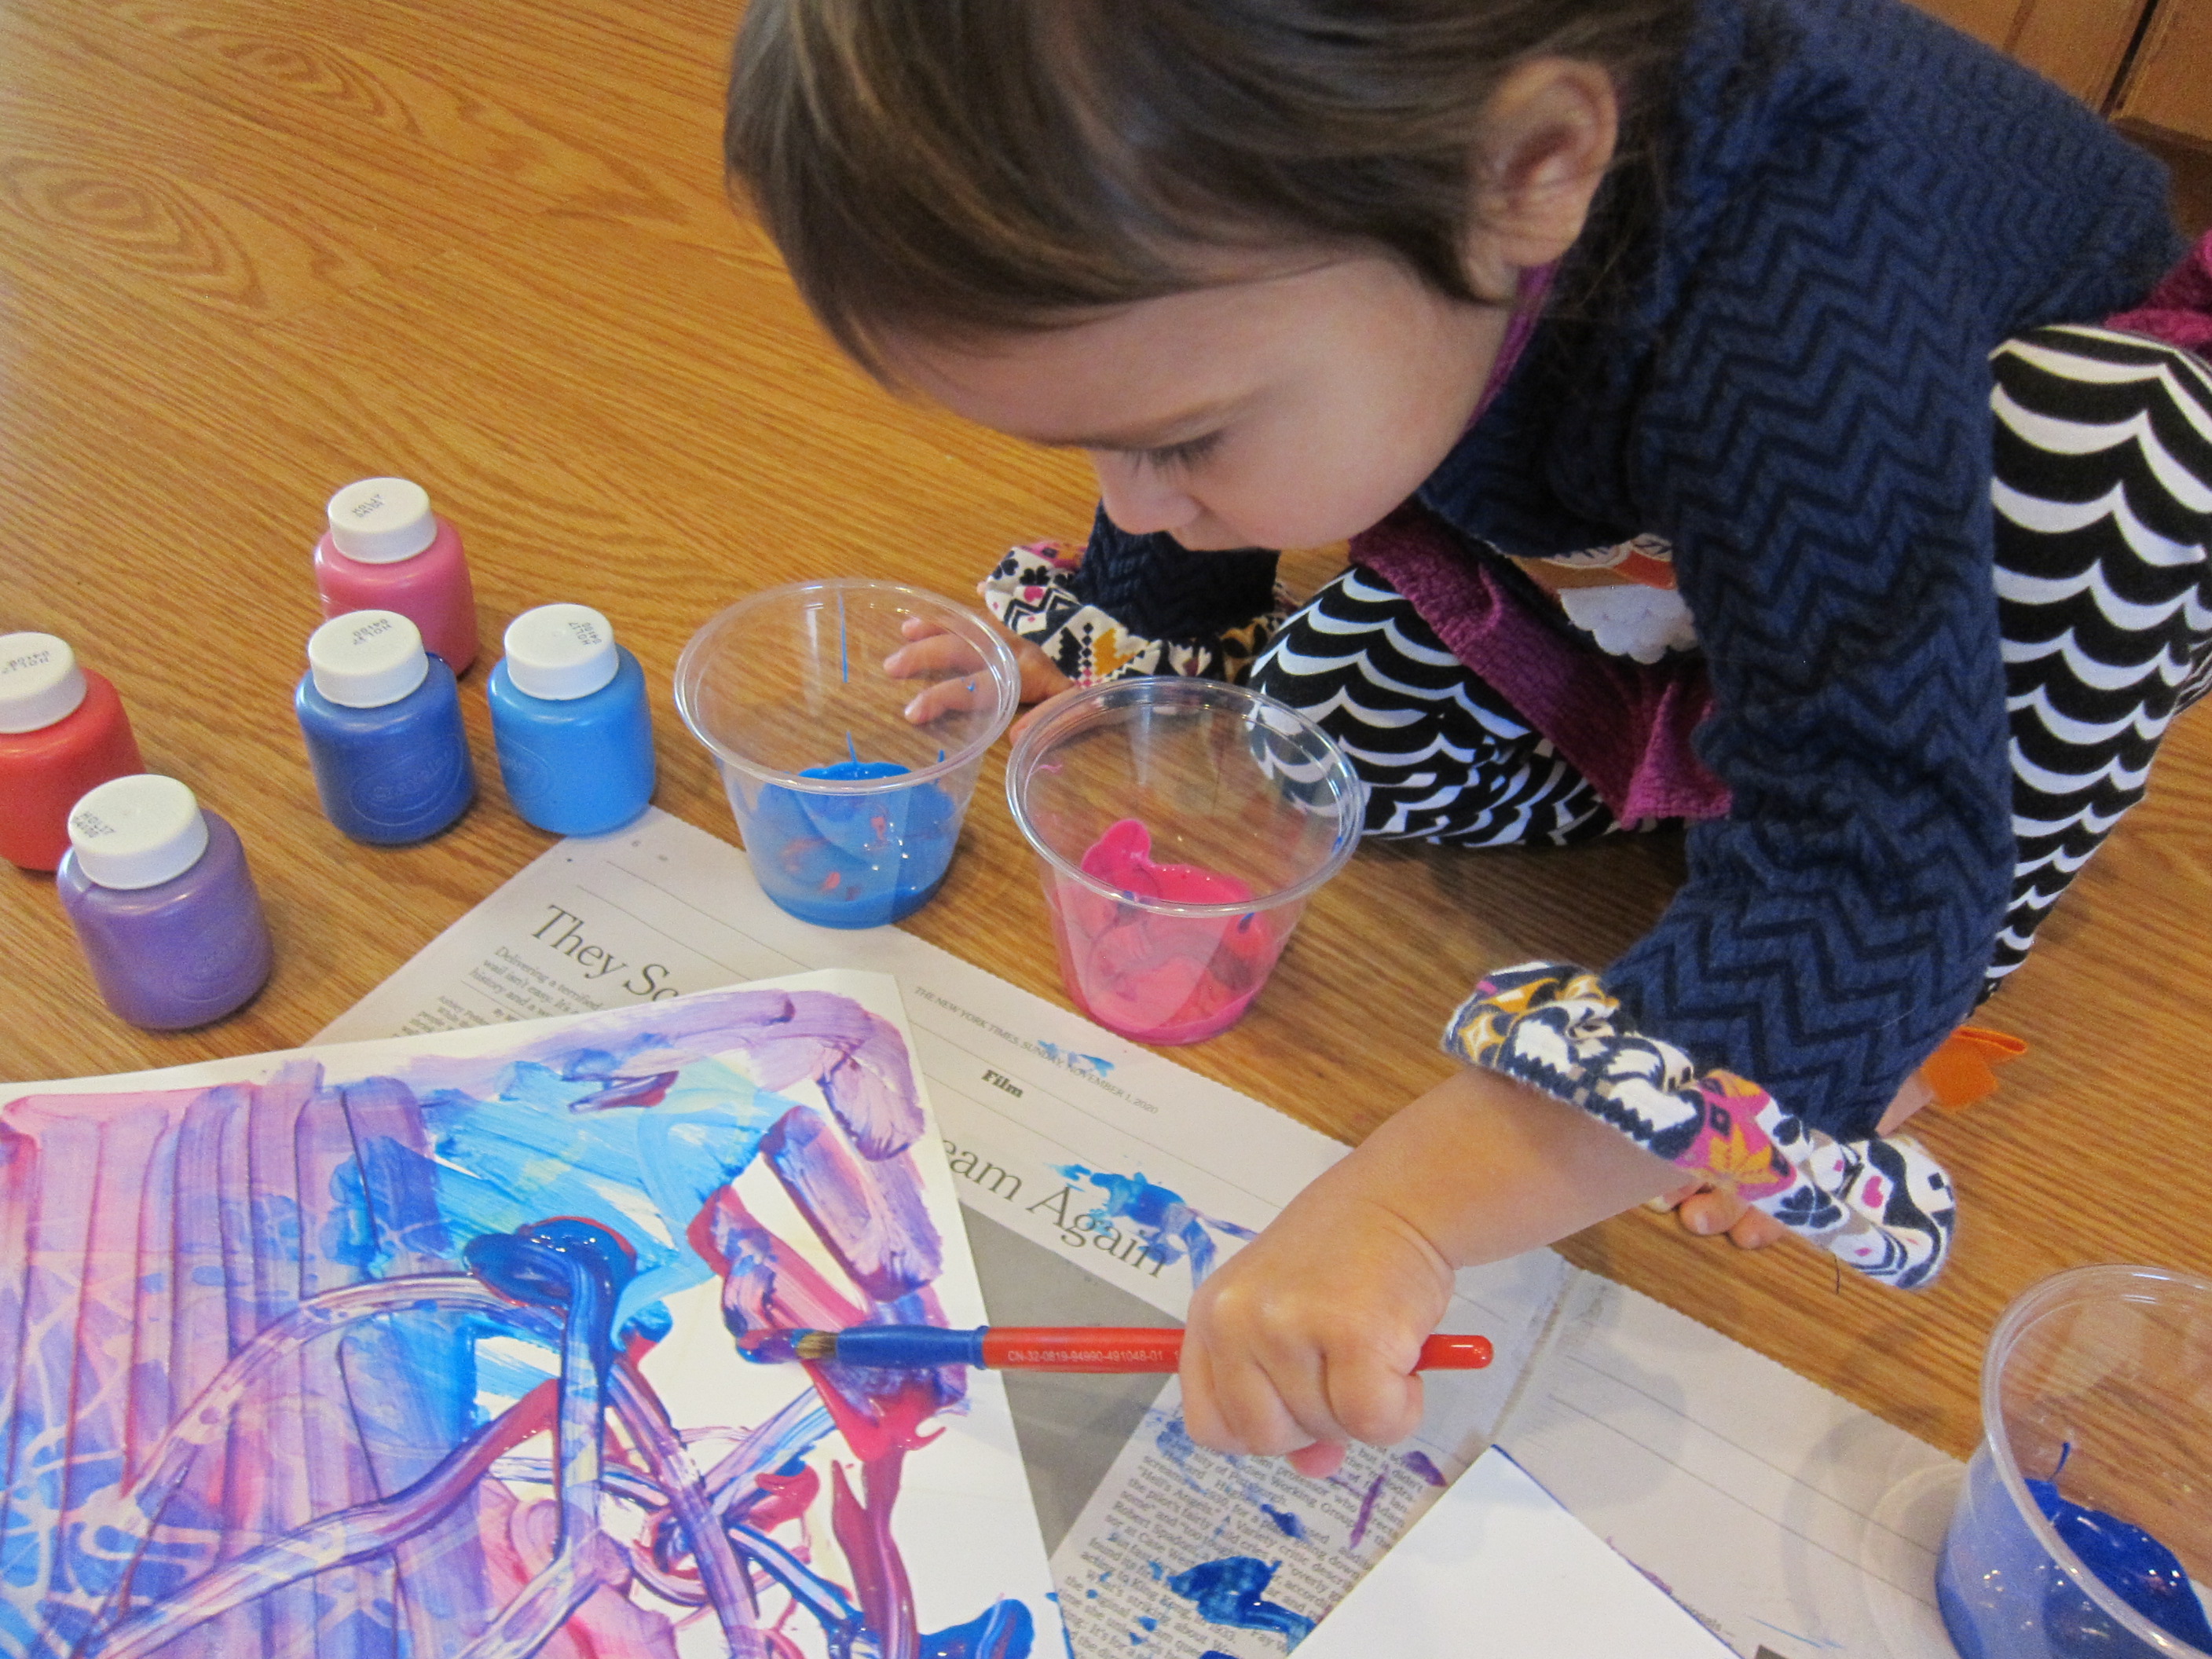
Veronika loved painting carefully, but I also brushed paint in a more even layer on other parts of the paper so she’d see the full final effect.

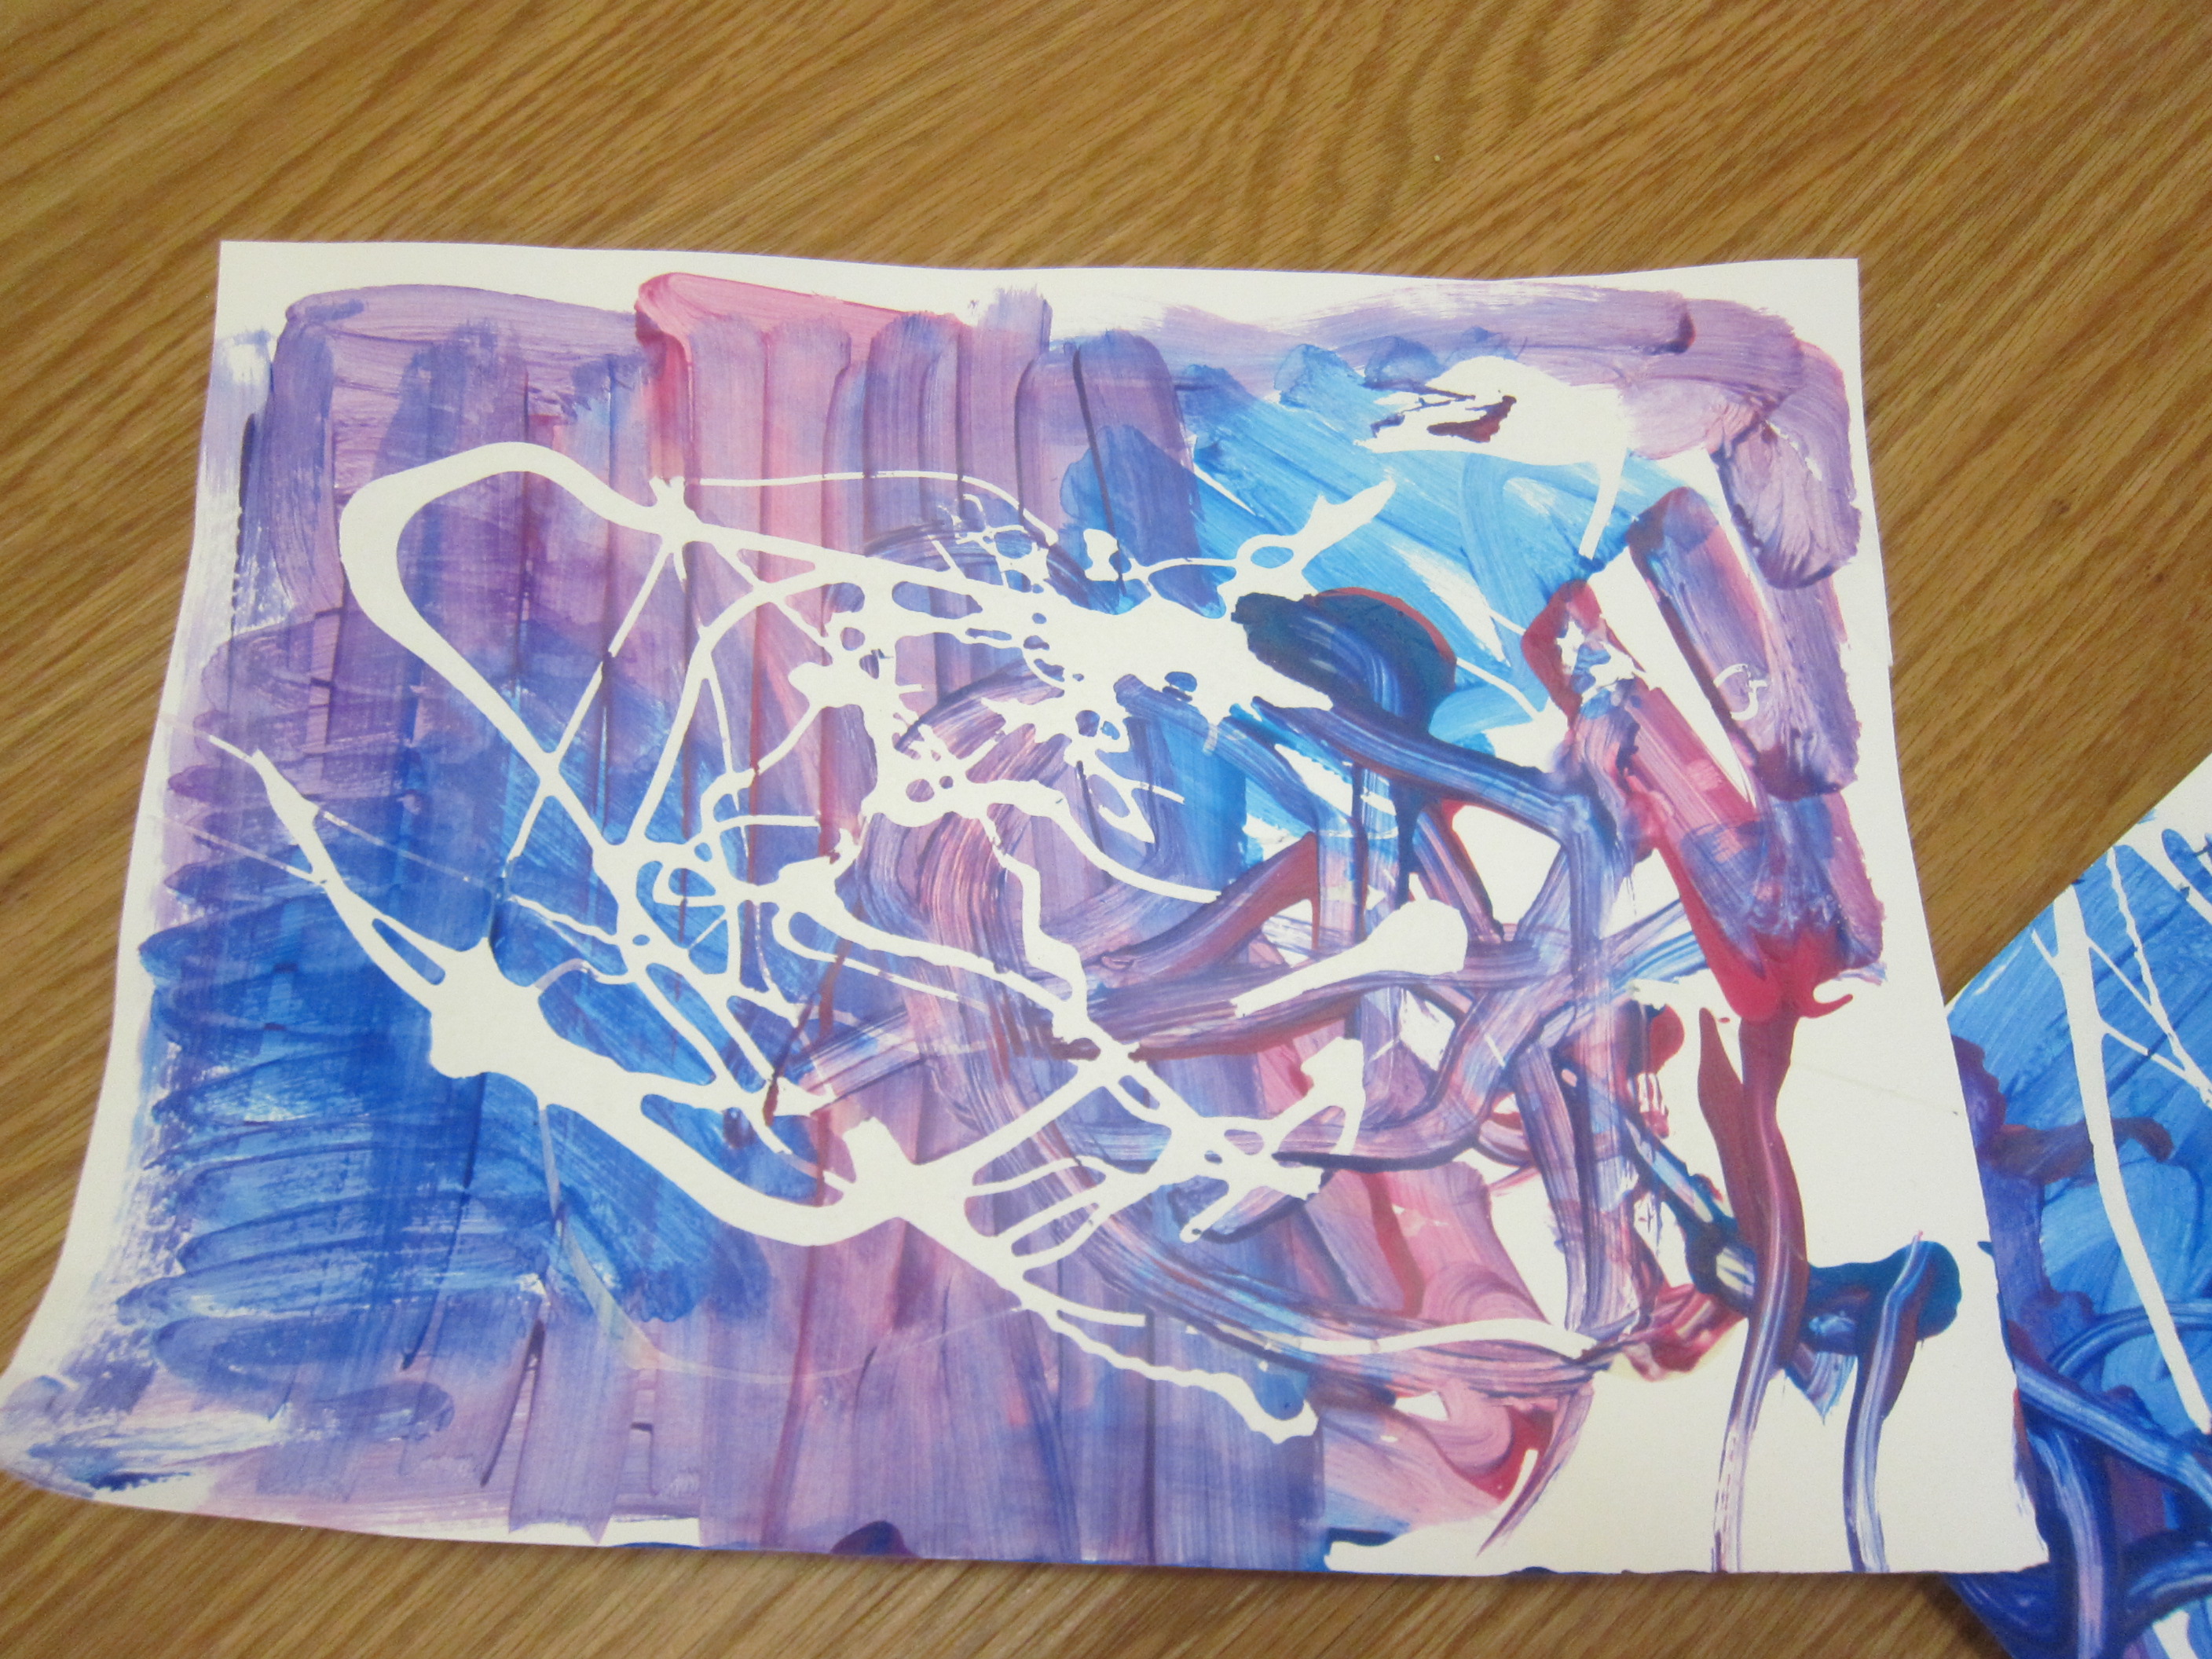
Let the paint dry completely, and then rub off the rubber cement. I did this with a finger, but a note of caution: It hurts!

There must be a better way, perhaps with a cloth or the edge of a coin. Regardless, the rubber cement rubs off leaving neat swirls of white that now stand out against your toddler’s painting.
Cover the paper on both sides with contact paper to protect it, and your child will have a durable piece of art to look at during each meal. And to make a mess on, of course. Your toddler will be so proud!
