As with every holiday this year, coronavirus means that Thanksgiving is going to look a little different. We stoked the excitement for a socially distant Halloween with a full month of activities, and while we’re not being quite that ambitious before Thanksgiving, we did set a goal of performing kindness activities as a family this month. Here’s a round-up of 9 ways to say thanks and be kind!
Thanks 1: Start a Kind Chart
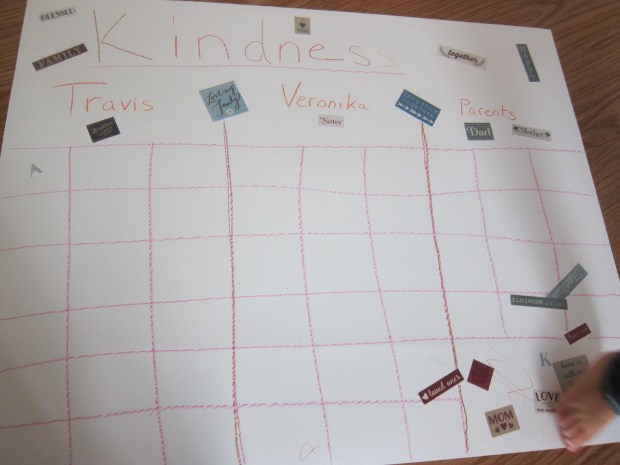
Kindness starts at home, so the first project was to make a chart all together that would help us track our progress over the next month. We decided this could mean both actions the kids took on their own, or the activities we intended to check off as a family.

Veronika especially loved helping add stickers for decoration! Travis, meanwhile, was proud when he helped his sister find a missing toy, earning himself the first sticker on the chart.

Thanks 2: Character Feelings
Talking about what the characters in favorite stories are feeling has been shown to correlate with a greater sense of empathy. So raid your bookshelf and get started!

We chose an old favorite (Corduroy) and Travis loved pointing out the bear’s emotions on each page. “He’s sad here,” he said, or, “He’s feeling surprised!” when he noticed his lost button. Veronika parroted back each emotion we mentioned, so it was great social-emotional learning tool for a toddler, too.

Thanks 3: Send Snail Mail
On a beautiful sunny afternoon, we headed to our town’s tourist center and stocked up on town postcards.

The kids loved filling these out for all their cousins. Travis was in charge of writing words, and Veronika added scribbles. Silly Bugs Bunny stamps added to the joy we hope the recipients would feel upon receipt.

This was a great way to make the kids feel connected to cousins around the country, especially knowing we won’t see them this holiday season!
Thanks 4: Try a Meditation Exercise
Mindfulness is so key for kids. Not only does it count as kindness to yourself but it extends to others, too. So one night this month we took a pause first to think about what mindfulness was. Both kids loved taking big calming breaths in!

Next, have everyone sit and imagine offering kindness to themselves. Then imagine offering kindness toward some one else, whether a friend or pet or family member.

I was proud when Travis said he was picturing a classmate! It helped him understand the lesson when we followed along with a 3-minute Kindness session from the free app MyLife.

Thanks 5: Leave an Anonymous Message
Here was a fun idea! After giggling our way through a silly library book, we made hand-written notes about how much we had loved it, then slipped it into the pages.

We loved imagining the next family who would be snuggling up to read together, and their double-delight at finding our note inside.

Thanks 6: Learn a New Language Together
Since research has shown that bilingual children can better grasp other’s perspectives, we decided to sit down and study one together! I avoided languages I already know so that Travis and I really could start from scratch through the DuoLingo app.

Who knows how far we’ll get, but if nothing else we got some laughs out of a little learning together!
Thanks 7: Help a Selfie
Even as we all keep to our socially distanced bubbles, now more than ever is a time for those little kindnesses. To wit, while we were on a local walk with selfie stops along the way, we realized two friends might want help with their photo so they could be in it together. Their huge smiles were such a warming reward! They even asked us to take a quick video clip.

And then it was time for our selfie!

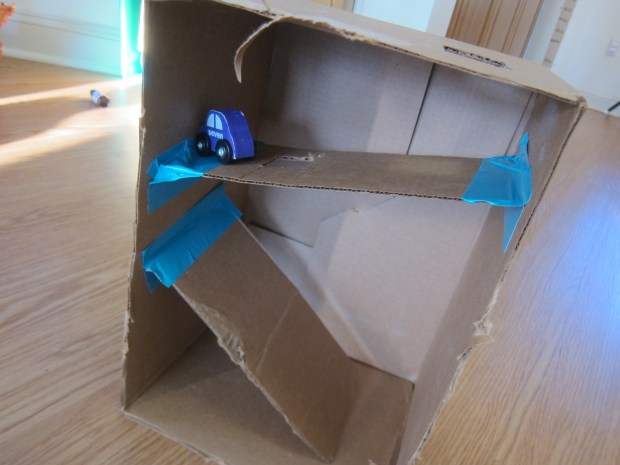
Thanks 8: Set up a Free Snack Table
‘Tis the season for holiday deliveries, and this year is sure to be even busier than usual. Help those everyday heroes with this kindness idea, which takes only a moment of extra thought on your next grocery trip.

I stocked up on individually-packaged goodies like mini cereal boxes, chip bags, and pretzel packs, and then we decorated an old box. First, line the sides with colorful construction paper (or even wrapping paper!).

Kids can add scribble or write notes of thanks, depending on their age. Our message on top said: “USPS, UPS, Amazon, FedEx, please take one!”

Thanks 9: Talk about Extras
It’s hard for kids to grasp sometimes just how much they have to be thankful for. So after receiving new books, I sat down with Travis to discuss how some households didn’t have any books. Could he think of extras to donate, now that he had new ones?
This activity works equally well with children’s old toys, especially as the holidays approach. I was so proud of Travis selecting two books to send to our library’s donation bin.

That was nine kindnesses, but there’s even more we want to do in the future! Once people are congregating in common spaces again, we plan to leave spare change in the money slot of a vending machine, for example. We also brainstormed assembling care packages for children in the hospital or heroes of the COVID-era like first responders and teachers.
One thing is for sure, kindness keeps on giving!