Coral Reef Creation Station

Coral Reef Creation Station (6)

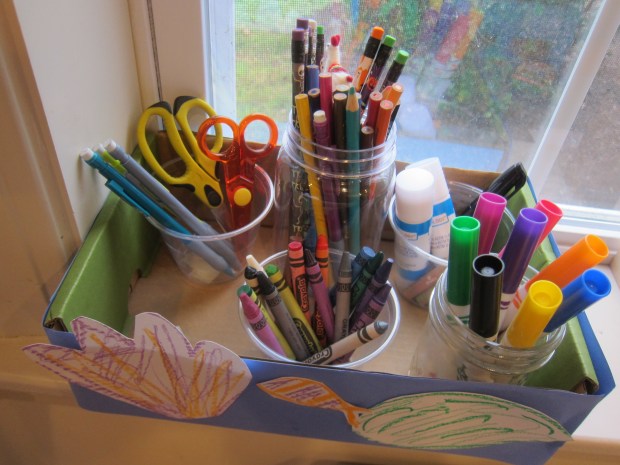
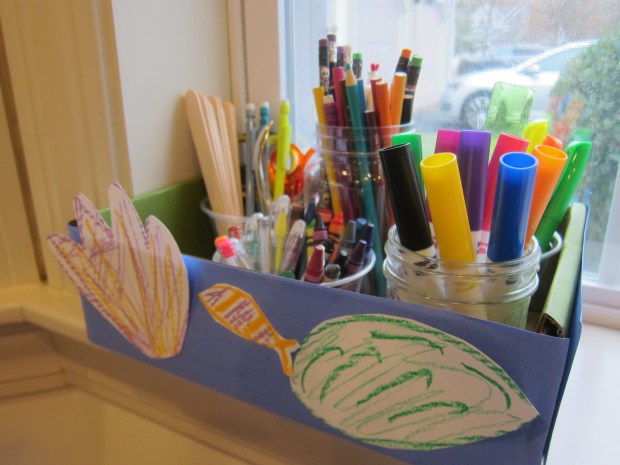
Here’s a fun way to make a pretty catch-all for art or school supplies, particularly if your child needs to keep everything handy for remote learning sessions this year.

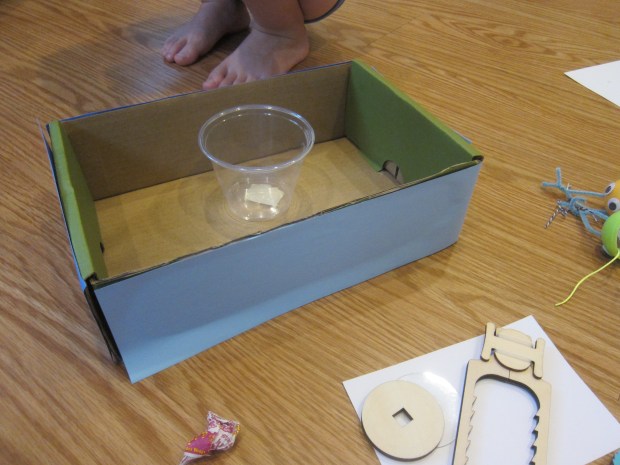
To start, you’ll need any small box or shoebox; we recycled a Kiwi Crate. First, we lined it with blue construction paper to make an ocean background, adhering with a glue stick.

Coral Reef Creation Station (2)

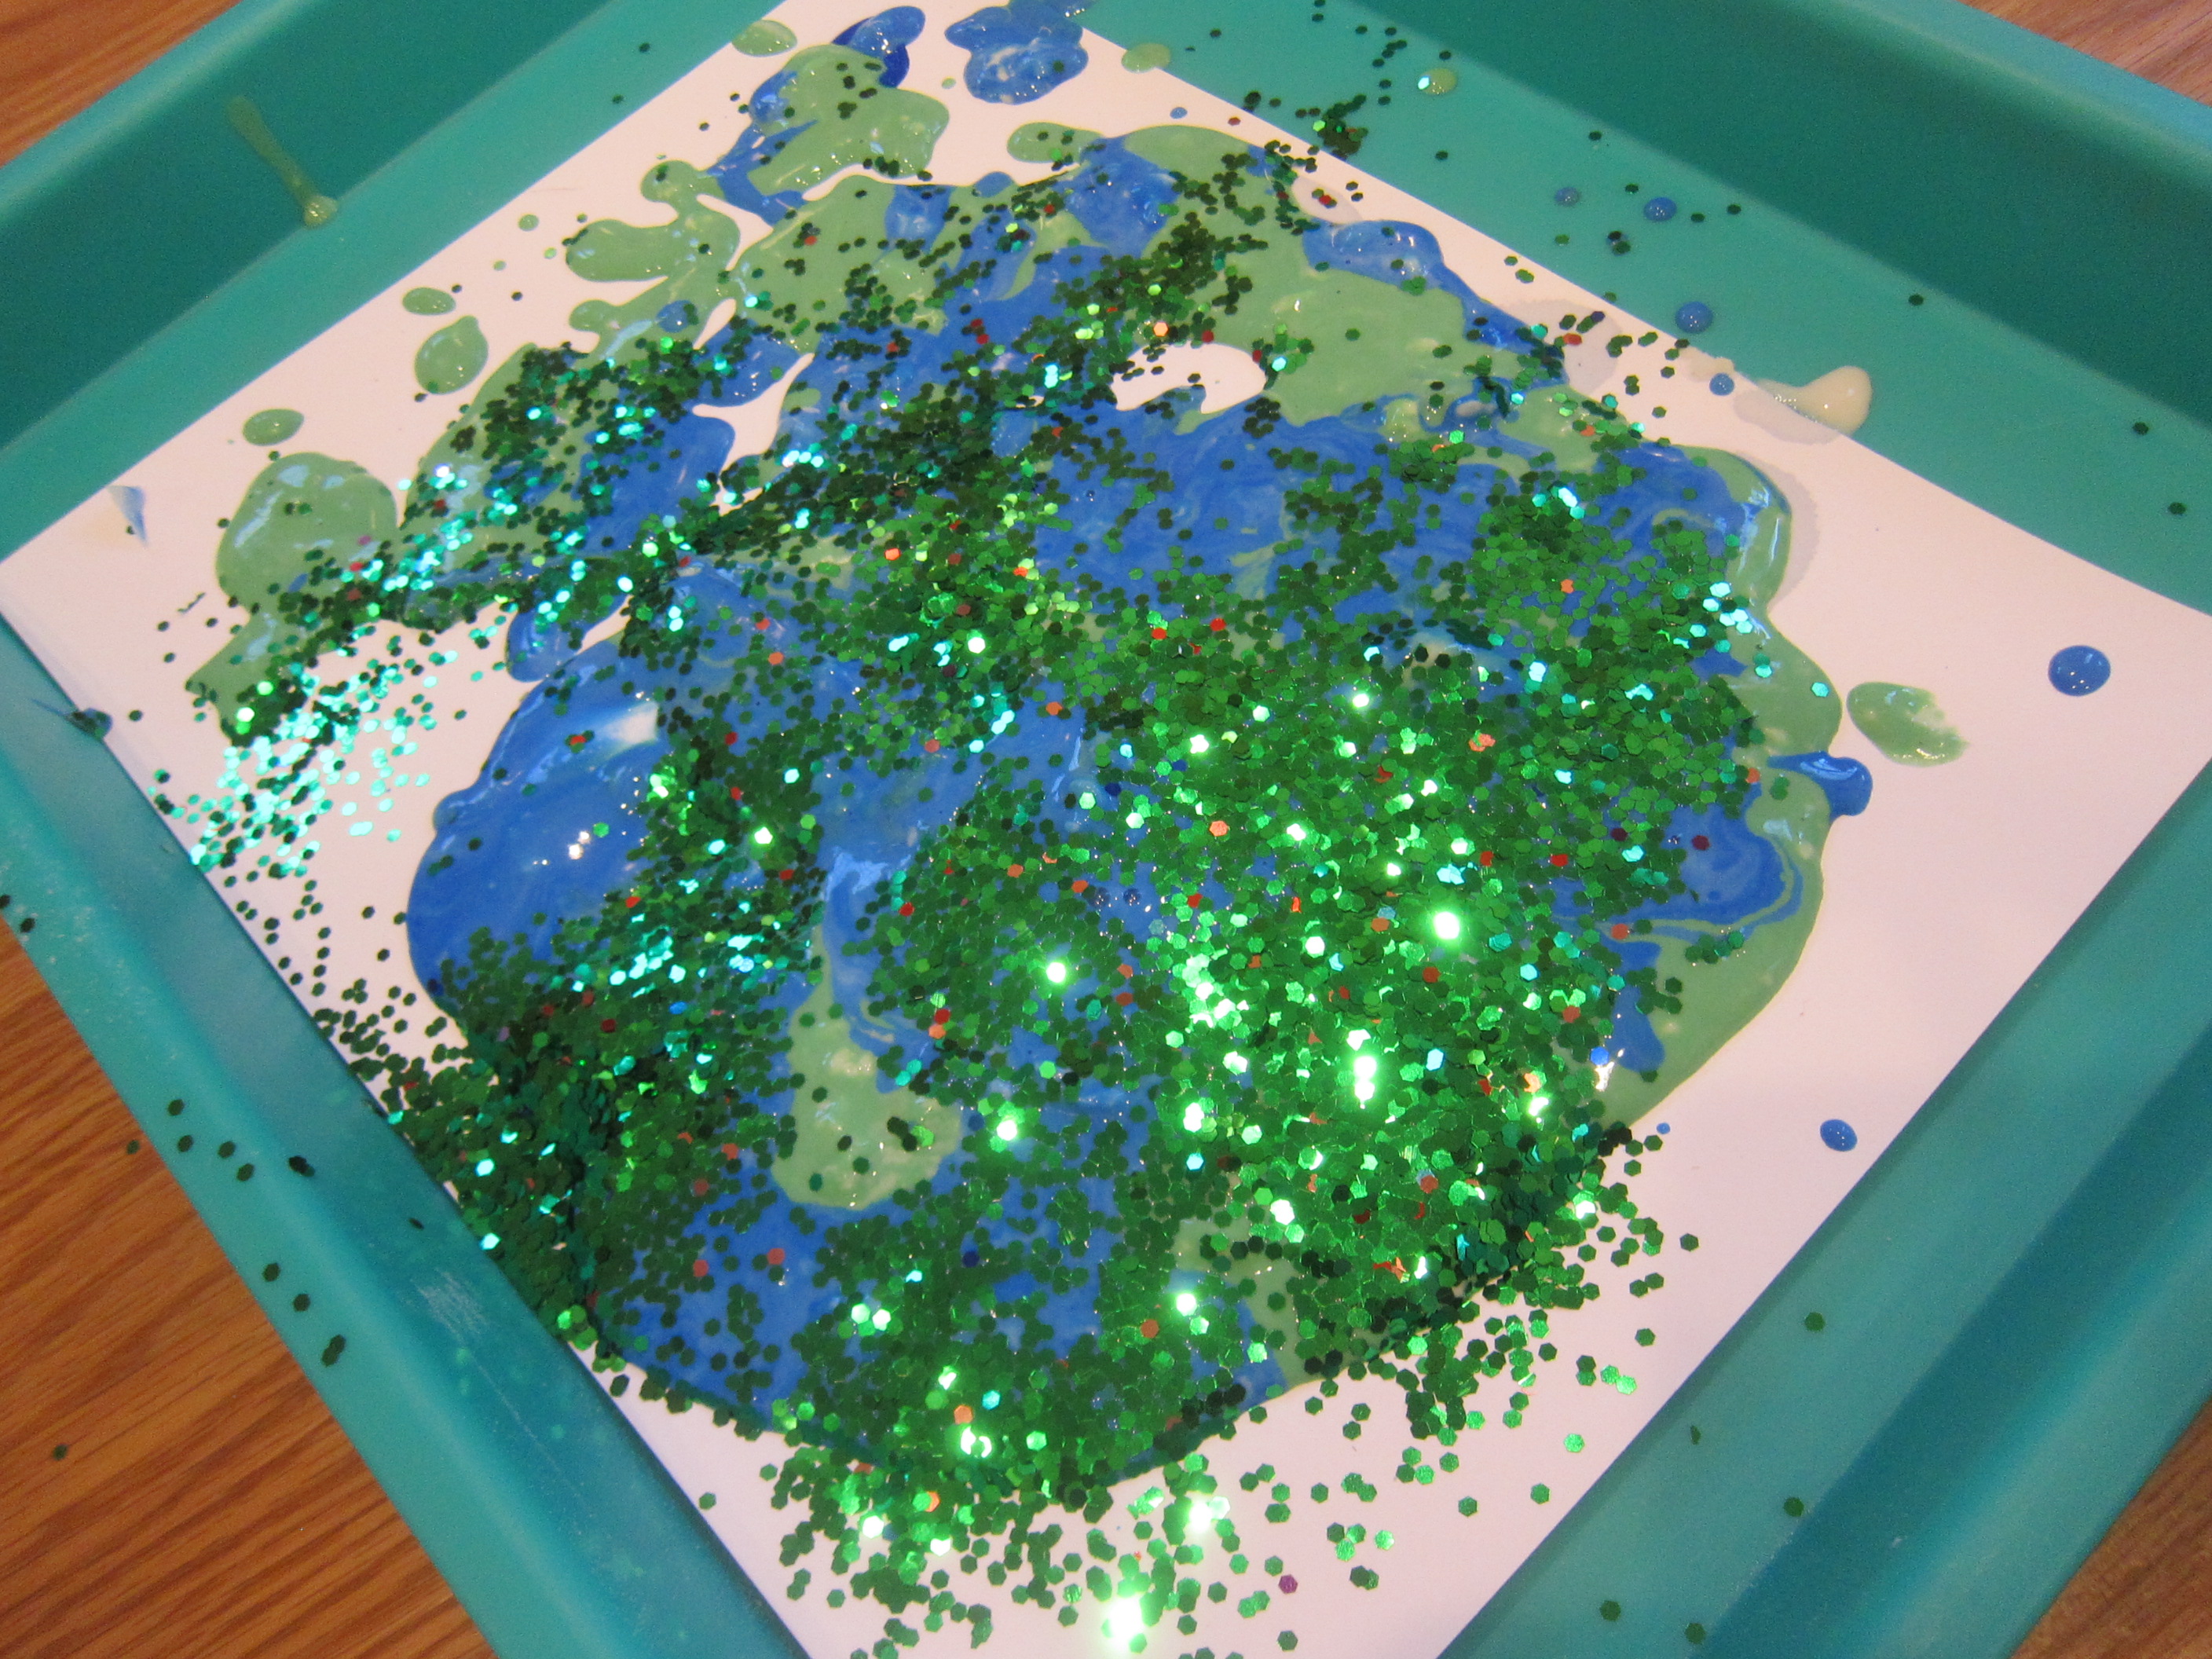
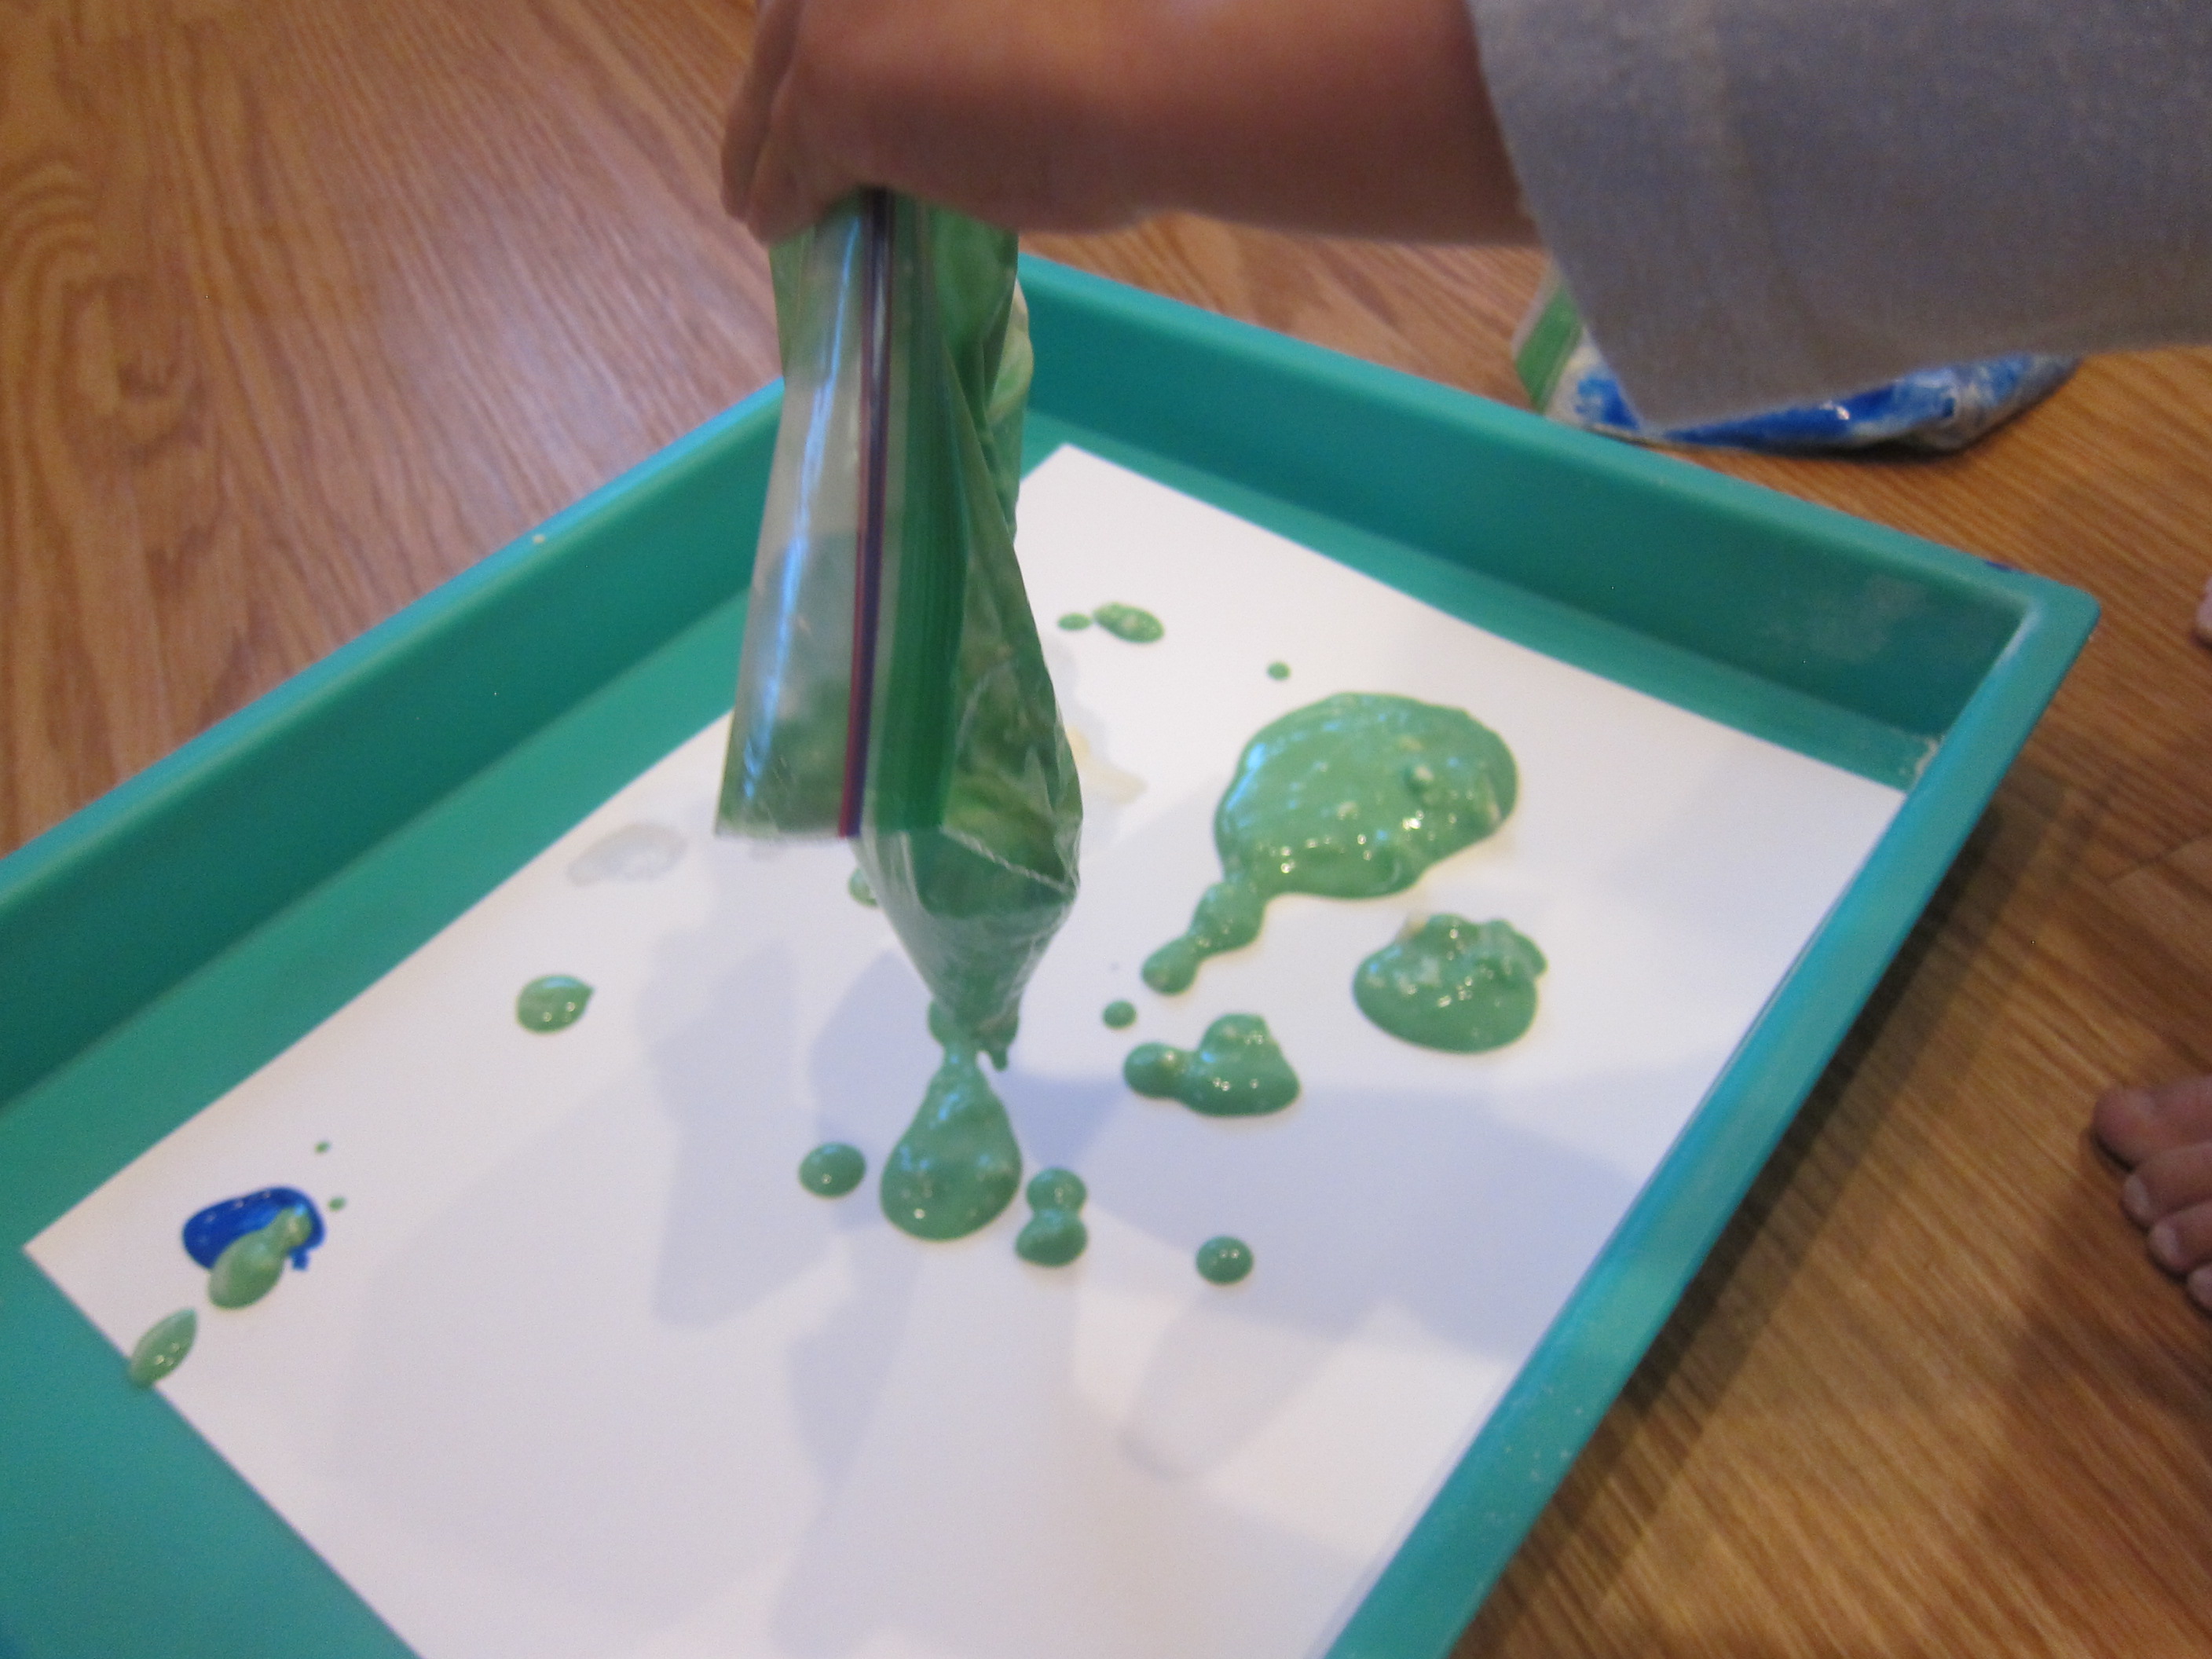
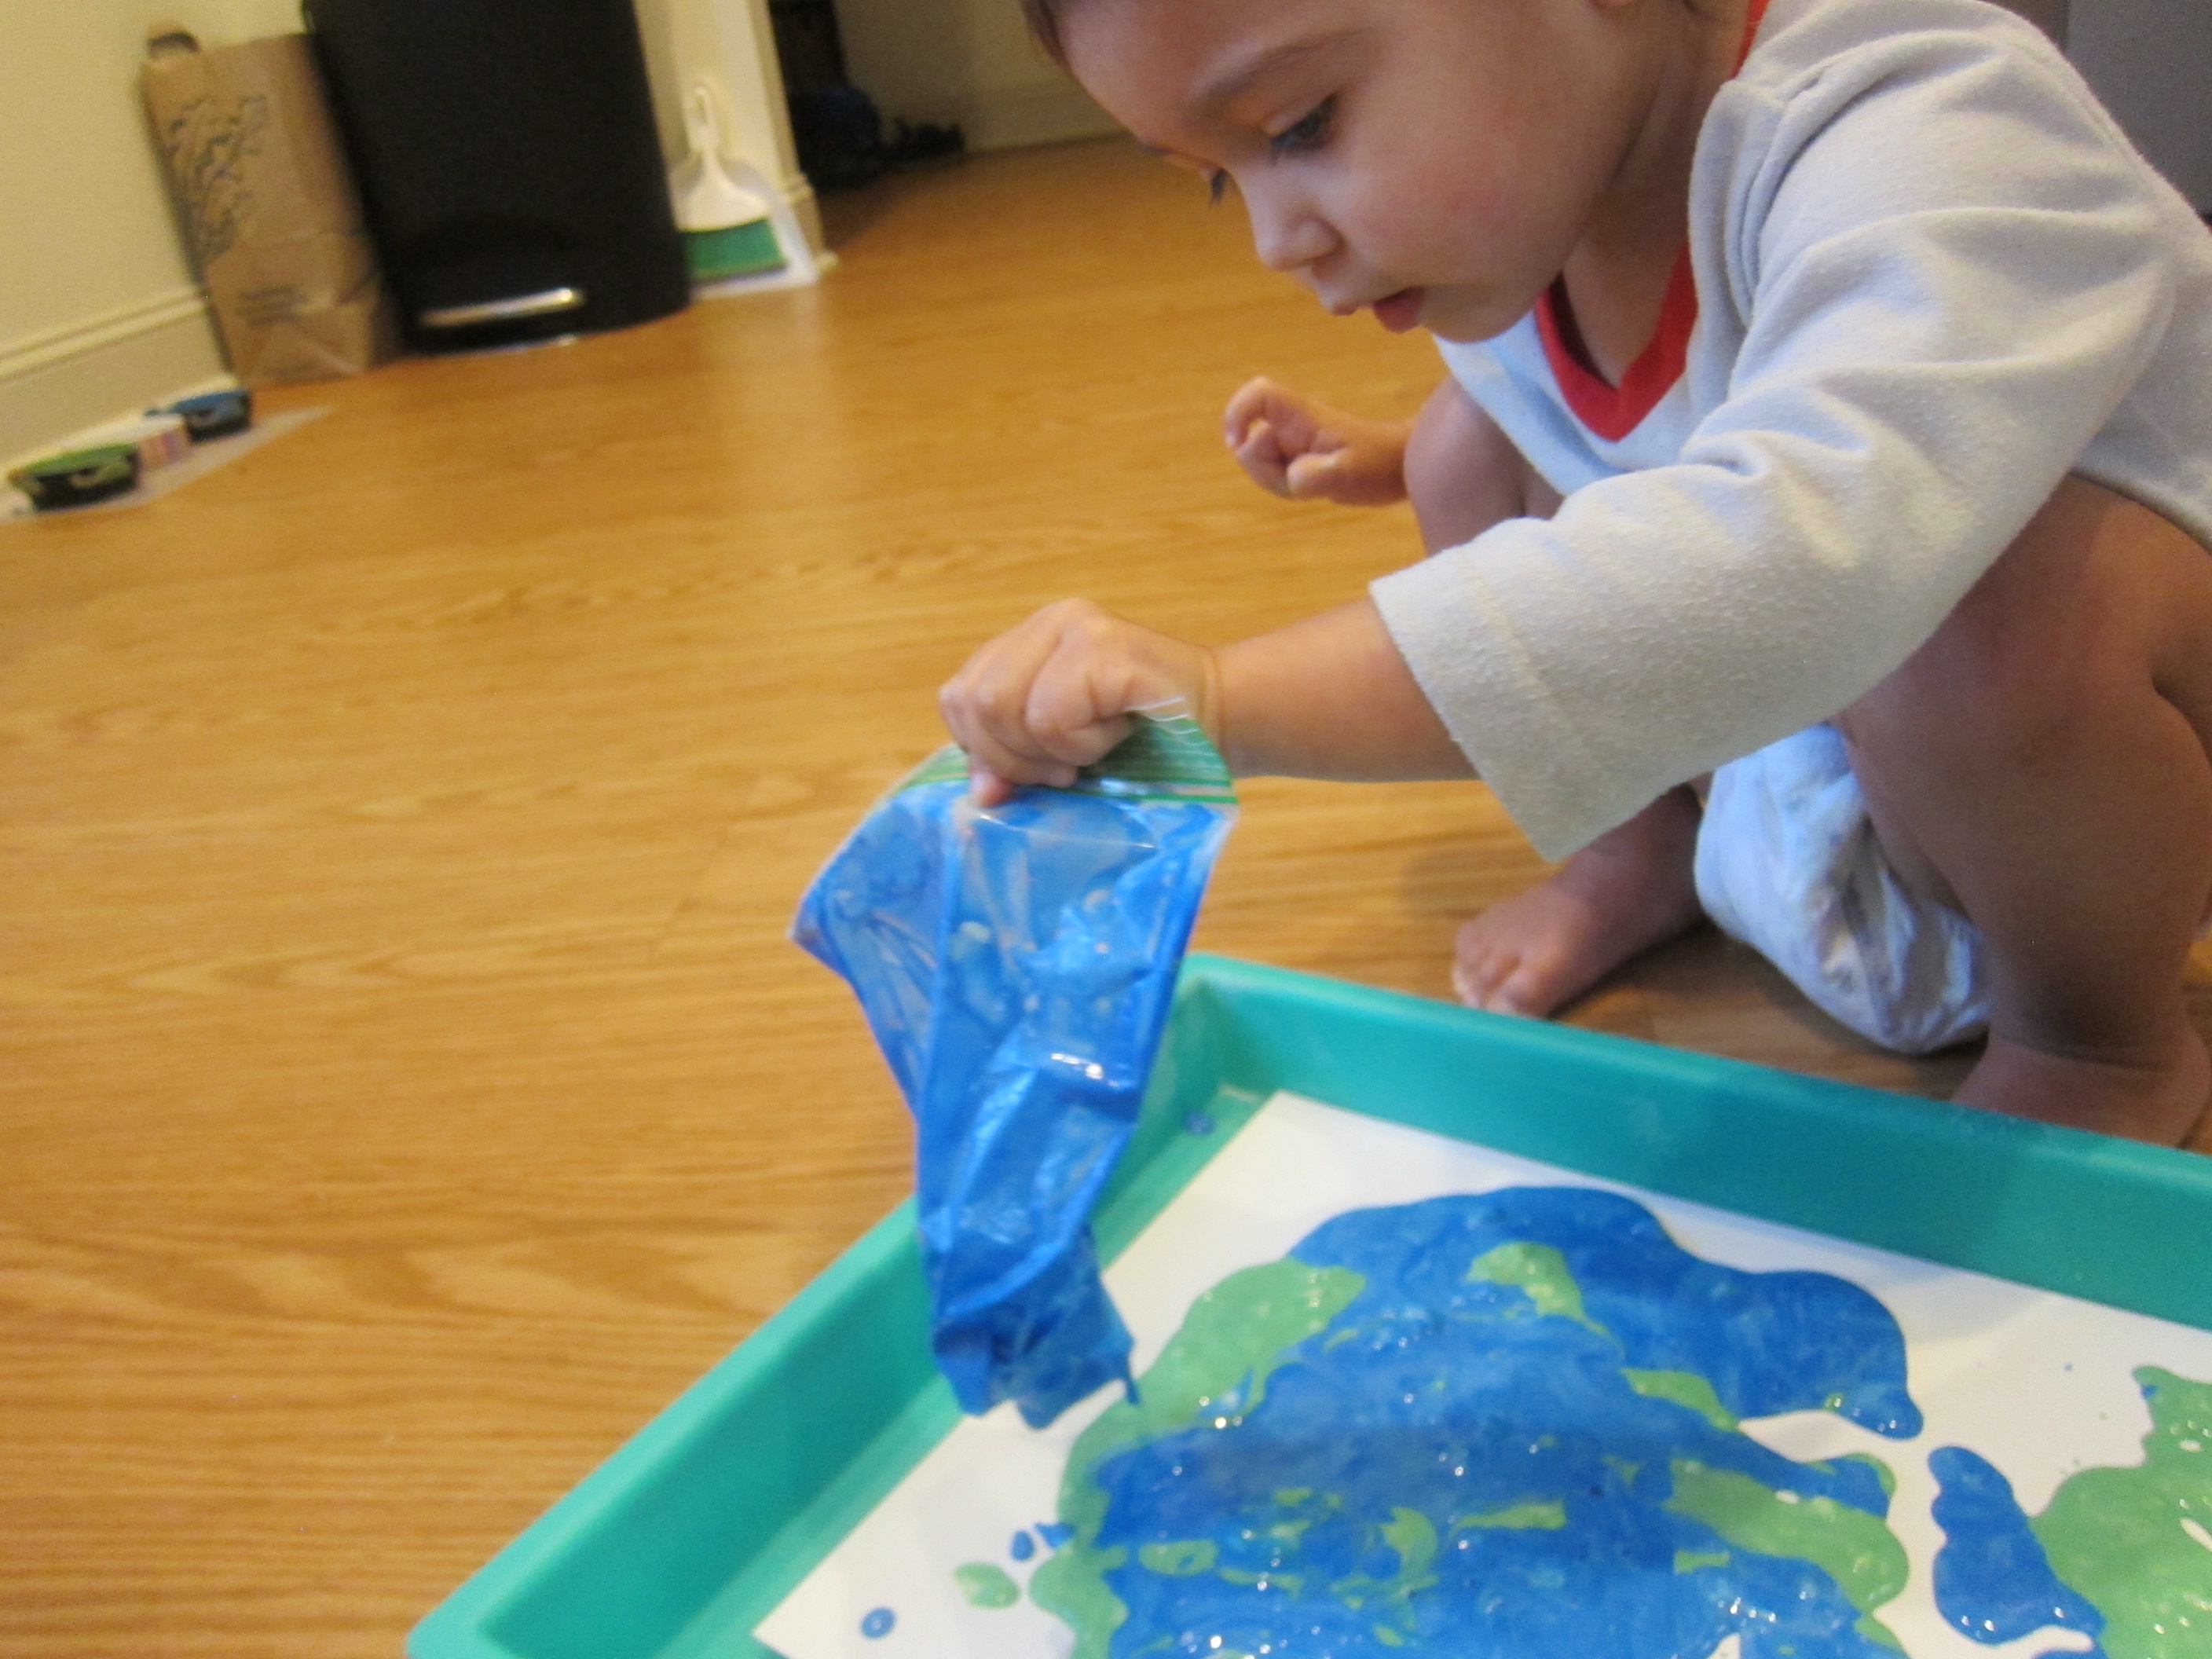
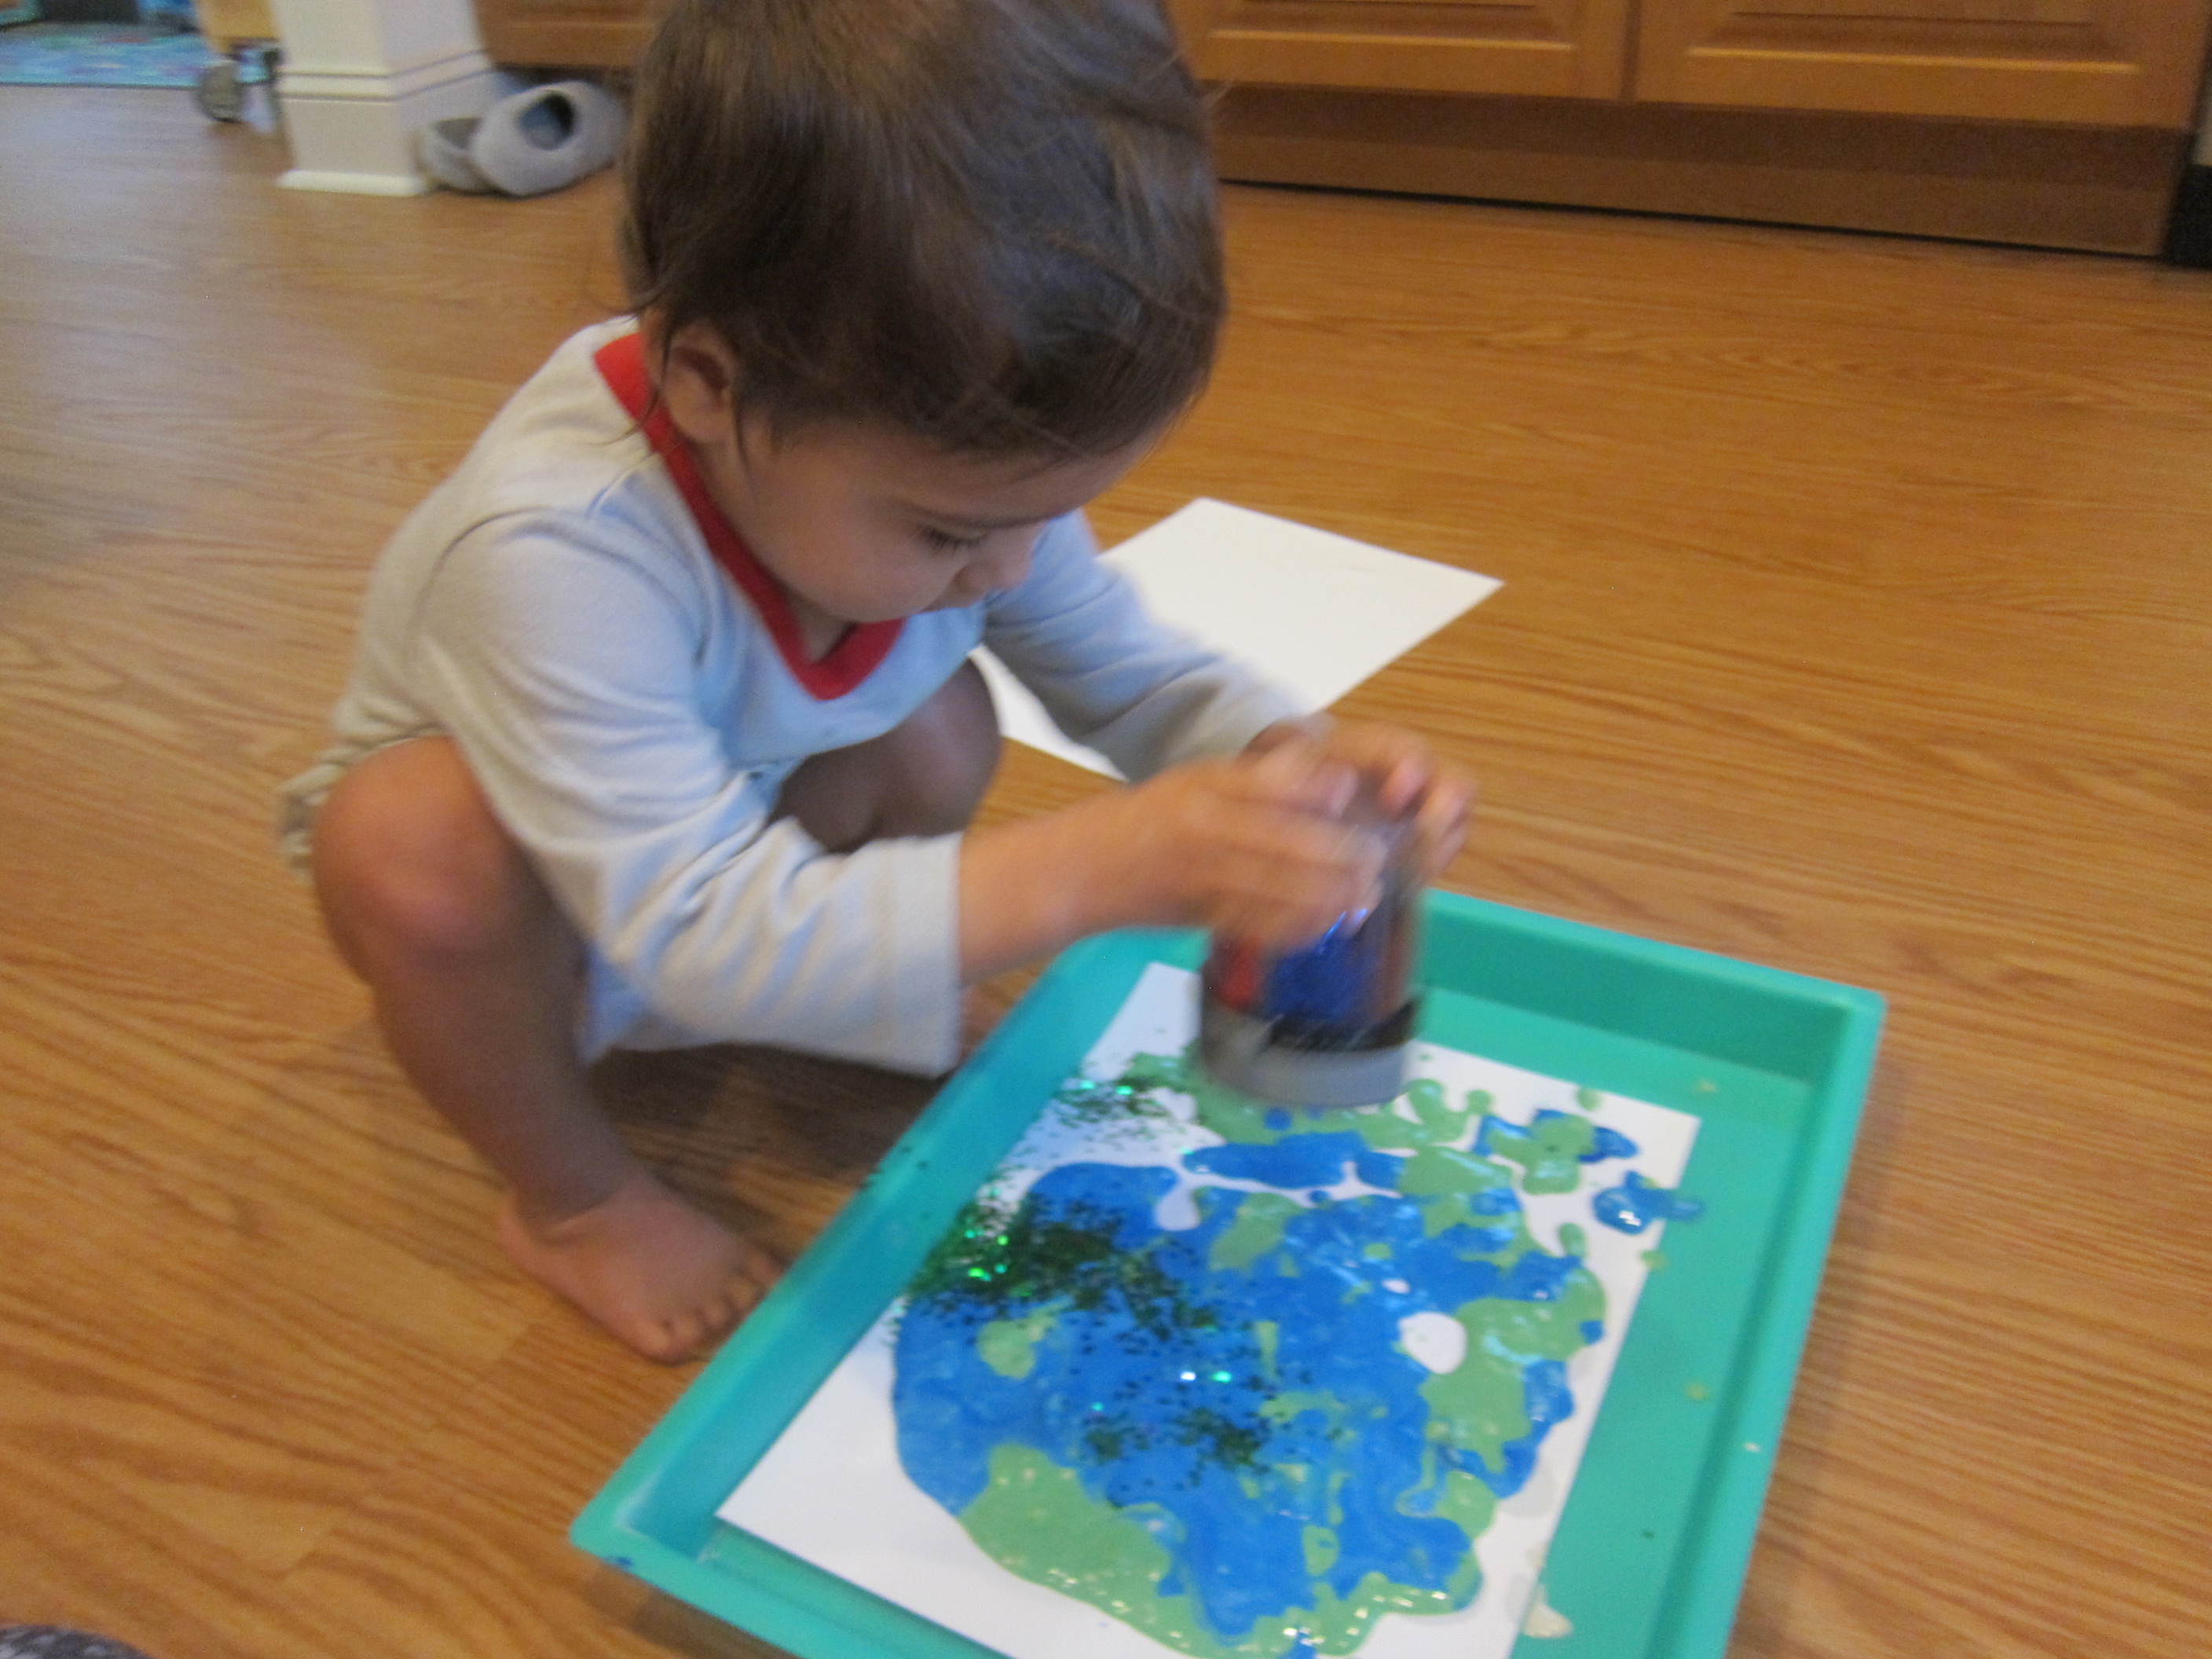
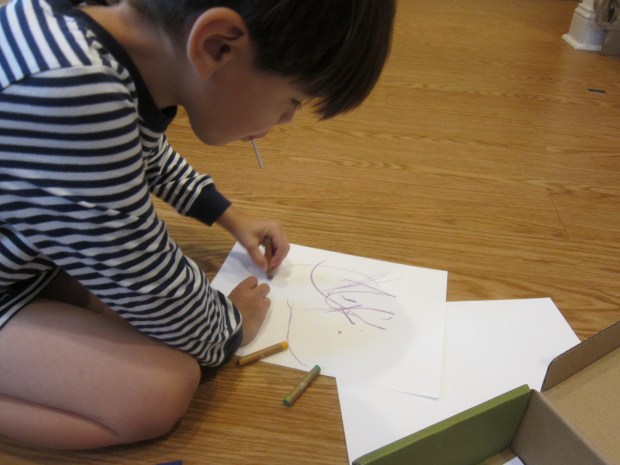
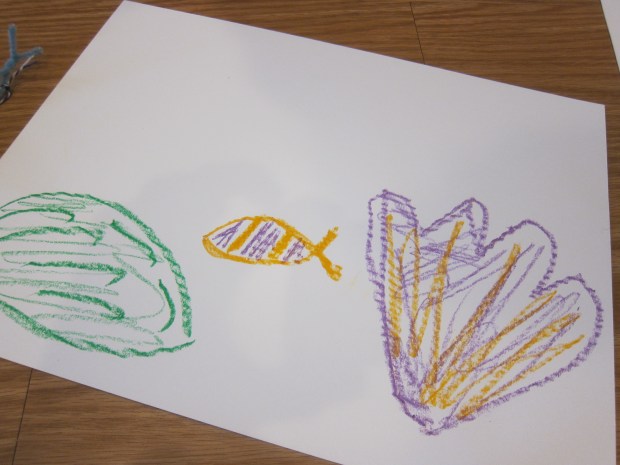
Next, draw coral reef features on thick white paper. Travis enjoyed using pastels, but crayons or markers would also work.

Coral Reef Creation Station (1)

We soon had a few pieces of coral and one friendly-looking fish to cut out and glue to our blue backdrop.

Coral Reef Creation Station (3)

On the inside of the box, tape down plastic cups or similar containers (such as recycled yogurt containers). Fill up with all those supplies!

Coral Reef Creation Station (4)

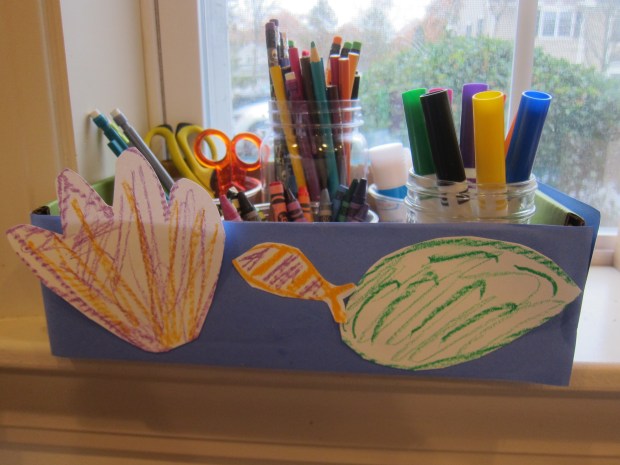
Now everything under the sea is right where Travis needs it.

Coral Reef Creation Station (5)

Advertisement

Flour Piping Sensory Activity

Flour and Water Piping (8)

A word of warning parents: this game is a messy one, but definitely worth it. It combines food play, painting, sensory play, art, and more!

To start, I set out a bowl for Veronika filled with flour, which immediately grabbed her attention. We started pouring in water and she was fascinated watching it change from powdery flour into, well, goop!

Flour and Water Piping (1)

Keep adding water until your mixture is a thick paste, then use a ladle to scoop some into zip-top plastic bags. Veronika chose blue and green when I asked what colors of paint she wanted. Add a little drop of paint to each bag, then seal and show your toddler how to squish the bag so the color mixes.

Flour and Water Piping (2)

Snip a small hole in the bottom corner of each bag. Veronika could now “pipe” the paint onto sheets of thick craft paper I had laid down.

Flour and Water Piping (3)

Note: I recommend a tray or newsprint underneath the paper, since the flour mixture is quite messy.

Flour and Water Piping (4)

She absolutely loved this step, using great concentration as she dribbled out the contest of the bag. I would make our flour mixture a little thicker next time so that it required more squeezing on her part. With that said, she was pleased as punch watching the results of her work as she dribbled the bag back and forth across the paper.

Flour and Water Piping (5)

Inadvertently, her final “painting” almost looked like planet Earth!

Flour and Water Piping (6)

As the final touch, we added glitter because, well, everything is better with glitter. She loved shaking out lots of it from the jar and making her final work of art gleam.

Flour and Water Piping (7)