We’ve painted with a balloon before, but today Veronika had a chance to paint on a balloon. She absolutely adored this simple art project.
I covered the floor with scrap paper to catch any mess and then set out uninflated balloons and little cups of paint. Veronika always asks for yellow, and this time wanted to add dark blue and light blue!

She immediately started painting the paper, but I showed her how to paint on one of the balloons instead. She loved it! She narrated all her color choices to me as she worked. “A little pink. Now let’s add a little blue…” It was like watching a miniature Bob Ross.

At first we only worked on light-colored balloons (whites and yellows) but she spotted a black one in our pack and wanted to paint on that. The color contrast looked quite neat!

When she seemed close to tiring of the craft, I inflated one of the balloons. (Note: Be careful that there is no wet paint at the rim before you blow it up). I wanted to show her how the smears of paint would now spread and thin out.

For the best contrast, make a few of the uninflated balloons with only small dots which will become more like blotches once inflated.
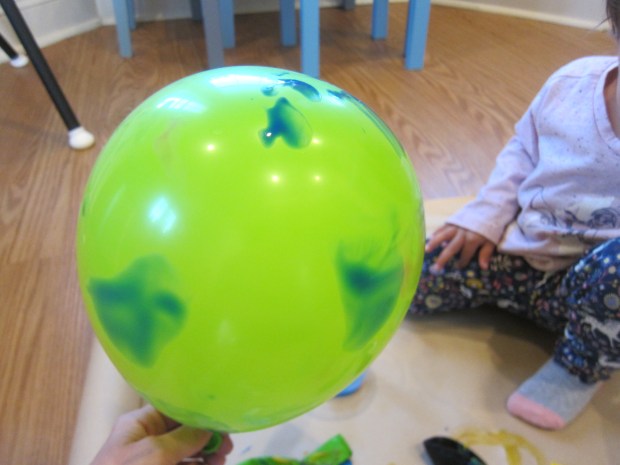
I thought she might want to switch to using the balloon like a paintbrush once it was blown up, but now she wanted to paint on this big bubbly canvas.
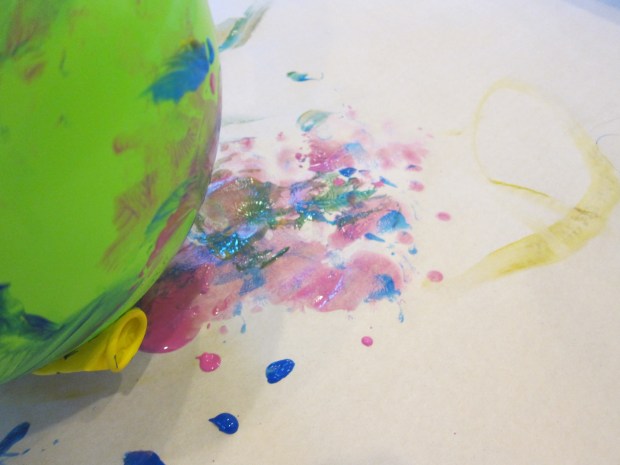
The colors started mixing now that she’d dipped her brush in all the cups several times, and she took such delight in it. “I have yellow. I have blue… I have green!” An early lesson on color mixing!
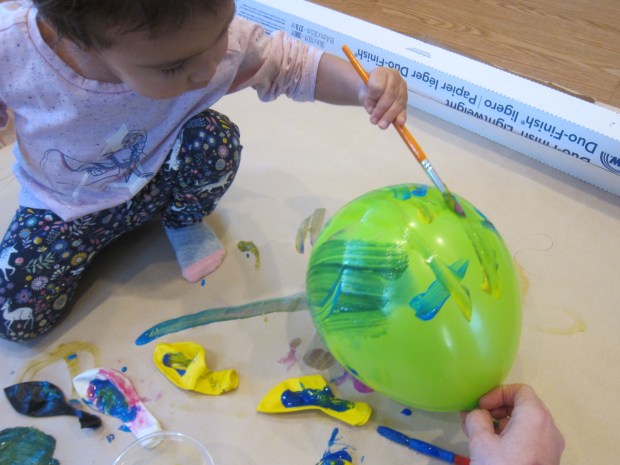
Again, she narrated her painting to me and kept it up for quite some time.

If your child wants to play with the balloons, set them aside on paper plates to dry completely first, and then it’s time for a round of painty balloon tennis!