Spicy Pumpkin Muffins

Pumpkin Muffins (2)

This recipe makes generously sized muffins, perfect for hungry kids after school or for a great boost in the morning. The addition of molasses means extra B vitamins. Use nutmeg in place of the cloves, if desired, and increase the applesauce to as much as 3/4 cup if the batter seems too thick.

Ingredients: 

  • 2 and 1/2 cups flour
  • 2 and 1/4 teaspoons baking powder
  • 3/4 teaspoon salt
  • 1 and 1/2 teaspoons cinnamon
  • 1/2 teaspoon cloves
  • 1/4 cup applesauce
  • 1/4 cup canola oil
  • 1/4 cup molasses
  • 1/2 cup agave nectar
  • 1 teaspoon vanilla
  • 1 (15-ounce) can pumpkin
  1. In a bowl, combine the flour, 1 and 1/2 teaspoons baking powder, salt, cinnamon, and cloves; set aside.
  2. In a second bowl, whisk together the applesauce and the remaining 3/4 teaspoon baking powder.
  3. Stir in the canola oil, molasses, agave, vanilla, and pumpkin.
  4. Add the dry ingredients to the wet ingredients, then divide evenly among the cups of a muffin pan coated with cooking spray.
  5. Bake at 350 degrees F for 27 minutes. Cool on wire racks.

Pumpkin Muffins (1)

Homemade Paper Balls

Homemade Balls (7)

Toddlers love crinkling paper. Toddlers love tape. So if you make these easy paper balls with only those two materials, your little one will thank you!

Half the fun is in the making, starting with crumpling paper up tightly. Ready, set crumple!

Homemade Balls (6)

Once we had some nice wads of paper, I wound around them with masking tape. The more pieces of tape you use, the more these will truly resemble round balls.

Homemade Balls (1)

We used construction paper for bright colors (and color learning!), but plain white paper works just as well. Veronika always asks for “sticker” whenever I pull out the tape, so it was hard to say which she liked more: just playing with the sticky pieces, or helping to tape up the balls!

Homemade Balls (2)

Now it was time to play! We started out simply tossing them into a bucket.

Homemade Balls (8)

Then of course comes the opportunity to dump out!

Homemade Balls (9)

Veronika soon was inventing her own ways to play with them, whether scooting after them along the floor or – her favorite – making them fall from our heads with a big “achoo!”

Homemade Balls (10)

Play pass with the balls, kick them around the house (if your toddler is at this stage of gross motor development), or just sit back and see how your child plays with them. I promise these will not disappoint.

Homemade Balls (4)


Hit the Target

Hit the Target (6)

With a little set-up in advance, this is an easy game to help fill a dreary winter day indoors!

While Veronika was napping, I used a hot glue gun to affix Velcro squares (the scratchy side) to several soft golf balls.

Hit the Target (1)

Next, I cut a few simple shapes from felt, like circles, hearts, and triangles. If you’re feeling more ambitious, cut teddy bears or other animal shapes, too! I then used hot glue to attach these to a recycled piece of cardboard.

Hit the Target (2)

When she woke up, I showed her how to toss the balls towards the felt, at which point they stick! She was fascinated.

Hit the Target (5)

It was hard for her to get the concept of putting the balls on herself, preferring to hold the golf balls instead of releasing her grip.

Hit the Target (3)

But she did like pulling them off the Velcro, no doubt intrigued by the tug of resistance.

Hit the Target (4)

I’m going to keep this game around since it’s one that will grow with her. The felt shapes provide a little early learning, and she’ll be able to approach the game differently as her tossing skills improve.

Paper Heart Craft Challenge

Heart Challenge (6)

This month’s craft challenge from Highlights magazine was very open-ended: simply to make something from paper hearts!

I set Travis up with multiple crafting supplies, including poster board to use as a background, pre-cut paper hearts from a Valentine’s Day kit, pink and red construction paper, and red craft foam.

Seeing two hearts touch tip-to-tip helped him get started. He declared that it looked like a fairy! So he glued down these fairy wings, and soon had the idea to add a third heart as the head.

Heart Challenge (2)

I showed him how to fold a piece of construction paper in half and cut along a provided line, which then opened up into a full heart. Neat!

Heart Challenge (1)

Smaller hearts cut from foam became the eyes. We also had little hearts that opened up into a 3-D shape, and these made perfect feet.

Heart Challenge (4)

He was so proud of this little fairy, and the creative juices had just begun flowing.

Heart Challenge (3)

Soon he was gluing small hearts to bigger ones, and drawing hearts free-hand with a marker quite proudly.

Heart Challenge (7)

It’s the first time I’ve seen him draw a heart without tracing along a line – perfect timing for Valentine’s Day!

Heart Challenge altHis final creation was a heart-faced vampire with fangs and legs cut from craft foam. This deviated from the initial challenge to craft only from paper hearts, but I was so proud of his creativity!

Heart Challenge (8)

Crunch Time Toast

IMG_0045

Travis got to use the toaster for the first time today in this experimental snack project. It was a great edible tie-in to some recent learning about telling time.

The challenge was to toast two bread slices, but for different lengths of time, and then to compare and contrast them. Carefully, Travis popped in the first slice and set the timer for only 2 minutes.

Crunch Time Toast (1)

He was impatient after 1 minute, hence the very un-toasted slice of bread!

Crunch Time Toast (3)

We popped down the second slice and this time set the timer to 5 minutes. Again there was some impatience, so I would say this was a 3 minute slice of toast.

Crunch Time Toast (4)

But he clearly noticed how more time meant a browner slice, as well as crisper. To finish the snack, we added avocado to the top (sliced on the first and mashed on the second). He proudly sprinkled on salt and pepper for this very big-boy snack.

Crunch Time Toast (5)

The verdict was that he liked the toastier toast better!

Crunch Time Toast (2)

Mushroom Barley Casserole

Mushroom Barley Casserole

If your kids don’t like rice, consider trying an alternative like pearl barley. This one-pot dish bakes in the oven slowly, making it a no-brainer, and it will make your kitchen smell amazing.

Ingredients:

  • 1 cup pearl barley
  • 3 cups vegetable broth
  • 1 cup finely chopped cremini mushrooms
  • 1/4 cup finely chopped onion
  1. Combine all the ingredients in a 3-quart baking dish.
  2. Cover and bake at 325 degrees F for 1 and 1/2 hours.

Easy Edible Paint Made with Real Fruit

Edible Fruit Paint (3)

Veronika wants to paint every time big brother gets paints and brushes, but I worry still that she’ll put the paintbrush in her mouth. With this fruit paint, there’s no need to fret; these brushes were made for tasting!

To prepare three colors of paint, I pureed a batch each of: blueberries, bananas, and kiwi. For the bananas and kiwi, I thickened the “paint” slightly with a little applesauce from a pouch, and then added a few drops of all-natural food coloring (in yellow and green, respectively) to amp up the color. Here’s the before of the kiwi:

Edible Fruit Paint (1)

Versus the after:

Edible Fruit Paint (2)

I used frozen blueberries, which pureed into a deep, thick purple that needed no embellishment. If you use fresh blueberries, you may find you also want a squeeze of applesauce and a few drops of blue food coloring.

I set out all three colors in paper cups for Veronika, along with paintbrushes and a thick piece of watercolor paper.

Edible Fruit Paint (4)

Say no more, she absolutely loved it! First she just wanted to dip the paintbrush into the blueberry paint over and over. I prompted her to think about her sense of smell as she played, the fresh fruit filling her nostrils.

Then she moved paintbrush to paper experimentally. She loved discovering she could make blobs and swirls.

Edible Fruit Paint (5)

I worried that the blueberry would stain little fingers and clothes, so I gently pushed the banana and kiwi into prime position. She was equally entranced!

Edible Fruit Paint (6)

She kept busy with this for quite some time before eventually dumping some of the kiwi paint onto the paper.

Edible Fruit Paint (9)

At this point I simply moved the paper aside and it was fun for her to smear.

Edible Fruit Paint (10)

Did she taste it? Not really, actually! I think she might have gotten a tiny lick of the banana once, but mostly she seemed happy to paint with it.

Edible Fruit Paint (7)

It was fantastic to see her so engaged with this artistically, and to know that even a nibble was worry-free.

Edible Fruit Paint (8)

Simple Costume Design

Simple Costume (5)

As someone who dresses purely for comfort, it has been a source of endless amusement to me that Veronika loves to accessorize. A spare sock, a random belt; whatever she finds lying around the apartment she immediately drapes over herself and strikes a pose. So today we had some costume fun, starting out with the simplest prop: scarves!

Play scarves can be so many things. I tied one around her waist for an instant “tutu”. You could tell she felt glamorous!

Simple Costume (1)

Then I made a simple medieval hat by twisting a piece of construction paper into a cone and taping a scarf on the top. It was a little wobbly, but she still loved it.

Simple Costume (8)

Scarves are great for further make-believe while your child is in costume. We tied two together and “swam” them through her noble court as fish.

Simple Costume (3)

She recently watched real fish in a tank, so loved saying the word as the scarves swam around us.

Simple Costume (2)

To further engage her imagination, we did then play dress-up with a kit. I stayed away from named characters, knowing that she would love draping herself in lace, beads, and fancy headgear from a generic boxed set. And did she ever!

Simple Costume (4)

Whether it’s as simple scarves or more complicated like purchased dress-up, play clothes are great fuel for the imagination.

Simple Costume (6)

She wanted to dress “Baby” up, too!

Simple Costume (7)


Northern Lights Illuminated

Northern Lights (8)

With a few Swedish recipes to prepare from Raddish Kids this month, Travis and I sat down to learn about the Northern Lights, a neat STEAM lesson alongside the Swedish cuisine.

I started be asking him to picture dancing lights in the sky, and he immediately got very silly imagining twirling reds, greens, and blues. But I told him this really exists! An informative website and video helped him visualize and understand the concepts further. Help your child walk away with new vocab, like solar flare and solar wind.

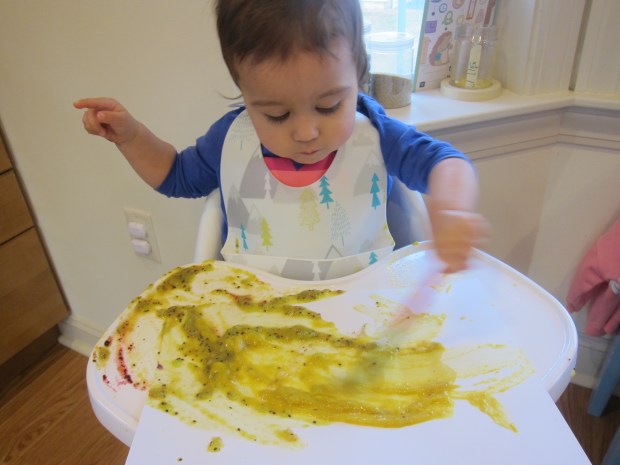
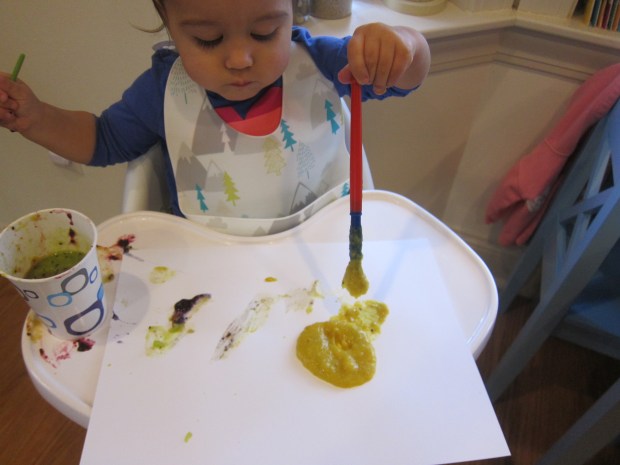
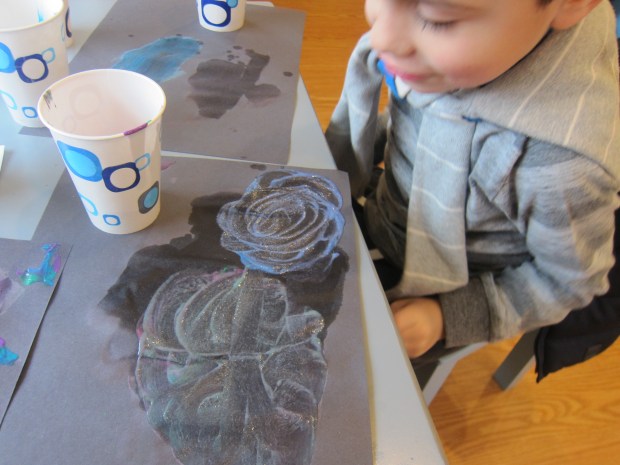
So now it was time to paint the northern lights! Using black construction paper as our background, I invited Travis to craft the lights however he felt inspired. He started with blue paint…

Northern Lights (3)

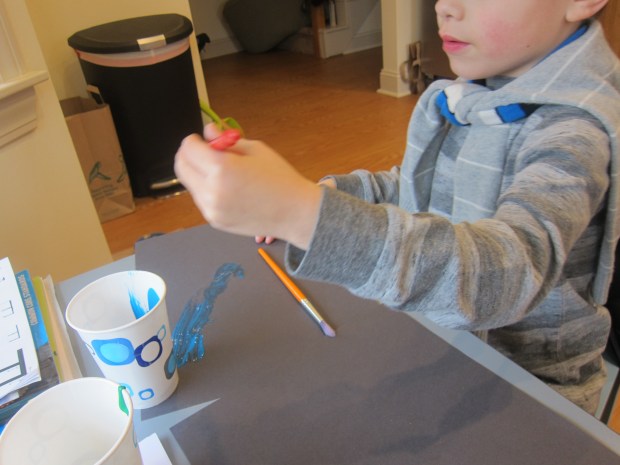
…but soon liked the way that just water looked when swirled on the black page.

Northern Lights (5)

He added in a bit of color, then more water, for a very ethereal effect.

Northern Lights (6)

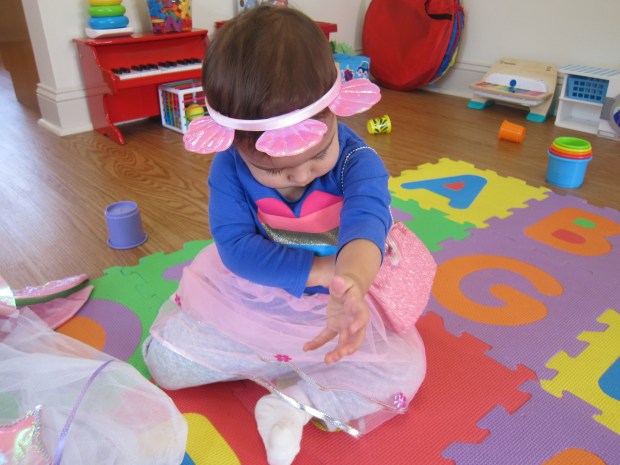
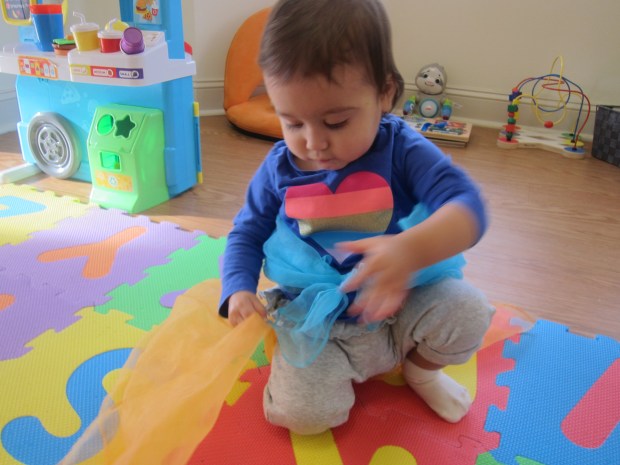
As we painted, we listened to ambient music from Mannheim Steamroller. Once he finished painting, it was time to dance and be the auroras.

Northern Lights (1)

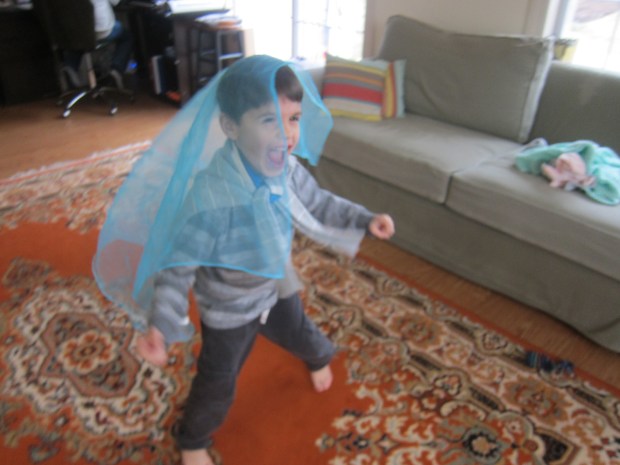
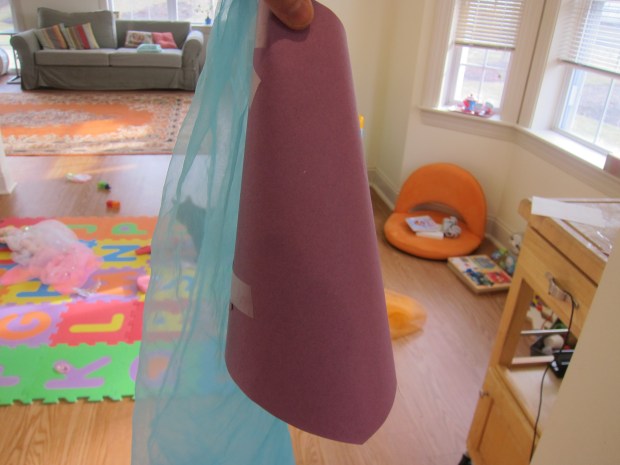
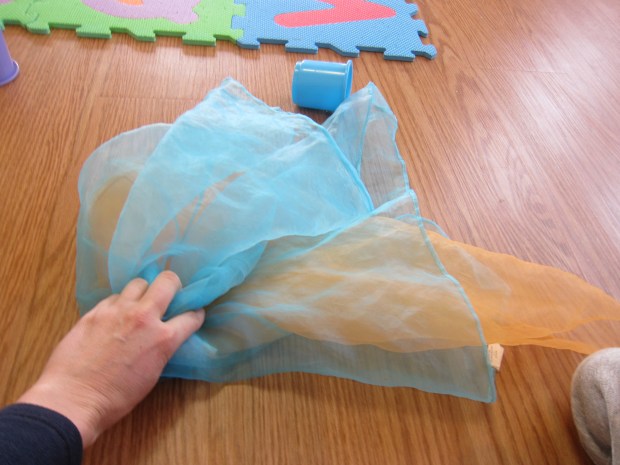
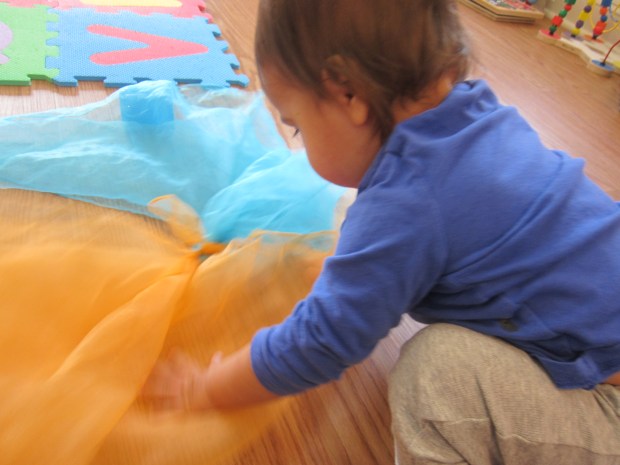
With scarves as props, he got really into his swirly, twirly, silly dance moves. And so did little sister!

Northern Lights (7)

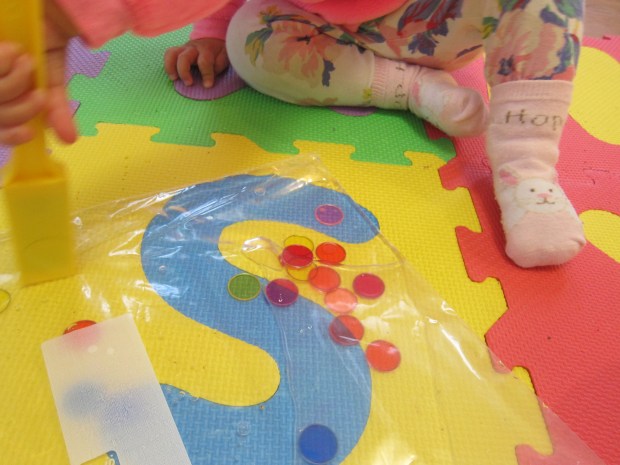
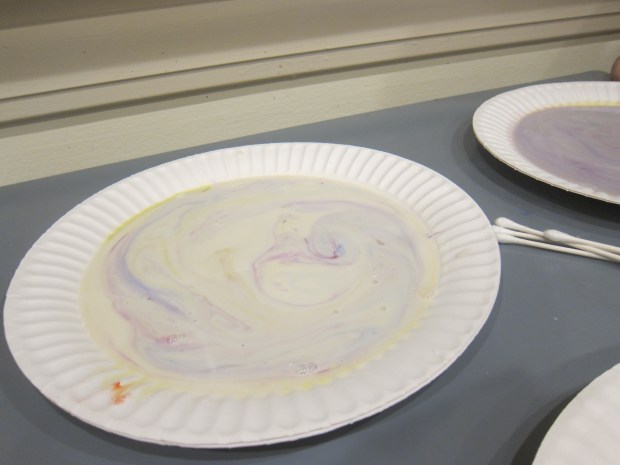
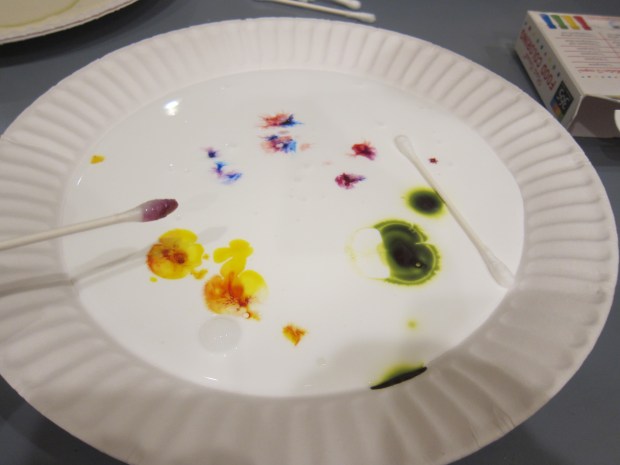
For a final scientific component, we made the “Northern lights” in food coloring and oat milk. Set out paper plates filled with the milk and add a few drops of food coloring to each.

Northern Lights (9)

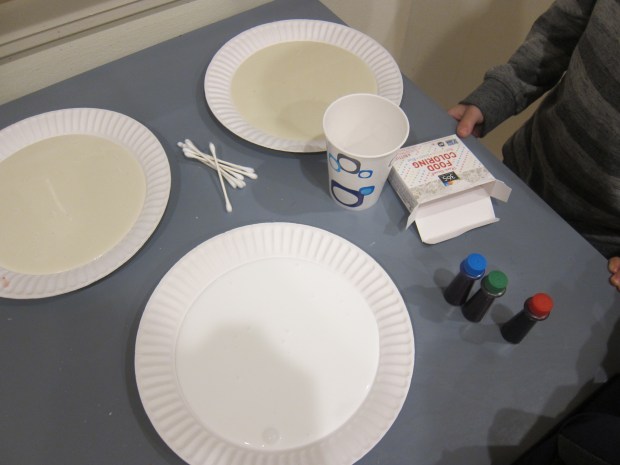
Dip a q-tip into dish soap, then touch this to the milk. The food coloring will dance and skitter and mix.

Northern Lights (10)

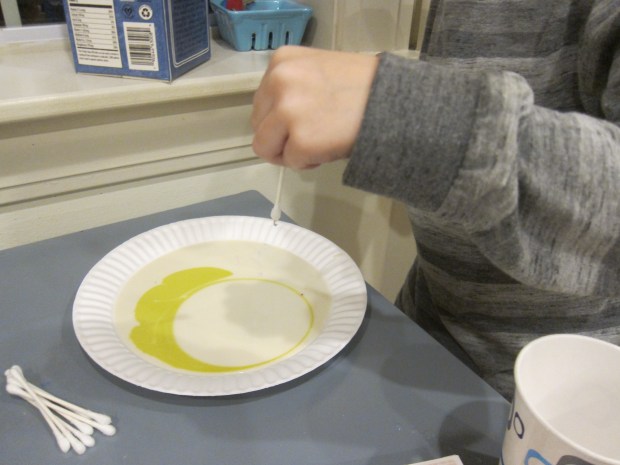
This had a big wow factor. I had hoped for it to be a little bit of a science lesson, thinking there might be a difference between our full fat and low fat oat milks in the fridge, but unfortunately that wasn’t the case.

Northern Lights (12)

For variation, we tried it in glue, too. (Note: You can let a glue version dry for a full week, then pull it off the paper plate and hang as a “suncatcher.”

Northern Lights (11)

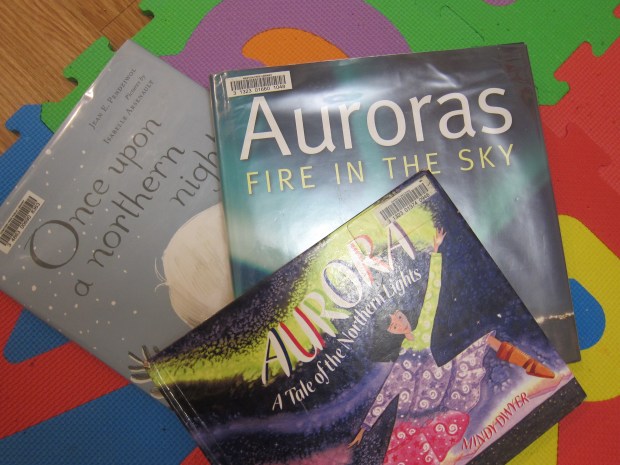
Last up was a little bedtime reading from the library. Check out Once Upon a Northern Night by Jean Pendziwol; Aurora: A Tale of the Northern Lights by Mindy Dwyer, or Auroras: Fire in the Sky by Dan Bortolotti.

Northern Lights alt

I loved that this lesson got Travis to learn, to create, and to get active!
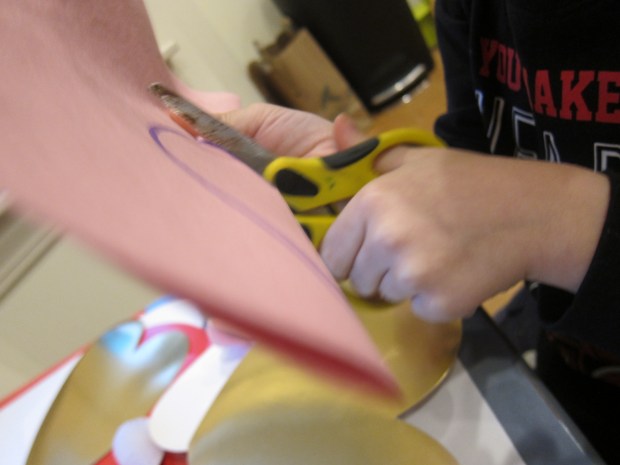
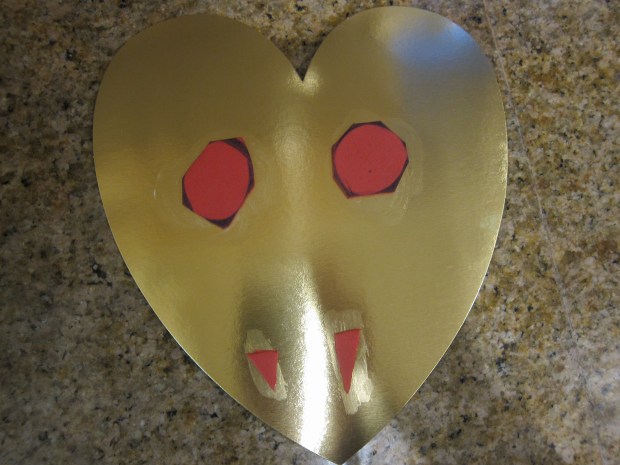
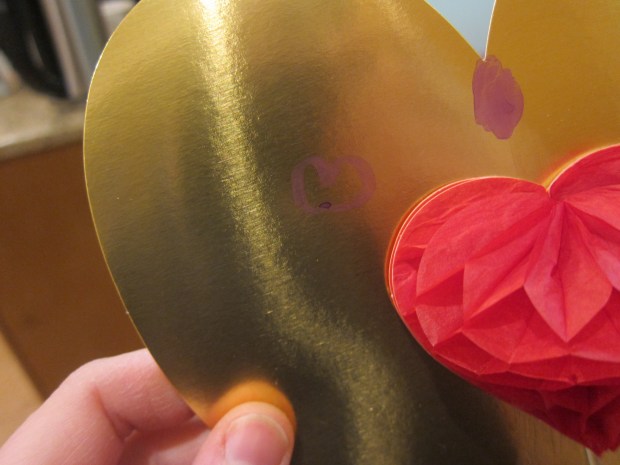


A Magnetic Polka Dot Sensory Bag

Magnetic Dot Sensory (5)

The inspiration for this sensory bag was the book Press Here, one of big brother’s favorite books from a young age, and one that never gets old.

Today I read the book with Veronika for the first time, and although she is on the young side for it, she delighted in the actions: tapping on dots, blowing on pages, and especially clapping at the end.

Magnetic Dot Sensory (1)

But we weren’t finished when the book was done; the fun had only just begun! Using magnetic discs and a wand from a magnet set we have, all I needed to complete the activity was a gallon-sized zip-top bag. I added just a little water to the bag, and then sprinkled in the discs. In keeping with Press Here‘s primary color scheme, I used only red, yellow, and blue ones.

Magnetic Dot Sensory (2)

Note: If you’re playing this game with a preschooler, this is a great chance to color sort, first, before adding the discs to the bag!

I showed Veronika how the wand attracted the magnets when waved over the bag (yes magnets work in water), and she loved the seeming magic of this.

Magnetic Dot Sensory (3)

This sensory bag interested her for much longer than previous activity bags we’ve made, and she returned to it throughout the day for more magical wand waving.

Magnetic Dot Sensory (4)

Again, you can engage big kids further with the activity. See if your child can separate the magnets by color in the bag. Or get silly by tapping them or moving them in ways that mimic the art on each page of Press Here.

Magnetic Dot Sensory (6)

This game was so simple to put together, and I know we’ll play it again as Veronika grows!