Can Toss Tumble

Can Tumble (2)

Travis has been having lots of arcade fun recently, and we continued the theme with this homemade carnival game. Play it just with family members or invite friends over for a can tumble tournament!

For about a week, I saved any canned goods we opened up: beans, soup, lentils etc. Rinse each can thoroughly and let dry completely.

To make the cans more presentable, we went through a pad of brightly-patterned craft paper and selected patterns we liked best.

Can Tumble (1)

Glue the paper to the cans and let dry. If your kids want to get even more decorative, feel free to add other embellishment like glitter glue or stickers.

Now set up the cans in a pyramid and it’s time to compete.

Can Tumble (4)

We used a beanbag, though a ball would also work.

Can Tumble (5)

Travis was gleeful with each tumbling can! This was such simple but great fun for a little after-school “sport”.

Can Tumble (6)

Note: I didn’t worry about sharp can edges with my five year old, but if you play with younger children, make sure to cover any jagged metal edges with masking tape or painter’s tape.

Toddler Bath: Mess and Clean

Bath Crayons (1)

Here are Veronika’s two current favorite games in the tub, at fourteen months old. One involves making a mess.. .and the other involves clean-up!

First up is bath crayons. Whether you’re using crayons or tub-safe finger paints, and whether they are store-bought or homemade, making art in the tub fascinates kids this age. The marks appear as if by magic on the white tub walls, and then wash off with one swish of the water.

Bath Crayons (2)

You can just set your artist free to make swirls or have fun helping your little one by drawing objects (boats, the sun) or drawing letters and shapes.

Bath Crayons (3)

For some clean up fun, we love to take toy cars into the tub! I showed Veronika how to use a washcloth to scrubby scrub scrub on the cars.

Wash Cars in Tub (1)

She loves to take a cup of water and pour it over them (cause and effect!) to help rinse the cars off.

Wash Cars in Tub (2)

Both of these are simple but turn a regular bath time into true play time for your tot.

Orzo with Creamy Tomato Spinach Sauce

Orzo with Spinach Sauce alt.JPG

Relying on jarred marinara sauce as the base of this recipe makes it a cinch, but it sneaks in extra nutrition for your little ones!

Ingredients:

  • 1/2 cup pasta sauce
  • 1/4 cup silken tofu
  • 1/4 cup frozen spinach
  • 2/3 cup uncooked orzo
  1. Combine the first three ingredients in a blender and process until smooth.
  2. Transfer the sauce to a saucepan and heat until warm.
  3. Meanwhile, cook the pasta according to package directions. Stir the orzo into the sauce, and let cool slightly before serving.

Orzo with Spinach Sauce

Books for the Car

Cloth Book (4).JPG

I thought it was worthwhile to do a post about books that keep Veronika entertained in the car, as she hits fourteen months old. I’ve found that while she won’t spend much time with books at home, she’ll flip through these solo in her car seat, often for quite some time! Here are a few varieties that really do the trick.

First up: cloth books. She has one I love that features a different number on each page, and items to manipulate in different ways (four slices of pizza, six fish, etc.). Another favorite tells the (much abbreviated) tale of Peter Rabbit, with bunnies to slide and flaps to lift, all in soft cloth. These are great for the car because they double as sensory material in addition to the visuals.

Next up: bathtub books are surprisingly great in the car since the texture is novel and the pages beg to be turned.

Cloth Book (2)

We love to giggle over The Pigeon Needs a Bath, even if she doesn’t “get” the story yet.

Finally, musical books. Although I’m not a fan of them in the house, books that make a lot of noise can be just the ticket for car entertainment. We love V-Tech’s Musical Rhymes Book that sings the words on each page, plus features buttons with instruments or colors.

vtech (3)

What does your toddler love in the car? Please share in the comments! Note: All photos were taken outside of the car for safety’s sake, of course.

vtech (1)

Silly Photo

Silly Photo (1)

This is an activity I’ve wanted to do with Veronika for ages, so much so that a while back I loaded up both kids in the car and drove 45 minutes to a lunch spot that was supposed to have a working photo booth.

Silly Photo (6)

It turned out to have been broken for 2 years (although popping in and out from behind the curtain was still fun!)>

Silly Photo (7)

Serendipity was with us at an arcade though, where I spotted a photo booth among the game machines. I immediately popped inside and sat Veronika on my lap. She was confused but intrigued by the screen, the curtain, the buttons, all of it.

Silly Photo (3)

Getting a toddler to pose for pictures is tough of course, but we got some cute shots!

Silly Photo (4)

Now these an hang on our fridge; I love that I can point the photos out to her and remind her of the memory. We also took time with our instant camera at home to make a few more deliberate shots.

Silly Photo alt

Pick an action like nuzzling cheeks, kissing noses, or other silly poses you can look back on and smile. Say cheese!

Arcade Kiwi Crate

Kiwi Arcade (8)

Whenever we walk into an arcade, Travis’s favorite game is the claw machine, even though we almost never win. So the instant his Arcade kit arrived from Kiwi Co., I knew it was going to be a huge hit. He got to make his own claw and prizes…and was sure to be a winner this time.

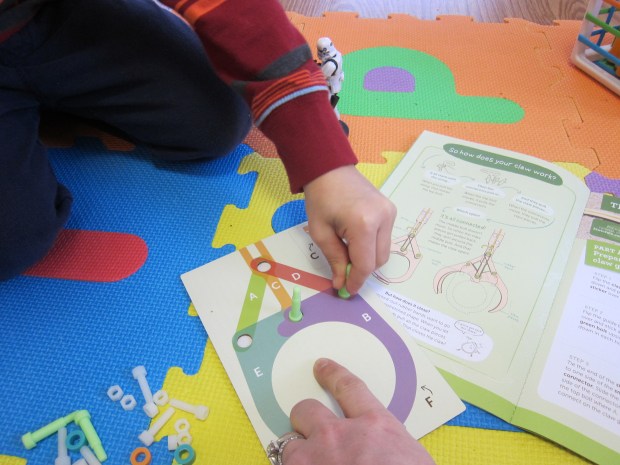
There’s tons of STEM to love about this crate, especially in the first project: The Claw. Start by reading the explanation of how this simple machine works: a string that moves a bolt that pulls a connector that pulls a claw, resulting in the claw opening. The booklet even explains how it closes up again, when stretched-out rubber bands want to revert to their unstretched shape, pulling everything closed again.

To prepare the Claw, Travis followed along layering bolts, wooden pieces, and nuts in the proper order, using the handy color-coded piece of cardboard that is the guide.

Kiwi Arcade (1)

Once assembled, the claw then lifts right up off the guide. A long wooden handle is attached in the same way with a second guide.

Kiwi Arcade (2)

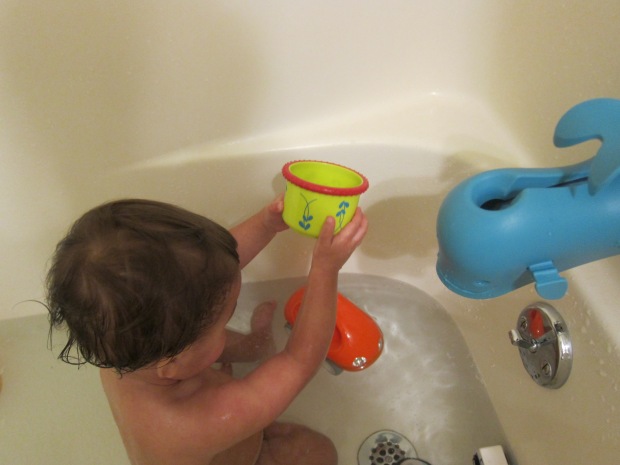
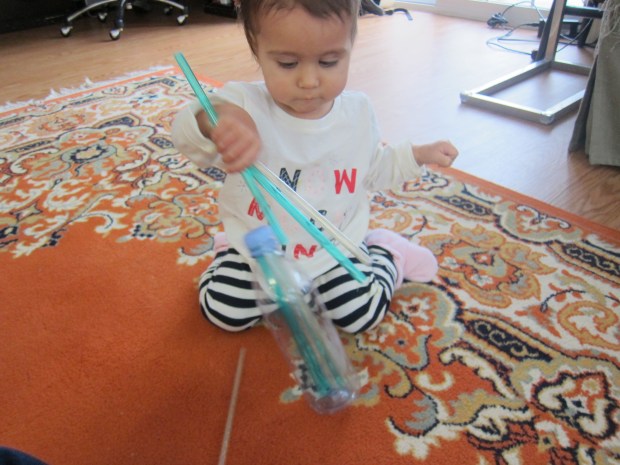
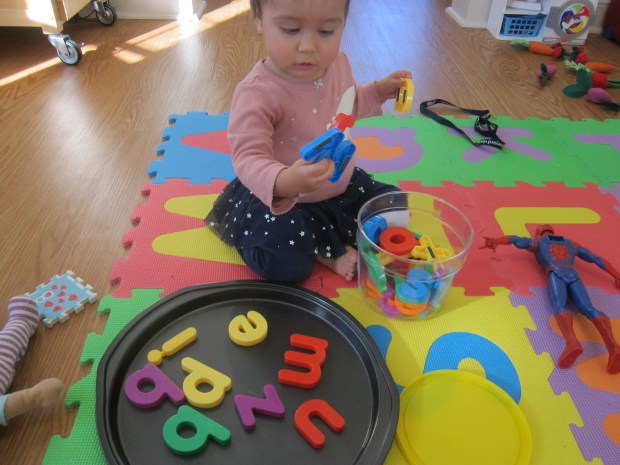
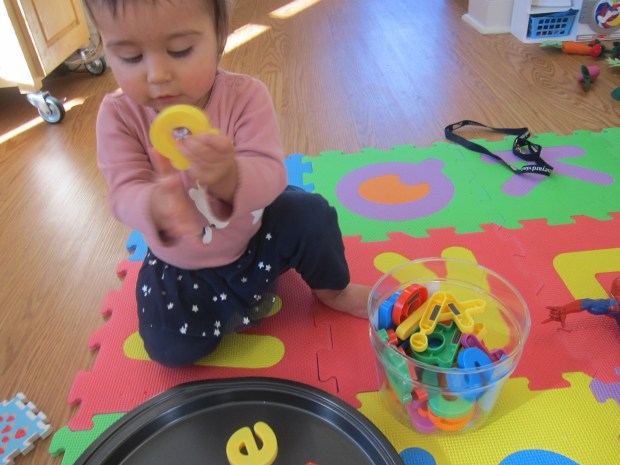
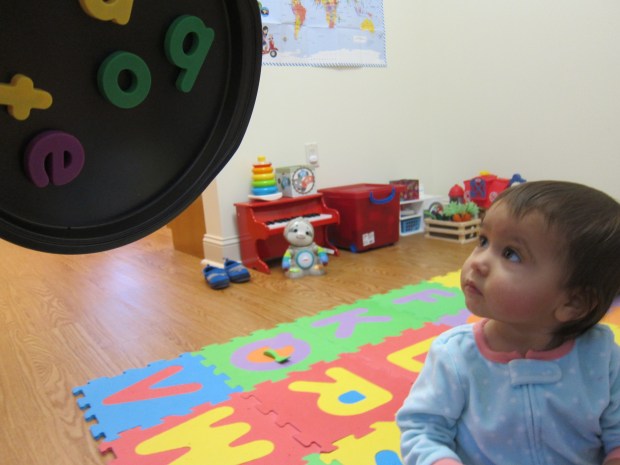
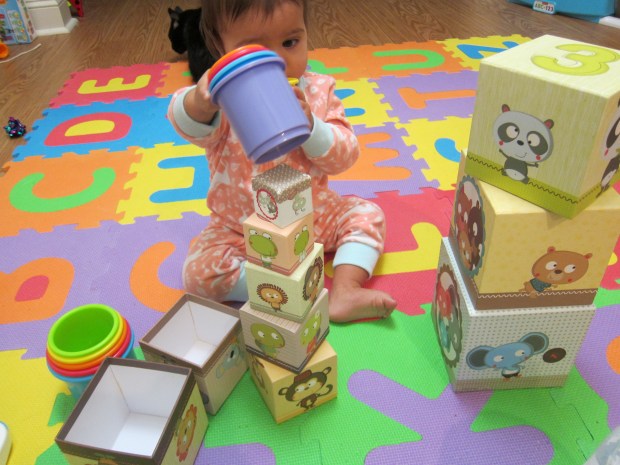
Travis had to test it out on baby sister’s toys right away, of course!

Kiwi Arcade (3)

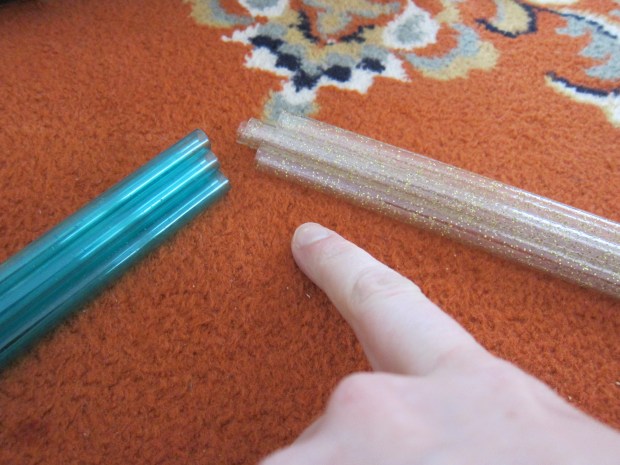
We immediately had to follow up with the next project: Pom-Pom Prizes. This was the artsy part of our STEAM lesson. Attach the end of one provided yarn bundle to a wooden pom-pom winder with a sticker, and loosely wind the yarn around.

Kiwi Arcade (4)

Having made homemade pom-poms, I appreciated how Kiwi took all the guesswork out of this, with yarn that looped along in no tangles. Now secure around the middle with the provided pipe cleaner.

Kiwi Arcade (5)

Slide the yarn off the winder and use scissors to snip open the loops of yarn. Fluff it out and you have a pom-pom! The pipe cleaners now bend down as little antennae and there are sticky-back wiggle eyes to adhere as the final touch. The crate contains enough material to make two. Travis loved these creatures, even before turning them into arcade prizes!

Kiwi Arcade (7)

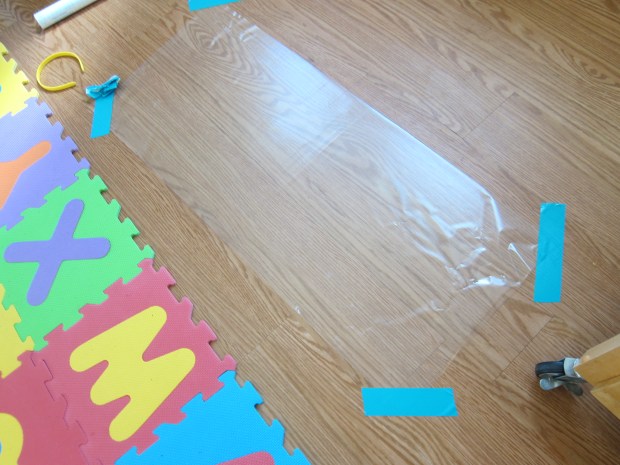
It was time to put it all together and play the Claw Game. We cut a rectangular hole in the lid of the Kiwi Crate, leaving about a one-inch border, and a second hole on the side, leaving about a 1/2-inch border. Cut a piece of plastic from a gallon plastic bag to fit over the hole in the lid, and tape it on securely.

Kiwi Arcade (9)

We taped on the provided Claw Game decorations, then filled the box with little knickknacks from Travis’s treasure box. And added in the pom-pom prize of course.

Kiwi Arcade (10)
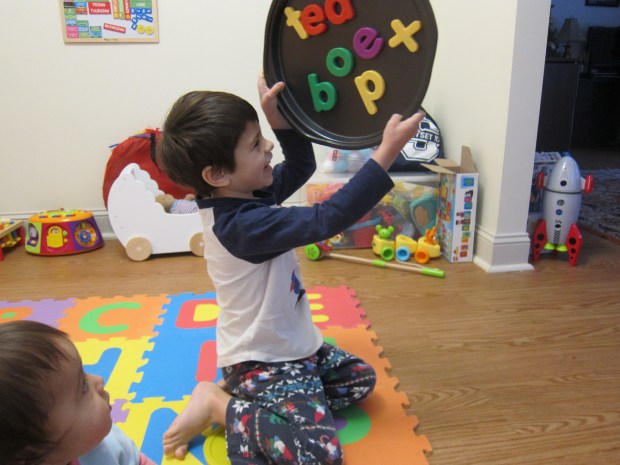
Travis was so proud once he got the hang of it.

Kiwi Arcade (13)

Mommy got the grand prize pom-pom!

Kiwi Arcade (11)

As always, we turned to Explore magazine for extended fun. There is a page filled with “penny arcade” games, a fun riff on the old-fashioned term, where kids can play games on the page with a literal penny.

Kiwi Arcade (14)

Next we made a Laser Maze with crepe paper.

Kiwi Arcade (18)

A big fun house challenge!

Kiwi Arcade (17)

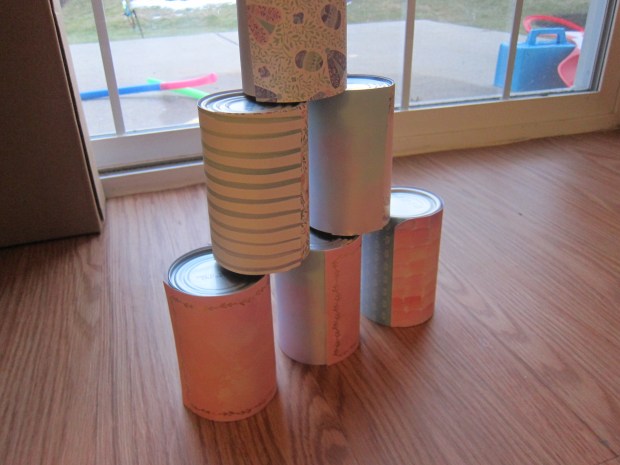
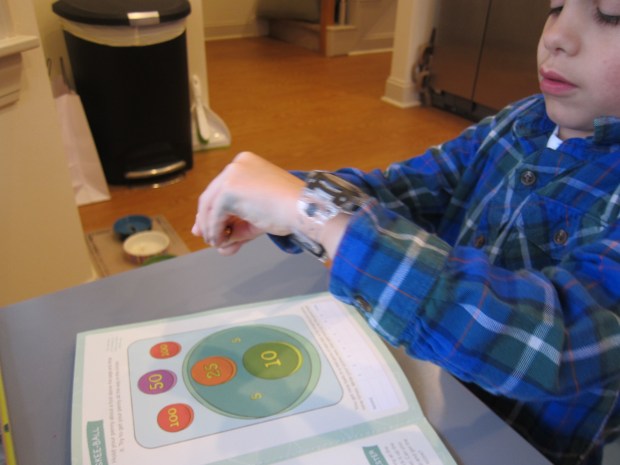
Finally, we made the Tilt-to-Win: Cut empty paper towel tubes to various lengths and cover each in a different color construction paper. Glue construction paper to a large flat box as the background, and glue on the tubes.

Kiwi Arcade (20)

Once dry, add a point value to each tube with marker. Put in a small ball, and take turns seeing how many points you can get in one minute.

Kiwi Arcade alt

This is almost like a handheld pinball machine!

Kiwi Arcade var

The two recommended books are worth investing in, as each contains more ideas than we’ll ever get to for gaming fun. Do check out The Kids’ Book of Simple Machines: Cool Projects & Activities That Make Science Fun and Play These Games: 101 Delightful Diversions Using Everyday Items.

Kiwi Arcade (12)

Sticky Step

Sticky Step (3)

Veronika is so close to walking, but still walks very stiff-legged when she holds our hands, her knees barely bending. This activity will not only delight your toddler, but is also great for strengthening those little leg muscles and encourage high stepping!

Tape a piece of contact paper to the floor, sticky side up. The set-up itself was of course fascinating for Veronika, who loved “helping” with the tape.

Sticky Step (1)

I held her hands and helped her walk along the sticky surface. At first she looked so surprised, but once she saw my encouraging smile, she bravely marched across the contact paper, knees lifting high to pull up with each step. She kept looking back over her shoulder at me in delight, as if to say, “Mom do you feel this too?”

Sticky Step (2)

Have fun with the contact paper while it is out! It’s great for sticking on lightweight toys.

Sticky Step (6)

And she kept dabbling in placing her toes on it, as if just to make sure it was still sticky.

Sticky Step (5)

Straws in a Bottle

Straws in Bottle (1)

Looking for a quick and portable way to entertain a toddler? This game takes up no space at all, which makes it ideal for airplanes, dinner tables, or just on the floor at home in a pinch.

I used a clear empty water bottle and gave Veronika an assortment of colored straws that she could place inside. Bright colors make this particularly fun, so we used turquoise and sparkly ones.

Of course first she just wanted to screw the bottle cap on and off.

Straws in Bottle (3)

Then I showed her how to aim one straw at the bottle at a time and drop it inside; letting go is equally a part of the lesson here. Veronika got the hang of it quickly!

Straws in Bottle (5)

She loved fitting in all the straws…

Straws in Bottle (7)

…after which there was the fun off dumping them back out.

Straws in Bottle (8)

When the bottle was full of straws, we could put on the cap and shake it like a maraca.

Straws in Bottle (9)

Then you can dump and start all over again, making this the game that keeps on going. Later she found other toys around her playroom to slot the straws into.

Straws in Bottle (10)

There’s tons of fun to be had here, with the lowest tech components possible.

Straws in Bottle (4)

Magnets on a Cookie Sheet

Magnets and Tray (3).JPG

Veronika is finally old enough that I’m comfortable letting her play with magnets; I hesitated even to give her large ones, previously, since she liked to put everything in her mouth. Now, it’s her hands that are busy, and this is a classic toddler activity that will entertain your little one for ages!

I set out a round cookie sheet and gave Veronika an assortment of magnets. These included a set of letter magnets as well as some chunky fruit-and-vegetable magnets we have.

Magnets and Tray (7)

Picking up the magnets is great for exercising little finger muscles. Then there’s that element of magic for kids when they feel the pull of the metal cookie sheet attracting the magnets back on.

Magnets and Tray (8)

She had fun simply taking the magnets on and off for a while. You can also make things a little educational by spelling out a few simple words, or sorting magnets by color.

Magnets and Tray (4)

But mostly, I just let Veronika have free reign with this one.

Magnets and Tray (1)

Big brother jumped in to helpfully spell out some words, too!

Magnets and Tray (6)

How do you like to play with magnets at home? Please share in the comments!

Magnets and Tray (5)


Stacking/Nesting Cups

Stacking Cups (1)

Today I simply took some time to concentrate with Veronika on one particular type of toy: stacking cups. She has several versions of these, whether round rings and cups or square boxes, all of which can stack together or – the opposite – nest inside each other.

I set out the different sets around her and cleared other toys from the area so she could concentrate on these.

Stacking Cups (2)

She is very drawn to nesting items, in particular, and loves finding ways to put the smaller cups in the bigger ones, or finding other containers that the cups can fit inside of.

Stacking Cups (3)

Then we concentrated on the opposite: stacking a few blocks up.

Stacking Cups (7)

No worries if your little one mixes and matches sets; Veronika loved balancing the nesting cups on top of the stacked boxes!  Then she mixed in the other direction, nesting the smallest box inside the cups.

Stacking Cups (4)

These toys are great for brain development and motor skills and require no fancy set up. I love knowing that the toys will grow with her, some day able to make towers of her own without mommy’s help!

Stacking Cups (6)