Travis and I will be cooking up some cosmic cuisine in the days ahead, thanks to his latest Raddish Kids crate. But even before the cooking began, we had to try out the lesson plan on astronauts, one of his favorite topics in the world.
To set the stage, ask your child what it would be like to be an astronaut, and what he or she would most want to do. Travis wants to fly a spaceship to another planet!
We watched a few informative videos from Chris Hadfield (familiar to us from one of Travis’s favorite books, The Darkest Dark). Hadfield, an astronaut from the ISS, has fantastic videos featuring everything from eating dessert in space to sleeping in space.
I read Travis some of the facts about what it takes to become an astronaut at NASA and then it was time to simulate being an astronaut with three cool projects.
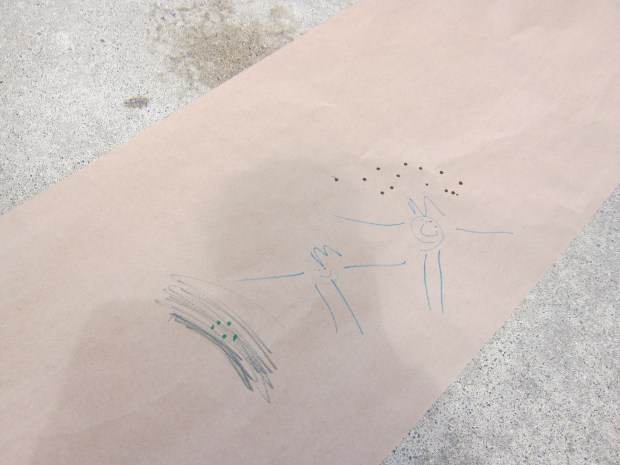
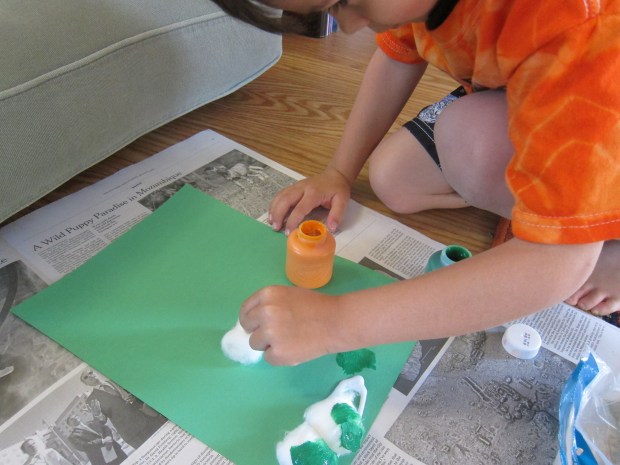
For the first, we made space boots to walk on the moon! Travis drew a “terrain” on a long strip of butcher paper.
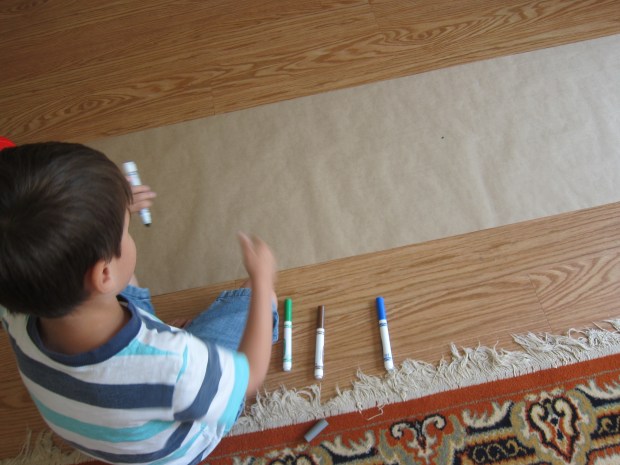
He drew astronauts and craters, and then we spread the paper outdoors on our patio.
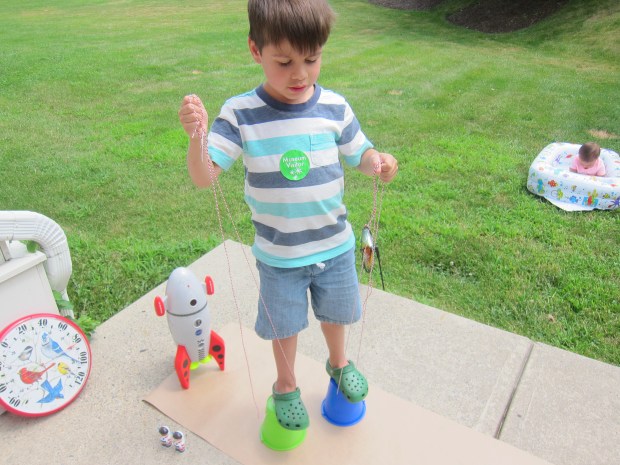
Meanwhile, I made the boots: poke holes in two buckets, and thread rope or twine through. Gather the rope up above the buckets and knot into a loop.
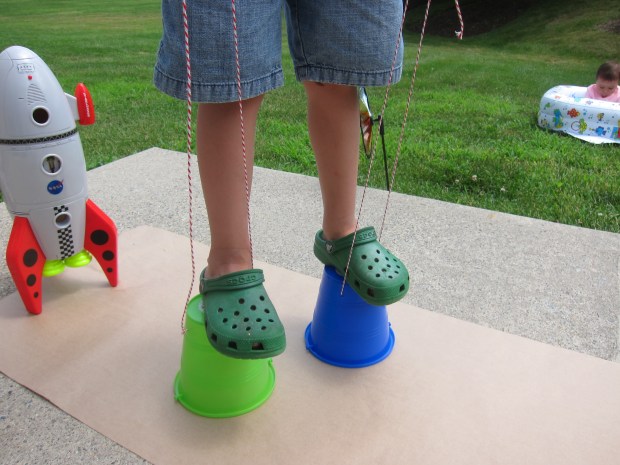
Very carefully, have your child step up onto the buckets and hold the ropes taut. Travis got the hang of lifting his arms to lift the rope as he took each step.

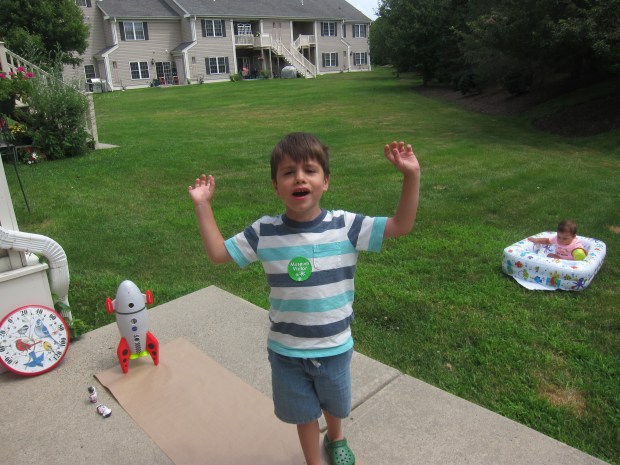
“This is what it felt like for Neil Armstrong to walk on the moon!” he marveled. He gave a proud astronaut cheer at the end of his moon walk.
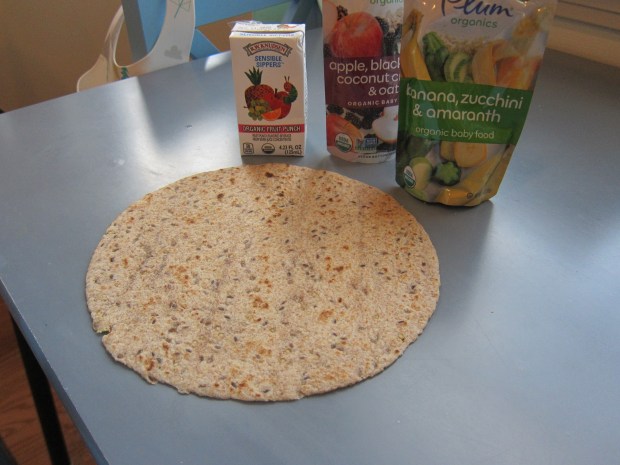
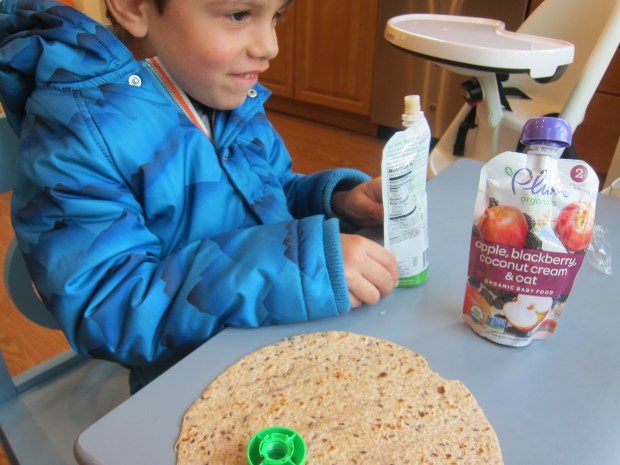
Next up, we created a space meal! Watch Chris Hadfield again, and then set out a menu. Travis had a juice box, one of baby sister’s pouches, and a tortilla!
For added fun, make sure to suit up first: snow pants make for a big bulky astronaut suit; Travis insisted on adding his jacket, too!

Dining in space is fun!
Finally, we made a Glove Box, which is how astronauts study potentially harmful materials. Trim the top pieces from a cardboard box and cut two arm holes in one side.
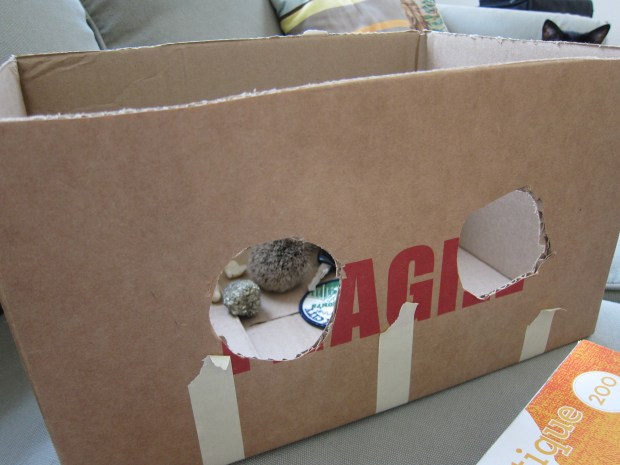
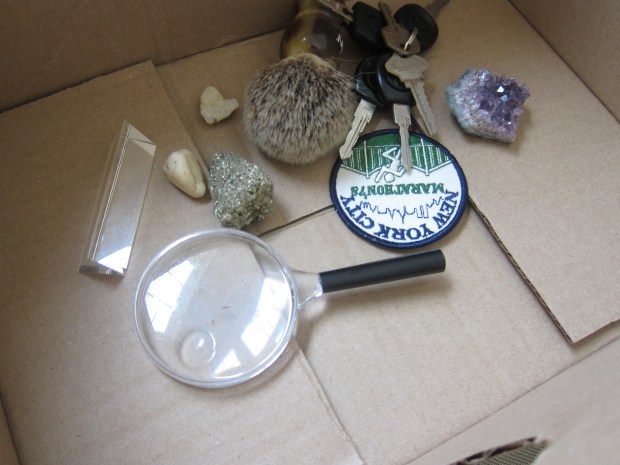
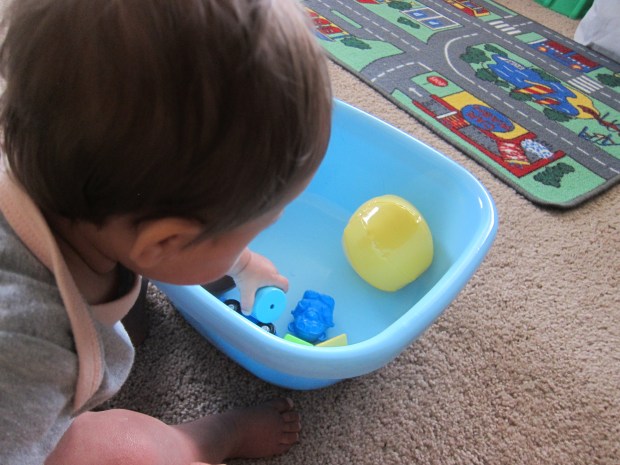
Fill with fun items. Rocks from Travis’s collection made natural “moon rocks” of course, and I added a few other odds and ends.
Travis slipped on garden gloves (cleaning gloves would work, too). Cover the top with saran wrap, and have your child insert their hands through the holes; now it was like he was manipulating the items from within an astronaut’s glove box!

He loved peering at the rocks through the magnifying glass.

For added authenticity, you can duct tape the wrists of the gloves to the holes, but we skipped that step. What fun to be an astronaut for the day!


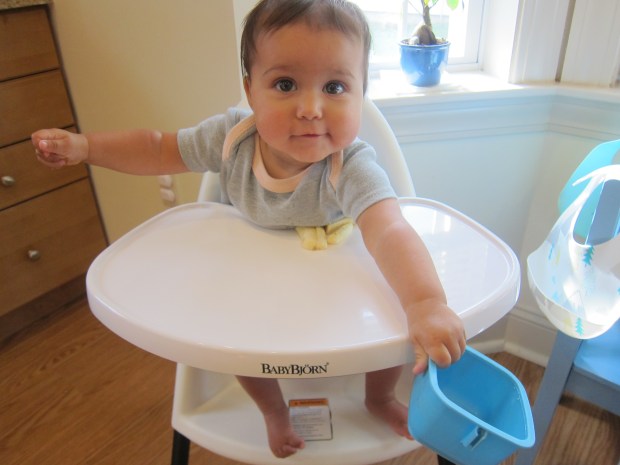


 Veronika stays on one side with baby-safe toys and all the big boy stuff (Legos, Playmobil) lives on the other side of the divide. Make sure to box up small toys at the end of each day to be safe.
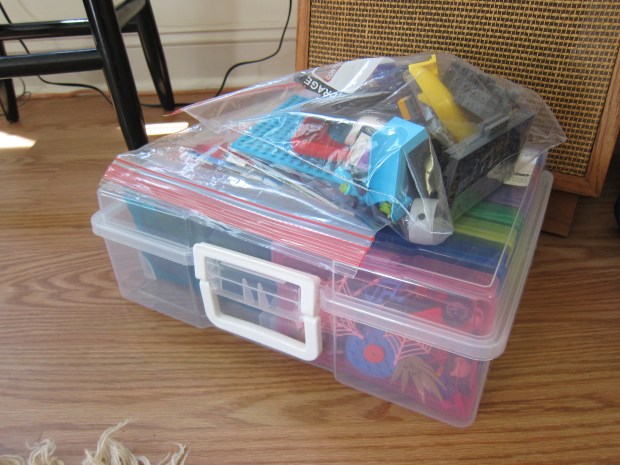

 Looks like the computer will have to move to another spot!