More or All Done?

Introduce Question (1)

If you’re going to introduce one question for your baby at nine months old, this one is it: do you want more, or are you all done? First, by asking Veronika if she wants more of something or if she’s all done, it gives her a sense of agency. She can’t say the words yet, but she realizes that by her actions – pushing something away, grabbing for more of it – I’m listening to her. When you use the words, tilt your head and make your voice rise up at the end.

“More” and “all done” are also easy signs to learn, both for parents and babies (and siblings!). “More” is made by taping fingers together.

Introduce Question (6).JPG

“All done” is putting the hands up and shaking them, as if shaking something away. So today at meal time, I made sure to ask Veronika – do you want more or are you all done?

Introduce Question (3)

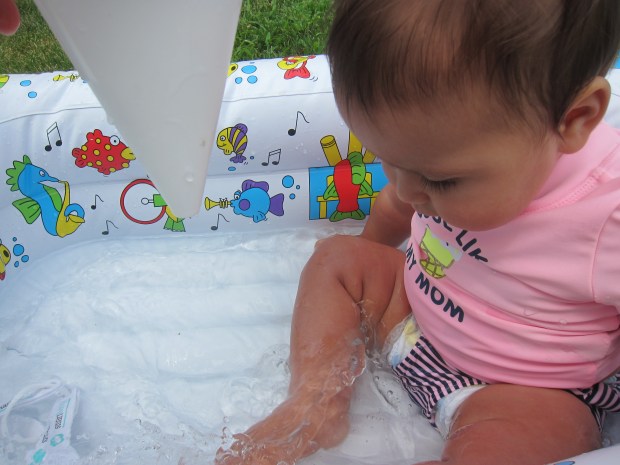
Hmm, she’s thinking about it. Pause and see if your baby vocalizes, or perhaps even starts to sign back.

Introduce Question (2)

More this time!

Introduce Question (4)

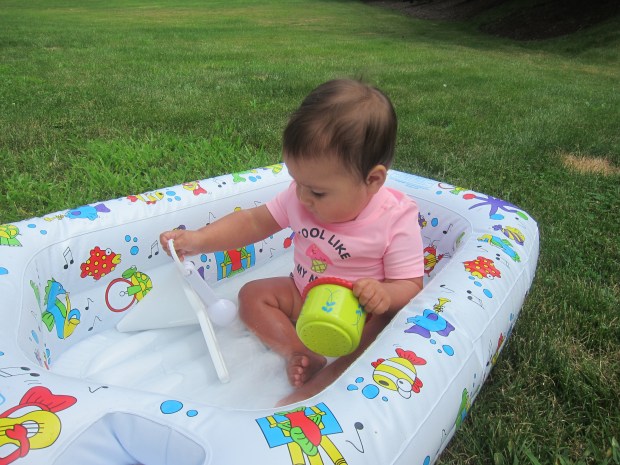
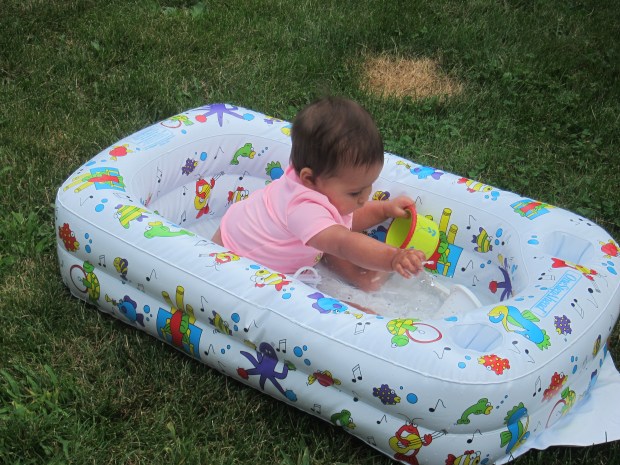
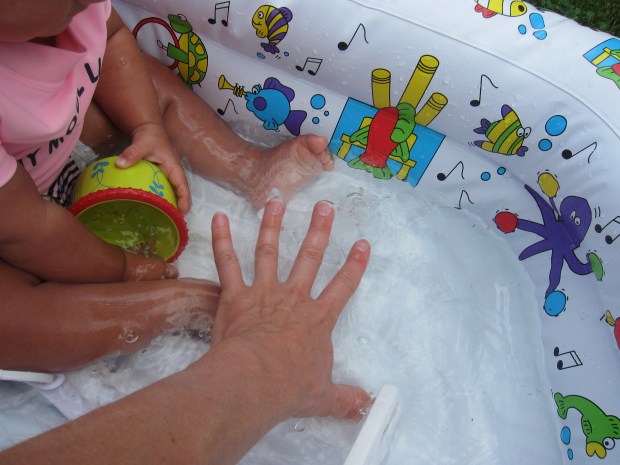
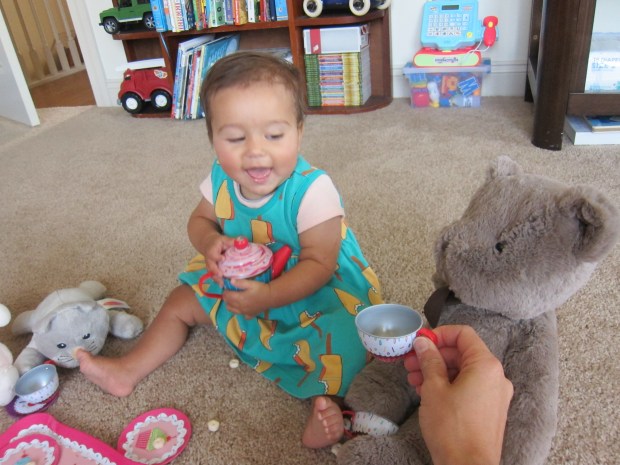
The same question applies when we play with toys or if we’re hanging out some place and I’m curious if she’s had enough or wants more more more. She is just starting to do a hand wave that I think might be her first attempt at “all done.”

Would you like more of that pouch, Veronika?
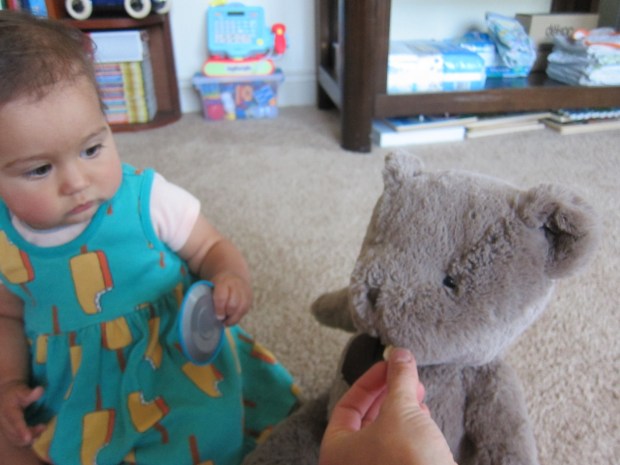
Introduce Question (5)

All done!

Introduce Question (7)

Bring Out the Baby Bathtub

Baby Bathtub (3)

The title of this post means exactly what it says: don’t use the baby bathtub inside this summer… Bring it outside!

Being outdoors in hot summer weather and trying to keep baby cool can be tricky. Even many kiddie pools are toddler-sized, and can be large and intimidating for a baby… Not to mention for the parent who has to keep a double eye on things when water is involved.

The perfect hack? Use the baby bathtub! It’s much smaller, and Veronika loves sitting in this even dry outside while we play But today I filled it with lukewarm water and added a few of her favorite bath toys.

Baby Bathtub (1)

At first she just seemed amazed ato be in water outside, quickly followed by delight. She played with the toys…

Baby Bathtub (5)

Kicked her legs…

Baby Bathtub (4)

And loved when I showed her how to pour from funnels and cups.

Baby Bathtub (2)

She also loves when I splash my fingers in the water to make “fireworks”!

Baby Bathtub (6)

In sum, this is the perfect way to keep baby cool in the pool, whether it’s just the two of you or if big siblings are playing outside, too.

Tricky Triangles

Tricky Triangles (5).JPG

These fun foam triangles are a homemade version of a tangram puzzle! We followed a template from Highlights magazine, which made for great puzzling on a Saturday morning.

First, follow the lines provided to divide a large sheet of craft foam into 8 triangles. Big kids can help with the lines and the cutting, but this was more of a craft that I set up for Travis than one we prepared together.

Tricky Triangles (1)

Soon I had 3 sets of triangles for him, in orange, green, and yellow foam.

Tricky Triangles (2)

We looked at the shapes in the magazine and he wanted to make the fish first: green triangles! Tangrams are wonderful for helping children think spatially and translate what they see on the page to a real model.

Tricky Triangles (3)

Travis needed help with the orientation of a few triangles, but mostly could see how the fish came together.

Tricky Triangles (4)

Next up was an orange fox! I had Travis point out where the biggest triangle went first as a starting point, and we worked our way outward from there.

Tricky Triangles (6)

He was quite proud when he saw the fox take shape.

Tricky Triangles (7)

Finally, he made the yellow cat. Add big googly eyes to any or all of these, if you have them!

Tricky Triangles (8)

As your child becomes skilled at copying the provided designs, branch out and make up your own! Next time I’m going to cut up a smaller version since these would be perfect to slip in a zip-top bag and turn into a take-along toy for car rides or waiting rooms.

Bug Movie

Bug Movie (7)

Travis got to stay up extra late tonight to watch a special movie. Not one on TV… a real live bug show!

Before it got dark, we headed outside and put up two sticks (actually, a stick and one toy microphone stand!) and I tied a piece of string tight between them. Then we carefully draped a pillowcase over the string.

Bug Movie (1)

(Note: for a “big screen movie” version of this, tie a thicker rope between branches on two trees and use a whole sheet instead of a pillowcase).

Bug Movie (2)

As the sun set, we headed outside. Set a toy lantern at the foot of the pillowcase or sheet to illuminate it. And now sit back and wait!

Bug Movie (4)

Travis was so excited and couldn’t stop asking questions about when it would be dark enough, and if the bugs were sleeping, and what kind of bugs we might see.

Bug Movie (5)

The waiting and anticipation, honestly, were the most magical part about this activity. Travis felt so special staying up late with me, and watched the darkening sky as much as he watched our glowing lantern.

I wish I could tell you we saw something spectacular like a moth or a giant beetle against our sheet. The results were more ho hum: mosquitoes, gnats, fruit flies.

Bug Movie (9).JPG

But Travis wasn’t disappointed in the slightest! He was so thrilled with each insect that found our lamp and hummed around. We loved this activity so much we’ll definitely do it at least once more before summer is out.

Bug Movie (8)

What bugs came to your “movie”? Please share in the comments!


Teddy Bear’s Picnic

Teddy Tea Party (8).JPG

As a follow-up to yesterday’s real (breakfast!) picnic, today Veronika and I moved the play inside with some teddy bears (and other stuffed friends).

I’ve often tried to follow a gender-neutral parenting method, and Travis and I have had our share of tea parties (sometimes with cars as guests). But I have to admit, I’m excited for moments of being a “girl mom” and imagining many tea parties with Veronika to come. Today was our first!

Teddy Tea Party (4)

Nine months old is definitely not too young to introduce imaginative play; in fact, it’s perfect timing! Your baby won’t “get” it yet, but will love imitating your motions, and the concepts will start to sink in.

First, I just laid out the tea set. Veronika was intrigued…

Teddy Tea Party (1)

I set out a cup and plate for each guest at the party. Hmm, who were these new friends?

Teddy Tea Party (2)

Then I made made a big show of pouring tea for each guest, and making sure everyone had a sip.

Teddy Tea Party (3)

Now Veronika loved it!

Teddy Tea Party (7)

Then everyone got yummy real snacks.

Teddy Tea Party (5)

(Although sometimes plates are even yummier).

Teddy Tea Party (6)
She was so happy with the whole interaction, and kept playing even after I walked away.

Teddy Tea Party (10)


Moving Objects

Moving Objects (1)

Ladies and gentlemen, we’re on the move around here! And by that I mean first and foremost that I have a crawler. Not only is Veronika fascinated by things that move, but now she herself is on the go!

But I also realized the other day that Veronika was making a motion of vrooming a car along her mat. How quickly babies pick up on things! The timing makes sense; at this age, babies are fascinated by anything that shows cause and effect, and moving objects are the perfect example. You can cater to that fascination with moving toys.

First, I set her up with a bunch of toy cars, and simply let her vroom.

Moving Objects (7)

This is a fun time to introduce types of cars (firetrucks, school buses) even thought that’s a bit beyond comprehension.

Moving Objects (6)

Another great toy to show this movable cause-and-effect is a bead maze. Veronika has shown interest and expertise at these from a young age, and loves moving the beads over…

Moving Objects (2)

…up…

Moving Objects (4)

…and just twisting them in place.

Moving Objects (3)

So if you’re looking for a way to pass the day with your nine-month-old, get moving!

Kaleidoscope


Kaleidoscope (7).JPG

Having made several varieties of kaleidoscope in a Kiwi Crate recently, today Travis helped me tackle a DIY version. Ours didn’t come out exactly as intended, but the materials were fun and it quickly became a prop in Travis’s make-believe games!

First, wrap an empty toilet paper tube in colorful construction paper; Travis chose purple. Tape on.

Kaleidoscope (1)

Trace the bottom of the tube three times on a plastic lid. We used the lid of an oatmeal can, which was not entirely clear, and perhaps why our results weren’t 100%. But oh well! Cut out the three circles and hot glue one circle to one end of the tube.

Meanwhile, cut a piece of reflective paper so it is 1 inch shorter than the tube.

Kaleidoscope (2)

Fold into thirds and then open back up again. Fold it up to form a prism (making sure the reflective side is on the inside) and tape to secure.

Kaleidoscope (3)

Slide the prism into the tube, all the way back against the hot-glued circle.

Kaleidoscope (6)

Slip the second circle over the prism. Fill the remaining space with multi-colored pony beads. Hot glue the final circle to the other end of the tube.

Kaleidoscope (4)

Kids can decorate the outside of the tube with colored tape or markers, if desired.

Kaleidoscope (5)

We found that this worked best when we held it directly up toward a light source. But even with slightly cloudy viewing, it worked great as a “viewfinder” or “telescope” or “homing device” in Travis’s games!

Kaleidoscope (8)

Make a Seesaw for a Teddy Bear

Seesaw for Teddy (3)

At nine months old, your baby is old enough to understand silly fun and games, and probably loves stuffed animal pals, too. This game puts that all together!

Using one of her favorite bears, I set up a “seesaw” for teddy. Place a long rectangular book over an empty paper towel tube as a fulcrum and place teddy on one side.

Seesaw for Teddy (1)

Press down on the book sharply so that – whee! – Teddy flies through the air.

Seesaw for Teddy (5)

Veronika was delighted with the game in so many ways. Mostly she just wanted to grab for all the materials; a book, and bear, and a paper towel tube were equally delightful to her.

Seesaw for Teddy (4)

But I also helped her rock the book up and down on the tube, and made a big show of it every time teddy flew through the air or just toppled backwards. This is a simple way to get lots of giggles.

Seesaw for Teddy (2)

Following the bear’s movements is great for eye tracking development, too.

Seesaw for Teddy (6)

Serve a Picnic Breakfast

Picnic Breakfast (1)

Oh the dilemmas of summer; you want your child to have plenty of sunshine and fresh air, but by late morning it’s already so oppressively hot that you retreat indoors.

Cue the picnic breakfast! Today we were outside before 7 a.m. (so early that big brother remarked he was a little chilly) to enjoy the fresh breeze, the sound of the birds, and… breakfast!

Picnic Breakfast (3)

Both kids thought this was just the best! Veronika didn’t actually eat much, but she loved sampling the puffs, teething bars, and banana slices on her plate.

Picnic Breakfast (2)

And then she loved tasting her plate!

Picnic Breakfast (4)

To add extra beauty to the moment, don’t forget to break out the bubbles.

Picnic Breakfast (5)

Then head back inside, throw the whole picnic blanket into the laundry machine for the easiest clean up ever, and rest easy that you’ve already gotten your quota of fresh air and vitamin D for the day.

Picnic Breakfast (6)

Y and Z!

Ziti Z (4).JPG

Travis’s 3-D models for the last two letters of the alphabet were so simple I decided to combine them into one post. First he traced the penultimate and final letter, and then made the following.

Upper case Y from three crayons:

Y and Z (3)

Lower case y from two socks; make sure to use 1 long and 1 short:

Y and Z (2)

Note: This was the first time he really noticed you need three strokes to form Y but only two to make y.

IMG_0005.JPG

Upper case Z from three strips of paper; be sure to fold or cut all three so they are the same size:

Ziti Z (1)

This was definitely good practice to think about Z spatially, with no line to trace. He had to think hard about which direction the zigs and zags should go.

Ziti Z (2)

Finally, lower case z from pasta… ziti of course!

Ziti Z (3)

Again, he thought carefully about the directions of each line, and was finally able to line up the ziti pieces correctly. Someone is feeling just about kindergarten ready!