Melted Crayon Pumpkins

Melted Crayon Pumpkins (6)

After melting crayons to make planets, Travis wanted more melt-y fun this morning. So we thought we could decorate pumpkins this way!

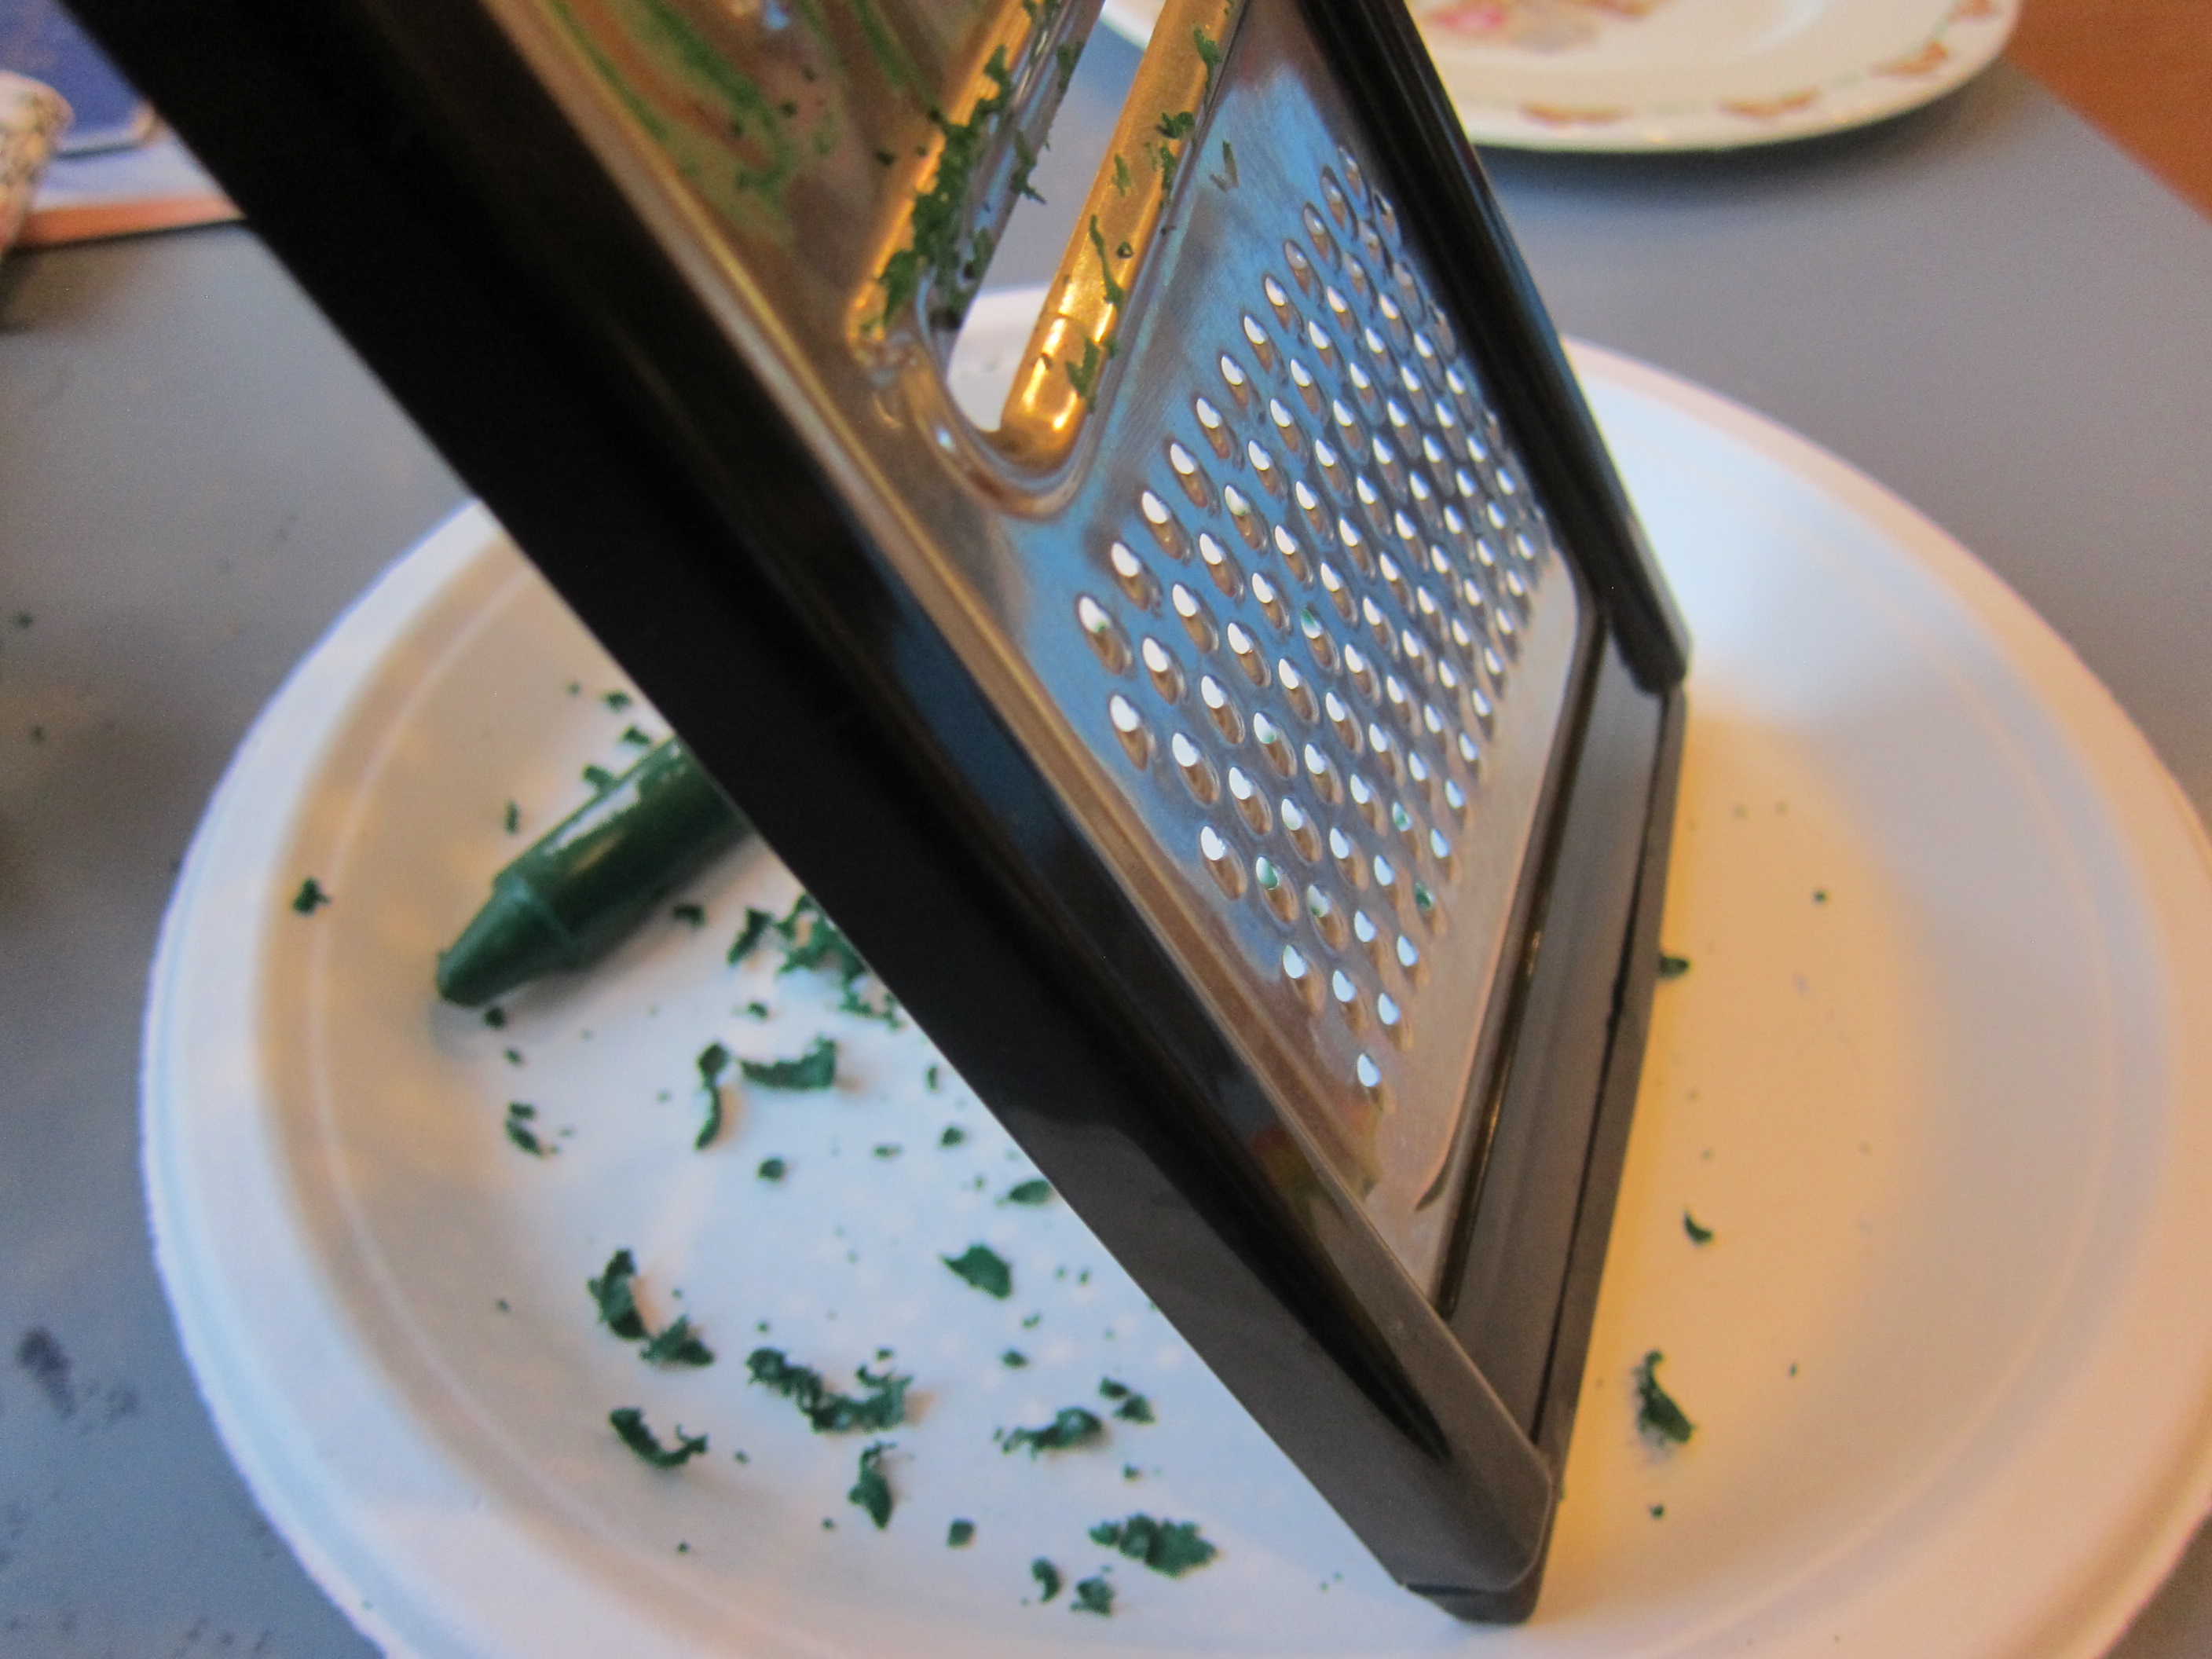
Our pack of crayons had multiple hues in the red, orange, and yellow family, so I took all those from the box and soaked them briefly in water. This will help the wrappers slip right off. Snap each crayon in half.

Melted Crayon Pumpkins (7)

At first we tried arranging them around the stem of our medium-sized pumpkins, but realized they were going to slide off, as they was not enough surface area to rest on.

Melted Crayon Pumpkins (1)

So then we thought to do the project on our biggest pumpkin, even though the original intent was to save this one for carving. Now, although the crayons could balance, they flew off as soon as we turned the hair dryer on!

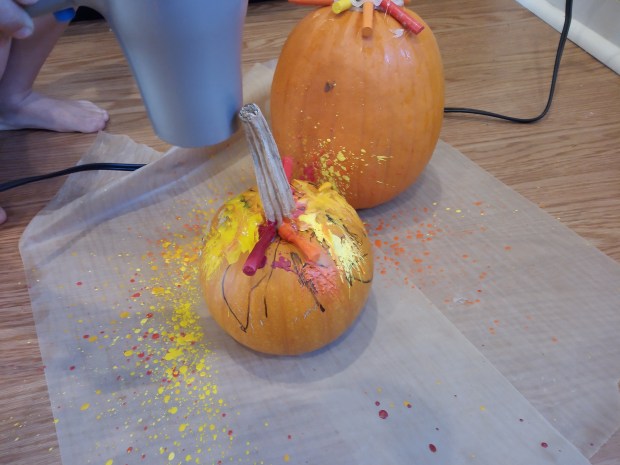
Thinking quickly, we backtracked to our medium pumpkins (phew, the big guy can safely await carving day), but this time I used a dab of hot glue to secure each crayon near the stem.

Melted Crayon Pumpkins (8)

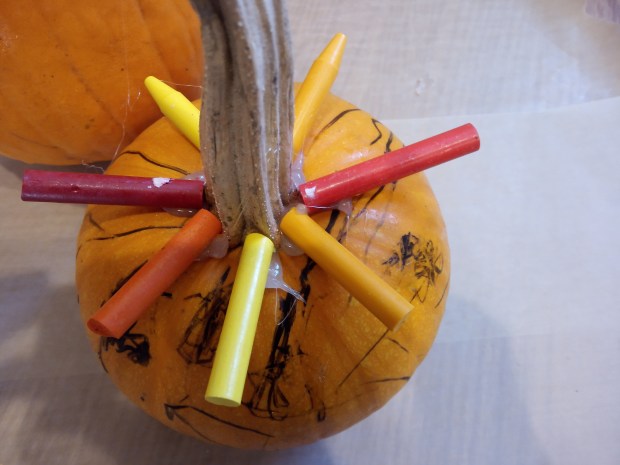
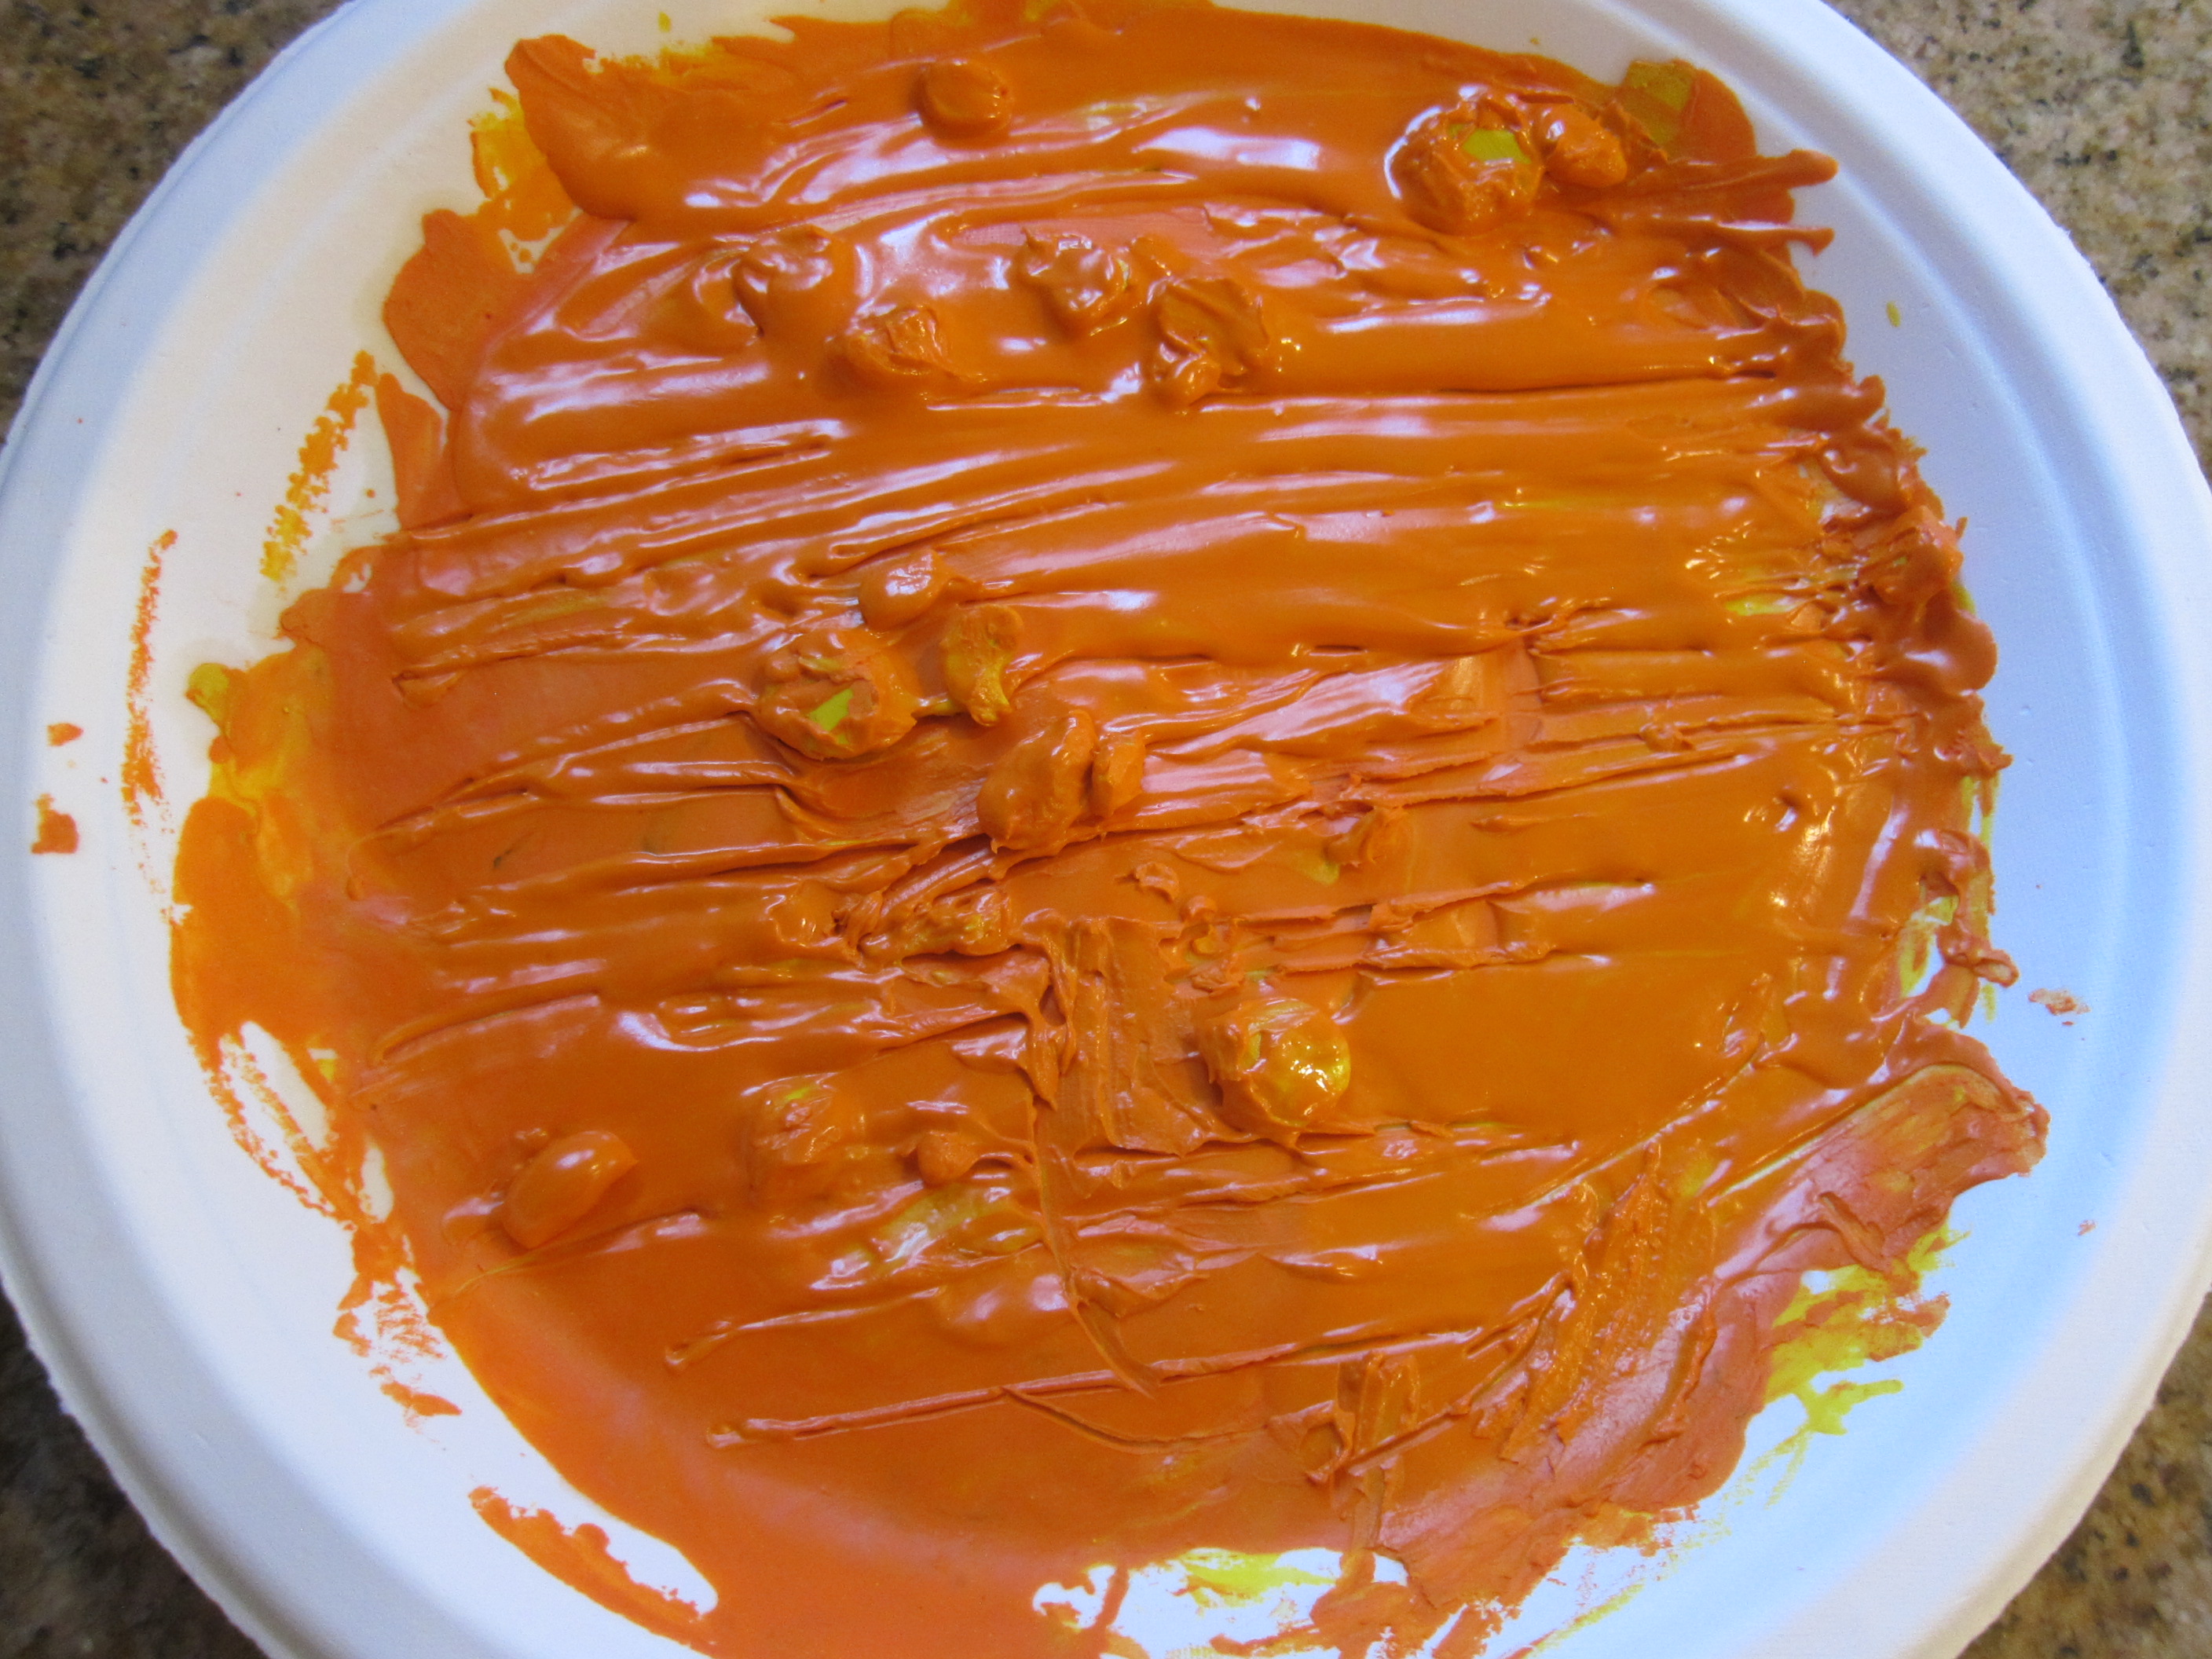
Success! Now we could turn the hair dryer to high heat without the crayons flying off. It’ll take a few moments of patience, but sure enough, they’ll begin to ooze and melt.

Melted Crayon Pumpkins (9)

This was fantastic fun, all the more so because the goriness of melting crayons just feels downright Halloween-y. It takes longer than I would have thought, but Travis insisted on watching every dripping, melting moment.

Melted Crayon Pumpkins (10)

He loved when rivulets of wax would drip down but cool almost instantly (in much the same way that icicles form), leaving neat strings of wax behind.

Melted Crayon Pumpkins (4)

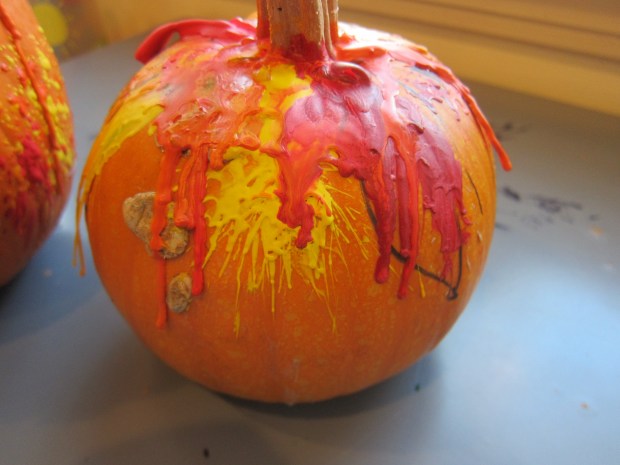
These were fun to snap off, too!

Melted Crayon Pumpkins (2)

Keep going until all your crayons are completely melted.

Melted Crayon Pumpkins (5)

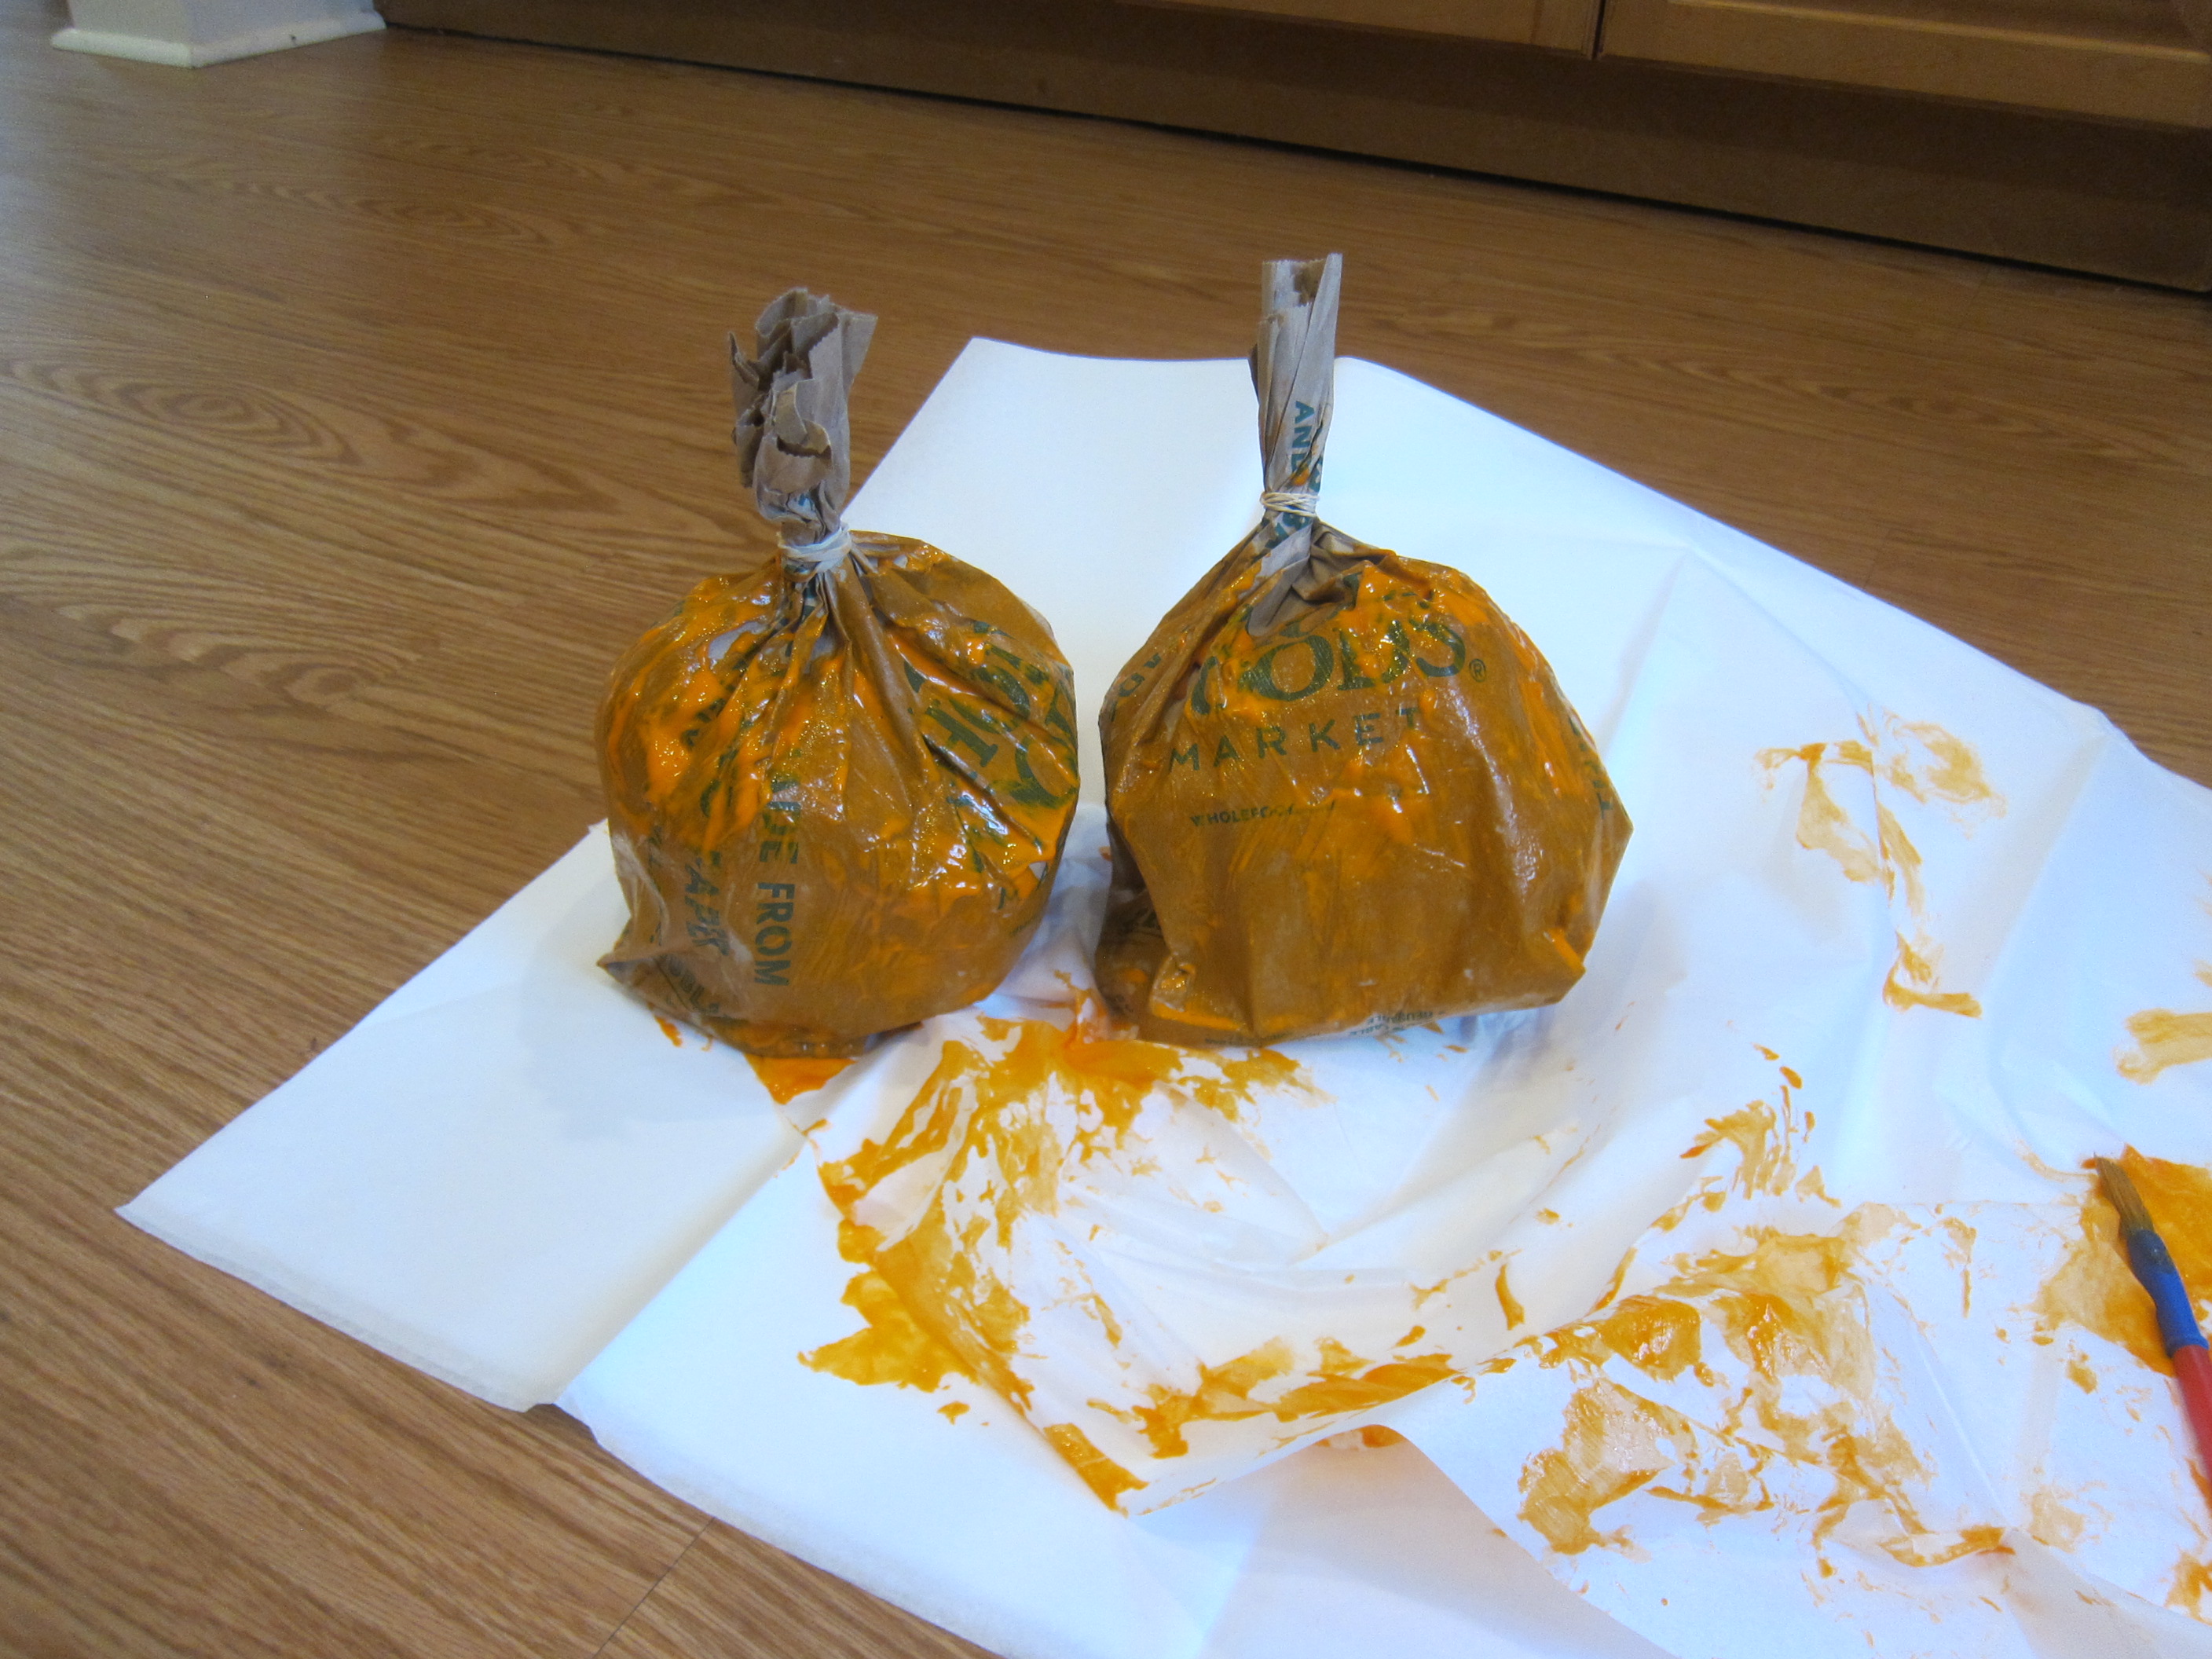
One note of caution: the melted wax will fly further than you think, due to the force of air coming out of the hair dryer. So be sure to cover your surface area completely with wax paper or newspaper.

Melted Crayon Pumpkins (11)

The end result is a beautiful way to decorate your pumpkins with no carving knife!

Halloween Countdown Day 18: Have a Devilish Breakfast

Pumpkin Waffles (3)

Today’s activity in our countdown to Halloween was simple as could be. Serve up a devilish breakfast and you’ll have notched off another day on the calendar before the kids even get dressed!

What counts as a devilish breakfast? Anything pumpkin-flavored would fit the bill. To wit, we dined on homemade Pumpkin Waffles.

The kids even wanted to eat in costume! Just make sure your brood is careful of sticky syrup if you do the same. To make breakfast even spookier, kids can create faces on the waffles with pieces of fruit.

Pumpkin Waffles (4)

What other spooky breakfasts can you think of? Please share in the comments!

Melted Crayon Planets

Melted Crayon Planet (3)

Here’s a novel way to talk about the different colors of the various planets in our Solar System, while making a neat piece of art. Kids are sure to love this craft because anything involving melted crayons is just cool.

We only had two paper plates, so decided to make a blue and green one for Earth and a orange and yellow one for Jupiter.

I cut the wrappers from jumbo crayons, and first we tried making small pieces by grating them on the large holes of a grater.

Melted Crayon Planets (1)

This didn’t work that well, so I ended up chopping the crayons with a knife instead. Arrange the pieces as you want them to look on each paper plate, then begin microwaving at about 1 minute intervals until the wax melts (you may need less time, depending how thick your crayon pieces are).

Melted Crayon Planet (2)

As they start to melt, swirl the colors into the design you want with a toothpick. Our Earth came out pretty neat!

Melted Crayon Planet (4)

The orange and yellow, unfortunately, mostly just blurred together for Jupiter, but we added next textured lines with a toothpick.

Melted Crayon Planet (5)

Without even a single prompt, Travis realized, “Mom, we need the giant red spot!”. Simply add pieces of red crayon to one portion of your plate for that.

If you have enough plates and crayons, go ahead and make all eight planets!

Halloween Countdown Day 17: Books By Flashlight

Halloween 17 Flashlight Stories (1)

Sometimes power outages can be a pain, but if October gives you a power outage… read spooky books by flashlight!

Of course, there’s no need for a real power outage to do this activity on your countdown to Halloween list. Just dim the lights, pull out all your battery-operated tea candles, and make it a spooky story hour!

Halloween 17 Flashlight Stories (6)

The kids loved the little flickering candles, and moved them all around as we read at our “campfire.”

Halloween 17 Flashlight Stories (4)

Travis was my expert helper to shine a light on the words as I read. The game is also perfect for hidden picture books (Try Bear’s Spooky Book of Hidden Things by Gergely Dudas), to shine the light on just the right spot of each page.

Halloween 17 Flashlight Stories (7)

Lift-the-flap books are also tailor-made for flashlights, shinign brightly as each flap is lifted for a big reveal.

Halloween 17 Flashlight Stories (5)

Some of the just-scary-enough books we read included:

Little Blue Truck’s Halloween by Alice Schertle

Laugh-Out-Loud Halloween Jokes by Rob Elliott

Llamas in Pajamas by Russell Punter

Click, Clack, Boo! by Doreen Cronin

and

Pete the Cat Trick or Pete by James Dean

And no problem if you don’t have any Halloween books in the house. Simply make up your own ghost stories!

What’s your family’s favorite Halloween book? Please share in the comments!

Mix and Match Monsters

Mix and Match Monsters (7)

After playing with felt faces to make happy and sad people, it felt like it was time to get a little more Halloween-y and play a version with… felt monsters!

For each monster body, I simply drew free-hand on a piece of felt and cut out the shapes. My monsters were fairly cute and definitely not threatening. Think bubbly round buddies and short stubby limbs.

Mix and Match Monsters (1)

I then hot-glued black felt onto white circles for a few monster eyes, but mostly, I relied on pre-cut pieces of felt to form additional facial features.

Mix and Match Monsters (2)

Time to make some silly faces! Veronika was delighted as soon as she saw what we were up to. She loved making a three-eyed monster with a smile. “She’s happy!” she told me (happily). So this very quickly turned into a lesson on emotional learning, too.

Mix and Match Monsters (3)

We made grumpy monsters and surprised monsters.

Mix and Match Monsters (4)

Then she wanted to get them dressed. This one, according to Veronika, was wearing pants and his shirt.

Mix and Match Monsters (6)

I loved watching the way she interacted with these little creatures.

Mix and Match Monsters (5)

And nothing was too spooky!

Bubbling Cauldron

Bubbling Cauldron (10)

Halloween-themed crates from Kiwi Co have been a huge hit in the past, and this year’s did not disappoint!

This year we opted for a witch’s Bubbling Cauldron, which relies on that old trick of baking soda plus an acid (in this case citric acid) to make a bubbly explosion.

The first step was to Make the Witch of course. Travis helped fold the provided felt pieces into her cape and hat, which he decorated with spooky stickers (bats!), and which then slide onto the wooden peg body.

Bubbling Cauldron (1)

A pipe cleaner forms her warty nose and we added spooky features with black marker.

Bubbling Cauldron (2)

Next he needed to Build the Witch’s Lair. Decorate the provided backdrop with more stickers, then attach to the base with sticky foam dots.

Bubbling Cauldron (3)

The witch and her cauldron are then attached to the base with additional sticky foam.

Bubbling Cauldron (5)

An air pump is then threaded through the back of the scenery. One hose dangles down into the base, and the other dangles into the cauldron (these are helpfully color-coded red and black so your child can be sure the pump is going to flow in the right direction).

Bubbling Cauldron (6)

It’s time for some bubbly science! Pour the provided packets of citric acid and baking soda (colored green!) into the provided cup and mix well.

Bubbling Cauldron (7)

Add 4 scoops to the cauldron; Travis loved being in charge of his own “potion” here. Pour 1 and 1/2 cups water into the holes of the base, and then start squeezing the air pump…

Bubbling Cauldron (8)

…and marvel at the bubbling cauldron that results!

Bubbling Cauldron (9)

This was so cool and eerie and scientific and magical all at once. And needless to say, pretty soon there were poor Lego fellows drowning in the witch’s pot.

Bubbling Cauldron (11)

A definite win for a Halloween project.

Halloween Countdown Day 16: Mix-and-Match Costume Party

Halloween 16 Try on Costumes (5)

Whether your kids need to try on their costumes to ensure a perfect fit before the big day, or you’re pulling out last year’s costumes for fun, or heck if they’re just too impatient to wait until the 31st, declare the day a Try-On Party and let the costume mixing and matching begin!

Things around here are very clearly Star Wars themed. Travis sported Boba Fett…

Halloween 16 Try on Costumes (4)

…followed by Darth Maul.

Halloween 16 Try on Costumes (7)

Veronika could be Baby Yoda…

Halloween 16 Try on Costumes (3)

…or Queen Amidala!

Halloween 16 Try on Costumes (12)

For extra fun, we decided to break out the face paint. Veronika loved testing it on herself. “I’m very green!” she said when I showed her in the mirror.

Halloween 16 Try on Costumes (6)

We also got silly and mixed-and-match the Halloween costumes with other items from the dress-up bin. Darth Maul needed black gloves of course.

Halloween 16 Try on Costumes (14)

And we soon had a little magician prancing around.

Halloween 16 Try on Costumes (1)

And no Star Wars costume party is complete with a light saber for an accessory.

Halloween 16 Try on Costumes (8)

We had a blast with this! Here’s wishing your family an equally joyful costume and accessory party.

Halloween 16 Try on Costumes (11)

Paper Bag Pumpkins

Pape Bag Pumpkins (9)

Here’s a classic toddler Halloween activity that never disappoints: easy pumpkins made from brown paper lunch bags!

Use sandwich-size brown bags for this project, not larger ones. First up is stuffing them with tissue paper (or any similar material like old newspapers). “Can I make a ball?” Veronika asked after watching me do the first one, and she was a big helper wading up pieces and stuffing them into the bags.

Paper Bag Pumpkins (3)

Once they were about two-thirds of the way filled, I secured each top with a rubber band and twisted tightly so they resembled pumpkin stems.

Time to paint! Veronika couldn’t wait to get her hands on orange paint and paintbrushes, and helped smear all over the bags.

Paper Bag Pumpkins (2)

I wish we’d had more orange paint (or a thicker acrylic) for a better coat to hide the writing on our paper bags, but at least we achieved a mostly orange look!

Paper Bag Pumpkins (4)

You can also paint the stems a deep brown, but since the bags were already brown, we skipped that part.

Once the paint dries (which takes a while!), add pumpkin faces with black marker.

Paper Bag Pumpkins (6)

I made a traditional jack o’ lantern face, and Veronika added her own toddler interpretation.

Paper Bag Pumpkins (7)

These make a fun addition to your Halloween decor!

Paper Bag Pumpkins (5)

Monster Stew

Monster Stew (1)

There were no real monsters in this watery sensory tub for Veronika, just a chance to splash and play in a seasonable way.

To make the broth for our “stew”, I filled a basin with water and tinted it orange with food coloring.

Now we needed to add a few monstrous ingredients! In went lots of items from the dollar store, including skeleton hands, plastic bats, and monster eye rings.

Monster Stew (2)

I had originally hoped to use mini plastic jack o’ lanterns as scoops for her to fill and pour with, but the store was sold out. Instead, I added orange plastic eggs, broken in half, which worked perfectly as little cups.

That was a good thing, because this was definitely her favorite part of the sensory game. She loved to scoop and pour over the rest of the eerie ingredients.

Monster Stew (3)

The skeleton hands were perfect for stirring with.

Monster Stew (5)

It was also fun to reach down to the bottom of the stew and dig out handfuls of bats or eyes.

Monster Stew (4)

In sum, this was simple and spooky sensory play, just right for October. It was a nice way to introduce some of Halloween’s monsters without them seeming too scary.

Monster Stew (6)

Plate Faces & Playdough Faces

Playdough Faces (9)

Veronika and I played two different games today to learn facial features and emotions. The activities were both so hands on, and she loved them equally!

For the first version, I set out blank paper plates and used cut pieces of felt to create features. I simplified the prep work by using felt pieces from a set with pre-cut squares, rectangles, squiggles and more. You could just as easily do this activity with lots of shapes cut from construction paper.

Face Off (1)

I showed her how to arrange the pieces to quickly transform plates into faces. “What’s he feeling?” I asked her for each expression. “He’s happy!” she piped up, or, “He’s sad!”.

Face Off (3)

We could manipulate the shapes to make all kinds of variations, including surprised, silly, sleepy, angry, and more. In addition to the expressions, it was also a great chance to name individual features. “Her mouth is a circle,” I pointed out, or, “Here are her ears.”

Face Off (4)

Pretty soon she was busy designing “faces” of her own.

Face Off (6)

The second game was similar, except this time the sensory experience was squishy playdough instead of fuzzy felt.

I drew two faces on plain white paper and inserted each piece into a large zip-top bag.

Playdough Faces (2)

Now use playdough and squish against the bag to follow along on the facial features!

Playdough Faces (3)

Veronika got the hang of it quite quickly.

Playdough Faces (4)

Again, there was lots to talk about, including eyebrows, noses, ears, and mouths.

Playdough Faces (8)

But because this time she had to manipulate the playdough, it was great for thinking about how we shape our mouths into a frown or smile.

Playdough Faces (5)

I loved watching her move the frown from the sad face over to our happy face, and stretch it out first into a line.

Playdough Faces (6)

I helped her arc it upwards into a smile. She looked so pleased.

Playdough Faces (10)

The added bonus is that when you’re done with the games, your toddler will have lots of playdough and felt (or construction paper) pieces to play with solo for a while.

Playdough Faces (11)