Tiny Treasure Hunt

Tiny Treasure Hunt (1)

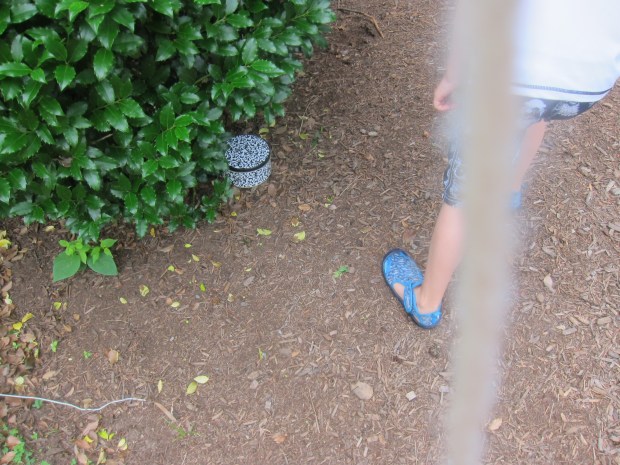
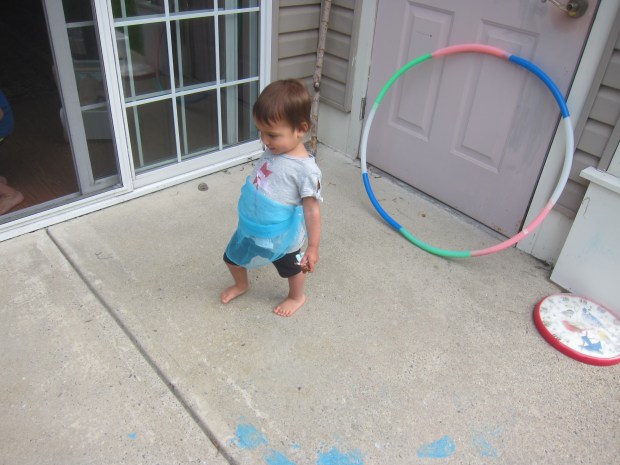
It seemed only fair to stage a toddler treasure hunt for Veronika today, since big brother Travis has enjoyed big kid versions lately! While she was distracted and busy playing, I placed a few small gems from our dress-up box in a cookie tin, and then hid the tin under a nearby bush.

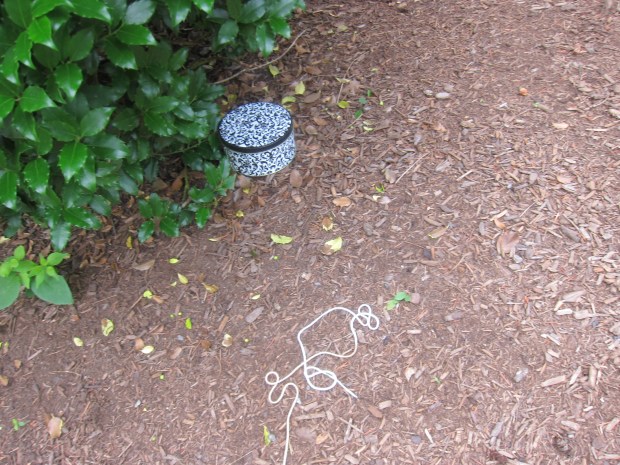
I stretched a long length of yarn that led from the cookie tin back to our patio. Depending on where you play the game, you can make the yarn twist and turn, looping up and over bushes or playground structures, too.

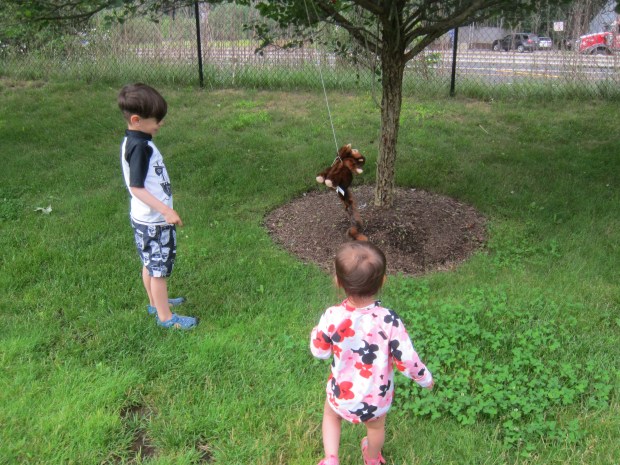
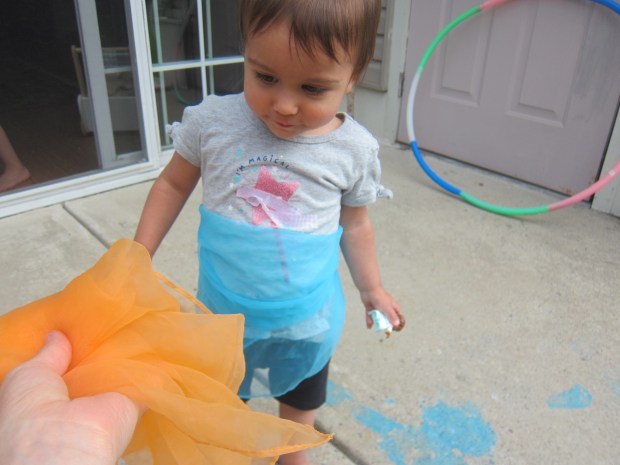
“Look!” I told her with excitement as I handed her the end of the yarn. “Pirates were here in the night and left treasure!” (Travis immediately wanted to know if this was true).

Tiny Treasure Hunt (2)

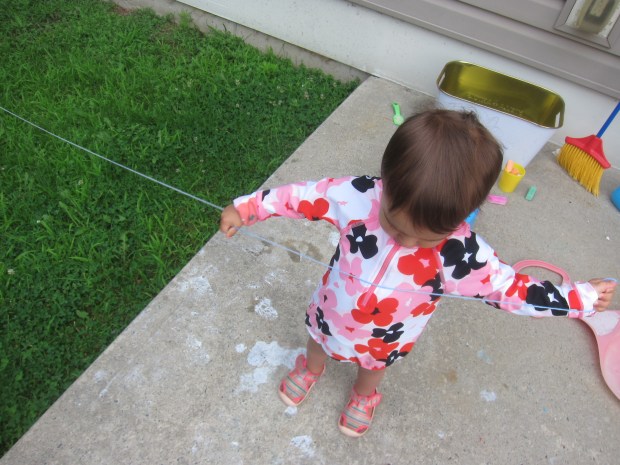
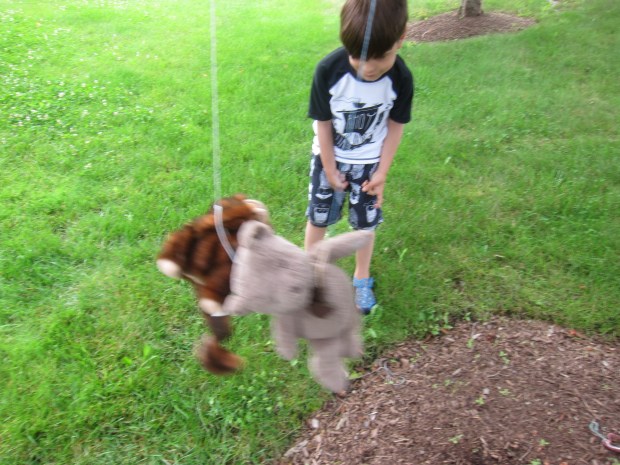
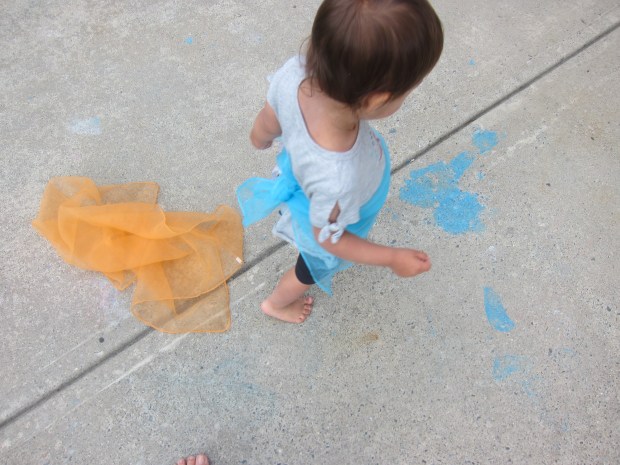
I showed Veronika how to hold the yarn and gather it with each step, following the trail.

Tiny Treasure Hunt (3)

The more excited you act, the more your toddler will catch on to the thril of such a quest.

Tiny Treasure Hunt (4)

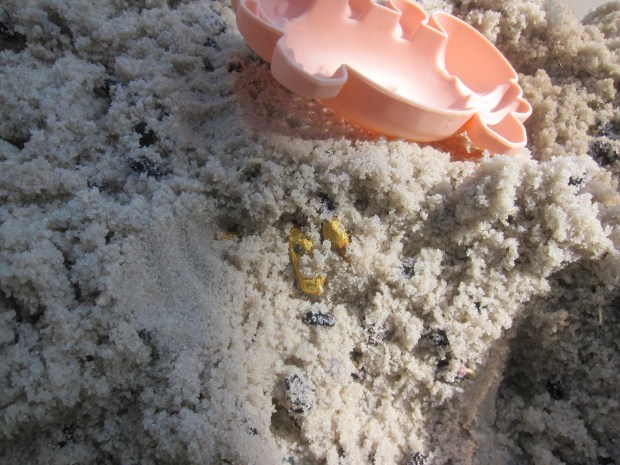
X marks the spot! She spotted the little box waiting at the end of the trail and loved the jewels inside.

Tiny Treasure Hunt (5)

Teddy Swing

Teddy Swing (2)

Veronika’s favorite activity at the playground is the swings, so I thought for sure she’d enjoy letting her stuffed animals have a turn. It turned out this activity wasn’t nearly as fun as the real thing!

I tied yarn securely around the waist of two favorite stuffed animals, a teddy bear and a monkey, then looped the other end of the yarn over a low tree limb.

The animals were hanging right about chest height on Veronika so she could easily give them a push. But I think she got a little nervous seeing her animals dangling!

Teddy Swing (3)

It turned out big brother Travis liked this activity a whole lot more. He, at least, loved giving the animals big swings!

Teddy Swing (4)

Perhaps your toddler will enjoy it more! Let me know what your kids think in the comments.

Treasure Sandboxes, Two Ways

Pan for Gold Sandbox (5)

After digging for dinos and enjoying a pretend day at the beach, it was time to turn our homemade sandbox into a gold mine! We played around with this idea in two ways, first as a diamond mine and then panning for gold.

For the diamond mine, I gave each of my kids a paper cup with a handle to collect any treasures they unearthed.

Diamond Mine Sandbox (1)

Ideally I would have used pipe cleaner handles, but we’re all out! Floral wire worked in a pinch; just make sure to twist any pointy ends safely away.

Diamond Mine Sandbox (3)

I buried four “gems” from our dress-up box in our container of sand and pebbles. Each kid got a shovel, and the digging began!

Diamond Mine Sandbox (2)

Veronika seemed unsure at first, until big brother Travis joined in. He loved searching for a glint of treasure.

Diamond Mine Sandbox (7)

Veronika preferred rinsing off the glittering finds in a little bowl of water on the side. This was simple but good fun in the sunshine (you’ll notice we’ve moved the sandbox outside).

Diamond Mine Sandbox (4)

For the second version, it was time to pan for gold. This time, I painted a few pebbles with gold metallic paint. Toddlers will love helping with this step!

Pan for Gold Sandbox (1)

Let dry completely.

Pan for Gold Sandbox (2)

In the afternoon, I buried the “gold” in the sandbox and set out sand sifters instead of shovels.

Pan for Gold Sandbox (3)

Ours are in fun animal shapes, though it would be more realistic if you have classic circular ones. Once again, we had a dish of water on the side to rinse off any gold nuggets the kids discovered.

Pan for Gold Sandbox (4)

Surprisingly, this didn’t hold their attention for long, but perhaps they were all mined out!

Diamond Mine Sandbox (5)

Cool Whip Painting

Cool Whip Painting (5)

What’s better than finger paint in the bath tub? Edible finger paint in the bath tub of course!

When I spotted this brilliant (and delicious) idea, I knew it would be worth the mess. For a vegan cool whip, try Whole Foods’ non-dairy whipped topping from the freezer aisle. Let thaw in the refrigerator about 3 hours prior to this activity and it will be the perfect consistency when you’re ready to play.

I divided the whipped topping evenly among the tins of a large muffin tray. Add drops of food coloring to each cup.

Cool Whip Painting (1)

To get the full rainbow, we mixed a few of our colors (red + yellow, blue + red). Older toddlers might enjoy helping with this step!

Cool Whip Painting (2)

Then I simply stripped Veronika down to a diaper, handed her a paint brush and set her loose in the tub. She immediately started painting.

Cool Whip Painting (3)

“A rainbow!” she said, even though she only had one line of color. What a perfect idea, so I started to paint stripes in rainbow order on the side of the tub. Some of the paint dripped onto her leg as a result. “Oh no!” she said, but I assured her it was okay because this paint was edible.

Cool Whip Painting (4)

She looked at me with surprise; usually I chide her not to eat paint, ha! So I dipped a finger in and held it up to her tongue. “Yummy!” she said with absolute delight.

Cool Whip Painting (6)

“Try blue?” So I dipped a finger in blue for her. “Try green?” You get the idea. Well clearly we were going to need plastic spoons!

Cool Whip Painting (8)

After this it became more feast than art project. At this point, big brother Travis needed to join in. He loved both taste-testing and smearing the paint on the tub with a brush.

Cool Whip Painting (9)

He even tried turning it into body paint!

Cool Whip Painting (11)

Meanwhile, I kept using the paintbrushes around my happy diners. This little fish was swimming right on the bottom of the ocean.

Cool Whip Painting (10)

Clean up was surprisingly easy. Strip everyone down and run the water and rinse (humans and tub alike). Travis even loved using a washcloth to scrub the walls until they were sparkly clean.

Cool Whip Painting (12)

Baby’s Adventure

Baby's Adventure (5)

Whether your day involves a simple stroll to the mailbox, a trip to the store, a jaunt to the playground, or something more out of the ordinary, it’s all exciting for a toddler. Everything is new and wondrous at this age, and this fun game will highlight that fact once you return home.

Today’s “adventure” was simple (a trip to a local playground, followed by a quick stop for dinner ingredients on the way home). But when we got in, I opened up two paper grocery bags so they lay flat, and set out markers.

Baby's Adventure (1)

Starting on one side of the paper, I talked excitedly to Veronika about how the journey had begun: leaving home and setting off in our car. “Gray car!” she said with excitement when she looked at my drawing. The journey continued along the road and I talked about the scenery we had passed. “Swings!” she said happily as I drew them.


Baby's Adventure (2)

I then talked her through the jaunt to the grocery store on the way home (don’t forget about the train we spotted!) followed by ending back where we had begun.

Baby's Adventure (4)

As I drew and talked through my version, she happily scribbled on the second paper bag I had laid out. She said she was drawing trucks and motorcycles!

Baby's Adventure (3)

This was such a great way to make Veronika the main character of her own story. Plus we simply had fun making art together!

Baby's Adventure (6)


Beach in Your Sandbox

Beach In Your Sandbox (3)

Although this indoor sandbox wasn’t quite as big a hit as recent ones, a make-believe beach still provided fun morning entertainment before we could head off to the real thing!

For set up, I filled a large storage bin with sand. (Note: The stray pieces of black bean were leftover from a dinosaur dig, but the kids decided that now they were “seashells”).

Beach In Your Sandbox (1)

Then add whatever beach-y elements you have on hand. I used blue felt for water with a few plastic sea creatures swimming on top; fabric scraps for beach towels, topped with a few Duplo figures; and a few real sea shells. If you have tiny drink umbrellas, they would be perfect as beach umbrellas!

Beach In Your Sandbox (2)

Veronika’s favorite part about this sandbox were the people figures. She liked walking them through the sand or lying them down to be “cozy” on their beach blankets.

Beach In Your Sandbox (6)

Big brother Travis liked burying them in the sand!

Beach In Your Sandbox (5)

The kids begged for me to add real water. In retrospect I wish I hadn’t since it made clean-up harder (wet sand is more of a pain than dry sand), but I indulged them. I made a moat along one side of the bin lined with the blue felt and poured in water.

Beach In Your Sandbox (8)

Now the people and sea creatures could go for a swim! It was fun to see the kids smiles when they made their toys splash about.

Beach In Your Sandbox (9)

Dinosaur Dig Sandbox

Dinosaur Sandbox (10)

Yesterday the kids were construction workers in the sand, today they were archaeologists on a dig!

For this version of an at-home sandbox, I added a few new elements to a big storage bin already filled with sand and small pebbles from outside. I added dried black beans for texture (perhaps these were fossils, or chunks of cooled lava from the dinosaurs demise!). Then I buried plastic dinosaur toys. You could also use plastic dinosaur skulls or bones, if you have toy parts like this.

Dinosaur Sandbox (1)

Finally, for my budding paleontologists, I added paint brushes to gently brush away the sand from their finds, and a magnifying glass.

Dinosaur Sandbox (6)

Both my kids loved it, each in their age-appropriate way! Veronika just loved all the sensory elements, including running the paintbrush through the sand.

Dinosaur Sandbox (8)

She also enjoyed the dinosaurs for play, roaring and marching them through the sand.

Dinosaur Sandbox (4)

“Ooh! Dinosaur!” she said, peering through the magnifying glass.

Dinosaur Sandbox (7)

Big brother Travis understood the imaginative element of being on a “dig” much better.

Dinosaur Sandbox (2)

He loved carefully using the paintbrush’s bristles to unearth dinosaurs, then named them (“This is the badabasaurus”) before moving them over to a “museum” on the side.

Dinosaur Sandbox (9)

The sandbox bin kept them entertained for ages!

Dinosaur Sandbox (3)

Cover your storage bin with the lid when you’re done and it’s ready to pull out soon for more adventures.

Dinosaur Sandbox (5)

Leaf Masks

Leaf Mask (5)

If your toddler has recently collected leaves on a nature walk, here’s a simple way to turn them into a costume for make-believe: make a leaf mask!

I cut a paper plate in half and held it up to Veronika’s face so I could mark the location of her eyes and nose.

Leaf Mask (1)

Cut out eye holes, then snip two sides of a triangle where the nose is (this will help it sit better on your child’s face). Next, Veronika helped glue down the leaves we had collected. She loved painting on the glue with a paint brush while I arranged the leaves in overlapping rows as best I could. If you prefer less mess, you can attach the leaves with tape, too.

Leaf Mask (2)

Once the glue dried, I punched a hole on each side, and added string.

Leaf Mask (3)

Tie around your child’s face and let their imagination do the work from here! Veronika immediately began humming Darth Vader’s theme song and doing his deep raspy breathing.

Leaf Mask (4)

Clearly this was a Star Wars mask in her view! But perhaps your toddler will pretend to be a woodland fairy, or a tree, or anything else that fires up the imagination.

Leaf Mask (7)

One way or another, this is a beautiful way to tie together a nature walk with a little bit of arts and crafts.

Leaf Mask (6)


Sandbox Construction Site

Sandbox 1 (2)

I’ve put together small “construction sites” for Veronika before (and for big brother Travis, too, when he was younger), but when a huge bag of play sand arrived today, I knew we had to set up the biggest version yet!

You could do this activity outside in a real sandbox, too, if you have one at home or a neighborhood playground.

We also wanted to collect little rocks for our site and headed outside with a bucket. I poured the sand into a large storage bin and added the rocks along one side. We then added Veronika’s construction vehicles.

Sandbox 1 (1)

The trucks were soon very busy!

Sandbox 1 (3)

Veronika sprinkled sand into the dump truck.

Sandbox 1 (6)

She loved using the front loader to push rocks around.

Sandbox 1 (4)

And then there was just lots of driving trucks around and burying rocks in the sand!

Sandbox 1 (5)

Needless to say, the rocks didn’t stay gathered along one side for long. Older toddlers may want to be more deliberate with their “building”, though, gathering rocks in one place, or building them up into structures.

Sandbox 1 (7)

Travis definitely needed in on this one. His favorite part was burying trucks in the sand, to be unearthed in a big rescue.

Sandbox 1 (9)

The high sides of the storage bin even meant that all the sand stayed in the box!

Sandbox 1 (10)

And the lid meant we didn’t have to clean-up, but could simply cover the box and set it aside for next time. One thing’s for sure: We’ll be pulling this one out again soon.

Sandbox 1 (11)

Scarf Scuffle

Scarf Scuffle (3)

Toddler’s love scarves, and of course you can always turn to go-to activities like dancing with them, or tossing them in the air to watch them float down, or crumpling them up into a tiny ball that pops open. But today, we headed outside with scarves to engage Veronika’s imagination a little, too!

Scarf Scuffle (1)

What could she be with her scarf? First up, we were fluttering birds and butterflies. She loved flapping and tweeting as she pranced around the patio this way.

Scarf Scuffle (4)

How about a flower growing? We pretended we were flowers stretching high towards the sun, the scarves rising up above our head. Pretending to be a leaf would work, too, fluttering down instead!

Scarf Scuffle (2)

Her favorite was when I wrapped one around her waist (this girl loves dress-up!), and told her she was a ballerina. She danced…

Scarf Scuffle (6)

…and twirled…

Scarf Scuffle (7)

…and went up on tippy-toe!

Scarf Scuffle (5)

What a wonderful way to imagine and play. Are there any favorite scarf games in your house? Please share in the comments!