DIY Road Map

It’s been a while since Veronika showed interest in her toy cars. So hoping to spur some play with them, today we made a whole town for her to drive cars through!

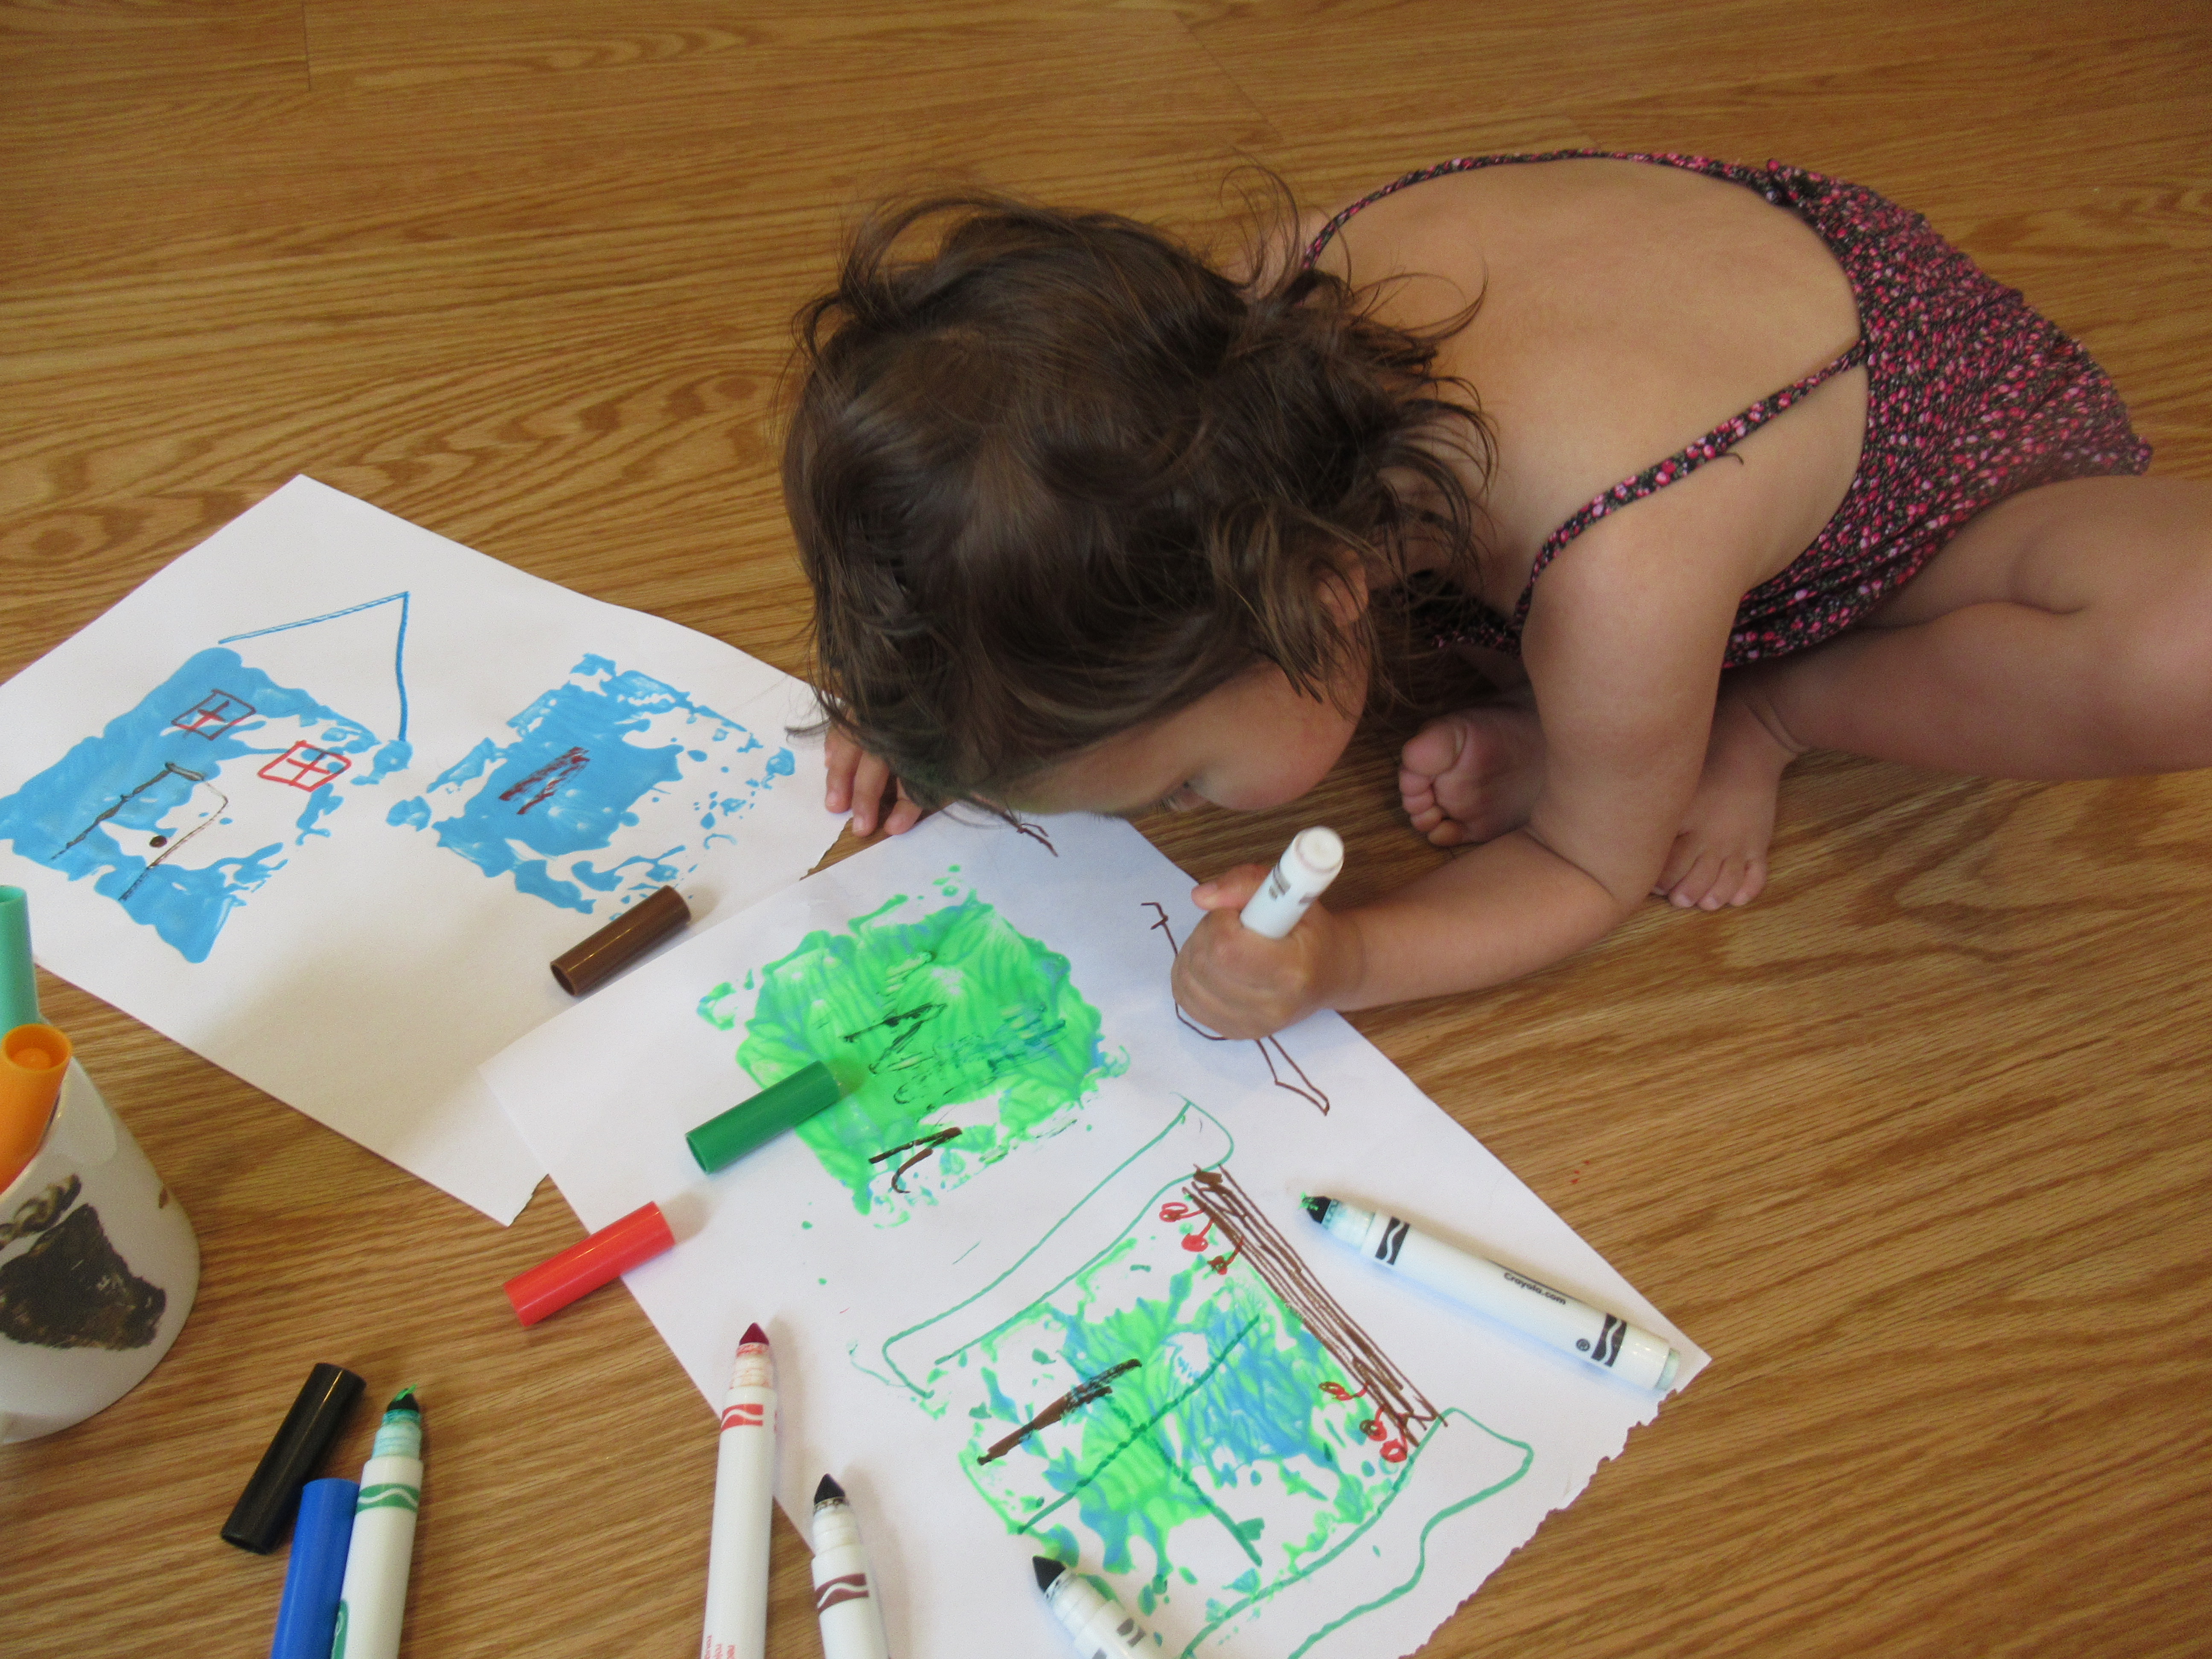
To start, I unrolled a long sheet of butcher paper on the ground, taping it at the corners. (Note: I’ve also seen this activity done on a table with a white board top, in which you can use dry-erase markers and wipe clean when finished). Veronika was delighted as we piled cars onto the paper to populate our town!

I started with a long black line for the main road, and showed her examples of buildings we could draw, including a few simple houses. Before I even prompted her, she drove a purple car to the purple house…

…and a green car to the green one!

We added buildings based on the other vehicles in our bin, including a school for the bus and a fire station for the fire trucks. At this point, you can encourage preschoolers or older kids to draw their own favorite buildings or destinations.

Next Veronika wanted to walk along the road. There was a giant in town!

Then she requested a beach, jsut like the one we visit in real life. That’s the brilliance behind the DIY road map, because kids can add their own favorites to this make-believe world. We also needed a construction site full of “dirt” (yellow and black marker) for her dump truck and digger.

Don’t forget to throw in a little learning about road safety. To wit, we had an octagonal stop sign at our town’s main intersection.

Once the drawing and creating is complete, a giant road like this can lead to imaginative play all day. Big brother Travis even got down to play with cars, which he hasn’t done in ages.

Make Pasta Noodles

Make Pasta (5)

I’ve tackled many homemade recipes with kids, but we’ve never properly made fresh pasta noodles. Today was the day to take the leap! Technically, I knew this recipe wasn’t going to turn out “right” with a toddler, but mostly the intention was for Veronika to have hands-on flour-y fun.

To start, I placed down several sheets of wax paper to protect the floor, then scooped out 2 cups flour. Instant fun! Veronika helped mound this into a volcano shape in the center of the wax paper.

Make Pasta (1)

I then whisked 4 tablespoons flaxseed into 12 tablespoons cold water for flax “eggs”, although honestly you could just use water. Veronika loves when we make vegan eggs like this, though, and is proudly in charge of the whisking.

Make Pasta (4)

Make a well in the center of the flour mound and begin adding the flax mixture, a little at a time.

Make Pasta (2)

Veronika loved helping stir with a fork after each addition; the flour begins to pull into the liquid in a way that’s quite neat to watch! Eventually you’ll need to start to using your hands, kneading until it forms a ball. I was so proud of Veronika for getting her hands right in there after a moment of hesitation.

Make Pasta (3)

Wrap the dough in plastic wrap and let stand at room temperature for 30 minutes. While a pot of water comes to a boil, roll the dough into a rectangle with a rolling pin. Veronika “helped” with this part, although mainly by jabbing at it with the rolling pin.

Make Pasta (6)

At this stage, things turned more into sensory play, so I wasn’t able to cut the noodles as suggested by online sources like Parents magazine. But I did slice off little bits of dough that we cooked up in boiling water anyway, just to see! Cook for about 3 minutes (until they float to the surface), then serve warm with marinara sauce. The kids declared the noodles yummy, although a bit odd in texture!

Make Pasta (7)

Make a Sailor a Boat

Sailor a Boat (8)

Veronika recently played with a box in a very free-form way, where we let the box serve as a prompt for imagination, but with almost no embellishments. Today’s play was the opposite, carefully crafting an upcycled box for a specific use: A boat!

I started with details like the sail and mast first, because I knew Veronika would be antsy to climb in for a ride and not want to wait for paint to dry. Use tape (or hot glue) to rig up two dowels one one end of the box, then attach tissue paper or fabric for the sail. We used the latter, with a fun whale print that was just right for the open seas.

Sailor a Boat (1)

Next, cut a steering wheel shape from construction paper and tape to a craft stick, then attach at the end of the box opposite the sail.

Sailor a Boat (3)

Don’t forget to cut out circles for portholes, too!

Sailor a Boat (2)

Veronika couldn’t wait to cast off from shore! The box was just the right size for her and one stuffed animal passenger to sail around the globe (well, apartment).

Sailor a Boat (5)

Once she’d had her fill of sailing, I did take the time to paint. Black, blue, and white stripes gave the box a quick nautical sheen! Now she was content to wait before hopping in for another sail.

Sailor a Boat (4)

Anchors aweigh!

Sailor a Boat (7)

Press Homemade Paper

The idea for this messy hands-on play came from Parents magazine, although I had to adapt the activity slightly based on materials in our house. Still, it filled a morning of play for Veronika in the best, messiest way!

To start, Veronika helped tear up sheets of colored construction paper. Even better was pouring water from the watering can over the pieces until covered. Let soak for at least a few hours.

We headed out for a few activities, then came home to check on the paper. Nice and soggy! We transferred it to a blender, along with a little extra water. Blend until you have a thick paste. I didn’t measure the water, so just eyeball this until it seems right; you don’t want the mixture to be soupy, but you also don’t want it to seem too dry.

Transfer back to a bowl and stir in a packet of flower seeds, then head outside! Here’s where I needed to improvise; ideally, I would have set out the paper mush on an old window screen (or in a pinch, even a nylon stocking stretched over a hanger frame. Having neither, we just worked on a piece of cardboard, which I hoped would absorb the excess water as our paper dried.

I set out cookie cutters to press the paper pulp into, and Veronika briefly scooped some of the mush into them. But she was much too interested in this goopy mixture for it to stay in the cookie cutters for long! She loved scooping the mixture in and out of the bucket. At first she was hesitant to get her hands in it, but I demonstrated that you could pick up handfuls, squeeze it, and yet still have remarkably clean hands.

“I did it with my hands!” she said, and that’s exactly what she did for the next half hour. She picked up the paper pulp, squihsed it, filled the bucket, dumped it, and began all over again.

Luckily, I did manage to salvage two cookie cutter shapes: one star and one circle, and left these to dry in the sun. After about 5 hours, we checked on the shapes. They weren’t completely dry, but had set enough that we could remove the cookie cutters and then finish the drying process inside.

Veronika marveled at the texture as she touched the paper she had made!

Even better, we plan to actually plant these later in the summer, and see if the flowers grow. Stay tuned!

Target Practice

Kids seldom need an excuse to bring out the water guns on a hot day, and today we had temps above 80 shortly after breakfast. Here was a fun way to combine water play with some hand-eye coordination.

As targets, I set up a few empty plastic water bottles in a line on the patio and then placed a ping pong ball on top of each.

I showed Veronika how to take aim with our smallest water gun. It was hard for her to pull the orange handle by herself, but a mommy-daughter team could knock off the balls.

Big brother Travis wanted a turn, and was so proud to squirt water right on target, watching the balls go bouncing into the grass.

Needless to say, pretty soon the kids wanted to water the grass, the patio, their feet, and more! A special note to add that this game was for water fun and to cool off only.

Jel Dessert Sensory Bag

I enjoy making squishy bags for the kids, but don’t always love going through bottles of hair gel (a convenient base of choice) to do so. A great alternative, with the added bonus of the leftovers being edible, is to make a squishy bag from your favorite jel dessert!

The night before, I prepared a batch of the orange flavor from Simply Delish so it was chilled and set by morning. Fill small zip-top plastic bags with some of the jel, then add something fun to squish around in it. We used a mix of beads and bottoms. Note: For something a bit more gruesome around Halloween, use wiggle eyes instead!

Veronika loved the cold and squishy texture on her hands, which she could feel even through the plastic.

We hung it in the window where the sun made it almost like a suncatcher, too. She would press both palms against it so intrigued…

…and also enjoyed pushing individual beads around.

A simple way to keep little hands busy.

Shaving Cream, Inside and Outside

Shaving Cream Squish (9)

Veronika’s fun with sensory materials continues, first inside a bag, and then out! Today, it was shaving cream’s turn as the starring material. To start, squirt a little shaving cream into sandwich-sized zip-top bags, then add a bit of food coloring to each.

Shaving Cream Squish (3)

I used just green for one bag, but combined yellow and red in a second for some coloring mix. Seal tightly and add duct tape across the top for security.Veronika loved helping disperse the colors in the bags by squishing them. These were as soft as pillows to hold!

Shaving Cream Squish (4)

But now it was time to get messy. I placed a few toys in the bottom of a craft bin. Choose items that will be easy to wash off, like plastic dinosaurs or animals, or toy cars. Now fill the container with shaving cream! I used about 1 and 1/2 bottles of shaving cream to completely bury the items.

Shaving Cream Squish (5)

Veronika’s job was to dig! Your kids might want to immediately get up to their elbows in the stuff.  Veronika preferred to start with a wooden spoon, daintily stirring to uncover items.

Shaving Cream Squish (7)

When she found the first car, she wanted to rinse it, so I gave her a separate small bucket of water.

Shaving Cream Squish (8)

Now she wasn’t afraid to get soapy! She would dip her hands in the shaving cream, transfer a toy or her hands to the water, rinse, and repeat. “Now giraffe will be all clean,” she said proudly. Sometimes she wanted to dunk a toy right back in the shaving cream after rinsing it off!

Shaving Cream Squish (10)

The messier the better with this one, because all said and done, your child is really playing with… soap!

Sensory Paint, Inside and Outside

Lately, Veronika has loved sensory play where we begin with a material contained in some way (a bottle, a zip-top plastic bag) but then take it out of the container for something much messier! To wit, today we started with paint in the bag and then moved it out.

For the inside version, I squirted a generous amount of hair gel into sandwich-sized zip-top plastic bags, then added bright neon colors of tempera paint to each. Bright food coloring gel would work, too. I deliberately chose colors that felt just right for a hot sunny day: think neon oranges, pinks, and yellows. Press out most of the air, then seal the bags. You can add a little duct tape at the top if you’re worried about curious fingers opening the bag.

Veronika briefly squished the vibrant colors all around, and liked tossing them to the floor with a splat.

They were also fun to stomp on with bare toes! But, as I anticipated, they didn’t hold her interest long.

Neither did a second sensory bag for writing practice. For this one, I used a gallon-sized zip-top bag and only a thin layer of paint so that the squiggles and shapes she made would show up clearly.

I showed her a few letters like V for Veronika, and we even could make hand prints. Still, she lost interest after a few swirly lines.

It was time for something decidedly messier. Lay down a piece of cardboard to protect your patio or lawn, and place sheets of white paper on top.

We made blobs of paint on the paper and then covered each with a cotton pad. (Note: You could also apply the paint directly to the cotton pad, and then set down on the paper). Now whack with a wooden spoon!

Similar to fly swatter painting, whacking the paper is sure to be irresistible for kids. The clear winner once more? The outside messy way!

Digging for Treasure

Today Veronika helped make “gems” at home to take to the sandbox… A beach-sized sandbox that is! Although you could do this activity in a backyard sandbox (or inside!), there was something about being out on a real beach that doubled the fun.

To start, Veronika helped gather some special rocks from outside, and then we made them even more special with silver and gold paint. I assumed she would use a brush to paint the rocks, but she loved dunking them right into cups of paint!

This gave them a beautiful coating, although admittedly they took longer to dry. To speed up the process, I used a hair dryer on low, because we couldn’t wait to get outside.

It was time to head to the beach and see if X marked the spot! While Veronika wasn’t looking, I dug a hole and buried the rocks, along with a few other treasures from home like plastic gemstones and fake coins. If you’re burying items like this, make sure you keep track of them so you don’t leave any trash behind.

I handed her the shovel and encouraged her to dig. She was so delighted when she uncovered her first find, a golden coin.

We kept digging and used a toy colander to “pan” for the gold. She loved scooping sand into the colander, as well as watching it sift down.

When all the treasure has been collected, you can even leave the natural rocks behind for the next lucky pirate to find!

Berry Basket Printing

There are many items around the house for making perfect circles, but it can be harder to find an item that’s just right for dipping in paint to make perfect squares. The solution? Berry baskets! Because the market is bursting with fresh berries right now, this activity had a nice seasonal feel, too.

To start, I poured out several colors of paint directly onto a tray so we had a surface large enough to dip in our pint-sized berry basket.

I showed Veronika how to press the basket into the paint, then lift up and transfer to paper. A perfect square!

She loved mixing colors, too, for a beautiful blue-green hue on some of them.

We let the paint dry, then finished the fun with markers. I challenged her to think about what we could turn our squares into. While I drew a house and a window box as examples, Veronika loved scribbling beside me.  Overall, this is a berry cute craft in the merry month of May.