Summer Fun Watermelon Shakers


Watermelon Maraca alt

Watermelon is arguably the perfect summer food. Take the enjoyment beyond the edible and continue the watermelon theme with these easy shakers. They’re perfect to shake around the house or to bring along on your next picnic!

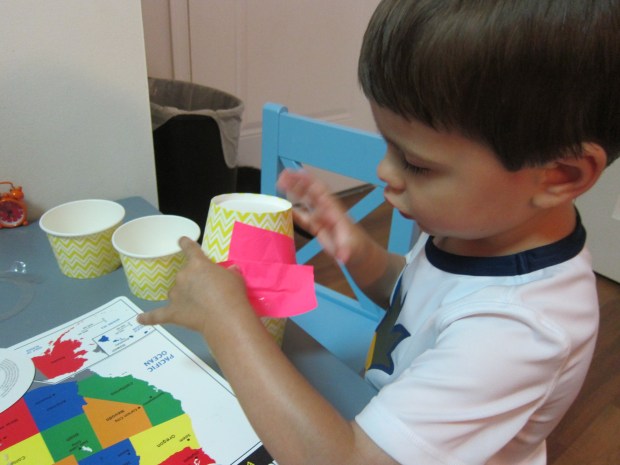
First we needed to fill a paper coffee cup with rice – Travis was very excited for this step!

Watermelon Maraca (1)

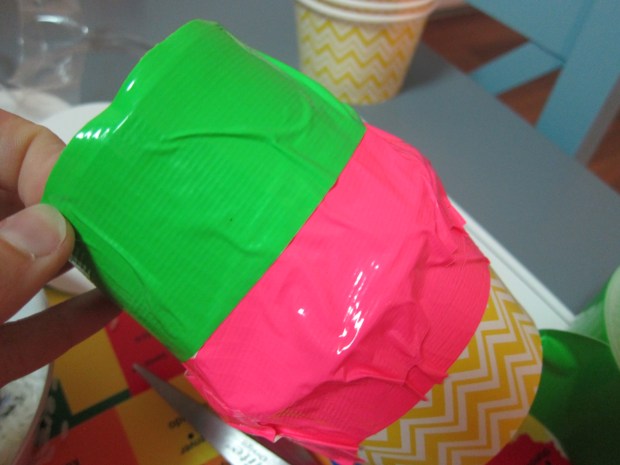
Place a second coffee cup over the first, and add pink duct tape around the middle – you’ll probably want to use careful adult supervision until the seam where rice can escape is completely covered.

Watermelon Maraca (3)

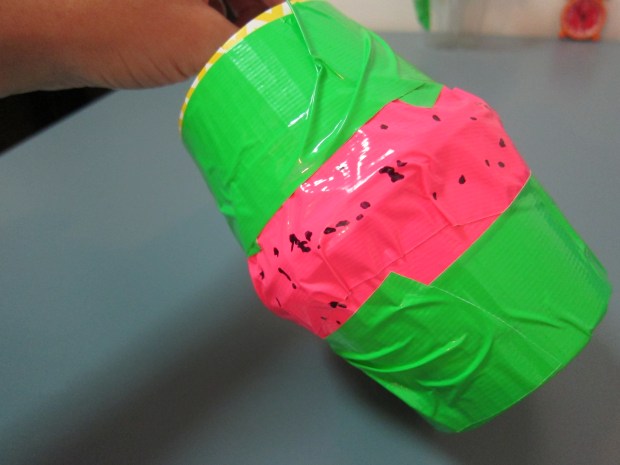
Now cover the tops and bottoms of the cups with green duct tape – voila, a watermelon in a rind!

Watermelon Maraca (2)

We added black dots with a permanent marker for seeds.

Watermelon Maraca (10)

Now shake-shake-shake!

Watermelon Maraca (6)

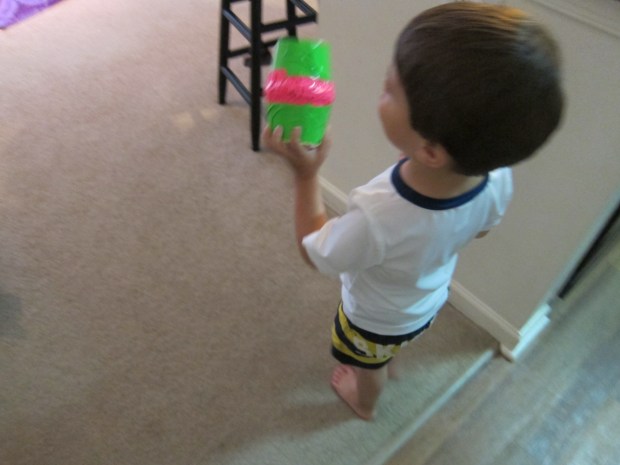
Surprisingly, the maraca held Travis’s attention for only a short while.

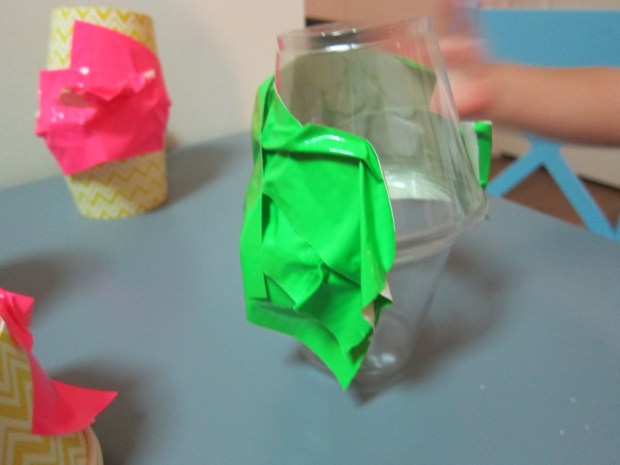
But he did soon want to make his own tape and cup creations. He told me this was a cow and a pig:

Watermelon Maraca (8)

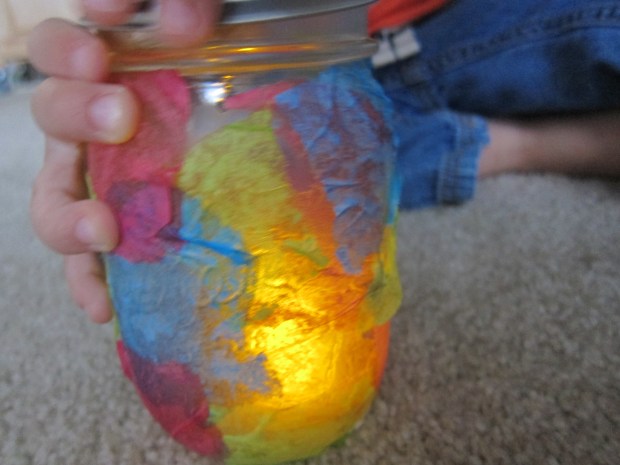
And that this was a lantern!

Watermelon Maraca (9)

Just goes to show you never know what creativity one craft will spark in your child.

Galaxy in a Bottle

Galaxy Jar (6)

This project is reminiscent of our Glitter Star Jars, but we liked the results and the making of it even better!

It all began when we found gorgeous pictures of galaxies and star clusters on NASA’s website – so cool to skim through and to teach your child a bit about the cosmos, even if the larger details are lost on a preschooler.

After our picture-gazing was done, we began the real fun – putting together our own glittery universe.

We dyed water with food coloring in two separate cups, one red and one blue.

Galaxy Jar (1)

To the red cup, we added a judicious amount of glitter. In the blue cup, we went wild with lots of glitter!

Galaxy Jar (2)

To assemble your universe, tear cotton balls apart slightly, and fill a clear glass or plastic jar.

Galaxy Jar (3)

We poured in the red cup, which fully saturated the cotton balls. After adding a second layer of cotton balls, we poured in the blue cup. The two layers stayed perfectly separated, which made for a gorgeous effect!

Galaxy Jar (4)

Travis had so much fun that he soon became a little scientist, concocting universes out of food coloring and glitter for quite some time.

Galaxy Jar (5)

A great start to the morning!

Galaxy Jar (7)

Spider Web Snacks

Spider Snack (2)

To continue with some recent web-filled fun, we made edible spiderwebs for snack! This project has a few steps that kids can help out with for hands-on cooking fun.

Let your child help arrange 5 pretzel sticks on wax paper so they form a five-pointed star. Make as many arrangements of 5 as you’ll need to feed all the children snacking in your household.

Spider Snack (1)

Adults: Microwave chocolate chips at 20 second intervals until melted (about 1 minute total). Transfer the melted chocolate to a zip-top plastic bag, then pipe the chocolate “web” in circles around the pretzel rods.

Spider Snack (3)

Travis loved helping with this step, so our webs weren’t always perfect circles – nothing wrong with a few globs!

You can add a big clump of raisins in the center as big scary spiders. Single raisins around the edges made perfect flies caught in the web.

Spider Snack (4)

Transfer the wax paper to the fridge and let the chocolate set. Once it cools, you can remove the spider web directly from the wax paper. Impatience meant that ours didn’t last nearly that long, so instead we ate a snack that looked more like chocolate-dipped pretzels – delicious either way!

Spider Snack (5)

Paper Plate Sea Creatures

Paper Plate Sea (8)

Travis is enamored with sea creatures now that we’ve returned from the shore. Luckily I had paper plates on hand upon our arrival home, which was all we needed to bring the sea to us!

Paper Plate Sea (1)

To start, I cut out several sea animal shapes from the plates. Travis was eager to help with the scissors, so with some adult guidance he helped cut the snips for jellyfish tentacles and octopus legs.

Paper Plate Sea (2)

Then it was time to decorate! Dot markers were a mess-free and perfect way to make our sea creatures colorful.

Paper Plate Sea (4)

Travis declared his orange and blue fish a clownfish without any prompting!

Paper Plate Sea (3)

Mommy added the smile and eyes onto our jolly octopus after Travis had dotted him all over with yellow.

Paper Plate Sea (5)

Let the paint dry, and then turn your living room into a giant ocean full of swimming sea creatures.

Paper Plate Sea (6)


Spider Web Walk

Spider Walk (4)

Travis recently fell in love with finding spider webs at our vacation house – so I surprised him this morning with a giant tape web on the floor! The web lends itself to lots of games.

First, we made “bugs” to get stuck in the web. I only had 3 pipe cleaners on hand but go ahead and scrunch up as many pipe cleaners as you like to form creepy crawlies.

Spider Walk (2)

We then made up games of tossing the bugs into the sticky web and finding silly ways to get to them: on hands and knees; on tip toes; etc.

Spider Walk (3)

I thought he might also enjoy driving cars through the web, since the tape lines made for perfect racing markers.

Spider Walk (6)

Far more fun than this, however, was Travis’s decision to make his own spider web! He loved putting down each piece of sticky tape, which became a great chance to talk about how real spider webs are sticky, too, and why.

Spider Walk (5)

He was so proud of his final creation!

Spider Walk (7)

Seashell Friends

Seashell Friends (5)

After a week at the beach, we’ve come home with treasures galore to turn into crafts! Some of our best clam shells were the perfect base for making these little “friends”, and now they are a fantastic reminder of the summer fun we had at the shore.

Start with any relatively flat, whole shell as your base – clams worked great, but we tried a mussel shell that we’d found as well.

Seashell Friends (2)

After a week away, Travis couldn’t wait to get his hands into our craft bin, meaning this was a before-breakfast undertaking!

Seashell Friends (1)

Use anything in your craft box to make silly, friendly faces on the shells – I thought pipe cleaners or ribbon would make great smiles, but Travis had more fun adding mouths in sparkly glitter glue and paint.

Seashell Friends (4)

Pom poms made adorable noses, and googly eyes were the perfect finishing touch.

Seashell Friends (6)


Spread Your Wings

Butterfly Wings alt

Butterflies are everywhere this time of year, whether flitting past us on the beach, at the playground, or in the nearest batch of pretty garden flowers. If your little one wants to bring home the butterfly beauty, try out this creative suggestion from High Five magazine.

To start, grown-ups need to cut a butterfly wing shape from a large piece of cardboard.

Butterfly Wings (1)

To make our wings shiny, we covered them first in strips of aluminum foil – this part was a huge hit, since Travis loves the way foil looks and feels. Plus glue is always fun!

Butterfly Wings (3)

Once the glue dried, it was time to decorate our aluminum foil. Use anything crafty you have, including markers and paints.

Butterfly Wings (4)

Butterfly stickers added a whimsical touch.

Butterfly Wings (5)

To attach the wings to your little butterfly, punch holes in the middle where the wings meet. Thread string through the holes, and then tie over your child’s shoulders.

Butterfly Wings var

Time to flutter away!

Butterfly Wings


Beach Memento Wind Chime

Beach Wind Chime (4).JPG

If your summer plans take you to the beach, bring a bit of the beach home with you with this neat project!

The first step of course is finding your treasures, so the next time you head to the beach, bring a shovel and pail; take a walk in the sand to comb through for the prettiest finds. We only found small pieces of shell at this particular beach, but they were a gorgeous assortment of colors – purples and whites and even gold!

Beach Wind Chime (1)

At home, find a sturdy stick and use twine to wind around your treasures, and then knot onto the stick. Travis loved “helping” with the winding and knotting.

Beach Wind Chime (2)

Once we had our treasures dangling in a row, we hung them outside where they could click and clack against each other.

Beach Wind Chime (3)

A super windy day made this project even better!

Beach Wind Chime (5)

Tree Jewels

Tree Jewels (7)

Here’s the perfect upcycling project for all your old CDs. This pretty and easy craft will make any tree sparkle.

Travis adores gem stickers, so I simply provided him with a few sheets of them and a pile of old blank CDs. He didn’t even pause before going to town.

Tree Jewels (4)

If you want to get more craft-y, you could glue on sequins as well, but we stuck with the sticky-back gems.

Tree Jewels (3)

We added a little bit of glitter glue as a final sparkling touch!

Tree Jewels (5)

Now find the perfect tree to hang them!

Tree Jewels (6)

If you save these for the winter, they would look fantastic on bare winter branches, or a Christmas tree.

Tree Jewels (2)

Tissue Paper Night-Lights

Tissue Night-Light (6)

This is such a beautiful craft for any child afraid of shadows in their room at night. Not only will they feel the pride of having put it together, but the result is comforting and beautiful!

First we needed to tear multiple colors of tissue paper into small pieces. Any excuse to rip through tissue paper is welcome in this house!

Tissue Night-Light (1)

Once we had a pile of scraps, we mixed together glue with a splash of water in a cup.

Tissue Night-Light (2)

Travis loved painting every inch of our mason jar with the glue mixture – so much so that he wanted me to layer on the tissue paper while he continued to add more glue. He wasn’t content until every inch was covered!

Tissue Night-Light (4)

We set our mason jar aside to dry, and by naptime, it was ready!

Tissue Night-Light (5)

Use any battery-operated tea light, and place inside the jar. Travis loved taking the tea light in and out and screwing on the lid, testing the nightlight in several parts of his room until he found his favorite. What a success!

Tissue Night-Light (7)