Homemade Butterfly Feeder

Butterfly Feeder (5)
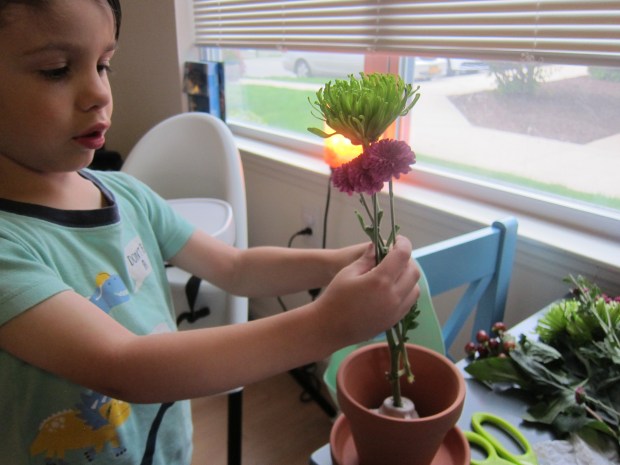
Travis and I have made bird feeders before… but never a butterfly feeder! So we were delighted to make this simple little craft, connected to his Garden Party Raddish Kids crate.

Bring 1 cup water to a boil in a saucepan. Stir in 1/4 cup sugar; reduce heat and simmer for 2 minutes, until the sugar dissolves. Cool completely.

Butterfly Feeder (1)

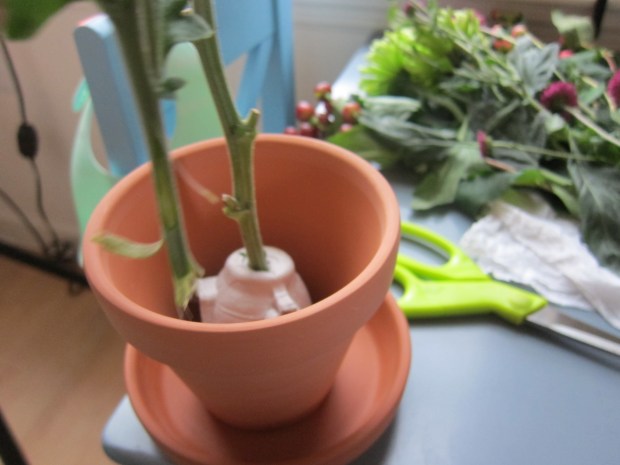
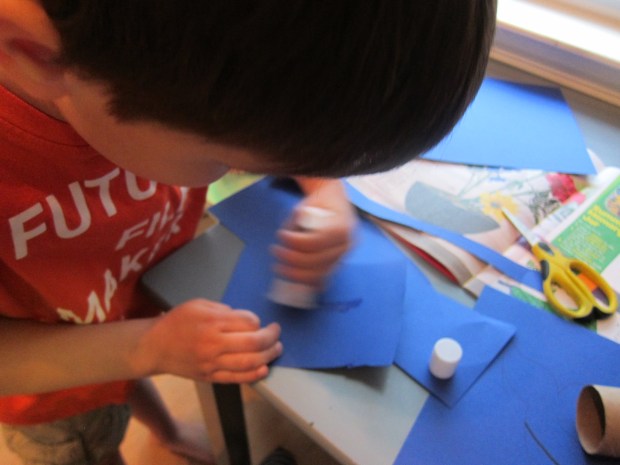
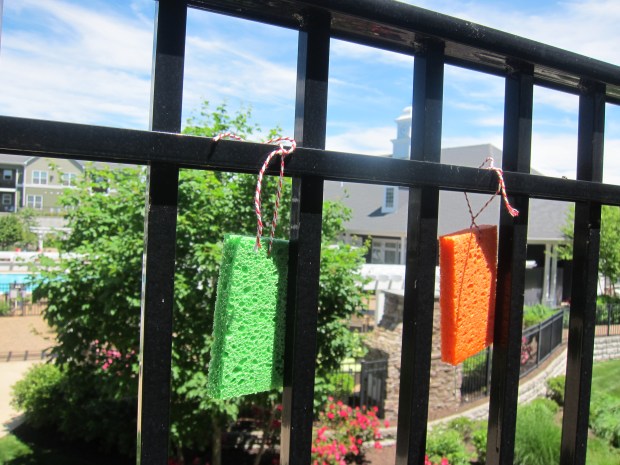
Use a pen or pencil to punch a hole near the top of a sponge. Travis loved this part! Thread twine or string through the hole.

Butterfly Feeder (2)

Carefully submerge the sponge in the sugar syrup. We found that it helped to use a stick to push the sponge down, so our fingers didn’t get sticky.

Butterfly Feeder (3)

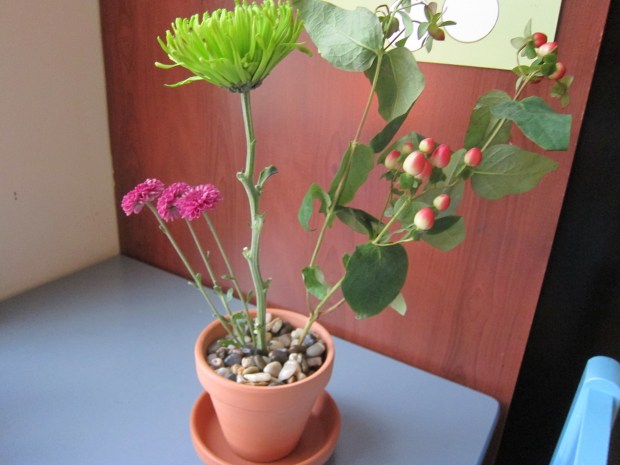
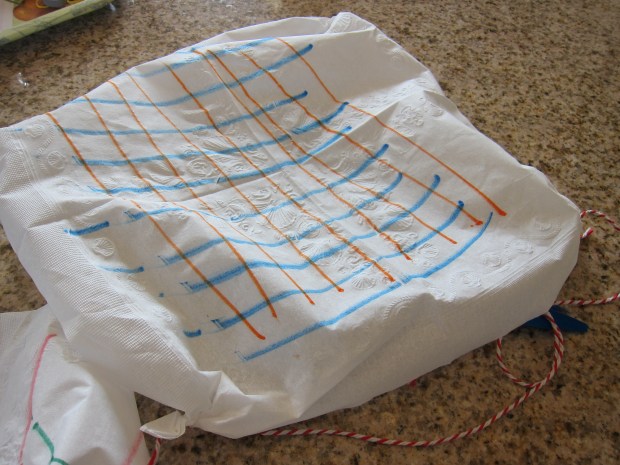
Hold the sponge over the bowl to let any excess drip off, then hang some place that will attract butterflies outside.

Butterfly Feeder alt

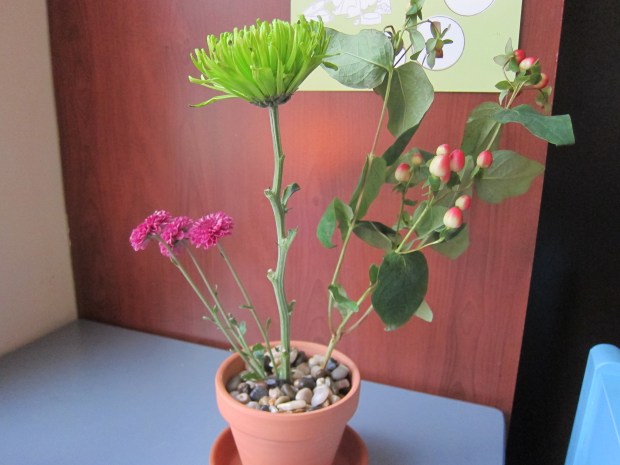
The craft was beautiful already, even without any visitors. I will post an update picture if a butterfly comes calling!

Special Snack for Pets

Cat Cake (4)

Summer always brings so many celebrations for people: graduations, birthdays… or just an excuse to get together with good friends in warm weather. Here’s a really cute way to include your animal pals in the fun! After a weekend of human celebrations, Travis proudly helped put together this cat cake for our cat.

In a bowl , we stirred together 2 tablespoons canned tuna, 1 tablespoon shredded cheese, and 1 teaspoon dry oats.

Cat Cake (1)

Press the mixture into a ramekin or muffin tin. Ideally, this will hold its shape when you invert it over a cat bowl. Ours didn’t, but the cat didn’t mind! Decorate with a few cat treats.

Cat Cake (2)

Travis proudly carried it over to where the cat could “celebrate.” He wanted to make sure the cat enjoyed his cake!

Cat Cake (3)

He then needed to eat some shredded cheese of his own (Daiya mozzarella) and pretended to be a cat the rest of the evening.

Cat Cake (5)

Showing affection and caring for animals is always a valuable lesson for kids, teaching them that all species deserve love and care.

Have a dog instead? Highlights magazine suggests mixing together dry dog food with 1 tablespoon peanut butter and 1 tablespoon mashed banana, then decorating with dog treats and banana slices.

Have an animal like a guinea pig or rabbit who eats veggies? Stack a few sliced fruits and veggies into a “cake”, and top with a treat.

Mini Tent Craft Challenge

Tent Challenge (6).JPG

This month’s craft challenge from Highlights magazine was to make a tent using only 3 materials: craft sticks, cardstock, and yarn. Travis was gamely up for the challenge!

He remembered sleeping in a tent from an adventure last summer, so knew right away that he wanted to fold the cardstock in half to make the canvas frame.

Tent Challenge (1)

I challenged him to think of a way to make this tent more sturdy and stable. The craft sticks!

Since we weren’t allowed to use tape, we poked the sticks through the cardstock to make a hole. Two sticks then created a sort of A-frame.

Tent Challenge (5)

A piece of yarn was a handy way to make it hold together.

Tent Challenge (2)

Travis soon had a few little tents set up, and extra craft sticks made a campfire!

Tent Challenge (3)

You can then have fun populating your campsite with Lego or Duplo figures for a morning of camp play! Thanks for the challenge, Highlights.

Tent Challenge (4)

Bow-Tie Card for Dad

Dad Bow Tie (7).JPG

This cute Father’s Day card idea from Highlights magazine was the perfect craft for Travis to make this year… because daddy can really rock a bow tie!

To start, we measured out a long rectangle that was 11 inches long x 2 inches wide. Travis proudly followed along the line to cut this out, needing no help from me.

Dad Bow Tie (1)

We cut a second rectangle that was 5 inches x 1 inch.

Fold the large triangle in half, and open back up. Now fold the ends of that rectangle in to the center crease and secure with tape.

Dad Bow Tie (2)

Cut each side into a trapezoid shape; now it looks like a bow tie!

Dad Bow Tie (3)

Wrap the small rectangle around the center and tape down.

Dad Bow Tie (4)

Kids can now decorate the tie with markers. Because Daddy loves orange, Travis proudly added orange marker atop orange paper.

Dad Bow Tie (6)

Your kids may want to add polka dots, stripes, or other common bow-tie designs.

I cut a final piece of cardstock into the shape of a gift tag and added a happy father’s day message. Loop through the bow tie with a piece of string.

Dad Bow Tie (8)

When Father’s Day is over, this card does double-duty as a bookmark! Need more ideas this Father’s Day? Check out a few photo gift options here.

Dad Bow Tie (5)


Japanese Flower Art

Japanese Flower (8)

Travis has been very into all things Japanese these days, starting with ninjas and moving on through sushi, taiko drumming, and more. So we were psyched to see a project in his latest Highlights magazine that detailed how to make Japanese flower art (ikebana), a practice that goes back 500 years!

First, cut two cups from an upcycled egg carton. Poke a hole through the cups, and stack them together. Flip them so they are bottom side up and place in a flower pot or small bowl.

Japanese Flower (1)

Begin adding flowers, one at a time. Keep space between each flower in the arrangement, tilting them if needed.

Japanese Flower (3)

It was absolutely beautiful to watch Travis work, so deliberate and careful.

Japanese Flower (2)

I had purchased a few different types of flowers and greenery at the supermarket, and Travis loved selecting which should go next, especially the berries that were laid out.

Japanese Flower (4)

We could start to see why ikebana is a form of meditation!

Once the arrangement was to his satisfaction, we filled our flower pot with small stones (you can purchase these at a craft store), which heightened the beauty.

Japanese Flower (5)

Fill your container with water, and enjoy your flowers!

Japanese Flower (6)

Whale Napkin Holder

Whale Napkin (5)

As we head into summer nights and summer dinners – whether poolside, seaside, or just out on the patio – this is a cute napkin holder project for kids to put together. Make as many as you want, whether just one whale to add summer fun to your child’s table, or a whole pod of whales for family dinners al fresco!

Cut a length of cardstock (we chose blue) to fit around a toilet paper tube, and attach with a gluestick.

Whale Napkin (1)

Travis thought it was so neat that the rectangle he cut out could be wrapped around in this way!

Whale Napkin (2)

While he worked on that rectangle, I drew a whale for him on a second piece of blue cardstock and cut it out (bigger kids can do this part themselves).

Travis added some belly lines with marker, and glued down a wiggly eye.

Whale Napkin (3)

Glue the whale to the tube and your holder is ready!

It was fun to show him how to accordion-fold a napkin, alternating folds over and under.

Whale Napkin (6)

Slip the napkin in the tube and your whale now has a water spout. Meanwhile, summer diners have a napkin ready when it’s time to wipe those buttery fingers from corn on the cob!

Whale Napkin (4)

Flying Paper, Two Ways

Flipping Fish (6)

Here are two fun ways to harness the power of paper and watch things take flight.

Both of these projects are far less involved than the rockets and planes Travis and I have made recently, but sometimes you just need something simple to fill a lazy morning.

First we made a school of  “flipping fishies”.

Flipping Fish (2)

Draw rectangles on white paper and color in. The more colors the better!

Flipping Fish (3)

Cut out the rectangles, and cut a notch on each end, facing in opposite directions.

Flipping Fish (4)

Slot these notches together and you have fish. Soon we had mommies, daddies, and baby fish.

Flipping Fish (7)

Toss them in the air and watch them whirl!

Flipping Fish (5)

Interestingly, we discovered that our baby fish swirled much better than the bigger ones we made.

Flipping Fish (8)

Next up, we did a repeat of a flying straw we’d made recently with a Kiwi Crate; as with our repeat of the Balloon Rocket, this time we used wide (“milkshake”) straws for better effect.

Cutting out rectangles was great practice for Travis to cut in straight lines!

Flying Straw (1)

For each straw, make one long rectangle, and one short; tape these into circles, and tape onto the straws.

Flying Straw (2)

Hold your straw so the small circle is at the front – and let it soar!

Flying Straw (4)

Those paper circles really catch the wind, and will carry your straw across a room. It’s fun to compare these to a plain old straw, which nose-dives right down.

Flying Straw (5)

Happy flying!

Paper Parachutes

Paper Parachutes (3).JPG

Travis and I recently made fabric parachutes that were a bit complicated and tangled easily while soaring down. Today we wanted something simpler, because the goal wasn’t so much about the parachute itself as it was to test how to make a parachute fall faster.

For our experiment, we quickly put together paper napkin parachutes.

Decorate your napkins with markers first.

Paper Parachutes (1)

Travis quickly learned that you need to be gentle drawing on napkins, and was proud when he got the hang of it!

Paper Parachutes (4)

Cut 4 equal lengths of string for each parachute, and tie around the napkin corners.

Paper Parachutes (2)

Gather the four lengths of string together in the center, and tie around any small object. Our “contestants” were a feather and a rock. But if you want, multiple toys can get in on the action; this game would be great with Lego people!

Paper Parachutes (5)

Travis made his hypothesis: that the rock parachute would fall faster than the feather one.  So we headed outside to test it out! A fenced-in overlook made the perfect launch site.

Paper Parachutes (6)

Even in a still photo you can see the feather parachute lazily drifting down as the rock plummets to the ground.

Paper Parachutes (7)

The difference here was extremely stark, of course. As mentioned, your kids might want to do multiple launches with items closer in weight. Enjoy the discoveries!

Sidewalk Constellations and Mini-Books

Sidewalk Constellation(5).JPG

It was a beautiful morning for sidewalk chalk art, and to add purpose to Travis’s art, I decided to throw in a little STEM learning, too!

We headed outside with our book of constellations, and I challenged him to lay out shells (rocks would work well, too) to represent each star in the pictures. We started with the Big Dipper.

Sidewalk Constellation (6)

Could he now connect the lines, following along with the picture in our book? This was a bit of a challenge for Travis, who had to consult the picture between each line, but he ended up with a great dipper.

Sidewalk Constellation (7)

The Southern Cross was next. He loved using big shells for two of the stars, and had an a-ha moment when he figured out which way he should draw his chalk lines.

Sidewalk Constellation (8)

Then we got silly and made up new constellations. I let his imagination run wild, and soon we had a snake constellation:

Sidewalk Constellation (1)

And a ninja constellation:

Sidewalk Constellation (9)

Make sure you take pictures of all your artwork before you head inside! I then had these printed so we could put them into a booklet.

Sidewalk Constellation(3)

Add one picture per page, along with a fact or two about that constellation.

Sidewalk Constellation (b)

We left a page blank, for future imaginative additions!

Sidewalk Constellation (c)

These mini-books will serve both as a memory capsule of your day and for storytime down the road.

Sidewalk Constellation (d)

Balloon Rocket

Balloon Rocket (3).JPG

If you checked out our Fun with Flight Kiwi Crate adventure, then you saw Travis and I made an indoor balloon rocket. We wanted a chance for a repeat outside, and decided it merited its own blog!

This time we made a few significant changes. First, we stretched our string between two fence posts, allowing for a longer space for our “rockets” to fly.

The next innovation was a wide straw (look for “milkshake straws” at the grocery store). This flies much more smoothly come time to launch! Thread the straw onto one end of your string.

Balloon Rocket (1)

Blow up a balloon – but do not knot – and tape it to the straw. Release the balloon and watch it fly.

Balloon Rocket (2)

This was just so beautiful outside in morning sunlight, too!

Balloon Rocket (4).JPG

“3, 2, 1, Go!”