Little Passports: Brazil

LP Brazil (9)

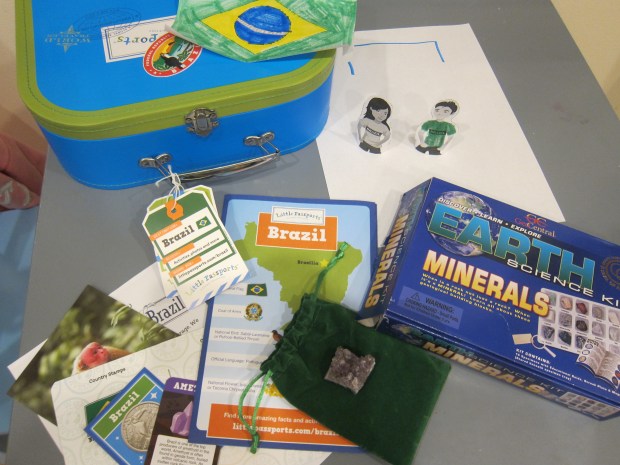
On the heels of his welcome package from Little Passports, Travis was thrilled to receive his first country package in the mail, all about… Brazil!

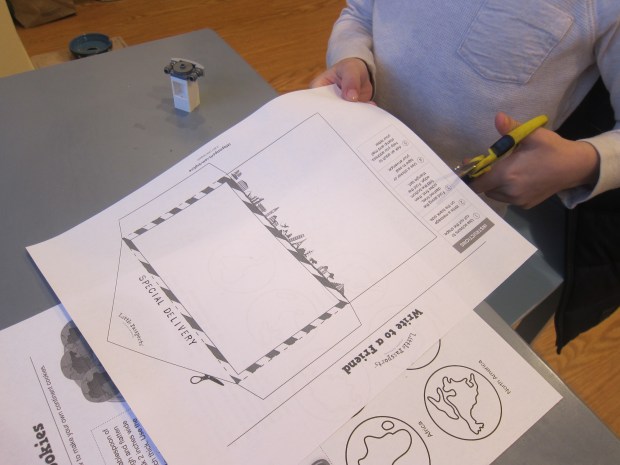
There was lots of similarity to the format of his Early Explorer’s envelopes, making me glad I started him off with that subscription. But it was immediately evident that now he’s in a higher age bracket (ages 5 to 8), particularly with the booklet activities. The booklet was chock full of interesting facts about Brazil, and the Amazon Rainforest in particular.

LP Brazil (1)

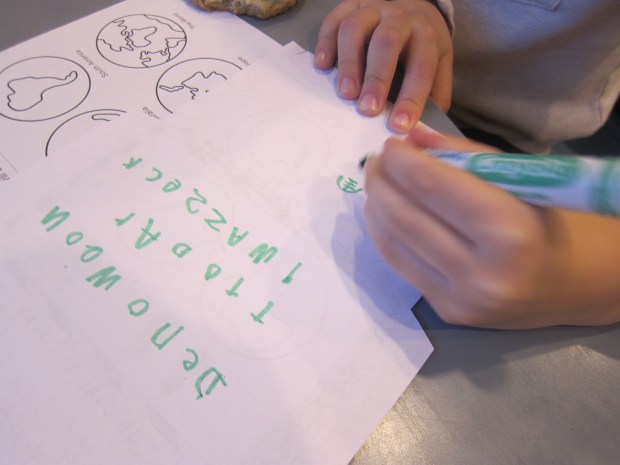
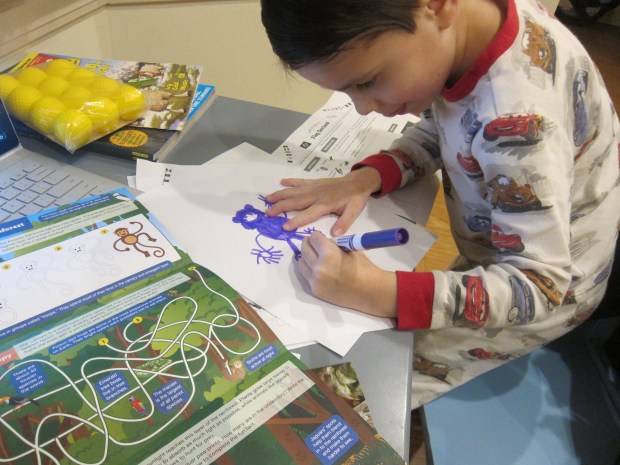
Although he needed some help with the more word-heavy activities (a word scramble, a word find), he gamely wrote all the letters and loved the art activities, including drawing a spider monkey, following mazes, and uncovering hidden animals among blue morpho butterflies.

LP Brazil (5)

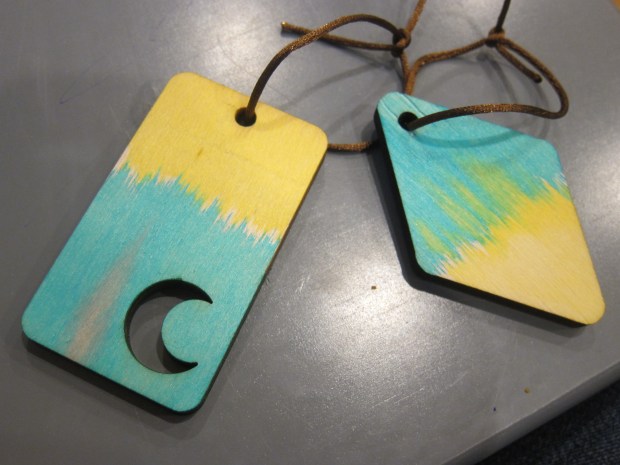
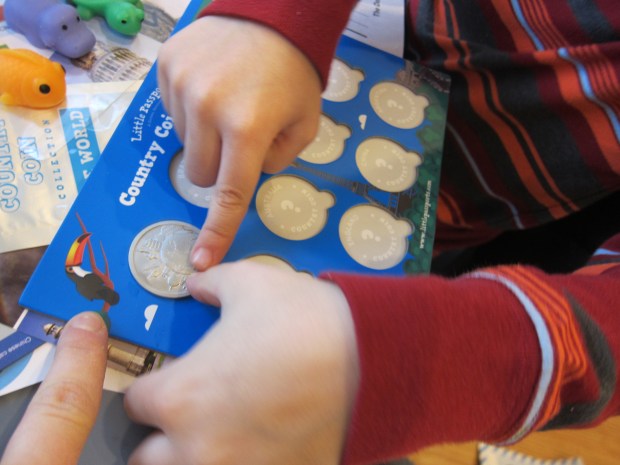
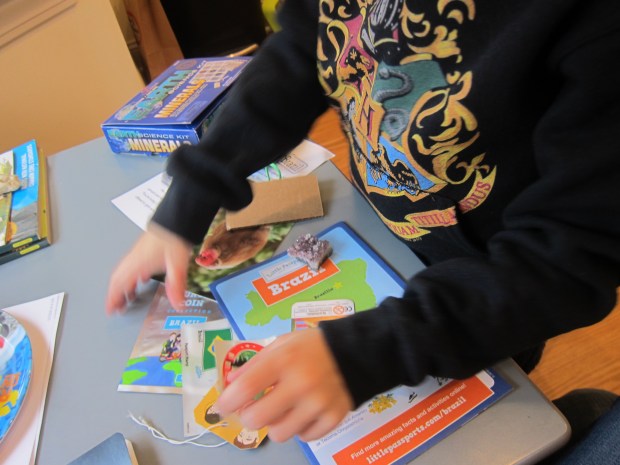
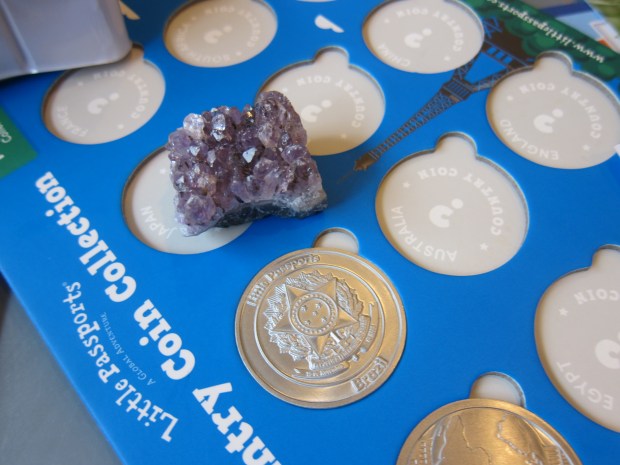
There was a new coin to add to his coin chart, a new sticker and luggage tag for his suitcase, a stamp for his passport, and a “push pin” for his world map.

LP Brazil (2)

We were quick to discover that Little Passports has many bonus features online. Travis loved the vibrant photographs of Brazil to scroll through, 3 samples of Brazilian music to hear, and Portuguese words to learn.

Souvenir:

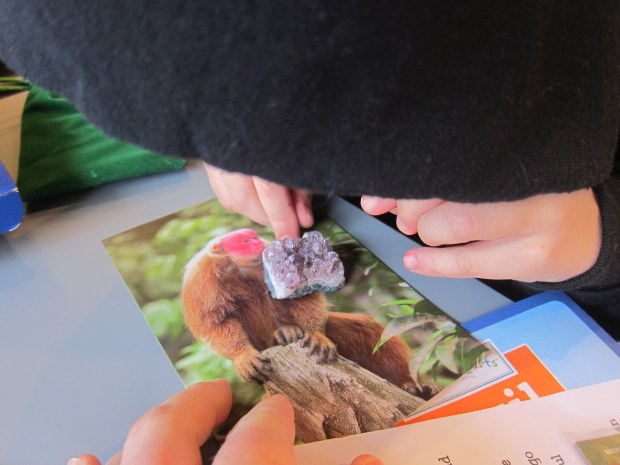
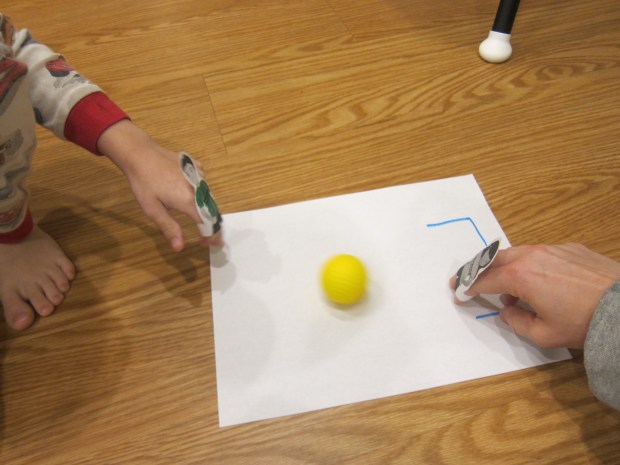
The gift this month was an amethyst, with a card explaining how Brazil is one of the top producing countries for amethyst worldwide. I knew he would love it, and for this reason had opted for a full Mineral Kit add-on. Travis adored peering at all of the minerals with the provided magnifying glass.

LP Brazil (3)

Activities:

First up, futebol puppets! This adorable game was to highlight the popularity of Brazil’s favorite pastime: soccer. We printed out the template of a boy and girl soccer player. Cut these out and secure the strap with tape. Your pointer finger and middle finger become the legs.

LP Brazil (7)

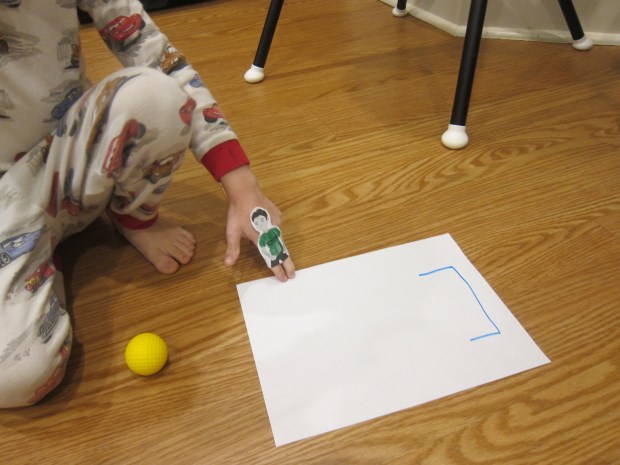
It was Travis versus mommy for a shoot-out!

LP Brazil (8)

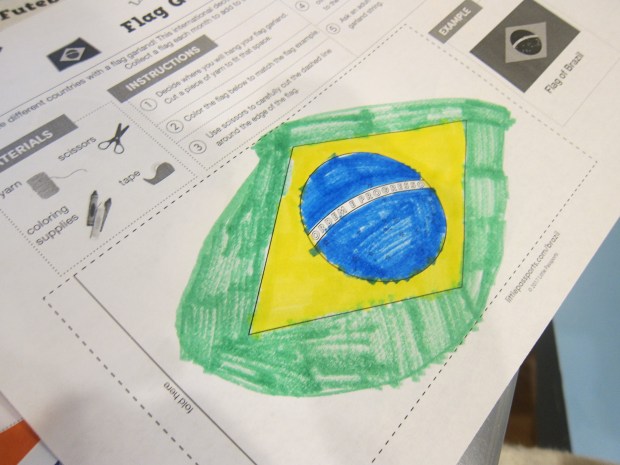
He also loved coloring in a Brazilian flag for a flag garland (we’ll be adding to this in the future with later countries!), very carefully following an image online.

LP Brazil (6)

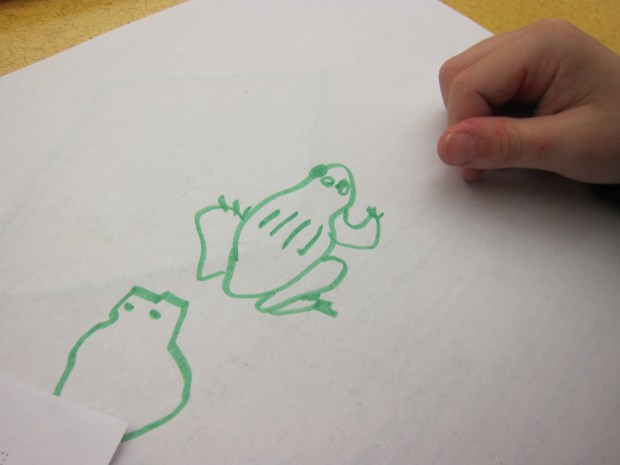
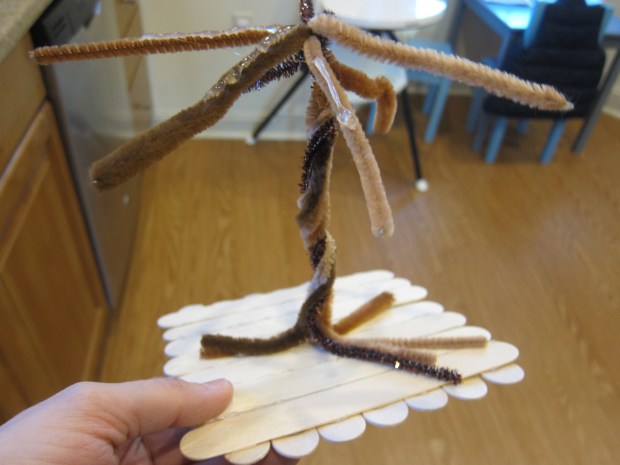
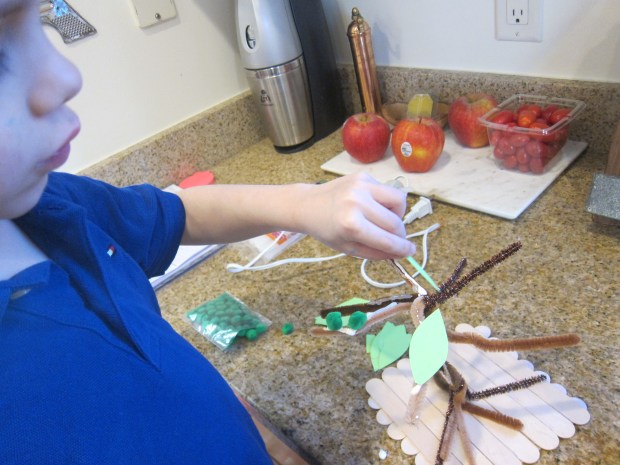
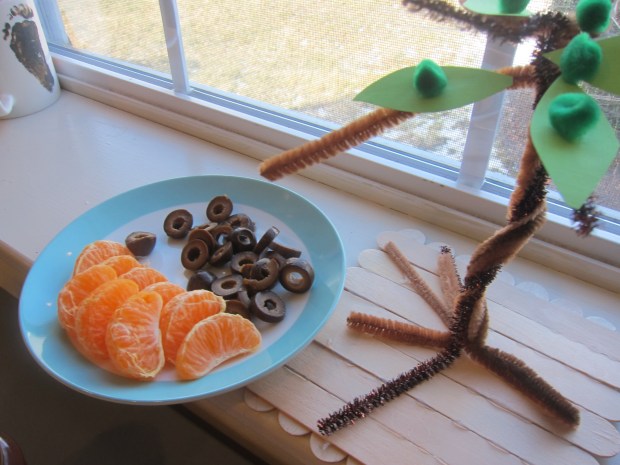
Finally, he followed the online instructions to draw more rainforest creatures. He was so proud of his tree frog!
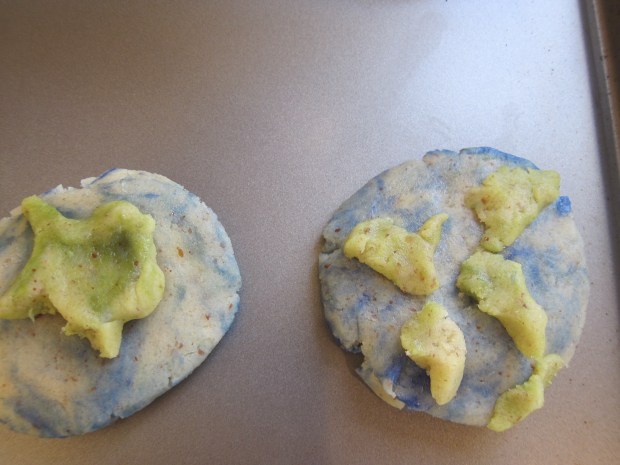
LP Brazil (4)

Recipe:

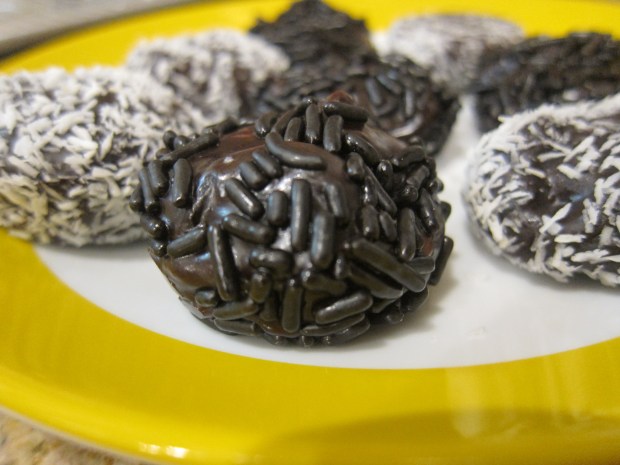
A trip to a new country isn’t complete without sampling the food of course. This month’s recipe was for brigadeiros, a Brazilian sweet popular at parties. Both Nature’s Charm and Let’s Do Organic make canned condensed coconut milk; look for it in the baking aisle.

Ingredients:

  • 1 tablespoon Earth Balance butter
  • 1 (11-ounce) can sweetened condensed coconut milk
  • 3 tablespoons cocoa powder
  • Shredded coconut to taste
  • Chocolate sprinkles to taste
  1. Melt the butter in a saucepan over medium heat.LP Brazil (10)
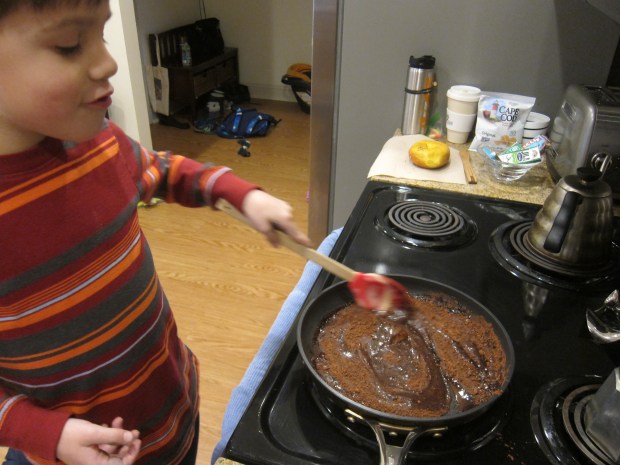
  2. Add the coconut milk and cocoa powder. Cook for 10 to 15 minutes, stirring frequently, until the mixture is thick. If you drag a spoon through it, the mixture should take a moment before it runs together again.
  3. Pour onto a cookie sheet and let cool for about 20 minutes.
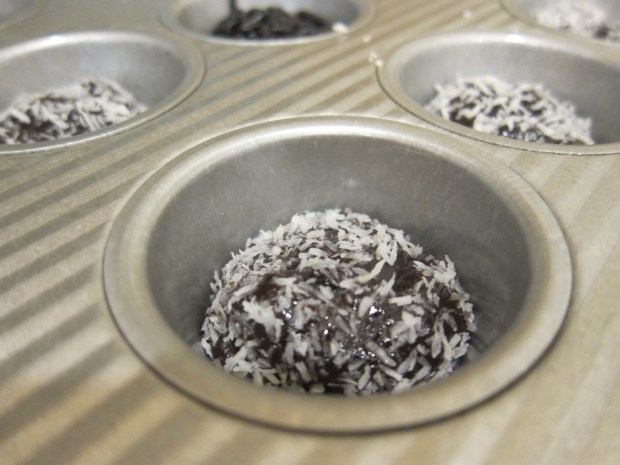
  4. Now scoop up the “dough” and roll it into small balls. Having buttered fingers helps! LP Brazil (11)
  5. Alternate rolling the balls in the coconut and chocolate sprinkles. Transfer to the cups of a mini muffin tin and chill for at least 15 minutes before serving.

LP Brazil (12)

These were a big hit for dessert. And Travis can now proudly say, “Obrigado“.

LP Brazil (15)

Valentine’s Day Marbled Messages

Marble Messages (8)

Your kid can wow the class this year with these swirled heart cards. Classmates will love learning that the marbled colors were made with shaving cream paint!

To set up, Travis and I filled a shallow craft bin with a thick layer of shaving cream. Add generous drops of food coloring in multiple colors and stir with a skewer.

Marble Messages (1)

Press a thick piece of white paper firmly onto the surface of the shaving cream.

Marble Messages (2)

Lift up and scrape off the excess shaving cream with the side of a ruler. Travis loved the big blobs of shaving cream this produced!

Marble Messages (3)

Repeat as needed for the desired amount of Valentines. We found we needed to add more food coloring to the shaving cream base after pressing in 3 sheets of paper. Let dry completely.

Marble Messages (5)

Once dry, we traced hearts onto the paper with a cookie cutter and cut out. Cut red and pink construction paper into 8×5-inch rectangles and fold in half. Glue one heart to the cover of each card.

Marble Messages (6)

Don’t forget to write a sweet message inside! Prefer your class Valentines with a little less mess? Check out past ideas for necklaces, bookmarks, and even “tacos“!

Marble Messages (7)

Flower-Power Pendants

Flower Pendants (7)

Kids will love this novel bubble-based painting method. The resulting pendant necklaces are perfect for class Valentines!

To create the bubble paint, fill a short cup with 3 tablespoons dish soap, 1 tablespoon water, and 2 tablespoons paint. In order to make our cups short enough, I snipped the top half from regular 8-ounce paper cups.

Flower Pendants (1)

Use a straw to blow into the mixture and you’ll create colored bubbles that rise to the surface. Press a piece of thick white paper firmly over the top. Repeat with more bubbles and more pressing until you’ve covered the sheet of paper, then let dry.

Flower Pendants (2)

Travis loved that the bubbles toppled over the edge of our cup each time; needless to say, this is a bit of a messy project! We repeated with three different paint colors.

Flower Pendants (3)

Once dry, cut the pages into flower shapes, repeating for the desired amount of Valentines.

Flower Pendants (4)

Punch a hole in each flower and thread with cord (available at craft stores), to complete each necklace.

Flower Pendants (5)

On the back, we wrote the sweet message, “You’re a great bud!”

Flower Pendants (6)

Happy New Year, Trees!

New Year Tree (8)

Who knew? Trees get to celebrate new years too! The Jewish holiday of Tu B’Shevat, which falls on February 9th this year, is all about honoring trees. Travis helped mark the occasion with this craft from Highlights magazine.

First we needed a base. I challenged Travis to think of how he might arrange craft sticks to make a sturdy foundation for our tree.

New Year Tree (1)

A double-layer of craft sticks proved best, and because he didn’t want to wait for craft glue to dry, I made quick work of it with a hot glue gun.

New Year Tree (4)

For the trunk of the tree, twist together brown pipe cleaners. We had some that were sparkly, as well as varying shades of brown and tan, which gave the trunk a pretty, mottled look. Travis got the hang of twisting after I demonstrated!

New Year Tree (2)

Spread out the tops and bottoms to be the branches and roots. I hot glued this to our base.

New Year Tree (5)

For the leaves, Travis helped cut shapes from green cardstock (great scissor practice). These were then glued onto the branches, along with little green “olive” pompoms.

New Year Tree (6)

All in all, this was a cute craft. Travis enjoyed olives and oranges (two fruits from trees!) as a snack to finish our celebration of the holiday.

New Year Tree (9)

After School Routine Clock

After School Clock (4)

Travis has struggled lately at clean-up time, requesting more and more time to play. We made this cute clock in hopes of keeping things on track in the future! It helped him to visualize how much time was left for current favorite activities, like action figure play and coloring, and helped cut down on protests.

To start, we printed out two sheets of a template from Kiwi Co. Color in with crayon or marker, making sure to use colors that match any dry erase markers you have at home. That limited us to blue, red, and green, but you can use many colors if you have a full rainbow of dry erase. On each rectangle, write in a part of your child’s evening routine with dark marker.

After School Clock (1)

For each slot of time, we colored a corresponding triangle on a white wall clock that I purchased from Amazon. Travis loved being allowed to color directly on the clock!

After School Clock (2)

I outlined his triangles in black for a clearer visual, and then mounted the clock on the wall next to the Kiwi templates.

After School Clock (3)

What a great way for him to see how the evening is divvied up! I also love that this project can be adapted as his schedule changes in the future, especially once homework is part of the equation.

After School Clock (5)

Paper Heart Craft Challenge

Heart Challenge (6)

This month’s craft challenge from Highlights magazine was very open-ended: simply to make something from paper hearts!

I set Travis up with multiple crafting supplies, including poster board to use as a background, pre-cut paper hearts from a Valentine’s Day kit, pink and red construction paper, and red craft foam.

Seeing two hearts touch tip-to-tip helped him get started. He declared that it looked like a fairy! So he glued down these fairy wings, and soon had the idea to add a third heart as the head.

Heart Challenge (2)

I showed him how to fold a piece of construction paper in half and cut along a provided line, which then opened up into a full heart. Neat!

Heart Challenge (1)

Smaller hearts cut from foam became the eyes. We also had little hearts that opened up into a 3-D shape, and these made perfect feet.

Heart Challenge (4)

He was so proud of this little fairy, and the creative juices had just begun flowing.

Heart Challenge (3)

Soon he was gluing small hearts to bigger ones, and drawing hearts free-hand with a marker quite proudly.

Heart Challenge (7)

It’s the first time I’ve seen him draw a heart without tracing along a line – perfect timing for Valentine’s Day!

Heart Challenge alt
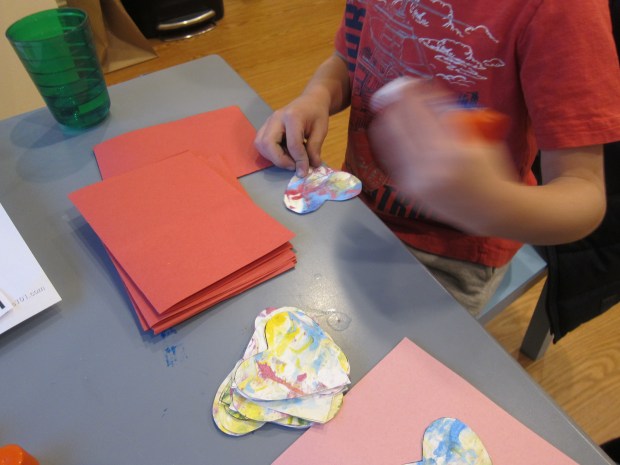
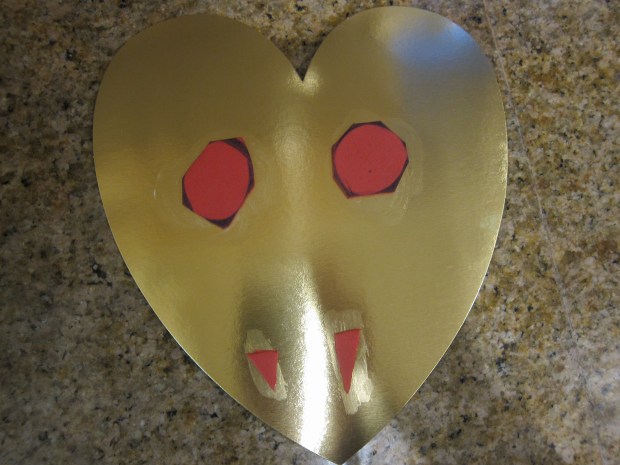
His final creation was a heart-faced vampire with fangs and legs cut from craft foam. This deviated from the initial challenge to craft only from paper hearts, but I was so proud of his creativity!

Heart Challenge (8)

Crunch Time Toast

IMG_0045

Travis got to use the toaster for the first time today in this experimental snack project. It was a great edible tie-in to some recent learning about telling time.

The challenge was to toast two bread slices, but for different lengths of time, and then to compare and contrast them. Carefully, Travis popped in the first slice and set the timer for only 2 minutes.

Crunch Time Toast (1)

He was impatient after 1 minute, hence the very un-toasted slice of bread!

Crunch Time Toast (3)

We popped down the second slice and this time set the timer to 5 minutes. Again there was some impatience, so I would say this was a 3 minute slice of toast.

Crunch Time Toast (4)

But he clearly noticed how more time meant a browner slice, as well as crisper. To finish the snack, we added avocado to the top (sliced on the first and mashed on the second). He proudly sprinkled on salt and pepper for this very big-boy snack.

Crunch Time Toast (5)

The verdict was that he liked the toastier toast better!

Crunch Time Toast (2)

Tick Tock, Water Clock

Tick Tock Water Clock (5)

Having recently experimented with a marble timer, Travis set out to make a modern version of an ancient time-telling method: a water clock, also known as a clepsydra. He loved it so much that he decided this would be his project for the upcoming school Science Fair. His scientific question: Can you tell time with water? His hypothesis: Yes!

For the set up, first mark two paper cups, one A and one B, with a permanent marker.

Poke a hole in the bottom of each with a pen. You want the hole to be bigger than just the nib, but not as wide as the whole pen.

Tick Tock Water Clock (1)

Tear off a 1/4 sheet of a paper towel, and crumple into a ball. Saturate with water and place in cup B, then cover with cup A. Mark cup A with a fill line.

Tick Tock Water Clock (2)

Place this whole apparatus on top of a clear plastic jar (we upcycled a peanut butter jar). Place a piece of masking tape on one side of the jar. Mark a paper cup as C and use this to fill cup A; let the “clock” run through once.

Tick Tock Water Clock (3)

On the first try, we realized our hole was too small. The cup would have taken nearly an hour to drain!

Tick Tock Water Clock (4)

After enlarging the hole, it was time to tick off 30 second intervals on the masking tape., We set a stopwatch and marked the water line every 30 seconds. Travis had made a 1 minute and 30 second clock!

We noticed how the second two notches were much closer together than the first two.

Tick Tock Water Clock (6)

Travis can’t wait to talk about the project at the Science Fair! This is a great project for such an event, because it can be done over and over, simply by pouring the water back from the jar into the “C” fill cup and repeating.

Marble Timer Kiwi Crate

Kiwi Time (7)

Travis’s kit this month from Kiwi Co was all about time, and the different ways humans have devised throughout the centuries to keep time. I’ve simplified the steps we followed in my account below, but the projects could be put together with items from a craft and hardware store.

The main project was a Marble Timer. Travis gamely followed complicated instructions for applying nuts, bolts, and wooden pieces to the provided backboard in the proper order.

Kiwi Time (1)

Wooden shelves are then slotted into the holes of the backboard, following handy white lines as a guide. These now make a ramp that the seven provided black marbles can roll down.

Kiwi Time (2)

When one marble reaches the bottom, it falls into the notch of a wooden slat, which triggers the wooden handle, which turns the wooden circle, which then feeds the next marble onto the ramp. The instructions help kids understand how each marble takes the exact same amount of time to complete this course, hence why it can be used as a timer.

Kiwi Time (3)

Unfortunately, our alignment was slightly off, making this project frustrating for Travis. One of us had to keep a finger on the wooden slat at the bottom in order for it to function.

Kiwi Time (4)

But Travis was still able to grasp the concept, and he liked the Marble Timer Experiments that followed: what would happen when he rejiggered the position of the wooden pieces?

Travis loved fiddling with this idea. After a few tries where the marbles dropped straight down or missed the lever, he had a course set up that was much faster than the original “timer”.

Kiwi Time (12)

The final project was the A part of STEAM, as often seems to be the case in Kiwi Crates: Dip-Dye Wood Art. First he squeezed the provided liquid watercolors into the provided cups, adding water as instructed.

Kiwi Time (8)

Use a clip to hold wooden shapes into the dye for the length of time it takes the marbles to move through the “timer”.

Kiwi Time (10)

Kids can then experiment with what happens if a piece is dyed for a second round. Again, because our marble timer was slightly wonky, we sort of fudged this step and just counted out seconds.

As a nice final touch, Kiwi provided cord to loop through the dyed pieces.

Kiwi Time (5)

The resulting trinkets make great keychains on Travis’s backpack!

Kiwi Time (6)

The booklet this month contained no suggested books for further reading, which was a shame, but Travis did find goodies like time-telling methods through the centuries, a Find It page, and an experiment that turned our to be perfect for his upcoming school Science Fair (stay tuned!).

For further reading, I highly recommend Telling the Time from Usborne books and A Kids Book of Experiments with Time by Robert Gardner.

Kiwi Time alt

Continent Cookies and Pen Pals

Passports World (1)

Travis has a new subscription to the World Edition of Little Passports, having graduated from Early Explorers. With this big kid subscription, he’ll now get to explore a specific country each month instead of a worldwide theme.

The starter kit contained everything he’ll need moving forward, including: a suitcase; a letter from our guides “Sam and Sofia”; a first luggage tag; a passport; a world map; and a coin chart that he’ll fill in each month.

Passports World (2)

The activities in his first booklet are great for early elementary school age, including simple addition, mazes, and word scrambles.

As an activity to kick start things, we made the suggested Continent Cookies. Prepare sugar cookies according to your favorite recipe (full disclosure: we used a mix!).

Divide the dough into thirds. Tint one third with about 10 drops of green food coloring; this will be your land. Tint the remaining two-thirds dough with about 10 drops of blue food coloring; this will be your ocean.

World Passports (4)

Pull off about 2 tablespoons of the blue dough and press into a disk. We followed along with Little Passport’s handy instruction sheet and tried to shape pinches of the green dough into the shapes of the continents. Travis enjoyed this challenge, and also made up his own pretend continents.

World Passports (5)

Our full world didn’t turn out too badly!

World Passports (6)

Bake according to recipe instructions, then enjoy a taste of the world – literally!

For some final fun, we checked out extras online like how to say hello in multiple languages.

World Passports (8)

We also printed out a pen pal template and decided to start a correspondence with his cousin, who lives a few states away.

World Passports (9)

Your kids might even have friends or relatives in another country to write to! We’re excited to see what arrives in the first country kit next month.