Take a Mini Break

Mini Break (1)

Today’s activity probably sounds like an easy one to most parents – but it’s the hardest kind for me! It challenged me to take a mini break, not only to help Veronika out as she enters the phase of separation anxiety, but also for me, the caregiver. We tend to forget to take care of ourselves, or quite simply don’t have the time to, but it’s important to remember to take a time-out every now and again.

So I stunned my husband announcing I’d be taking a ten minute break.

I waved bye bye to Veronika, who was playing on daddy’s lap. The goodbye is important here, instead of sneaking away.

Mini Break (6)

Then I shut the bedroom door, and this is the key; don’t be available for a full 10 minutes. Do something just for you. Here’s the chair where Veronika normally sits when I shower. It entertains her fantastically, but it also means I’m still “on” even during shower time, frequently singing ‘Wheels on the Bus’ from behind the curtain.  So wow, a baby-free shower!

Mini Break (3)

I had time to read a magazine and pen in a journal.

Mini Break (4)

Oh wow, this is almost relaxing. Are those my feet, up off the floor?

Mini Break (5)

I’m exaggerating somewhat, but you get the idea. That ten minute pause was amazing, and then I headed back out with renewed energy for my little one. And Veronika did great in the separation! If your spouse isn’t home, consider this activity with a grandparent or babysitter, and enjoy the pause.

Rainbow Breadcrumb Edible Sensory Tray

Rainbow Breadcrumb (9)

Aside from a simple bowl of cooked pasta, this was Veronika’s first sensory tray, and the first that I truly prepared for her. At this age, edible sensory trays are best, especially when you have a baby like Veronika who puts everything in the mouth.

The prep for this was so fun. Divide a loaf of bread into equal portions – as many portions as you want colors. You can make a full rainbow, but I stuck with the primary colors: red, yellow, and blue.

Rainbow Breadcrumb (1)

Place 1/3 of the bread in a food processor and process until you have coarse crumbs. Stir 2 to 3 drops of natural food coloring into 2 tablespoons non-dairy milk. Add to the food processor and pulse until the crumbs are coated.

Rainbow Breadcrumb (2)

Transfer to a plastic bag and let dry out. Repeat for your remaining colors.

Rainbow Breadcrumb (3)

Once the bread had mostly dried, I arranged it on a baking tray for Veronika, and sat her down on a blanket; we were prepared for a mess!

Rainbow Breadcrumb (4)

She knew what to do instantly.

Rainbow Breadcrumb (5)

Little hands pulled up big fistfuls of the crumbs.

Rainbow Breadcrumb (6)

They went right to her mouth, which was precisely the point, so I didn’t have to worry one bit.

Rainbow Breadcrumb (7)

I showed her how to run her hands through so that the colors mixed.

Rainbow Breadcrumb (10)

But mostly she was content to reach in, squish the mixture in her hands, have a nibble, and begin again. This one will keep your baby entertained for ages!

Rainbow Breadcrumb (8)

Dressing with a Point

Dressing with Point (3)

I’ve always loved to narrate to my children during diaper changes, a moment that’s rife with opportunities for vocabulary-building: I point out the names of each article of clothing; use action words (taking off, putting on); and of course simply get silly to bond with baby. Today’s point was a little different; at eight months old, Veronika is nearly old enough to point, and I wanted to encourage the motion!

To do so, as I named each article of clothing, I also pointed to it. “Shorts,” I said (pointedly of course).

Dressing with Point (2)

Veronika didn’t point back, but she did do lots of grabbing for each piece of clothing, which is sort of the general idea.

Dressing with Point (1)

I pointed out pajamas…

Dressing with Point (6)

And onesies…

Dressing with Point (5)

And dresses in the closet.

Dressing with Point (4)

Keep repeating this game, and your little one might point before you know it. I think Veronika gets the point, even if she can’t quite mimic the motion yet!


Rocking Horse Ride

Rock a Baby (3)

At almost eight months old, it was high time to take Veronika on her first rocking horse ride (or, in our case, a rocking lion!). As long as your little one can sit up unaided, he or she is ready for a ride.

First, I introduced her to the rocking lion.

Rock a Baby (5)

She was quite intrigued by this strange new creature!

Rock a Baby (6)

Then it was time to saddle up. Even though she can sit unsupported, I made sure to hold her firmly around the waist as she rocked back and forth.

Rock a Baby (1)

As you rock, sing fun songs for your little one. I sang “Giddy-Up Whoa Pony!” to her, as well as the gentler “Rock-a-Bye Baby”.

Rock a Baby (2)

Don’t be surprised if big siblings want a ride!

Rock a Baby (7)

Clapping Songs

Clapping Songs (5).JPG

Veronika is nearly 8 months old and just yesterday she started… clapping! I was so excited about this milestone, so to encourage the action again today, big brother and I sat down to sing a few clapping songs with her.

First we sang “If You’re Happy and You Know It.” She sure was happy, but it didn’t inspire her to repeat the gesture from the day before.

Clapping Songs (1)

Next up was “Patty Cake”, an old favorite. Again, she smiled but just listened.

Then we sang this silly, sort of tuneless ditty:

Clap, clap, clap your hands

Clap along with me

Clap, clap, clap your hands

Until it’s time for tea.

Well this got her clapping! She was so quick with her movements that my camera only ever captured the hands clasped, not the full motion. But she was doing it!

Clapping Songs (4)

(Note: Repeat this ditty with “stomp your feet”, or “pat your knees” to encourage the next milestone movement).

Veronika also loves to clap hands after knocking down block towers, so Travis and I were happy to oblige.

Clapping Songs (6)

You can even see a quick clip of it about 4 seconds into this video.

When did your little one start clapping? Please share in the comments about this fun milestone.

Nose Day

Nose Day (4)

As a quick follow-up to other body part days Veronika and I have explored, today we had a nose day.

First, we sang about noses. Need ideas? Don’t forget ‘Head, Shoulders, Knees, and Toes’ features it near the end!

Then we walked around the house to find family photos with noses.

And of course, talk about what your nose does best – smell! I lined up spice jars and held each in front of Veronika’s nose.

Nose Day (3).JPG

Some earned a smile and some received a very confused look.

Nose Day (2)

The point is, you can have a day like this for just about any given body part. What will you choose next? Knees? Belly buttons? Please share in the comments!

Nose Day (1)

Wooden Block Towers

Wooden Blocks (2)

Veronika has played with foam blocks in the past; she loves their texture and shape, and I love that I don’t have to worry about injuries with such a soft toy. But a 7-month-old baby can play with wooden blocks, too; you just need to use a little more caution and care.

Because of their sharp edges, I don’t recommend letting your baby have unsupervised play with wooden blocks at this age. Instead, pick a time for this activity and make sure you are sitting right next to baby the whole time.

Wooden Blocks (1)

Veronika received a beautiful set of painted blocks as a gift at birth, and this was the first time I presented them to her.

Wooden Blocks (6)

First she simply enjoyed reaching for them in the box.

Wooden Blocks (8)

Next, I set them out for her. The blocks immediately felt good in her hands.

Wooden Blocks (7)

And make excellent teethers.

Wooden Blocks (5)

Then came the real fun: knocking down towers!

Wooden Blocks (3)

As with soft block towers, Veronika can’t resist knocking them over as soon as she sees them. The difference is that I kept the height lower and made sure they were angled away from her so no sharp edges came tumbling her way.

Wooden Blocks (4)

She loves it every time they go boom – and even started a motion that I think might count as her first clap! Block towers are such a simple but effective way to teach a baby about cause-and-effect, and it was a delight to watch her play.

When we were done, I packed the wooden blocks away until next time.

Baby Led Weaning: 7 months

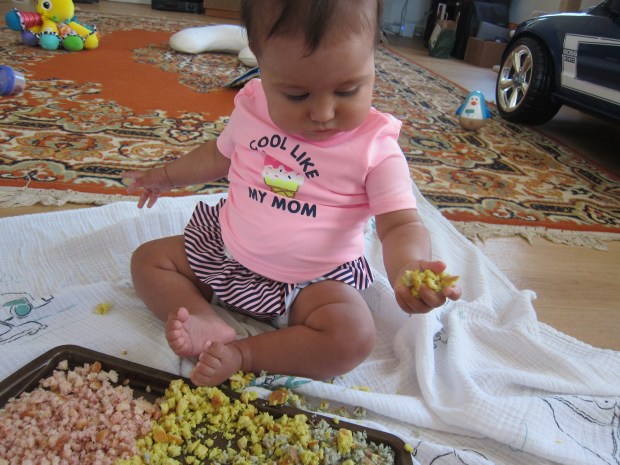
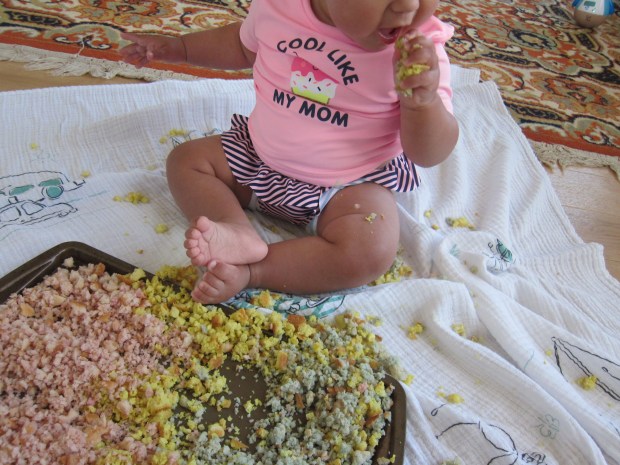
I mentioned previously that Veronika has no interest in purees; this girl wants finger foods, or at the very least, to hold her own spoon! I’m more than happy to let her develop these fine motor skills and important life skills, so I’ve delved into Baby Led Weaning. I’m no expert, so please consult elsewhere for detailed advice on this method of feeding your baby, but here are a few fun meals she’s dined on in the past month.

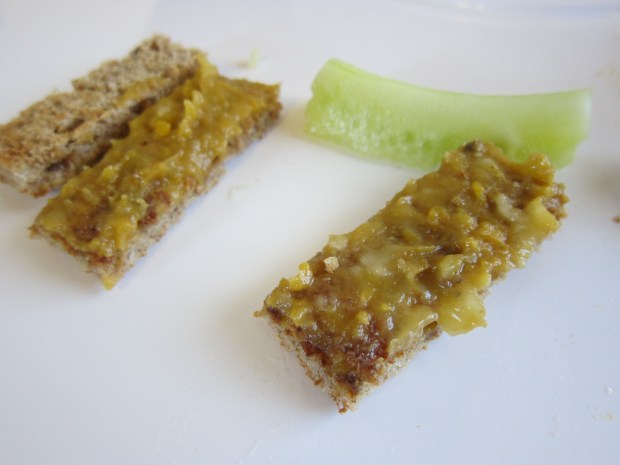
Banana-Pumpkin-Sunflower Toast

In a bowl, combine 2 tablespoons mashed banana and 2 tablespoons canned pumpkin. Stir in 1 teaspoon sunflower butter.

banana toast

Spread thinly on one slice of toasted bread, and cut into strips.

banana toast alt.JPG

Baked Pears

Peel 2 pears and cut into strips. Place on a baking pan and cover with foil. Bake at 350 degrees F for 50 minutes, until very tender.

Baked Pears

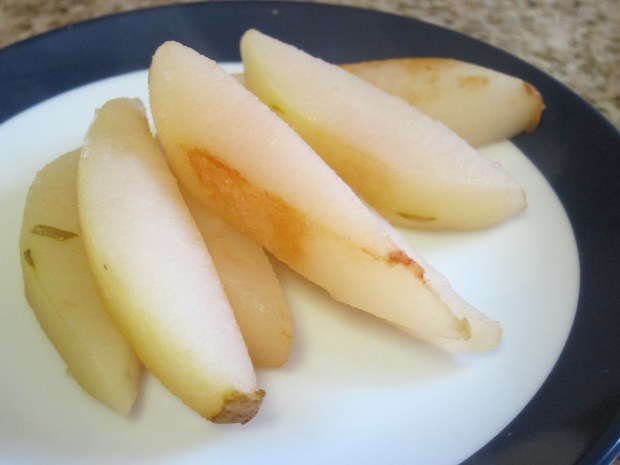
Note: this works equally well with apples, or with a combo of the two!

Baked Apple & Pear.JPG

Brown Rice

In a saucepan, combine 1 cup brown rice and 2 cups water. Bring to a boil, then cover, reduce heat to low, and simmer for 40 minutes. Let stand for 5 minutes, then spoon into bowls and cool to room temperature. Put it in clumps on baby’s tray; Veronika loves to pick up handfuls of the sticky rice!

Brown Rice.JPG

Black Bean Mash

Heat 1 tablespoon olive oil in a saucepan over medium heat. Drain and rinse 1 (15-ounce) can of black beans and add to the pot; cook for 1 to 2 minutes, until warm. Transfer to a bowl and mash until smooth.

Black Bean Mash.JPG

Just set out little blobs on the tray…

Black Bean Mash alt

And watch your little one go to town!

Basic Barley

For this one, I highly recommend quick-cooking barley, which cuts the wait time by almost a third when you’re getting dinner ready for everyone in a hurry!

Combine 1 cup quick-cooking barley and 2 cups water in a pan. Bring to a boil, then cover, reduce heat to low, and simmer for 12 minutes ,until the water is absorbed.

Basic Barley.JPG

Roasted Apple, Sweet Potato & Cinnamon

This dish introduced Veronika to a little spice! In a baking dish coated with cooking spray, combine 1 peeled and sliced apple, 1 peeled and sliced sweet potato and 1/4 teaspoon cinnamon, tossing to coat. Cover and bake at 400 degrees F for 25 minutes.
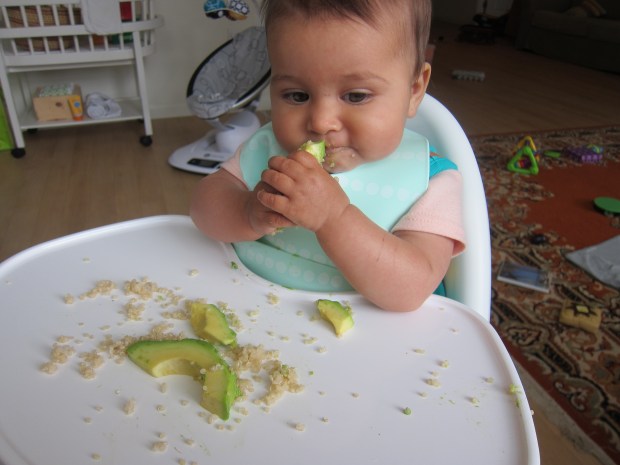
Apple Sweet Potato Cinnamon

Quinoa

You can cook your own quinoa (buy it in bulk and cook according to package directions), or buy it prepared in microwavable containers. Because quinoa is so crumbly, I find it easiest to serve by coating avocado wedges in it!

Quinoa.JPG

Refried Pinto Beans

Heat 1 tablespoon olive oil in a saucepan over medium heat. Add 1/2 of a chopped onion and 1 minced garlic clove; cook for 3 minutes. Add 1 (15-ounce) rinsed and drained can pinto beans and 1 teaspoon cumin. Cook for a final minute, until heated through. Transfer to a bowl and mash until smooth.

Refried Pinto Beans

You can also mix in 2 tablespoons of rice for every 2 tablespoons pinto beans – baby’s first rice and beans!

Pinto Bean Rice (1).JPG

To make it smoother, mix with 2 tablespoons prepared barley cereal and 2 tablespoons applesauce:

Pinto Bean Apple.JPG

Oatmeal

Graduate from watery infant oatmeal to the real deal with this recipe! In a saucepan, combine 2 cups water and 1 cup quick-cooking oats. Bring to a boil; continue to cook for 1 minute, until thickened. Let cool before serving.

Oatmeal

Homemade Applesauce

Chunkier than an apple puree, this is a great “next step” towards one day eating the apple right off the core. Peel and chop 3 sweet apples. Place in a saucepan and cover with water. Bring to a boil, then reduce heat and simmer for 30 minutes, until very tender. Transfer to a bowl and mash with a potato masher. Stir in 1/8 teaspoon cinnamon.

Homemade Applesauce

Banana-Blueberry “Fruit Salad”

Okay, maybe it’s just pieces of fruit on a plate, but this mix of foods on her tray is so intriguing to Veronika! Be sure to cut blueberries into safe pieces to avoid a choking hazard.

Banana Blueberry Salad

Zucchini Sticks with Oatmeal:

Cut the ends from 1 zucchini, and cut into 2-inch sticks. Steam for 6 minutes, until tender. Dip into prepared iron-fortified infant oatmeal cereal and serve!

Zucchini Oatmeal.JPG

Butternut Squash and Corn Mash

In a saucepan, combine 1/2 cup water, 1/2 cup peeled and cubed butternut squash, and 1/4 cup frozen corn. Bring to a boil; reduce heat and simmer for 8 minutes. Drain and transfer to a bowl; mash with a potato masher. Veronika eats fistfuls of this off her tray!

Butternut Corn Mash

Basic Grits

To mix it up for breakfast, prepare grits instead of oatmeal! In a saucepan, combine 1 cup water and 1/4 cup corn grits. Bring to a boil, then reduce heat, cover, and simmer on low for 5 minutes. Let cool before serving.

Basic Grits

I still occasionally try to serve Veronika a puree, as well, venturing into “big girl” flavor combos. A few she has enjoyed:

Apricot, Pear, and Barley Cereal

Stir together 2 tablespoons prepared infant multigrain cereal with 2 tablespoons apricot puree and 2 tablespoons pear puree (you can make your own, or use canned organic baby food in a pinch).

Apricot Pear Barley

Apricot & Banana Mash

This one is chunkier now that Veronika is older. Combine 2 tablespoons pureed dried apricots and 2 tablespoons mashed banana.

Apricot Banana Mash

Fall Harvest Puree

Stir together 2 tablespoons apple puree, 2 tablespoons sweet potato puree, and 2 tablespoons canned pumpkin. Veronika also likes this with a little quinoa stirred in!

Fall Harvest Puree

Apple & Banana Oatmeal

Combine 2 tablespoons apple puree, 2 tablespoons mashed banana, and 2 tablespoons iron-fortified infant oatmeal.

Apple Banana Oatmeal.JPG

Mango & Banana Mash

Stir together 2 tablespoons mango puree and 2 tablespoons mashed banana. A taste of the tropics!

Mango Banana

To end this post, let’s talk about snacks! It’s time for me to start thinking about an emergency snack stash in my purse not just for my big kid, but for my baby, too! At just shy of 8 months old, I’ve begun carrying mini rice cakes in my purse for her.

Emergency Snacks (1)

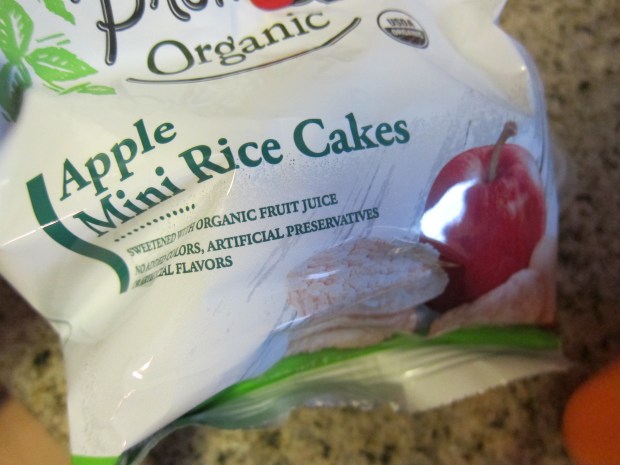
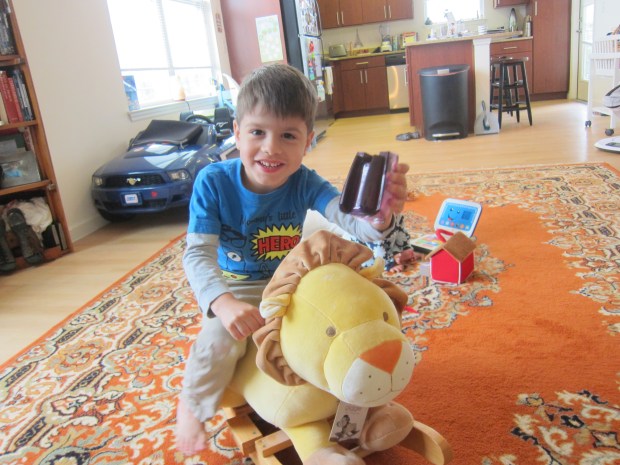
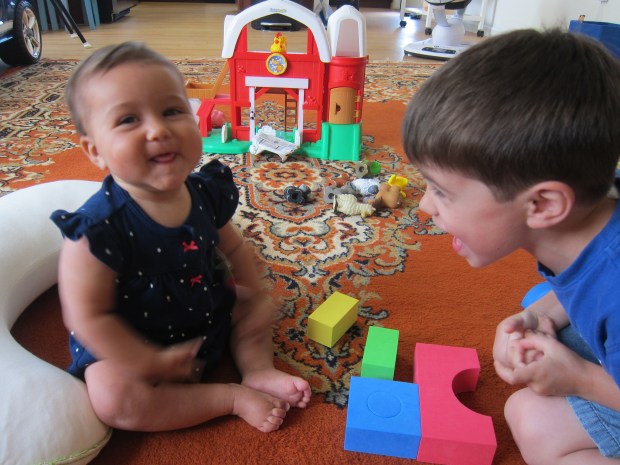
If she gets cranky (or if big brother starts eating a snack and she wants to join in!), I’m at the ready.

Emergency Snacks (4)

She looked so delighted the first time she got a snack on-the-go that it was priceless!

Emergency Snacks (3)

Other good options at this age include safely cut pieces of fruit, puff cereals, or squeeze pouches.

Emergency Snacks (2)

One note of caution: Be sure you don’t give your baby a snack in the back of the car until you’re sure they can safely chew and swallow. Otherwise, an “emergency snack” becomes an emergency snack in a whole other sense of the word.

Ears Day

Ears Day (6)

In the past, Veronika and I have focused on a single body part for the day, like hands and feet. Today was all about ears!

Rather than just pointing out ears, we focused a lot on what ears can do – hear! That meant pulling out all her toys that prominently feature sounds. We listened to doorbells and animal sounds:

Ears Day (9)

Squeaky suns:

Ears Day (1)

And musical instruments:

Ears Day (4)

Find things around the house with a strong sound (like running shower water), and for each one, say “I hear with my little ear…”

Ears Day (2)

I also read a book from the library called I Hear, and made sounds alongside the pages.

Ears Day (5)

“I hear with my little ear… rain!”

Ears Day (7)

“I hear with my little ear… the telephone!”

Ears Day (8)

We also walked around the house looking for ears in family photos and paintings.

Ears Day (10)

What body part should we explore next? Stay tuned!

Ears Day (3)

Dinner Games with Baby

Dinner Guest (3)

Dinnertime doesn’t have to be difficult with a baby… Just strategic! Here are two simple ideas that I have found helpful in keeping Veronika entertained, both during meal prep and during the meal itself.

If you’re cooking for grown-ups or older siblings, that’s the perfect time to park your baby in the high chair. Right around 20 minutes before mealtime, Veronika gets fussy. Once she’s seated, she can enjoy watching the action while I narrate her through the cooking motions. Better yet, I make her my taste tester!

Taste Test (3)

Thanks to Baby Led Weaning, I’m not afraid to offer Veronika foods that aren’t “baby foods.” She can handle soft-cooked pasta pieces as I prepare a larger batch.

Taste Test (1)

Or I scatter about a few pieces of breakfast cereal (or try those very popular puffs). Veronika loves being my “tester” as I prep around her!

Taste Test (2)

When it’s time to eat, we invite a friend to dinner. Bring along a toy that’s easily wiped clean, and make it a special dinner guest.

Dinner Guest (5)

The first time we played this game, I showed Veronika how to “feed” the toy.

Dinner Guest (6)

Pretty soon she was cutely mimicking the motion!

Dinner Guest (9)

She loved having the company, and when she grew bored of the food, she could play with the toy!

Dinner Guest (7)

This is a great way to give yourself or big kids time to finish the meal before having to whisk baby off for a cleaning.

Dinner Guest (8)

How do you entertain baby in the kitchen? Please share in the comments!

Dinner Guest (10)