Spongy Pencil Toppers

Spongy Pencil Toppers (7)

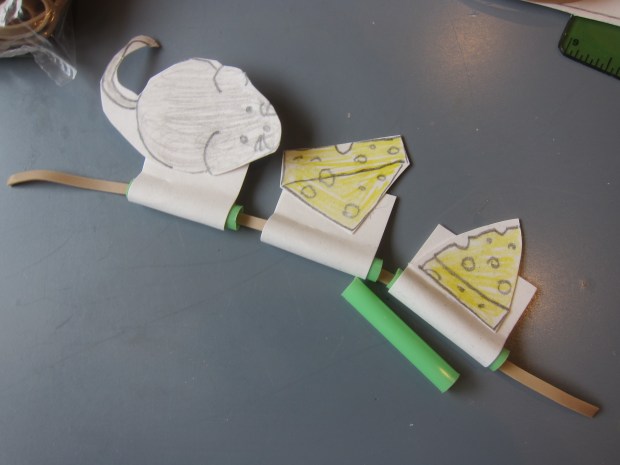
These fun pencil toppers were the final craft Travis and I put together to round out his new school supply swag. They’re perfect for any pencils where the eraser is completely worn down to a nub.

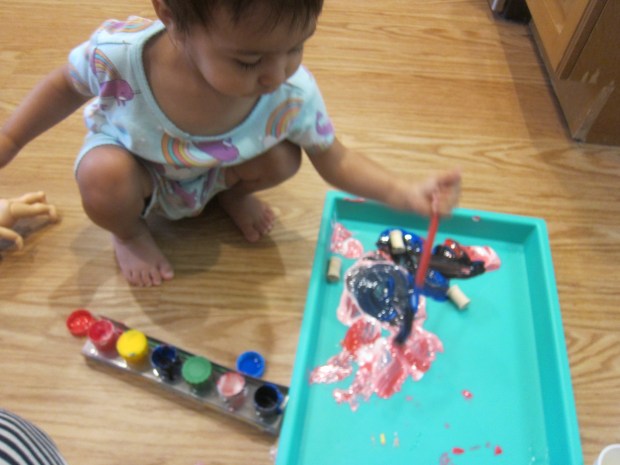
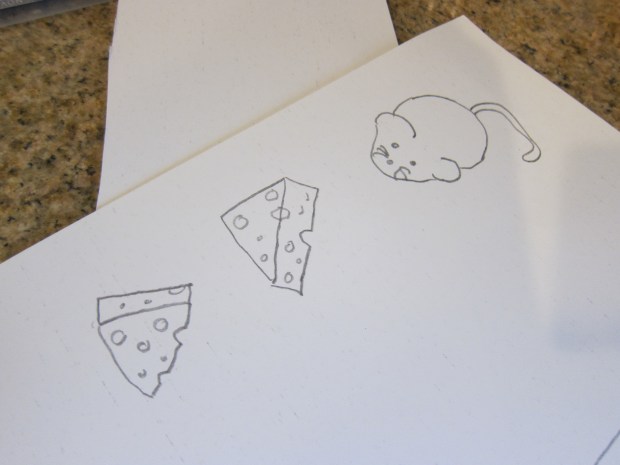
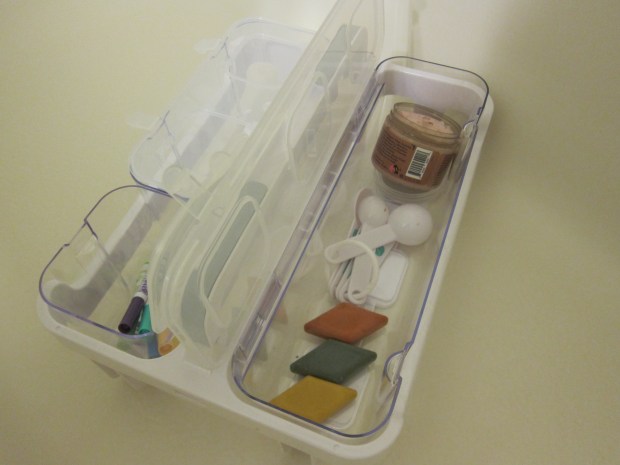
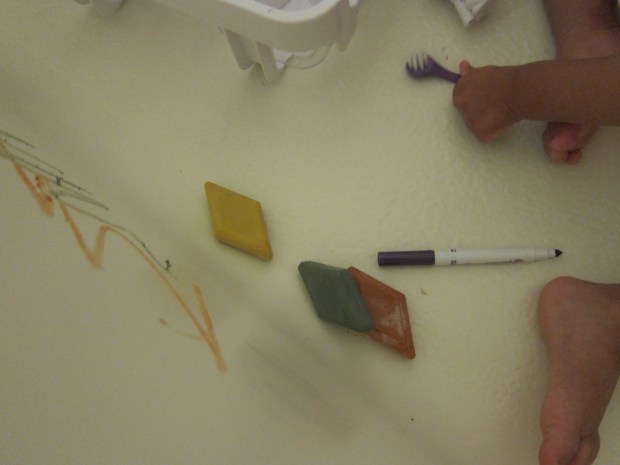
I had a bag of makeup sponges that we use for face paint, and the triangle shape made them the perfect candidates to turn into painted miniatures of triangular foods. Think: slices of cake, wedges of cheese, or sandwiches.

Squishy Pencil Toppers (1)

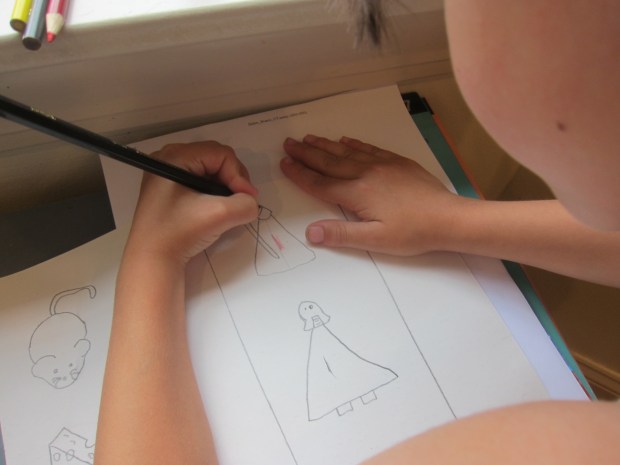
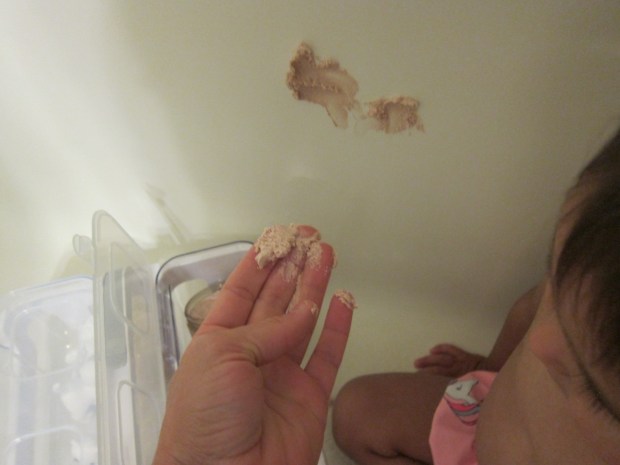
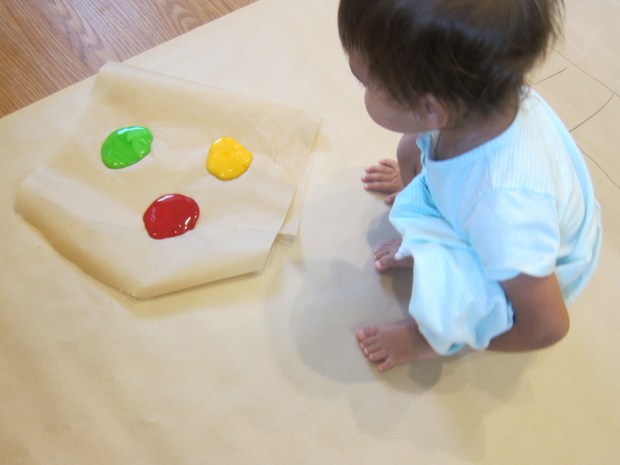
A little puffy paint was all we needed.

Squishy Pencil Toppers (3)

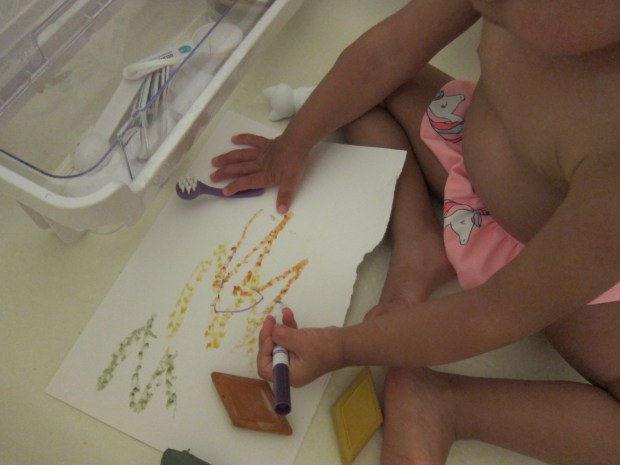
This one was a piece of cake (heh).

Squishy Pencil Toppers (2)

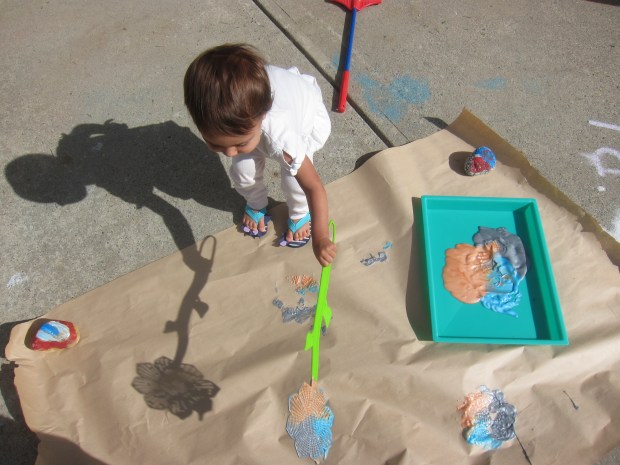
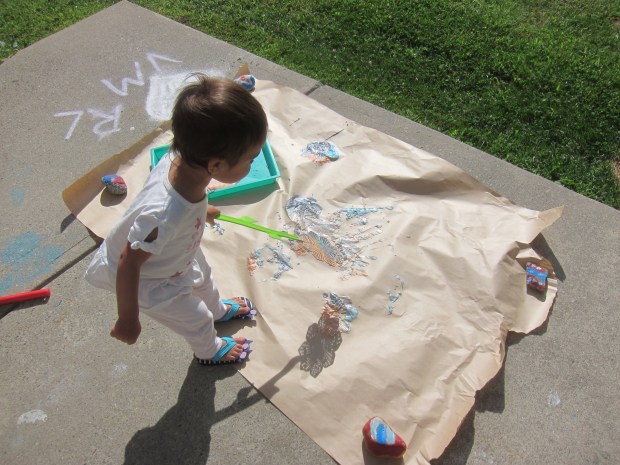
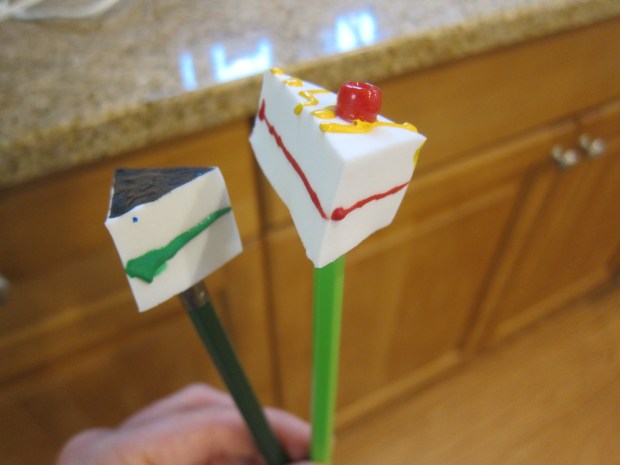
Then we tested out other ideas, like a peanut butter and jelly sandwich (blue and yellow paint). Travis wanted a mint chocolate cake, which we made with black and green paints.

Spongy Pencil Toppers (5)

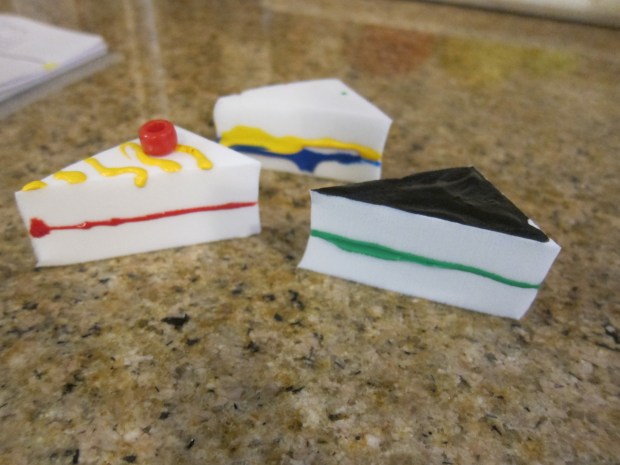
Let the puffy paint dry completely, then add details like beads on top for cherry garnishes.

Spongy Pencil Toppers (8)

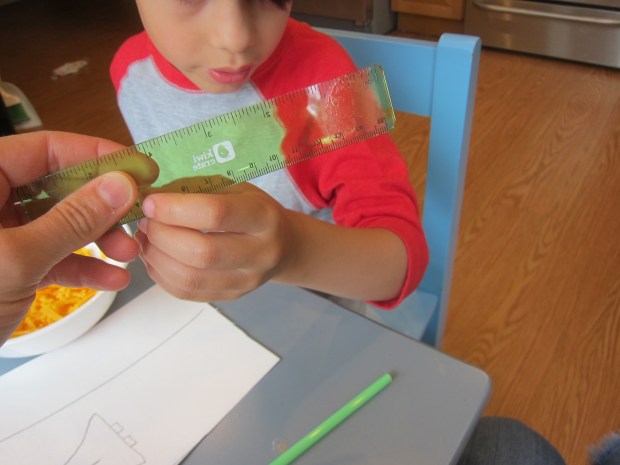
Once the glue dries, poke the sharp end of a pencil into the bottom of the sponge to make a hole. (Note: You can also secure the sponges with hot glue for added security). Insert onto the eraser end of the pencil and write away!

Backpack Key Chains

Backpack Keychain (8)

Travis is kitted out with notebooks and textbooks, but he won’t be completely back-to-school ready until his backpack has some homemade bling! We used up the last of a pack of craft spools for this easy DIY version.

First up was painting the spools and Travis chose red.

Backpack Keychain (2)

I painted a second set in a marbled red and yellow.

Backpack Keychain (4)

You’ll want to use acrylic paints so that the first rainy day doesn’t spoil your child’s craft. But since little sister Veronika wanted to get involved, I gave her some washable paints to smear around next to us.

Backpack Keychain (3)

Once the spools dry, thread onto craft laces. Travis chose blue for his.

Backpack Keychain (5)

And of course you’re sneaking in fine motor skills when your child threads the spools onto the lace.

Backpack Keychain (6)

We alternated these with wooden beads, then added a clasp at the top and knotted the lace.

Backpack Keychain (7)

Backpack? Check. COVID-19 hand sanitizer? Check. Keychain? Check. He’s ready.

Backpack Keychain (9)

Taco Notebook

Taco Notebook (6)

On the heels of a fun avocado textbook, here was another project to kit out Travis’s school supplies for the first day next week!

Travis helped glue a piece of brown cardstock to the cover of a standard spiral notebook. Then we glued scrapbook paper in a gingham print (which reminded us of a picnic blanket!) on to the first sheet of paper of the notebook; let dry.

Taco Notebook (1)

Trim the edge of the cover so it is rounded like a taco shell.

Taco Notebook (3)

Next up was cutting taco fillings (lettuce, tomato, and cheese shreds) from felt. This was great scissor practice for Travis since felt is tough to cut.

Taco Notebook (2)

We glued the felt shapes along the inside cover of the “taco shell”.

Taco Notebook (5)

Once closed, it looked almost good enough to eat!


Crumple Painting

Crumple Painting (3)

Veronika has loved working with a big canvas for art lately, so today I wanted to find a novel way to let her fill a big sheet from the craft paper roll. Instead of paintbrushes, we crumpled up newspaper from the morning’s news!

Crumple Painting (1)

I put a few fingerpaints onto paper plates, then crumpled up the newspaper. I showed her how to dip one end in the paint and press onto the paper.

Crumple Painting (2)

She certainly thought it was funny but she seemed a little hesitant to try herself. More fun was turning the plates upside down to see if the newspaper would stick!

Crumple Painting (4)

I realized that the wads of newspaper were much too big for her little hands. Making smaller crumples was the solution.

Crumple Painting (5)

We ended up with neat dots all over the paper and set it aside to dry. This looks like it would make beautiful homemade wrapping paper, so we’re setting it aside for upcoming birthdays!

Crumple Painting (6)

The Great Chase

The Great Chase (6)

Here was one last fun craft to illustrate the science of tension for Travis, using only a rubber band and some paper!

First we needed to draw two pictures on cardstock. These can be anything your kid wants, so long as there is one thing being chased and a chaser. I copied a template for a mouse chasing cheese for our first version.

The Great Chase (1)

Travis of course chose two Star Wars characters for a second version! We colored in the images, then cut out.

The Great Chase (2)

You’ll also need to cut a rectangle from cardstock measuring 1×2 inches for each image.

The Great Chase (3)

Cut 1-inch pieces of straw. Place a straw piece in the center of each rectangle, using double-sided tape, and fold the cardstock over the straw.

The Great Chase (4)

Attach one of your images to the resulting strip of paper with a second piece of double-sided tape.

The Great Chase (5)

Cut a rubber band open and thread the straw pieces on. Make sure the thing being chased is below the chaser!

As you expand or tauten the elastic, the little straws “run” down it. Travis giggled watching the mouse chase its cheese.

The Great Chase (7)

And loved the Star Wars version!

The Great Chase (8)

Leftover Art Streamers

Leftover Art Streamers (10)

Veronika has been making big works of art lately, with full sheets of craft paper from our giant roll laid down on the floor. Unfortunately I have no place to store such big masterpieces, so usually I just crumple up the paper when the fun is done. Today we came up with this way to “recycle” the art as decoration instead.

First up was making art, and Veronika loved painting all over a big piece of paper just before bed. We used a mix of watercolors, regular tempera paint, and sponge brushes with shapes on them.

Leftover Art Streamers (1)

“Lots of black stars!” she said proudly as she worked.

Leftover Art Streamers (2)

I left it to dry overnight. The next morning, we covered a second sheet of craft paper with lots marker scribbles and drawings.

Leftover Art Streamers (4)

Now, I simply cut each masterpiece into long strips. If you’re doing this activity with a preschooler, consider drawing lines for your child to cut along and practice their cutting skills. For Veronika, I simply handed her a pair of safety scissors so she could “cut” alongside me.

Leftover Art Streamers (5)

My original plan was to hang these like streamers from an archway in our home, thinking it would be a blast for the kids to run under them and through them.

Leftover Art Streamers (3)

I quickly realized this wouldn’t work because the streamers needed to be much longer. I held Veronika in my arms for her to feel the streamers, which made her giggle, but it wouldn’t make for solo play.

Thinking quickly, I taped the streamers all around the kids’ craft table. Now it was a secret fort and hideout for her!

Leftover Art Streamers (13)

She loved to crawl inside.

Leftover Art Streamers (12)

And play peek-a-boo through the streamers with me.

Leftover Art Streamers (8)

And then find her way out again.

Leftover Art Streamers (11)

These streamers would also look really pretty over a window as makeshift “curtains” in a kids bedroom.


Art Station in the Tub

Art Station Tub (1)

I’ve seen a lot of cute “art stations” set up in playrooms and bedrooms, but when I read about setting one up for kids in the bathtub I thought it sounded like a neat alternative. After all, there’s no where better to make a mess than the exact place where you’re going to clean off.

Oddly, I couldn’t find inspirational images of what to include in our tub art station when I searched online, so I sort of just rigged this together. I filled an art caddy with a few water-friendly “art” activities. We had all-natural bath crayons, a “soap fluff” that I thought the kids might enjoy smearing on the walls (or their bodies!), and a little set of animals with washable markers.

The fluff, it turned out, didn’t interest them at all.

Art Station Tub (2)

The crayons received lots of attention. I had laid down scrap paper to scribble on, but of course the tub itself was fun to draw on, too.

Art Station Tub (5)

The biggest hit turned out to be those silly animals and markers. Once the kids had covered the animals with color, we drew a bath and used water to “scrub” them clean.

Art Station Tub (3)

What would you include in a bathtub art station? Please share in the comments!

Art Station Tub (4)

Fly Swatter Painting

Fly Swatter Painting (5)

This art project is messy, so you’re going to want to take it outside. But I can happily report that it’s worth the effort!

I placed a long sheet of craft paper on our back patio, securing the corners with heavy rocks so it wouldn’t blow away. (As an alternative, you could clip craft paper to a fence or other outdoor surface that is upright).

Then I set out a tray with several different colors of metallic craft paint. You’ll need a nice puddle of paint for this project to work well, so don’t worry if the colors mix together.

Fly Swatter Painting (1)

I dipped our fly swatter in the paint, making sure to coat it evenly, then showed Veronika how to say “Whap!” and slap it down hard on the craft paper.

Fly Swatter Painting (4)

Well of course now “Whap!” was the most fun thing in the world to say.

Fly Swatter Painting (2)

Dip and whap, dip and whap, dip and whsp.

Fly Swatter Painting (3)

She loved every bit of this project, both dipping the fly swatter in paint, and seeing the marks she made.

Fly Swatter Painting (6)

She wanted to whack the fly swatter against the rocks, too!

Fly Swatter Painting (8)

Her little feet paraded all around the craft paper, making sure she covered her big canvas.

Fly Swatter Painting (9)

As a bonus, our fly swatter happens to be flower-shaped, so it made beautiful prints!

Fly Swatter Painting (7)

This project likely won’t get you a lasting work of art. But Veronika sure loved the process!

Fly Swatter Painting (10)

Cork Printing

Cork Painting (8)

Veronika and I have played around with several ways to make dot paints recently and since I had a few corks left over, I figured we’d test out how they worked.

I set out a craft tray with several different colors of metallic craft paint, construction paper for Veronika to dot onto, and the corks.

Cork Painting (1)

It turned out the corks were the perfect size for little toddler hands to hold!

Cork Painting (2)

She loved to dip in the paint…

Cork Painting (3)

…and dot on the paper.

Cork Painting (5)

She tested out all the different colors in this way.

Cork Painting (6)

Then she tried dotting two of the corks together, with a look of very serious concentration on her face.

Cork Painting (7)

This didn’t keep her busy for that long, but it was a cute alternative to a paintbrush, and we always like testing new tools around here.

Cork Painting (9)

Scented Edible No-Cook Fingerpaint

Kool Aid FingerPaint (4)

All jokes aside, no we don’t drink the Kool-Aid around here. But sometimes for coloring craft projects, it’s the best option to achieve bold, bright colors. I knew Veronika would probably end up eating some of the “paint” for this craft, therefore, but a little doesn’t hurt!

To set up, spoon non-dairy yogurt onto plates or cups (I didn’t measure exactly, but would guess I used about 1/2 cup yogurt per color). Add a packet of Kool-Aid mix to each portion, and stir to combine.

Kool Aid FingerPaint (1)

I then dolloped smaller portions of the paint onto parchment paper in front of Veronika as her artist’s palette. I only made three colors, but you could easily set up a full rainbow!

Kool Aid FingerPaint (3)

I encouraged her to swish fingers through the paint and smear it over the craft paper I laid out. We turned the blobs into fun shapes like a yellow sun or a red flower.

Kool Aid FingerPaint (5)

Of course she did also very quickly discover that the paint was delicious. Which means we had some of this…

Kool Aid FingerPaint (10)

…but an equal amount of this.

Kool Aid FingerPaint (9)

Well, snack time and craft time were both taken care of!

Kool Aid FingerPaint (6)