Sunshiny Art, Three Ways

Sunshine Art (11)

Baby it’s hot outside! But instead of lamenting the fact, Travis and I are using the sun as our accomplice in art.

First, we made suncatchers. This is a craft we’ve done before but it never loses its luster. Use markers to color over coffee filters – the more colors the better! Spritz with water to bleed the colors together.

Sunshine Art (2)

Once dry, we made paper frames by cutting rectangles out of white paper and taping around the filters. Place them in the window to catch the sun!

Sunshine Art (9)

Then we headed outside with a long roll of craft paper to make shadow portraits. Have your child stand so that the paper catches their shadow (you might have to lay it down a few times before you get the right angle). Trace around the shadow.

Sunshine Art (3)

Travis filled in his outline with a smile and clothes – all orange today!

Sunshine Art (5)

I challenged him to draw my shadow next. This task was tough, especially because he lost his place when the sun went behind a cloud, but it was great tracing practice.

Sunshine Art (7)

Finally, we returned to another oldie-but-goodie: sun prints. Place toys or other items on a piece of dark construction paper. Travis liked placing the items just so.

Sunshine Art (10)

Wait a few hours, then check and see if the image of the items remains on the paper. The longer the sun bleaches your paper, the more pronounced the effect will be.

Sunshine Art (13)

Thanks for helping out, Mr. Sun!

Silly Symmetrical Socks

Symmetrical Socks (6).JPG

Travis has been learning about symmetry lately, but this was the first time I challenged him to make something symmetrical without a template to follow. He was gamely up for the challenge!

I folded a piece of paper in half and drew a sock. How many socks did I have? I asked him. One, he guessed.

Symmetrical Socks (1)

I unfolded the paper to reveal… two socks! He thought this was a neat trick.

Symmetrical Socks (2)
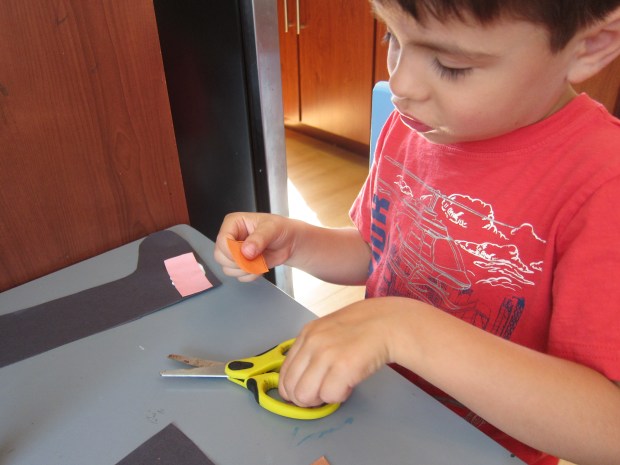
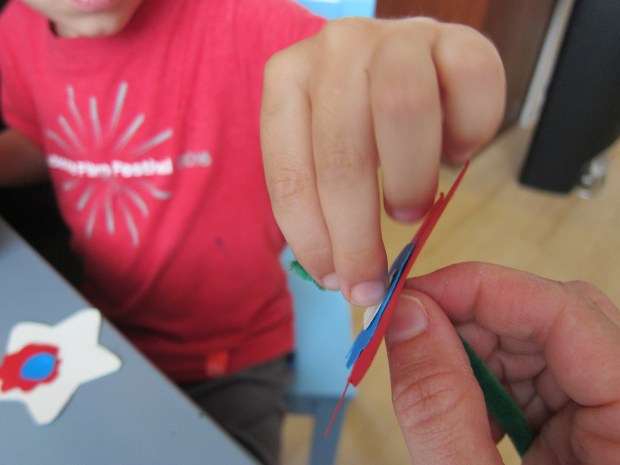
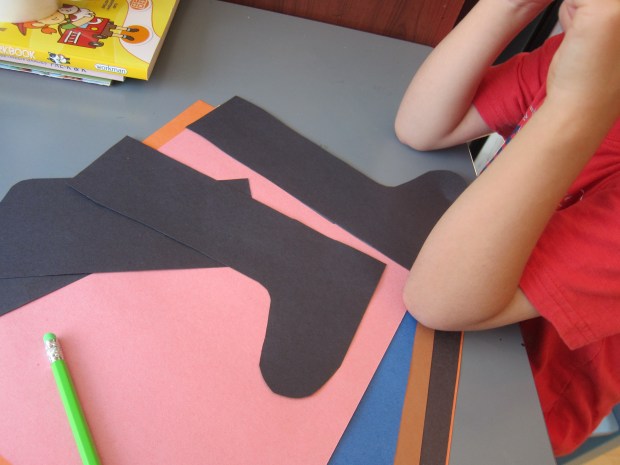
Now it was time to add silly decorations. For each one, fold a piece of paper in half and cut out shapes or designs. Travis loved discovering each time that he had duplicates of each shape.

Symmetrical Socks (3)

I helped Travis ponder where on the socks each shape needed to go to keep them symmetrical. At first he had things a little reversed (the heel of one sock and the toe of the other, for example) but as he worked, he got the hang of it!

Symmetrical Socks (5)

This is a simple and quirky project that will give a great visual about symmetry to little learners.

Symmetrical Socks (4)

Fourth of July Paper Pinwheels

Paper Pinwheel (7).JPG

Just in time for a Fourth of July parade, we threw together these quick pinwheels! This is actually a project we’ve tried in the past but only had brads on hand to attach the paper to pencils. This time, I had proper straight pins on hand!

Draw patterns on paper with markers to start. For today, we knew we needed blue and red markers on white paper of course, but really you could tailor this craft for any holiday – or any day of the year!

Paper Pinwheel (1)

Older kids can concentrate on making their drawings and patterns symmetrical. Or even use patterned paper in a pinch! Make sure to also color in small circles on a separate sheet of scrap paper, which will be the center of the pinwheel.

Cut your paper into a 6-inch square; cut a 3-inch slit diagonally in toward the center from each corner, and cut out the scrap circle.

Paper Pinwheel (2)

Poke a straight pin through the paper circle, then begin folding in the corners of your square, alternating corners and poking the pin through each layer as you go. This was a mommy step!

Paper Pinwheel (6)

Poke the pin through the center of your square and down into the eraser of an unsharpened pencil.

Paper Pinwheel (3)

Your pinwheel is ready to twirl in the wind as the parade marchers go by! Baby sister loved it, too!

Paper Pinwheel (4)

In addition to this fun craft, we set the stage for the holiday with a few other activities. First we needed a playlist of Fourth of July tunes.

Raddish Fourth (3)

Think of bandstand favorites like “You’re a Grand Old Flag”, then add anything with America or U.S.A. in the title! We made our own list, but relied on this one from Raddish Kids for inspiration.

Then we struck up some table talk, also suggested by Raddish Kids; we tackled intriguing questions like who is your favorite president (Travis chose Washington!), how many states can you name, and what is a favorite family 4th of July tradition?

Finally, I showed Travis a red, white, and blue flag quiz. For big kids, make it a true quiz or competition – winner gets a prize! For Travis, it was more of a teaching moment. He liked Great Britain’s flag best, and was intrigued to learn so many other countries use the same color trio as we do.

Happy 4th!

DIY Burlap American Flags

Burlap Flags (7)

We have little American flags for Travis and Veronika to wave at tomorrow’s Fourth of July parade, but with a roll of burlap in our craft bin, we thought it would be fun to bring homemade ones along as well.

Cut burlap into little flags; these can be square, rectangular, or triangles, whatever your little crafters would like!

Burlap Flags (1)

I set out red, white, and blue paints, and Travis jumped right in.

Burlap Flags (3)

First he smeared lots of blue over his flag, but then remembered to include the other two colors from Old Glory as well. By the end, his flag was a pretty mix. Meanwhile, I made a sort of reverse-color American flag for him.

Burlap Flags (4)

Once the paint dries, hot glue onto dowels. You can leave the dowels plain, but we decided to paint those blue as well!

Burlap Flags (6)

Flowers for the Fourth

Flowers for 4th (7).JPG

Travis checked out the crafts in his July issue of Highlights just in time for the Fourth of July, with these suggested fun flowers; they make the perfect centerpiece at any picnic table or backyard barbecue or pool party for the holiday! Make as many or as few as your little crafters have patience for.

For each flower, cut out a small circle, a medium flower or star shape, and a large star shape from cardstock in red, white and blue. We traced cookie cutters, but feel free to free-hand these!

Flowers for 4th (1)

The trick for assembly is to alternate the colors of the flag.

Flowers for 4th (2)

I challenged Travis to layer our flowers so each contained all three colors, no repeats. He liked this step best!

Flowers for 4th (4)

Poke a hole through the cardstock. This step was a touch tricky; a pin worked best to pierce the thick paper but it made a very tiny hole. We carefully threaded a green pipe cleaner through and added a clear pony bead at the end. Wrap the pipe cleaner around the bead to seal.

Flowers for 4th (5)

Arrange your “flowers” in a mason jar for a patriotic presentation!

Flowers for 4th (6)

History of the Flag

History of the Flag (1)

In anticipation of the 4th of July, Travis and I had a lesson about the American flag today, thanks to our Backyard BBQ unit from Raddish Kids. Recipes will follow soon, but for today, we had fun learning about the flag’s history and getting creative. Read on!

First I gave Travis a riddle: “I’m red, white, and blue, and starry too. What am I?” He had peeked (little cheater!) so knew I meant the flag. It’s fun at this point if you have a little flag that your child can examine and hold.

We made a chart known as a K/W/L graph with three columns: Things I Know; Things I Want to Know; What I Learned.

I asked him what he knew for starters, and he rattled off facts: the colors, the inclusion of stars and stripes, and that it’s our American flag, not another country’s.

History of the Flag (2)

Then we discussed what he wanted to know. I encouraged him to go deeper: why are there thirteen stripes or fifty stars, for example; why do we fly the flag. Now it was time for videos suggested by Raddish!

IMG_0001

We looked through a few flag books, as well, for further facts. It was useful to have a world map handy so I could point out where other flags were from.

IMG_0002

Now he could fill in the final L column. I was so proud that Travis had learned about the thirteen colonies, for example, or nicknames for the flag like Old Glory.

History of the Flag (3)

So now for the crafty part: designing his own country flag. Being only 5 years old, Travis’s grasp of the project was limited; his was a very fantastical flag for a “snake country.”

History of the Flag (4)

We used cardstock as the background, and of course a coiled yarn snake needed to be in the center. Using stencils was an artistic way to add “symbols”. Big kids can go more in depth into which symbols exist on real flags, and why.

History of the Flag (5)

A tin foil canton (vocab word)!) in the top corner added shine, though soon this was embellished with an old train ticket and construction paper.

History of the Flag (7)

I loved watching his creativity even though his final result was quite busy for a flag. Please share about your own kids’ creations in the comments!

History of the Flag (6)

Animal Craft Challenge

Animal Challenge (6)

Travis loved this month’s craft challenge from Highlights magazine: to make an animal using nothing more than an empty egg carton, pipe cleaners, pom poms, and googly eyes.

I was thinking something cute and fluffy, but Travis immediately knew he wanted a snake! Pipe cleaners were the obvious choice for the body.

Animal Challenge (1)

We twisted several lengths together to make long snakes. He wanted to attach eyes next, but I asked him if he thought the eyes would affix well to the pipe cleaners. He decided no, and realized an egg carton piece could be the head!

We poked holes through the egg carton segments to attach heads to bodies, and glued on the eyes.

Animal Challenge (2)

With leftover egg carton portions all around him now, he toyed around with gluing pom poms and eyes to single segments, but this didn’t work very well. Could we use the bigger, lid portion of the carton we wondered, for a body?

Animal Challenge (3)

Now Travis knew what he wanted: a spider! We threaded four pipe cleaners through from one side to the other, to make 8 legs. He wanted to glue on 8 eyes, but we only had room for 5 eyes to march across.

Then Travis decided it needed to be furry with pom poms – a tarantula! He was so thrilled with this spider that he couldn’t wait for the glue to dry.

Animal Challenge (4)

What a wonderful craft challenge, thanks Highlights!

Animal Challenge (5)

Bean Picture

Bean Pictures (6)

Engage your child’s budding artistic skills and fine motor skills with this quick project!

I invited Travis to draw anything he liked on thick watercolor paper, but suggested it needed to be something he could truly draw – not a “scribble scrabble” as he’ll do when he’s joking around. He thought about this and decided on a person.

Bean Pictures (1)

I love the way he draws people at age five: a very big head with round cheeks and small facial features, then tiny stick arms and legs.

Next I had him squirt glue all along the lines he had drawn. He took this mission very seriously.

Bean Pictures (2)

Finally, it was time to cover his person with dried beans. He laughed as he worked about “Mr. Bean,” and carefully added beans along every bit of glue.

Bean Pictures (3)

Near the end, he decided it wasn’t Mr. Bean after all… It was his baby sister!

Bean Pictures (4)

She needed a sun to stand under, so he penciled in a second circle, and insisted we cover that with glue and beans, too!

Bean Pictures (5)


DIY Lip Balm

Gallant Lipbalm (5).JPG

There was a jar of coconut oil in the pantry that I wanted to use up before an upcoming move, and thought it would be fun for Travis and I to make pots of DIY lip balm… the perfect remedy for dry lips on hot summer days.

To start, we stirred 1 pack of tropical punch Kool-Aid powder into 3 tablespoons olive oil for a purple-y hue. Although not something I ever have Travis drink straight, Kool-Aid does provide a fun punch of color sometimes. Alternatively, you can leave it clear.

Gallant Lipbalm (2)

Stir the olive oil mixture into 12 tablespoons coconut oil. (Note: Let your coconut oil soften first…which wasn’t hard here on a 90 degree day!).

Gallant Lipbalm (3)

We spooned this into individual tins; clear jars meant for beads from the craft store were the perfect size. Place the jars in the fridge to set.

Gallant Lipbalm (4)

Travis was a nut trying out the balm; it cracked him up that it made his lips red!

Gallant Lipbalm (6).JPG

We were inspired by the latest Gallant story in his Highlights magazine about boys who sell a similar lip balm to raise money for a cancer fundraiser. So we’re hoping to have a mini fundraiser with our little pots of balm and send to a favorite charity!

Straws and Yarn

Straws and Yarn (8).JPG

This project is fantastic for keeping motor skills sharp in the summer break between preschool and kindergarten… and the final product easily becomes a gift for someone special, whether a graduation or a birthday!

Tie a piece of yarn to a drinking straw with a tight knot; set aside. Help your child snip straws into pieces of varying size. We used wide pastel-colored milkshake straws, and discovered that the smaller we snipped them, the more they were ilke “beads” for our necklace.

Straws and Yarn (1)

The straws could be a bit tough to snip, and Travis loved when pieces went flying!

Straws and Yarn (2)

Have your child begin threading them on to the yarn.

Straws and Yarn (5)

Travis tried a few tactics, including pushing a straw “bead” onto the yarn, or pulling the yarn up through.

Straws and Yarn (3)

I loved his patience and concentration as he worked!

Straws and Yarn (4)

Once long enough for a necklace, tie the two ends of the yarn into a secure knot.

Straws and Yarn (6)

Travis enjoyed the project so much that he insisted we make two; he didn’t want either grandmother to feel left out, so we’ll be gifting two of these!

Straws and Yarn (7)