“Cooking” with Flour

Cooking with Flour (10).JPG

Many parents I know resist flour play, saying it’s either too messy or too much of a hassle. But I love this sensory material for babies. First, it’s edible, so no worries if little fingers make it up to little mouths. Second, as long as you cover your surface, clean-up is a breeze. Set down an old shower curtain or plastic table cloth for this one, and you’ll be able to contain the mess.

I stripped Veronika down to just a onesie (go all the way to the diaper for even easier clean-up!), and gave her a few measuring spoons and cups. She was having fun already, and wondering about this interesting bag.

Cooking with Flour (1)

I sprinkled a little pile of flour in front of her. In went the hands right away!

Cooking with Flour (2)

There are so many ways to play with flour and your baby. Demonstrate how to make squiggles in it.

Cooking with Flour (7)

Use the spoons and cups to scoop and pour.

Cooking with Flour (8)

Sprinkle a little light dusting of flour over toes and hands for a tickly sensation.

Cooking with Flour (3)

And just get good and messy!

Cooking with Flour (4)

She loved wiggling her legs through the flour until her thighs were completely coated!

Cooking with Flour (9)

Basically she just had a blast, which gave me time to get a few other things done in the kitchen.

Cooking with Flour (6)

When we were done, I just plopped her right in the bath!

Cooking with Flour (5)

Mango Popsicles

Mango Popsicle (5).JPG

Popsicles aren’t just for big kids on hot days! Try this easy recipe for your baby or toddler so he or she can share in the icy cool fun, too.

Peel and chop 1 mango, and transfer to a blender. Puree until smooth.

Mango Popsicle (1)

Add the juice from 1/2 a lemon and stir to combine. Pour the mango mixture into cups. Small dixie cups would have been ideal but since I only had larger paper cups, I poured in just a small amount to each one. Add a popsicle stick to each cup and freeze until firm.

Mango Popsicle (2)

At first I thought this might be easier to enjoy on the floor with wax paper underneath Veronika to contain the mess. But it turns out the wax paper itself was a distraction!

Mango Popsicle (3).JPG

Up to the high chair we went! From here, watching Veronika figure out the popsicle was a delight. First she just wanted to feel it.

Mango Popsicle (7).JPG

The cold mango received alternating expressions of surprise, nervousness, and amusement.

When she finally figured out how to get the mango up to her lips, her look was pure delight!

Mango Popsicle (6).JPG

Truth be told, she didn’t actually eat much of this, but food is really still practice for Veronika. She did get to enjoy fantastic sensory play, banging the popsicle on her tray, sliding it around, occasionally getting a sweet taste, and smiling up a storm.

Mango Popsicle (8).JPG

Indoor Sandbox Edible Sensory Bin

Edible Sandbox (3)

As a follow up to her first edible sensory tray, today I put together this easy indoor edible sandbox for Veronika… complete with snacks sprinkled in!

Fill a shallow bin with oats, and scatter in a few teething biscuits or toddler cookies (Veronika loves the organic Letter of the Day cookies from Earth’s Best).

Edible Sandbox (1)

Add a few cups or scoops and the bin is ready to go!

Edible Sandbox (2)

Veronika immediately got her hands in, and when she found the first cookie, her look was one of pure delight. Yum!

Edible Sandbox (8)

She kept digging through and loved scattering the oats around.

Edible Sandbox (6)

And she was intrigued when I showed her how she could scoop the mixture into the cups and shake them around, or pour them out.

Edible Sandbox (4)

Big brother wanted in on the action, too!

Edible Sandbox (9)

I loved watching the two of them have fun with this one together.

Edible Sandbox (10)

And because the oats are dry, this sensory bin is remarkably easy to clean up! Have a blanket underneath your baby that you can simply shake into the trash, and anything left behind will sweep up in a pinch.

Edible Sandbox (7)

Rainbow Breadcrumb Edible Sensory Tray

Rainbow Breadcrumb (9)

Aside from a simple bowl of cooked pasta, this was Veronika’s first sensory tray, and the first that I truly prepared for her. At this age, edible sensory trays are best, especially when you have a baby like Veronika who puts everything in the mouth.

The prep for this was so fun. Divide a loaf of bread into equal portions – as many portions as you want colors. You can make a full rainbow, but I stuck with the primary colors: red, yellow, and blue.

Rainbow Breadcrumb (1)

Place 1/3 of the bread in a food processor and process until you have coarse crumbs. Stir 2 to 3 drops of natural food coloring into 2 tablespoons non-dairy milk. Add to the food processor and pulse until the crumbs are coated.

Rainbow Breadcrumb (2)

Transfer to a plastic bag and let dry out. Repeat for your remaining colors.

Rainbow Breadcrumb (3)

Once the bread had mostly dried, I arranged it on a baking tray for Veronika, and sat her down on a blanket; we were prepared for a mess!

Rainbow Breadcrumb (4)

She knew what to do instantly.

Rainbow Breadcrumb (5)

Little hands pulled up big fistfuls of the crumbs.

Rainbow Breadcrumb (6)

They went right to her mouth, which was precisely the point, so I didn’t have to worry one bit.

Rainbow Breadcrumb (7)

I showed her how to run her hands through so that the colors mixed.

Rainbow Breadcrumb (10)

But mostly she was content to reach in, squish the mixture in her hands, have a nibble, and begin again. This one will keep your baby entertained for ages!

Rainbow Breadcrumb (8)

Edible Parts of the Plant

Parts of Plant (13)

To complement a recent Strawberry Shortcake recipe from Raddish Kids, Travis and I had fun with this homeschooling lesson on the various edible parts of a plant.

Ahead of time, I gathered two examples of each of these six plant categories:

  • Roots: carrot and potato
  • Stems: asparagus and celery
  • Flowers: broccoli and flowers
  • Seeds: peas and pinto beans
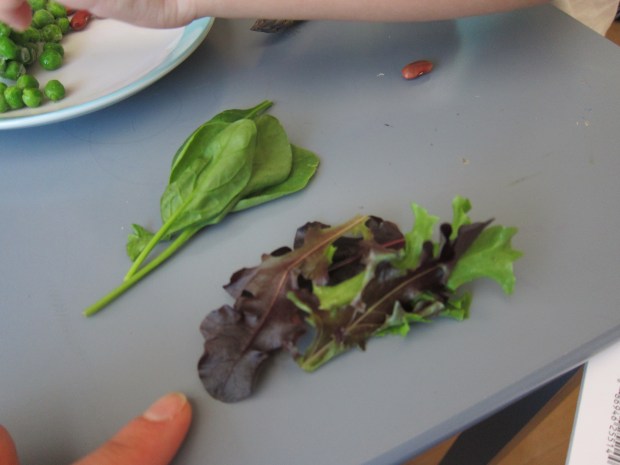
  • Leaves: spinach and lettuce
  • Fruit: tomato and apple

I hid all of these under a blanket, and called Travis over.

Parts of Plant (2)

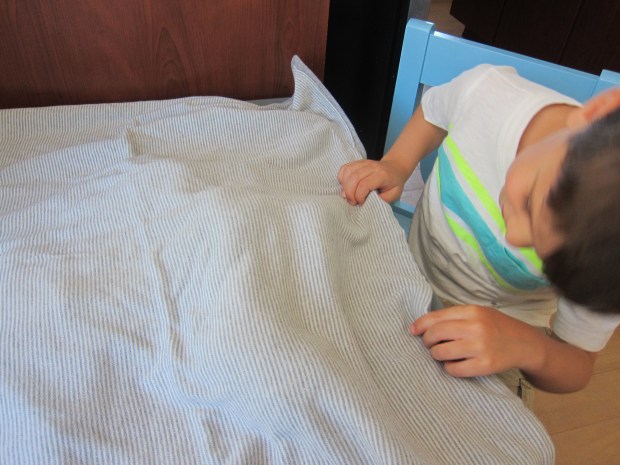
He was immediately intrigued, of course, checking out the blanket with his hands and using his nose, too, when I invited him to use all his senses. Could he guess what was underneath? Tada! The big reveal.

Parts of Plant (3)

I challenged him to put the items into pairs, using whatever criteria made sense to him. This confused him a bit, but he began to match them up. Some he got correct without understanding why; it was easy to see that the spinach and lettuce leaves were similar, for example, or that the tomato and apple were both big and round.

Parts of Plant (4)

When he was finished, I shifted his answers around slightly. Aha, the asparagus and celery went together… because they were both the stems of plants. Same for the potato and carrot – both roots!

Parts of Plant (6)

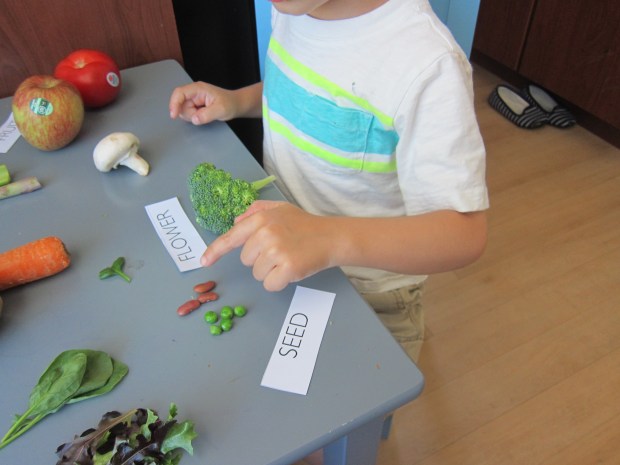
I ran through a quick definition of each of the six parts. As a bonus, I asked him why the mushroom was leftover. Aha – a fungus!

Parts of Plant (7)

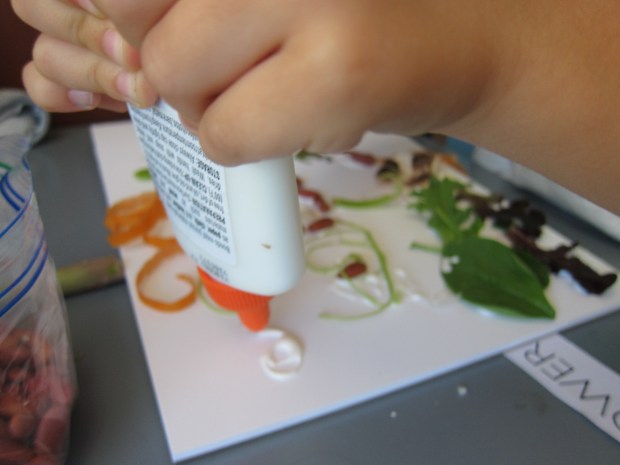
Big kids may want to pause here and make a chart and then brainstorm other foods that fit each of the six categories. But Travis and I hopped right along to the next activity: artwork! We used all of the items to make a picture. I gave him complete free reign, which meant that at first he wasn’t depicting anything, just enjoying the materials. He discovered, for example, that you can pull strings from the celery that glued down nicely.

Parts of Plant (8)

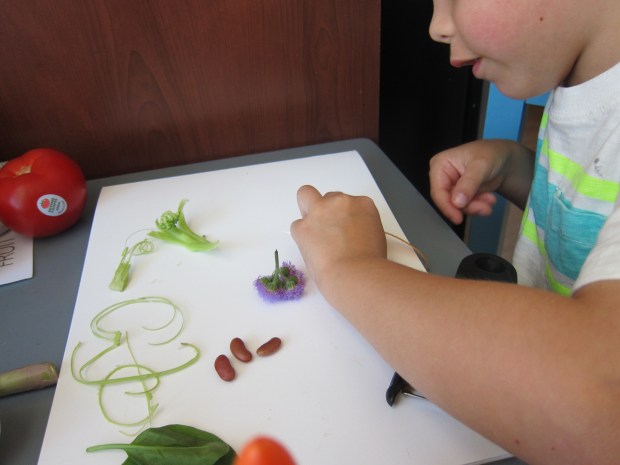
Then he got a bit more purposeful. There was a flower rimmed in pinto beans with a celery stem and mushroom center. And orange carrot curls for a sun.

Parts of Plant (11)

This, he proudly informed me, was a whale.

Parts of Plant (14)

Big kids may want to make a plant with their plants, or perhaps a funny plant person!

Parts of Plant (12)

We next checked out a few of Raddish’s suggested links, including a read-aloud of the very funny Tops and Bottoms. As he watched an informative clip about plants, Travis kept running over with tidbits. “Did you know rice is a seed??” I love seeing him so excited about learning!

We next made an art collage of the six plant parts using a grocery store flyer.

Parts of Plant (15)

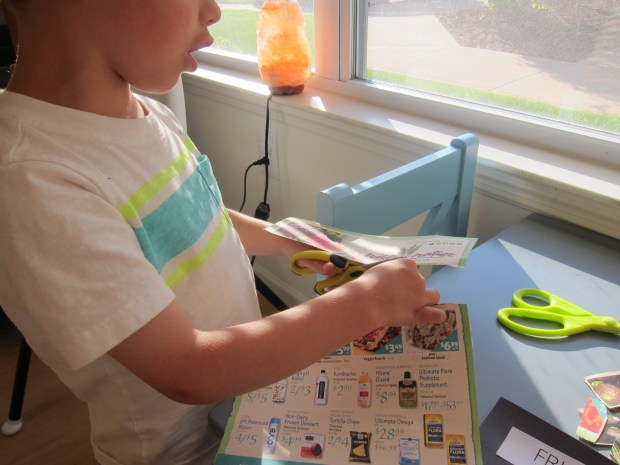
After he cut out all the pictures of fruits and veggies, we talked through where on our collage each item belonged.

Parts of Plant (16)

This was also great for sightreading words!

Parts of Plant (17)

As a bonus activity, we tested out Raddish’s suggested Kitchen Garden Experiment to regrow food scraps. We read about how plants can stockpile nutrients to keep growing for a short time, provided with water and sunlight, even if they no longer have soil.

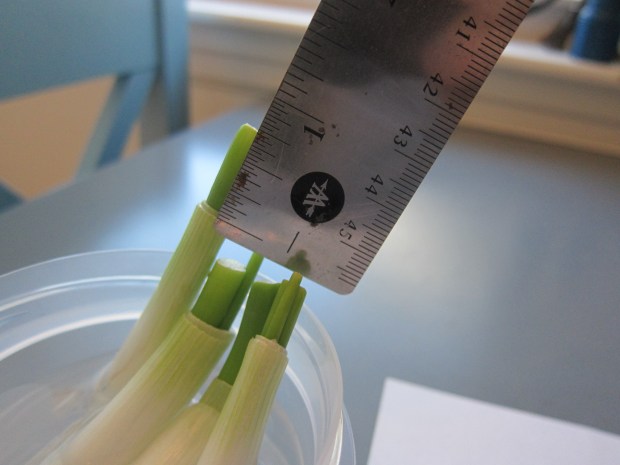
I set out three different vegetable scraps for Travis: green onion bulbs, the bottom of a head of celery, and the bottom of a head of romaine lettuce.

Regrow Food (1)

We placed each in a container filled with water and set them on the windowsill. Travis’s hypothesis was that celery would grow fastest.

Regrow Food (3)

Each day we changed the water and observed. It was immediately apparent that green onion grew far faster than the other two.

Regrow Food (4)

After a couple of days, we measured the progress.

Regrow Food (8)

We also drew a picture of what he had observed. Then Travis wanted to eat the green onion, so that was the end of our scientific method!

Regrow Food (10)

There is so much more that older kids can do to learn about plants. Consider cooking a recipe that uses all 6 parts of a plant, or perhaps sprouting seeds.

Jell-o Sensory Activity

Jello Sensory (5).JPG
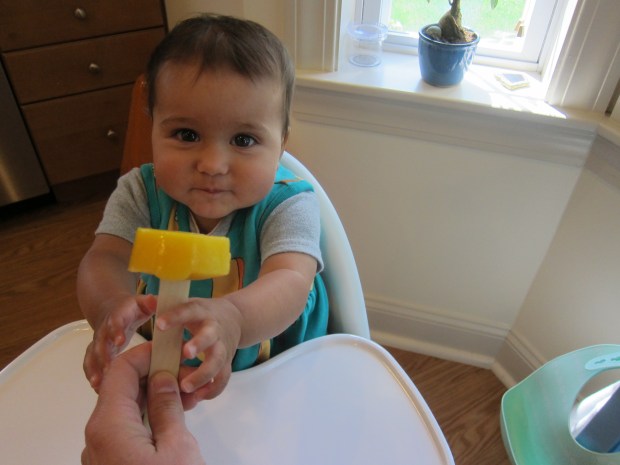
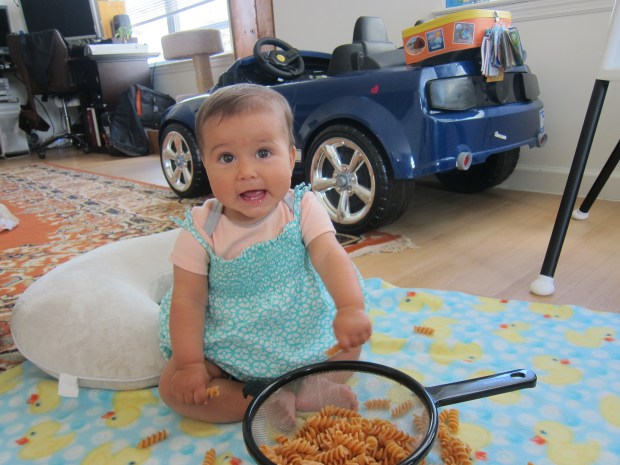
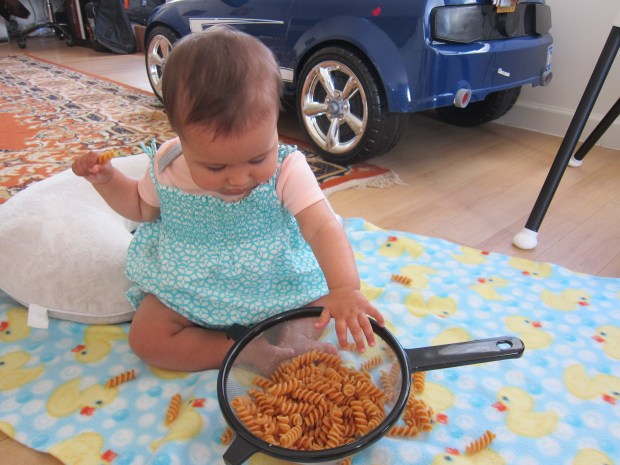
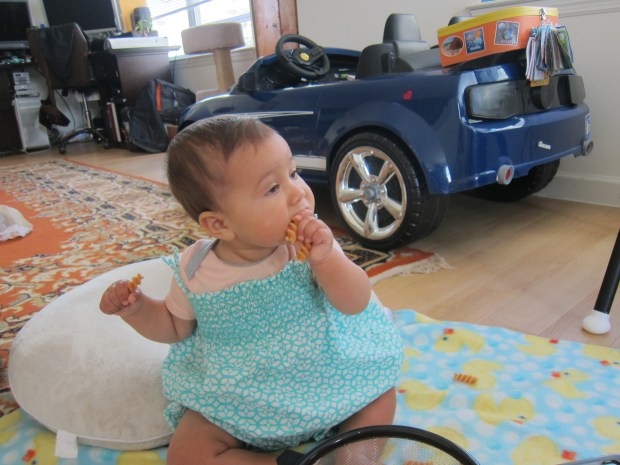
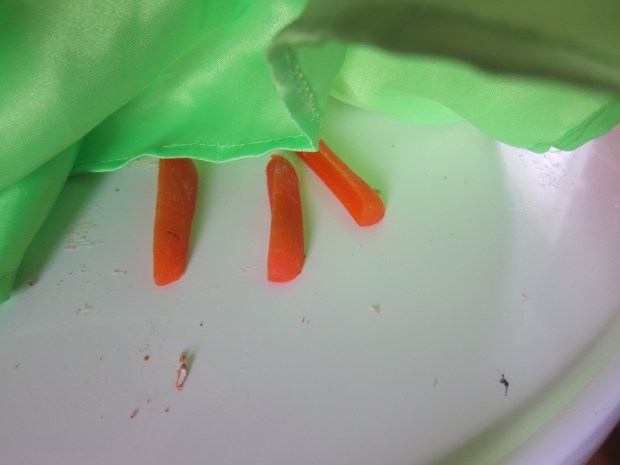
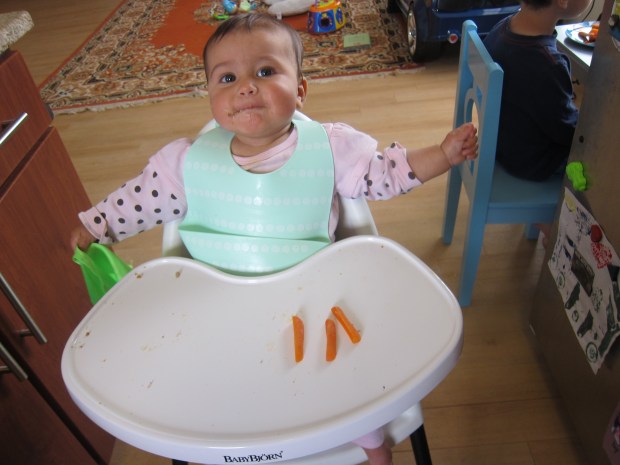
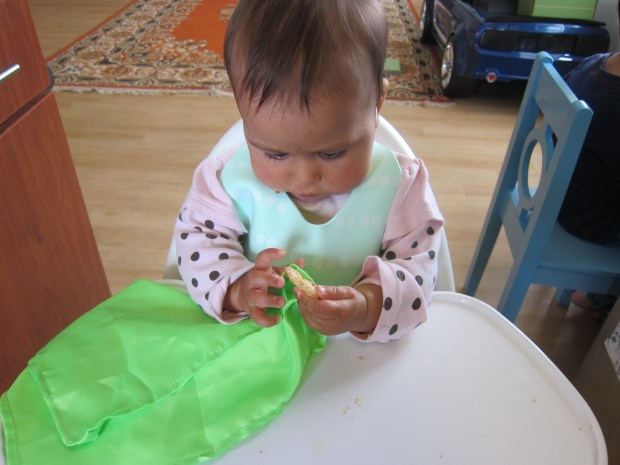
This twist on jell-o play will be a delight for any baby around 7 months old! Not only are babies at this age making their first forays into finger-feeding themselves, but any activities involving texture are a hit. Add a prize to dig for and an edible medium, and you pretty much have the prefect game.

First I made jell-o with our favorite vegan brand, Simply Delish’s jel desserts. Big brother Travis picked the flavor – strawberry!

Pour the jell-o over soft toys in Tupperware containers (make sure all are large enough not to pose a choking hazard).

Jello Sensory (1)

I thought large containers would be easier, but the toys popped up to the surface! Instead, it was easier to “trap” them in small containers.

Jello Sensory (2)

You can also wait for the dessert to set slightly, then push the toy down inside.

I presented Veronika with the Tupperware and the task to dig up the toy treasure. Of course at first she was just fascinated with the container and lid!

Jello Sensory (3)

Then she became aware of the items buried inside. Little fingers began digging. Once the toys were out, it was straight to her mouth. Yum, it tastes like strawberry!

Jello Sensory (6)

Now she wanted more of what was in the bowl. After feeling around…

Jello Sensory (7)

…the dessert plopped out into her lap.

Jello Sensory (8)

I rescued her from this and now it was fun to squish around on the tray. Soon she had big fistfuls going right up to her lips.

Jello Sensory (10)

Basically this was messy and perfect fun.

Pasta Play

Pasta Play (4)

Looking for the perfect sensory game for your baby? Look no further than cooked pasta from your pantry! As soon as your baby can pick up food and chew, you can safely play this texture game.

I cooked a batch of rotini pasta, figuring the swirls and ridges would make for the most exciting texture. Let cool completely, then set out a bowl or strainer of the pasta for your little one. It helps to have a blanket underneath – this game is about to get messy!

Pasta Play (1)

Veronika got her hands right in there.

Pasta Play (5)

First we simply talked about texture. I used words like soft, squishy, and cool to describe the noodles that she pulled up by the handful.

Pasta Play (3)

Picking up individual pieces is great for developing her pincher grip.

Pasta Play (6)

She also loved scattering them about on the blanket.

Pasta Play (8)

And of course a few made their way up to her mouth!

Pasta Play (7)

In sum, this is simple fun, as cheap as it comes and perfect for kicking off a summer of play!

Have Breakfast Together

Breakfast Together (5).JPG

All too often on weekdays, we eat breakfast in a rush and then it’s time to get everybody ready ready ready and out the door. On weekends, consider making breakfast feel extra special for your baby, even from a young age. This will help set the tone for the day and create bonding moments for your family. At almost seven months old, I can finally make Veronika and big brother Travis the same recipe – and mom and dad can enjoy this one, too!

The night before, prepare the apricot puree:

Combine 3 and 1/2 ounces dried apricots and 8 ounces water in a saucepan. Bring to a boil, then reduce heat and simmer for 8 minutes, until soft. Transfer to a food processor and process until smooth. Let cool, then refrigerate overnight.

Breakfast Together (1)

In the morning, prepare the oats:

In a saucepan, combine 3/4 cup rolled oats and 10 ounces hemp milk (we like unsweetened vanilla). Bring to a boil and continue to cook just until thickened, stirring frequently.

Ladle into bowls, varying the serving size depending on family member; that means about 2 tablespoons for Veronika and about 1/2 cup for big brother! Stir 1 tablespoon apricot puree into each bowlful.

Breakfast Together (2)

Now that you have your meal, enjoy each other’s company! It was a delight watching these two dine together.

Breakfast Together (7)

Veronika decided she liked eating clumps by hand rather than spoonfuls.

Breakfast Together (6)

Other meals that will fit into a Baby Led Weaning menu plus appeal to big kids include: English muffins with non-dairy cream cheese;

Biscuit Cream Cheese

Melon – cut it into strips for baby, and cubes for big kids;

Biscuits Cream Cheese alt

Muesli made with oats, non-dairy yogurt, and chia seeds;

Muesli (1).JPG

and French toast fingers!

french toast (b).JPG

For a super-easy French toast, dip slices of bread in a mixture of: 1 cup hemp milk, 1 tablespoon chia seeds, 1/2 teaspoon cinnamon, and 1/2 teaspoon vanilla. Cook for 4 minutes on each side and serve with raspberries.

french toast (c).JPG

I also like to involve Veronika when I pause for my mid-morning snack. She loves to “share” my apple, and I always hand her my smoothie carton when I’m finished.

Breakfast Together (9)

Involving your baby in family meals right from the start will help set a great foundation for the years ahead.

Breakfast Together (3)

Secret Treat

Secret Treat (6)

There is so much you can do with highchair games at the age of about six months. Babies are learning to pick up food, about the cause-and-effect of things being hidden, and all about different taste sensations. This game plays on all three!

Select a food your child likes (or one that’s new and exciting!) and have a napkin or cloth handy. I let Veronika see a few carrots on the tray…

Secret Treat (1)

…but then covered them over.

Secret Treat (2)

It took her little hands a few moments, but soon the scarf was lifted; probably more to play with than to find the food, but surprise! Carrot sticks.

Secret Treat (3)

Then I pulled out one of her favorite Baby Led Weaning foods: mini rice cakes.

Secret Treat (4)

I showed her the cakes, but then hid them away.

Secret Treat (5)

She eagerly grabbed at the scarf.

Secret Treat (7)

Ha, got them mommy! Then of course baby gets to enjoy the snack as a reward.

Frozen Grapes

Frozen Grapes (1)

Are frozen grapes the perfect summer snack? Pretty much. But my preschooler found a way to make them even better – read on!

To prepare, slice purple grapes in half and place in zip-top plastic bags in the freezer for at least 1 hour.

Let stand for a few minutes at room temperature before serving, and then just enjoy!

When I told Travis that he would be having grapes that were as cold as a popsicle, he was initially disappointed to learn it wasn’t an actual grape popsicle. Before I even had time to spin the delicious summer treat, he suggested eating them straight out of a popsicle mold. Genius!

Frozen Grapes (2)

Want even more summer fun with grapes? Try turning grapes into raisins by leaving them out on a hot patio in the sun.