Spring Chick Card

Easter Chick Card (4)

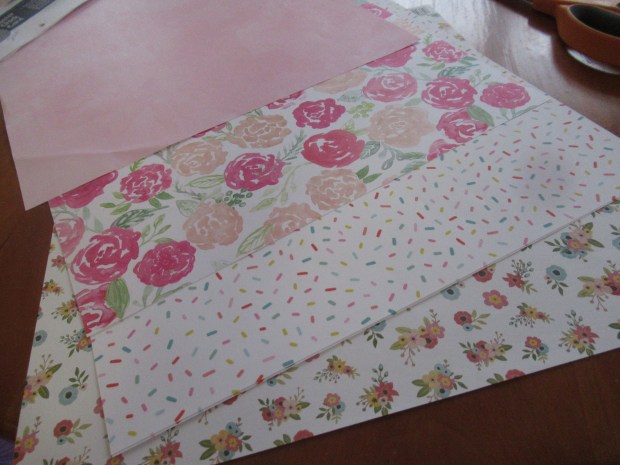
This cute card is the perfect seasonal greeting for family or friends. To start, Travis helped pick out four different patterns of scrapbook paper. Any patterns will work, though you may want to stick within one color family or theme.

Easter Chick Card (1)

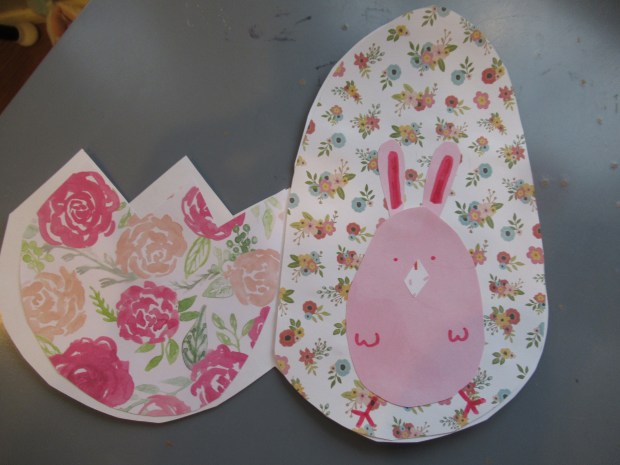
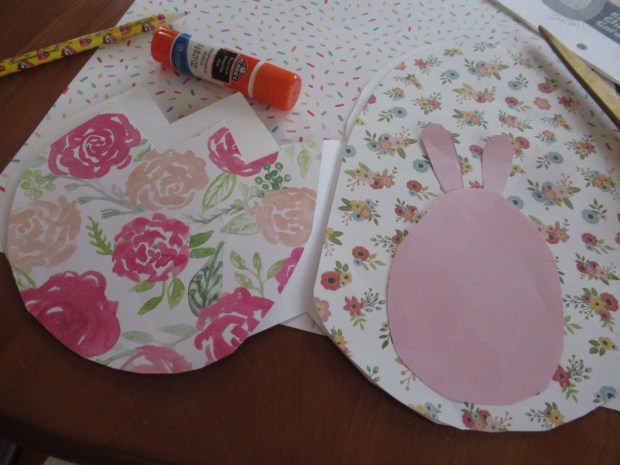
Fold one sheet in half and draw an egg shape along the crease. Cut out and then cut the top piece in half with a zigzag shape.

Easter Chick Card (2)

Cut out additional patterns of paper in the same shape so they fit the inside of the card, and then glue down. Cut a small oval from a final paper pattern to be the body of a chick. Add bunny ears and a beak with scraps of paper, then draw on eyes, wings, and feet.

Easter Chick Card (3)

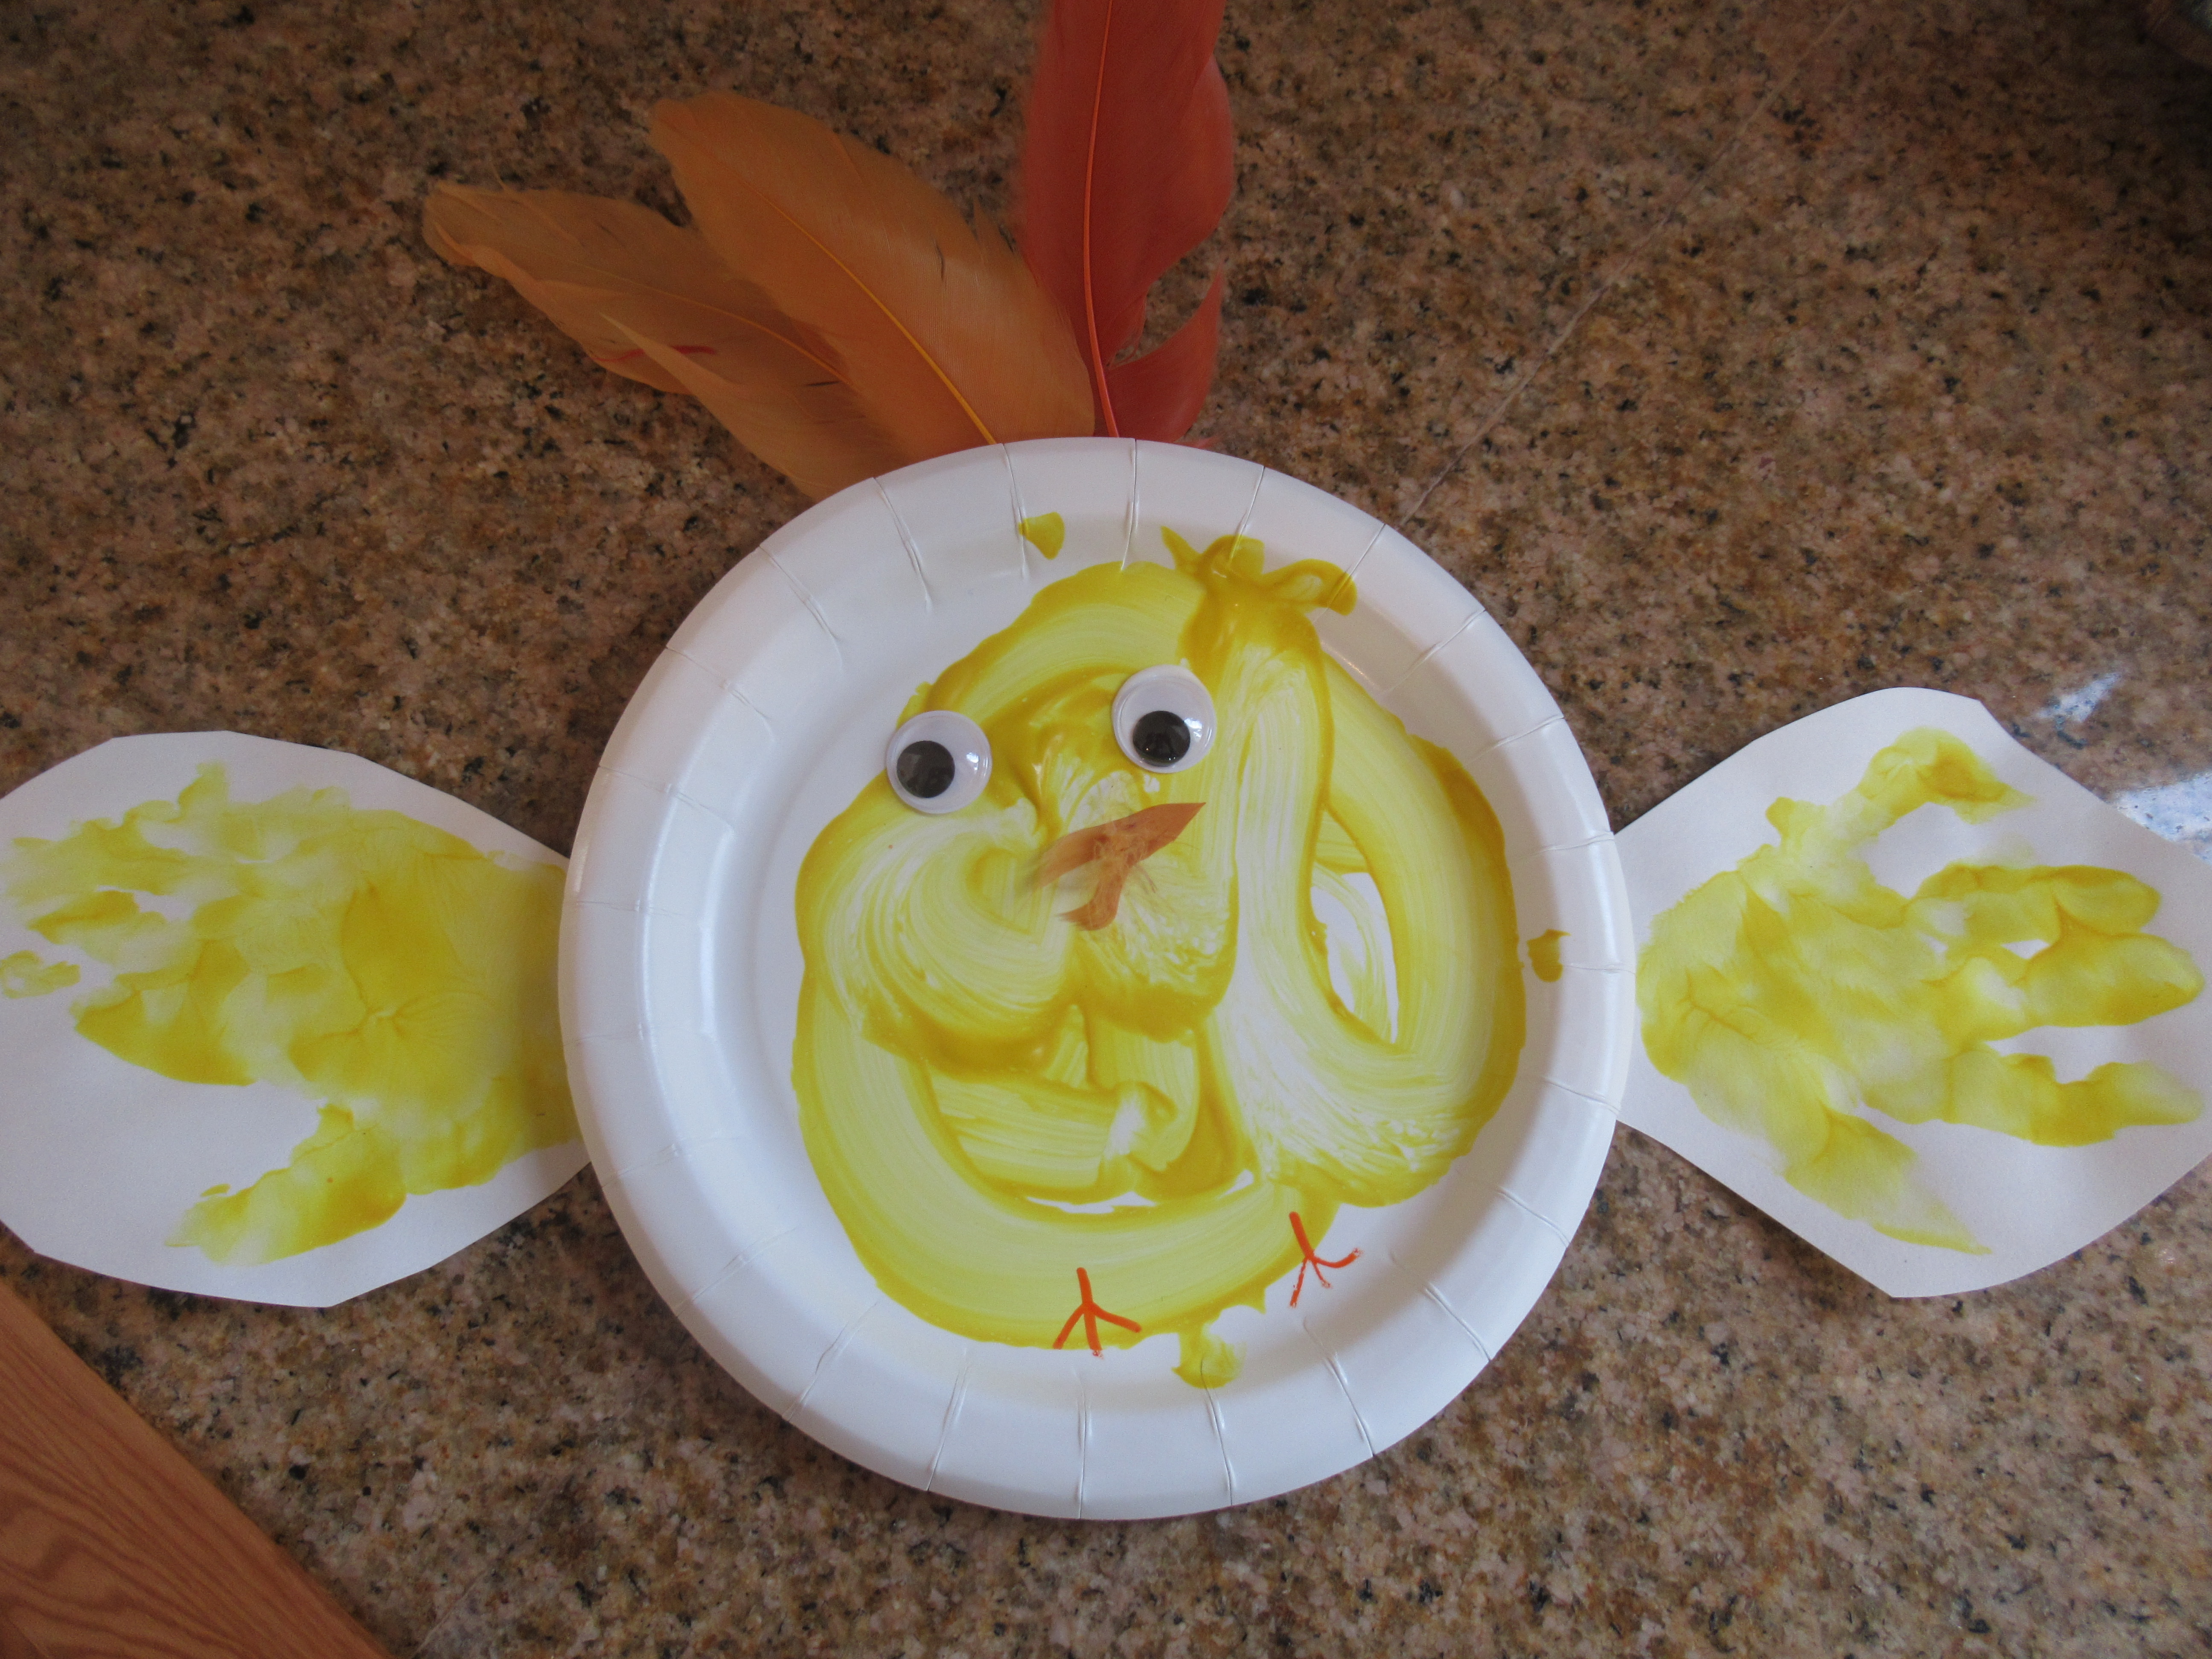
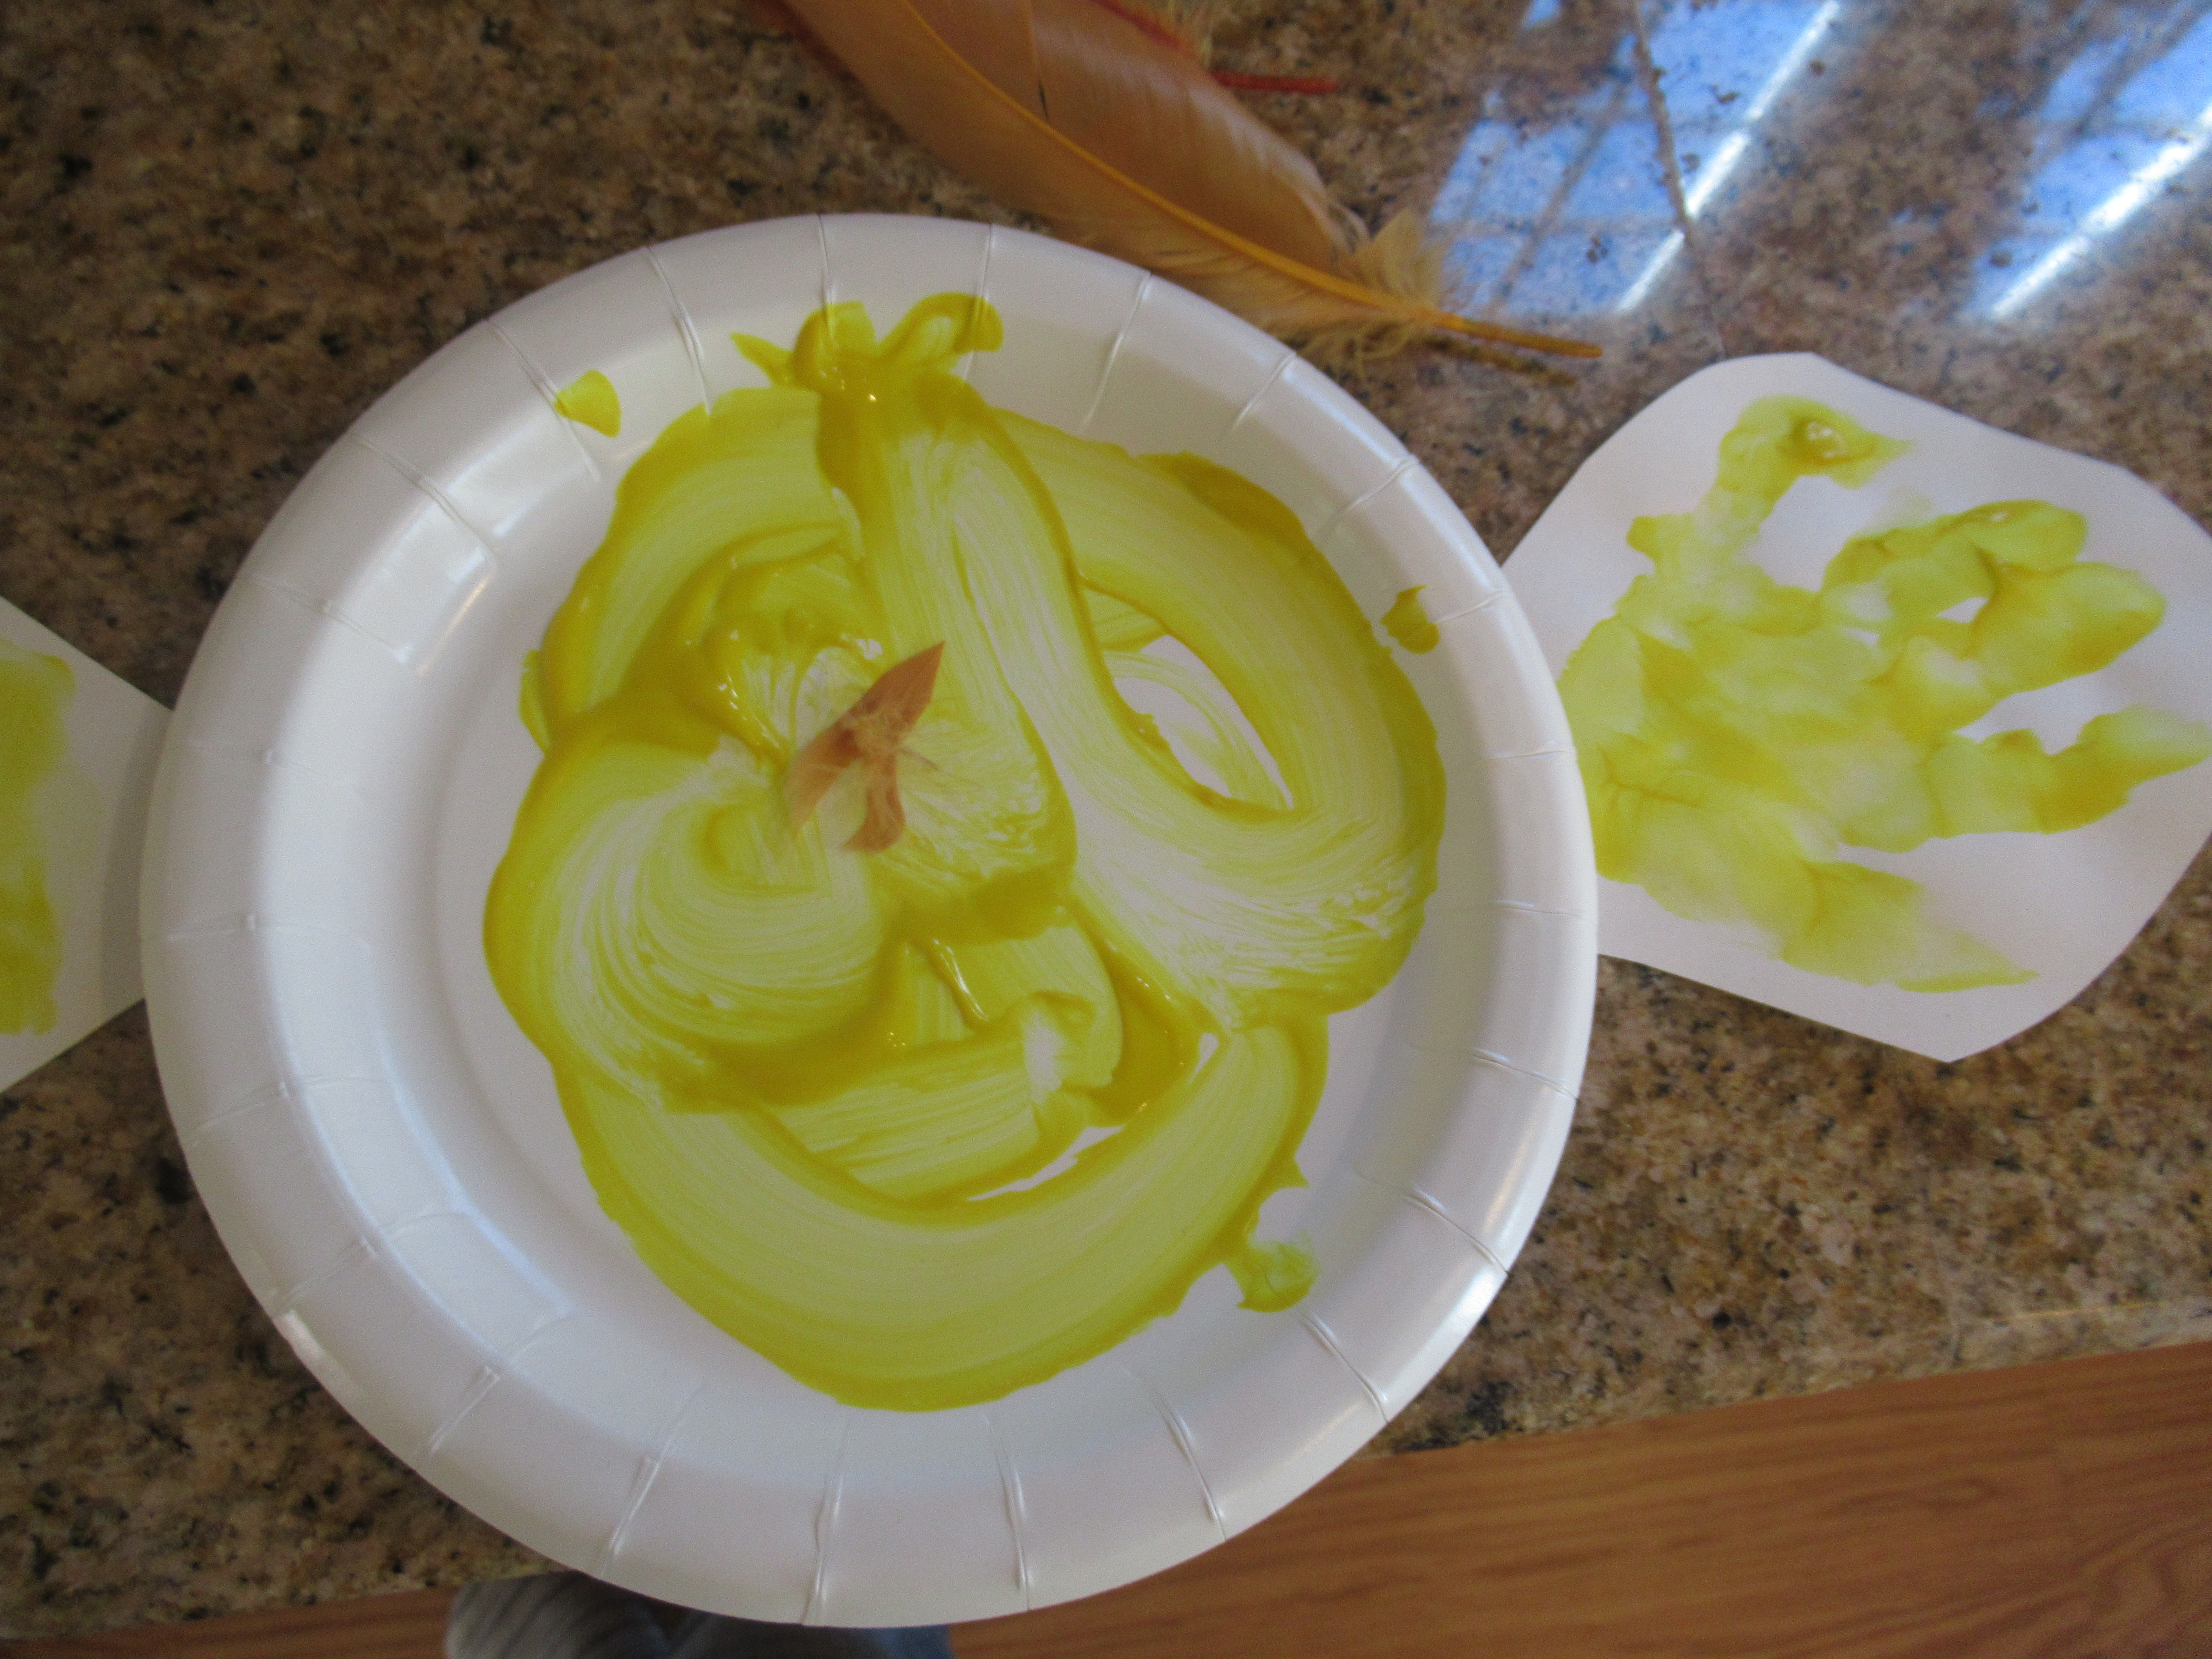
It’s not the Easter bunny, it’s an Easter chick!

Easter Chick Card (5)

This adorable card works perfectly as an Easter gift, of course, but also makes a great birthday card or note simply to say happy spring. Travis was in charge of writing in a sweet message before we mailed it off!

Tissue Paper Baby Chick

Tissue Paper Chick (6)

Our fun with spring chicks continues, and Veronika has loved exploring the different materials from our craft bin as we make each version to mark the season. This time, she got to have fun with tissue paper!

First, you’ll need lots of squares of yellow tissue paper. You can invite your child to help rip up pieces, or preschoolers can use the opportunity for scissor practice instead. Next, I traced a circle onto white paper and cut out, and then Veronika helped smear it with a glue stick.

Tissue Paper Chick (1)

All she had to do was cover it with tissue paper. This is such a forgiving material for toddlers, since it takes very little glue to make tissue paper stick. In short order, we had a fluffy yellow chick.

Tissue Paper Chick (2)

To make the legs, twist a small piece of orange pipe cleaner around a larger piece of pipe cleaner, such that it forms three toes.

Tissue Paper Chick (4)

All that was left to do was to glue down two wiggle eyes and an orange paper beak.

Tissue Paper Chick (7)

Contact Paper Chick

Contact Paper Chick (4)

We already have one cute spring chick up on our doorway to celebrate the season, and here was a second toddler-friendly version to join the first!

To start, I cut out a piece of contact paper in roughly the shape of an Easter egg, then taped it down to a piece of white paper with double-sided tape. The sticky side of the contact paper should be facing up.

Contact Paper Chick (1)

Next I set out a tray full of feathers for Veronika. All yellow would have been ideal for a chick, but we had a mix of reds, yellows, and oranges, which worked just as well.

Contact Paper Chick (3)

She loved picking which feather to use, plus the discovery that the contact paper was sticky and grabbed on to the delicate feathers.

Contact Paper Chick (2)

Once the egg shape was filled in, we transformed it into a chick with just a few final details: Two wiggle eyes, a beak cut from colored paper, and two legs drawn on with orange marker. Peep peep!

Spring Flower Pretend Play

Spring Flower Pretend (6)

Spring has sprung, the grass is ris,

I wonder where the flowers is.

This has always been one of my favorite lines of poetry, and it always rings so true. Today, we welcome spring, but the flowers are still several weeks away! To fill the interim, Veronika played with fake flowers in two ways today.

I had purchased bunches of fake flowers on sale at the craft store and then used a wire cutter to snip them into individual segments instead of big bouquets.

Spring Flower Pretend (1)

First, Veronika got to be a florist! Plastic cups and colanders were perfect for toddler-safe vases and making “arrangements”.

Spring Flower Pretend (3)

The colander is great because your little one will need to poke the stems down into the holes, which is excellent for fine motor skills.

Spring Flower Pretend (2)

She also loved just holding the flowers, peeling back the layers of petals to peer inside and talk about the colors of each, including great vocab like “lavender” and “peach”.

Spring Flower Pretend (4)

When this game was done, we made things even more realistic… with a potting soil sandbox! Potting soil makes a great alternative to sand as an indoor sandbox. I poured some into a tray with the pretend flowers on the side. Make sure you cover the floor underneath with newspaper!

Potting Soil Sandbox (4)

Veronika trotted over to help “plant” the flowers.

Potting Soil Sandbox (2)

She also loved scooping dirt between two containers, using a beach shovel as her gardening spade.

Potting Soil Sandbox (5)

Or picking up bandfuls to see how the dirt felt, and then letting it sprinkle down.

Potting Soil Sandbox (6)

Overall, what beautiful flower play to tide us over for a few more weeks!

Spring Flower Pretend (7)

Spring Swirl Fudge

Swirled Fudge (5)

This recipe is basically pure sugar, but for one afternoon of spring fun it was the perfect indulgent treat!

In a bowl, stir together 1 (11-ounce) jar vegan vanilla frosting and 1 (11-ounce) can sweetened condensed coconut milk, until well combined. Spoon the mixture into an 8-inch baking dish lined with parchment paper. Squirt green food coloring on top and swirl with a skewer to disperse the color through the top layer. Veronika loved this part, delightedly helping turn our mixture green.

Swirled Fudge (1)

For spring decorations, we added colorful sprinkles and Annie’s Bunnies & Blossoms cereal in flower and bunny shapes.

Swirled Fudge (3)

The little bunnies were hopping over to smell the spring flowers!

Swirled Fudge (2)

Refrigerate for at least 3 hours, until set. This won’t quite set like real fudge, but once chilled, you can slice into small cubes!

Swirled Fudge (4)

If your family is not vegan, give the fudge this quick St. Patrick’s Day twist: Use 16-ounces melted white chocolate in place of the vegan frosting, and then decorate with Lucky Charms marshmallows instead of the bunny cereal.

Paper Plate Chick

Paper Plate Chick (5)

Spring is in the air, which always has us thinking of baby animals, especially little yellow chicks! This particular chick craft doubles as a handprint memento of your toddler.

To start, I squirted yellow fingerpaint into a cup and Veronika helped paint a paper plate. “I’m painting!” she said so proudly.

Paper Plate Chick (1)

Imagine her surprise when I took a paintbrush and painted some of that yellow right onto her palm. Press down onto white paper and repeat with the other hand. “I left a paw print!” she said, referencing her current favorite show, Blue’s Clues.

Paper Plate Chick (2)

Let the paint dry, then cut the handprints out and use tape or glue to attach to either side of the paper plate, forming the wings. I taped a few feathers onto the back of the plate, as well, so they would stick up from the top.

Paper Plate Chick (4)

Only a few final details were needed now: a little scrap of feather for a beak, two wiggle eyes, and orange marker for legs.

Sticky Sheep

Sticky Sheep (5)

In like a lion, out like a lamb, or so the saying goes, and this adage of March has certainly been true this year. Needless to say we’re looking forward to the docile lamb weather to come. While we wait, Veronika and I decided to make our own woolly lamb inside! This activity combines farm animal play with tactile play in a very cute way. First, I printed out the face and leg templates for a sheep found at No Time for Flash Cards.

Next, I cut out almost a cloud shape from a large piece of contact paper, then attached this to the wall with clear tape and peeled off the backing. If you have white paper that is large enough, you could place the contact paper on the white paper such that you’re left with a white rim.

Sticky Sheep (1)

Attach the head and legs, and your sheep is ready. I brought Veronika over and immediately she said “baa baa” to the sheep. I invited her to touch the contact paper, so she would realize it was sticky.

Sticky Sheep (2)

Now, I told her that the sheep was cold and we needed to help him find his wool! I set out a tray of cotton balls, and she immediately got to work. She was so proud that she could help the sheep: “We’re making him so woolly!” she exclaimed.

Sticky Sheep (3)

Once or twice she tried to stick a cotton ball on the wall where there was no contact paper and was so surprised when the cotton fell to the floor. This was a very teachable moment, and she realized she needed to stay within the lines of the contact paper.

Sticky Sheep (4)

She proved remarkably adept at finding even tiny holes that needed to be filled with cotton until we had one very woolly sheep. “It’s like stickers!” she said with delight at the way that the cotton balls stayed on.

Sticky Sheep (6)

When your toddler is done, you’ll have an adorable (and tactile!) piece of artwork on the wall. We plan to keep this up until March goes out like a lamb.

Sticky Sheep (9)

Birdseed Indoor Sandbox

Birdseed Sandbox ($)

I was looking for a good material for an indoor sandbox this morning, and remembered we had a bulk bag of birdseed. What perfect timing for the first day of spring! For a touch of spring whimsy, I added little speckled Easter eggs, a wind-up bird toy, child-sized gardening tools, and a “flower pot”.

Birdseed Sandbox (1)

Of course Veronika might not have picked up on these details, but she sure loved coming over to explore!

Birdseed Sandbox (2)

First she tested out the birdseed with a lot of scooping and pouring, enjoying both the spade and the cup.

Birdseed Sandbox (3)

The little bird had her momentarily intrigued.

Birdseed Sandbox (5)

Then while big brother was doing his home school lessons nearby, this happened:

Birdseed Sandbox (6)

But that’s okay! The birdseed sweeps up like a dream, and she was so delighted at her own antics.

Fruity Cereal Activities

Rainbow Cereal Sensory (5)

A favorite snack around here is the Rainbow O’s cereal from Cascadian Farm. So today Veronika played with the cereal in three different activities! You could also do any of these activities with Fruit Loops or Fruity Cheerios, but I like the all natural ingredients in the Rainbow O’s.

First up was a simple sensory tub. I filled a round cake pan with some of the cereal and added brightly colored measuring cups for scooping.

Rainbow Cereal Sensory (1)

Veronika was a lot more interested in tasting and snacking at first…

Rainbow Cereal Sensory (2)

…but eventually scooping was fun, too.

Rainbow Cereal Sensory (4)

Next up, we made some art! I had her scribble on a yellow plate with crayon to make the center of a flower.

Rainbow Cereal Sensory (6)

I glued the plate onto blue cardstock and outlined petal shapes around it. Drip glue over the petal lines, and then cover the glue with the cereal. If your child is in preschool, he or she can definitely help with this step, which will be great for exercising little fingers. Veronika, on the other hand, was quite alarmed to learn she was not allowed to eat the cereal that had glue on it, so much so she burst into tears! So this might have been a little ambitious with a toddler.

Rainbow Cereal Sensory (7)

Finally, it was time to take some cereal on the go! With visions of spring dancing in our heads, I turned her snack bag into a butterfly: Fill a zip-top bag with some of the cereal, then seal and divide in two with a finger.

Rainbow Cereal Sensory (8)

Secure with a craft lace.

Rainbow Cereal Sensory (9)

When you reach your destination, make a necklace! Undo the craft lace and thread some of the cereal onto it, then secure about your child’s neck loosely.

Fruity Necklace (1)

Now a bite is literally at hand the moment the urge to snack hits.

Fruity Necklace (2)

Spring Flower Arrangements

Spring Flower (7)

We’re only one week away from the end of spring and the spring flowers are fading, making room for summer counterparts. It’s the perfect time to put together a floral arrangement for someone special – perhaps a graduate in your life, or a dad you’re celebrating this weekend!

Travis wanted to put together this bouquet for dad; we skipped the store-bought stuff, and opted instead for a wildflower hunt! (Okay, maybe a hunt around our apartment complex).

Spring Flower (1)

Travis loved gathering an assortment of greenery and different colored blossoms, as we took care to take only one flower from each bush.

Spring Flower (2)

Once home, we laid out the flowers and a pretty vase. Fill the vase 2/3 of the way with water – a good little fraction lesson!

Spring Flower (3)

To help our flowers stay healthy and strong, we added 1/2 teaspoon sugar and 1 tablespoon cider vinegar.

Spring Flower (4)

Travis was then in charge of arranging our blooms. Any that were too long, he seriously and carefully snipped shorter.

Spring Flower (5)

Teach your child to hold the stem of each flower on the outside of the vase to assess if it is too long or too short.

Spring Flower (6)

Tada! A beautiful spring bouquet.

Spring Flower (8)

For more flower fun, check out our recent ikebana craft. And for garden recipes to go with these garden blooms, check out our strawberry shortcakes!