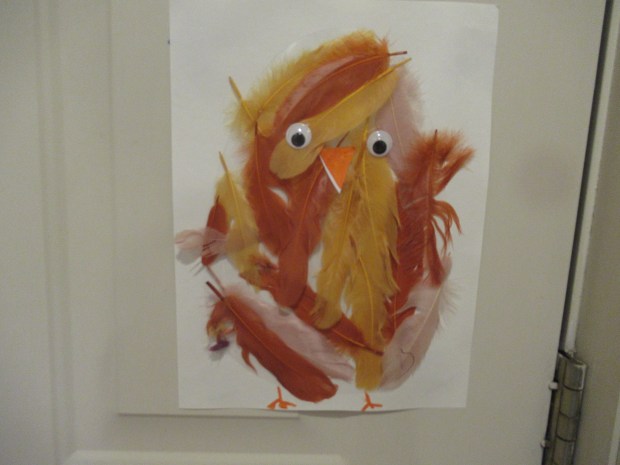
We already have one cute spring chick up on our doorway to celebrate the season, and here was a second toddler-friendly version to join the first!
To start, I cut out a piece of contact paper in roughly the shape of an Easter egg, then taped it down to a piece of white paper with double-sided tape. The sticky side of the contact paper should be facing up.
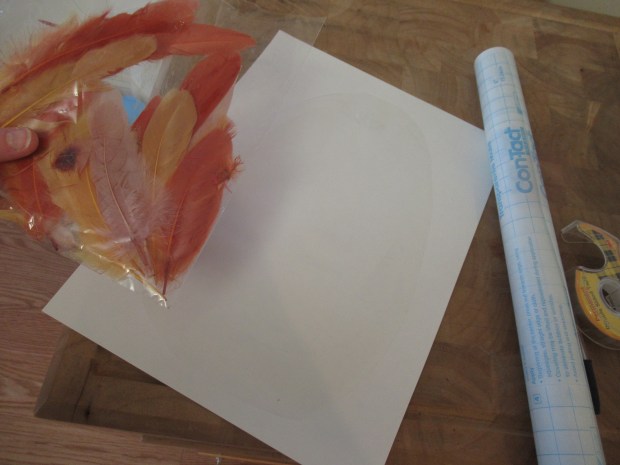
Next I set out a tray full of feathers for Veronika. All yellow would have been ideal for a chick, but we had a mix of reds, yellows, and oranges, which worked just as well.

She loved picking which feather to use, plus the discovery that the contact paper was sticky and grabbed on to the delicate feathers.

Once the egg shape was filled in, we transformed it into a chick with just a few final details: Two wiggle eyes, a beak cut from colored paper, and two legs drawn on with orange marker. Peep peep!
