Frozen Grapes

Frozen Grapes (1)

Are frozen grapes the perfect summer snack? Pretty much. But my preschooler found a way to make them even better – read on!

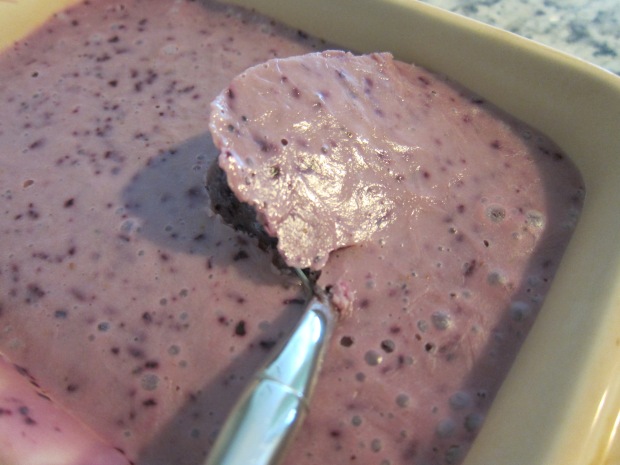
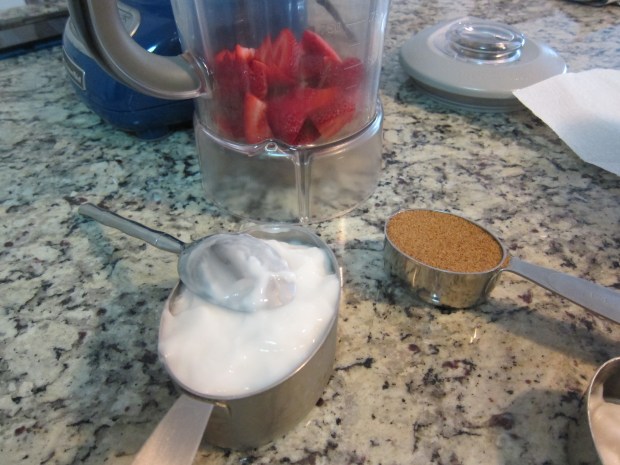
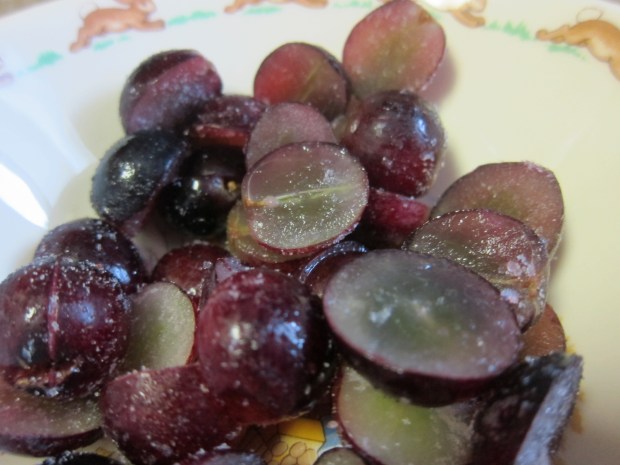
To prepare, slice purple grapes in half and place in zip-top plastic bags in the freezer for at least 1 hour.

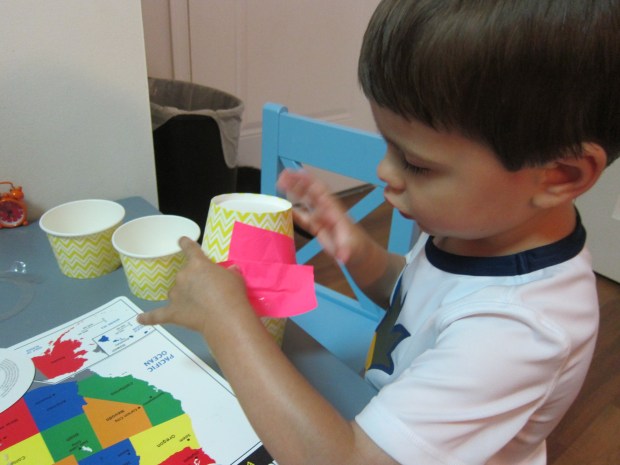
Let stand for a few minutes at room temperature before serving, and then just enjoy!

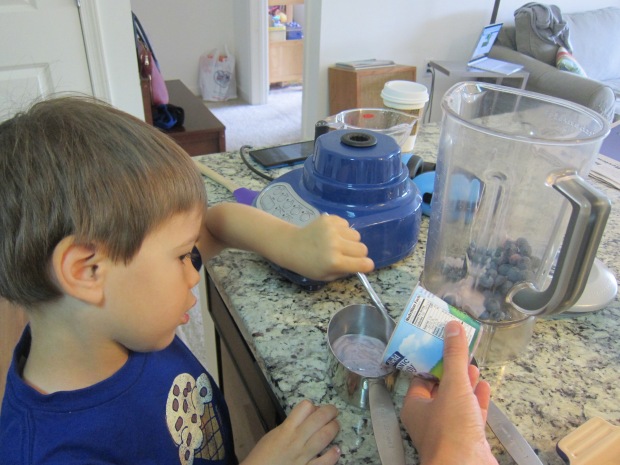
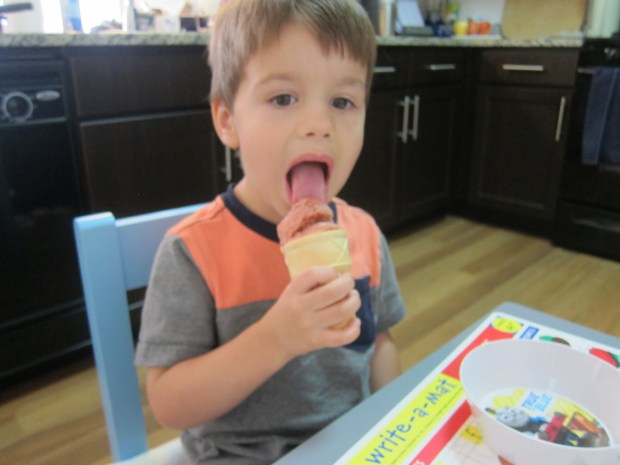
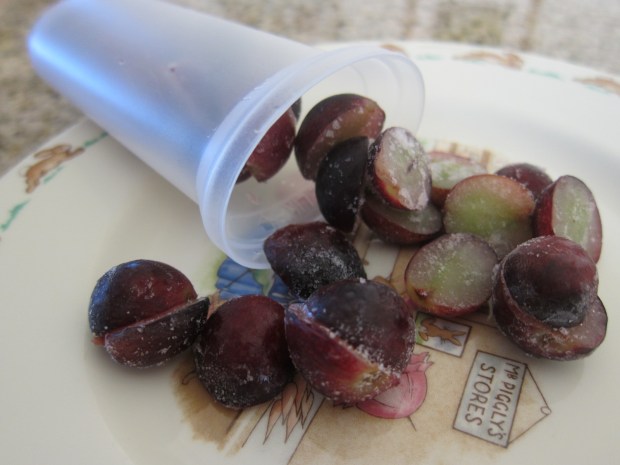
When I told Travis that he would be having grapes that were as cold as a popsicle, he was initially disappointed to learn it wasn’t an actual grape popsicle. Before I even had time to spin the delicious summer treat, he suggested eating them straight out of a popsicle mold. Genius!

Frozen Grapes (2)

Want even more summer fun with grapes? Try turning grapes into raisins by leaving them out on a hot patio in the sun.

Summer Bucket List Part I


Summer Bucket (4)

Back in the fall, we embarked upon a bucket list of adventures before the season was through. It seemed only right to continue the tradition for the summer! Technically it’s not even summer yet, but this is meant to be more of a Memorial Day to Labor Day list. As with back in the fall, I’m posting the list now so you can follow along, and will post a follow-up once our adventures are complete.

I found a template in Parents magazine but adapted it slightly to include activities more suitable to Travis’s age and our local area. I typed the list up on the computer and printed in black and white so Travis could color in the various activities in bright colors.

Summer Bucket (3)

Stay tuned for a complete run-down of all our activities!

Strawberry Picking and Basket Weaving

Summer 2 (c)

Summertime! This season is synonymous with so many things, and one of those is berry picking. Last year we headed out late in the season for blueberries. This year we made sure not to miss the strawberry window. Kids will love gathering the sweet red berries, and discovering the baby green strawberries still on the plant.

Summer 2 (b)

The fun doesn’t end at home: Fruit baskets are great for fine motor skills! We picked a few pretty colors of ribbon and wove through the holes in the basket.

Strawberry Basket (1)

If you already have strawberry crates at home, do this project ahead of time, and bring your one-of-a-kind basket when you do your picking.

Strawberry Basket (2)

Then of course comes the bonus: strawberry vanilla pancakes for breakfast.

1 cup flour

2 tablespoons brown sugar

2 teaspoons baking powder

1 teaspoon salt

1 Ener-G egg

1 cup vanilla almond milk

2 tablespoons canola oil

1 tablespoon vanilla extract

1 cup chopped strawberries

Combine all of the ingredients in a bowl.

Strawberry Basket (3)

Cook on a griddle or skillet for 3 minutes until bubbles form on the top. Flip over and cook 2 to 3 minutes on the other side.

Strawberry Basket (4)

Pancakes have never tasted so much like summer!

Strawberry Basket (5)

Bird Cafe


Bird Cafe (7)

Our latest project (from High Five magazine) wasn’t as big a hit as past crafts, perhaps because Travis and I have made bird feeders before and it felt a bit ho-hum to him. But there’s never anything wrong with learning a new way to feed our feathered friends, and this one is easy to put together!

Save any clear plastic food container; shallow is better, like the kind used for nuts or dried fruit. Rinse and dry.

Cut a rectangle from the center of an 8×5-inch piece of craft foam. This step was a bit tricky for Travis, but he loved cutting separate pieces of craft foam into free-form shapes while I worked.

Bird Cafe (1)

Tape the foam around your container, then wrap the top of the craft foam around the lid and tape in place. The craft foam now acts as the “wall” connecting the bottom and the lid roof.

BIrd Cafe (4)

Hole punch the foam near the lid on each side, and thread through yarn or string to hang your feeder.

BIrd Cafe (5)

As the final touch, tape on a second sheet of craft foam bent into a “roof”.

Bird Cafe (6)

We’re hoping to get many a summer visitor!


Seaside Stepping Stone

Stepping Stone (5)

Happy Memorial Day! We’re officially kicking off summer, beaches, and all things seashore with this craft, care of High Five magazine. The resulting hand- or footprints would make a beautiful hostess gift if you’re visiting friends or relatives by the ocean this year. Happy summer!

To start, roll air-dry clay flat with a rolling pin. The instructions suggested placing a bowl upside down on top of the clay to cut it into a perfect circle, but I didn’t have a bowl the right size. We decided we liked the rather imperfect result of ours anyway.

Stepping Stone (2)

Have your child step into the clay hard enough to leave a foot imprint (or, alternatively, press in a hand).

Decorate around the print with pretty sea-inspired bits, like seashells, or ocean-hued jewels and beads.

Stepping Stone (3)

The seashells were a huge hit, and Travis loved sorting through them and selecting his favorites.

Stepping Stone (1)

Let the clay dry completely before placing the stepping stone on the path to the ocean or beach!

Stepping Stone (6)

Fruit Ice Cream

Fruit Ice Cream (6)

With just-picked fresh fruit from a recent pick-your-own-berries excursion, we made fruit ice cream! Any fresh berry would work well here, and we tried both blueberries and strawberries.

Fruit Ice Cream (1)

For the blueberry version, we mixed the berries with a store-bought blueberry yogurt, but this sort of spoiled the fresh berry taste.

Fruit Ice Cream (2)

Instead, we preferred this strawberry version:

In a blender, combine 2/3 cup fresh strawberries, 1/4 cup sugar (we used coconut sugar), and 1 and 1/3 cups plain non-dairy yogurt.

Fruit Ice Cream (4)

Blend until smooth. Spoon into a dish and freeze for 2 hours.

Fruit Ice Cream (3)

Serve in ice cream cones for added fun!

Fruit Ice Cream (7)

Summer Fun Watermelon Shakers


Watermelon Maraca alt

Watermelon is arguably the perfect summer food. Take the enjoyment beyond the edible and continue the watermelon theme with these easy shakers. They’re perfect to shake around the house or to bring along on your next picnic!

First we needed to fill a paper coffee cup with rice – Travis was very excited for this step!

Watermelon Maraca (1)

Place a second coffee cup over the first, and add pink duct tape around the middle – you’ll probably want to use careful adult supervision until the seam where rice can escape is completely covered.

Watermelon Maraca (3)

Now cover the tops and bottoms of the cups with green duct tape – voila, a watermelon in a rind!

Watermelon Maraca (2)

We added black dots with a permanent marker for seeds.

Watermelon Maraca (10)

Now shake-shake-shake!

Watermelon Maraca (6)

Surprisingly, the maraca held Travis’s attention for only a short while.

But he did soon want to make his own tape and cup creations. He told me this was a cow and a pig:

Watermelon Maraca (8)

And that this was a lantern!

Watermelon Maraca (9)

Just goes to show you never know what creativity one craft will spark in your child.

Crab Cakes

Crab Cake (2)

This recipe gives a whole new meaning to the term “crab cakes” – there’s no actual crab here, just a wonderful crab-shaped figure of cake and fruit on your child’s plate!

The original recipe called for a store-bought loaf cake, cut into slices. However, it can be hard to find vegan loaf cakes, so I baked a yellow cake from a mix in a 9-inch round pan. Let cool completely, then carefully cut in half horizontally with a serrated knife.

Crab Cake (1)

Using a large circle-shaped cookie cutter, cut out 8 crab bodies from your cakes. Use a smaller cookie cutter to form 16 eyes. Discard any additional cake scraps (or save for nibbling!)

We added strawberry claws and antennae, cake crumbs below the crabs for sand, and blueberries for water.

Crab Cake (3)

For the smiles, microwave non-dairy chocolate chips at 20 second intervals until melted (about 1 minute total). Use a toothpick to draw on a happy chocolate crab smile.

Dig in!

Crab Cake (4)

Needless to say, our crab didn’t last very long.

Paper Plate Sea Creatures

Paper Plate Sea (8)

Travis is enamored with sea creatures now that we’ve returned from the shore. Luckily I had paper plates on hand upon our arrival home, which was all we needed to bring the sea to us!

Paper Plate Sea (1)

To start, I cut out several sea animal shapes from the plates. Travis was eager to help with the scissors, so with some adult guidance he helped cut the snips for jellyfish tentacles and octopus legs.

Paper Plate Sea (2)

Then it was time to decorate! Dot markers were a mess-free and perfect way to make our sea creatures colorful.

Paper Plate Sea (4)

Travis declared his orange and blue fish a clownfish without any prompting!

Paper Plate Sea (3)

Mommy added the smile and eyes onto our jolly octopus after Travis had dotted him all over with yellow.

Paper Plate Sea (5)

Let the paint dry, and then turn your living room into a giant ocean full of swimming sea creatures.

Paper Plate Sea (6)


Spread Your Wings

Butterfly Wings alt

Butterflies are everywhere this time of year, whether flitting past us on the beach, at the playground, or in the nearest batch of pretty garden flowers. If your little one wants to bring home the butterfly beauty, try out this creative suggestion from High Five magazine.

To start, grown-ups need to cut a butterfly wing shape from a large piece of cardboard.

Butterfly Wings (1)

To make our wings shiny, we covered them first in strips of aluminum foil – this part was a huge hit, since Travis loves the way foil looks and feels. Plus glue is always fun!

Butterfly Wings (3)

Once the glue dried, it was time to decorate our aluminum foil. Use anything crafty you have, including markers and paints.

Butterfly Wings (4)

Butterfly stickers added a whimsical touch.

Butterfly Wings (5)

To attach the wings to your little butterfly, punch holes in the middle where the wings meet. Thread string through the holes, and then tie over your child’s shoulders.

Butterfly Wings var

Time to flutter away!

Butterfly Wings