Winter Treasure Hunts

Nature Scavanger (2)

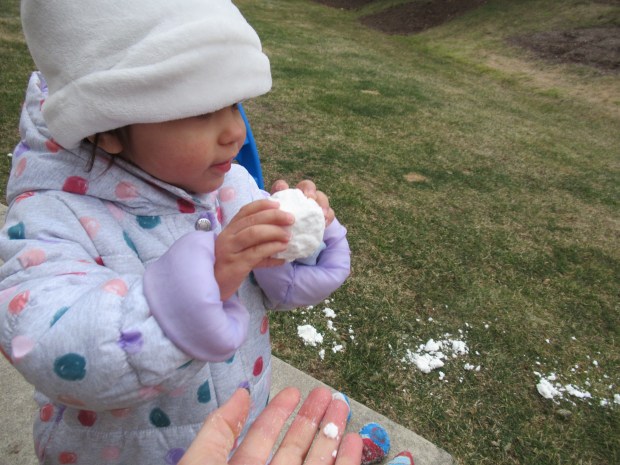
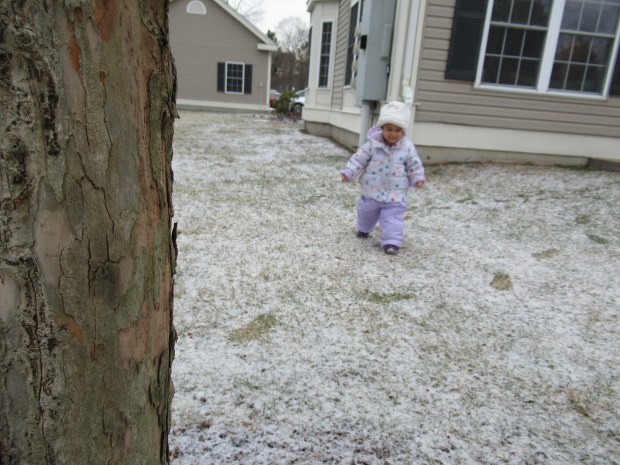
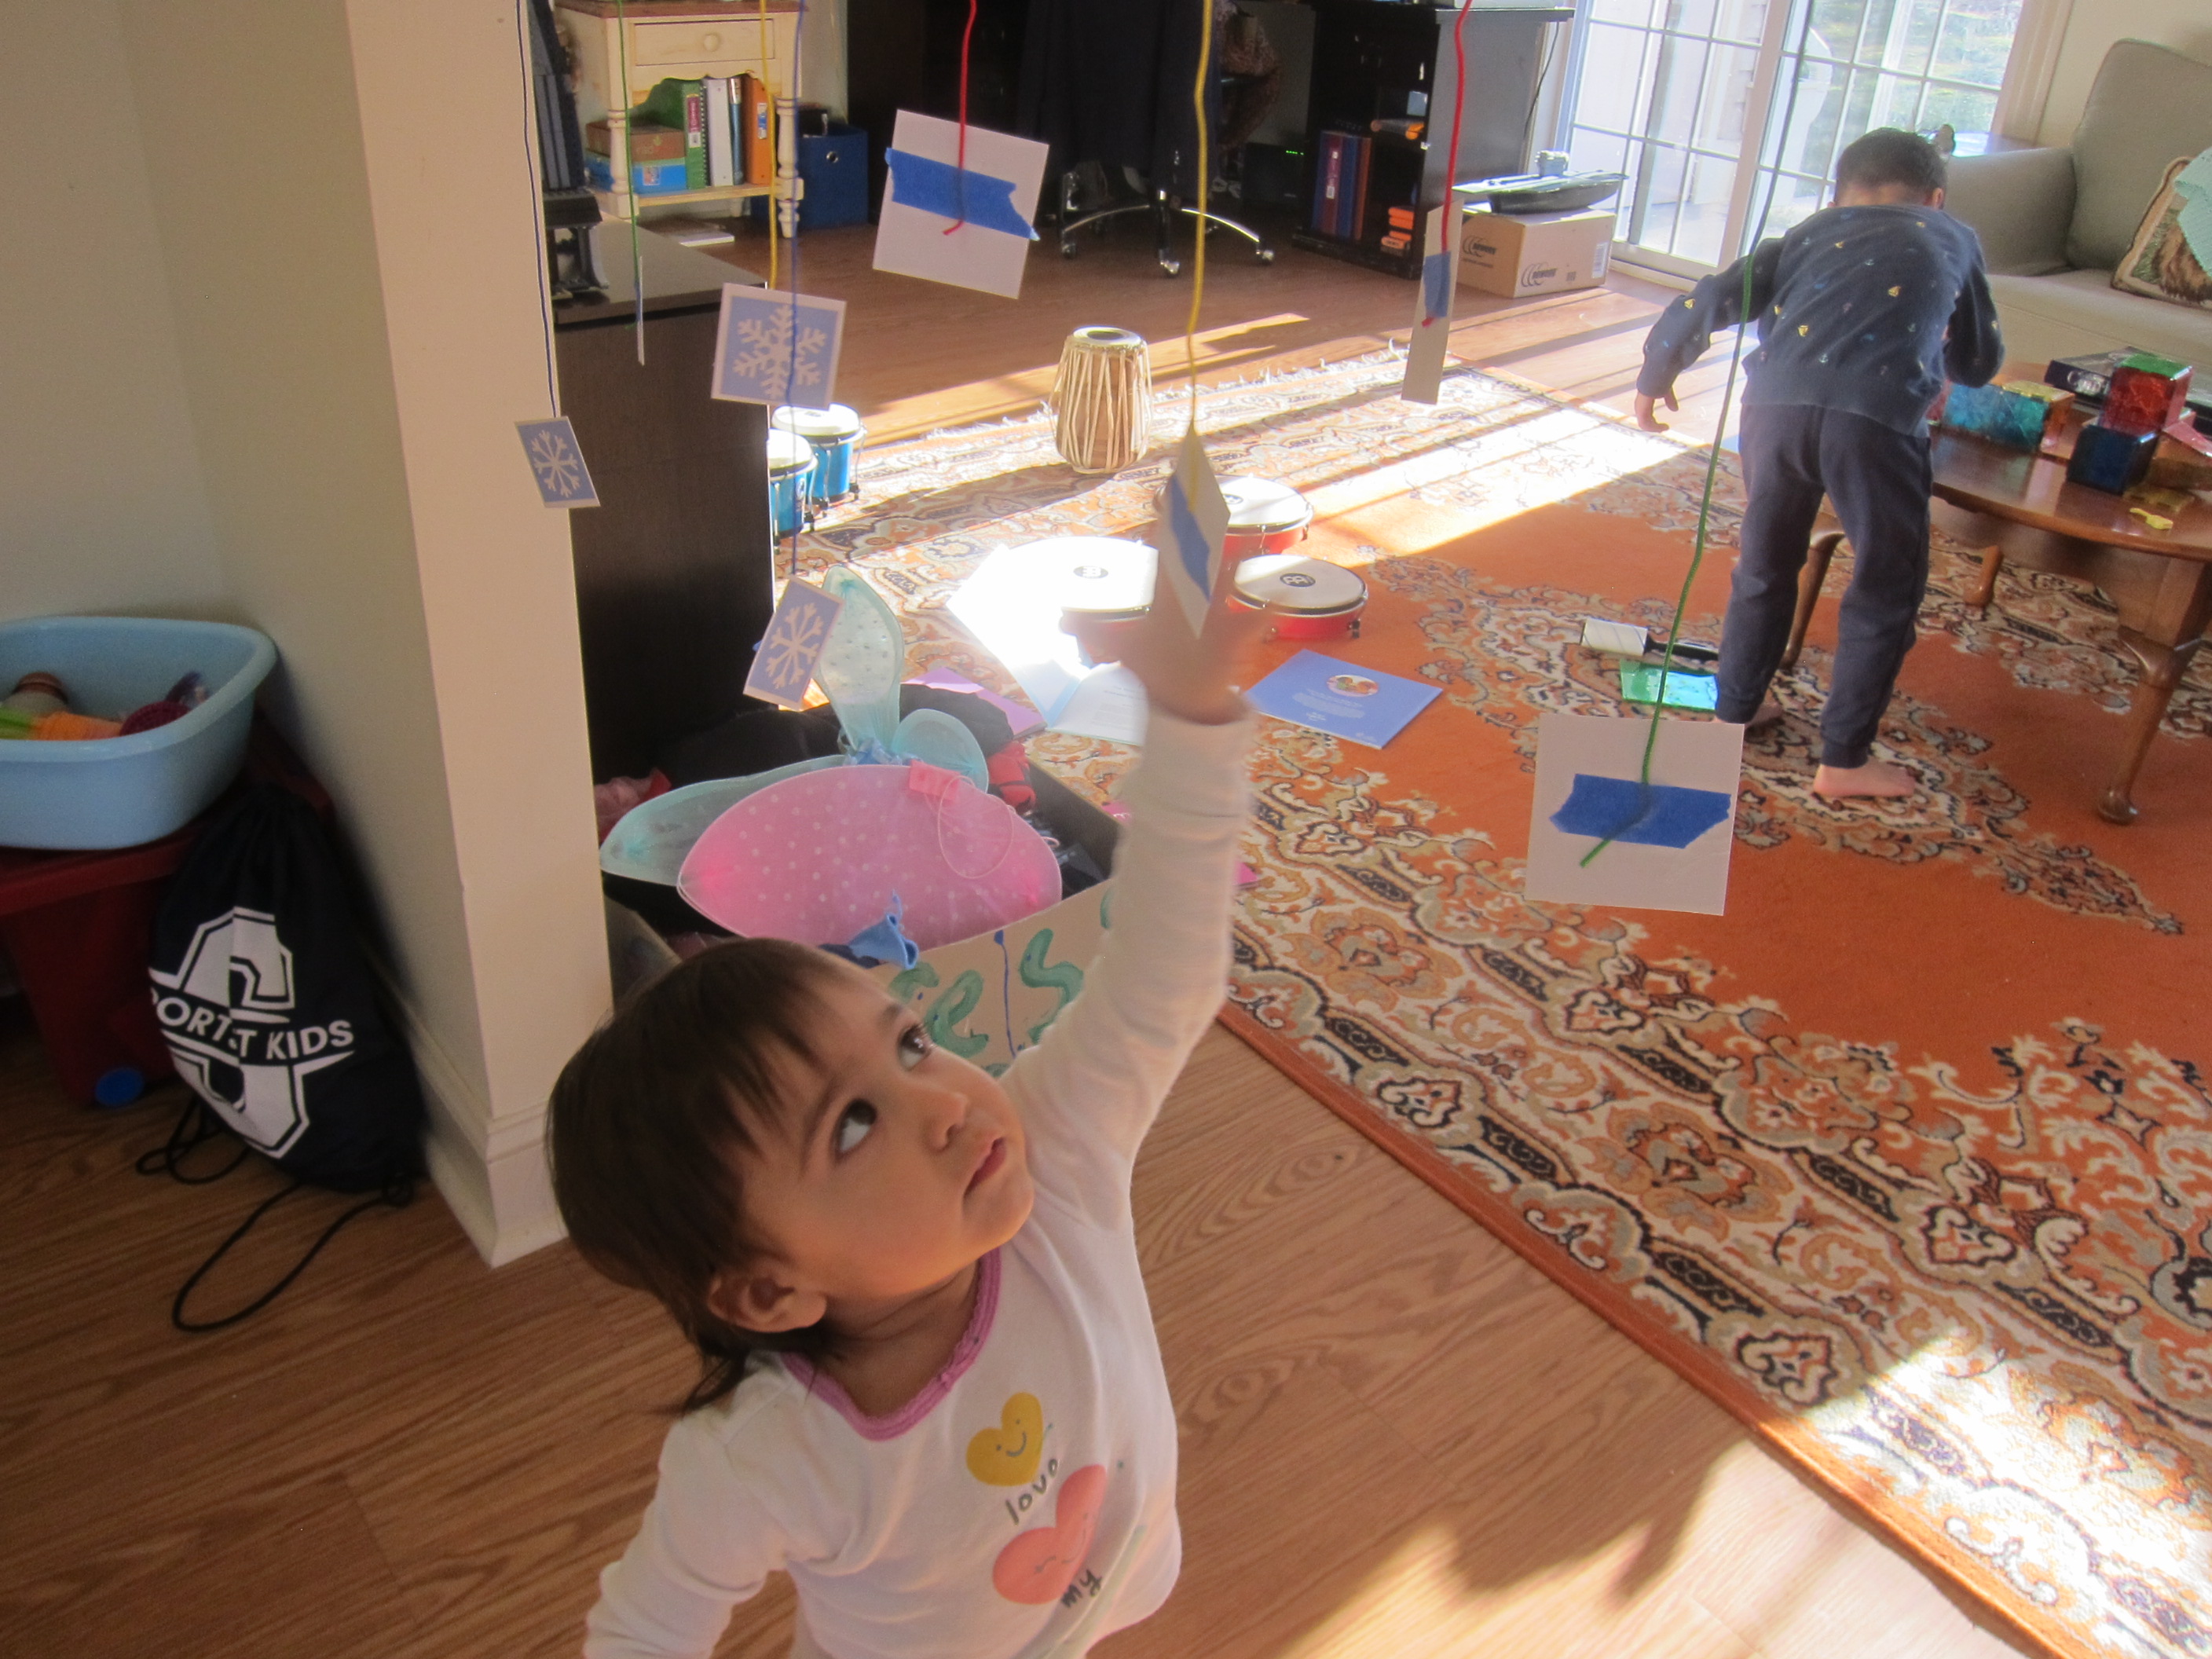
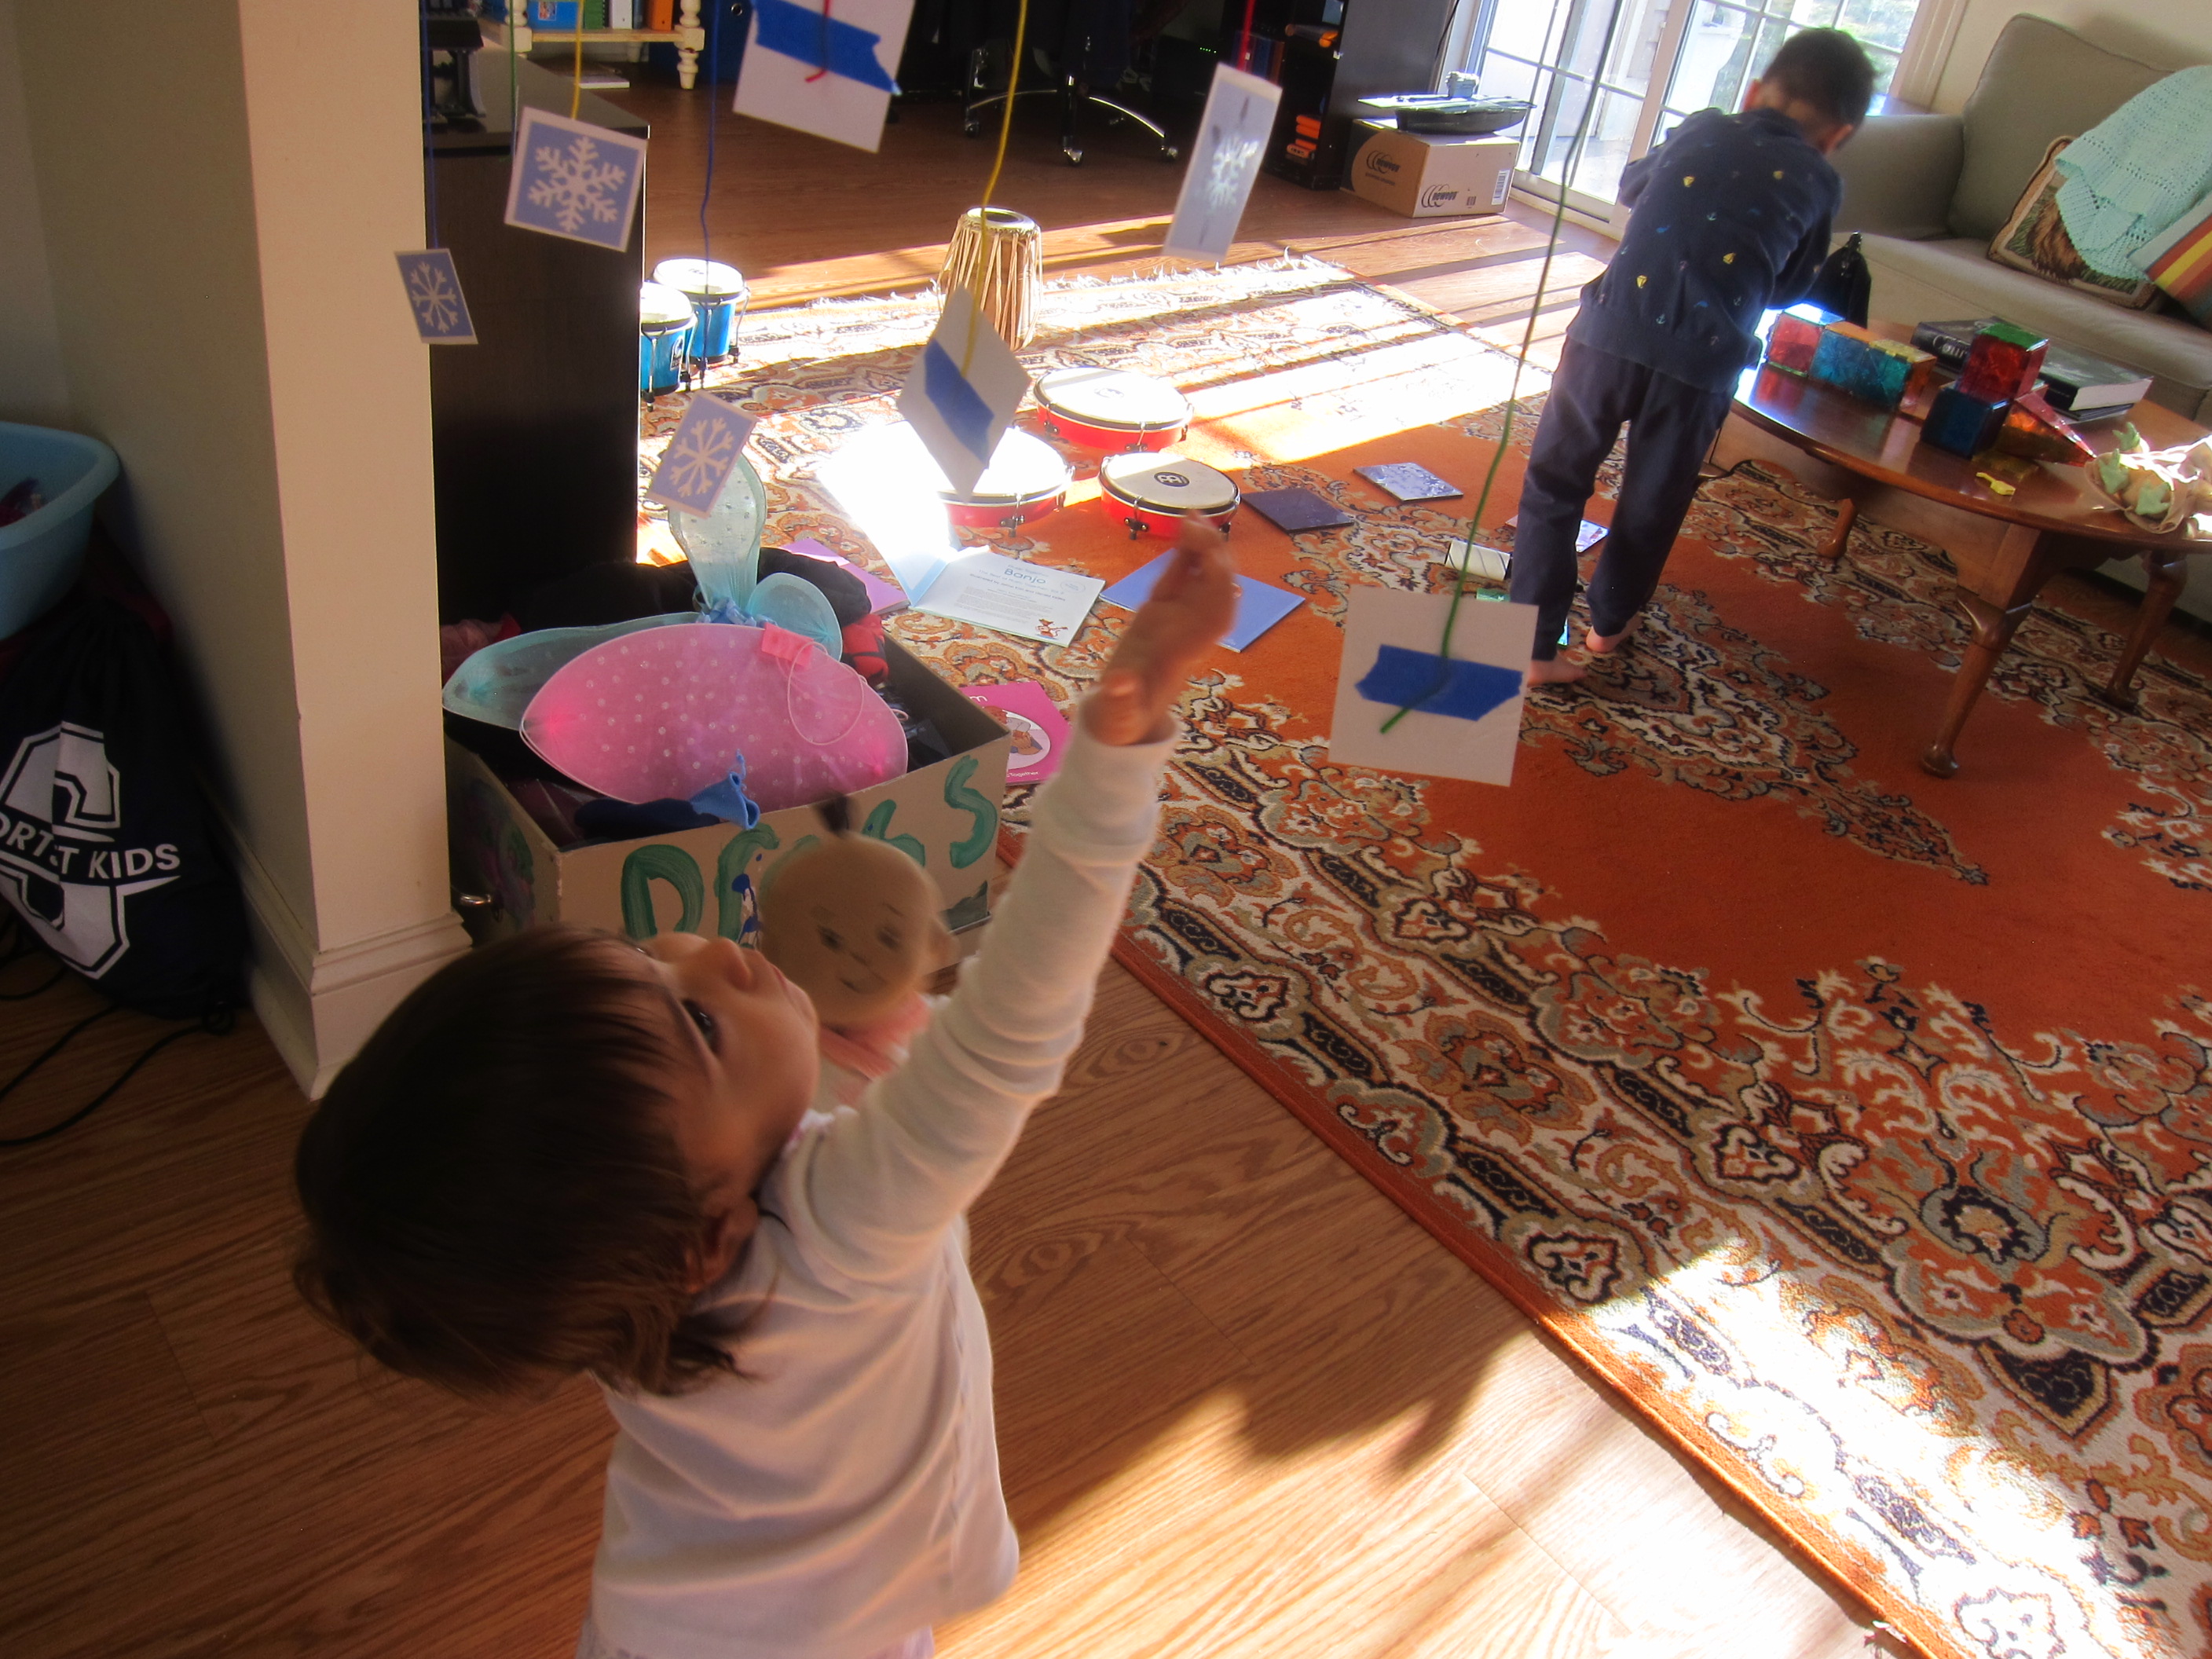
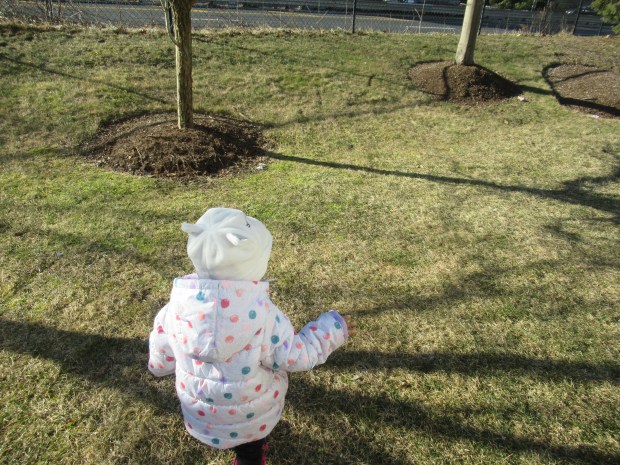
It can be tough to motivate kids to get outside on cold days (and let’s be honest, to motivate ourselves as grown-ups, too). But even the simplest suggestion of a treasure hunt can serve as enticement! To wit, Veronika and I did two quick hunts today, the first for nature treasures and the second for toys.

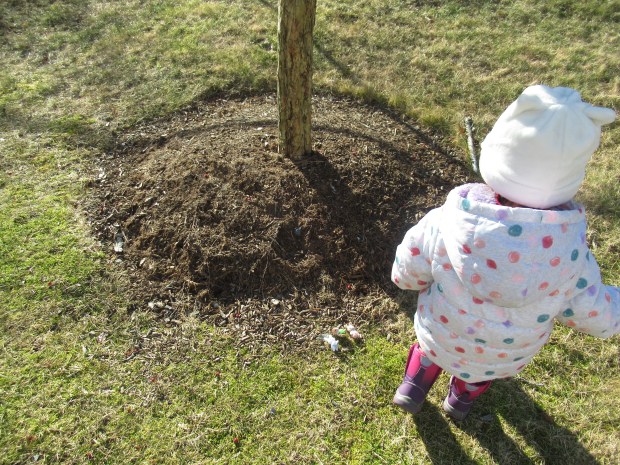
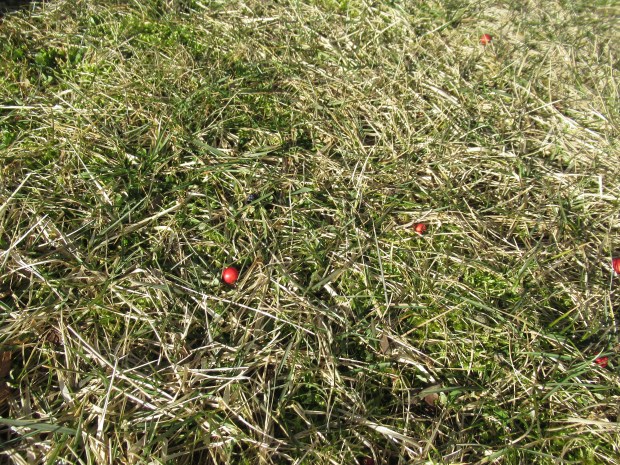
For the first, I simply set her the task of finding various nature items around the yard, ones I knew she could spot easily. Her first task was to spot the bright pop of red berries.

Nature Scavanger (4)

Next up was to find a prickly pine cone! Add anything to the list that your child can find easily in winter. If your kids are older, you can make a scavenger hunt sheet or index cards with images of each item to find.

Nature Scavanger (5)

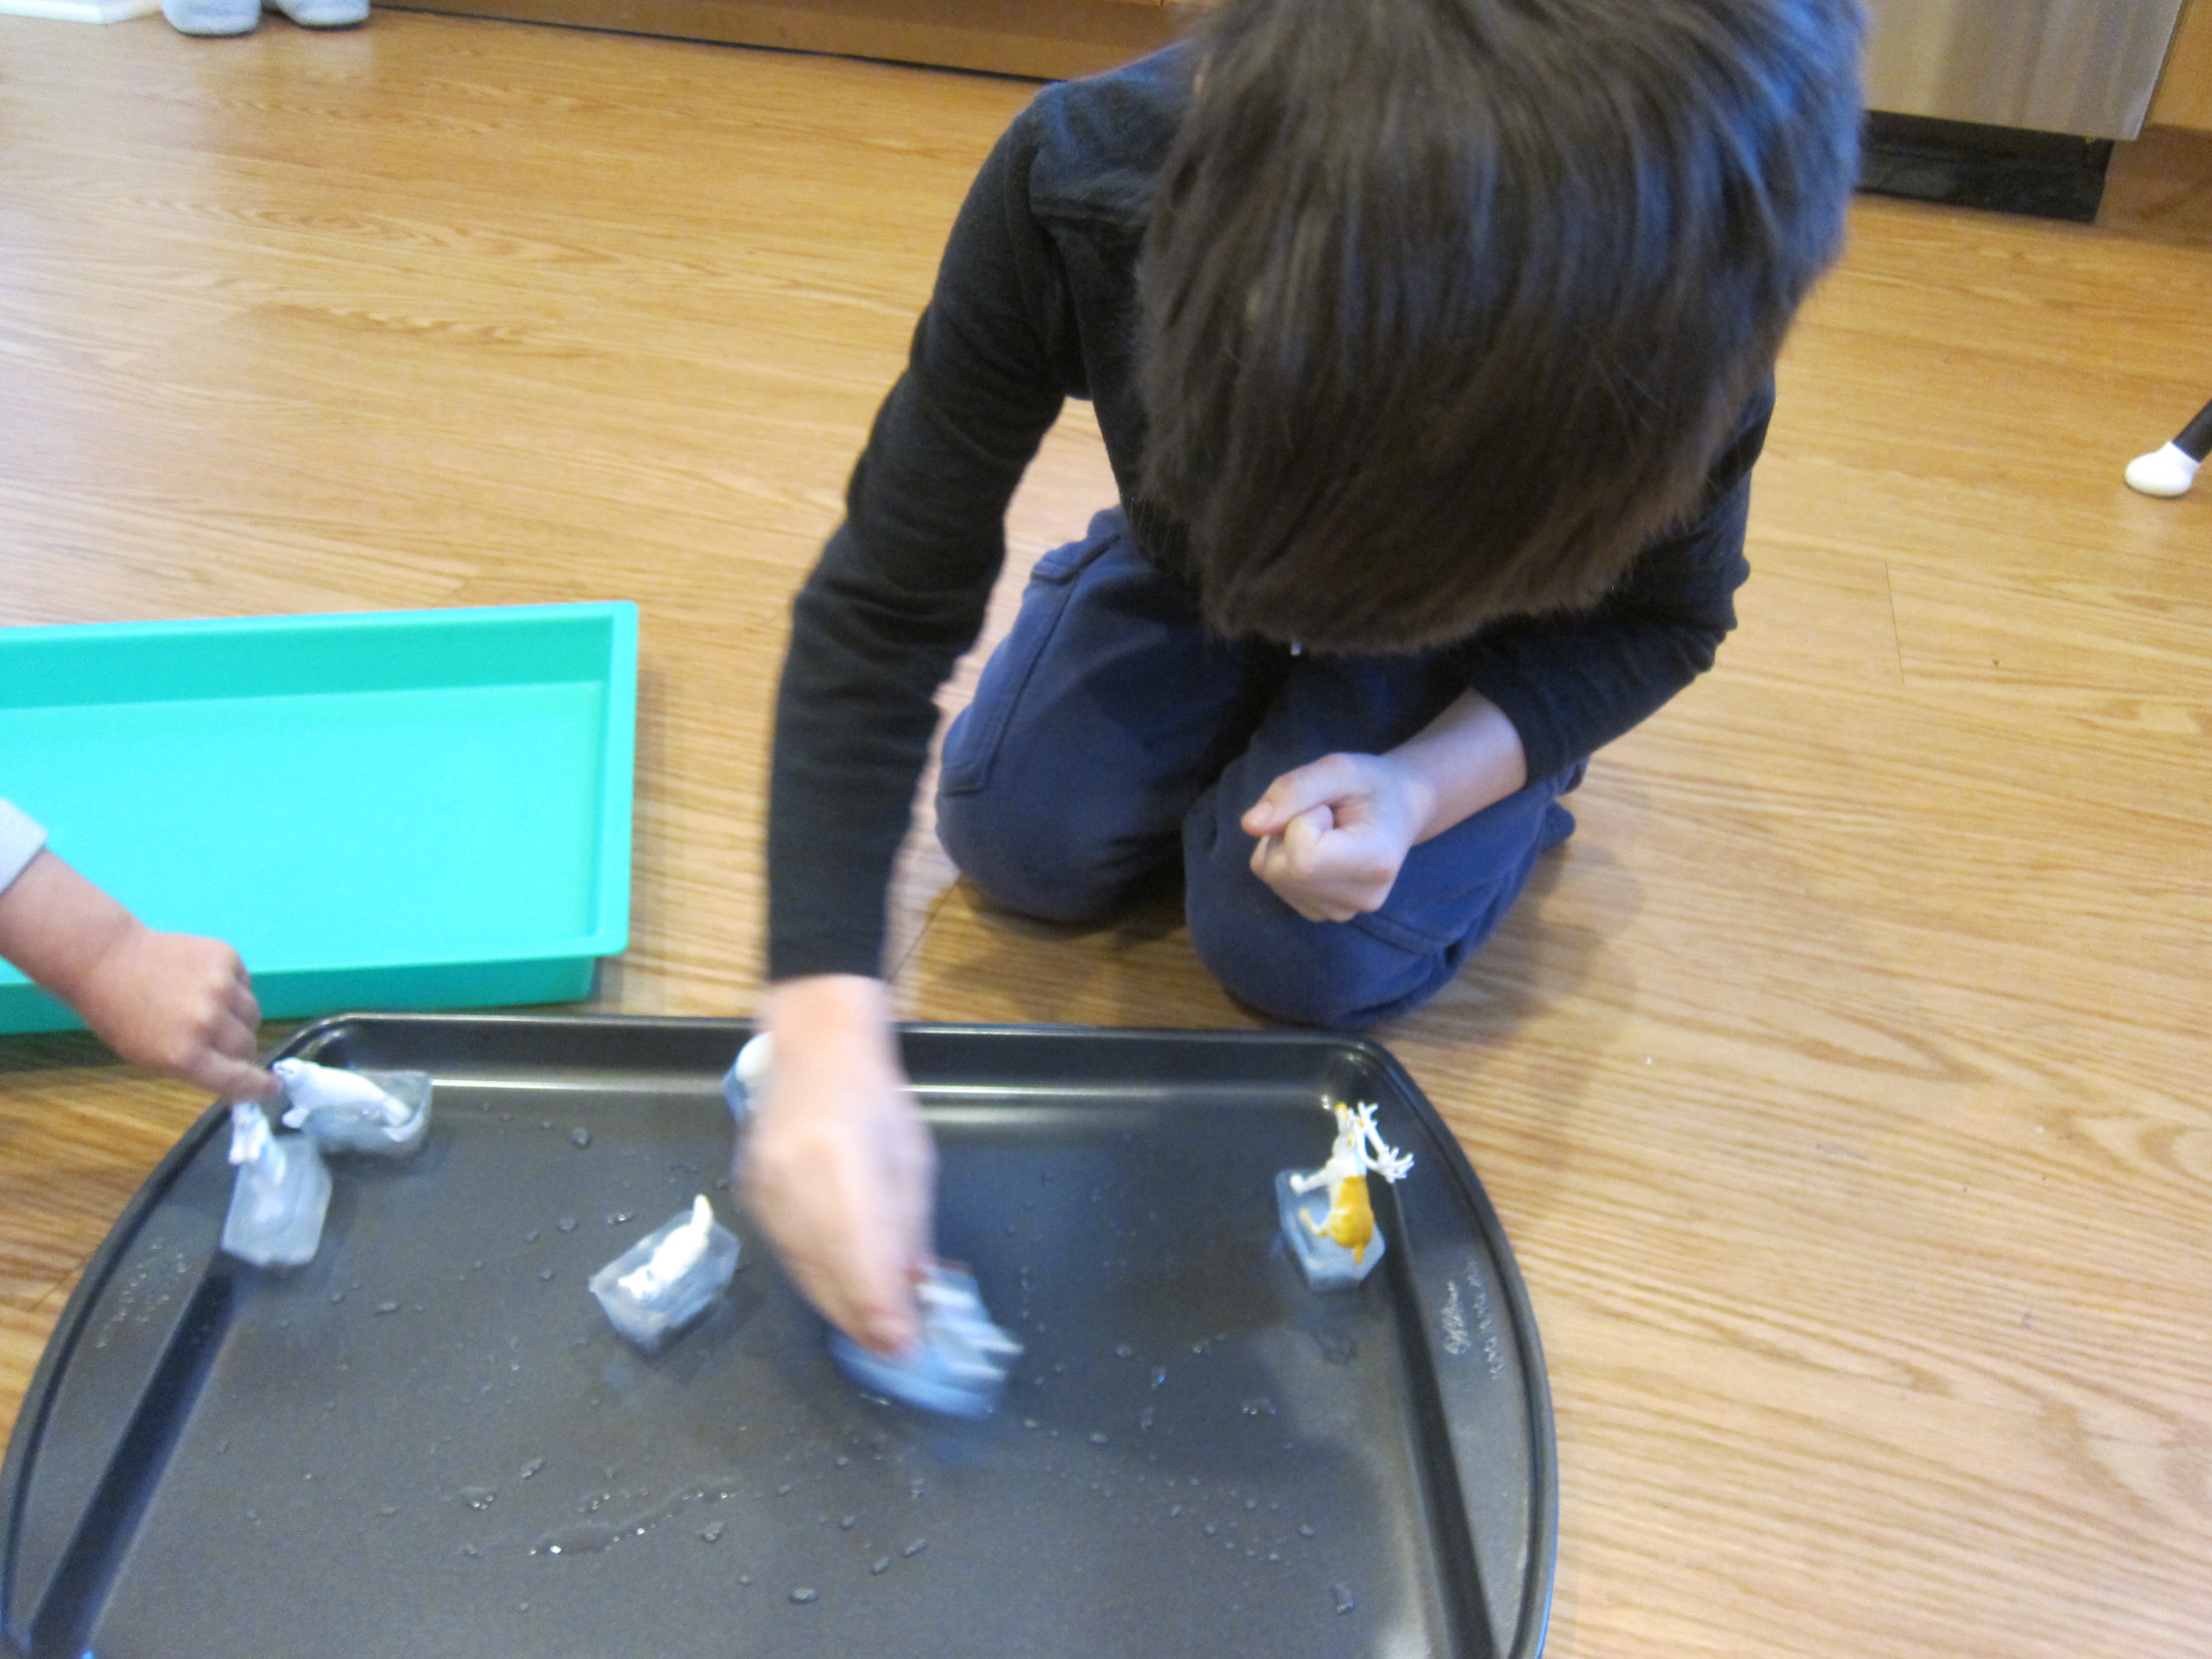
For the second “hunt”, I hid a few of her favorite toys (like little bunny figures) around the yard, then told her that the bunnies might be hiding. Could she find them? She was so surprised and delighted when she spotted them!

Nature Scavanger (1)

We weren’t outside for long, but these two little hunts helped us get a bit of fresh air!

Nature Scavanger (3)

2 Ingredient Homemade Snowballs

2 Ingredient Snowballs (8)

There’s no need to wait for the next snowfall before your kids have a good old-fashioned snowball fight. Make your own snowballs at home with just two ingredients in this hands-on activity!

To make the snowballs, you’ll simply need 1 (16-ounce) box cornstarch and 1 (7-ounce) can shaving cream. Combine these two ingredients in a craft bin and stir.

2 Ingredient Snowballs (1)

I wish I had photos from the exuberant mixing session that followed. This is messy toddler play at its best, and Veronika was up to her elbows (literally!) in the mixture. Unfortunately, I was up to my elbows in it, too, so couldn’t grab my camera in the moment.

2 Ingredient Snowballs (2)

Once the mixture comes together, it is shockingly not messy at all, but rather squeezes together into perfect “snowballs”. We headed outside with our ammo!

2 Ingredient Snowballs (3)

Older kids will no doubt want to have a real battle. In that case, you’ll probably want to make a double batch, and then each team can make a fort and pelt away. The snowballs are so soft that there’s no need to worry about anyone getting hurt.

2 Ingredient Snowballs (4)

For toddlers, the delight is more sensory. Veronika loved the way she could hold one of the soft snowballs carefully in two hands. But the second she tossed it to the ground, it splattered into crumbles.

2 Ingredient Snowballs (6)

She loved doing this off our patio, or even sending snowballs down her plastic slide.

2 Ingredient Snowballs (7)

Once everything was in crumbs, she kept playing for a long time. She enjoyed picking up the leftover bits of the mixture and then sprinkling it down to make it “snow” all over the yard.

2 Ingredient Snowballs (9)

Although I wouldn’t recommend regularly sprinkling a shaving cream mixture on your grass, it doesn’t hurt once during the winter season!

2 Ingredient Snowballs (10)

Winter Snowflake Slime

Winter Snowflake Slime (7)

We don’t make slime often, so this winter snowflake version today was a real treat for Veronika! I did use borax powder for this particular slime recipe, but there are lots of alternatives (including saline solution or liquid starch) if you’d rather not. Since I knew Veronika would be using craft sticks to play with the material, and not her hands, I felt comfortable about the borax.

To make the slime, combine 1/2 cup white glue and 1/2 cup warm water in a bowl or tray.

Winter Snowflake Slime (2)

Next, add silver glitter: lots! I used large flakes of silver to make it look like snow in the wintry white slime. You could also search for glitter in the shape of actual snowflakes at the craft store! Finally, dissolve 1/4 teaspoon borax powder in 1/2 cup hot water. Add this to the glue mixture and it will seize up instantly.

Winter Snowflake Slime (3)

Our mixture turned out almost like ooblek, running back towards a liquid when we didn’t touch it, but seizing up as soon as we stirred or scooped. Needless to say, Veronika was fascinated. She loved watching me lift up big handfuls of it.

Winter Snowflake Slime (4)

She would stir with her craft stick and then lift it to pull up big globs before watching it dribble back down.

Winter Snowflake Slime (6)

If we touched our two craft sticks together, the mixture was so sticky!

Winter Snowflake Slime (5)

And of course the silver glitter and white color made us think of sparkly snow. If you want, recite your favorite word play or nursery rhyme about snowflakes while your toddler plays and stirs.

Winter Snowflake Slime (8)

Here’s one we like, which you can say as you flutter your fingers like snowflakes.

Softly, softly, falling so,

This is how the snowflakes go.

Pitter-patter, pitter-patter,

Pit pit pat,

Down go the raindrops

On my hat.

Winter Snowflake Slime (9)

Unpoppable Frozen Bubbles

Unpopable Bubbles (4)

My philosophy about really cold weather with kids has become not to shy away from it, but to embrace it. That’s exactly what we did today with frozen bubbles; this is the kind of trick that can only work once the weather dips down low.

The secret to making this activity a success is to leave a bottle of bubble solution outside overnight so that it’s chilled and ready to go when your bundled-up kids get outside.

The second trick is to wave the bubble wand, instead of blowing through it. With those two modifications, the bubbles will act differently, freezing in kids’ hands or in the air (if it’s cold enough!) instead of popping.

Unpopable Bubbles (3)

The first time we tried this, our solution wasn’t quite cold enough.That meant the kids could still pop the bubbles on their fingers.

Unpopable Bubbles (2)

But they lasted and froze over if they landed on cold surfaces, like our plastic slide. This was mesmerizing to watch!

Unpopable Bubbles (6)

Travis wondered if this particular bubble might just last forever.

Unpopable Bubbles (5)

The next night was even colder, so we headed outside for more everlasting bubble play.

Unpopable Bubbles (7)

And this time they were so cold that sure enough we could poke at them without making them pop!

Unpopable Bubbles (8)

Is it cold enough for frozen bubbles in your area? Please share in the comments!

Match the Tracks

Match the Tracks (4)

This winter twist on hide-and-seek is fantastic for early hiders and seekers (think preschoolers and toddlers), and you don’t even need much snow to play it; even a light dusting on the ground will do!

As soon as we saw it was snowing, the kids were eager to head outside, so I challenged them to find mommy… by following my tracks. Leave nice, clear footprints in the snow as you head to your hiding place. You can make your actual hiding place easy to spot or hard to find, depending on your child’s age.

Match the Tracks (1)

Veronika grinned as soon as she had the gist of the game, and eagerly followed along my prints in the snow.

Match the Tracks (2)

Peek-a-boo! She found mommy behind a tree.

Match the Tracks (3)

It was harder to get her to understand being the hider, but she did love noticing her own tracks in the snow!

The beauty of this game is that each round will gets successively harder as the tracks start to get muddled. You can challenge older kids to make a giant maze of footsteps by the end! And while they’re at it, keep an eye out for any other animals that might have left tracks in the snow.

Easy Winter Sensory Bin

Easy Winter Sensory Bin (1)

If you need to occupy a toddler on a cold winter day, simply throw a few items that seem “wintry” onto a tray and call it a winter sensory bin!

Yes, this really was as simple as that, just some odds and ends to keep Veronika busy for a short while. I raided the craft bin for items that fit the theme and ended up using: packing peanuts for their snowy white color and puffy texture; sparkly silver and gold ribbon; white and blue pom poms that were like mini snowballs; and some sparkly silver and blue chenille stems that seemed like icicles.

Easy Winter Sensory Bin (2)

The mix of textures, sizes, and shapes turned out great! Veronika could pretend she was sifting through snow with the packing peanuts and pom poms.

Easy Winter Sensory Bin (4)

For a little fine motor work added in, I also set a couple of spring-type clothespins on the tray and encouraged her to pinch some of the items.

Easy Winter Sensory Bin (3)

She proudly lifted a pom pom! The crinkly ribbon, meanwhile, made a wonderful sound and was great fun to lift up and then let “snow” down.

Easy Winter Sensory Bin (6)

Her bin was a mess by the end, the sure sign that she’d had some tactile wintry fun.

Easy Winter Sensory Bin (7)

Winter Bowling

Ice Bowling (2)

Every season seems to have its own perfect variation on bowling, whether giant inflatable unicorns in the summer, haunted bowling in the fall, and now ice bowling in the winter!

For pins, fill water bottles about 3/4 of the way with water and let stand outside overnight to freeze (or place in your freezer if the temperature in your region doesn’t dip that low). Make sure to leave some room in the bottles for the ice to expand.

For balls, fill water balloons with water and freeze overnight. In the morning, slip off the rubber and you have perfect ice spheres to bowl with. The little balls of ice absolutely delighted both kids, so much so I worried they would just play with those and ignore the bowling completely!

Ice Bowling (1)

Eventually Travis loved taking tosses and rolls at our ice “pins” and seeing how many he could get with one shot.

Ice Bowling (4)

There’s an extra catch that makes this version of bowling harder; if you throw your ice ball too hard, it might shatter!

Ice Bowling (5)

Come to think of it, that fact probably added to Travis’s fun.

Ice Bowling (6)

Veronika didn’t seem to be a huge fan of the ice bowling, so I took her inside for a warmer and more toddler-friendly version. We emptied the ice from the bottles and simply rolled a nice big bouncy ball at empty ones.

Bowled Over (1)

For a toddler, persistence is key! I showed her how to reset the pins and try again after each roll.

Bowled Over (2)

We also lined up the bottles in different formations to make the game more interesting.

Bowled Over (5)

And sometimes, she preferred just to sit and play with the bottle pins, which was all part of the fun!

Bowled Over (4)

What’s your winter spin on bowling? Please share in the comments!

Bowled Over (3)

Skating Party

Skating Party (2)

When ice cubes melt against a slippery surface like metal, they start to naturally slip and slide around. Turn that little scientific fact into a “skating party” by freezing small plastic animals in the ice ahead of time!

I filled an ice cube tray with water and then after about 2 hours, when the cubes had started to set but weren’t frozen solid, I pressed a toy animal into the top of each. A set of arctic animals fit nicely with the icy winter theme. I wish I’d had a few penguins to include, too! Let freeze completely overnight.

Skating Party (1)

At first I set these out on a plastic tray, where Veronika was immediately delighted to see favorite animals in the ice. But it quickly became apparent that we needed a metal cookie sheet for them to “skate”.

Skating Party (3)

The ice started to melt almost immediately once we made that switch, and just a gentle tap of the finger sends your animals “skating”.

Skating Party (5)

Veronika’s favorite was the snow hare, which she hopped and skated all about. Travis loved making the animals take wild skating spins across the tray.

Skating Party (6)

He also wanted to try freeing them from the ice, another oldie-but-goodie ice game.

Skating Party (7)

And we all laughed at the way the ice animals could spin and move.

In sum, a fun quick activity before even heading off to school!

Skating Party (9)

Winter Star Sensory Ice

Winter Star Sensory Ice (3)

This ice activity is really just good old-fashioned ice exploration, but with a winter twist to give it the guise of something new!

To make our sparkly “winter” ice, ideally use a star or snowflake ice cube mold and freeze overnight. Lacking such a mold, I used winter-themed cookie cutters instead (a pine tree, snowflake, star, and heart). This was a bit trickier because I had to lift the cookie cutters from a larger dish after the water started to freeze, but before the cookie cutters were frozen solid! I also sprinkled star-shaped glitter into the water before freezing for extra winter sparkle.

Winter Star Sensory Ice (1)

When we took the ice out of the freezer the next morning, Veronika was delighted. “It’s a little snowflake!” she said, spotting this shape.

Winter Star Sensory Ice (2)

We used our senses to explore them, and she carefully touched her fingers to the ice. “Ooh, that’s cold!” she said.

Winter Star Sensory Ice (6)

Then we placed them in a little dish of water to see what would happen. The small shapes melted almost instantly. Good thing our larger star shape lasted much longer.

Winter Star Sensory Ice (5)

She loved picking this one up and transferring it in and out of the water, testing how cold it was each time.

Winter Star Sensory Ice (8)

This was a fun winter twist on early STEM exploration of liquids vs. solids. With older toddlers, you can delve more into how water can come in three states (solid, liquid, and gas); test sprinkling salt on the ice cubes to melt them faster; or see if the ice shapes melt faster inside or outside.

Winter Star Sensory Ice (4)

Jump and Match Snowflakes

Jump and Match Snowflakes (6)

Here’s the perfect way to get some indoor exercise on a cold morning, plus sneak in a learning game, too!

I tailored the game so it would be a challenge for both my 6-year-old and my 2 year-old. First, I printed a snowflake template on cardstock showing 6 pairs of snowflakes, each with a match. Attach these to a door frame in your home so they are just high enough for kids to jump and touch the pairs.

Jump and Match Snowflakes (1)

Because I knew matching up snowflake pairs with subtle differences would be beyond Veronika’s ability, I also color-coded the game; each pair of snowflakes dangled from the same color string.

Jump and Match Snowflakes (2)

Travis proved to be an expert at spotting twin snowflakes (quicker than I would have guessed!) and loved jumping up to grab them.

Jump and Match Snowflakes (8)

Veronika was able to jump by color when I asked her to find both yellow strings, for example.

Jump and Match Snowflakes (4)

She’s just learning to get her feet off the ground in a jump, so this was great practice!

Jump and Match Snowflakes (3)

We also later played a quick game down on the floor where I showed her mismatched snowflakes followed by an identical pair, so she could be exposed to this more subtle version of a match.

Jump and Match Snowflakes (9)

Beyond the matching and jumping, simply having all those snowflakes dangling turned out to be lots of fun. Veronika thought it was a hoot to run under the strings so the snowflakes just brushed her head.

Jump and Match Snowflakes (5)

She also loved jumping her dolls up toward the dangling strings! This was a great way to burn some energy on a cold morning.