Decorate a Castle

This might not have been the most intricate castle we’ve ever put together, but a few large boxes are all any child needs to be king or queen of the realm for the day!

I recommend starting this project the night before, unless you want very impatient kids waiting for paint to dry. We used a big bristle brush to slather the sides of 4 cardboard boxes with paint. Because it was a lot of surface area to cover, this quickly needed to become a multi-colored castle, but the kids loved the result.

In the morning, it was time to assemble. I cut a few holes in some of the boxes for various purposes; some were small holes to be windows; some were large for Veronika to be able to crawl from box to box; and one was cut out on three sides but still attached at the bottom, to be the drawbridge of course! Be prepared for kids already crawling through and playing while you work. Chances are you won’t be able to keep them away.

You can leave the tops of the boxes straight, or cut out a few crenelations.

To make a working drawbridge, just attach a string or rope to the drawbridge flap that your child can pull on. Now Veronika could safely guard against intruders (like a certain big brother).

For window curtains, I hot-glued a few fabric scraps to a wooden dowel, then hot-glued the dowel over the smallest cut-out.

The queen was ready to rule! Having recently discovered that chalk works great for coloring big boxes, this proved to be a much cleaner method for her to decorate than painting. Veronika loved scribbling, and wanted me to add rainbows and sunshine, too.

I loved watching her take charge of the decorations!

I recommend leaving up big creations like this for at least a week, so your child can revisit it, continue to decorate, and play in new ways. What will your child’s castle look like? Please share in the comments!

King of the Castle

castle (11)

I first spotted this homemade castle in Family Fun magazine months ago, and knew it was something I just had to make for Travis eventually!

Parents, it may seem like a lot of work, but the castle comes together remarkably easily in very few steps. My advice is to tackle one portion per day, so that it never seems overwhelming.

First, purchase (or reuse!) three large boxes. Use large (about 20×20 inches) for the two sides, and extra large (22×22 inches  – or more!) for the center portion.

For the center section, trace a drawbridge shape onto craft paper, and tape down to the largest box. Cut out the shape.

Castle (1)

To attach the drawbridge cutout, you’ll need two lengths of plastic chain (ask them to cut these to size at Home Depot) about 2 and 1/2 feet in length. Poke a pipe cleaner through the end of the cardboard further from the castle, and thread the pipe cleaner through; attach to one end of a chain. Repeat on the other side. Make two small holes next to the drawbridge cut-out in the castle box, and thread each chain through, securing with hot glue or tape.

castle (12)

For the two side pieces of the castle, cut out window shapes, leaving the “shutters” attached. Peek-a-boo!

Castle (3)

You can use scissors or an x-acto knife to crenellate the tops of all three boxes. We taped one roof flat with the anticipation of adding a “bell tower” down the line – if we do, I’ll update this post!

Cut a side door in each side section so your kids can crawl from “room” to “room” within the castle; now tape all three sections together with a few pieces of duct tape.

Next up, we needed to apply a coat of paint!

Castle (7)

For some fun extras, we didn’t stop there! To make banners, attach pieces of triangular cardstock or poster board to dowels, and tape at the top of the castle.

castle (10)

For ivy, hot glue leaves cut from green tissue paper or construction paper onto twine.

castle (9)

For a torch, hot glue the bottom of a paper towel tube shut. Stuff with tissue paper, and then add gold or white tissue paper up top to stick out as flames. Position a battery-operated tea light just behind the tissue paper and your torch will really light up!

castle (13)

That’s as far as we went, but there’s so much more you can do! Consider painting old shoeboxes and positioning below the windows as sills, stuffing with additional green tissue paper as greenery. You can also hot glue an old blanket or piece of cloth into the drawbridge opening, or hang strips of crepe paper as a “portcullis”.

castle (14)

Inevitably, games in the castle involved Travis’s sword and our homemade shield. What else will you add to the castle for your king or queen? Please share in the comments!

Felt Play Mat

Felt Mat (7)

Felt play mats are a great way to occupy the kids while you’re getting work done around the house or cooking dinner. Set out a large sheet of felt for each child, along with customizable mix-and-match pieces, and let the entertainment begin!

My original plan for this game was to set Travis up with a Medieval castle scene, but he wasn’t that interested. Instead, we recreated objects from his current favorite show, Fireman Sam.

Felt Mat (1)

I let Travis decide which pieces he wanted, and cut them from corresponding felt colors – red firetrucks, yellow houses, green trees (“and we need brown trunks!” Travis made sure to add), blue water etc.

Felt Mat (2)

Kids who are 5 and up should be able to cut out their own felt pieces, but Travis was excited just watching me to so!

Forgive my lack of artistic skills, but here was our mountain rescue center with a radio and “flares.”

Felt Mat (4)

Once we had enough pieces, the play began! We had a little orange “fire” that could be moved around the scene, and his firetruck rushed in to the rescue.

Felt Mat (3)

We decided we did need a few people, so added Playmobil figures.

Felt Mat (10)

As he played, I added further shapes like a castle, a pond with fish, and a few more nature elements.

Felt Mat (9)

Now he could mix and match games and create imaginative tales to his heart’s content!

Felt Mat (8)


Medieval Crate

Koala medieval (15).JPG

I pretty much peed my pants when I saw our latest theme from Koala Crate – the Medieval crate! I was a huge medieval dork as a kid (and, well, still am), and couldn’t wait to share with Travis the projects and ideas about the Middle Ages.

One note in general: I’ve noticed that Koala is getting more… complex, both in terms of theme and the materials we receive each month. I’m not sure if the kits grow more sophisticated as your subscription goes on, or if this is an attempt by Koala to stay competitive in the expanding world of kids’ subscriptions boxes. This isn’t a value judgment, just an observation that our projects feel a little needlessly complicated. Still, you should be able to mostly replicate the ideas below with items from a craft store, if so inclined!

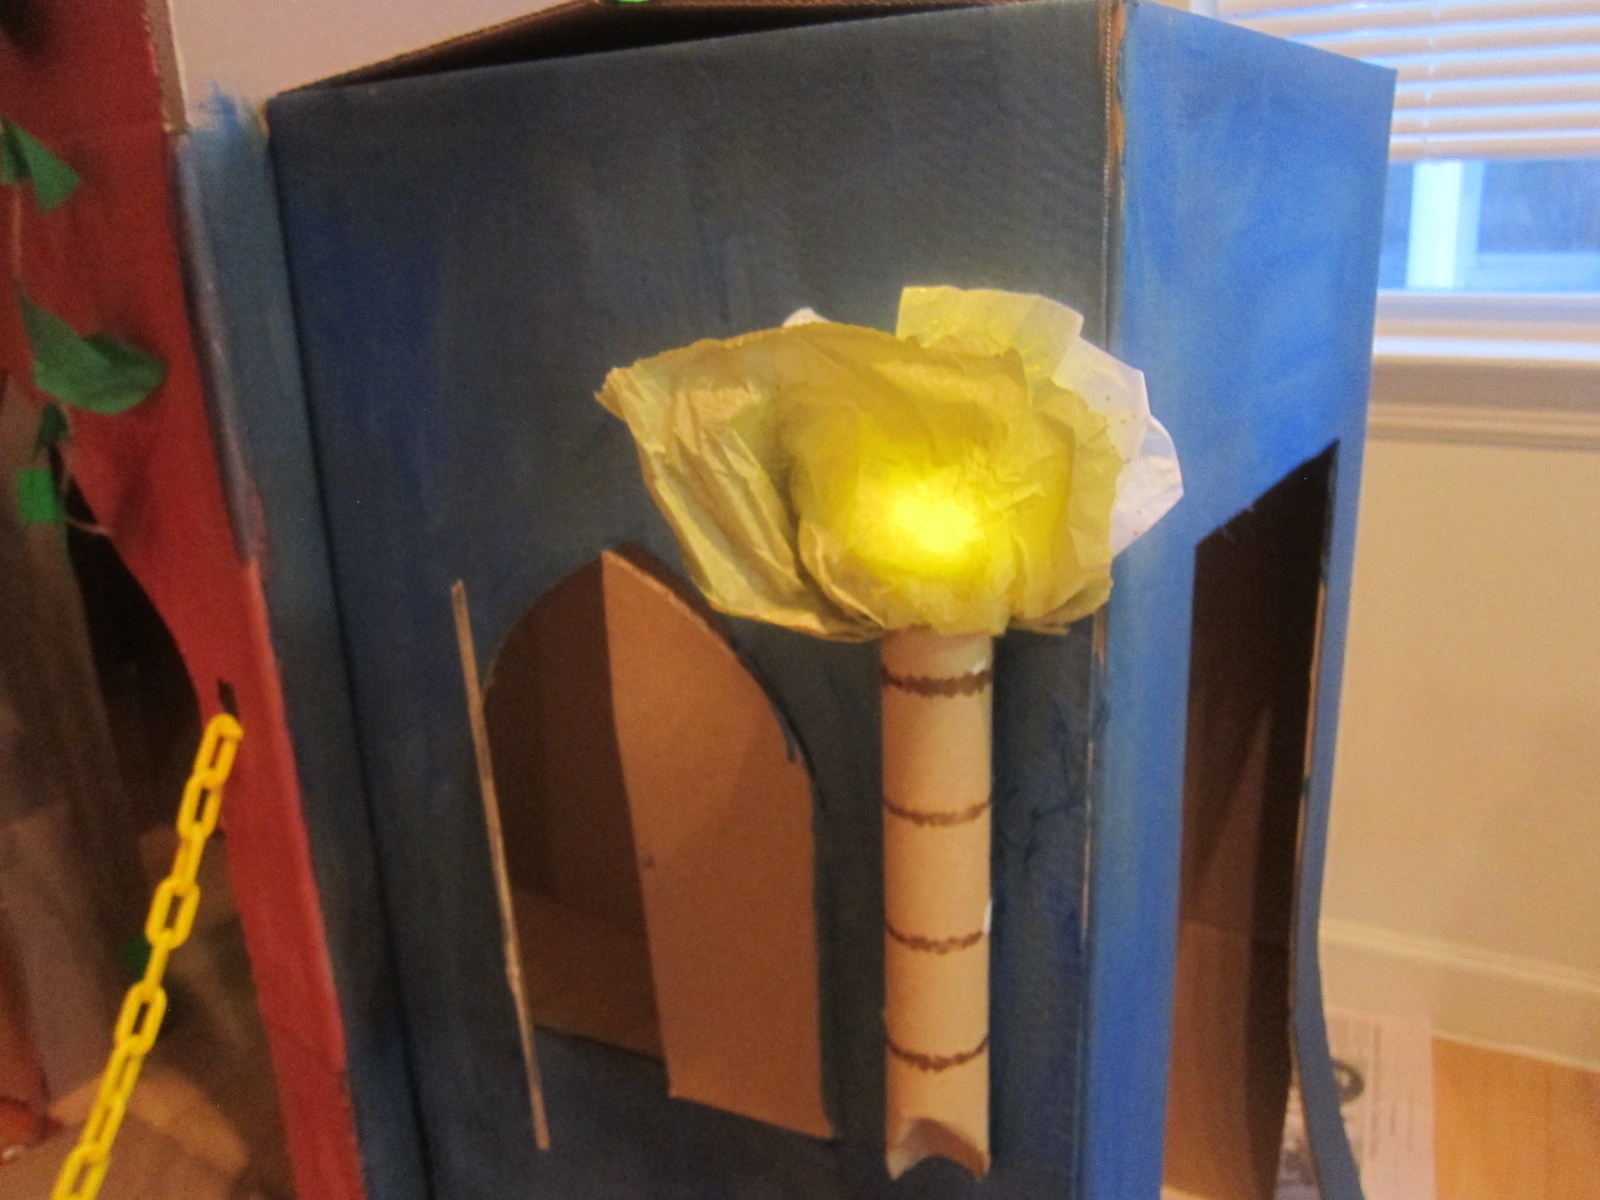
Because we’ve recently been in love with dragon stories and lore (Dragon’s Love Tacos!), it was natural to start with the Dragon Wagon project. We needed to first apply provided tissue paper circles as dragon scales to the sticky sides of a cardboard box.

Koala medieval (1)

Whoops, just in time we realized there were shiny stickers too, and made room for those.

Koala medieval (12)

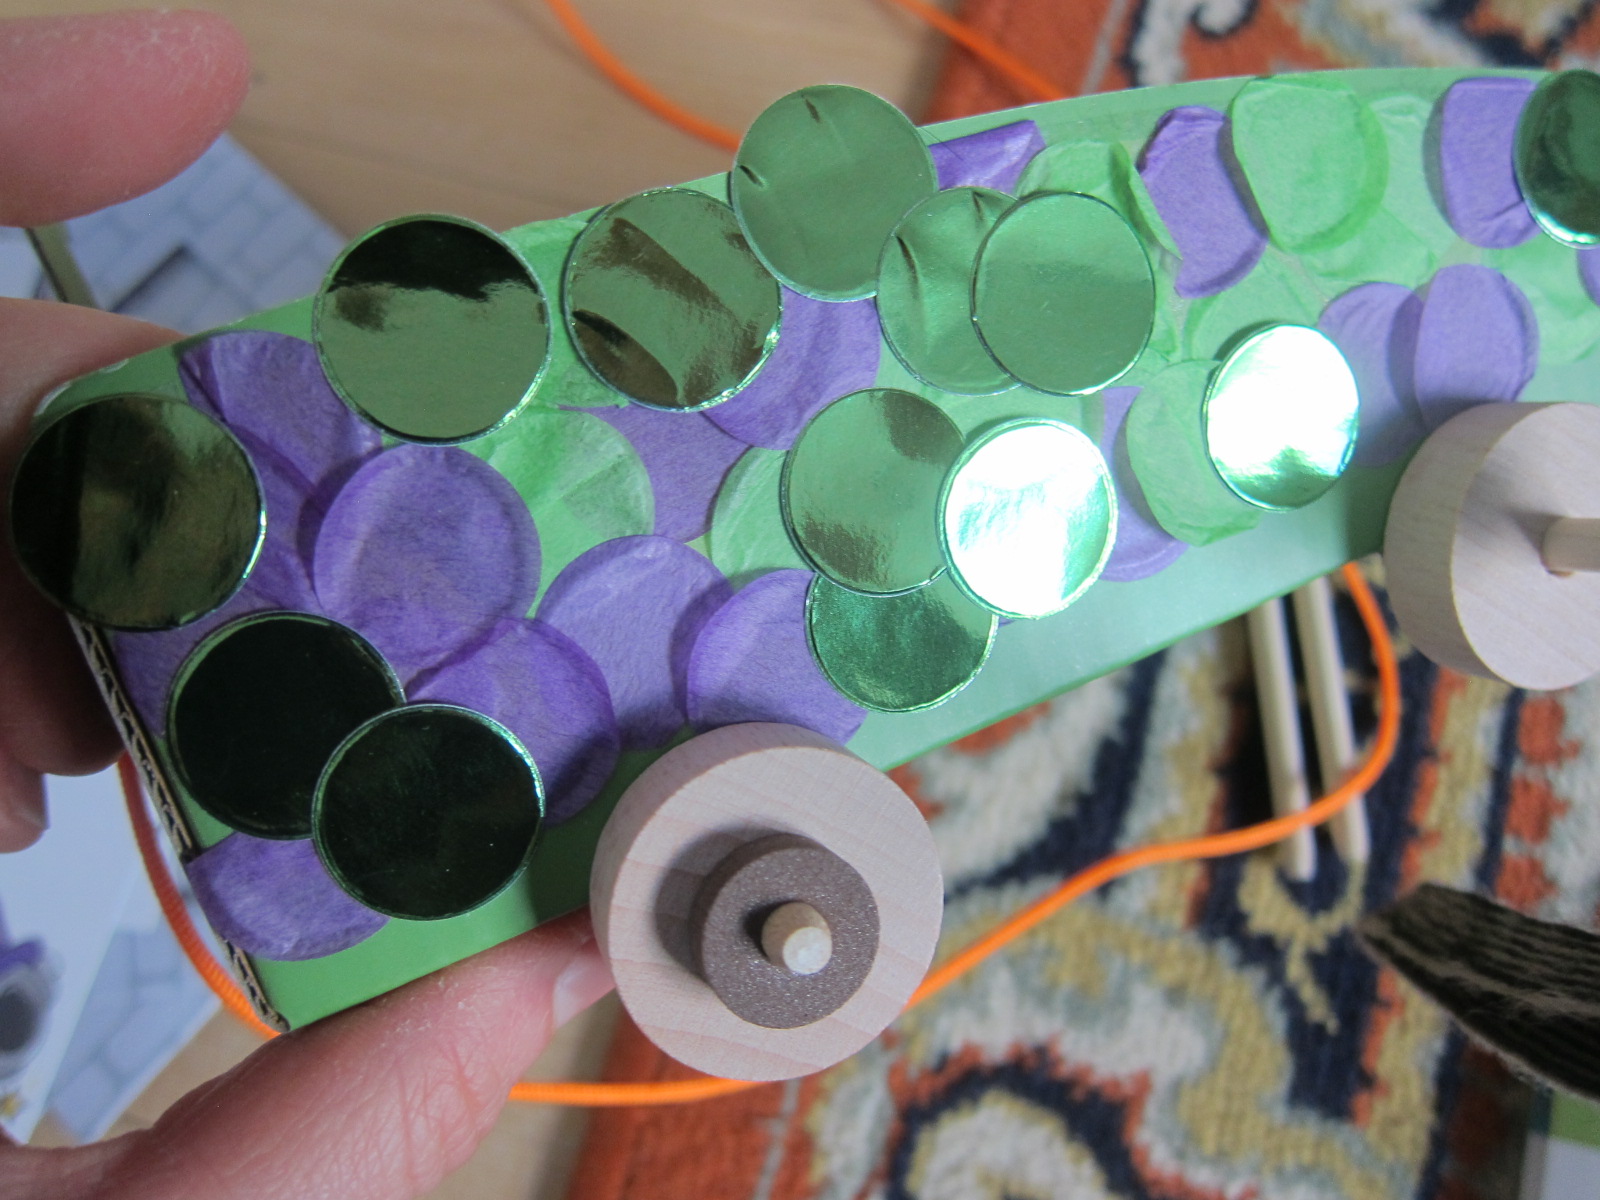
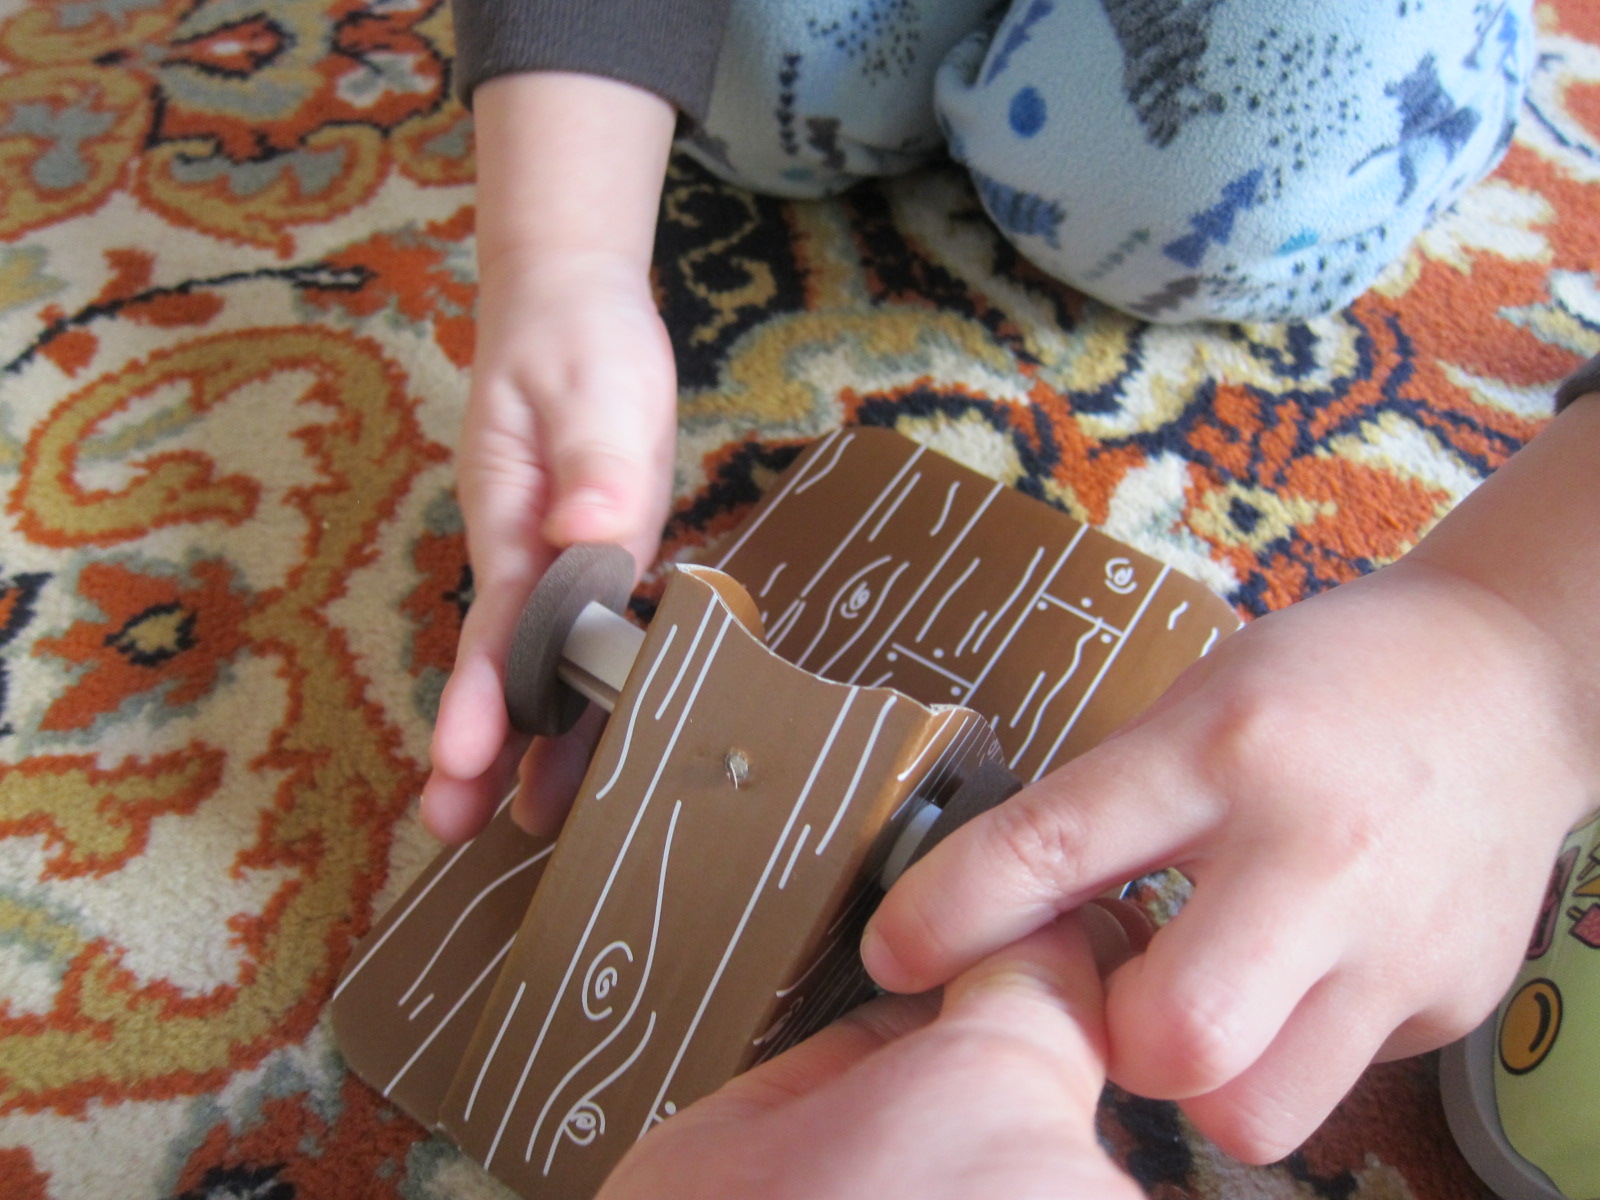
My favorite part of this crate was the dexterity Travis showed. He largely took over adding 2 wooden dowels to be the axles, then adding 4 wooden wheels and a foam circle to hold the wheels in place.

Koala medieval (2)

Next he threaded through the provided orange rope, to pull the wagon along.

Koala medieval (3)

We hadn’t even added the dragon and already the Middle Ages were a huge hit with my boy!

Koala medieval (4)

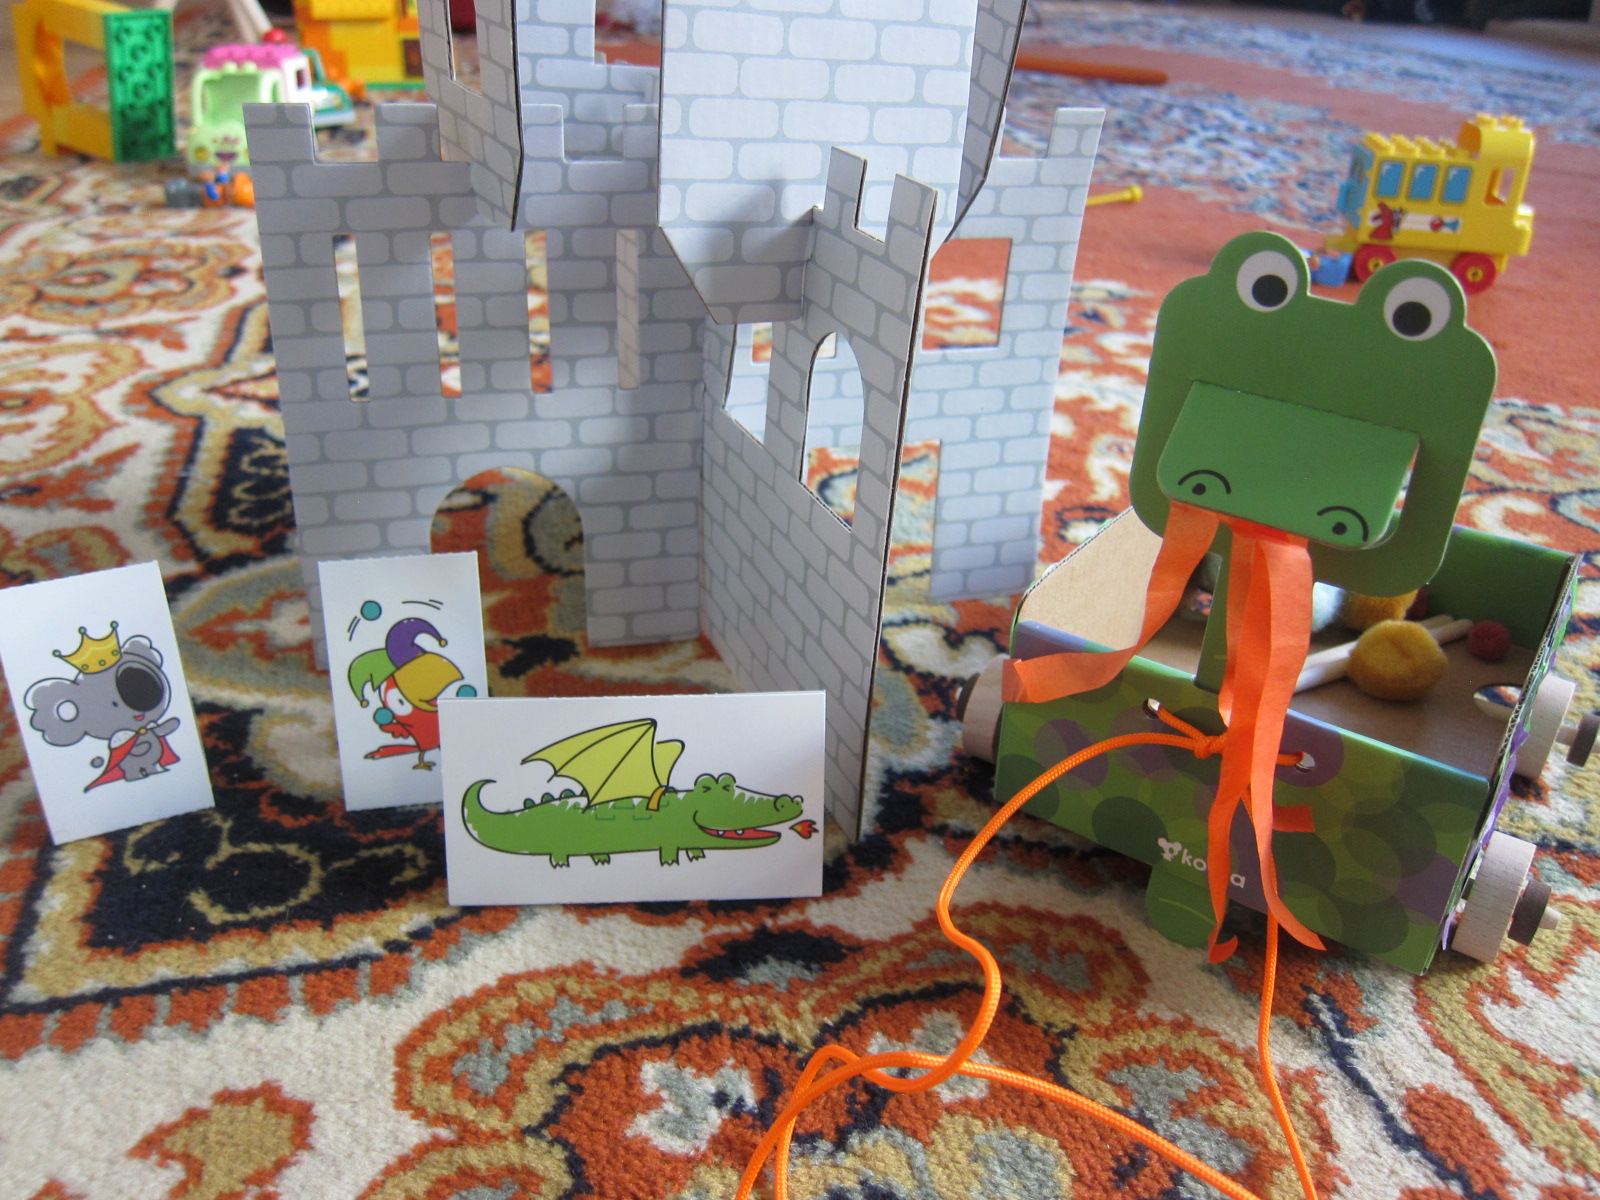
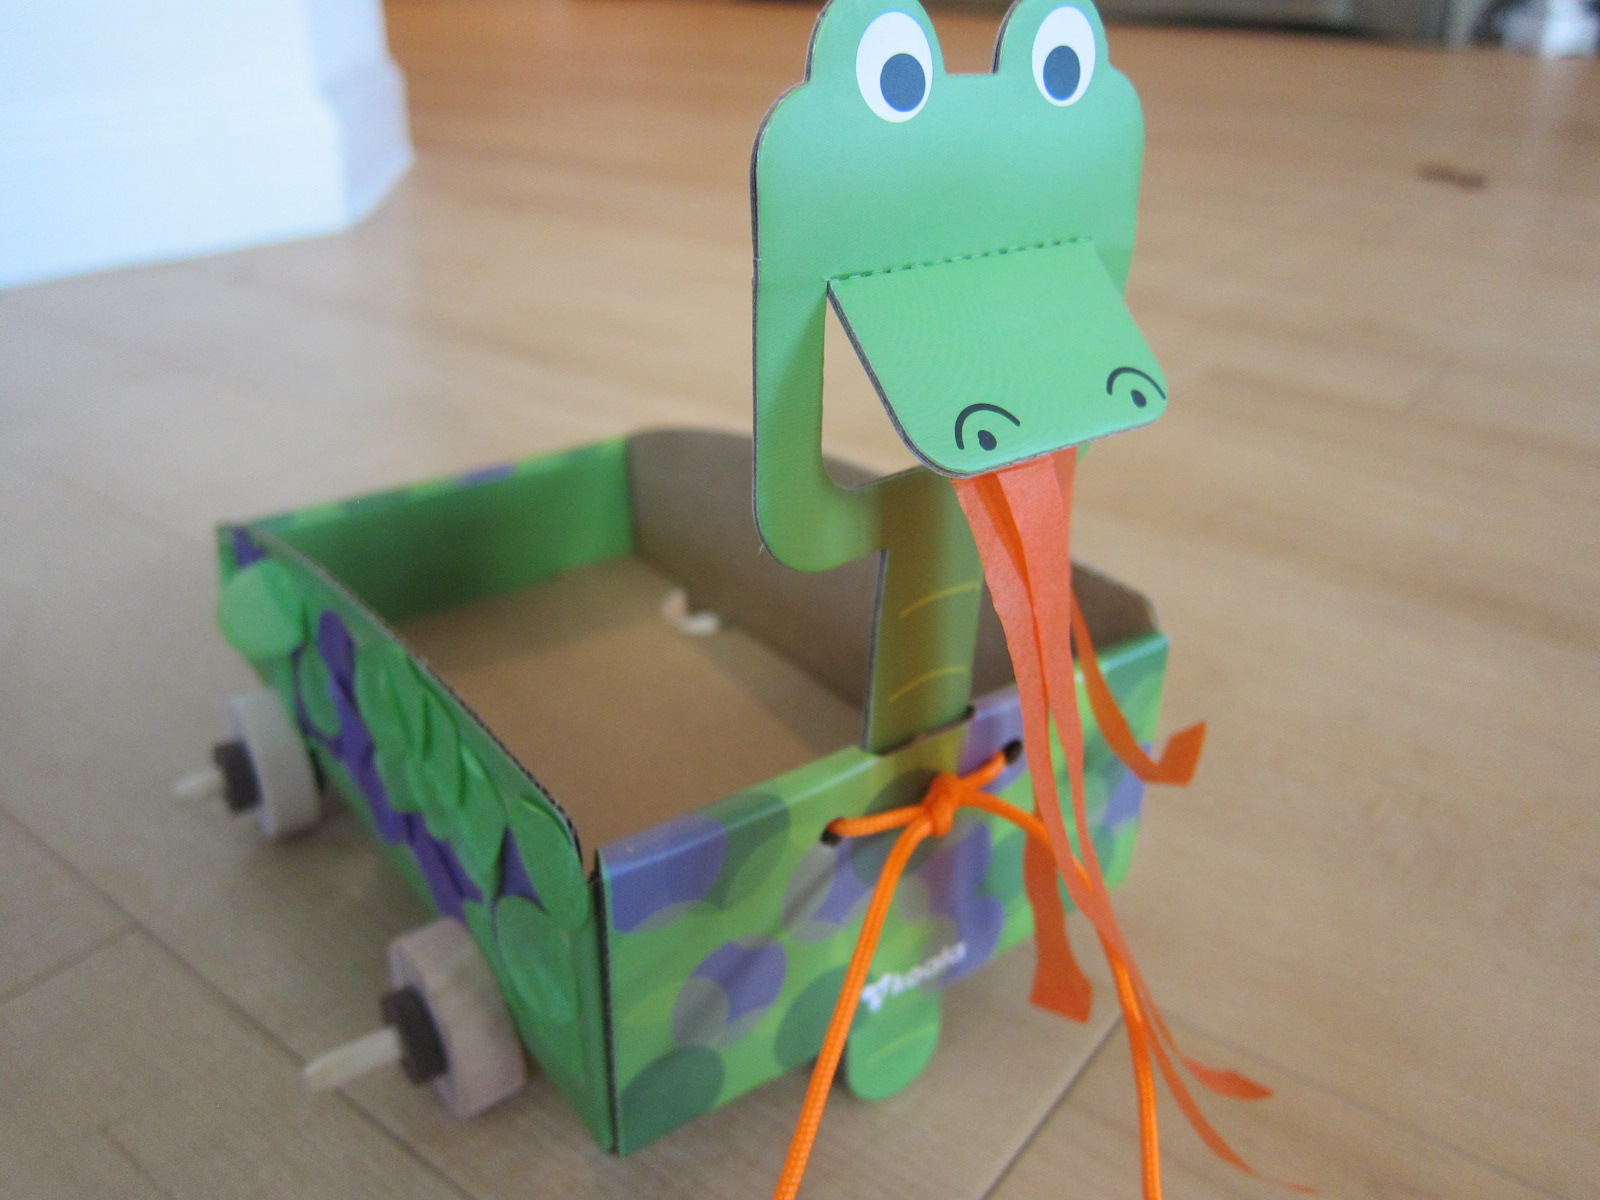
To add the dragon, we adhered four thin streamers of orange tissue paper to the sticky strip on a cardboard dragon head. Koala set this up very neatly so that if you huff through the open mouth, the “flames” wave.

Koala medieval (6)

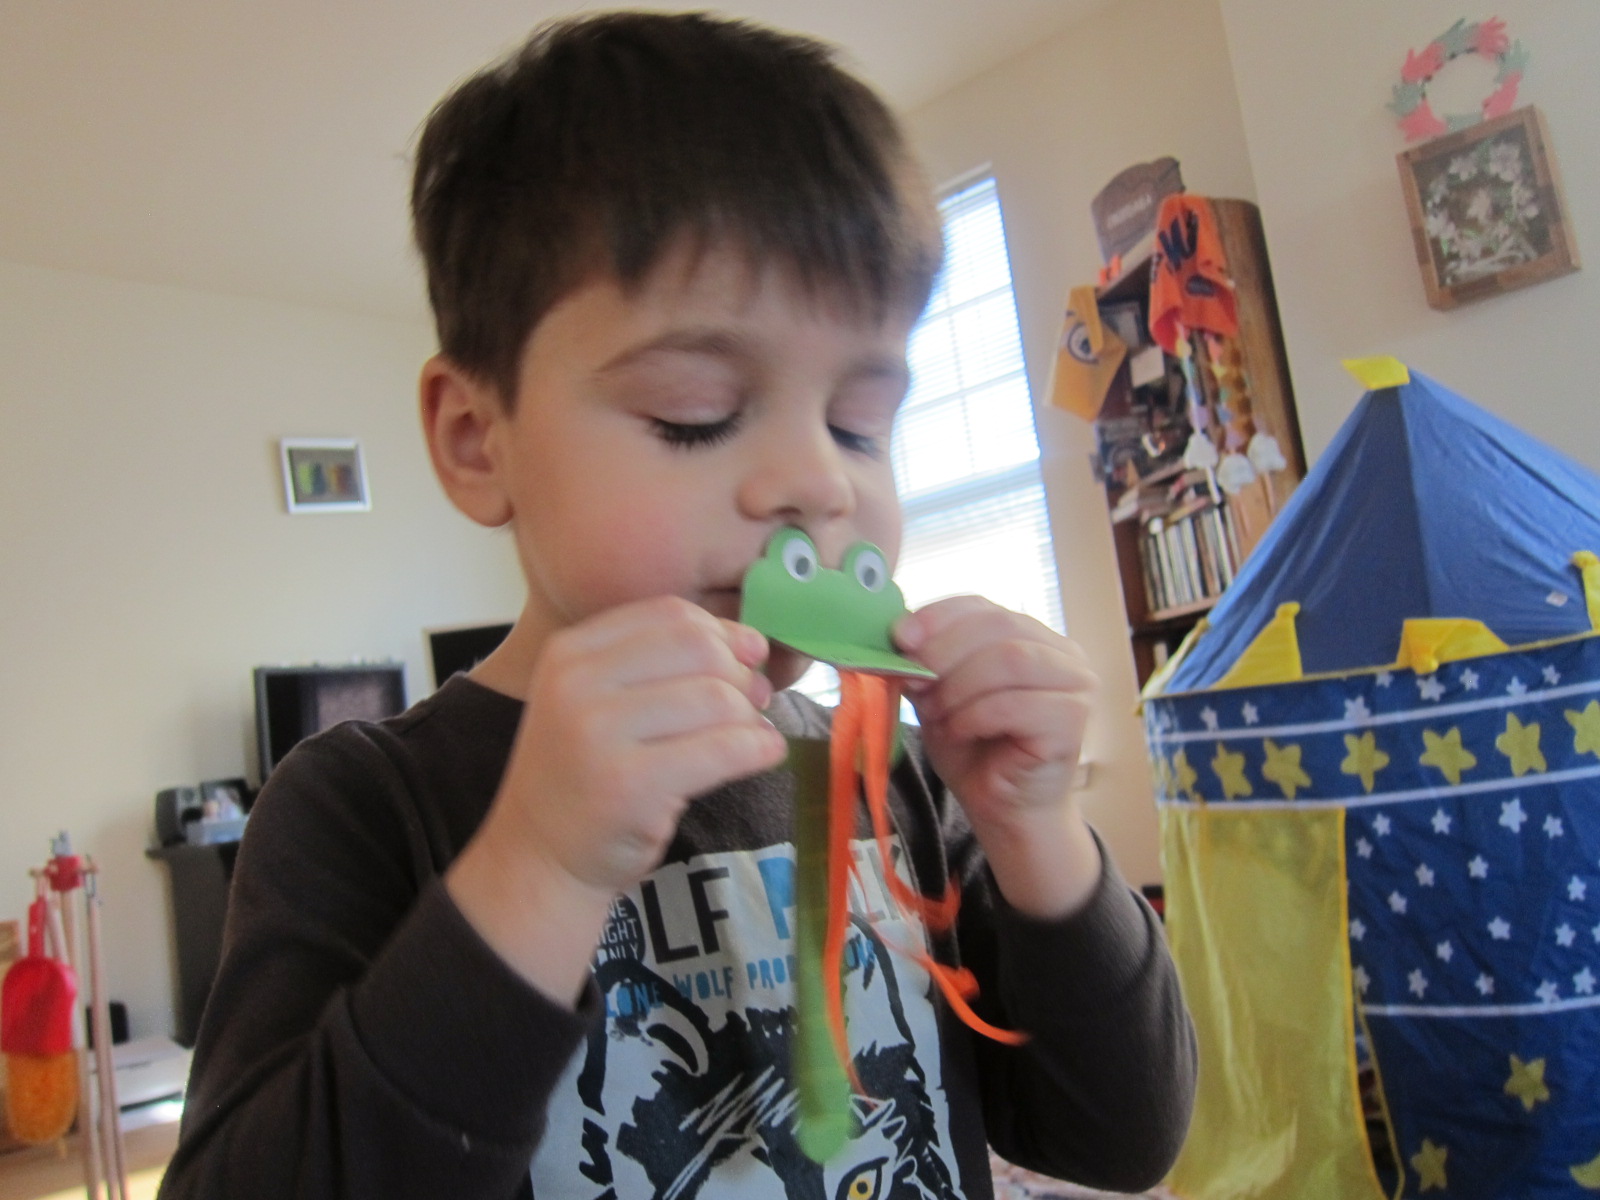
Slide the dragon head into the provided slot on the wagon and your project is complete.

Koala medieval (7)

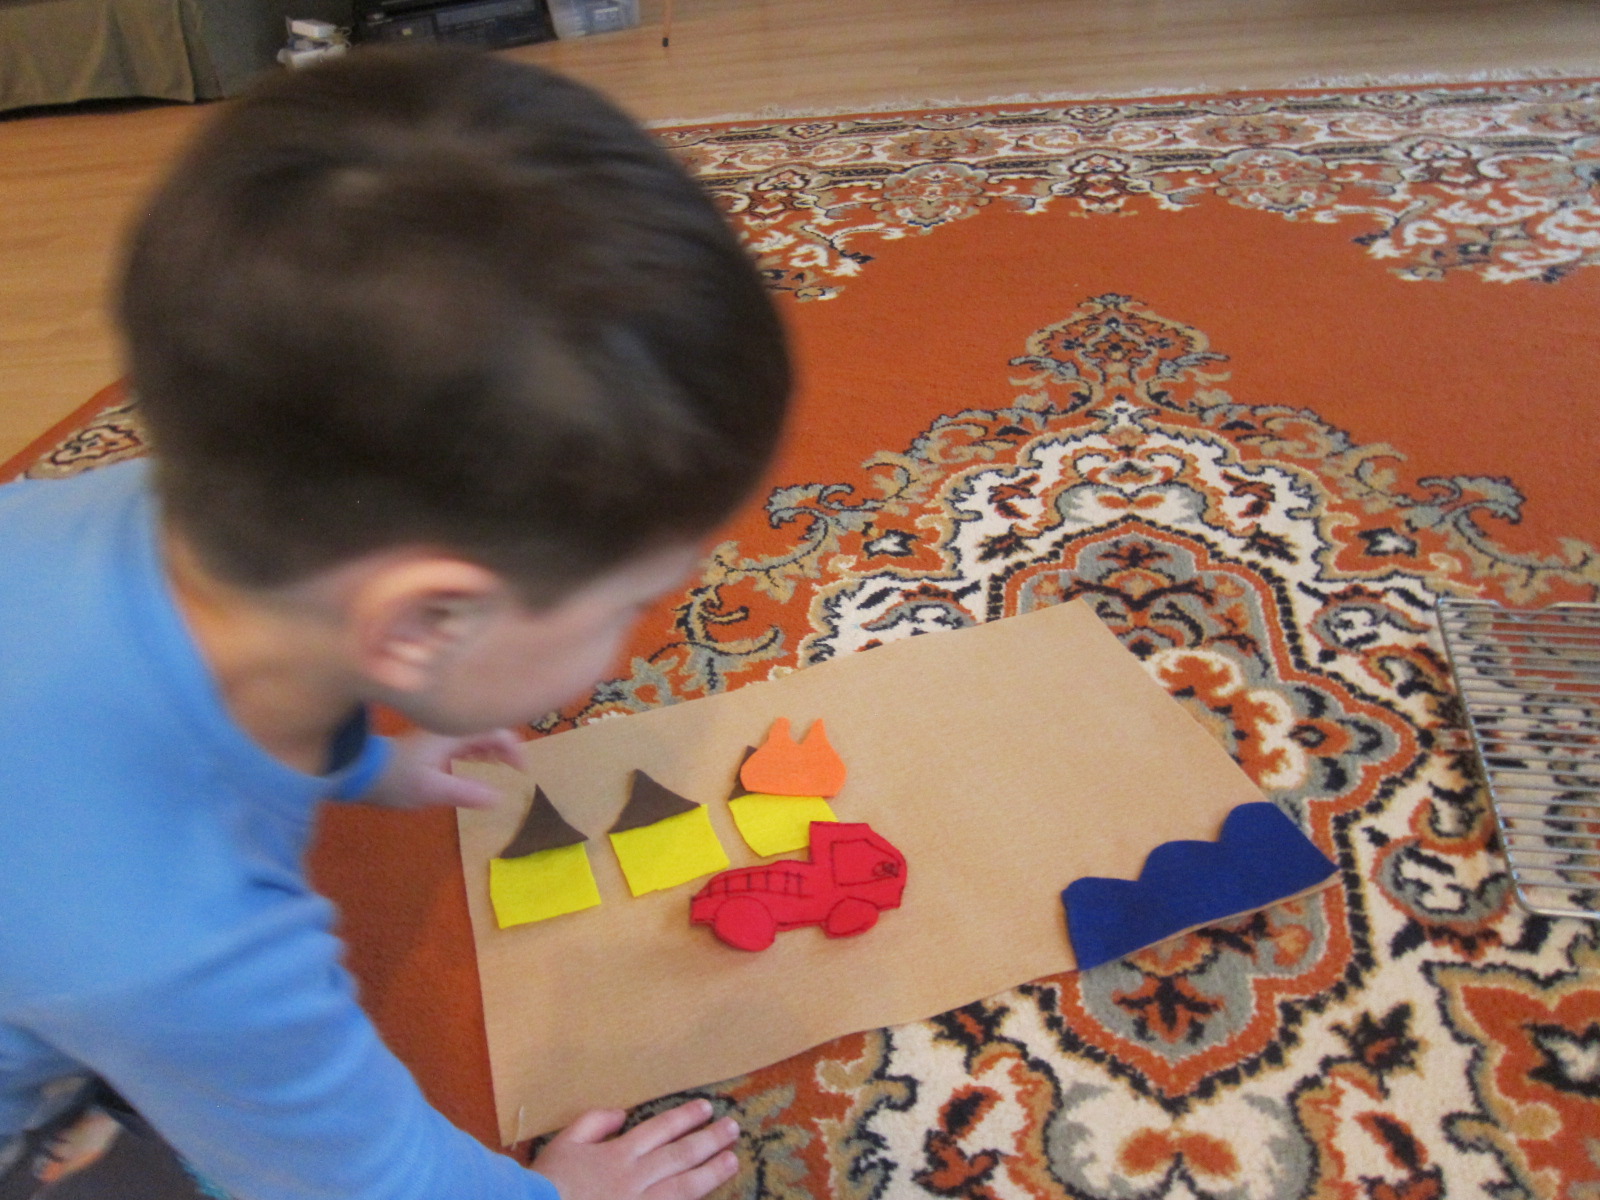
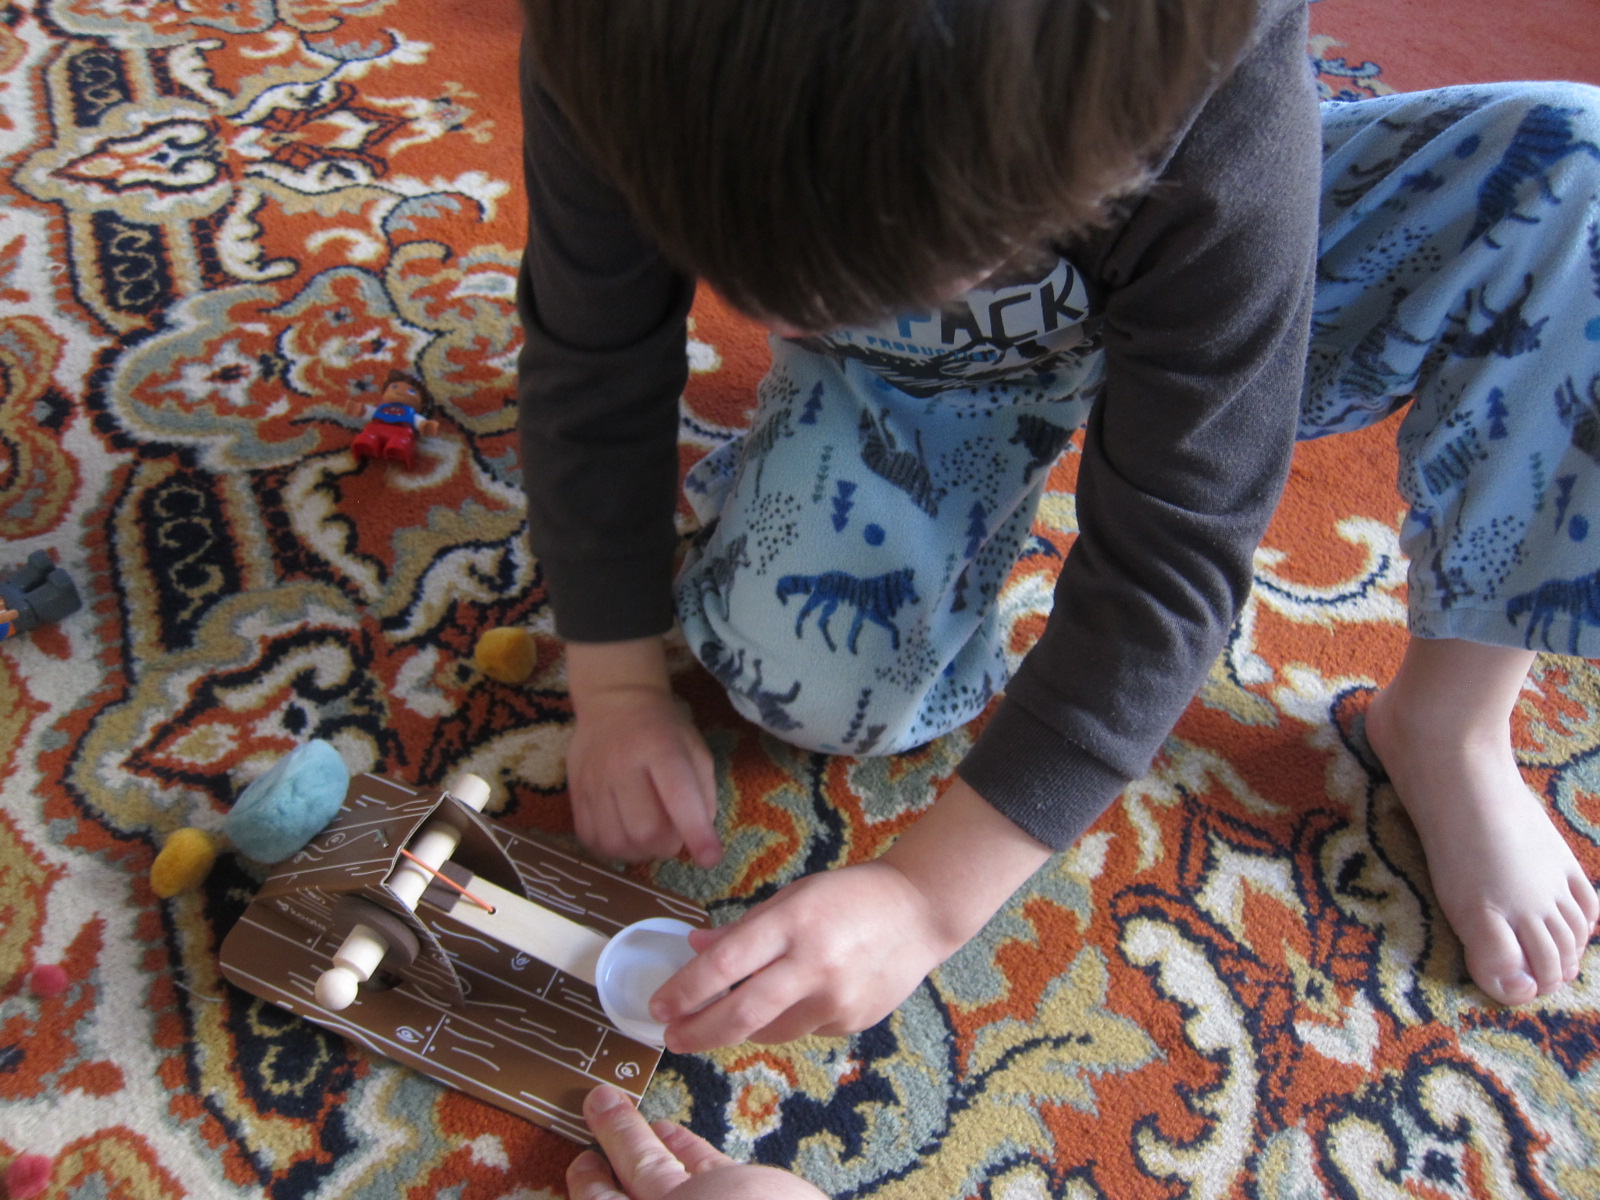
I read to Travis a bit about catapults in the Imagine magazine, after which he couldn’t want to set up the Catapult craft. Again, he insisted on doing a lot of the dexterous work solo. Slip a foam circle onto a clothespin, slot the clothespin into the hole on the cardboard catapult base, and secure it with a second foam circle.

Koala medieval (8)

We added sticky-back foam to one end of a craft stick, and adhered the catapult dish (a small plastic circle) to the other end. The catapult then slots into the clothespin and is secured with an elastic.

Koala medieval (10)

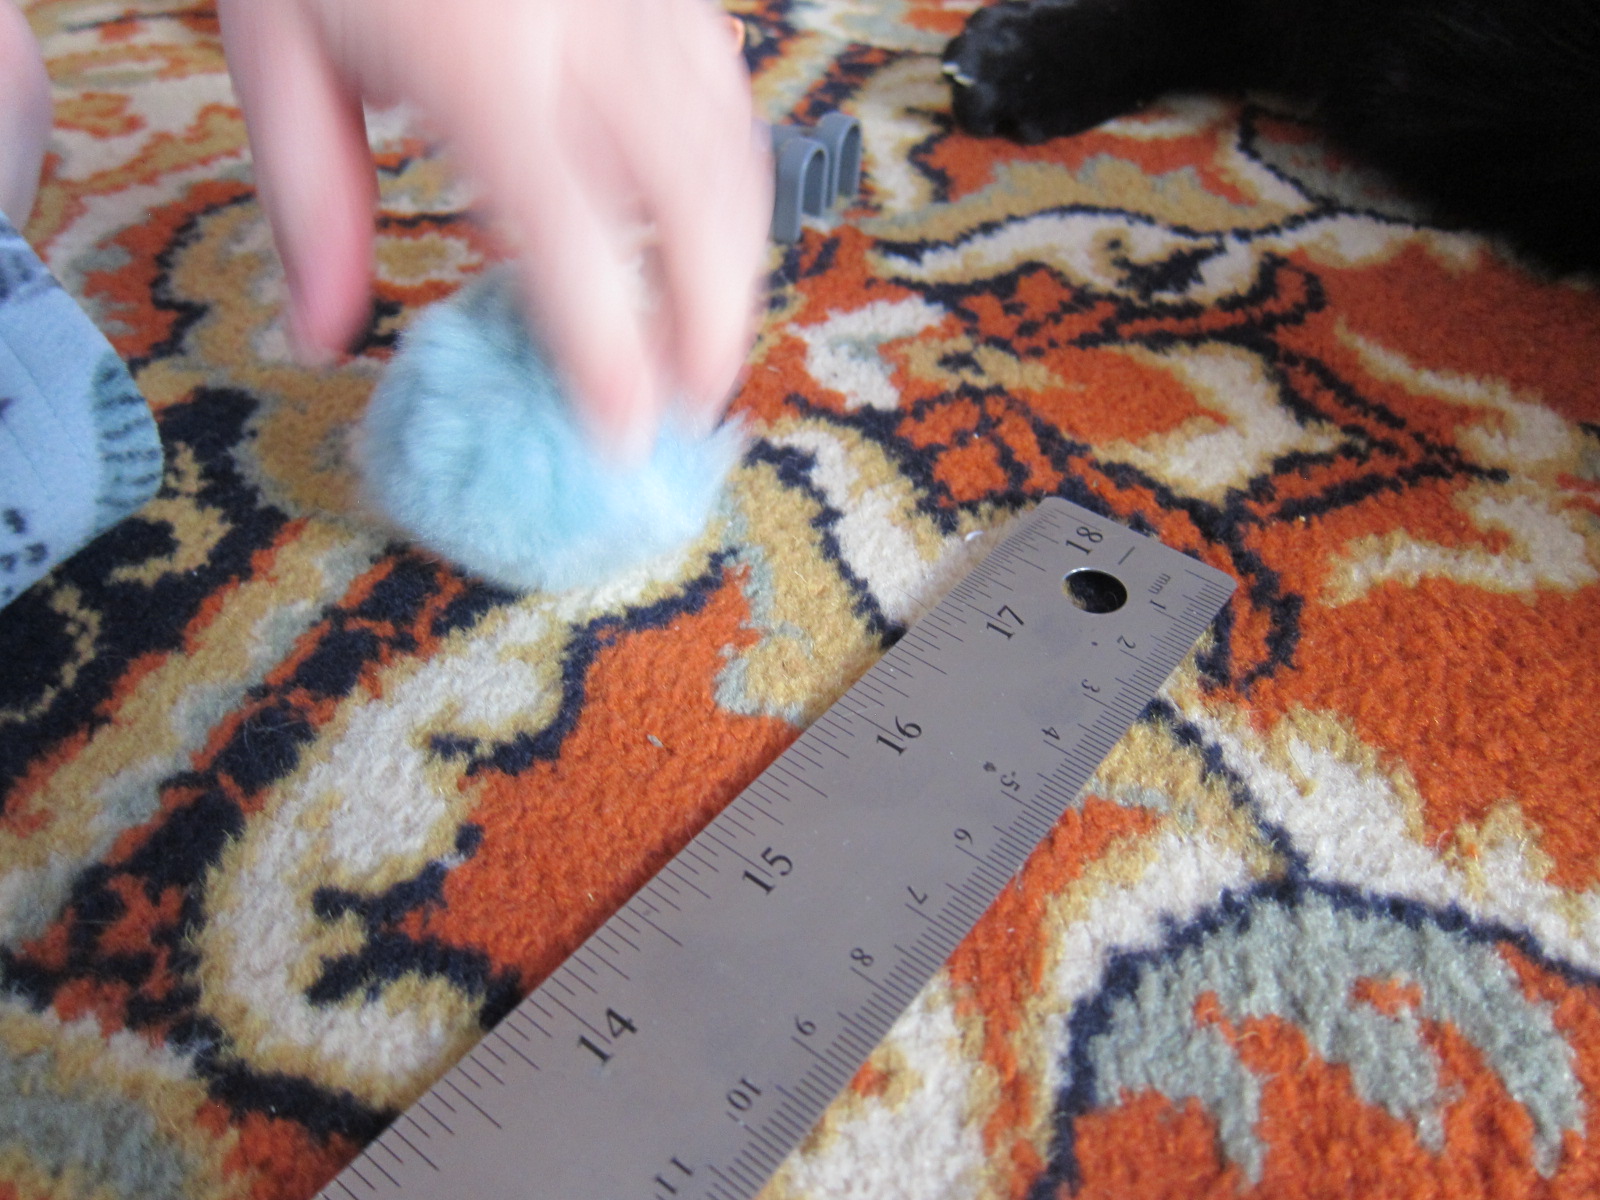
Now it was time to load up our cannonballs (er, pom poms), provided in fun, rock-like colors and various sizes. Launch!

Koala medieval (11)

For a little math in the process, set up a ruler and see how far your pom poms go. It was fun to guess which size “rock” would go furthest.

Koala medieval (18)

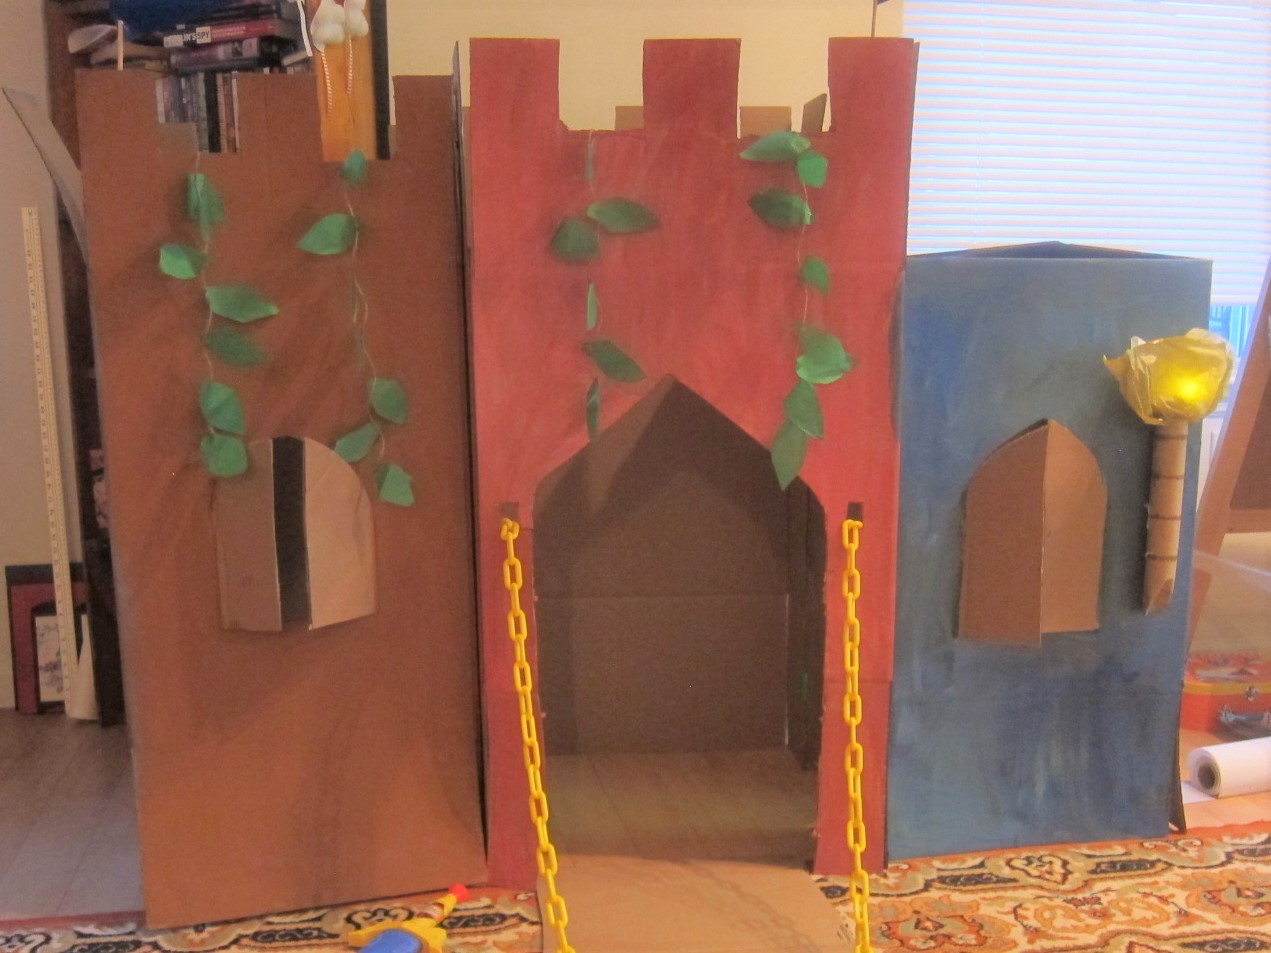
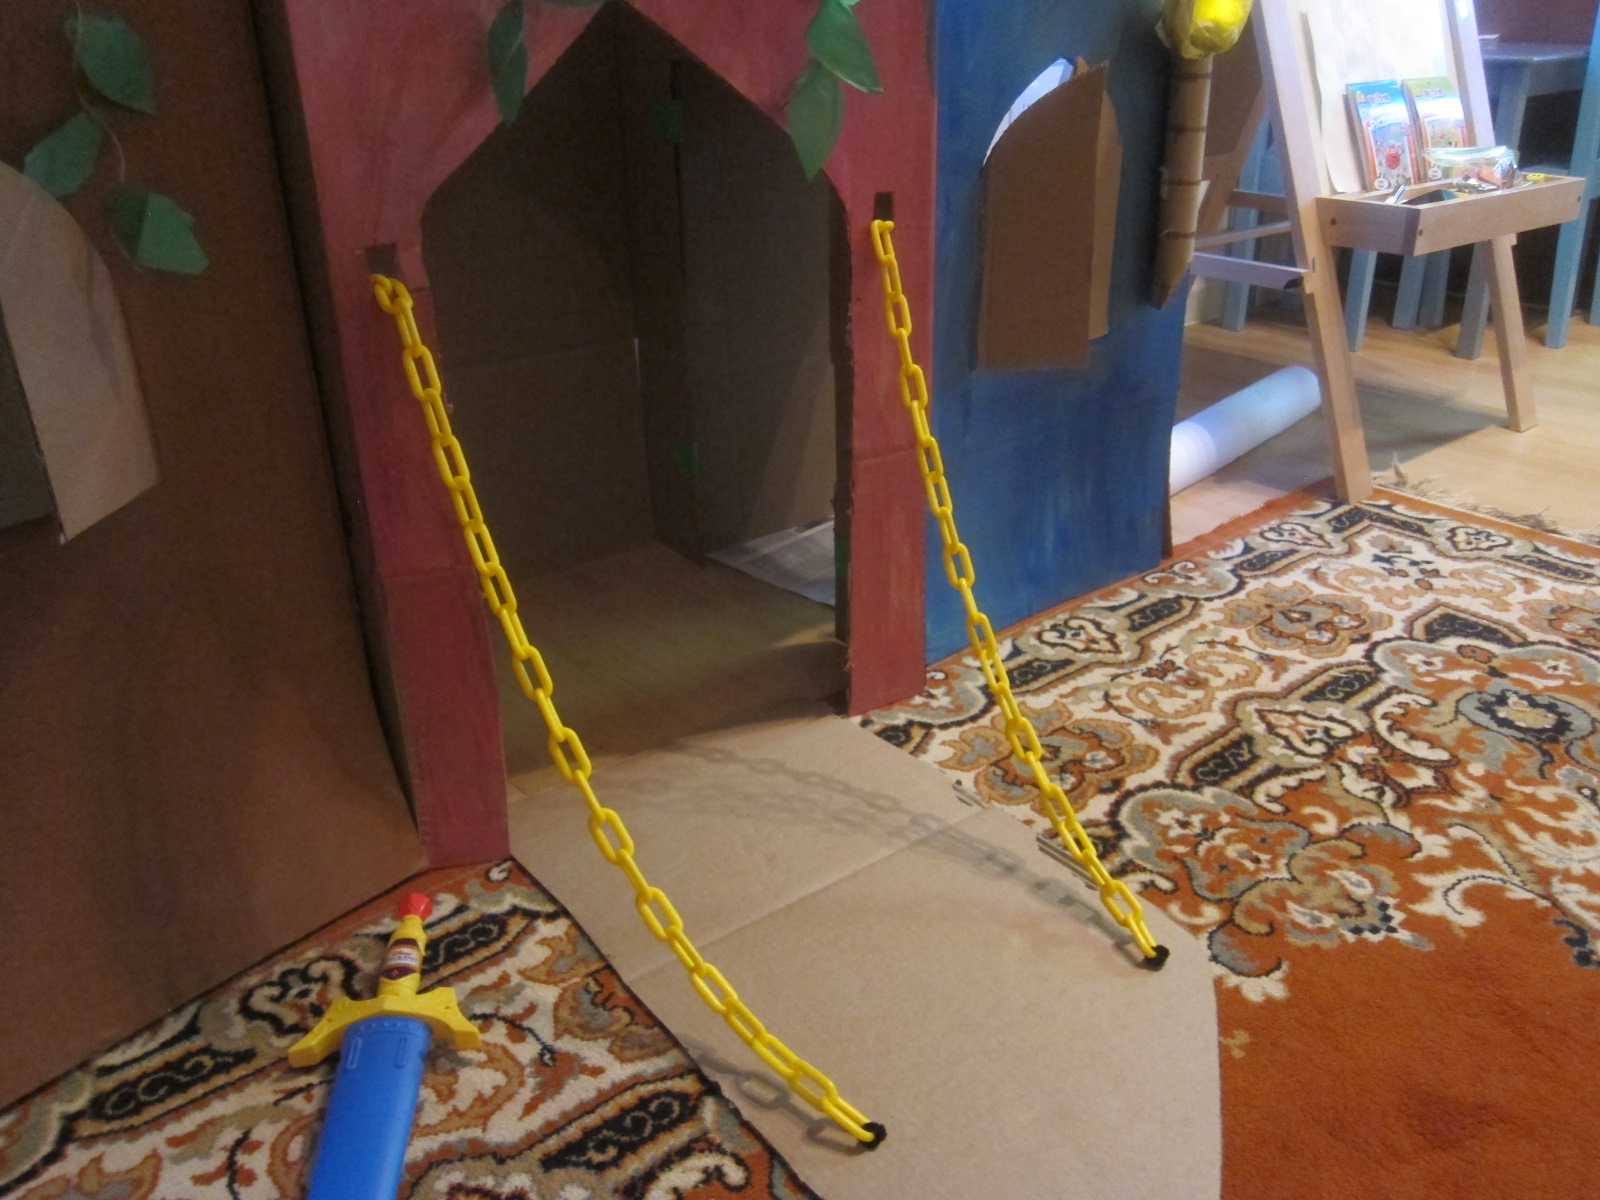
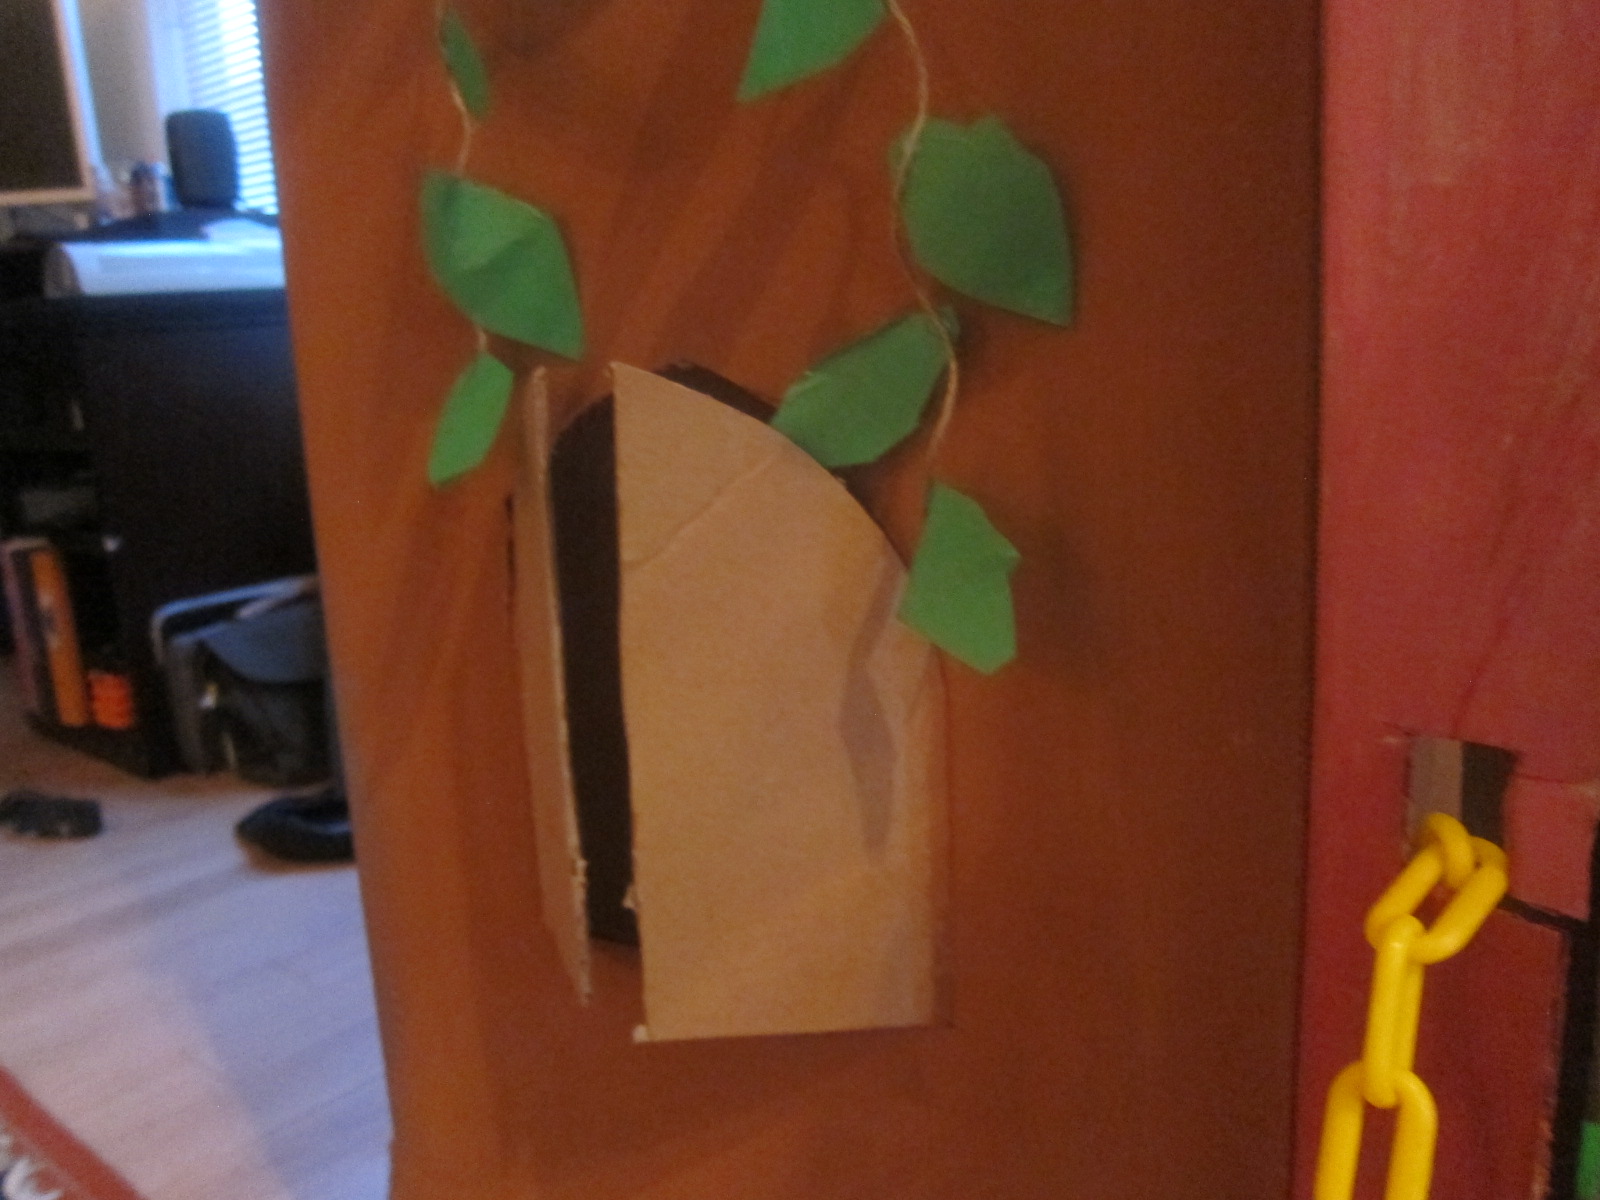
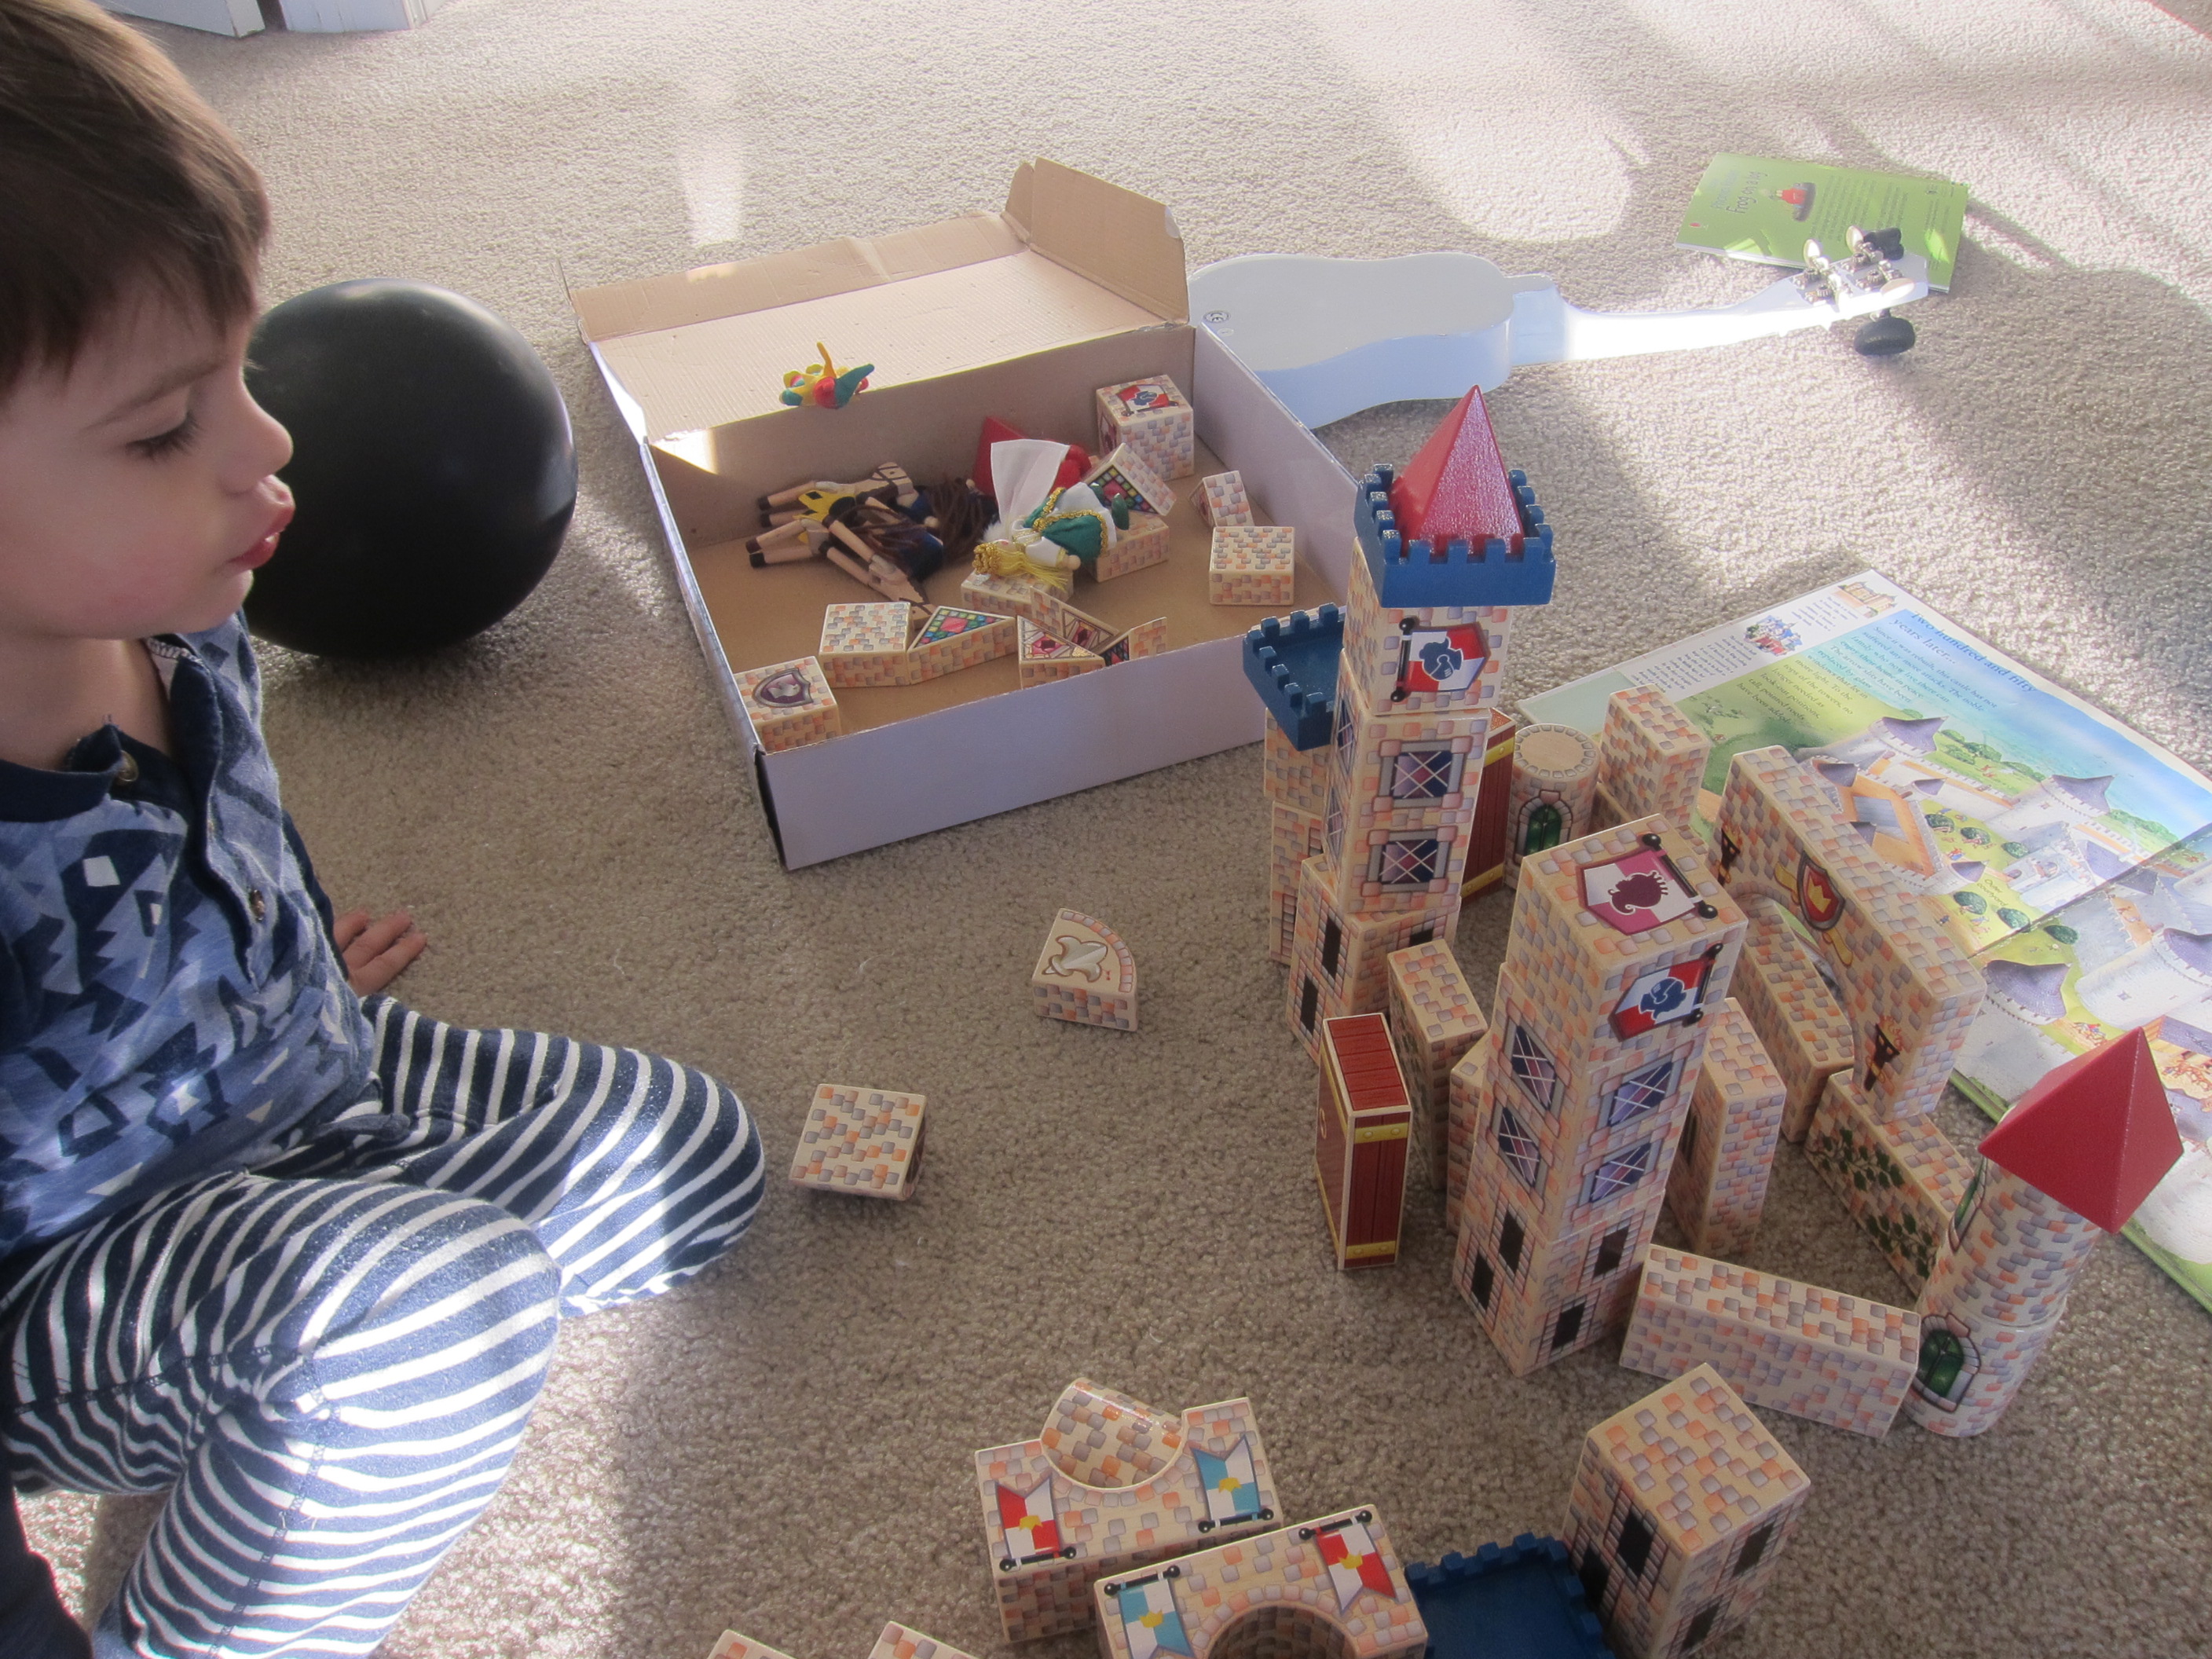
Well now we needed a target, so we didn’t waste any time before turning to the final craft, the Medieval Castle. This was simply pieces of cardboard which slotted together. Travis was a bit frustrated (the slots were tight), so I finished up the castle and folded the provided cardboard characters for him.

Koala medieval (14)

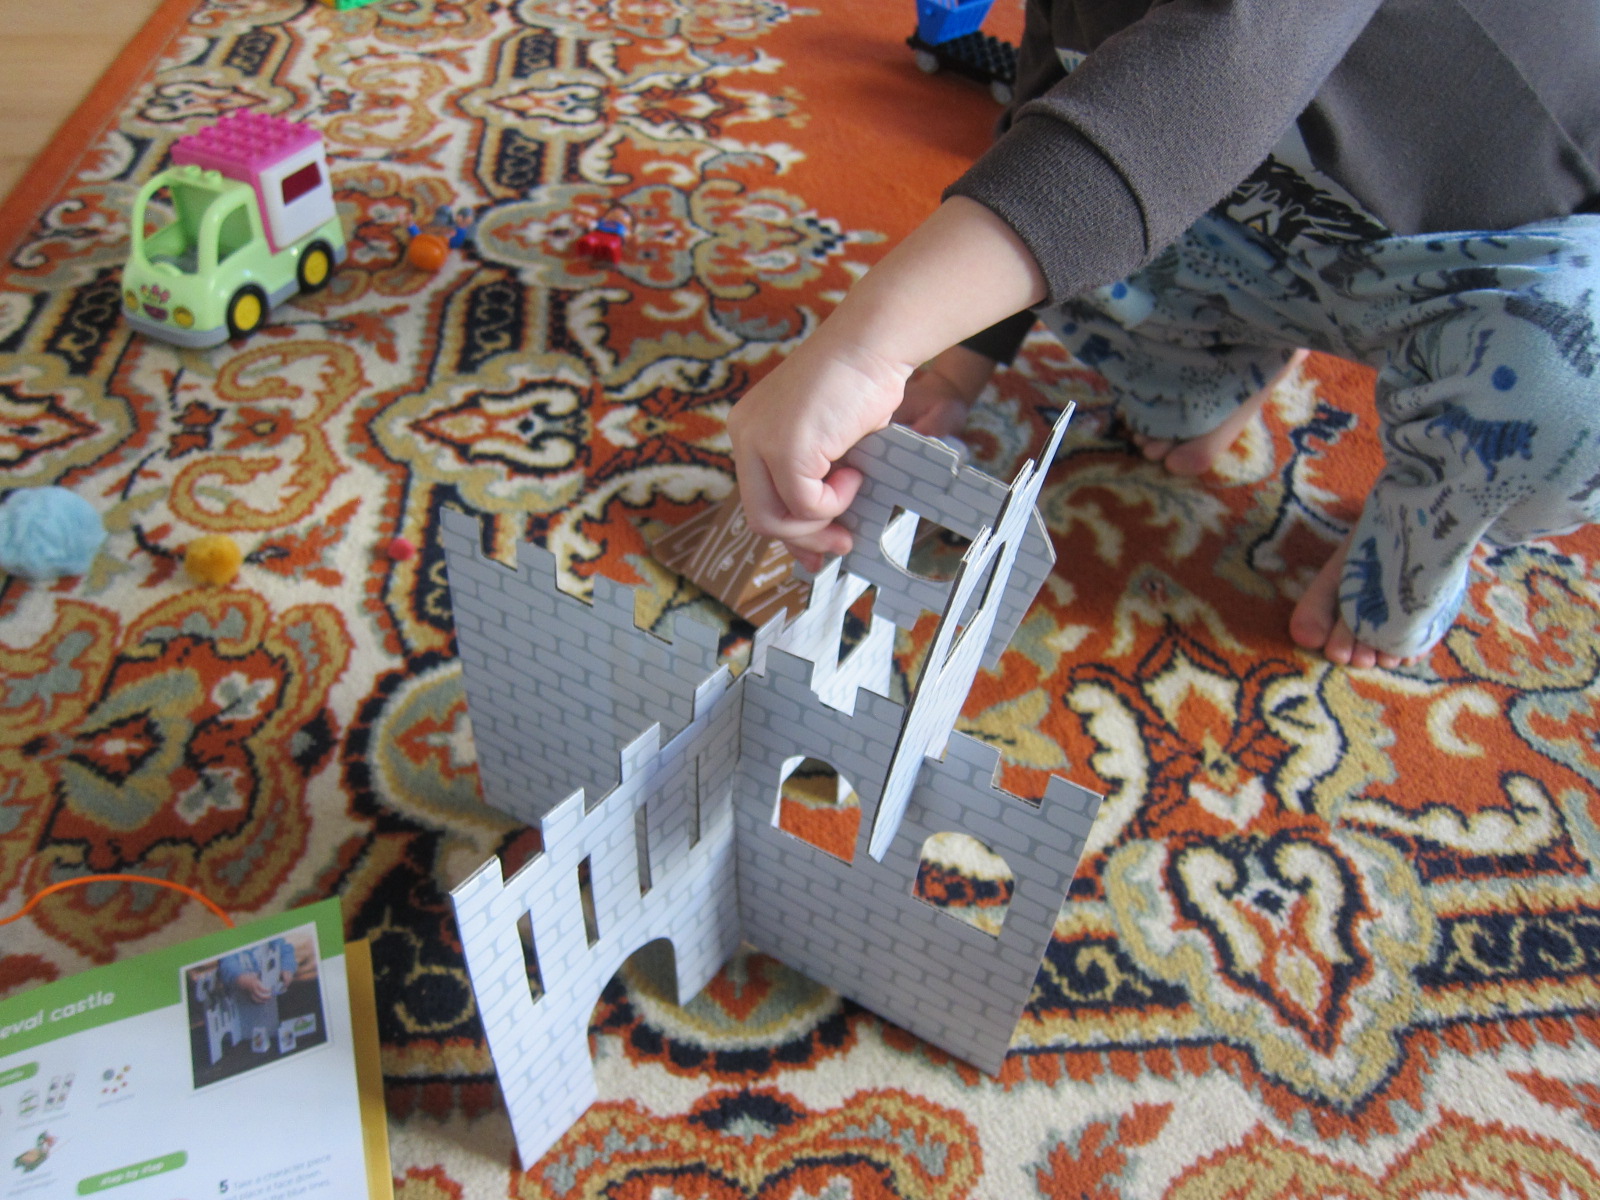
Here’s where the crate scored big points with mama on the imagination scale! Your child can have so much fun with the characters moving about in the castle, laying siege to one another, and avoiding the fire-breathing dragon.

Kolala medieval (13)

Did I mention I’m a nut about the Middle Ages?

Koala medieval (17)

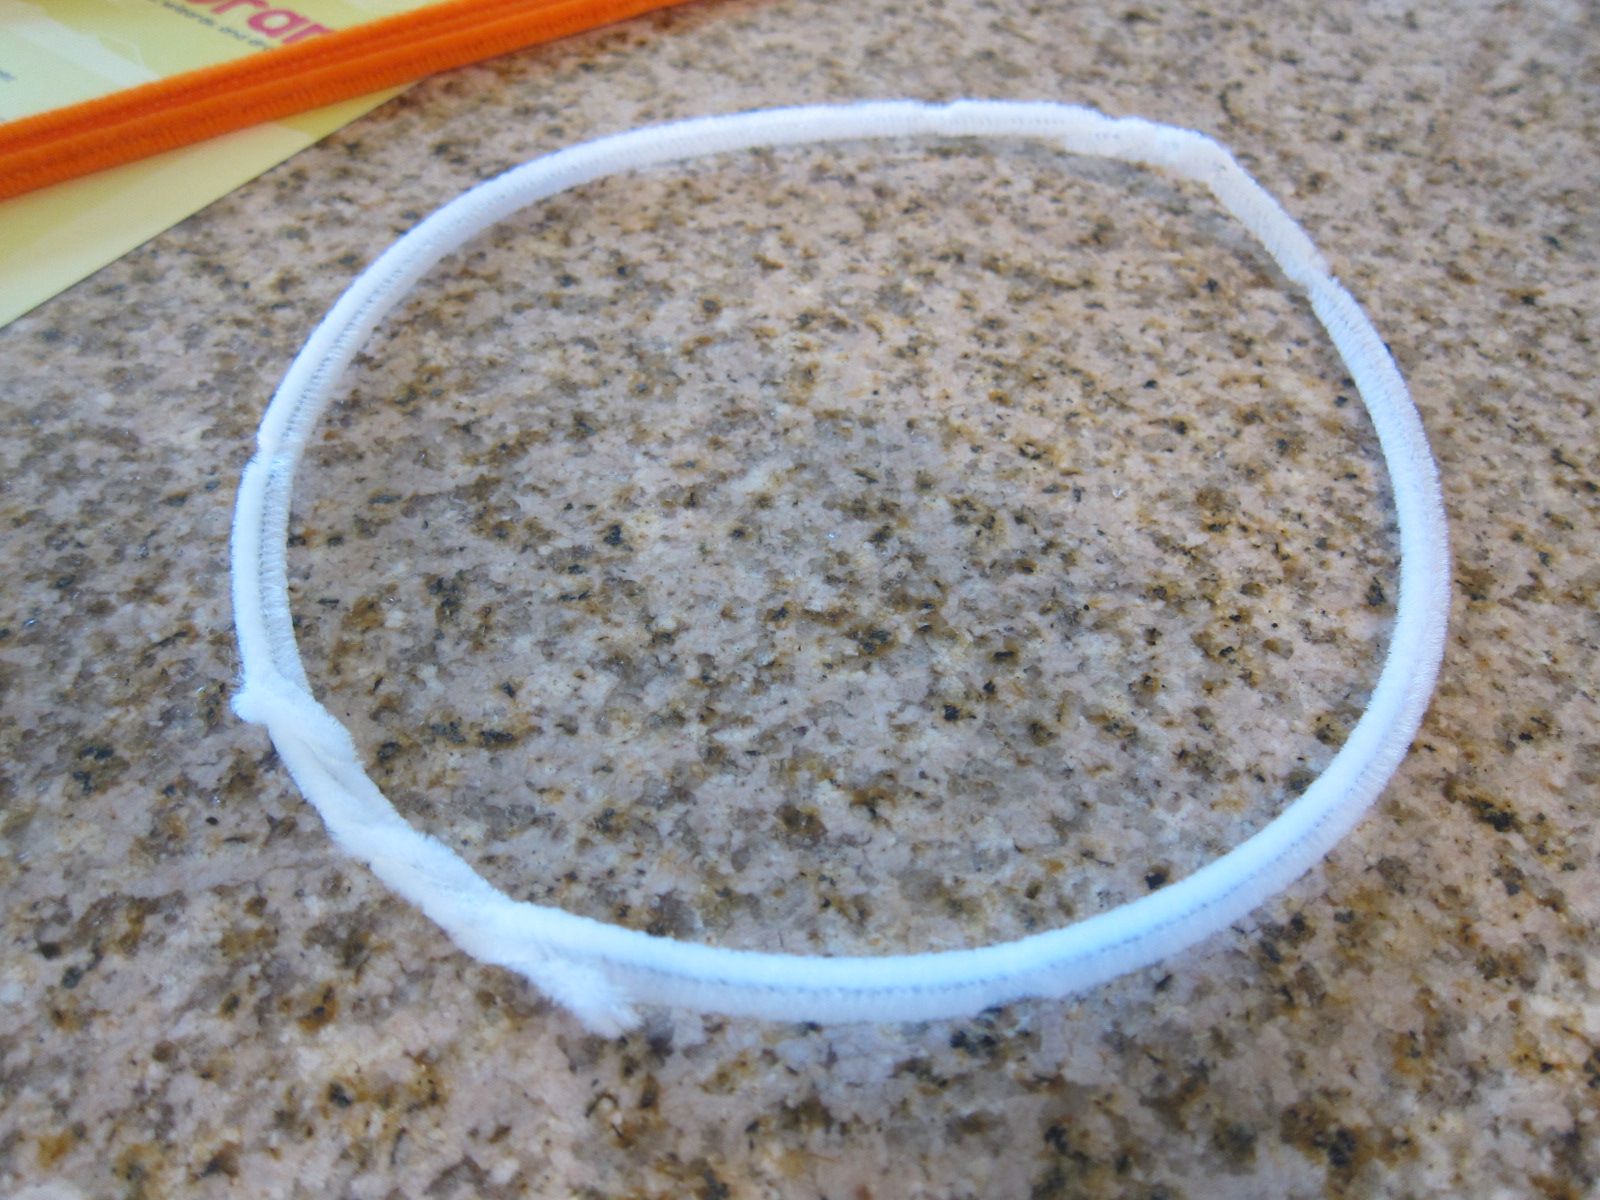
To continue the interactive play, we made Travis his own crown to be king of the castle, with an easy DIY pipe cleaner crown.

Pipe Cleaner Crown (8).JPG

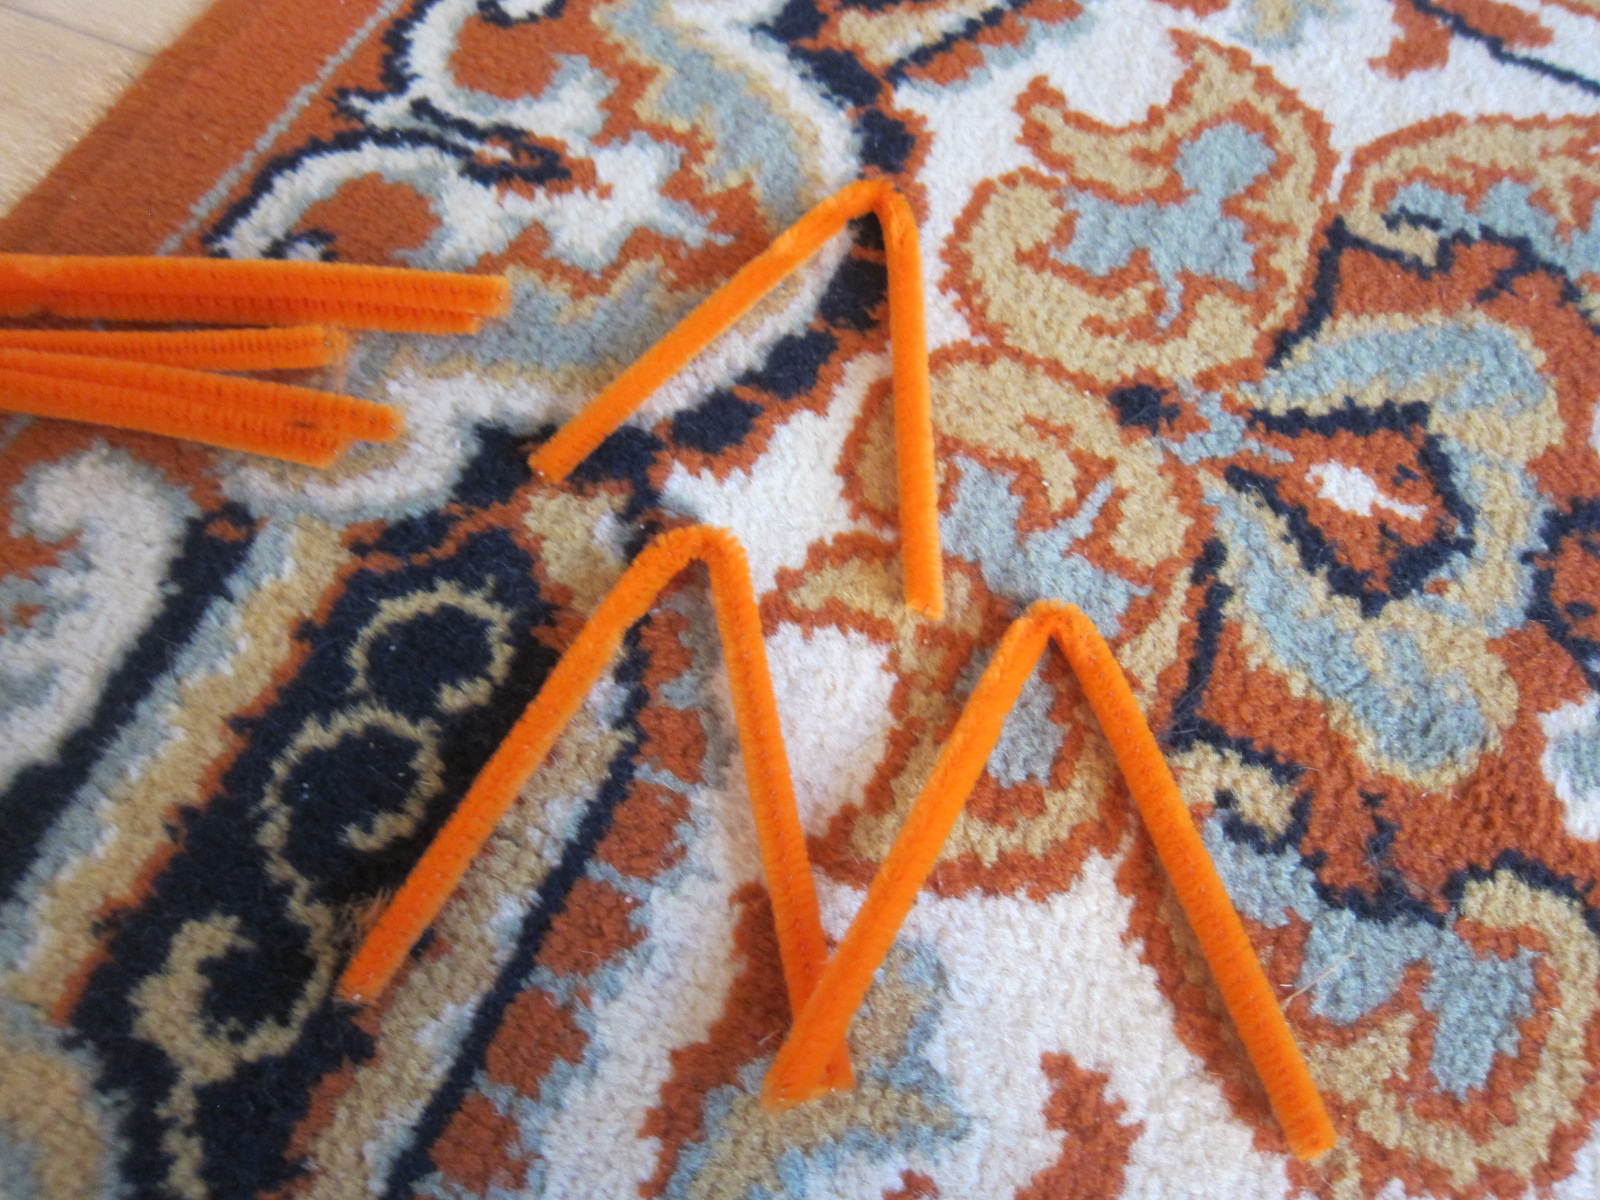
Twist two pipe cleaners together to be the base – you may need three pipe cleaners, depending on the circumference of your child’s head.

Pipe Cleaner Crown (1)

Cut 5 or 6 more pipe cleaners in half to be the points of your crown, and bend each into a triangle.

Pipe Cleaner Crown (2)

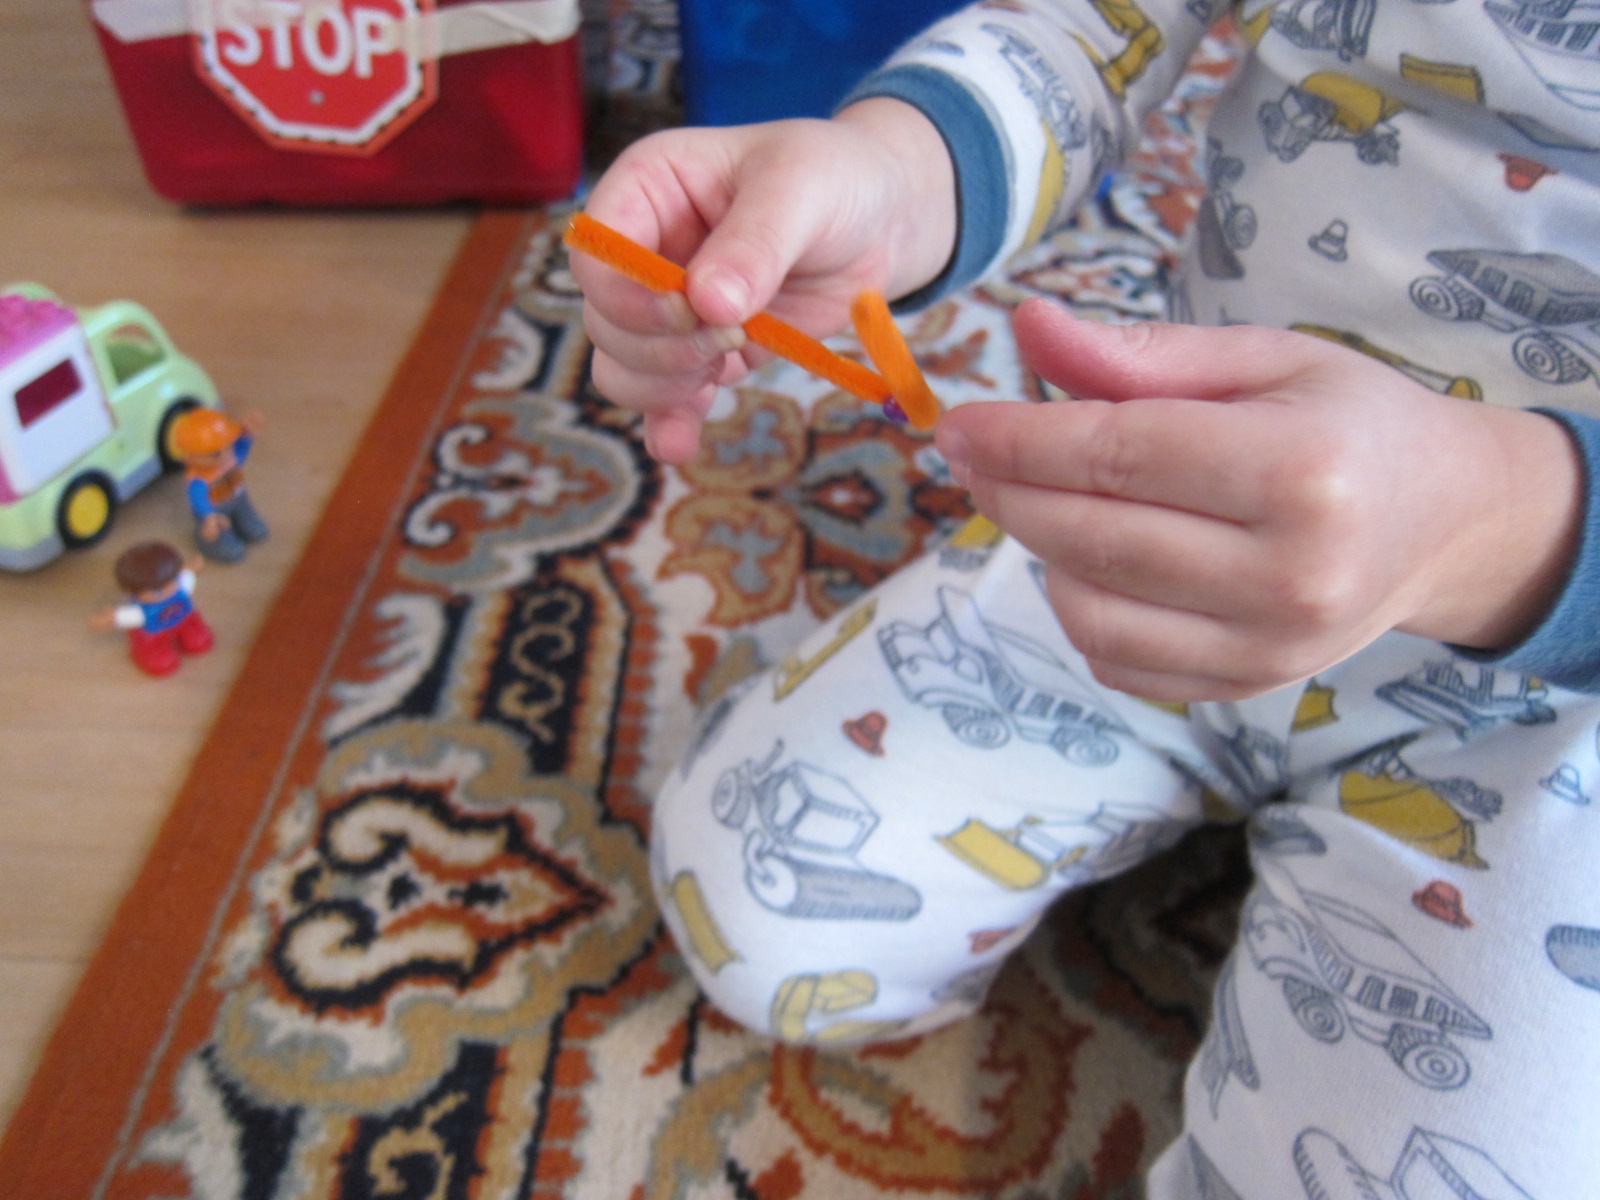
Travis and I devised a little assembly line – he threaded a shiny bead on to the point of each triangle…

Pipe Cleaner Crown (3)

…after which I twisted the ends around our base. Be sure no wire points will poke into your child’s head.

Pipe Cleaner Crown (4)

A proud king!

Pipe Cleaner Crown (6)

Thanks for medieval fun, Koala Crate!

C Week!

C week (15)

Wow, just three weeks to go on our Letter of the Week journey – so let’s c what we did in C week!

C week (1)

Car: Believe it or not, we haven’t taken the time just to play with Travis’s car toys in a while, so this week was a nice reminder! We pulled out our town car mat and garages, set up a race course made from duct tape, drove cars down ramps and through tubes, and more. Want something more crafty? Make a car out of a box!

C week (4)

Clean: Getting children in the habit of cleaning up should be on your list every week, but this week in particular we made a game of it. Try simple ideas like setting a timer to see who can clean up the fastest, giving clear instructions (“Let’s put all the Duplo away first!”), or – for toys that are especially hard to part with at night – tucking them in to a cozy place to “sleep.” A tot-sized set of cleaning tools makes clean-up even more fun.

Cardboard Tube (10)

Cardboard: Cardboard is everywhere and it lends itself so easily to the imagination. Check out the two crafts we made this week, with cardboard tubes as the base!

C week (9)

Camping: Pitch a tent (or a blanket over a stool) and camp in your living room; your child will think they’re in heaven! We added a few cozy blankets, a campfire made of straw logs and felt flames, and then cozied up for books by flashlight. Check out Flashlight by Lizi Boyd or the Shine-a-Light series from Usborne.

100 happy (64)

Castle: We headed to the non-fiction section of the library and got out a few neat castle books to help Travis understand more about what they are this week. From there, of course, we had to build our own from blocks at home! Fast Forward Castle and Look Inside a Castle are both neat options.

C week (6)

Captions: For several art projects this week, we added captions, so that by the end of the week, we had a mini art gallery! I loved this idea so much that I hope to continue it beyond C week. After your child finishes a project, simply ask him or her what is happening in the picture. Write down their words on a little index card. It’s a neat way to get them excited about art and reading.

Construction Bin (8)

Construction: In addition to cars, play with any construction vehicles you have. Better yet, make a construction site sensory bin.

C week (14)

Cloud: We made a shaving cream cloud on a rainy day, then went cloud watching the next afternoon when the sun came out!

C week (16)

Caterpillar: Very Hungry Caterpillar delights everyone from babies on up. This week we made a color match caterpillar, and also played with Travis’s other caterpillar toy, which happens to be appropriately named the code-a-pillar, his first foray into computer coding.

C week (8)

Clock: Toy clocks are great because you can gently introduce the notion of time as your child absorbs a little here and there while playing! Travis loves spinning the hands on his talking clock, and we read clock books like Tick and Tock’s Clock Book and Telling the Time.

For our weekly extras…

Fine art: Colors are the name of the game this week! First, try color mixing with paint. I gave Travis a little each of red, yellow, and blue… Soon enough we had a big goopy mess, but it was a great way to get talking about how colors combine to make different ones.

C week (3)

Read about colors with My Very First Book of Colors by Eric Carle or A Color of His Own by Leo Lionni, then continue the play by color mixing with ice cubes!

Food: Fun foods this week included carrot-raisin salad, homemade cornbread, crackers, cantaloupe, clementines, and a decadent bite of vegan cheezecake.

C week (12)

Books: We covered cats and cows in books this week. Some fun titles are The Cow Who Clucked by Denise Fleming, Click Clack Moo Cows That Type by Doreen Cronin, and They All Saw a Cat by Brendan Wenzel. Travis also enjoyed Caps for Sale by Esphyr Slobodkina.

C week (18)

Songs: Travis was in hysterics laughing over Never Smile At a Crocodile (from Peter Pan), and also enjoyed the changing pace of Little Red Caboose.

Math: You can try teaching your child to classify this week, or better yet – classify by color! We used our color match caterpillar for this, but there are toys you can purchase such as a color sorting pie as well. It’s also a great week for calendars; daily magnetic calendars are a nice tool to teach about the year/months/weeks/days.

C week (13)

Be back soon for B week!