Easter Magic

Here are a few ideas to make Easter magic happen and the holiday feel special, even though this year isn’t quite back to normal or extended family gatherings, yet.

Go to a Drive-By Easter Bunny

Sitting on the bunny’s lap is out, but check if your town has a local Easter bunny photo opportunity from a safe distance, even if that just means waving to him out the window. Included goody bags were a definite bonus!

Turn Jelly Beans into Lollipops

On Easter Eve, we “planted” jelly beans in a cup of dirt (a.k.a. a mix of chocolate cookie crumbs and chocolate cake mix).

Add a little water and tell the kids that the Easter Bunny’s magic will make them grow into lollipops overnight.

Imagine Travis and Veronika’s delight when they came down and saw that the lollipops had “sprouted”!
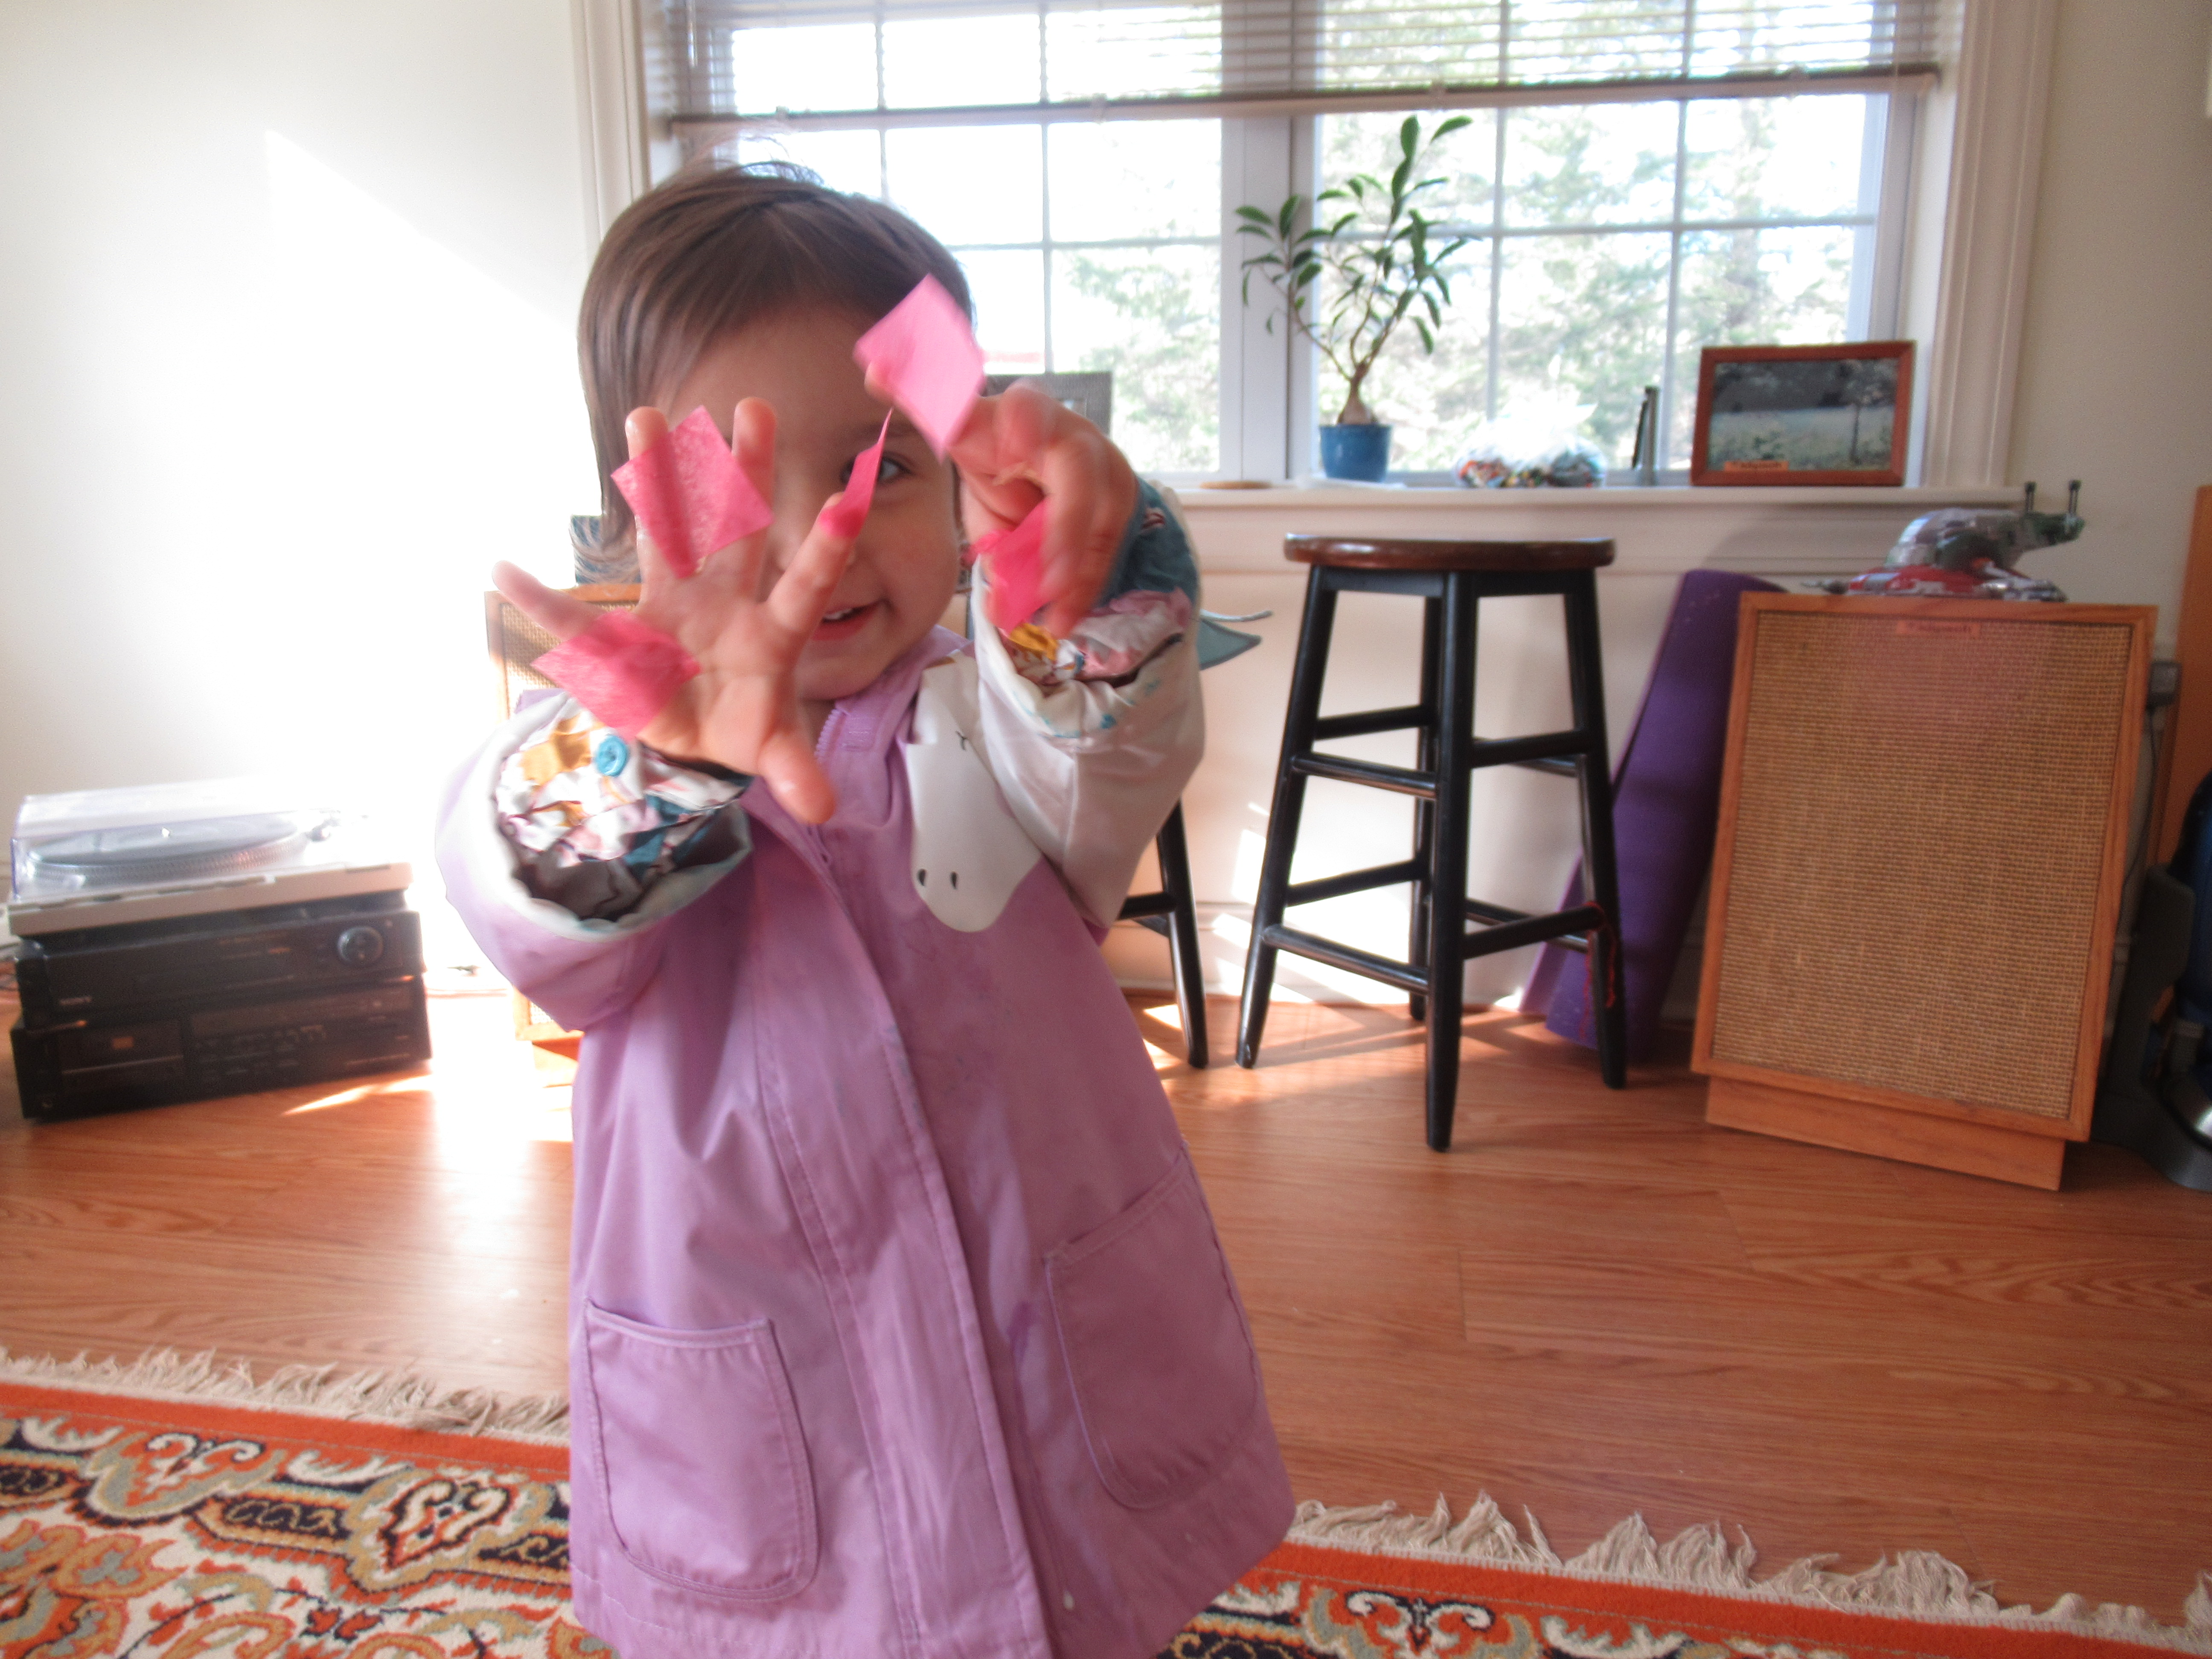
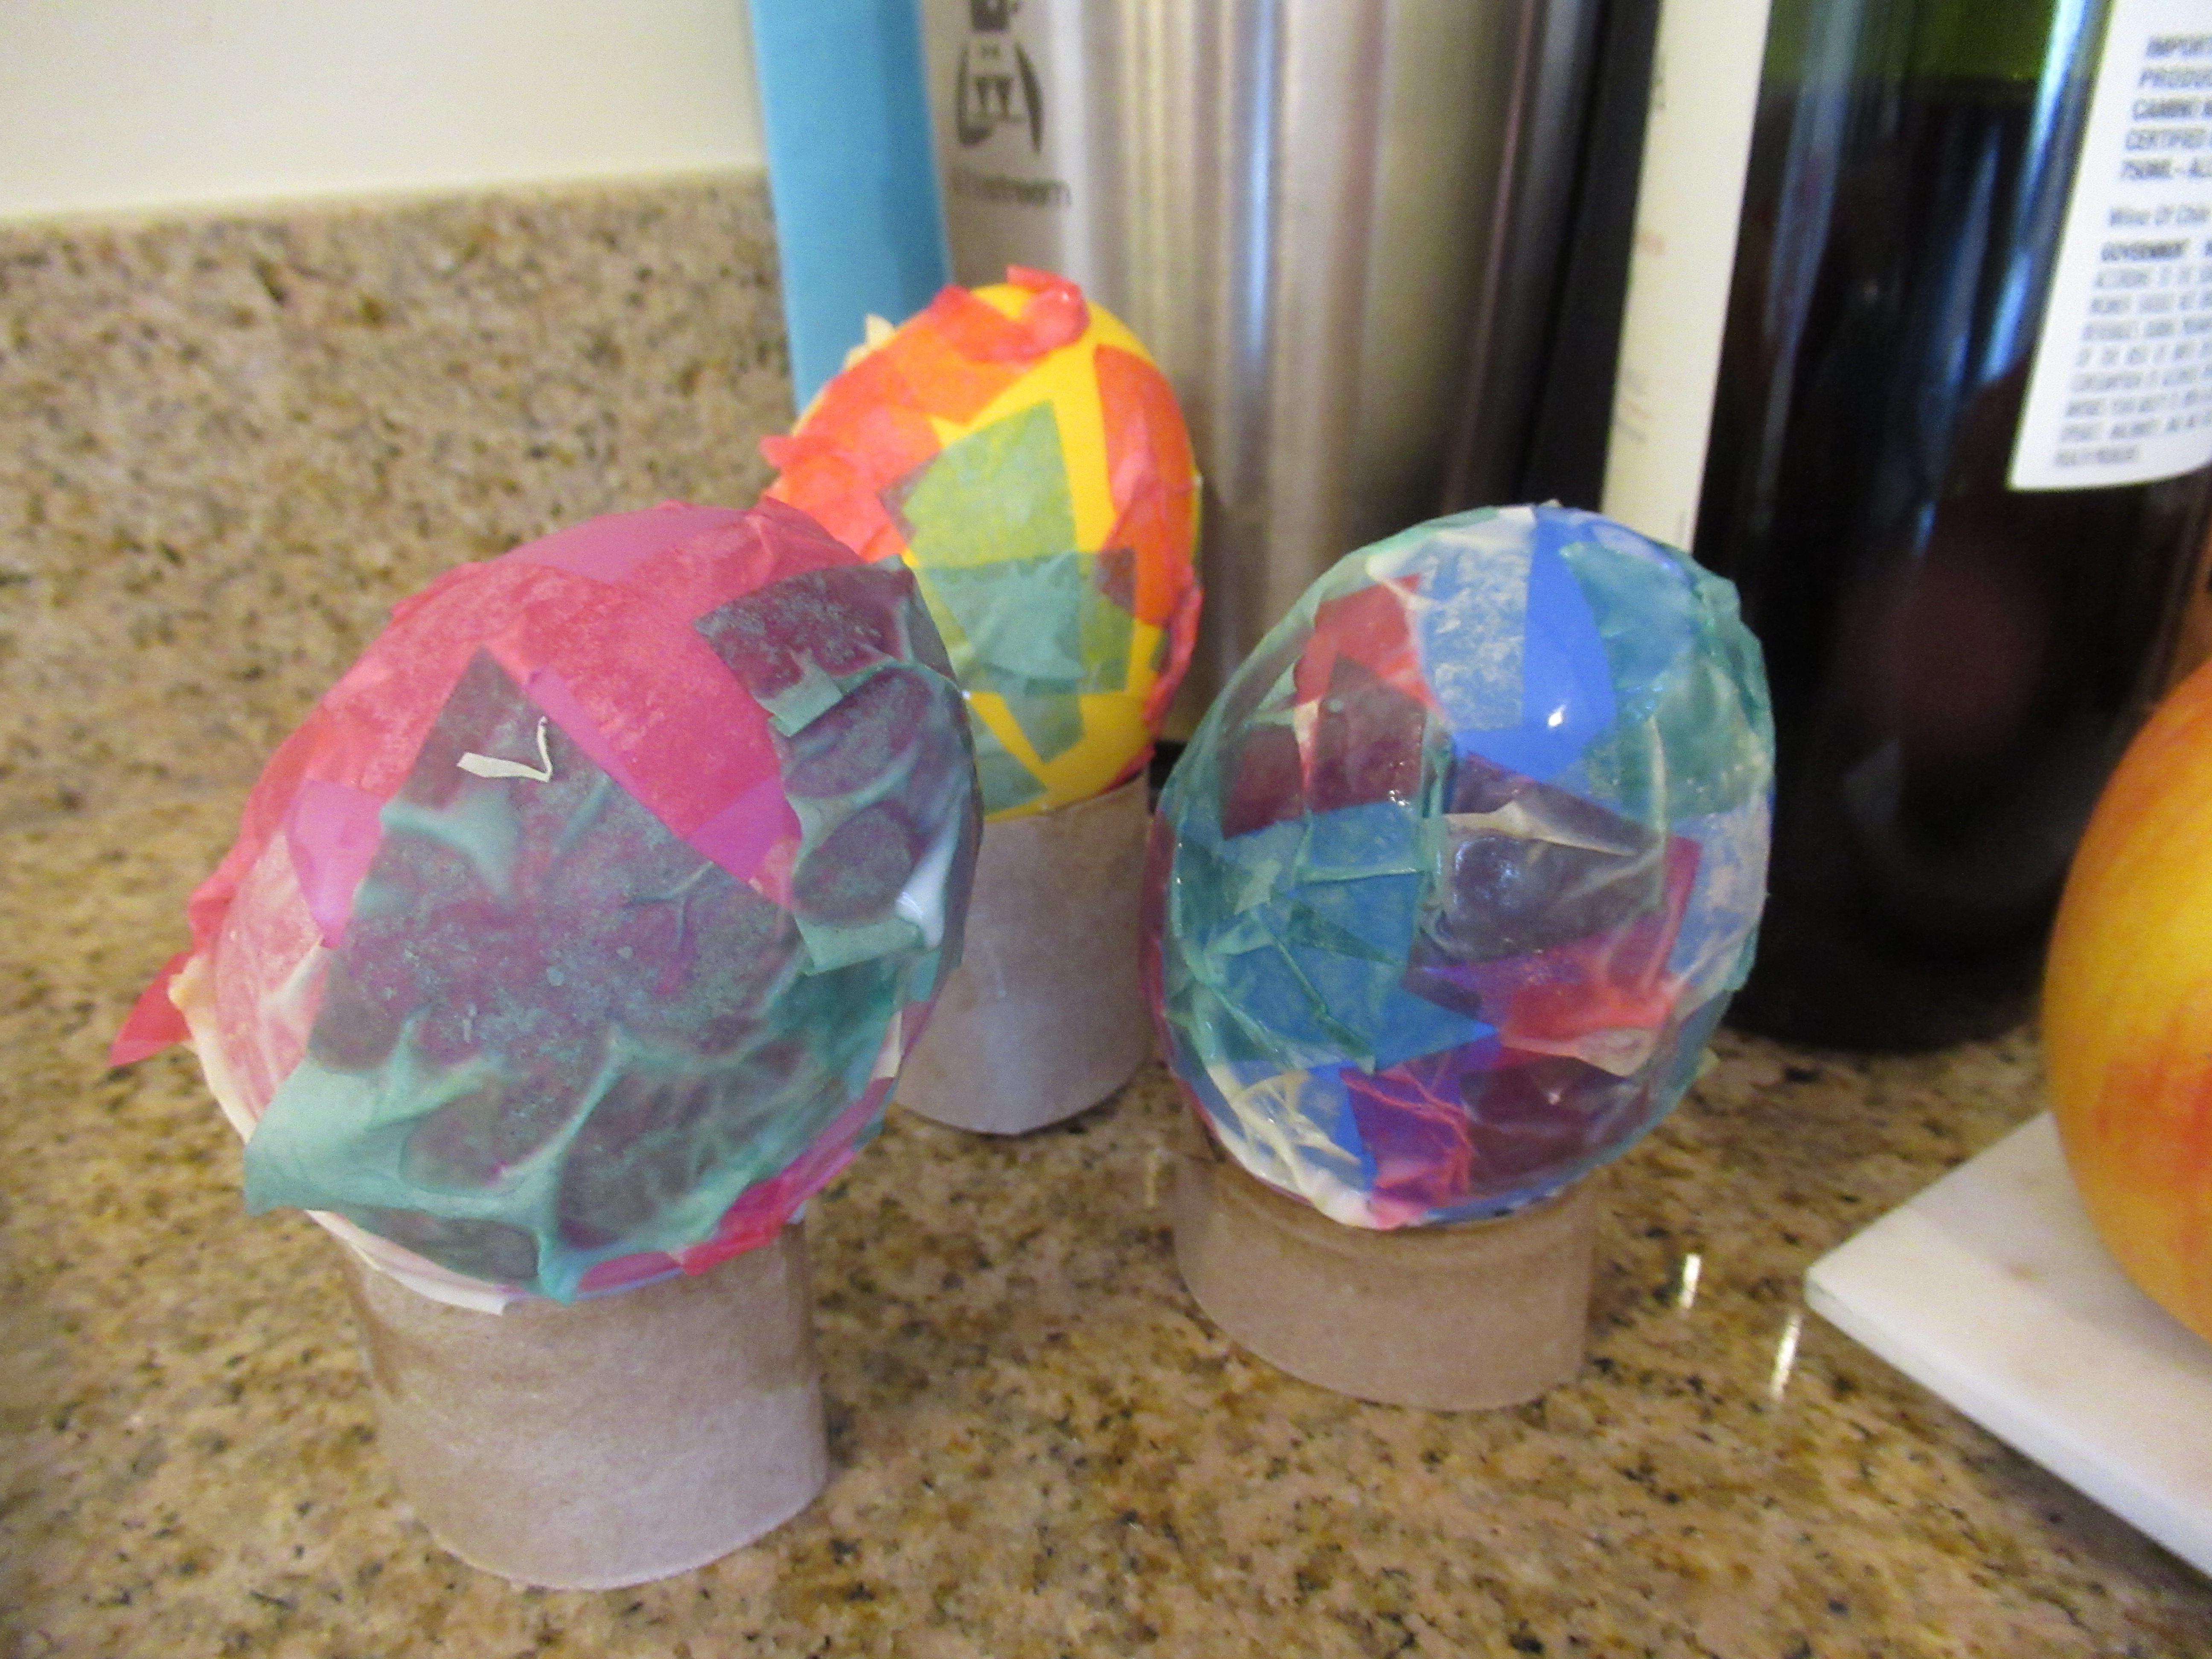
Easter Egg Hunt

I had a few extra tricks this year to make sure the kids’ egg hunt was their best one yet. First, I color-coded the eggs for the first time, to cut down on squabbling. Travis got green and yellow, and Veronika’s were blue and white.

As double insurance against any egg fights, Veronika’s were all hidden down low…

…and Travis’s were up high, corresponding to their relative heights. Toddler and big kid both could hunt at their own pace, with no grabbing for the same eggs.

What were your favorite Easter extras this year? Please share in the comments!

Easter Egg Necklace

Veronika loves accessorizing, so we made this pretty little necklace for her to wear to Easter brunch this weekend!

To start, we needed to decorate the “beads”, in this case Easter egg shapes cut from construction paper. I chose a few different springtime shades like purple, green, and pink. She loved decorating with markers, telling me very specifically which ones needed dots, lines, or sometimes silly drawings like “slippers”, and took her work quite seriously!

Of course there’s no need to stop at markers. Use crayons, add stickers or sequins, or embellish with whatever else is in your craft bin. To add some sparkle to her jewelry, we squirted a little glue onto each egg and sprinkled with purple glitter. This made the craft significantly more messy, but this girl loves glitter these days.

For some fine motor skills, encourage your child to thread the egg “beads” ribbon to finish the necklace. I punched a hole near the top of each egg, and gave Veronika a yellow ribbon. (Note: You can wrap a bit of tape around the end of a ribbon to make it more like the aglet of a shoelace, for easier threading).

She needed some assistance, but soon was proudly modeling her creation.

“Bunny!” she said with a smile, without any prompting at all.

Easter Egg Holder

Veronika has decorated quite a few plastic eggs for Easter this year, but those roly-poly eggs can be difficult to display. Here’s a cute idea from The Toddler’s Busy Book to show off your toddler’s creations!

First, cut an empty paper towel tube into sections, each about 2 inches tall. Next, cut strips of construction paper to wrap around them, and glue on. We chose yellow, green, and pink, all lovely springtime colors. I don’t normally use hot glue for a material as thin as paper, but in this case it cut down on mess and drying time.

Now it was Veronika’s turn to decorate! She loved adding Easter-themed stickers like images of chicks, bunnies, and flowers.

Her favorite step, though, was making the holders sparkle with glitter. I decided the most mess-free way to do this was to pour a little glue into a paper plate and sprinkle the glue with glitter (Veronika chose gold), and then roll the tubes through. Stand upright to dry.

The eggs look great, and won’t wobble over!

Easter Egg Pick Up

Here’s a silly game that will have the whole family playing and laughing together! It’s a great game for multiple generations, whether just your immediate household or whether you’re able to celebrate with extended family once more this Easter.

For set up, simply cut Easter egg shapes from a few pastel shades of tissue paper, about 3 inches tall. Scatter these on a table or similar smooth surface and hand each player a straw.

Whoever gets the most Easter eggs with one huff up through the straw wins! For Veronika as a toddler, this was great practice for teaching control of her breathing direction. She couldn’t quite get an egg up by herself, but loved trying to imitate her elders!

Mommy managed to get 4. Daddy was the winner with 6!

Who wins in your family? Please share in the comments!

Easter Banner

Pull out those dot markers and let your toddler help make this easy breezy Easter banner!

To start, the plan was to trace bunny and egg shapes onto yellow construction paper. I easily found an egg template online, but couldn’t find a bunny head in the same size so just free-handed it. I traced four of each shape.

Veronika was so excited that she trotted over to get the dot markers from our craft bin all by herself! She loved seeing the colors appear, although was slightly disappointed that the blue marker appeared a bit greenish on the yellow paper.

Once we’d covered the shapes, I cut them out.

Cut additional sheets of construction paper (we used pink and purple) in half so you have 8 pieces. Glue down the bunnies and eggs with a glue stick.

Now hang up somewhere prominent in your home! We decided last minute to spell out E-A-S-T-E-R on the shapes, but you can also leave them plain. Or, if you make just a few more, you can spell out a full H-A-P-P-Y E-A-S-T-E-R. The banner makes a lovely spring welcome above the bench in our entry hall.

Spring Flower Bouquet

Veronika loved pretend flower play to greet the spring a few days ago. Today, she got to craft her own flowers instead! As with the previous project, this is a great way to invite spring into your house as you wait for real flowers to be in full bloom.

And all you need is pretty cupcake liners and pipe cleaners! Pastel shades like pink or lavender would be great for “blossoms”, but I happened to have Easter-themed cupcake liners. That meant our final product will work well as an “Easter Bouquet”, too, to set as a table centerpiece.

To make each flower, poke a hole in the center of each cupcake liner with a pencil. Insert a green pipe cleaner and bend slightly to secure it in place.

If you want to make your flowers sparkly, squirt a little white glue on them first and liberally sprinkle on glitter. Veronika chose purple for this step, which was definitely her favorite part!

Once the glue dried, we gathered the flowers together into a bouquet, twisting the pipe cleaner stems together and securing with a yellow ribbon.


Tissue Paper Easter Eggs

Tissue Paper Eggs (8)

I’m always looking for ways that my vegan kids can decorate eggs for Easter without dyeing real hen’s eggs. This particular method works great on plastic eggs!

I set out a few eggs (from Eco Eggs), and Veronika first wanted to explore them, of course. She loved the way they opened and closed, and that favorite toys could nest inside. While she played, I cut small squares of tissue paper in pastel colors.

Tissue Paper Eggs (1)

Pour a little white glue into a small paper cup and add water to thin it slightly. I showed Veronika how to brush this glue mixture on the eggs, and she was quickly an expert.

Tissue Paper Eggs (4)

Now the tissue paper sticks easily, making the eggs look almost like stained glass. We learned quickly, though, that our first egg came out the best. That’s because the more we worked, the more gluey our fingers became, and the tissue tender either to wad up on the egg, or stick to us!

Tissue Paper Eggs (3)

Of course, this only made Veronika gleeful about her pink fingers.

Tissue Paper Eggs (5)

For an easy way to dry the eggs, snip an empty toilet paper tube into a few segments and place the eggs upright until the glue is dry.

Tissue Paper Eggs (6)

Pom-Pom Bunny Wreath

CL Bunny Wreath (2)

Sometimes I spot a holiday craft so cute I just have to make it, even without the kids involved. That was the case with this adorable bunny wreath, spotted in Country Living magazine. The project almost entirely involves hot glue, hence why it was a mommy project although older elementary children could pitch in.

To start, I hot glued pom poms in a double circle around a Styrofoam ring. If you find larger white pom poms, you’ll only need one circle.

CL Bunny Wreath (1)

Next, I cut bunny ears from white felt, and smaller strips in the same shape from pink felt. Hot glue the two colors together, and then to the back of the craft ring.

CL Bunny Wreath (3)

Hang up and wait for the Easter bunny to hop on by!

Spring Chick Card

Easter Chick Card (4)

This cute card is the perfect seasonal greeting for family or friends. To start, Travis helped pick out four different patterns of scrapbook paper. Any patterns will work, though you may want to stick within one color family or theme.

Easter Chick Card (1)

Fold one sheet in half and draw an egg shape along the crease. Cut out and then cut the top piece in half with a zigzag shape.

Easter Chick Card (2)

Cut out additional patterns of paper in the same shape so they fit the inside of the card, and then glue down. Cut a small oval from a final paper pattern to be the body of a chick. Add bunny ears and a beak with scraps of paper, then draw on eyes, wings, and feet.

Easter Chick Card (3)

It’s not the Easter bunny, it’s an Easter chick!

Easter Chick Card (5)

This adorable card works perfectly as an Easter gift, of course, but also makes a great birthday card or note simply to say happy spring. Travis was in charge of writing in a sweet message before we mailed it off!

Upcycled Easter Eggs, Two Ways

Upcycled Easter Eggs (9)

An empty cereal box is all you need as the base for the following two upcycled Easter egg projects. The first makes a beautiful table topper for your Easter holiday table (or other spring gathering), and the second looks lovely hung on a door or window!

For the table topper version, I traced a small egg shape onto one half of a cereal box, and cut out 4 eggs. Veronika helped paint in pastel colors. You’ll need to let this coat of paint dry before moving on to the next step, and if your kids are impatient, give the eggs a quick stint under a hairdryer.

Upcycled Easter Eggs (2)

Next we used a q-tip (always a toddler favorite) to make dots on the eggs. Veronika loved dipping a cotton swab into yellow paint and making dots and blobs all over.

Upcycled Easter Eggs (3)

Almost done! The final step was to give the eggs some sparkle by brushing on glitter glue. We should have waited for the yellow dots to dry first, because now everything sort of smeared together, but the eggs still looked pretty.

Upcycled Easter Eggs (4)

To set them up as table toppers, cut an empty paper towel tube into a few rings, about 1/2-inch thick. Make notches in each so the eggs stand upright. Leave them just like this or add names so they double as place cards!

Upcycled Easter Eggs (11)

For the second upcycled craft, I cut a large egg shape from the cereal box. We gave this one a coat of white paint.

Upcycled Easter Eggs (5)

Next, I set out a tray with squares of tissue paper, all in pretty pastel shades. It’s easiest for a toddler if you cover the whole surface of the egg with white glue. This way, I could hand her a crumpled piece of the tissue paper and no matter where she placed it, it would stick!

Upcycled Easter Eggs (8)

I briefly considered having her make patterns or rows in alternating colors, but quickly realized this was too advanced for Veronika. Instead, we ended up with an egg decorated in a pretty mish-mash of pastels.

Upcycled Easter Eggs (12)