Leaf Animals

Leaf Animals (4)

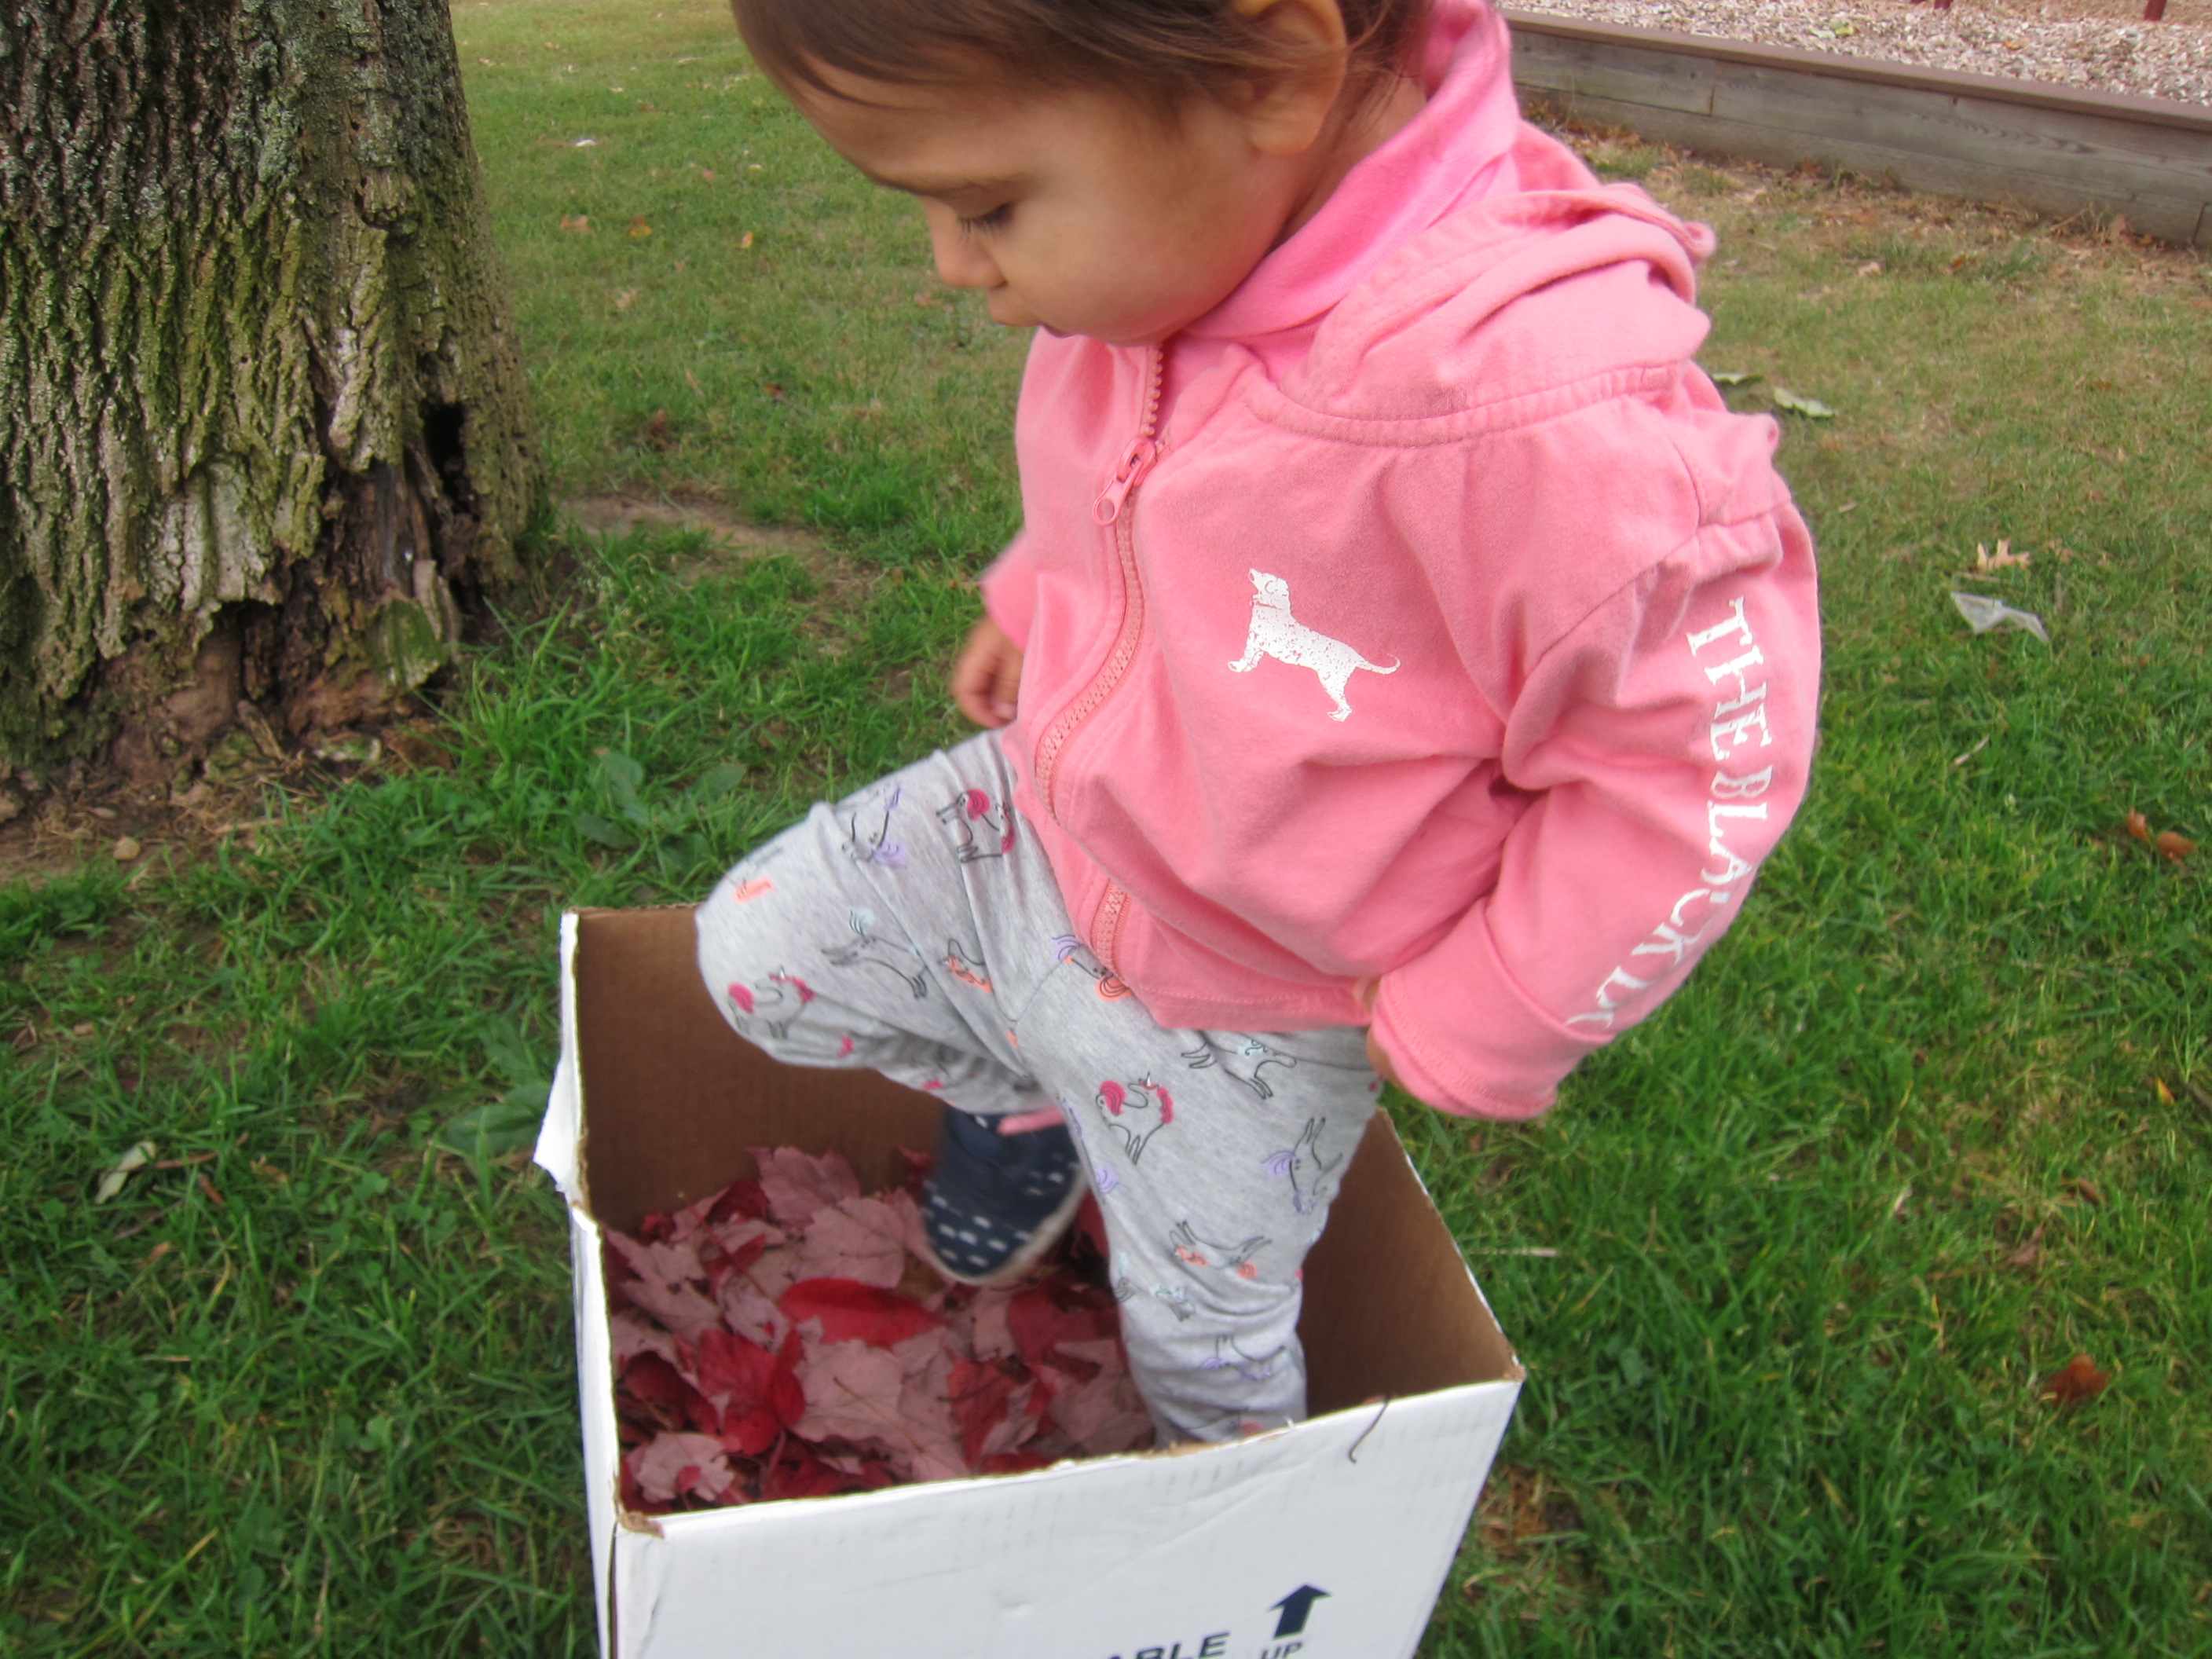
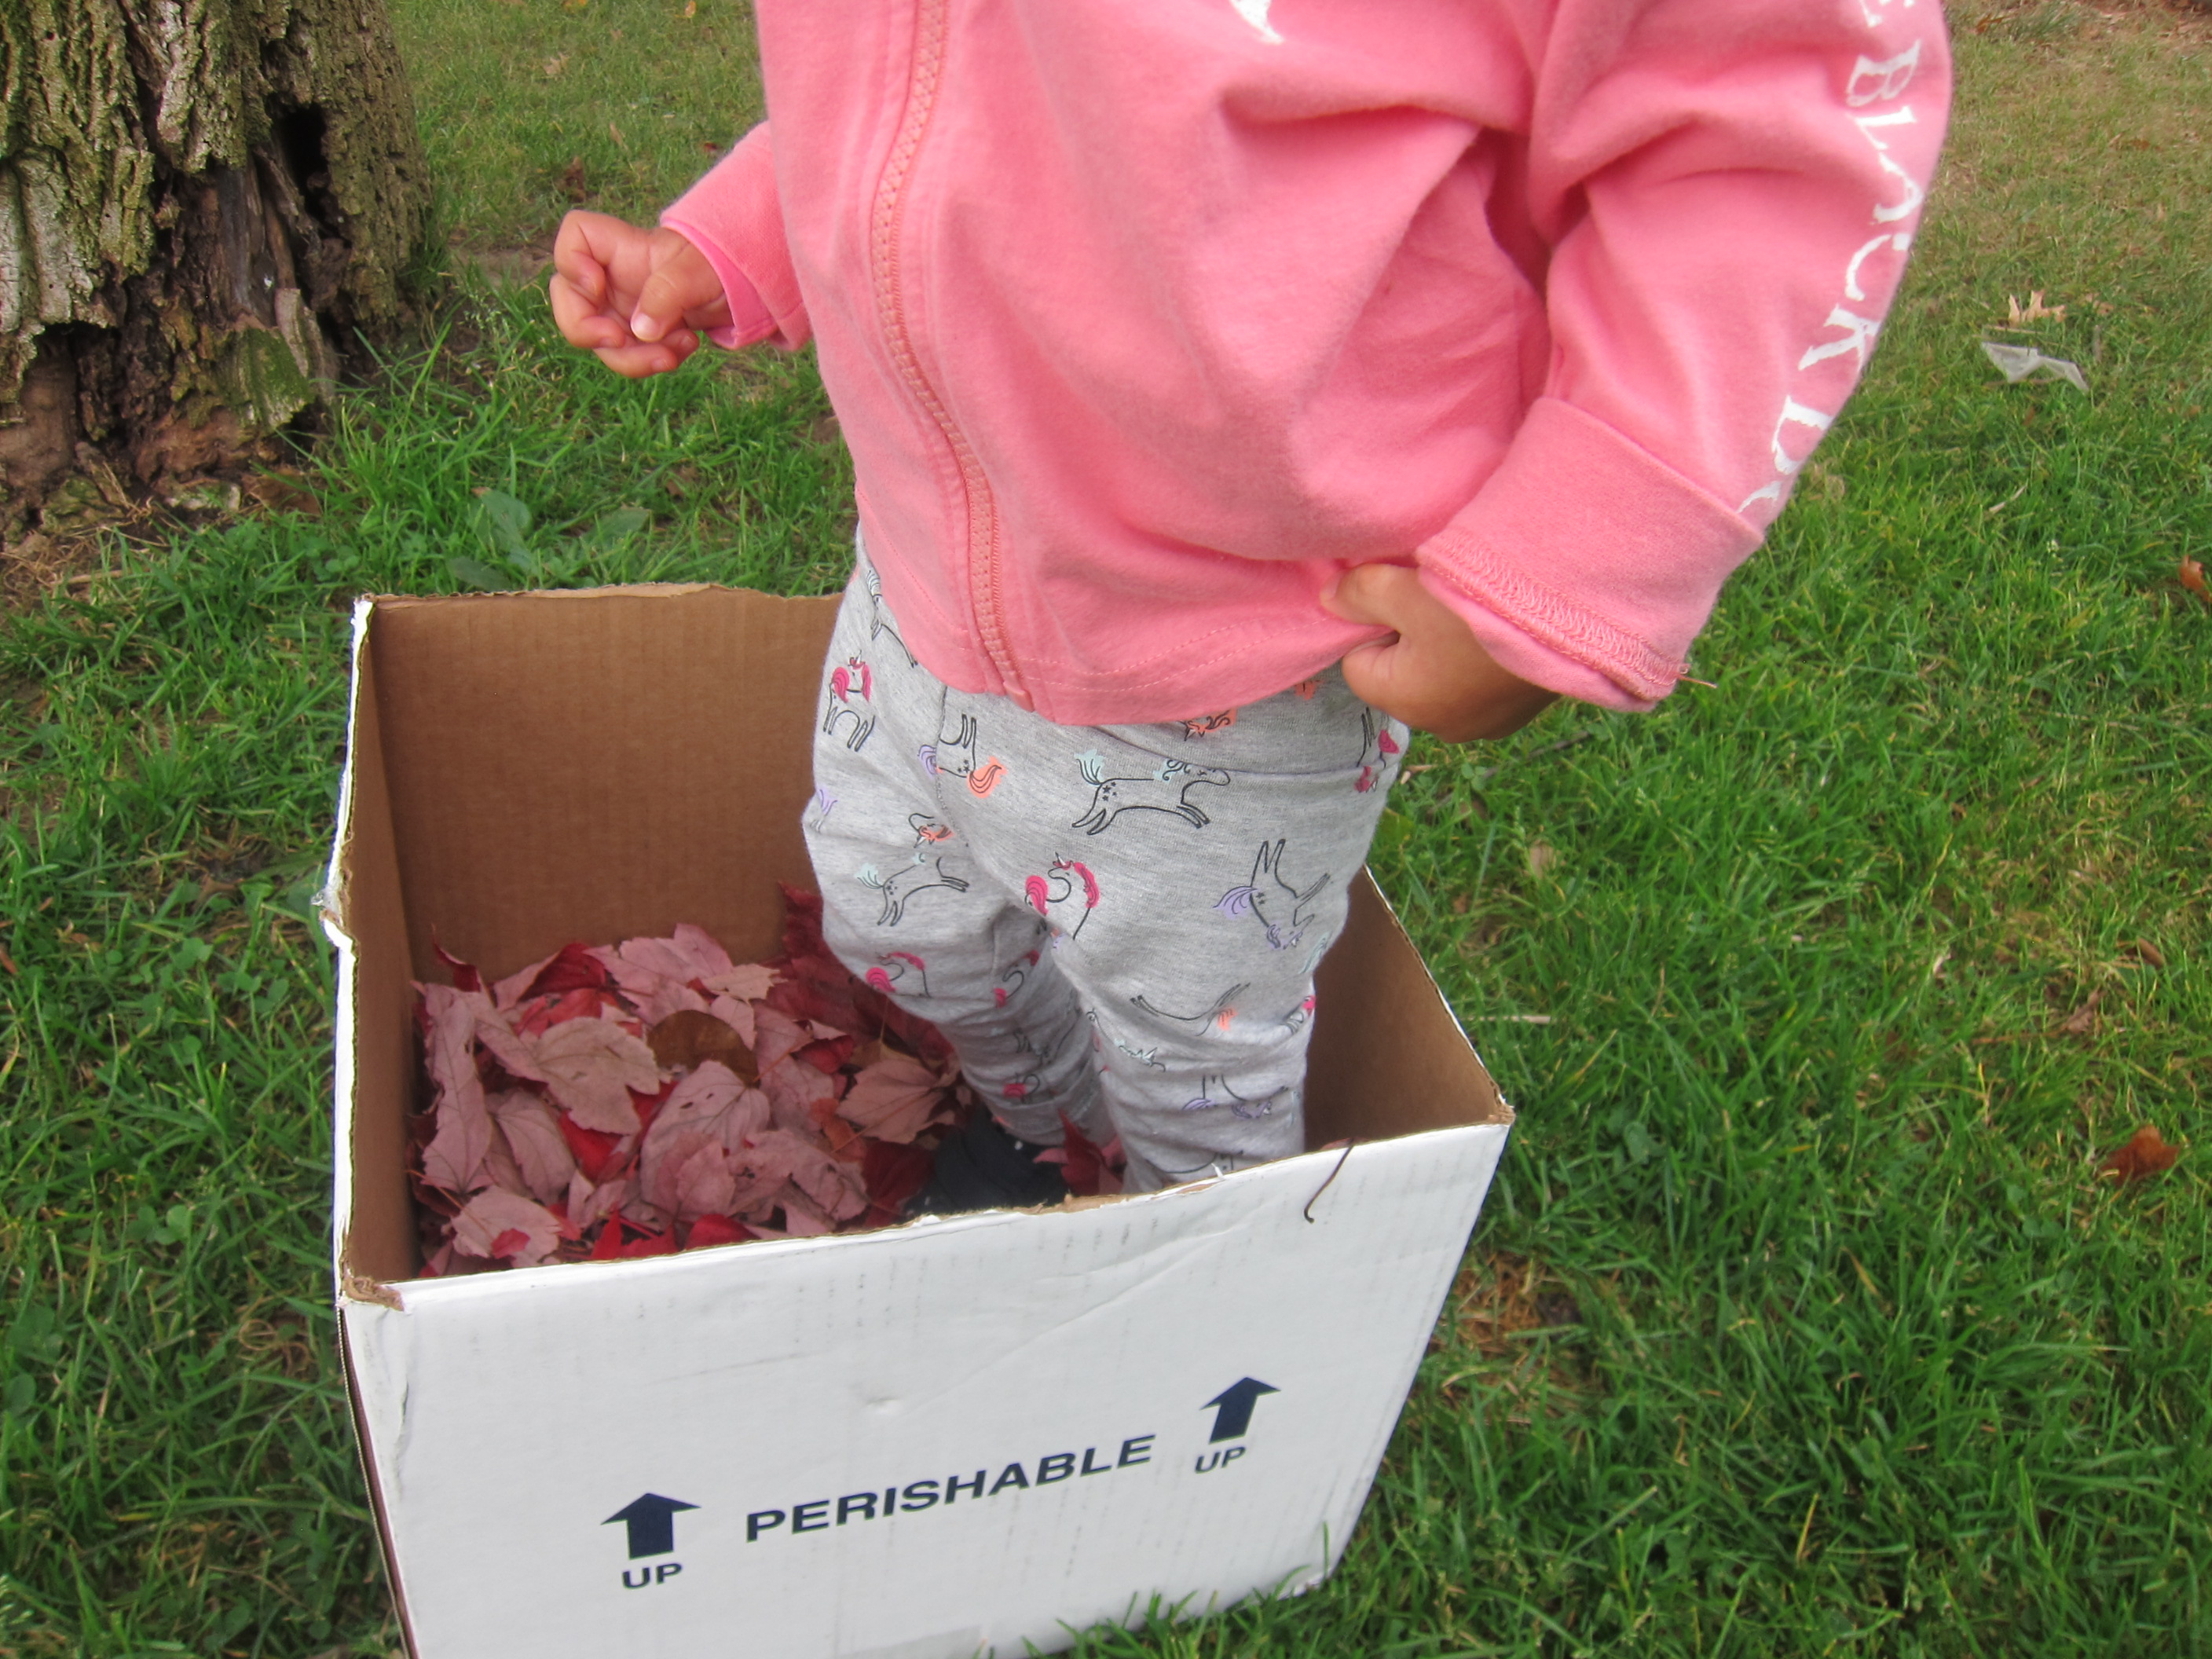
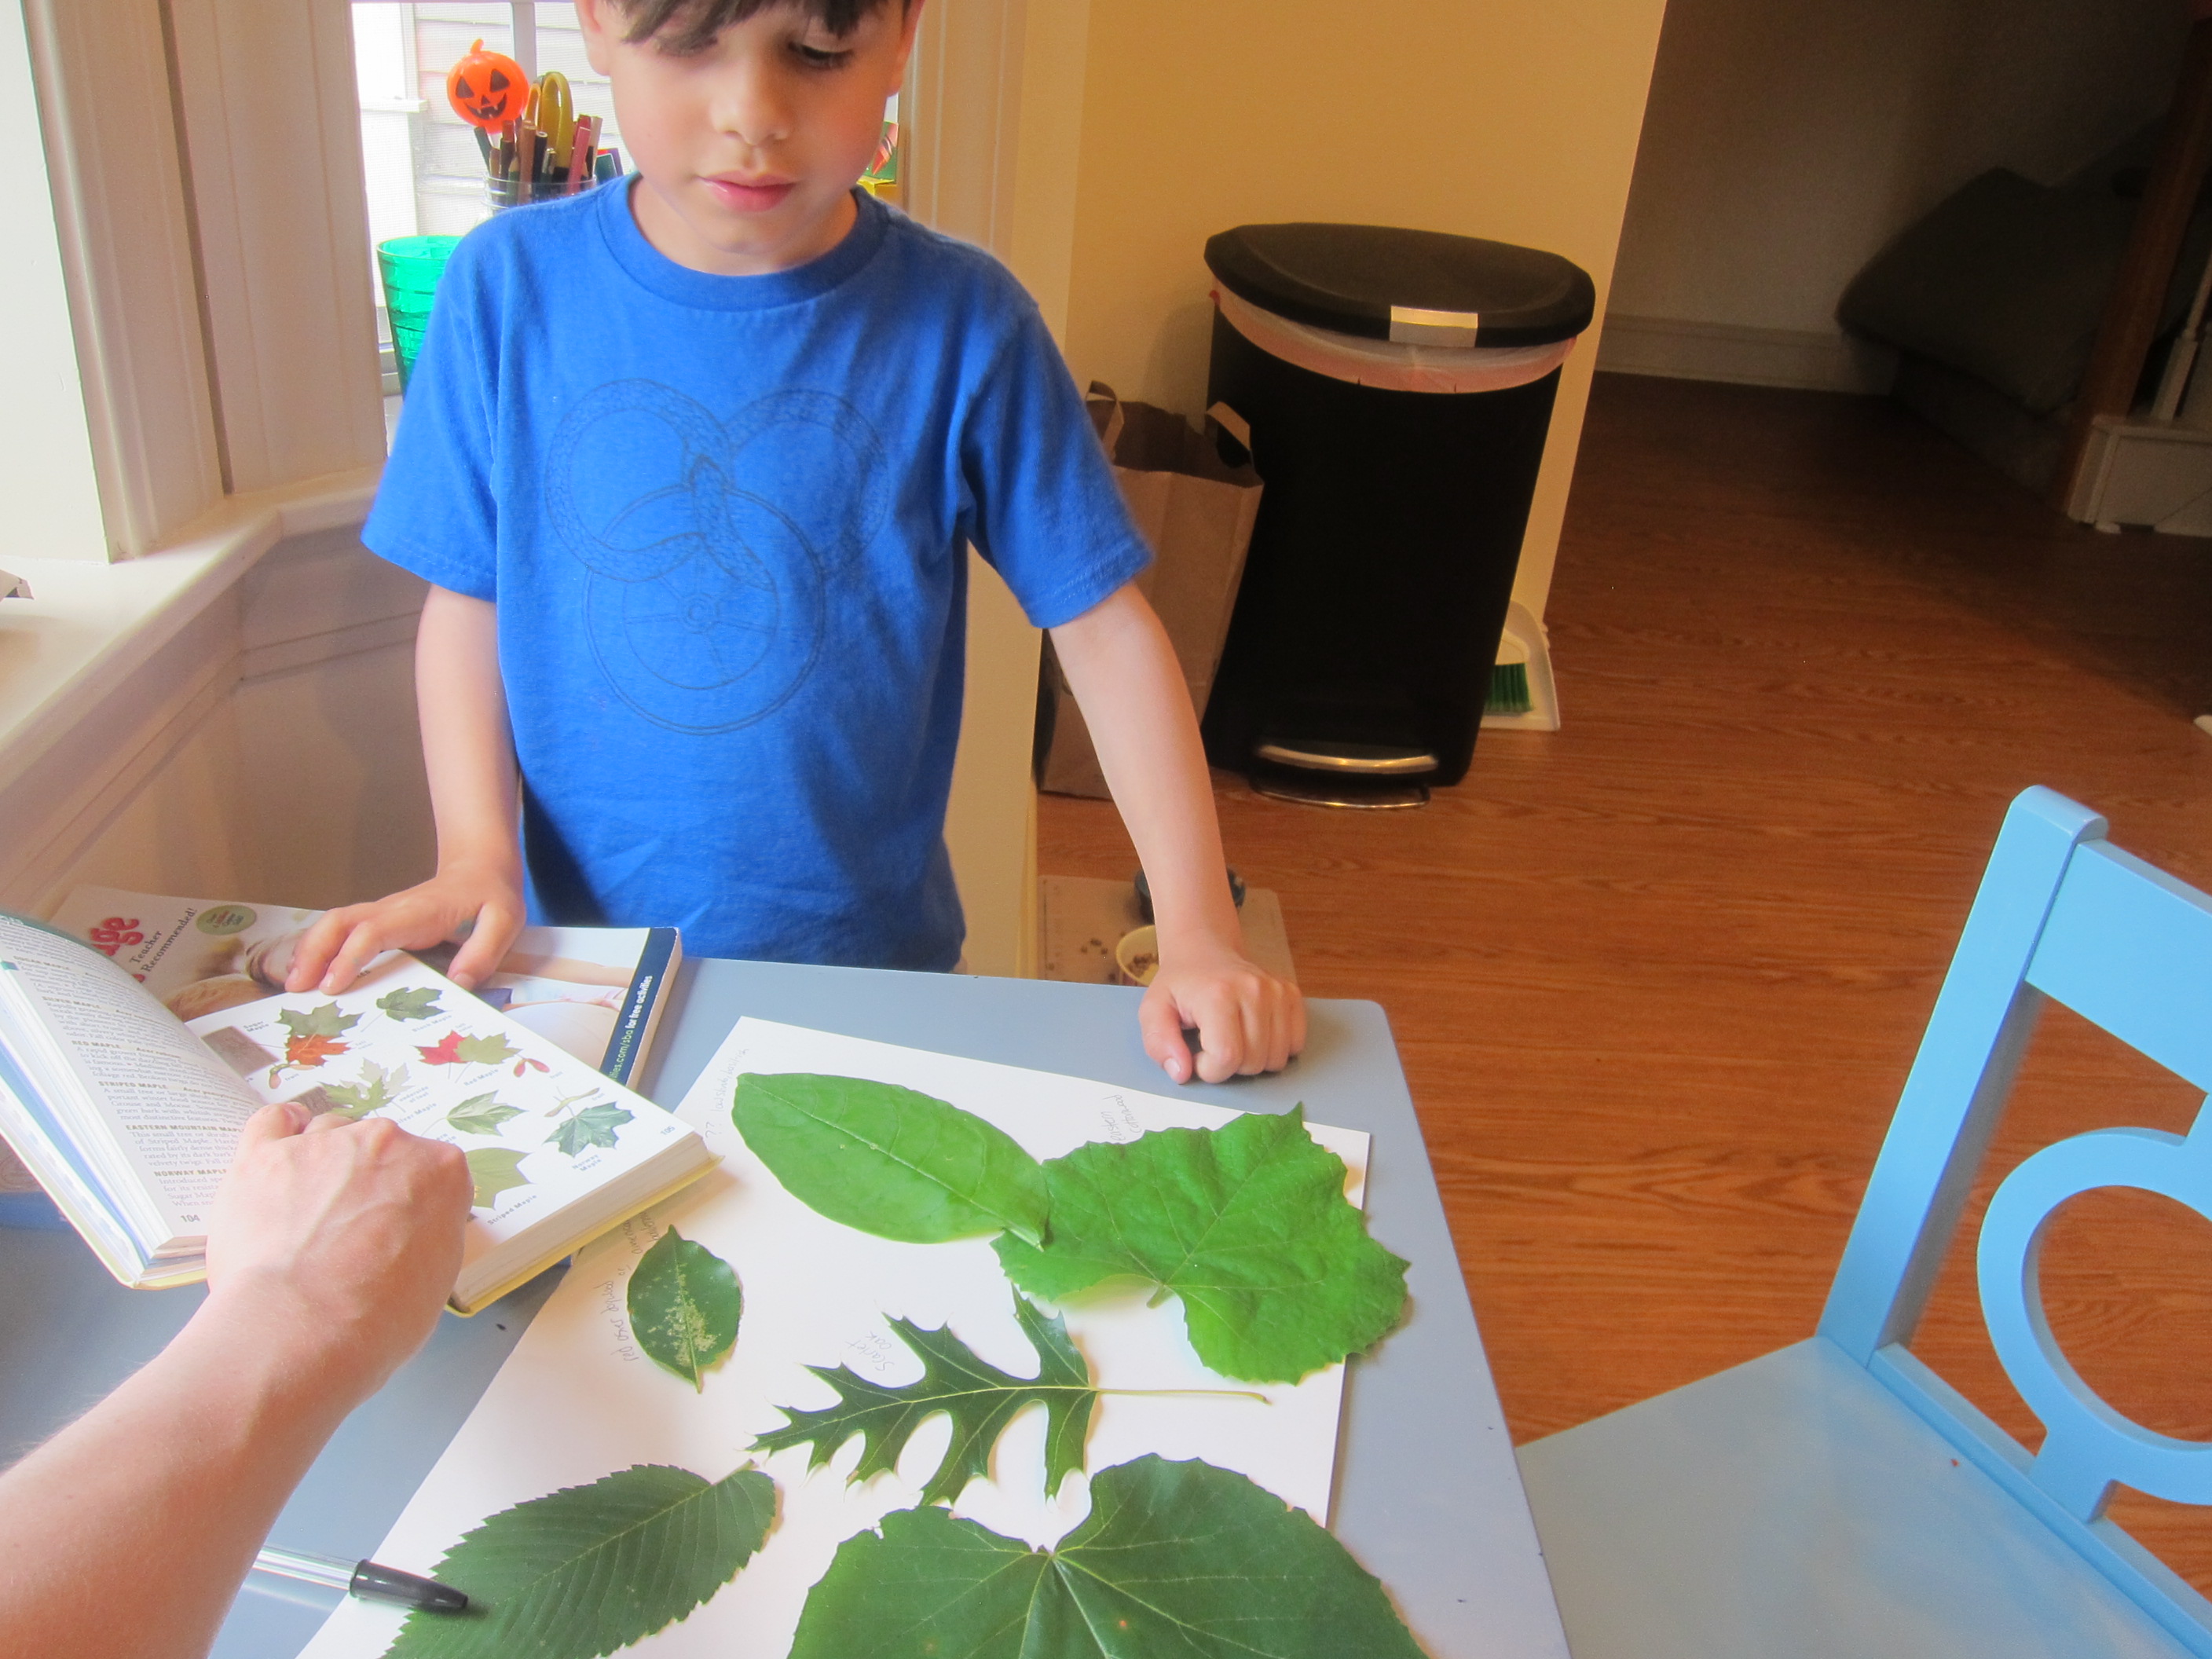
The next time you head out on a nature walk, be sure to collect some of the fall leaves on the ground. They’re begging to be used in so many art projects, and this particular one is perfect for preschoolers.

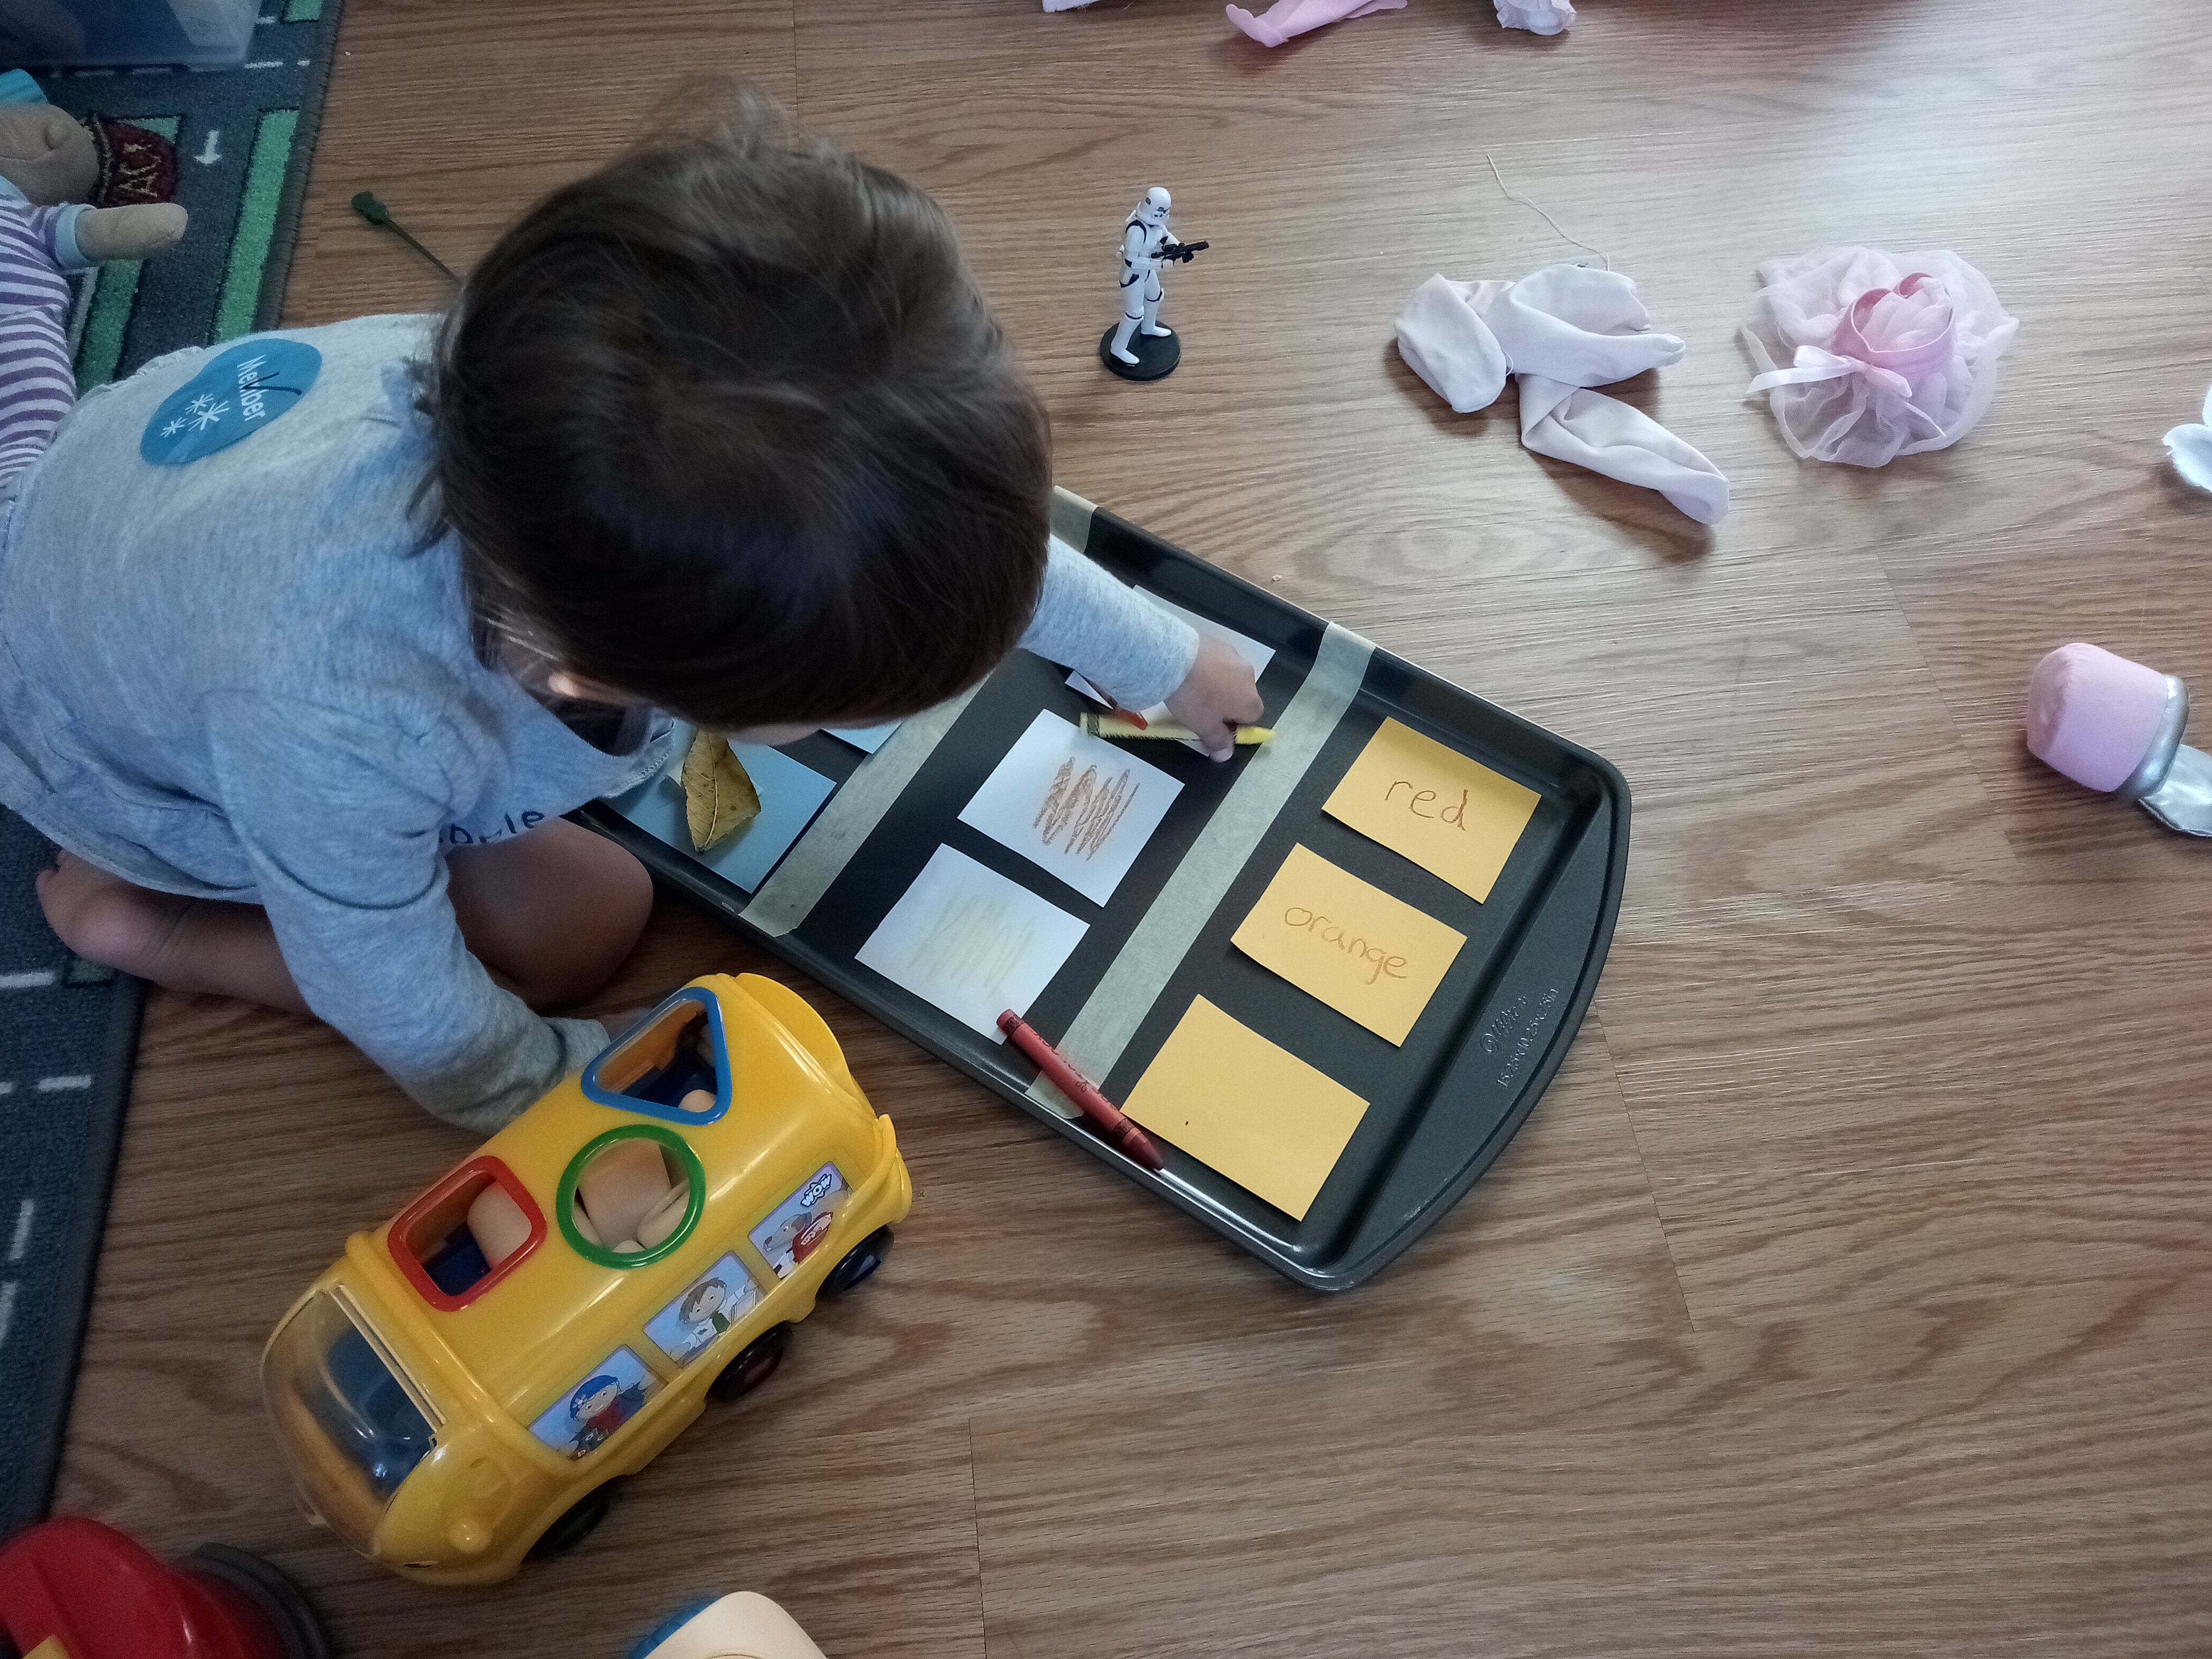
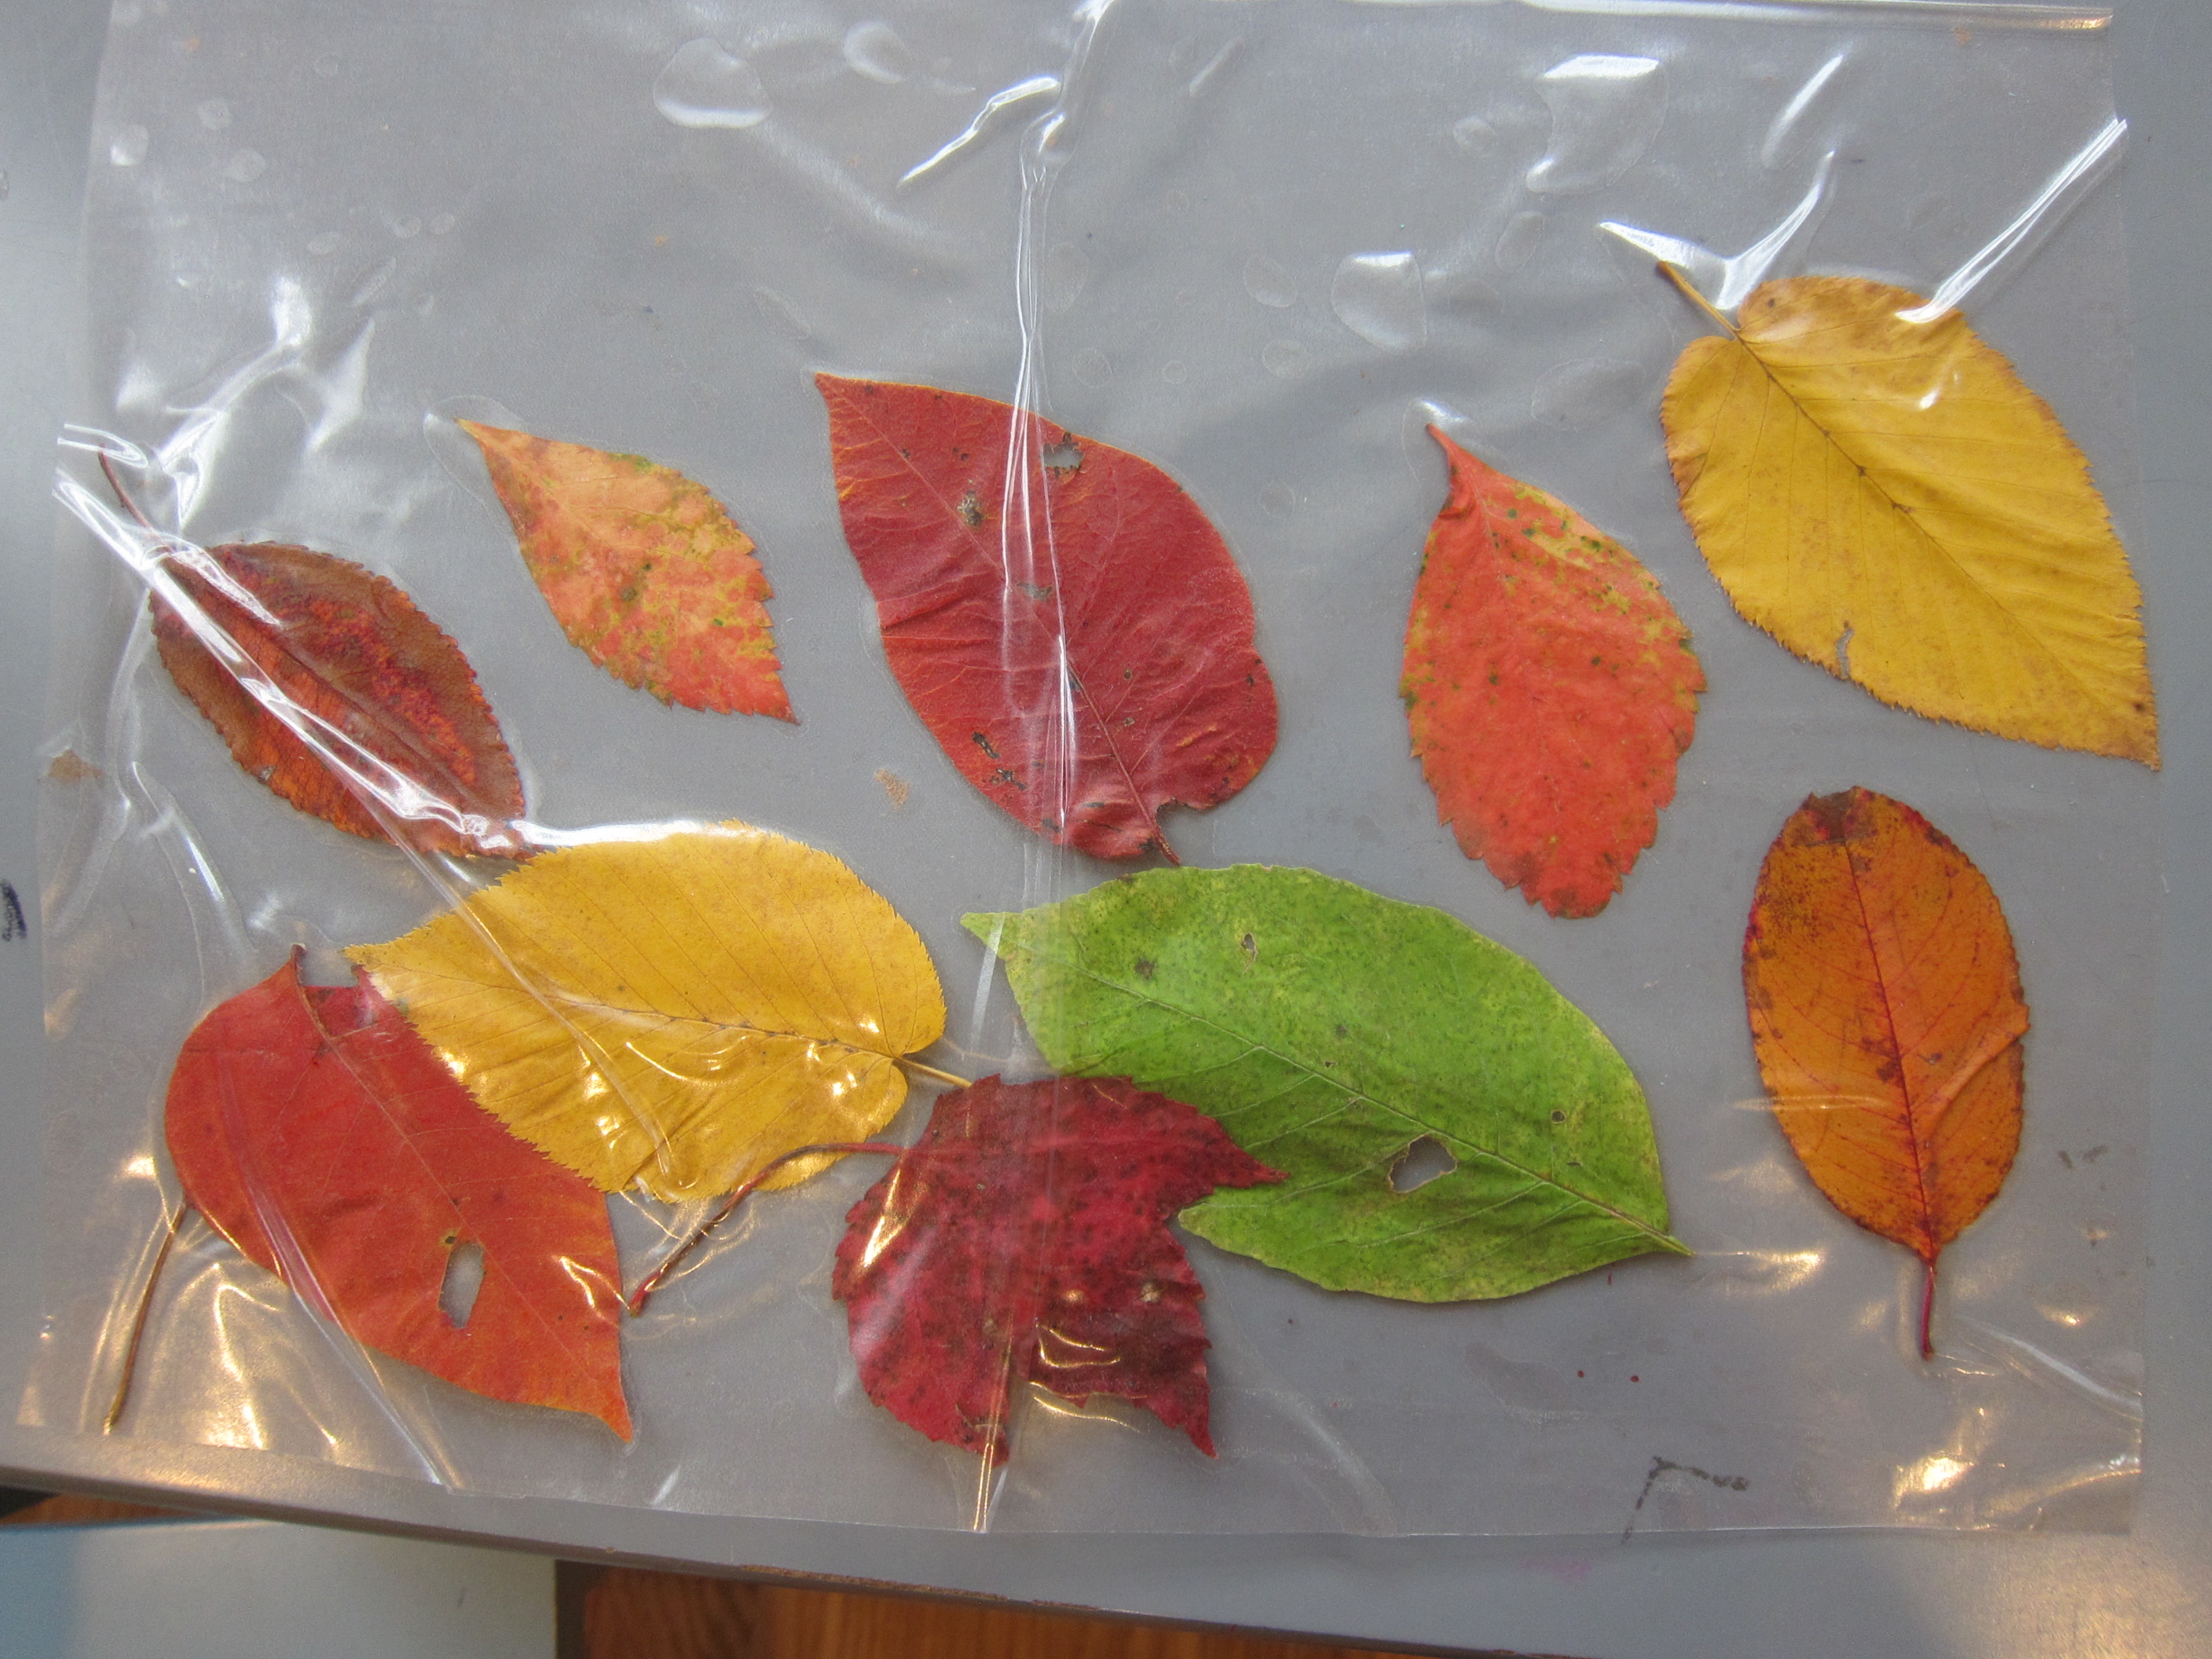
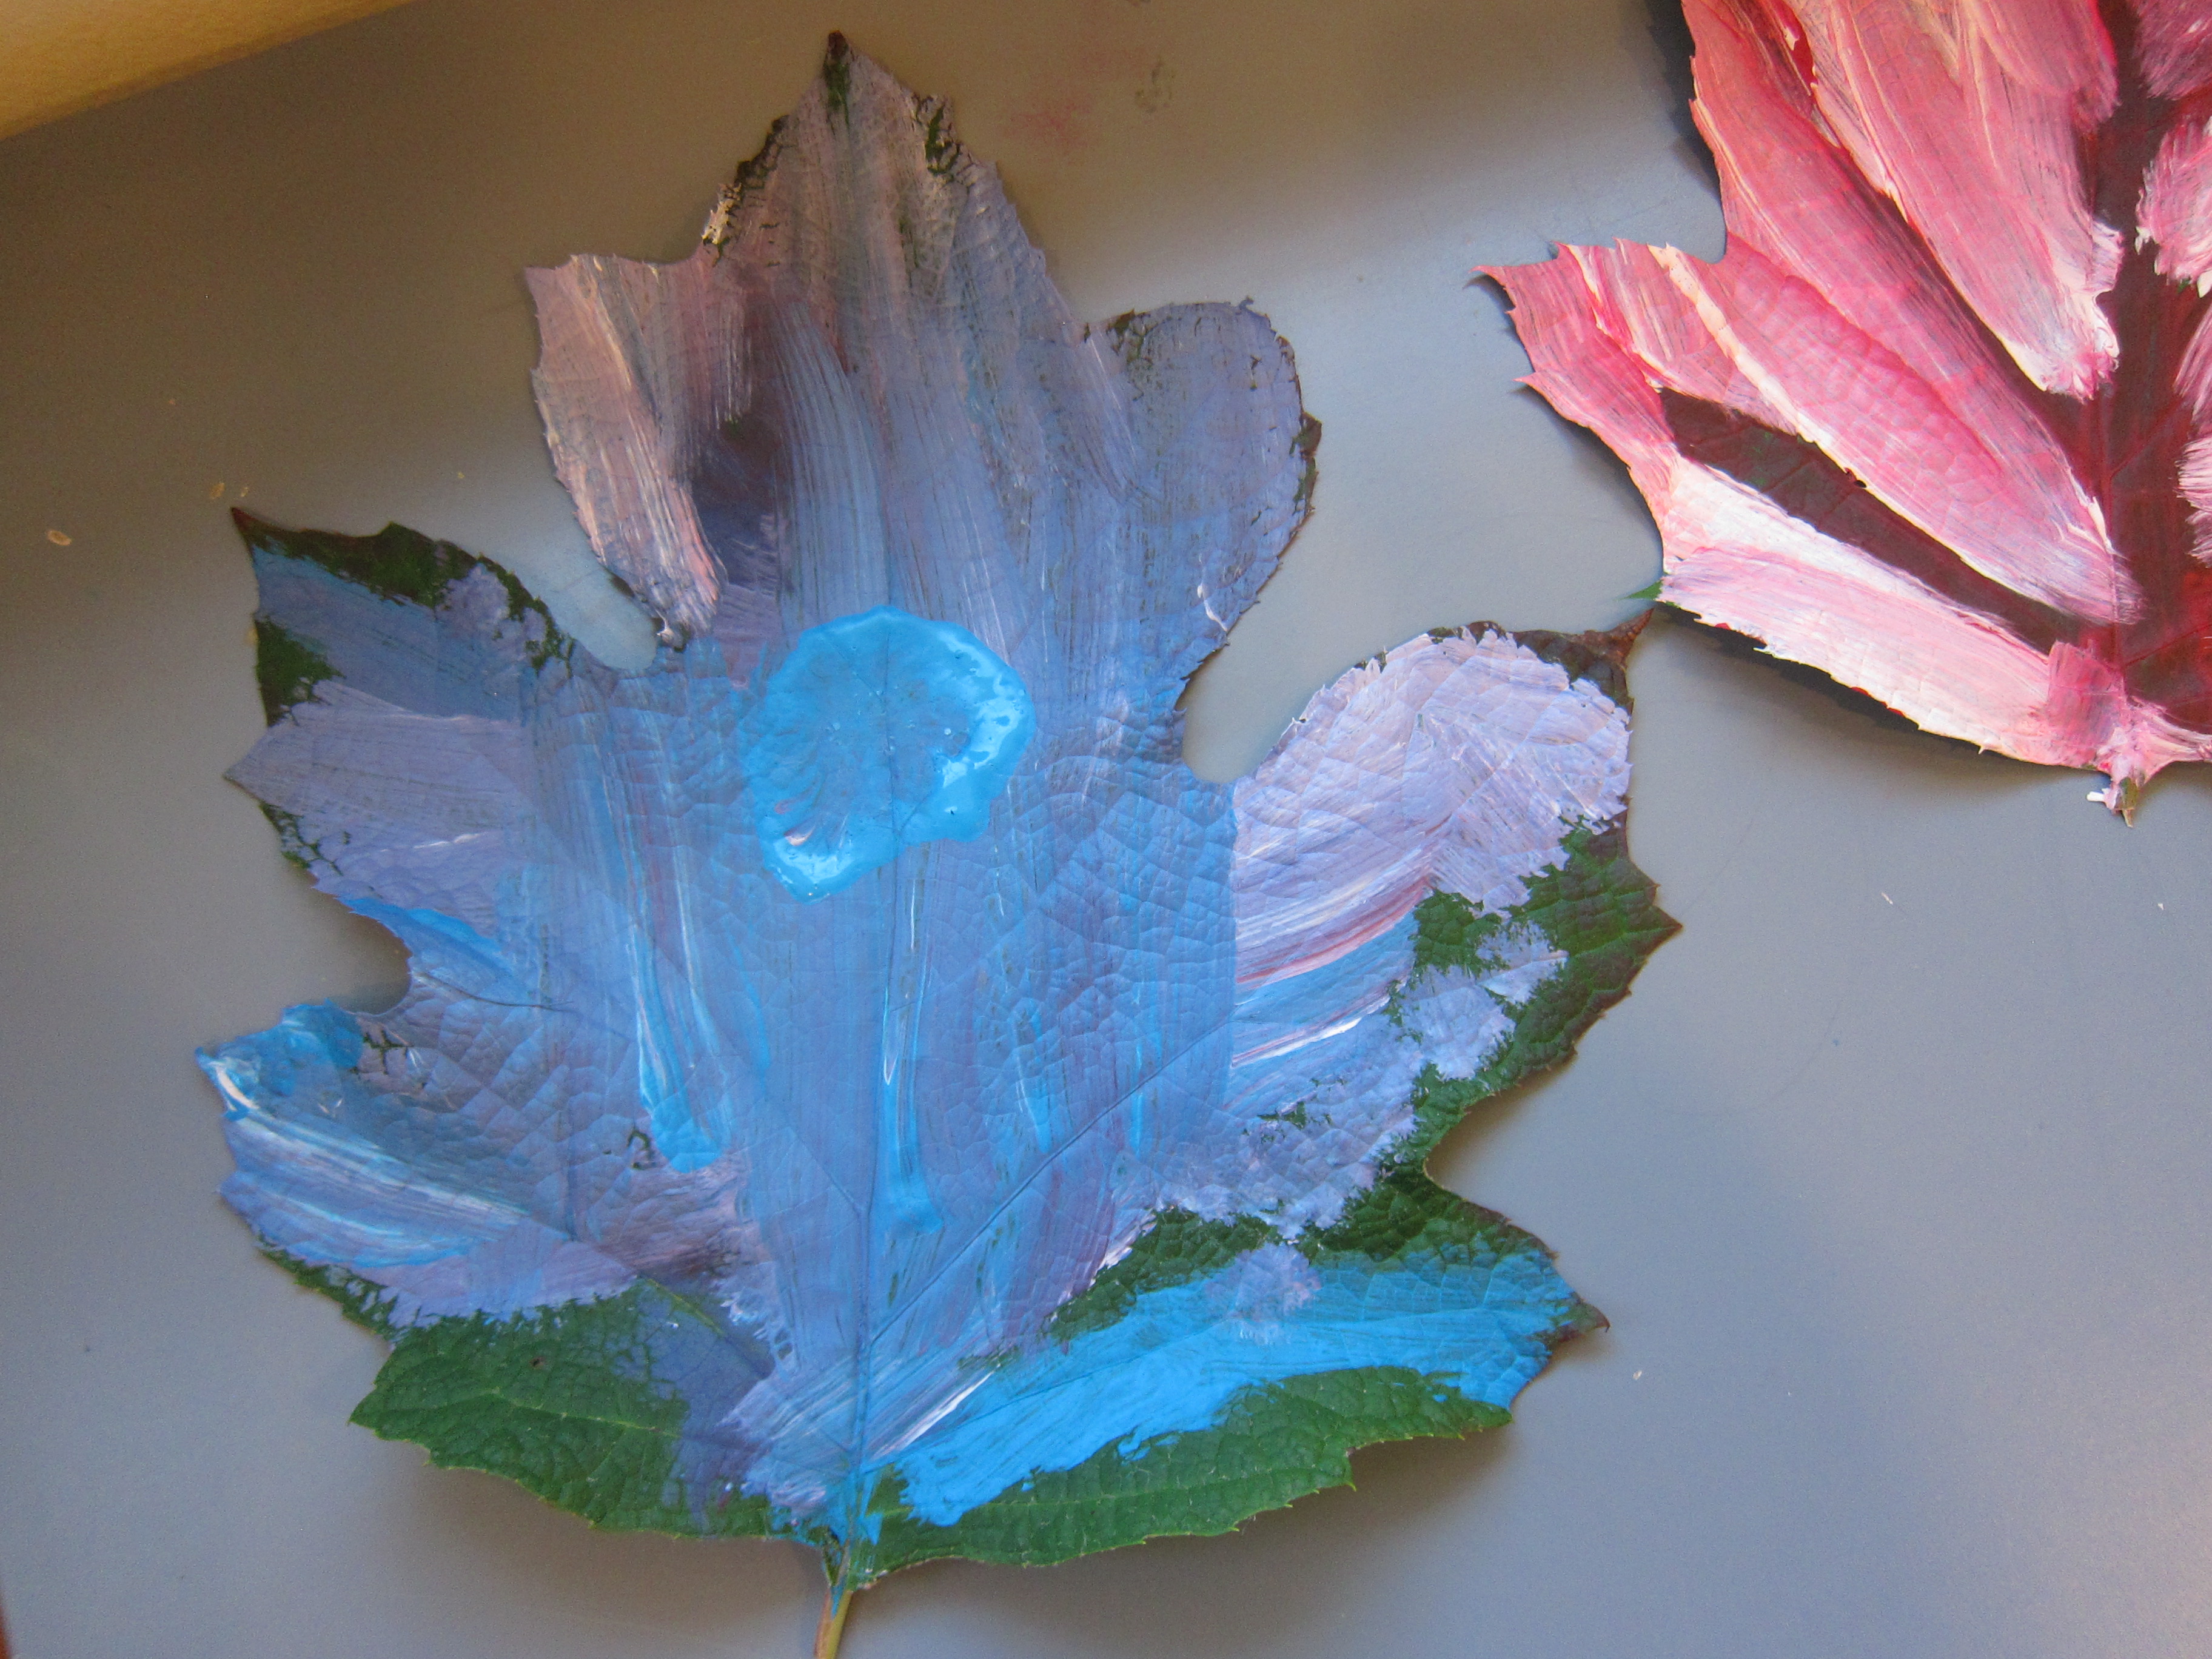
When we got home and set our leaves out on a tray, Veronika marveled at the colors. “The leaves come from the fall, and snowflakes come from winter!” she told me. Sounds like somebody is learning her seasons at preschool!

Leaf Animals (1)

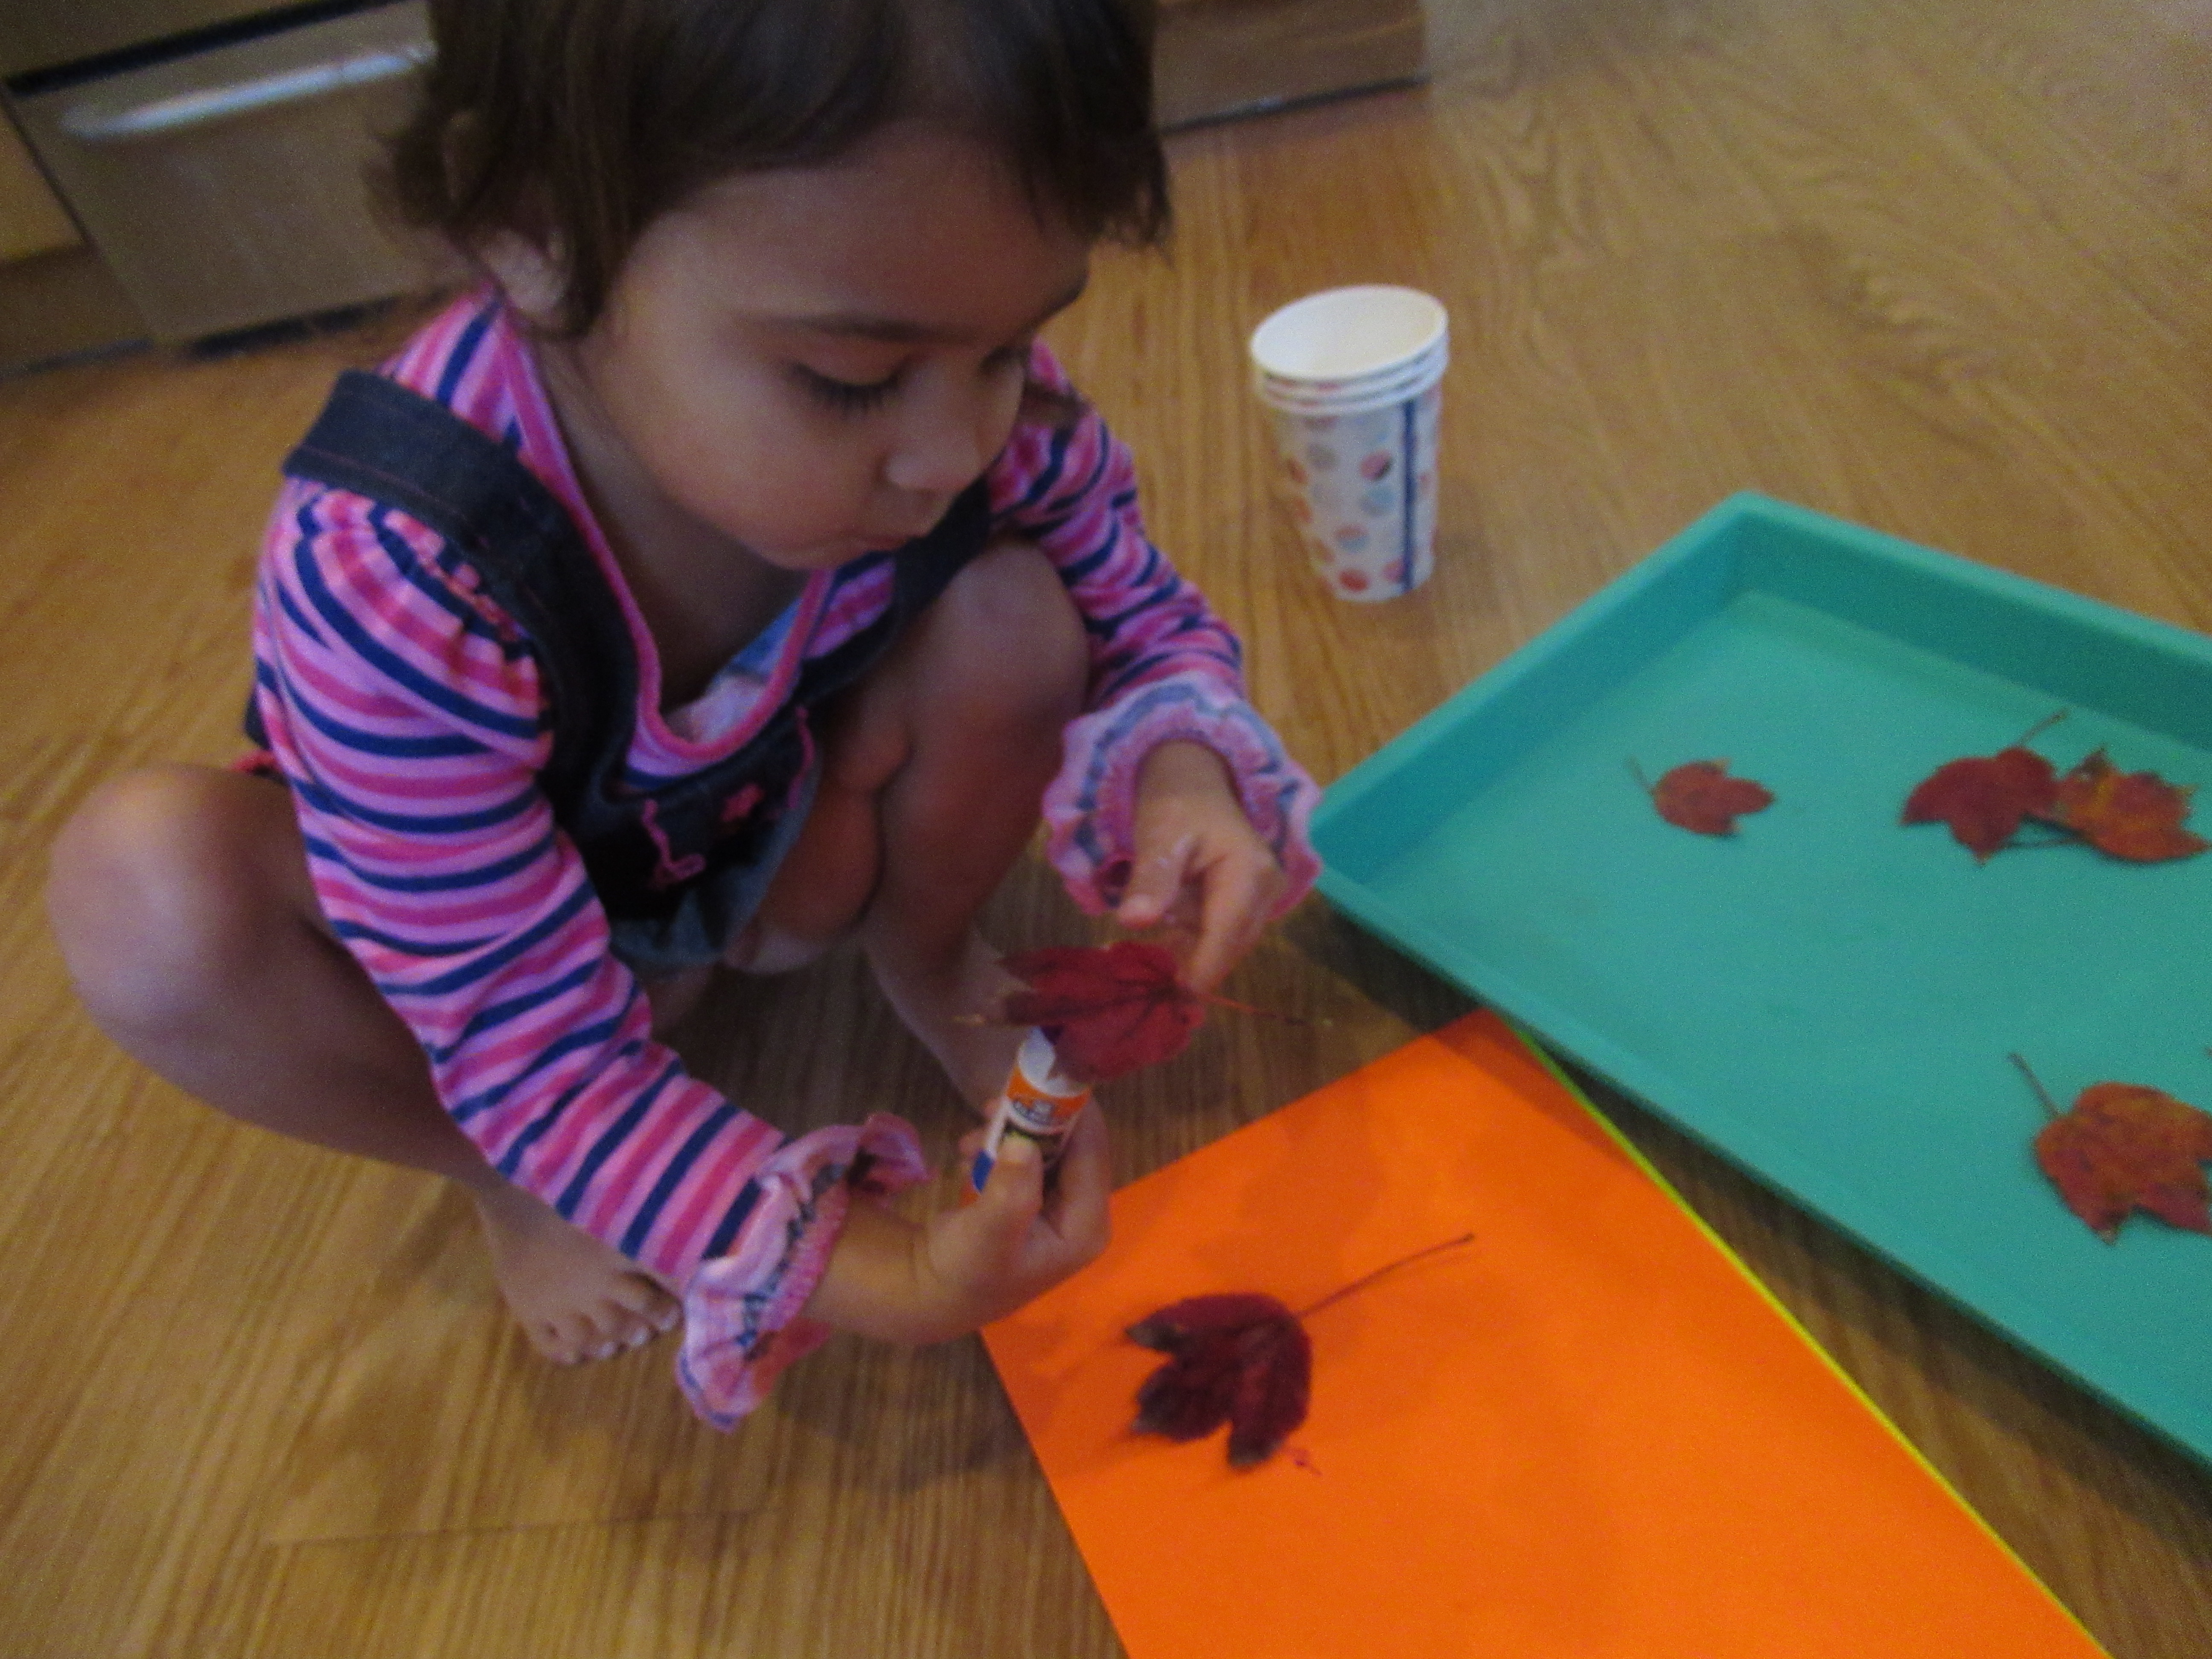
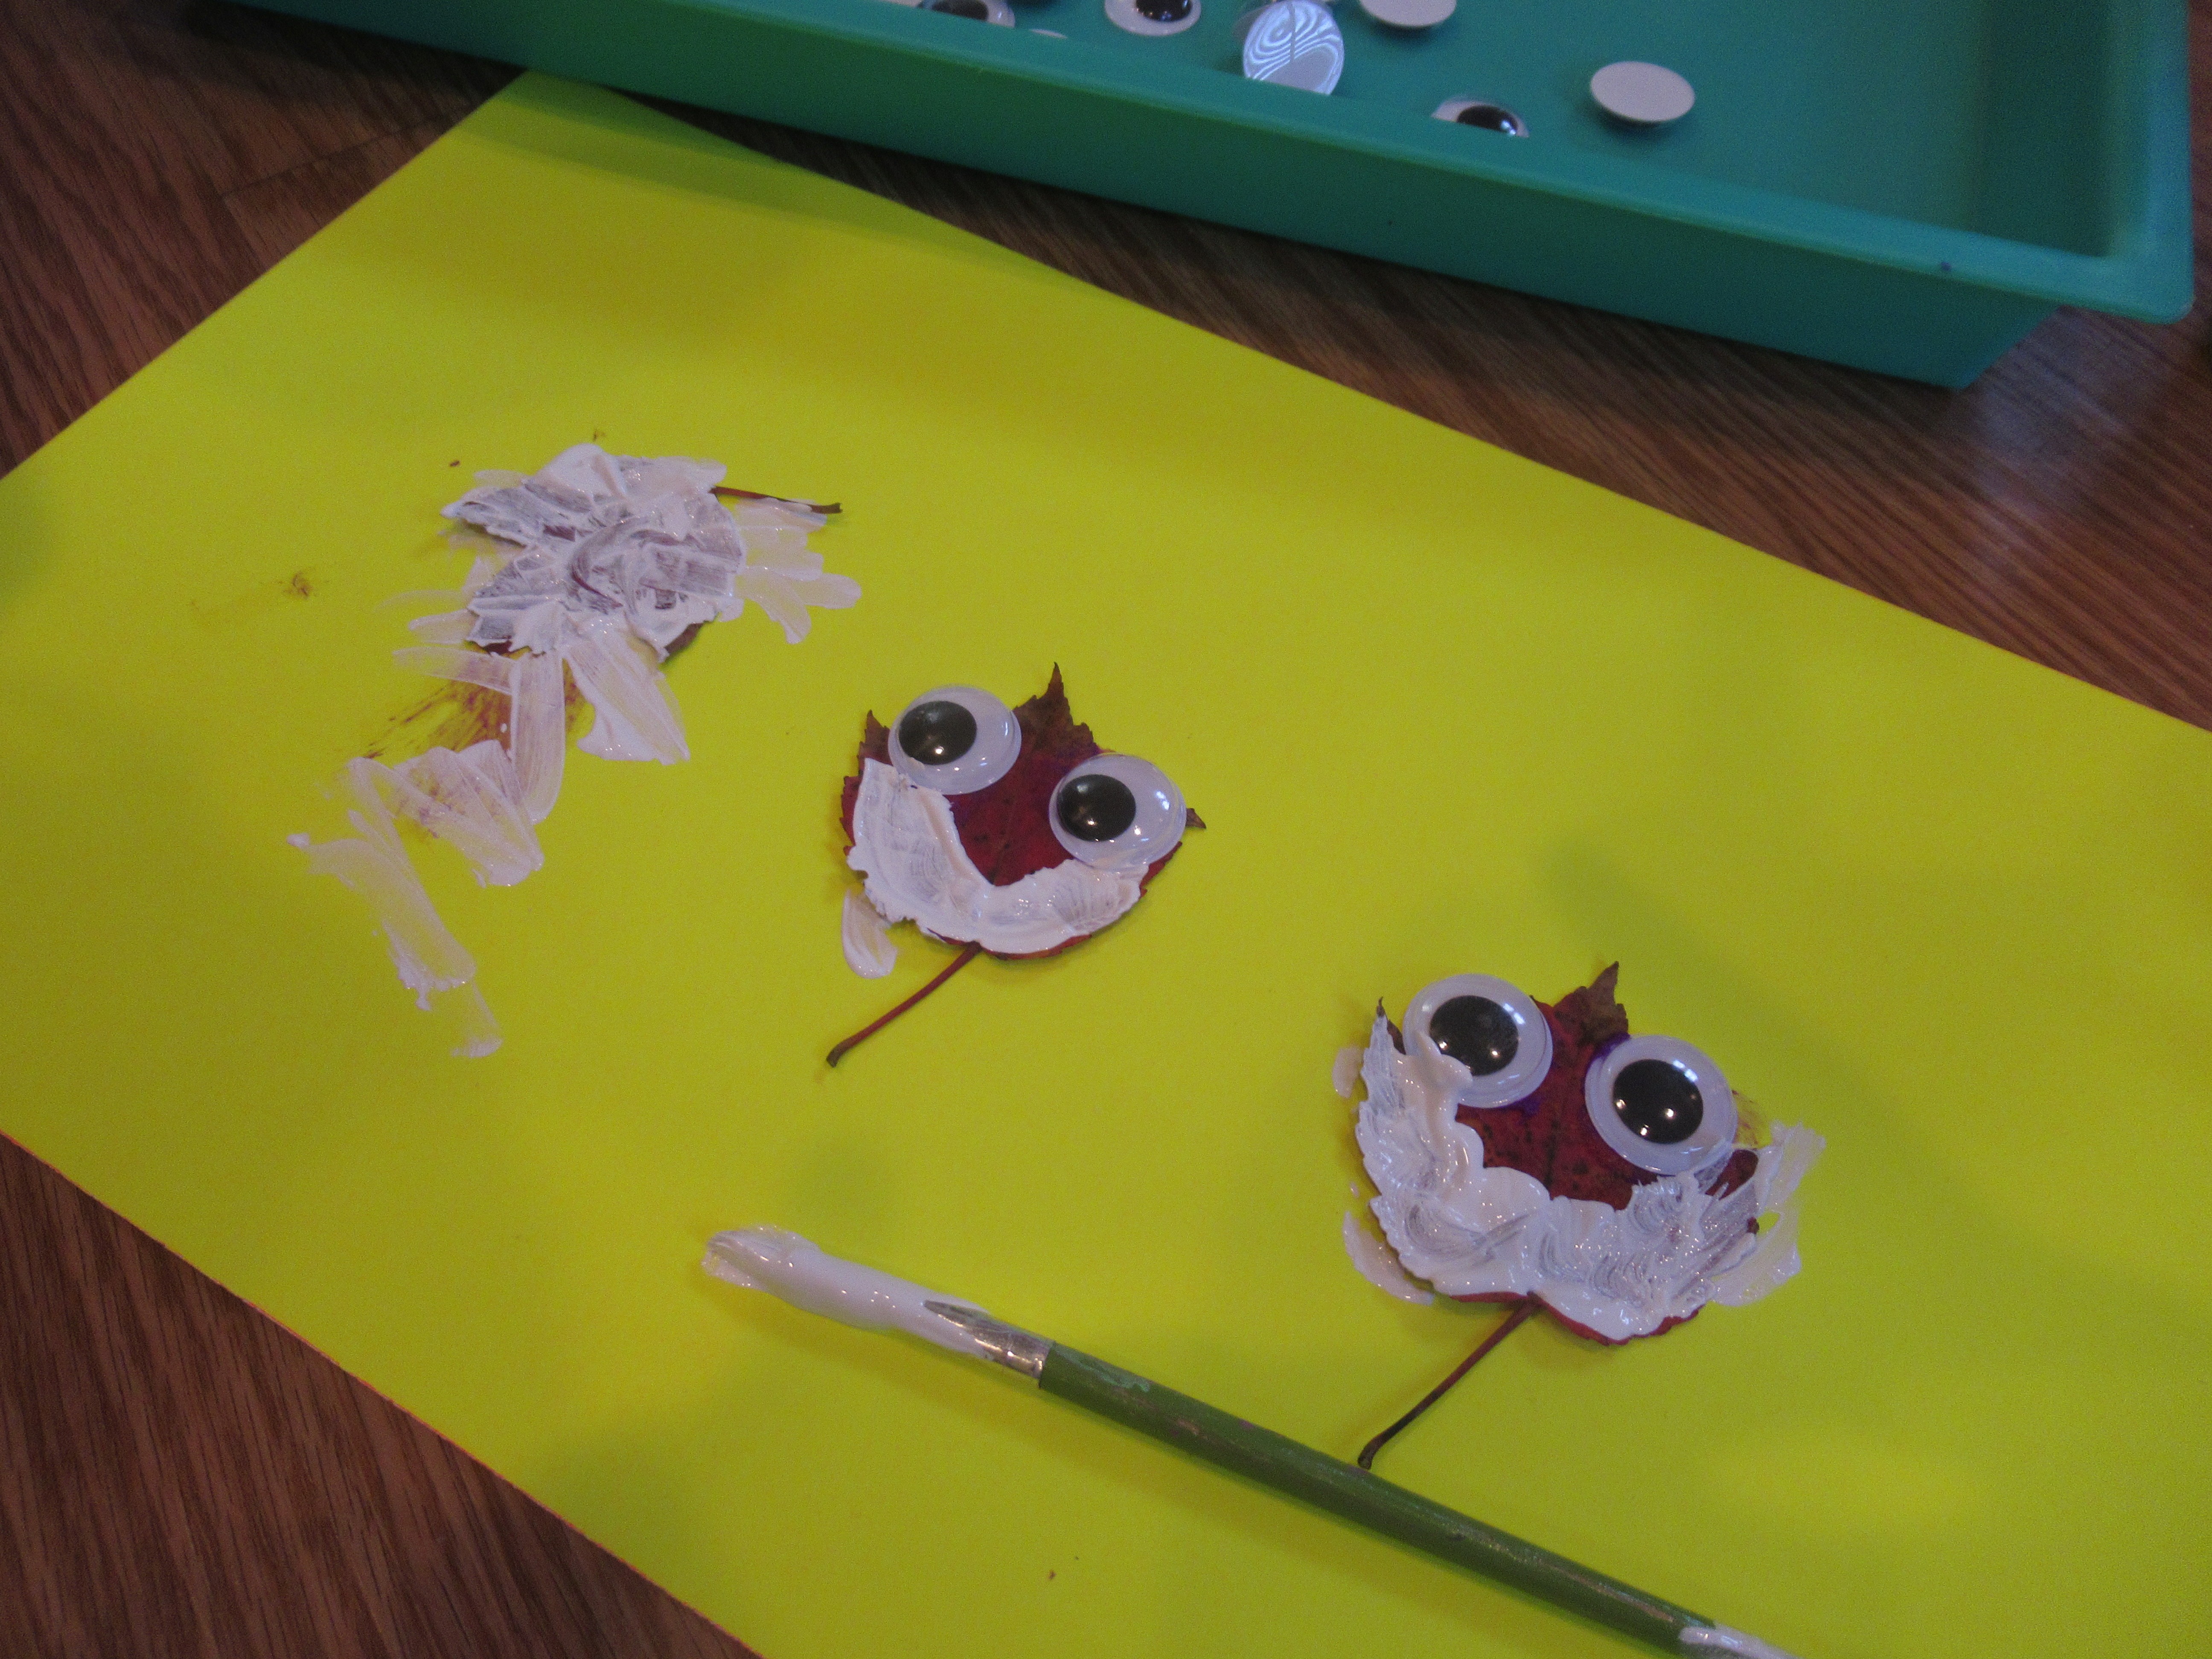
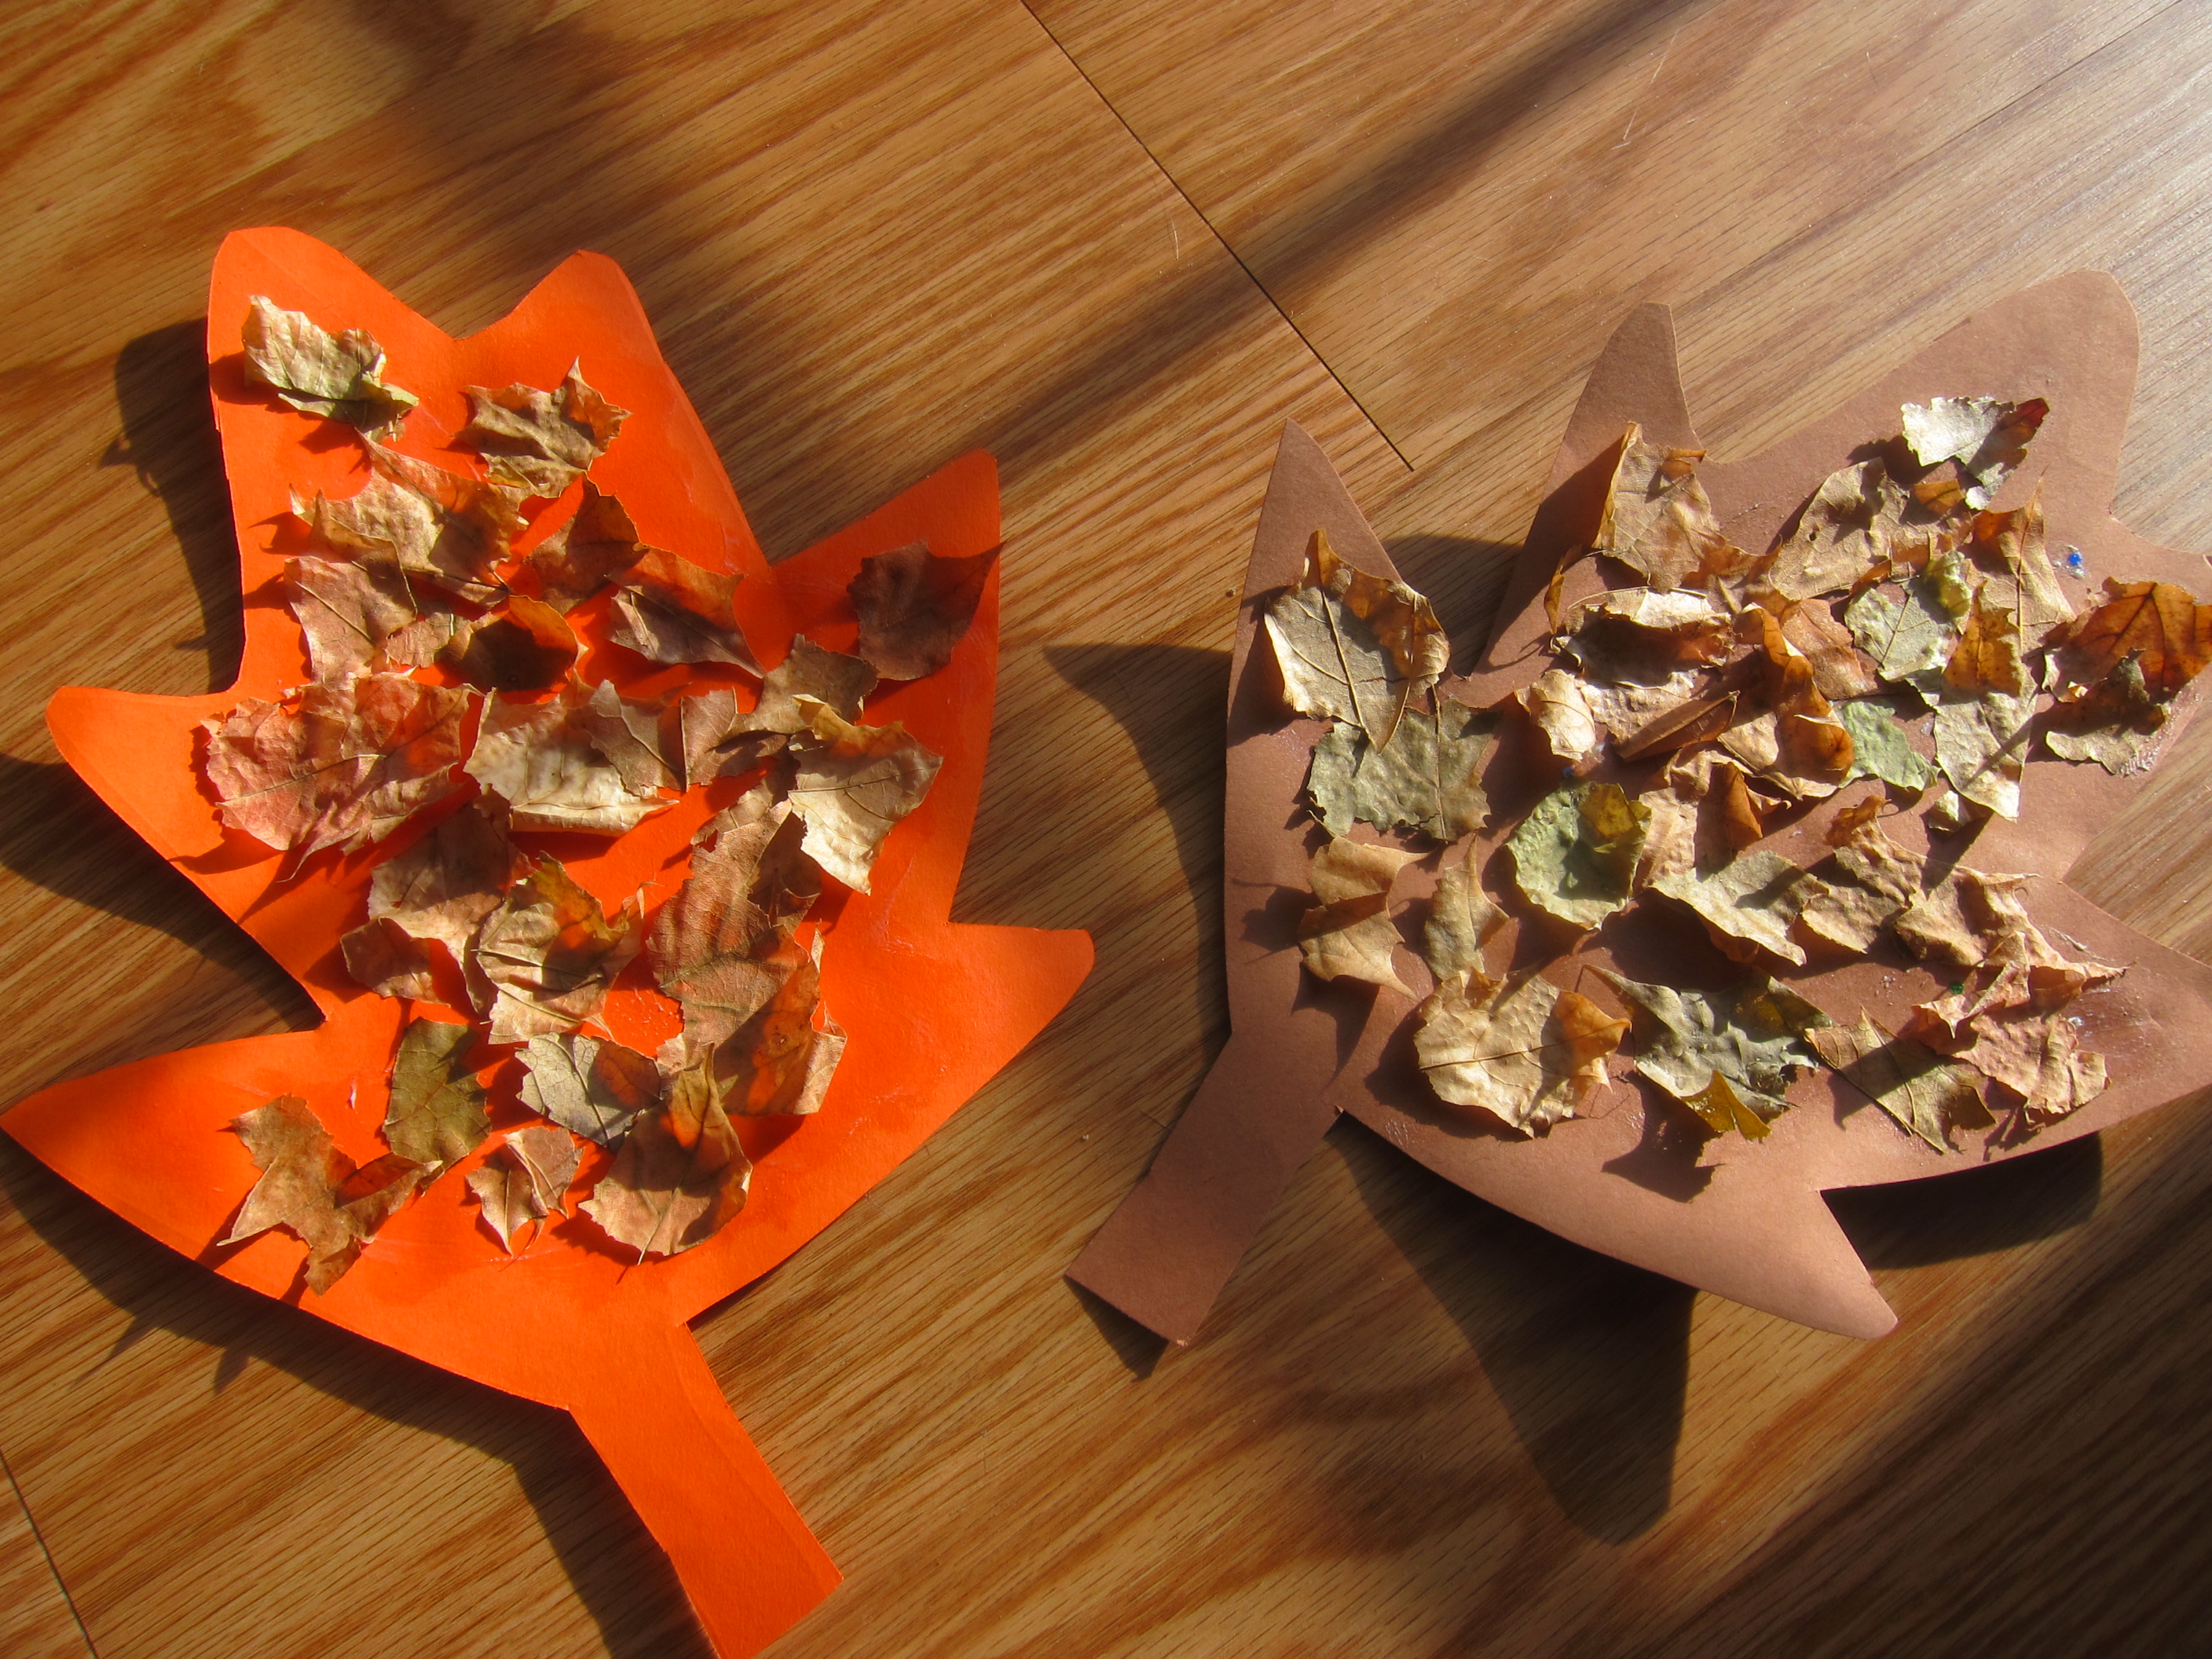
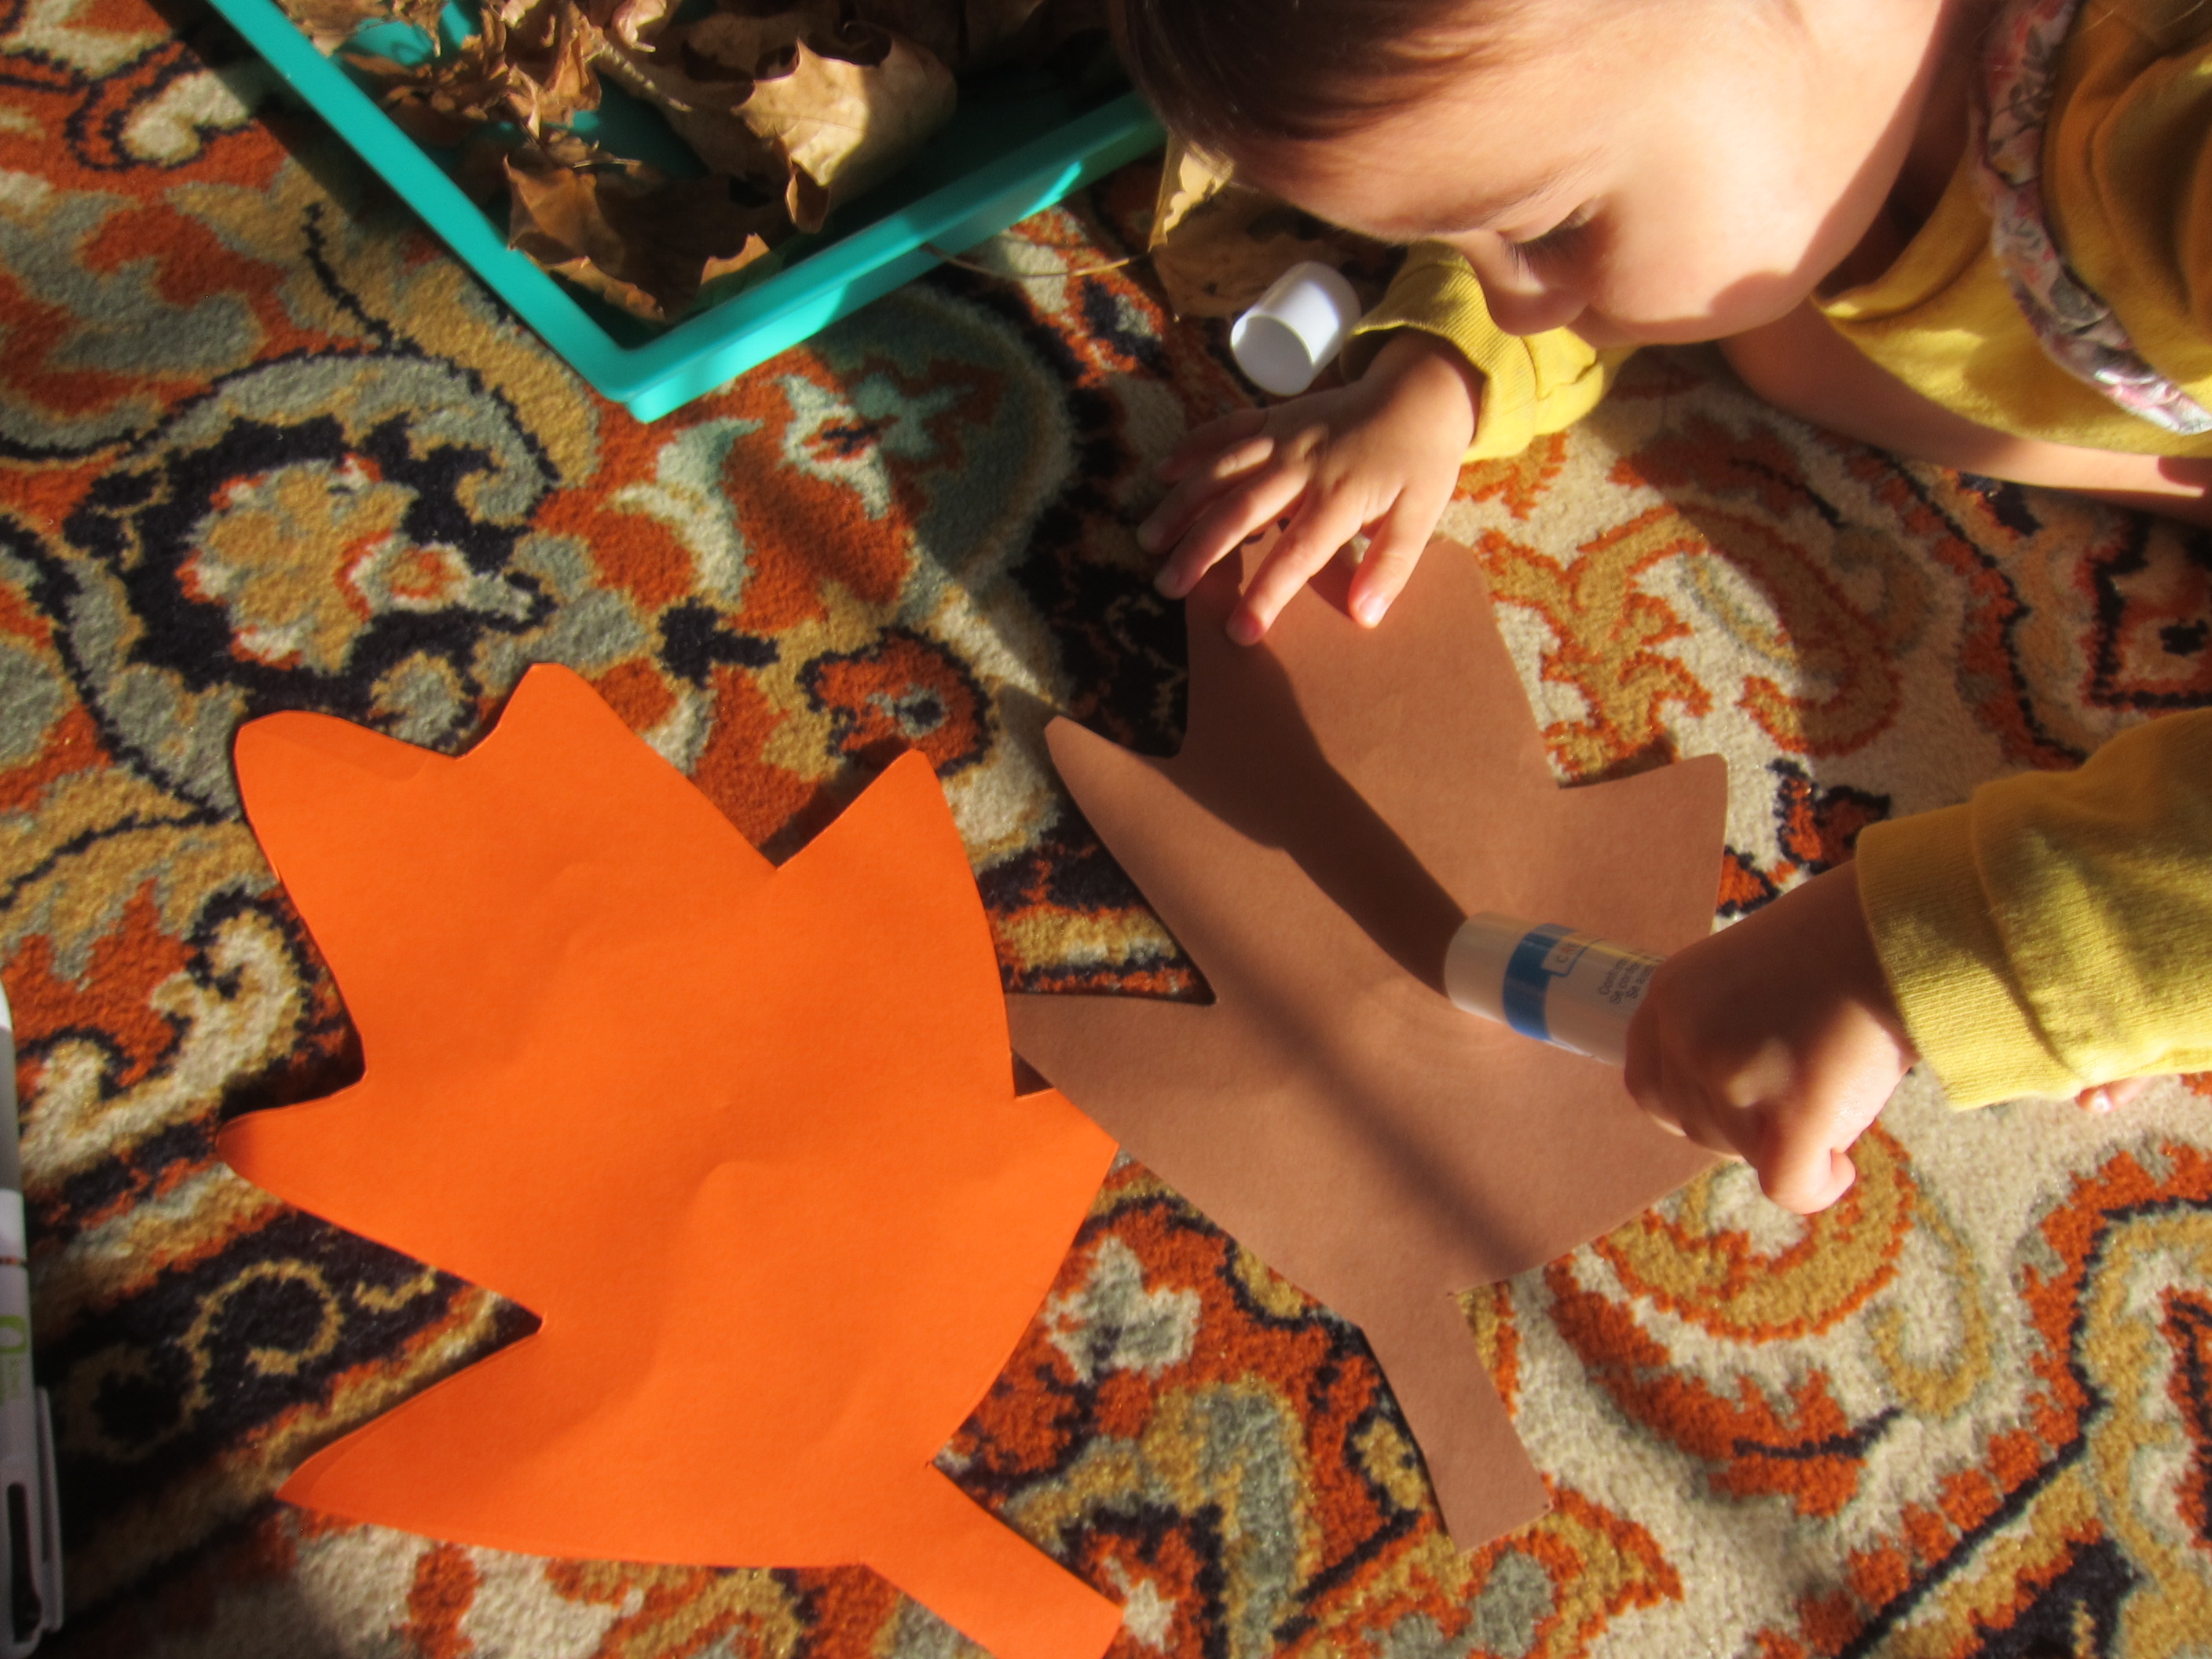
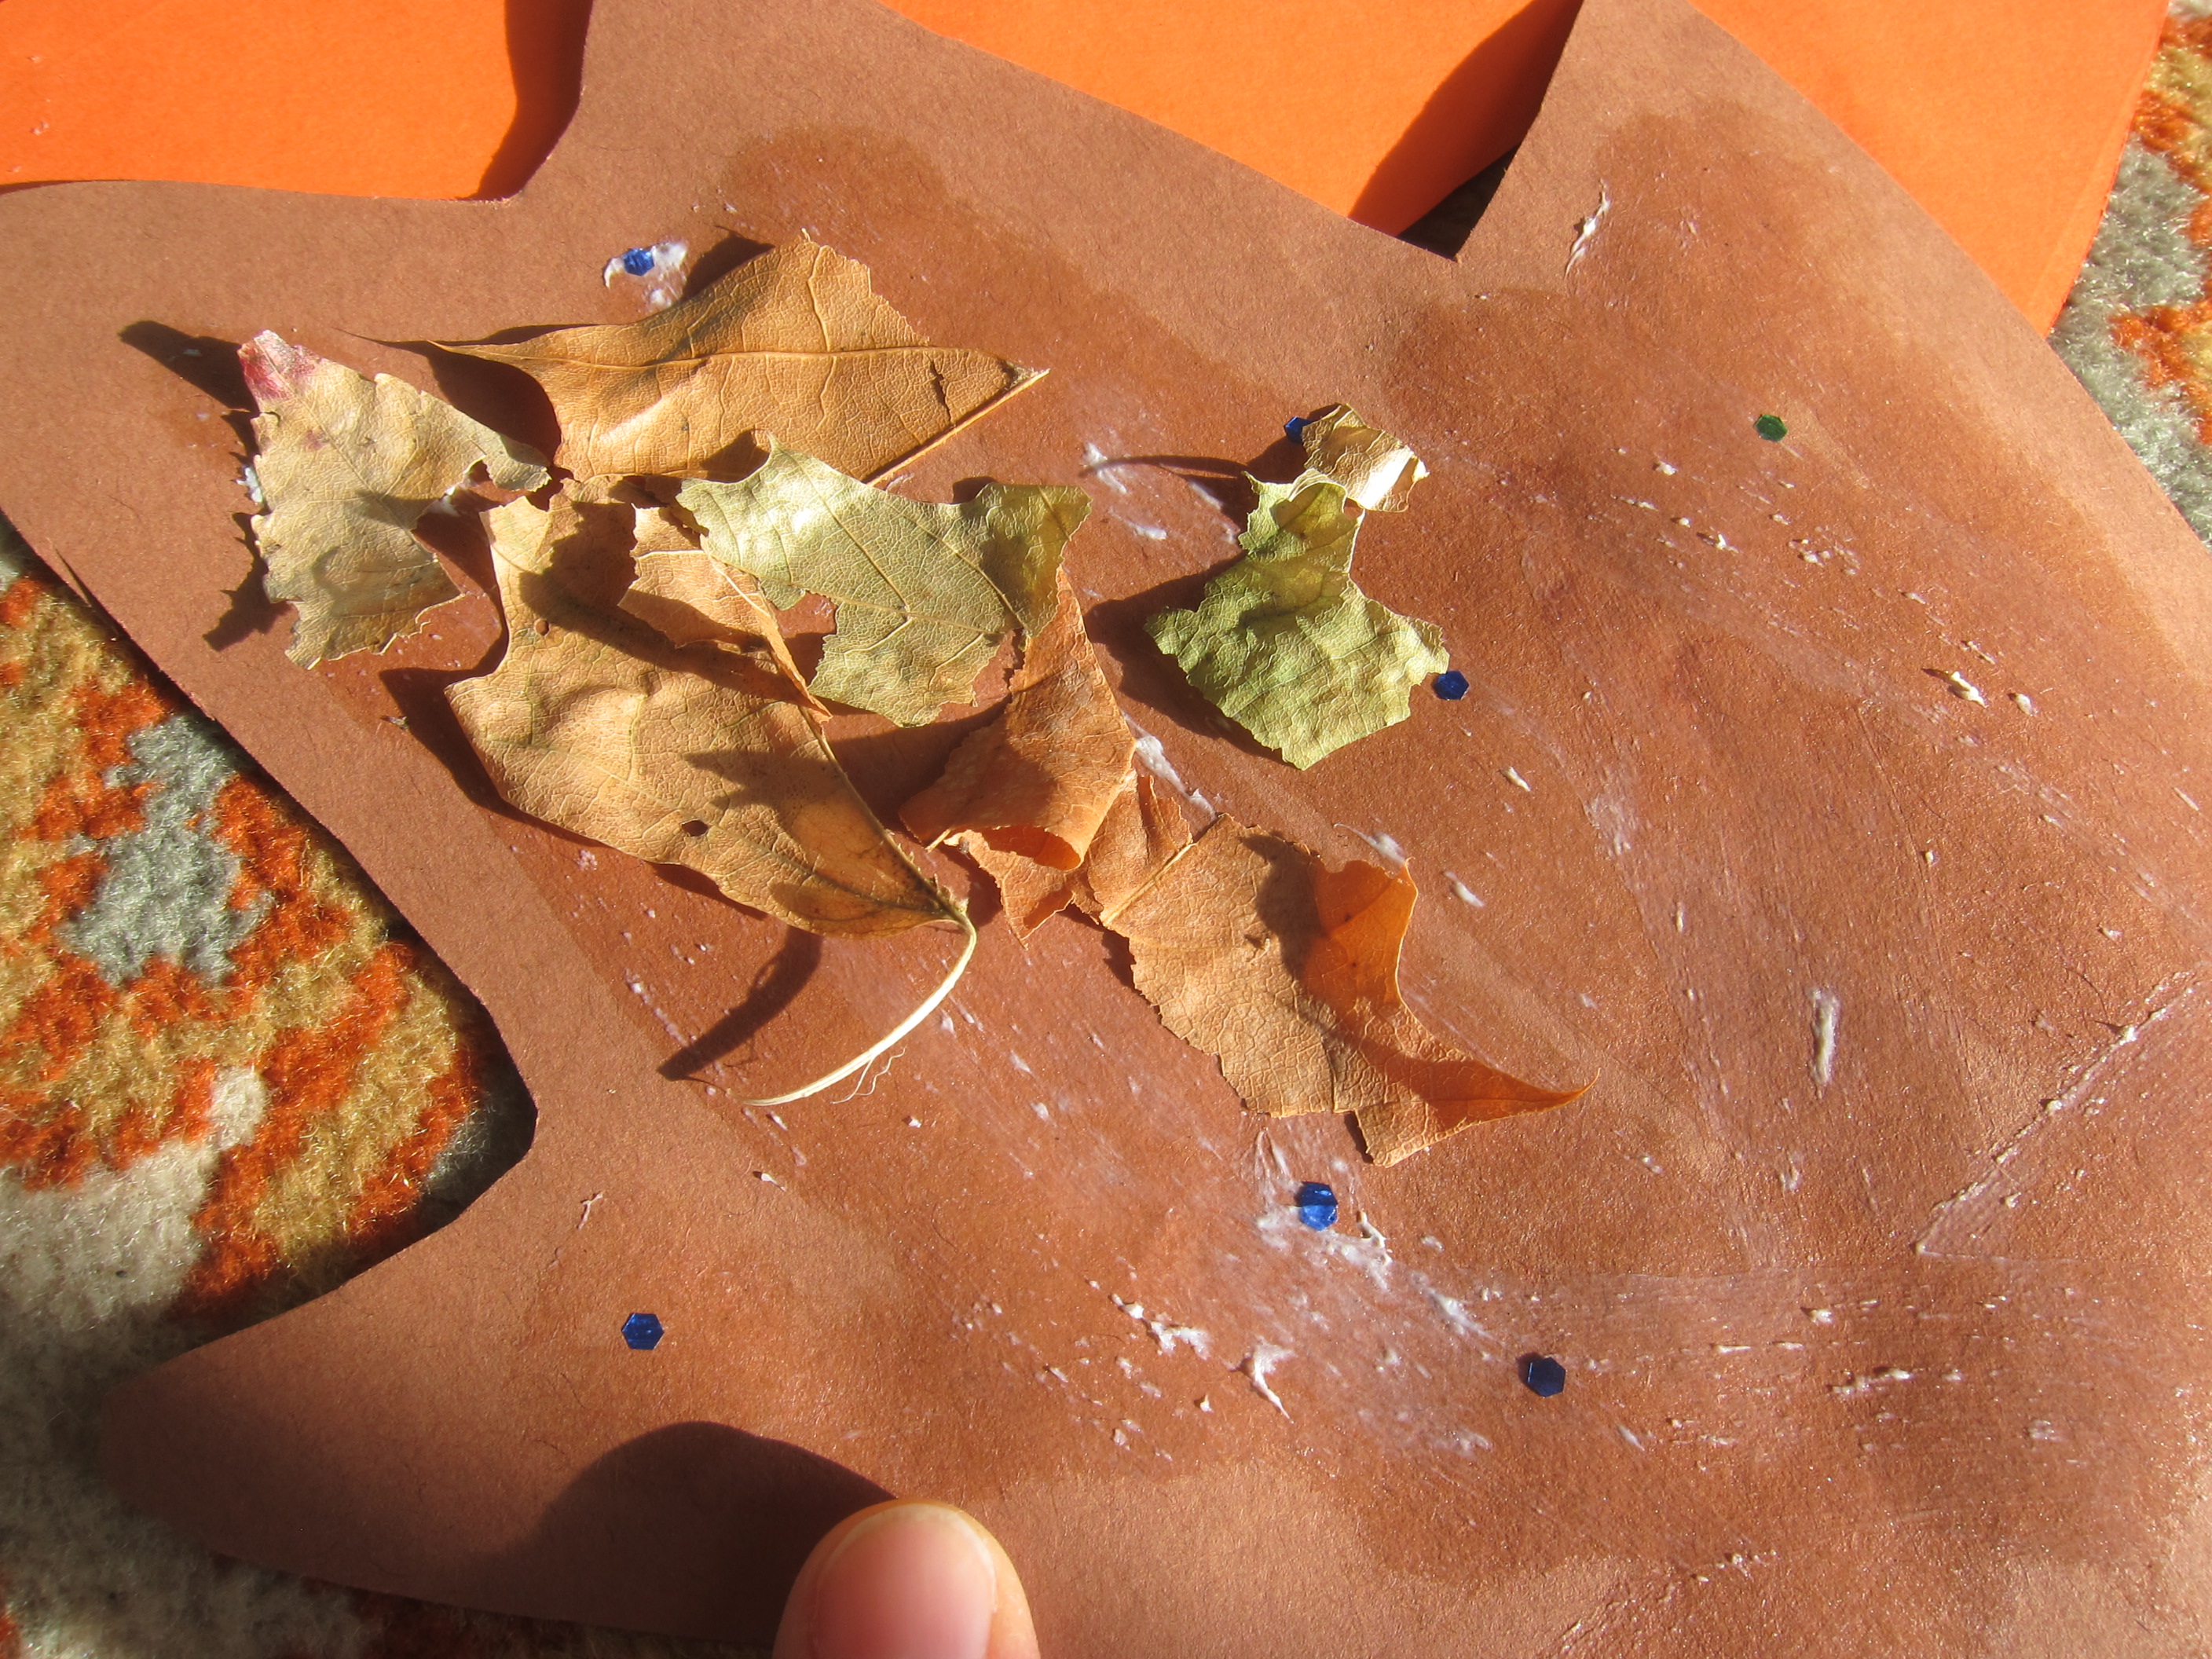
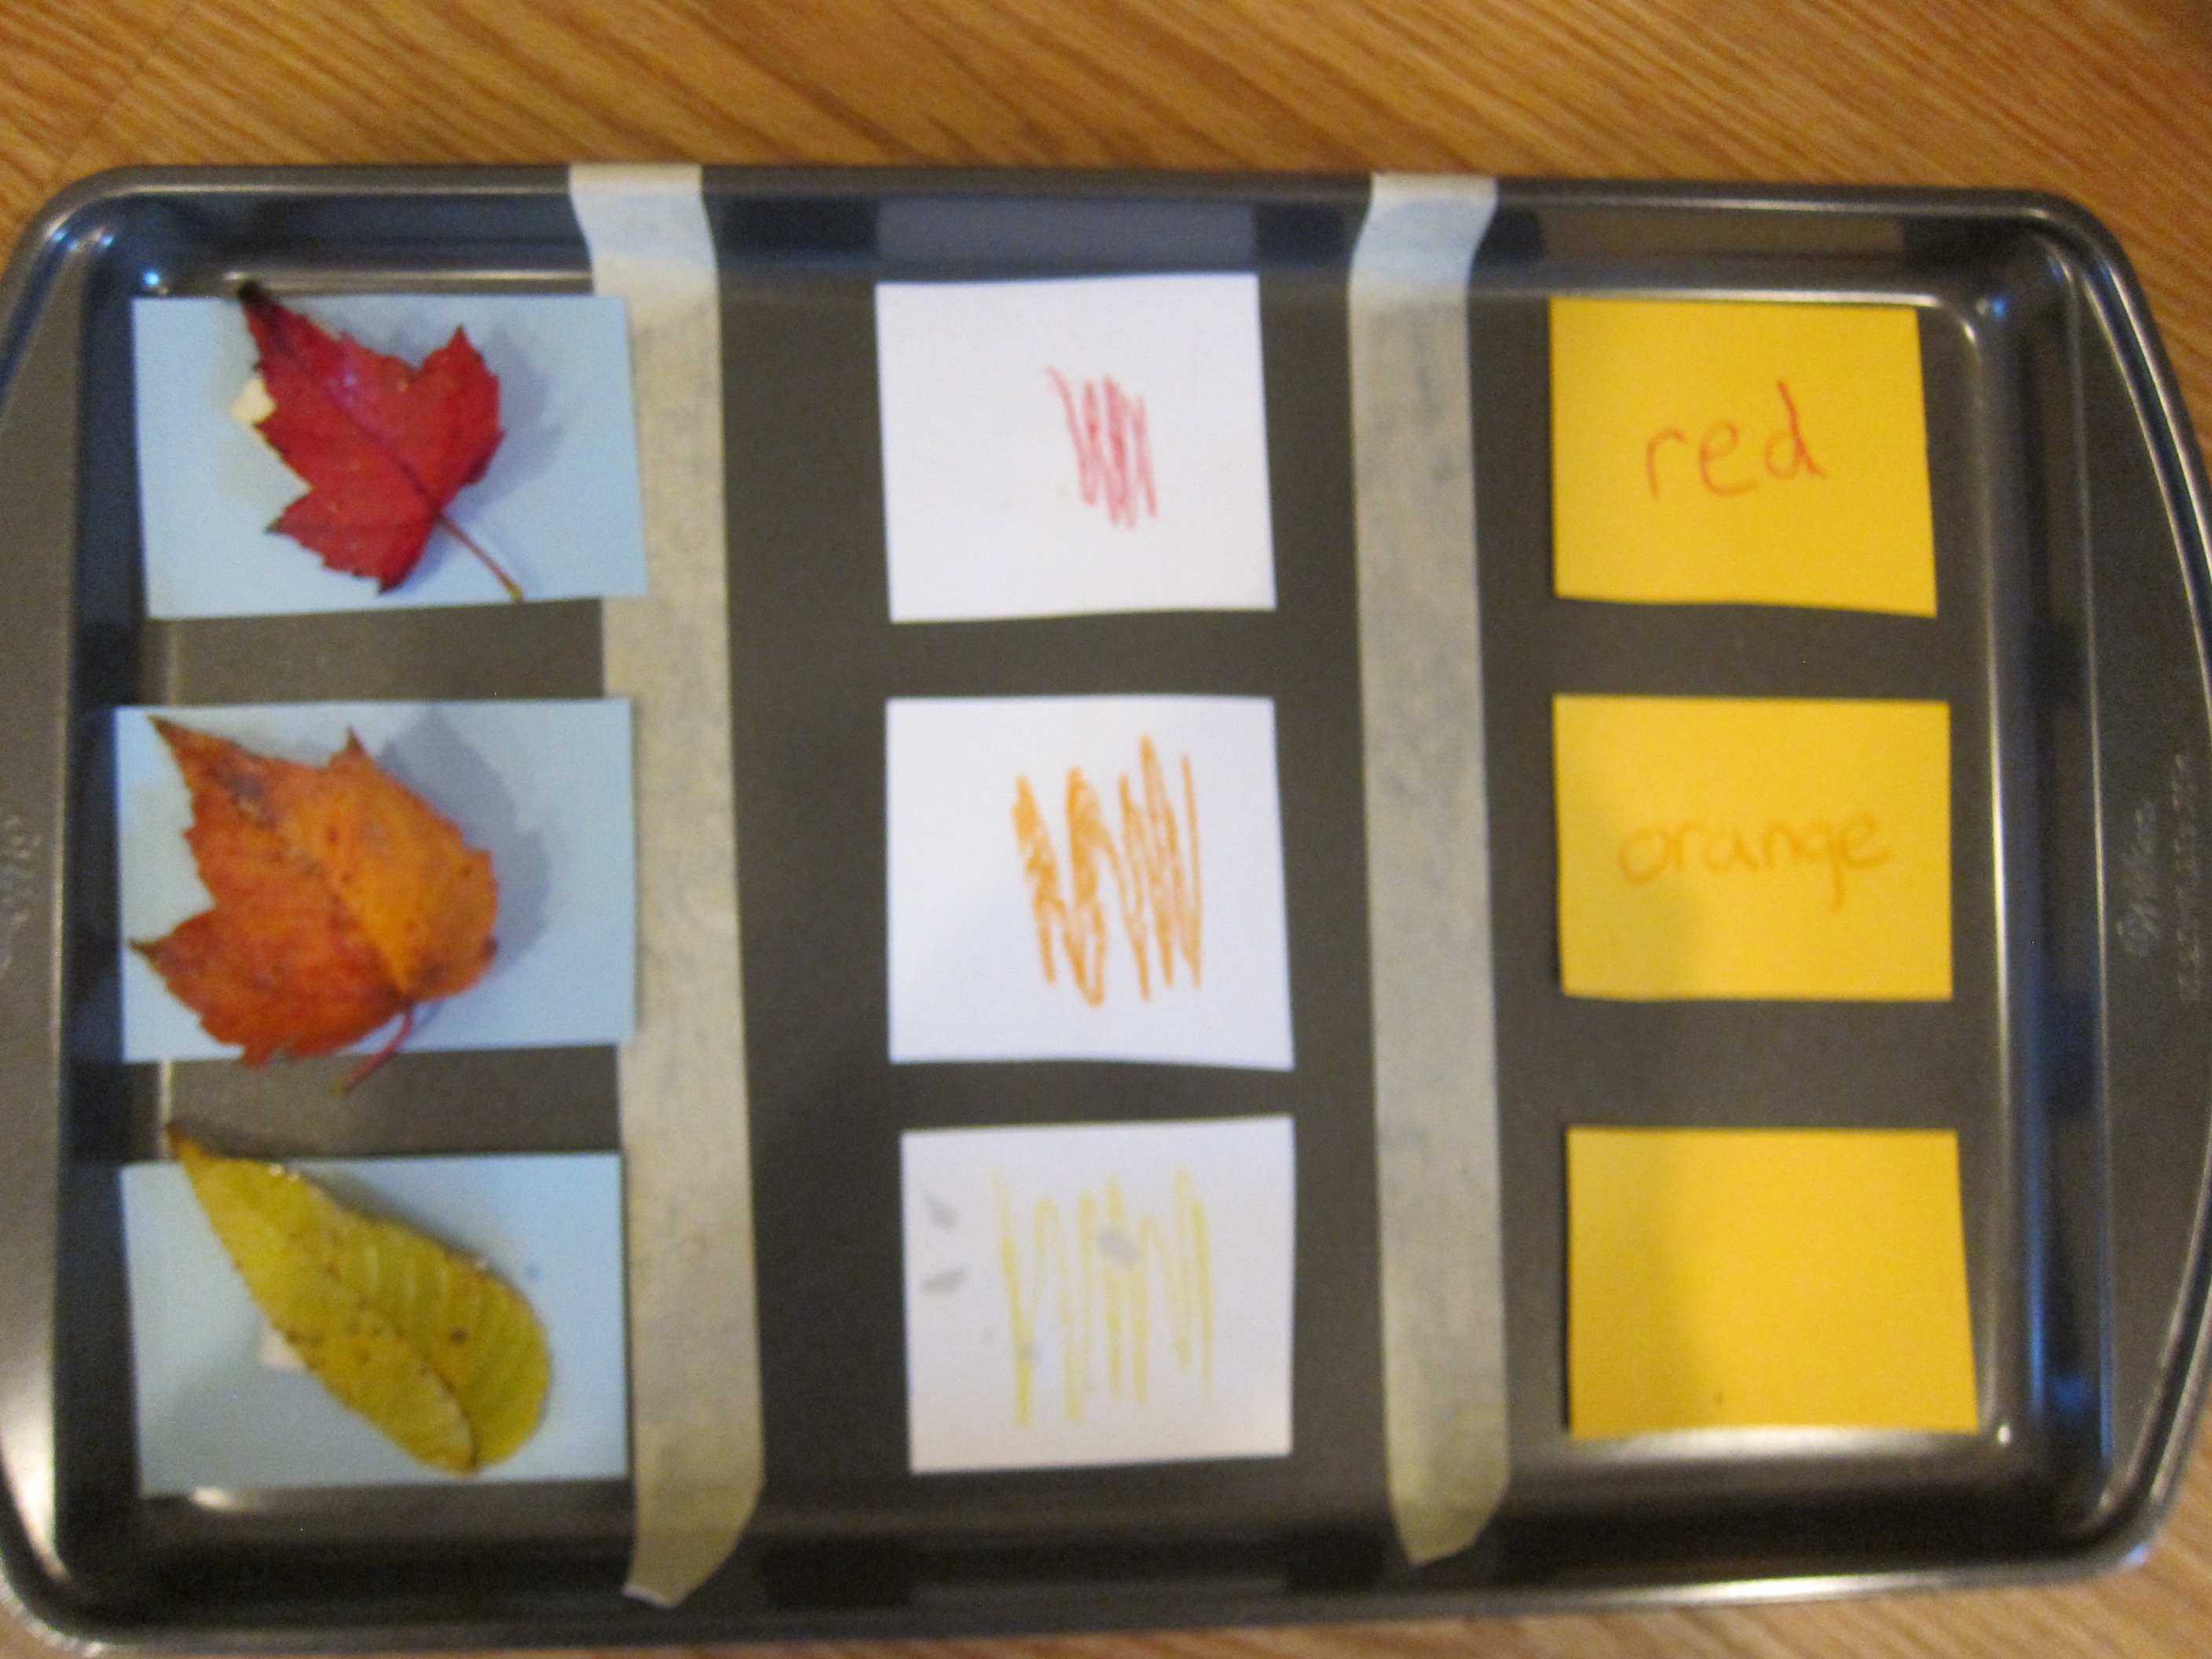
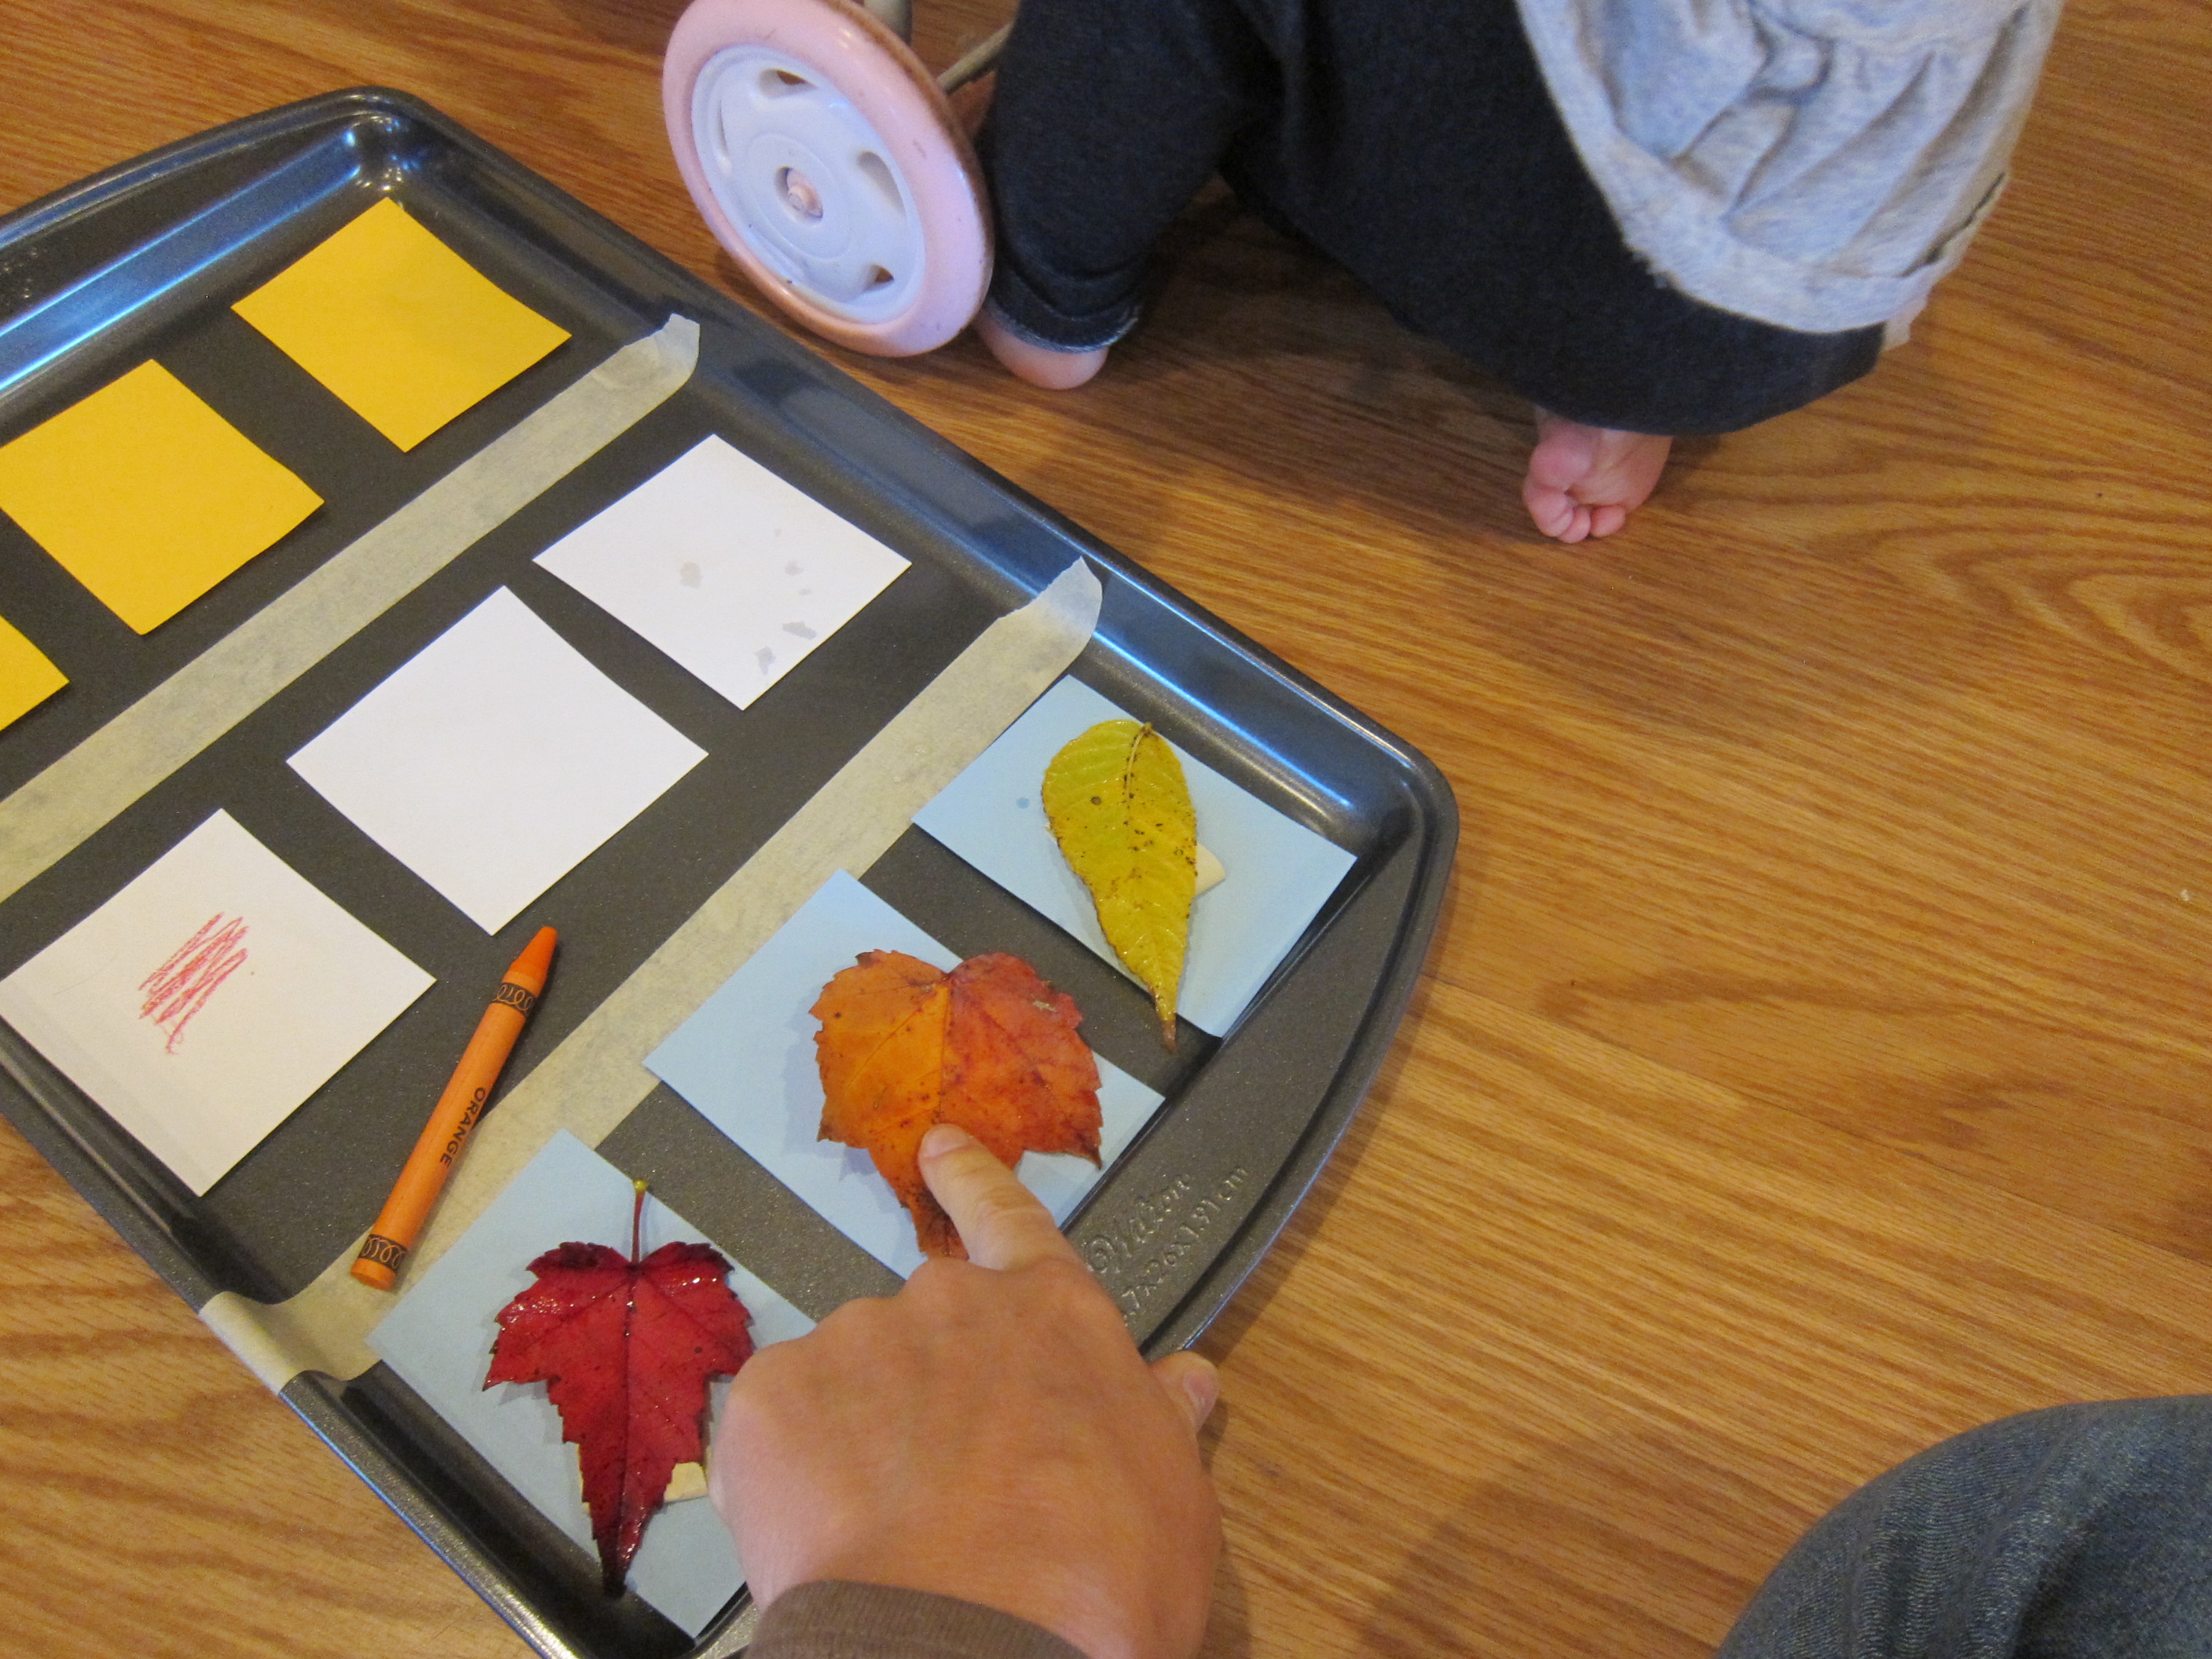
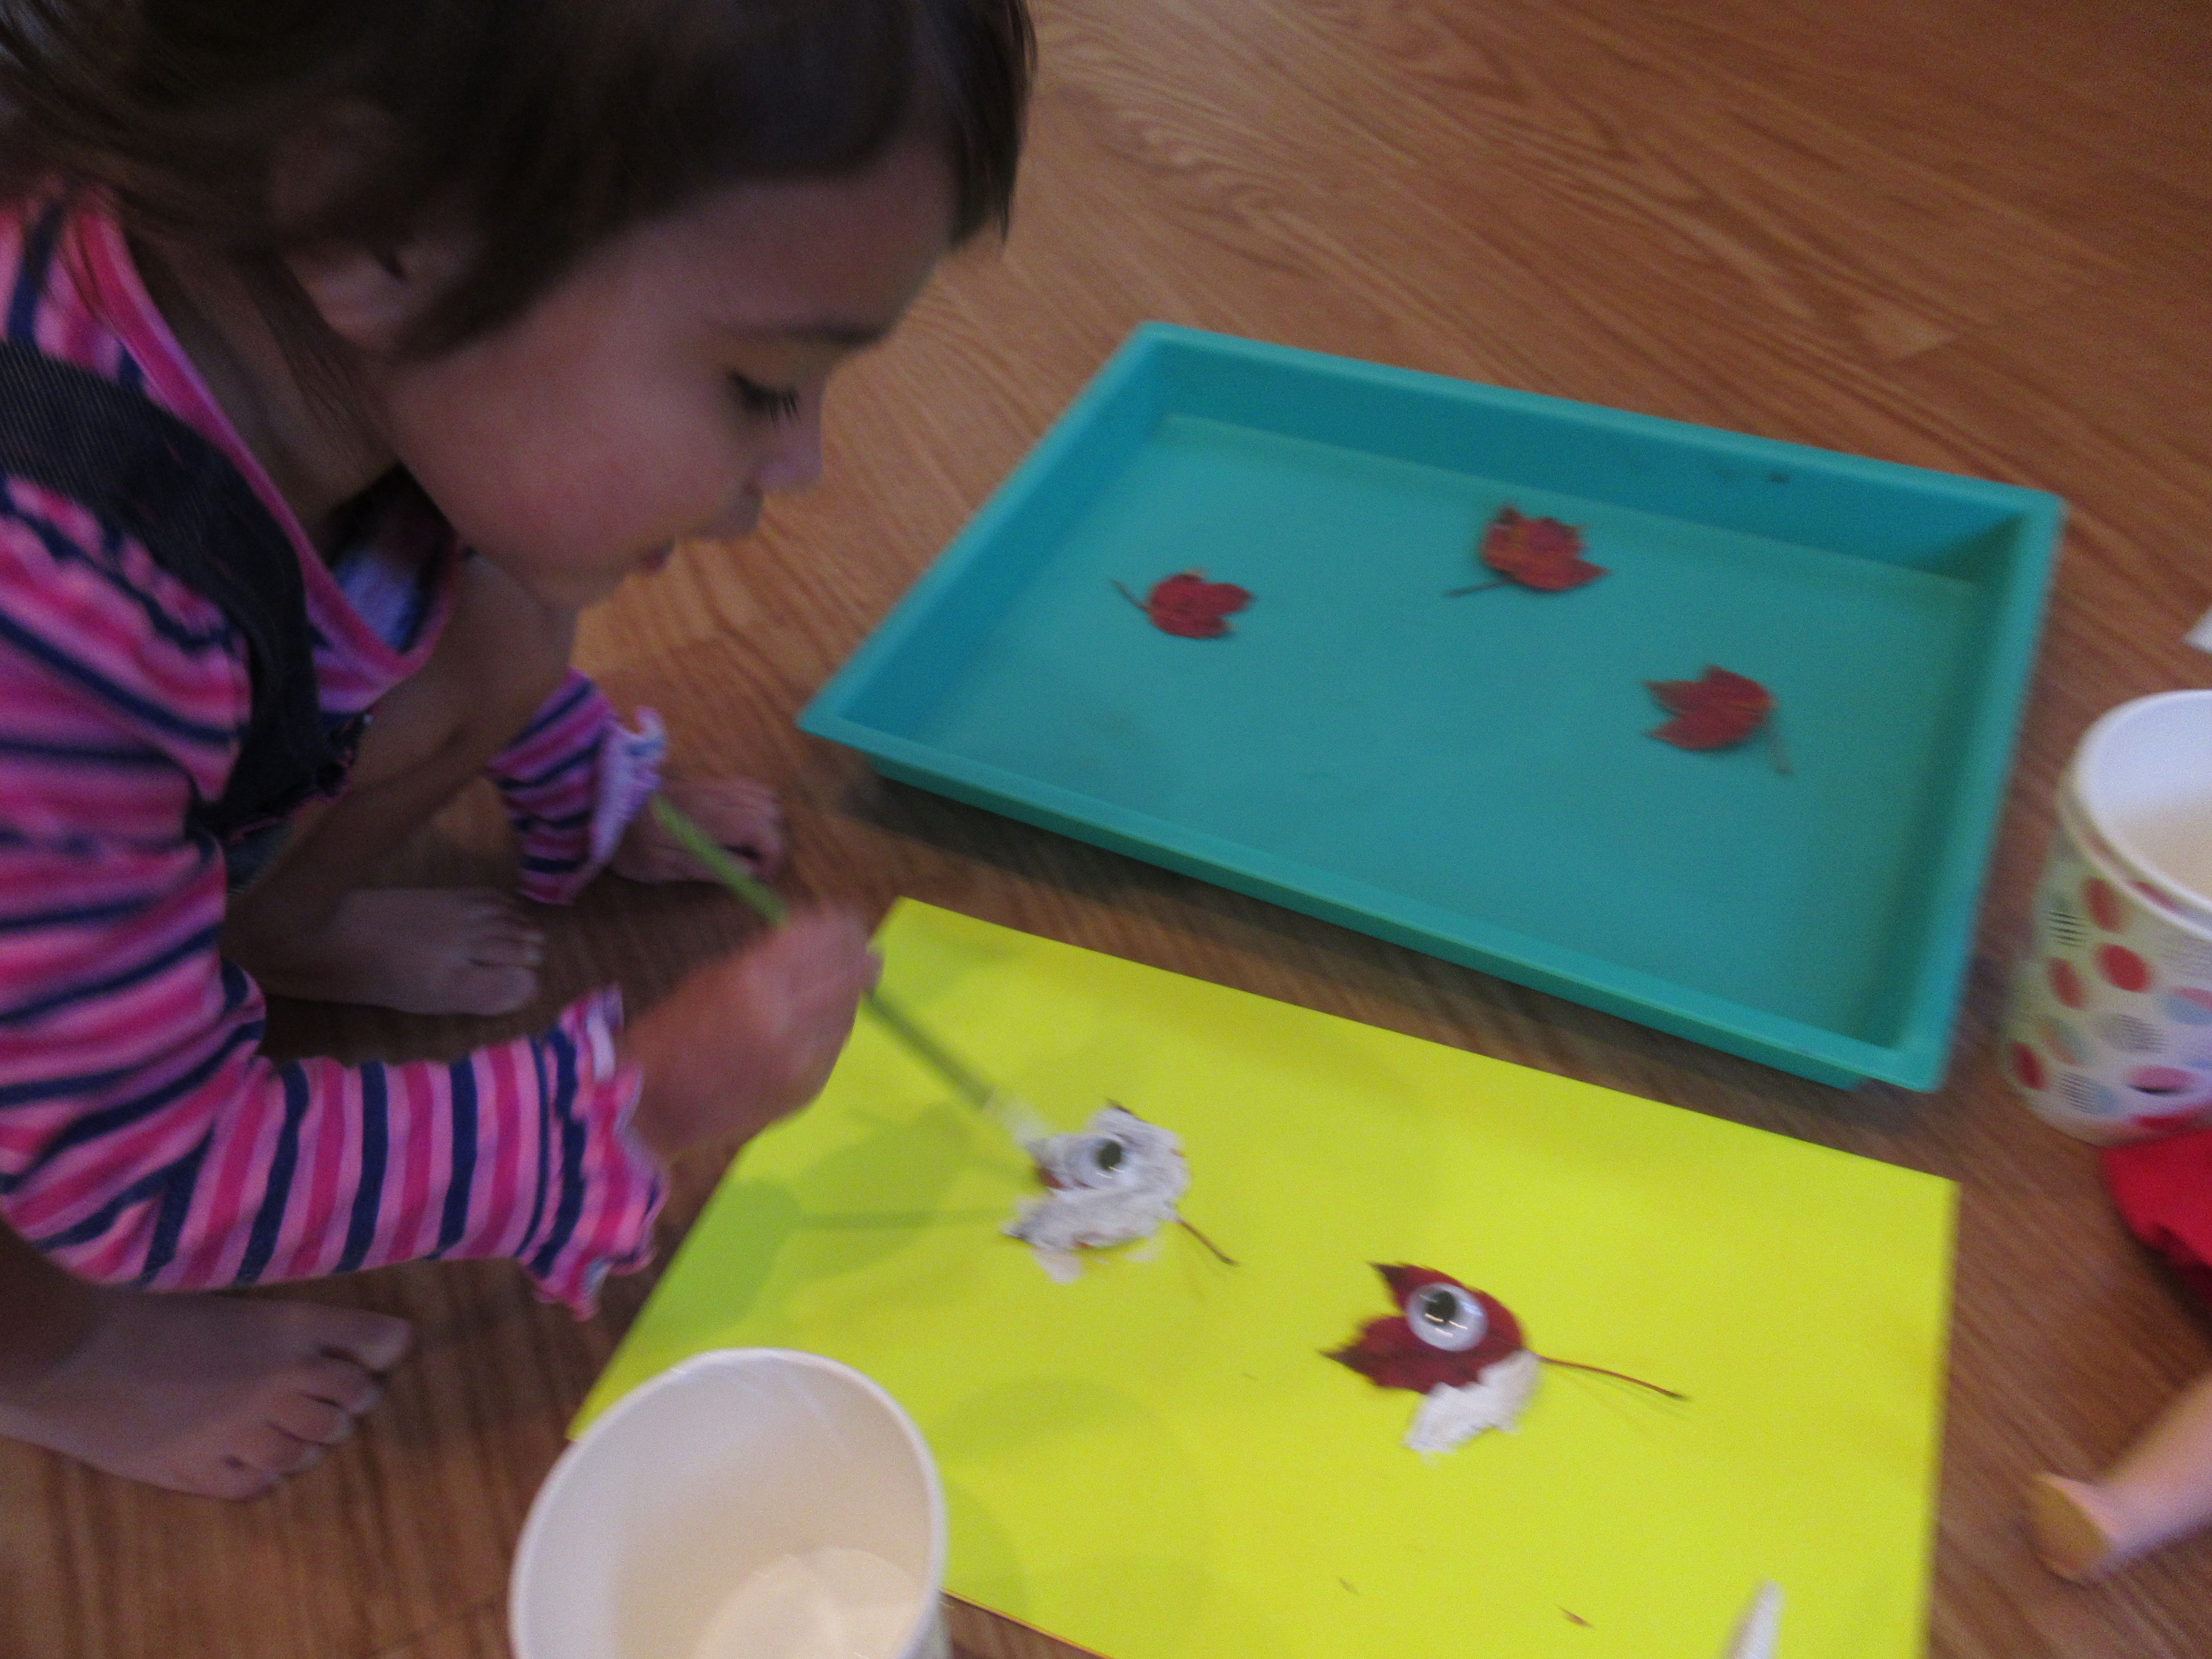
The first step was to glue our leaves down to colored construction paper. We used reds, yellows, and oranges for the background, to keep up the autumnal color scheme. We then painted our leaves to turn them into various animals. Outlining “cheeks” and the tips of “ears” on a maple leaf made it look like a little fox!

Leaf Animals (3)

Turned sideways, the leaves were more like birds flying (headed south for winter of course). You can either paint on eyes, or glue down wiggle eyes to each animal, too.

Leaf Animals (5)

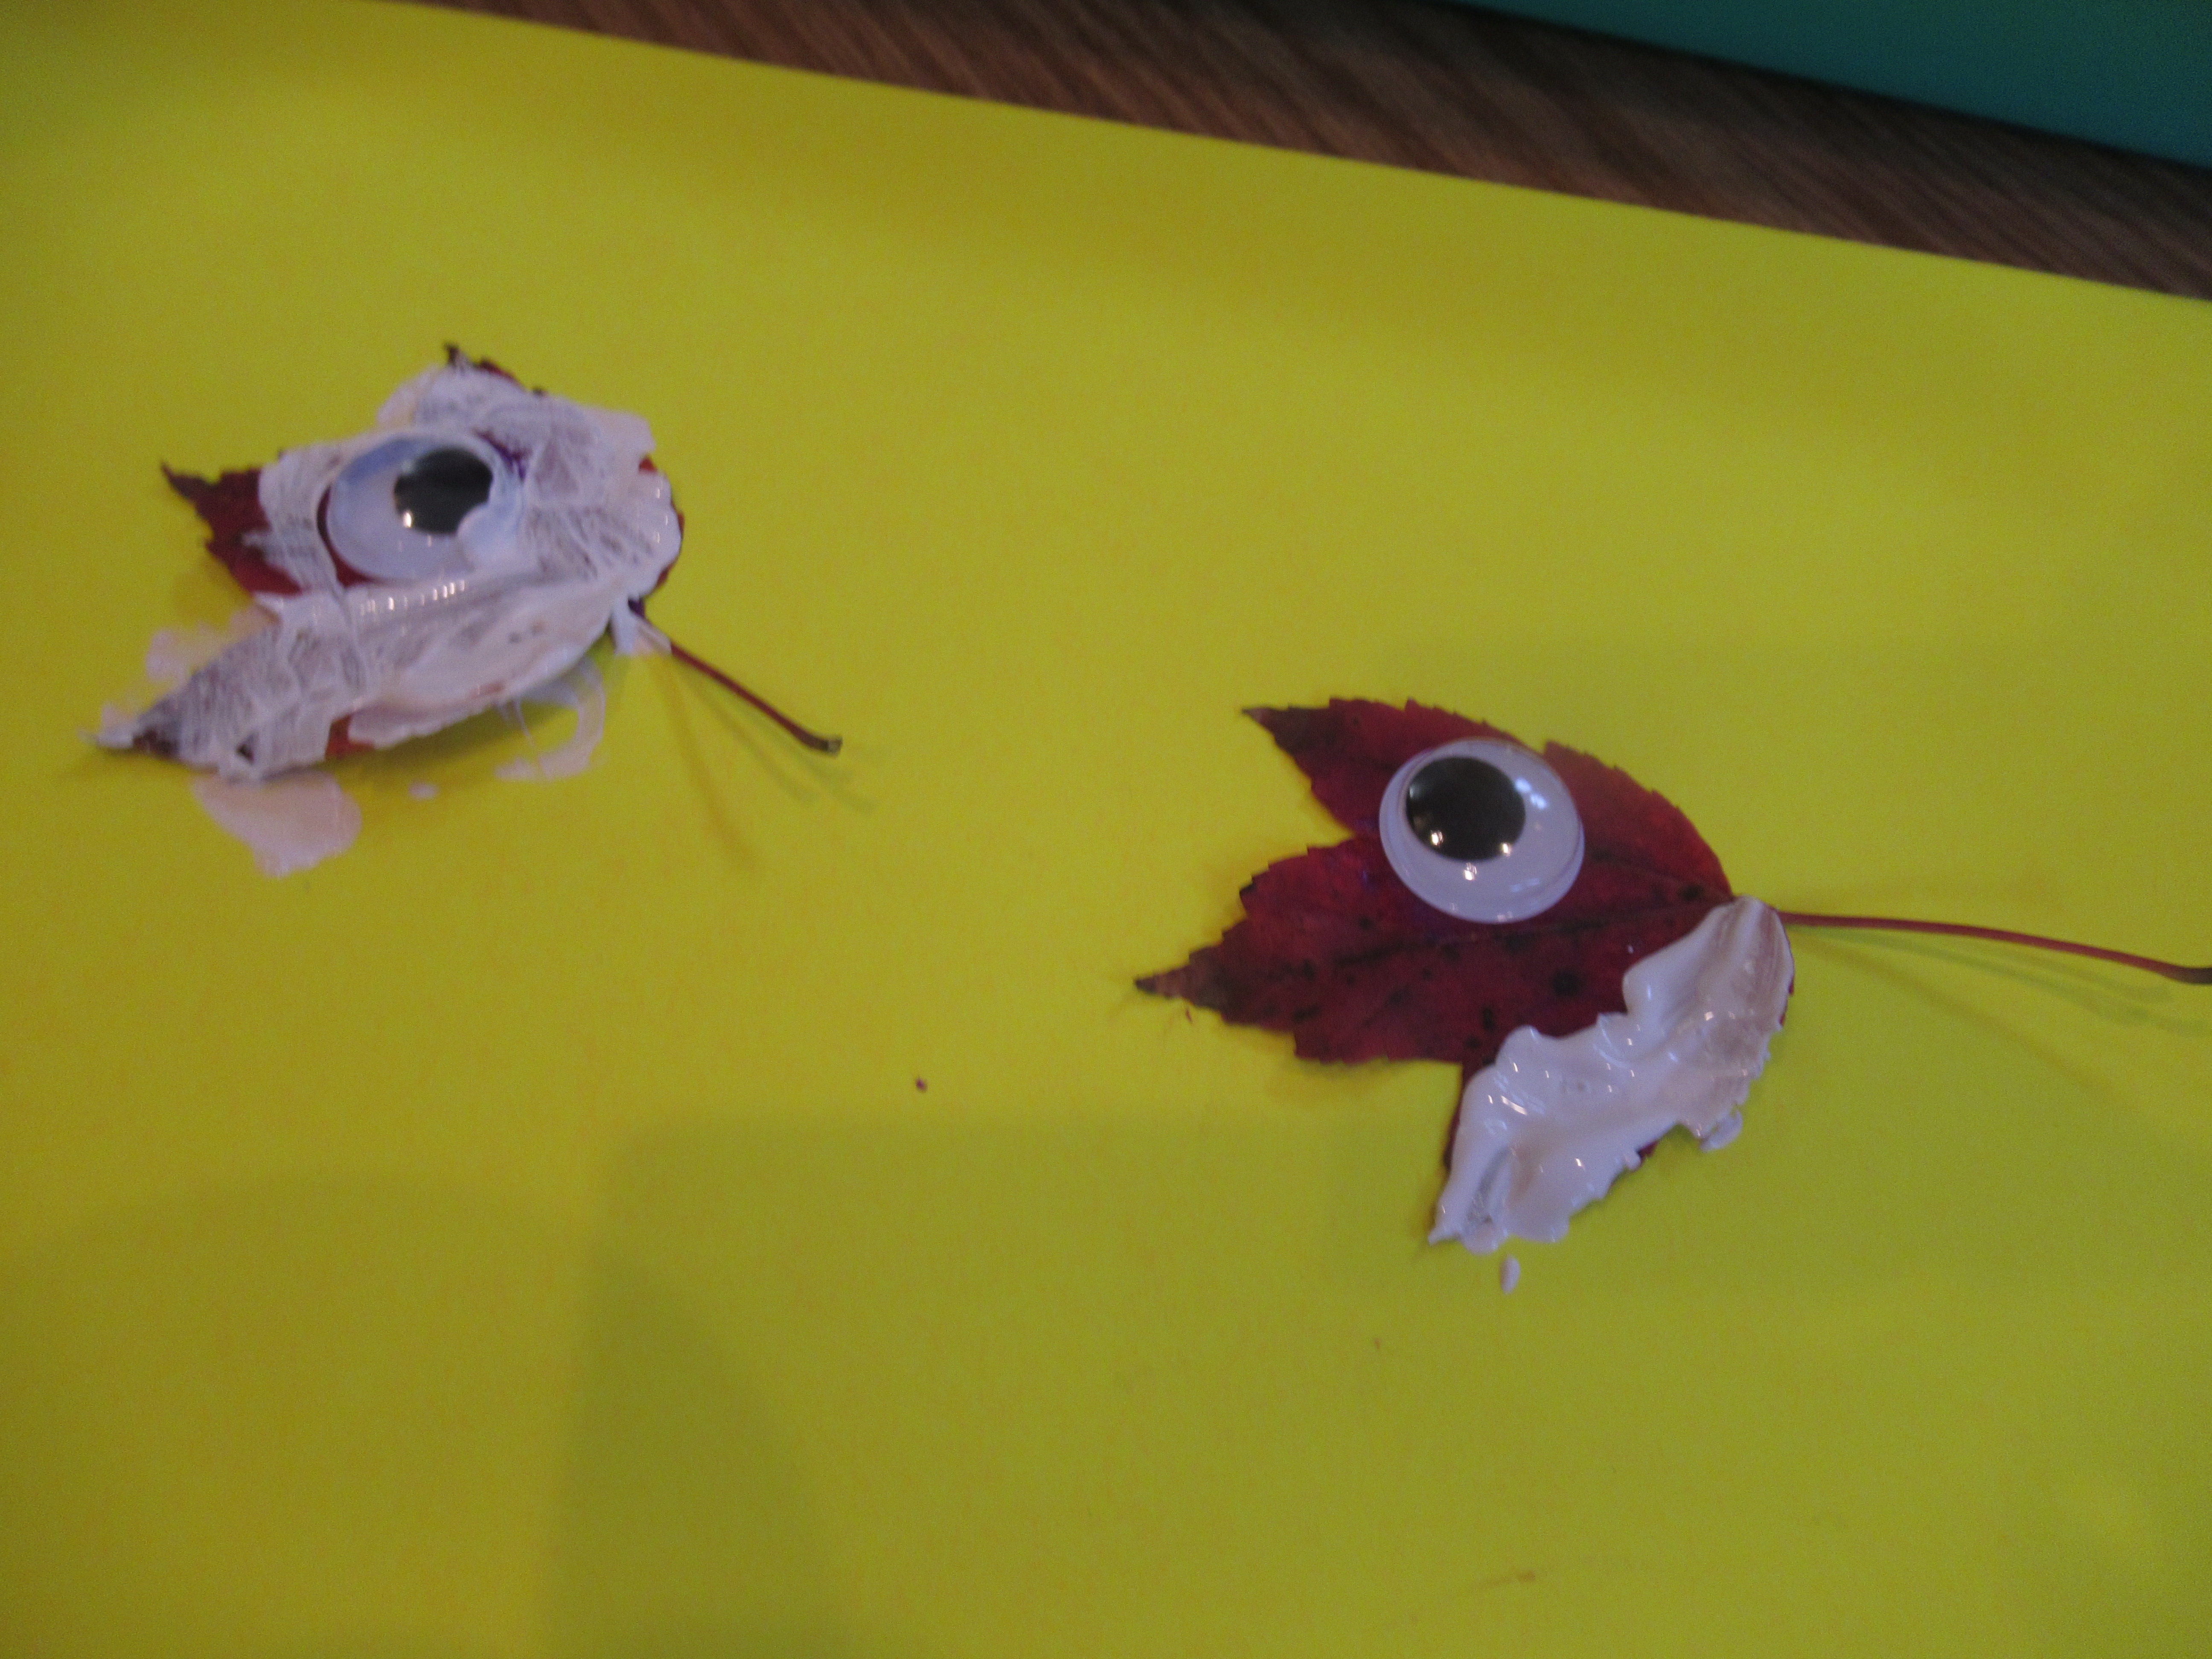
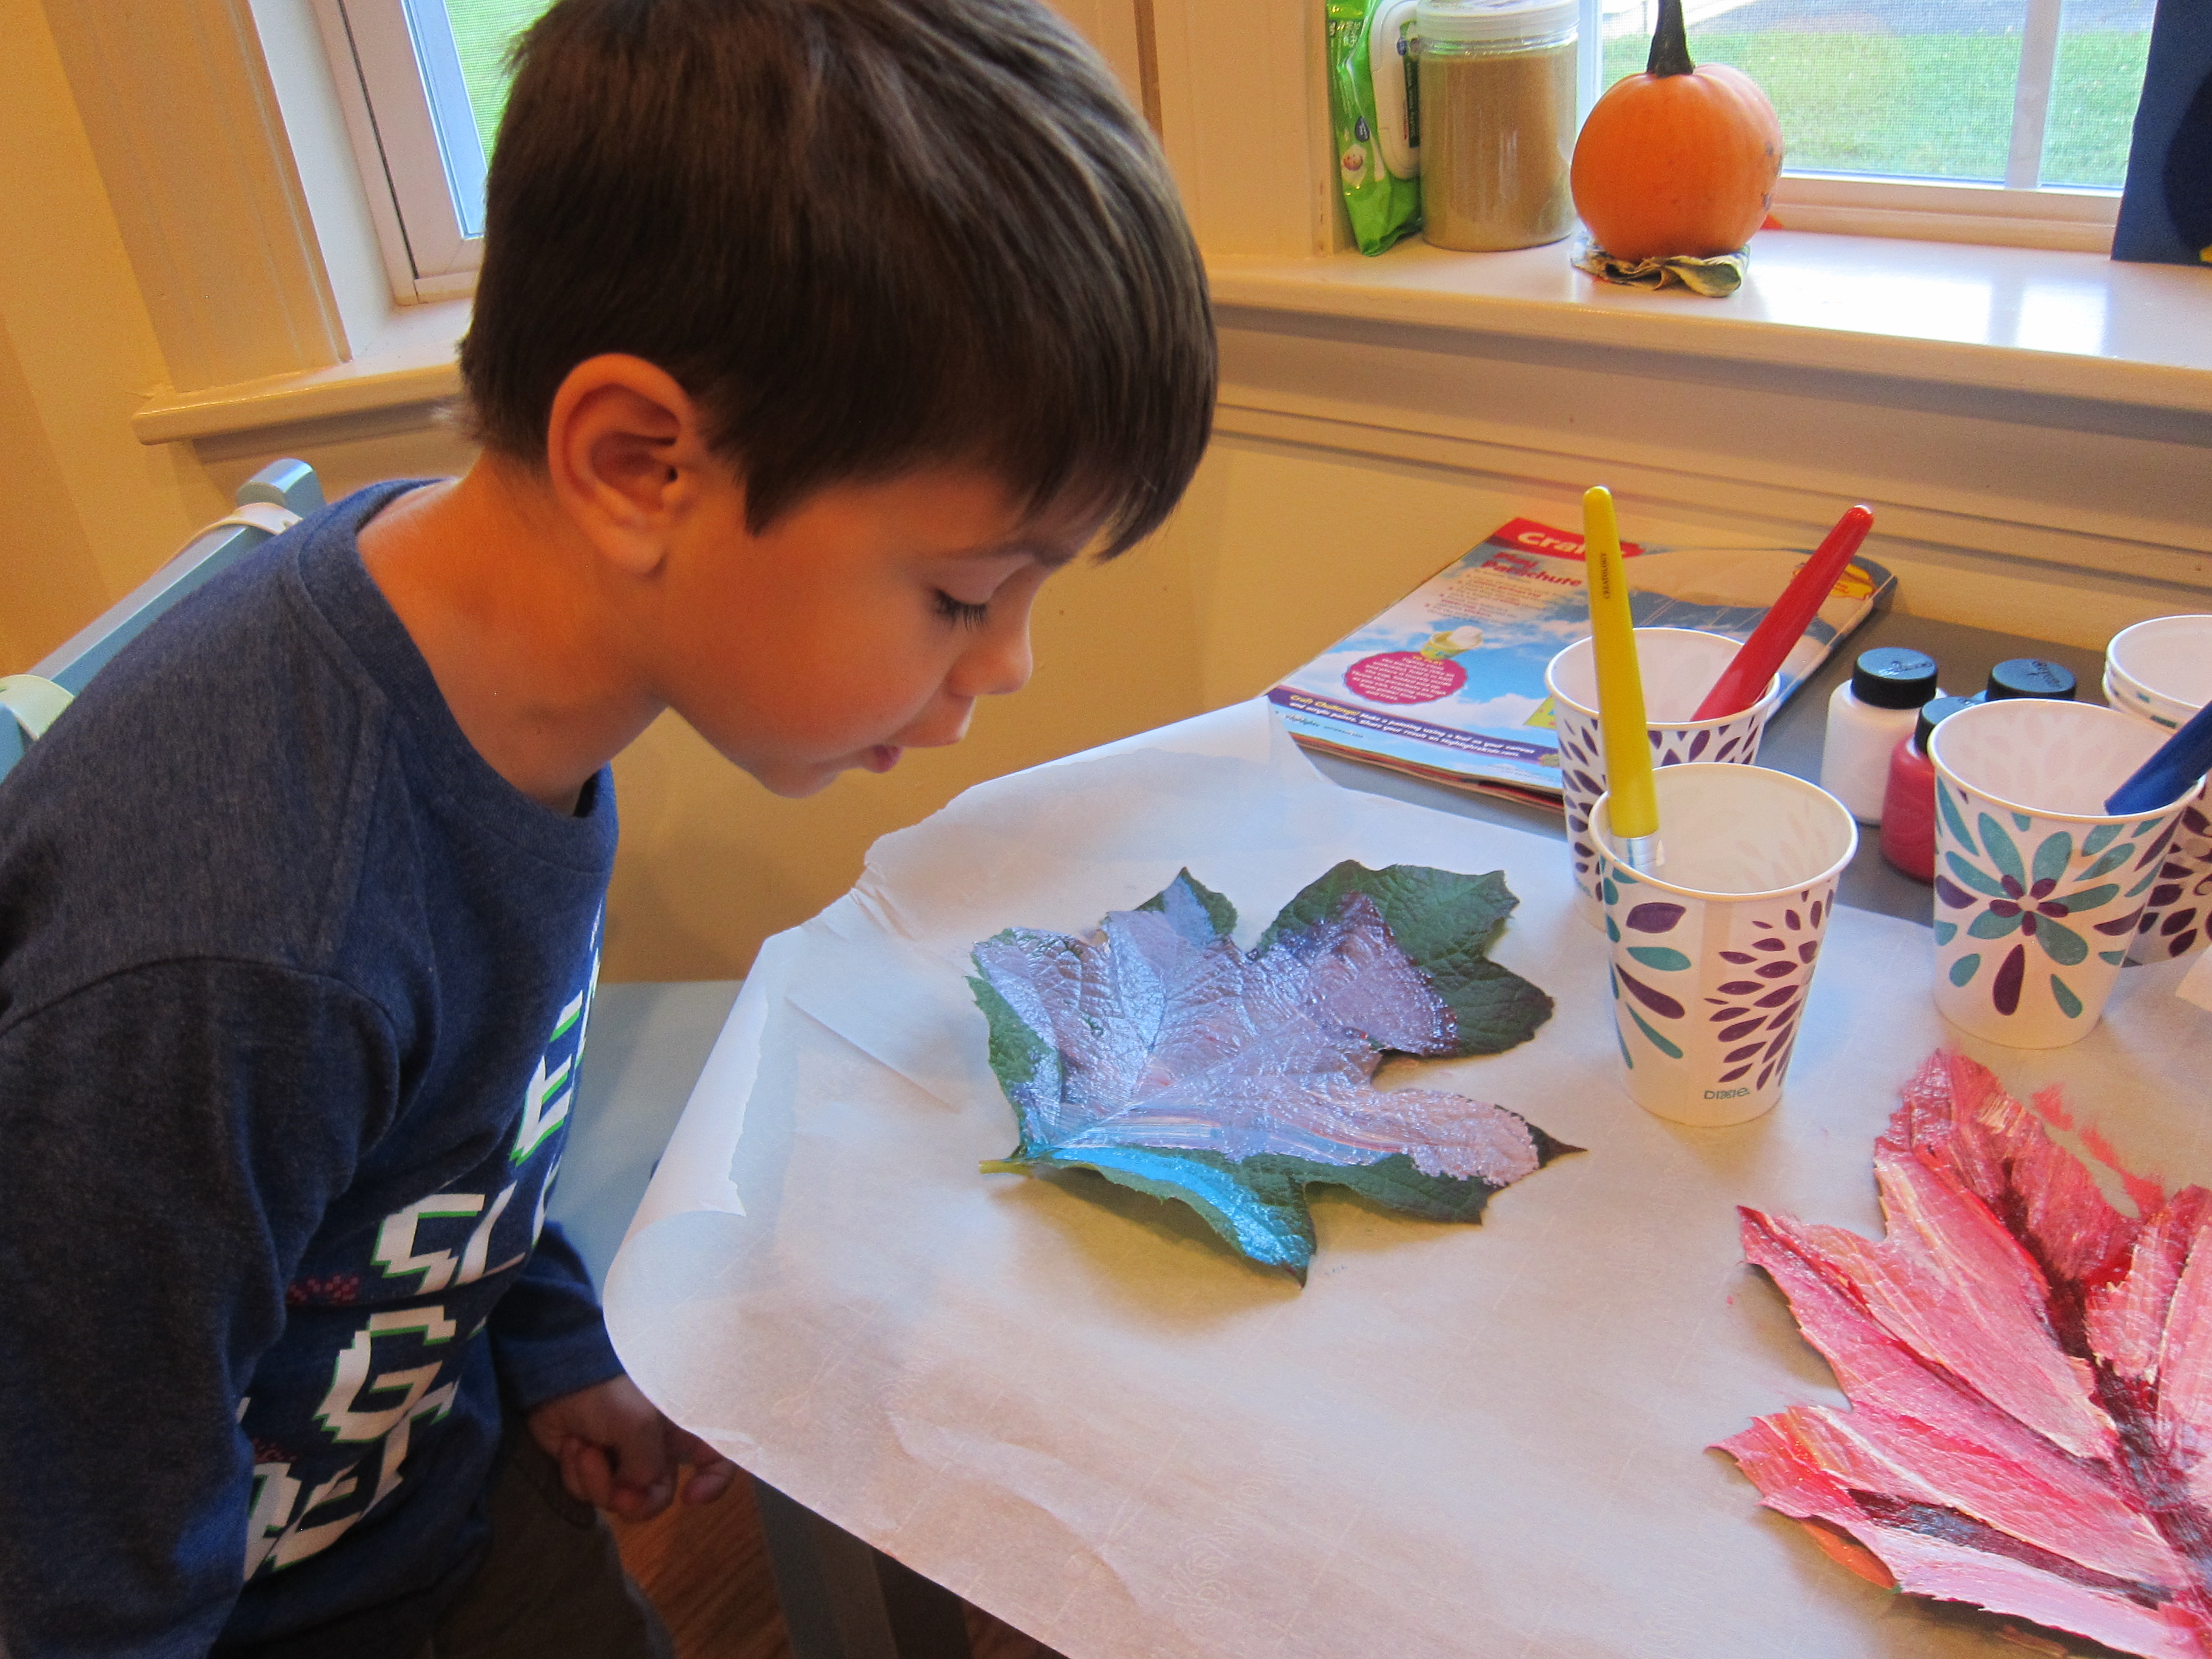
Veronika’s final creations were decidedly her own. Smiling frogs perhaps? Let your toddler create the animal he or she wants and see what creatures you end up with!

Leaf Animals (7)

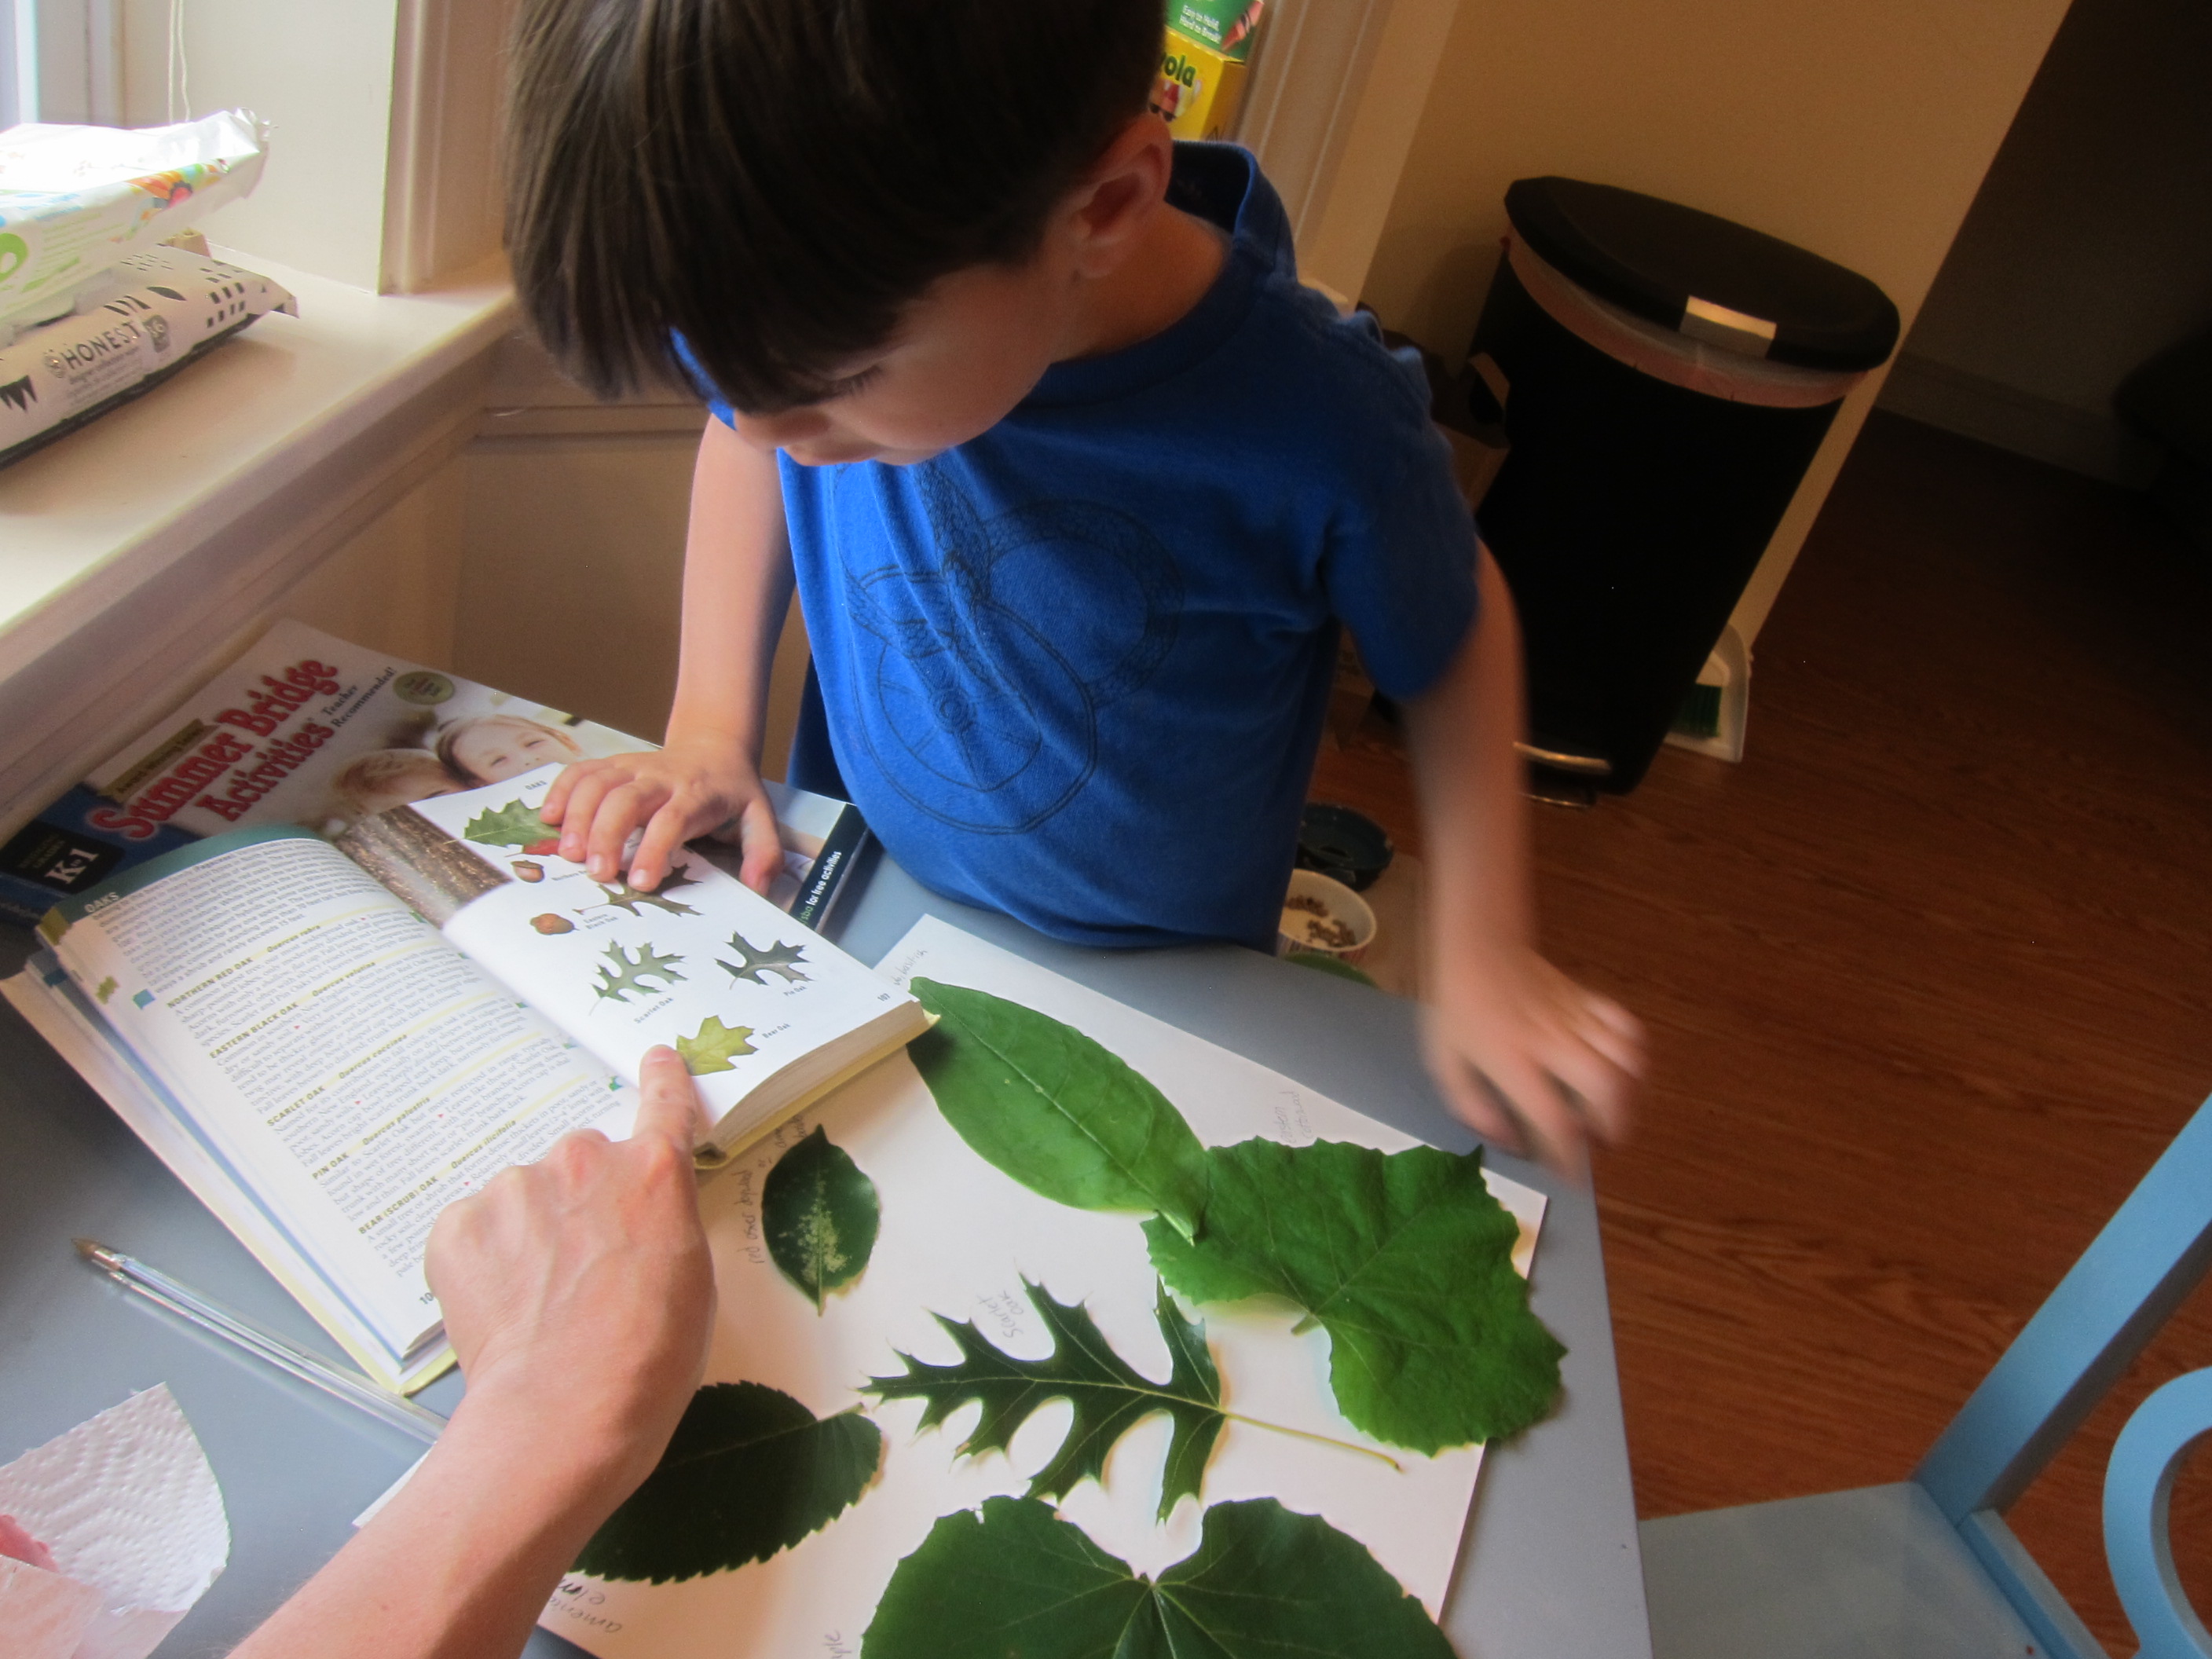
We happened to have leaves of only one shape, but if you collect a variety, you’ll be able to explore even more options for painting animals. A long oval might be a deer face with narrow oak leaves for antlers, while a fat oval could be the body of an owl. Please share your animal leaf creations in the comments!

Leaf Animals (6)

Dry Leaf Collage

Dry Leaf Collage (7)

This is not the craft to make when the leaves are at their peak vibrant hues of orange and red early in the fall. This is the craft for late in the fall, when the leaves are dry and brown, and yet you’ll show your toddler beauty even in this underappreciated nature material!

Veronika and I came home with a bag full of just such leaves, and first we explored them on her sensory tray. She loved picking them up and letting them float down.

Dry Leaf Collage (1)

I next showed her how to rip the leaves into tiny pieces. The dry crinkly November leaves are perfect for this because each rip produces a satisfying sound.

Dry Leaf Collage (5)

As she tore them up, I traced two leaf shapes on construction paper and cut them out. Any fall color would make a nice background here, and we used brown and orange.

Dry Leaf Collage (3)

Rub glue sticks all over the leaf shapes, and then press down your leaf “confetti”.

Dry Leaf Collage (6)

As a bonus, these make a beautiful Thanksgiving decoration if you punch a hole near the top, thread with yarn, and suspend in a window.

Dry Leaf Collage (9)

Toddler Color Chart with Colorful Fall Leaves

Toddler Fall Leaf Chart (6)

We turned a beautiful stroll among the leaves into a chance for a little color review this morning.

And I mean stroll literally. Veronika was determined to push her doll around in a stroller “all by self”, crunching through autumn leaves. As we walked, we started a little collection of the most vibrant ones we could find.

Toddler Fall Leaf Chart (2)

Once home, I set up a quick “chart” for her. Divide a baking sheet into a 3×3 grid with masking tape. In the first column, I taped down three leaves: red, orange, and yellow.

Toddler Fall Leaf Chart (1)

In the second column, I had blank white squares of paper for Veronika to fill in with colors. I asked her what color each leaf was and then to find the matching crayon. To simplify this for a two year old, I only had out the three crayons we needed. You can make this more of a hunt through the whole pack for preschoolers!

Toddler Fall Leaf Chart (4)

She scribbled on the white squares for each. I also thought it was adorable that she wanted to use crayon directly on the leaves, for example, applying yellow crayon to yellow leaf.

Toddler Fall Leaf Chart (7)

Just for some extra early learning, I wrote the name of each color in the final column. Of course, she’s a long way off from sight reading, but it never hurts to start early!

Toddler Fall Leaf Chart (3)

This was a great project for extending a morning excursion into learning and play.

Fall Squishy Bag

Fall Squishy Bag (3)

This quick sensory bag was very similar to a recent sensory bottle I made for Veronika, except this time it was in squishy form!

To start, fill a large zip-top bag with clear hair gel. I added yellow food coloring for the perfect autumnal hue.

Fall Squishy Bag (1)

Next I added leaves and acorns. You have two choices here: opt for silk leaves and plastic acorns if you have them from the store. And if not, simply use the real thing! We sure have lots of acorns and leaves from recent nature walks, so we went with the real deal.

Fall Squishy Bag (2)

Veronika really seemed to enjoy the contrast between soft leaves, squishy gel, and hard bumpy acorns.

Fall Squishy Bag (4)

She picked it up to see if it made shaky noises, but then realized this one was better suited to squishing around with her fingers.

Fall Squishy Bag (5)

She also tested out standing on it!

Fall Squishy Bag (8)

The bag was gorgeous sparkling in the light when the sun hit it mid-afternoon. In sum, a easy sensory bag, just right for autumn.

Fall Squishy Bag (7)

Leaf Stomp

Leaf Scrunch (4)

Here’s a fun way for a toddler to enjoy the experience of stomping through leaves without all the effort of raking a huge pile!

Head to your backyard or a local park and pick a tree with lots of leaves on the ground. Invite your child to help toss leaves into any box with tall sides, ideally about waist high on your child. We found a tree with gorgeous red ones!

Veronika preferred scrunching her feet through the leaves on the ground while I filled our box.

Leaf Scrunch (1)

Once the leaves reached about mid-way up her calf, I set her inside and it was time to stomp and crunch!

Leaf Scrunch (2)

Dump, refill, and repeat this as many times as your child wants to. It’s almost as much fun to toss leaves into the box as it is to stomp on them.

Leaf Scrunch (5)

If you add a few more leaves each time, pretty soon you will have a leaf pile, with hardly any effort!

Leaf Scrunch (3)

Leaf Scrunch

Leaf Scrunch (4)

Unseasonably warm and dry weather has meant the leaves are slow to change this autumn. Finally we’re spotting the first of the fall color, and we celebrated with a nature walk and leaf activity!

First up was a walk in the woods. We brought along a paper bag to fill with leaves, and Veronika loved dropping in our treasures.

Leaf Scrunch (3)

She also discovered the delightful crunch that the leaves made if she scuffed her feet through them!

Leaf Scrunch (2)

Once home, we dumped out the bag of leaves so they filled an old box. I showed her how she could simply scrunch her hands through the leaves…

Leaf Scrunch (6)

…or toss them out and then fill the box back up again.

Leaf Scrunch (5)

The drier leaves crumbled in her fingers, to her delight. Or, she could rip up the softer ones into small pieces, which kept her busy for quite some time.

Leaf Scrunch (7)

Thanks to a gentle breeze, she soon had the idea to toss the leaves off our patio. I loved watching the wheels of her brain turn as she discovered that leaves don’t go as far as other things she can throw, like pebbles and acorns!

Leaf Scrunch (9)

Then we picked up armfuls and tossed them over her head, where they scattered to the patio.

Leaf Scrunch (10)

Or landed right in her hair.

Leaf Scrunch (8)

As a final component of the activity, we took some of the prettiest ones inside and I showed her how to press them onto sticky contact paper.

Leaf Scrunch (12)

Fold the paper over itself, and you have an instant autumn placemat!

Leaf Scrunch (13)

In sum, there was so much joy to be had in this first batch of fall leaves!

Leaf Scrunch (11)

Take Summer Outside


Take It Outside (4)

Here’s a round-up of a few ways we played in the summer sun today, all with one common factor: the activity had to get us outside!

First up was a round of animal charades. The idea was to spot an animal and then move like it. Everyone else guesses what you are! Travis spotted a bee and loved buzzing like one.

Take It Outside (2)

In fact he was so enamored with the bees that it was hard to get him to spot a second animal, but he could also crouch and hop like a squirrel.

Take It Outside (4)

Little sister, meanwhile, loved pretending to fly like the birds she saw. Or getting down low to crawl like an ant bug.

Take It Outside (5)

I loved that this simple activity really got them paying attention to how animals move.

Then it was time for a nature walk. As we strolled on a nearby path, we pulled out an oldie-but-goodie, searching out animal homes and guessing who lived inside each.

Take It Outside alt

This time, Travis snapped pictures with the instant camera, too!

Take It Outside (3)

We also embarked on a leaf hunt! I challenged him to find 5 different leaves and then we used a nature guide to try to identify each one.

Take It Outside (6)

There was such a thrill every time we found a corresponding picture. It was a great activity for talking about similarities and differences.

Take It Outside (7)

Travis glued the leaves to poster board once home and we labeled them, making this a great approximation of an elementary school science project.

Take It Outside (5)

He then drew the leaves, a pretty picture we decided to mail on to a friend!

Take It Outside (9)

To end the outdoor fun, we repeated a classic activity: tracing an item’s shadow to see how it changed over the course of the day.

Take It Outside (1)

Our intent wasn’t to make a full sundial, but just to watch how the shadow changed at intervals. We color-coded our markings for a pretty result!

Take It Outside (2)

Leaf Canvas Craft Challenge

Leaf Craft Challenge (5).JPG

What was this month’s craft challenge from Highlights magazine? To use a leaf as the canvas for painting! You’ll want to use acrylic pants for the craft, which will hold up better than tempera paint.

No doubt there are fantastic artists who could create a whole miniature scene on their leaf. For my kindergartner, the project was more about the novelty of using nature as the canvas.

We found some giant leaves on a nature walk and knew those were the ones to use!

Leaf Craft Challenge (1)

At first, he painted along the lines of the leaf’s veins, which was great for reinforcing a recent science unit on trees and nutrition.

Leaf Craft Challenge (2)

Then he had fun blending colors and seeing how they mixed on the leaf.

Leaf Craft Challenge (3)

At the end, he liked making big blobs of paint.

Leaf Craft Challenge (4)

Whether your little Picasso makes something abstract, something highly detailed, or just has fun smearing paint, this was a simple and fun alternative to painting on paper.

Leaf Craft Challenge (6)

Leaf Chromatography

Leaf Chroma (9)

You can show your children a visual rainbow of molecules with this simple science experiment. It’s a great way to explore what happens to leaves in the fall!

Travis and I had been waiting to do this activity all season, but the leaves were stubbornly slow to change. Finally we spotted a landscape of vibrant reds, oranges,  and yellows, and couldn’t wait to take them home and experiment.

Leaf Chroma (1)

First, tear up the leaves into pieces, and divide into glass bowls, one color per bowl. Travis loved the tearing!

Leaf Chroma (3)

Mash the leaves slightly using a pestle or muddler.

Leaf Chroma (4)

Ooh, next up was a grown-up ingredient: Rubbing alcohol. Travis very carefully helped me pour enough in each bowl just to cover the leaves. Place the bowls in a baking dish and add a few inches of hot water.

Leaf Chroma (6)

Now cut a coffee filter into strips, and drape over chopsticks (or kebab skewers, or pencils – anything long and straight), letting one side dangle down into the rubbing alcohol. Place the entire baking dish some place dark and let sit overnight.

Leaf Chroma (7)

In the morning, you’ll see bands of color on each filter strip! This shows the layers of color that were in each leaf, slowly revealed as chlorophyll breaks down in cold temperatures. To be honest the yellow and orange were a bit underwhelming, but it was neat to see several layers of color exposed in our red leaves.

Leaf Chroma (8)

In sum, a neat science experiment!

Autumn Leaf Jewelry

Autumn Necklace (4)

We love bringing home items from nature to make into all kinds of crafts, but the problem is that many of these are fleeting in nature (leaves that dry out, flowers that wilt). This activity captures the beauty of autumn, but it won’t fade, thanks to the use of fake leaves. You’ll find these readily at craft stores this time of year.

Originally we planned to make leaf necklaces as a gift for grandma, but I didn’t have a lacing string that was long enough. It was simpler to turn thread onto pipe cleaners instead, resulting in pretty autumn bracelets.

Travis alternated stringing on pony beads and a few of the leaves for an autumnal touch

Autumn Necklace (1)

(Note: Grown-ups can make holes in the leaves either with a hole punch if they are thin or – on our case – with an Xacto knife to cut a slit if they are thick).

Autumn Necklace (2)

Once each pipe cleaner was filled, I looped the ends together. A great gift for anyone with a fall birthday!

Autumn Necklace (3)