Rainbow Water Bead Sensory Bags

If your kids love water beads but you hate the mess, consider these eye-catching sensory bags. Kids still get the look and squishy tactile fun, without the risk of all those beads skittering across the floor!

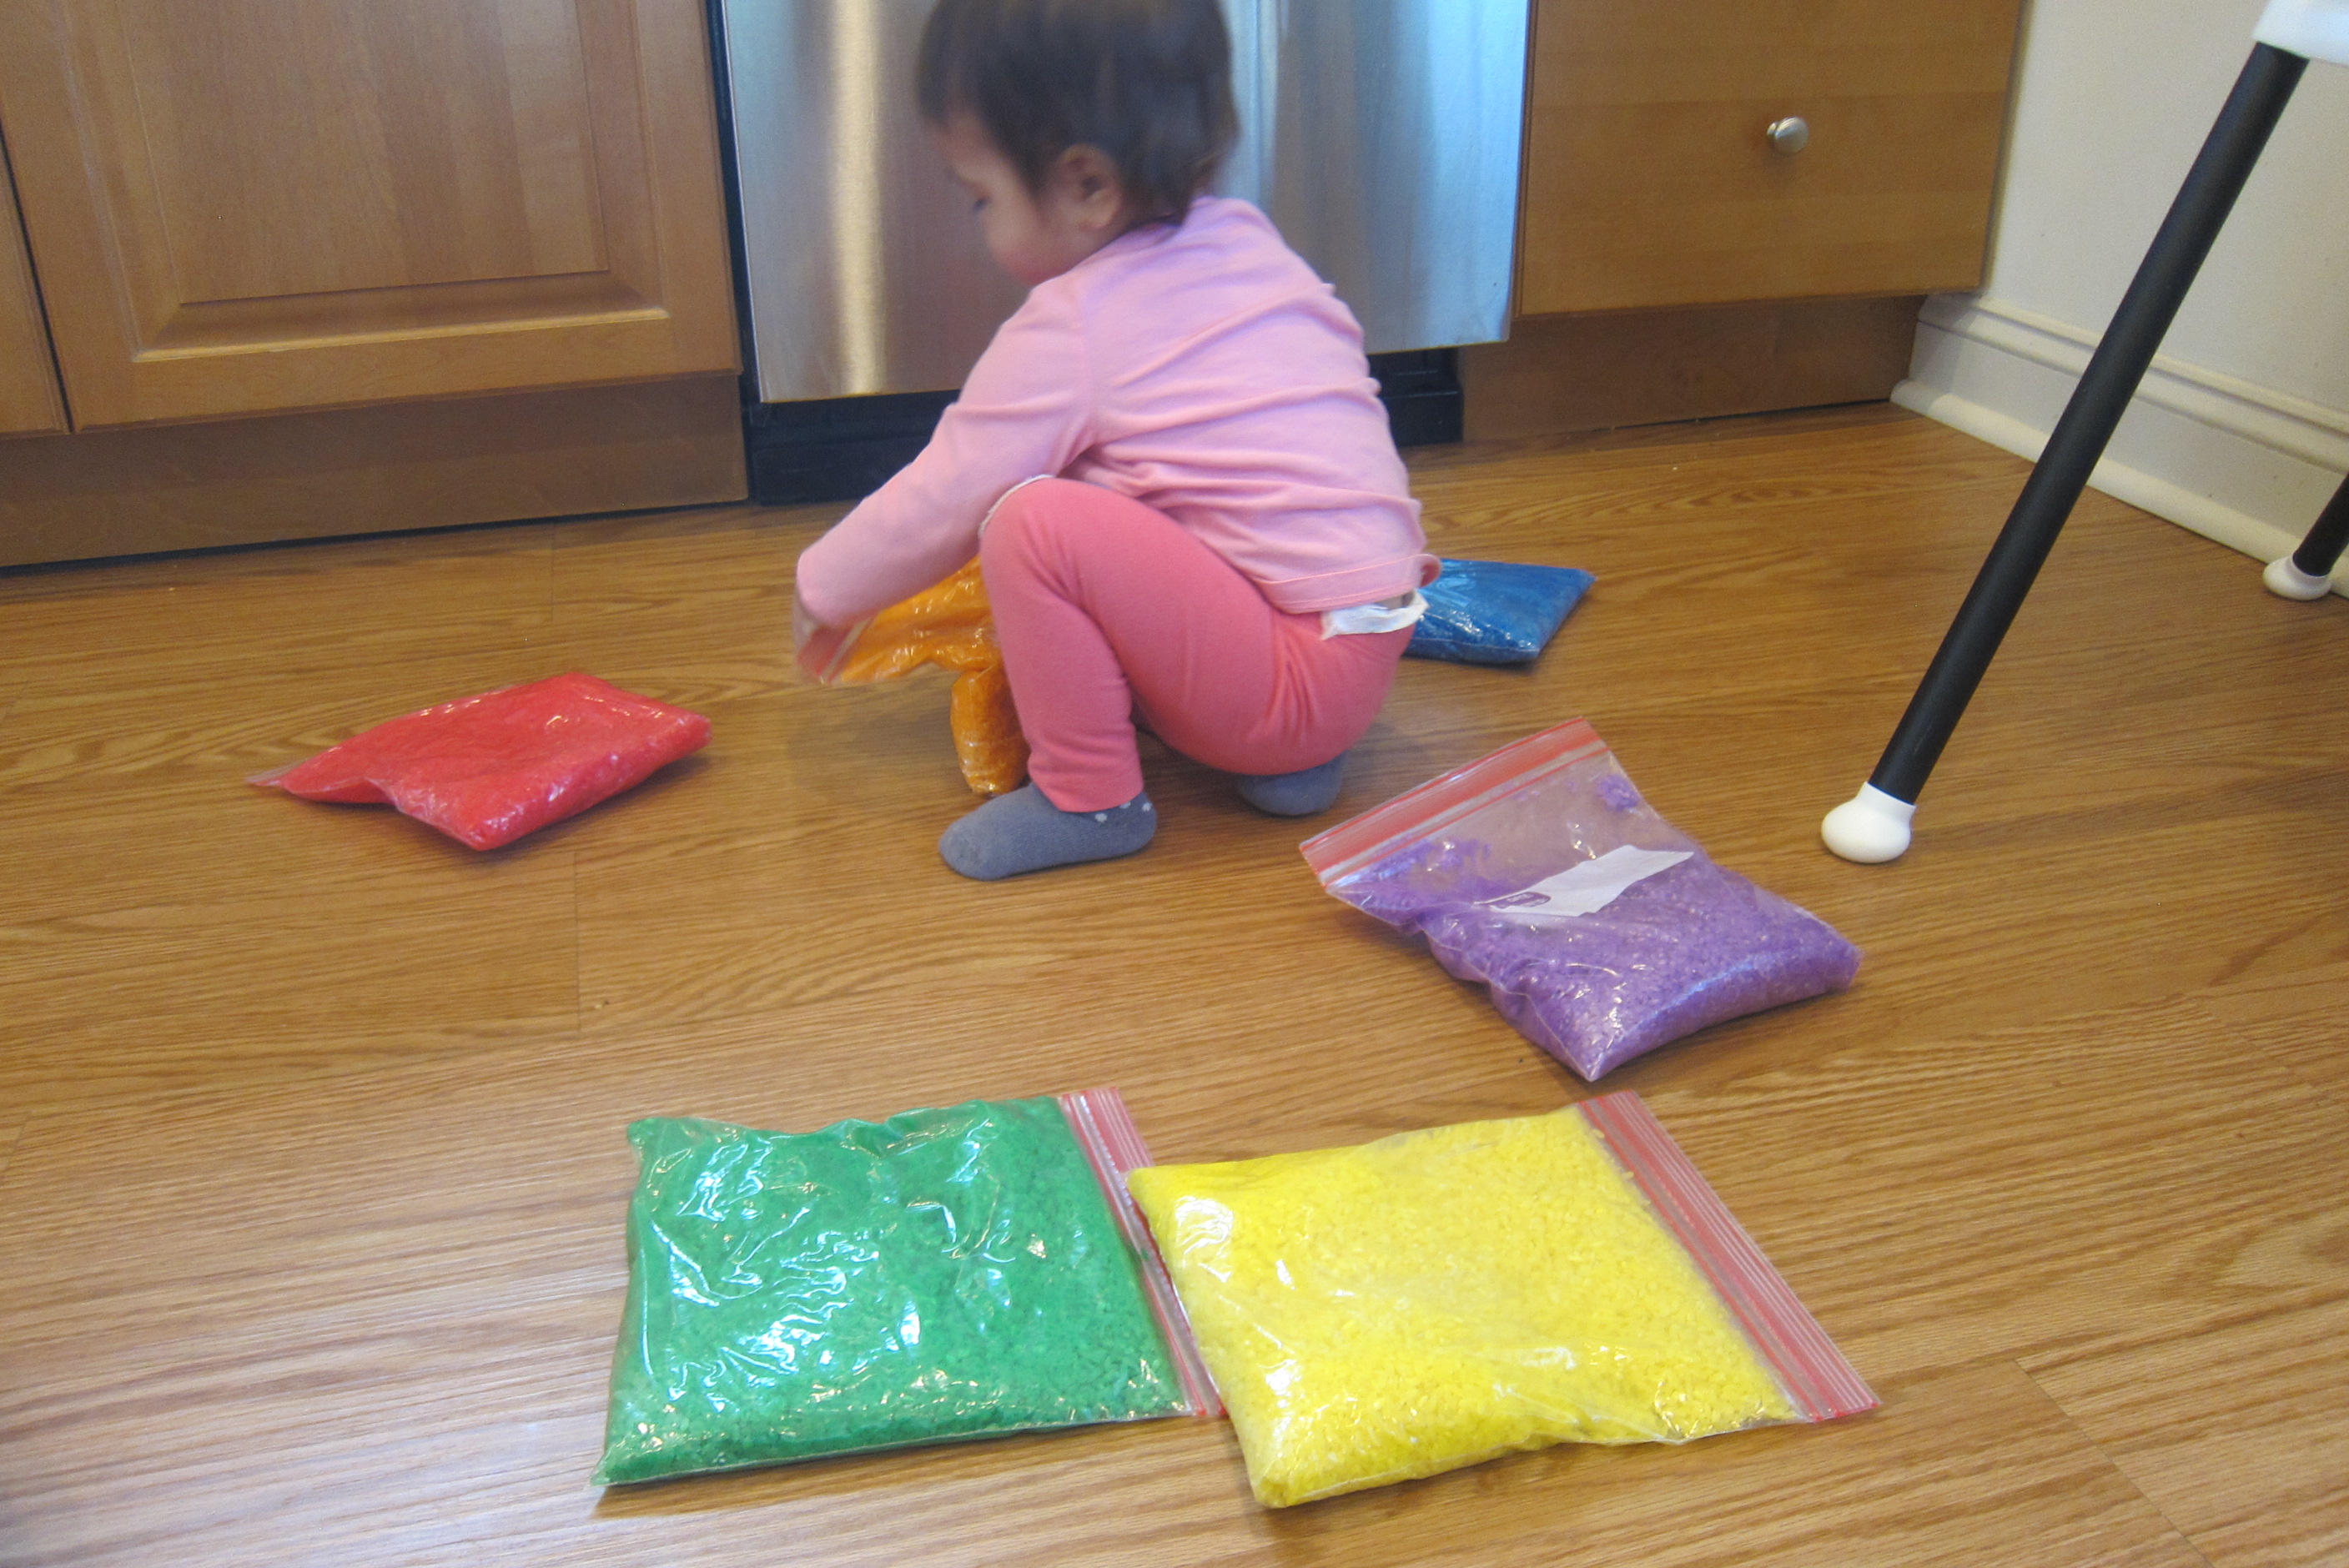
To set up, it helps to buy a rainbow pack of water beads where each color comes separately; I promise that you don’t want to try to sorting water beads once saturated.

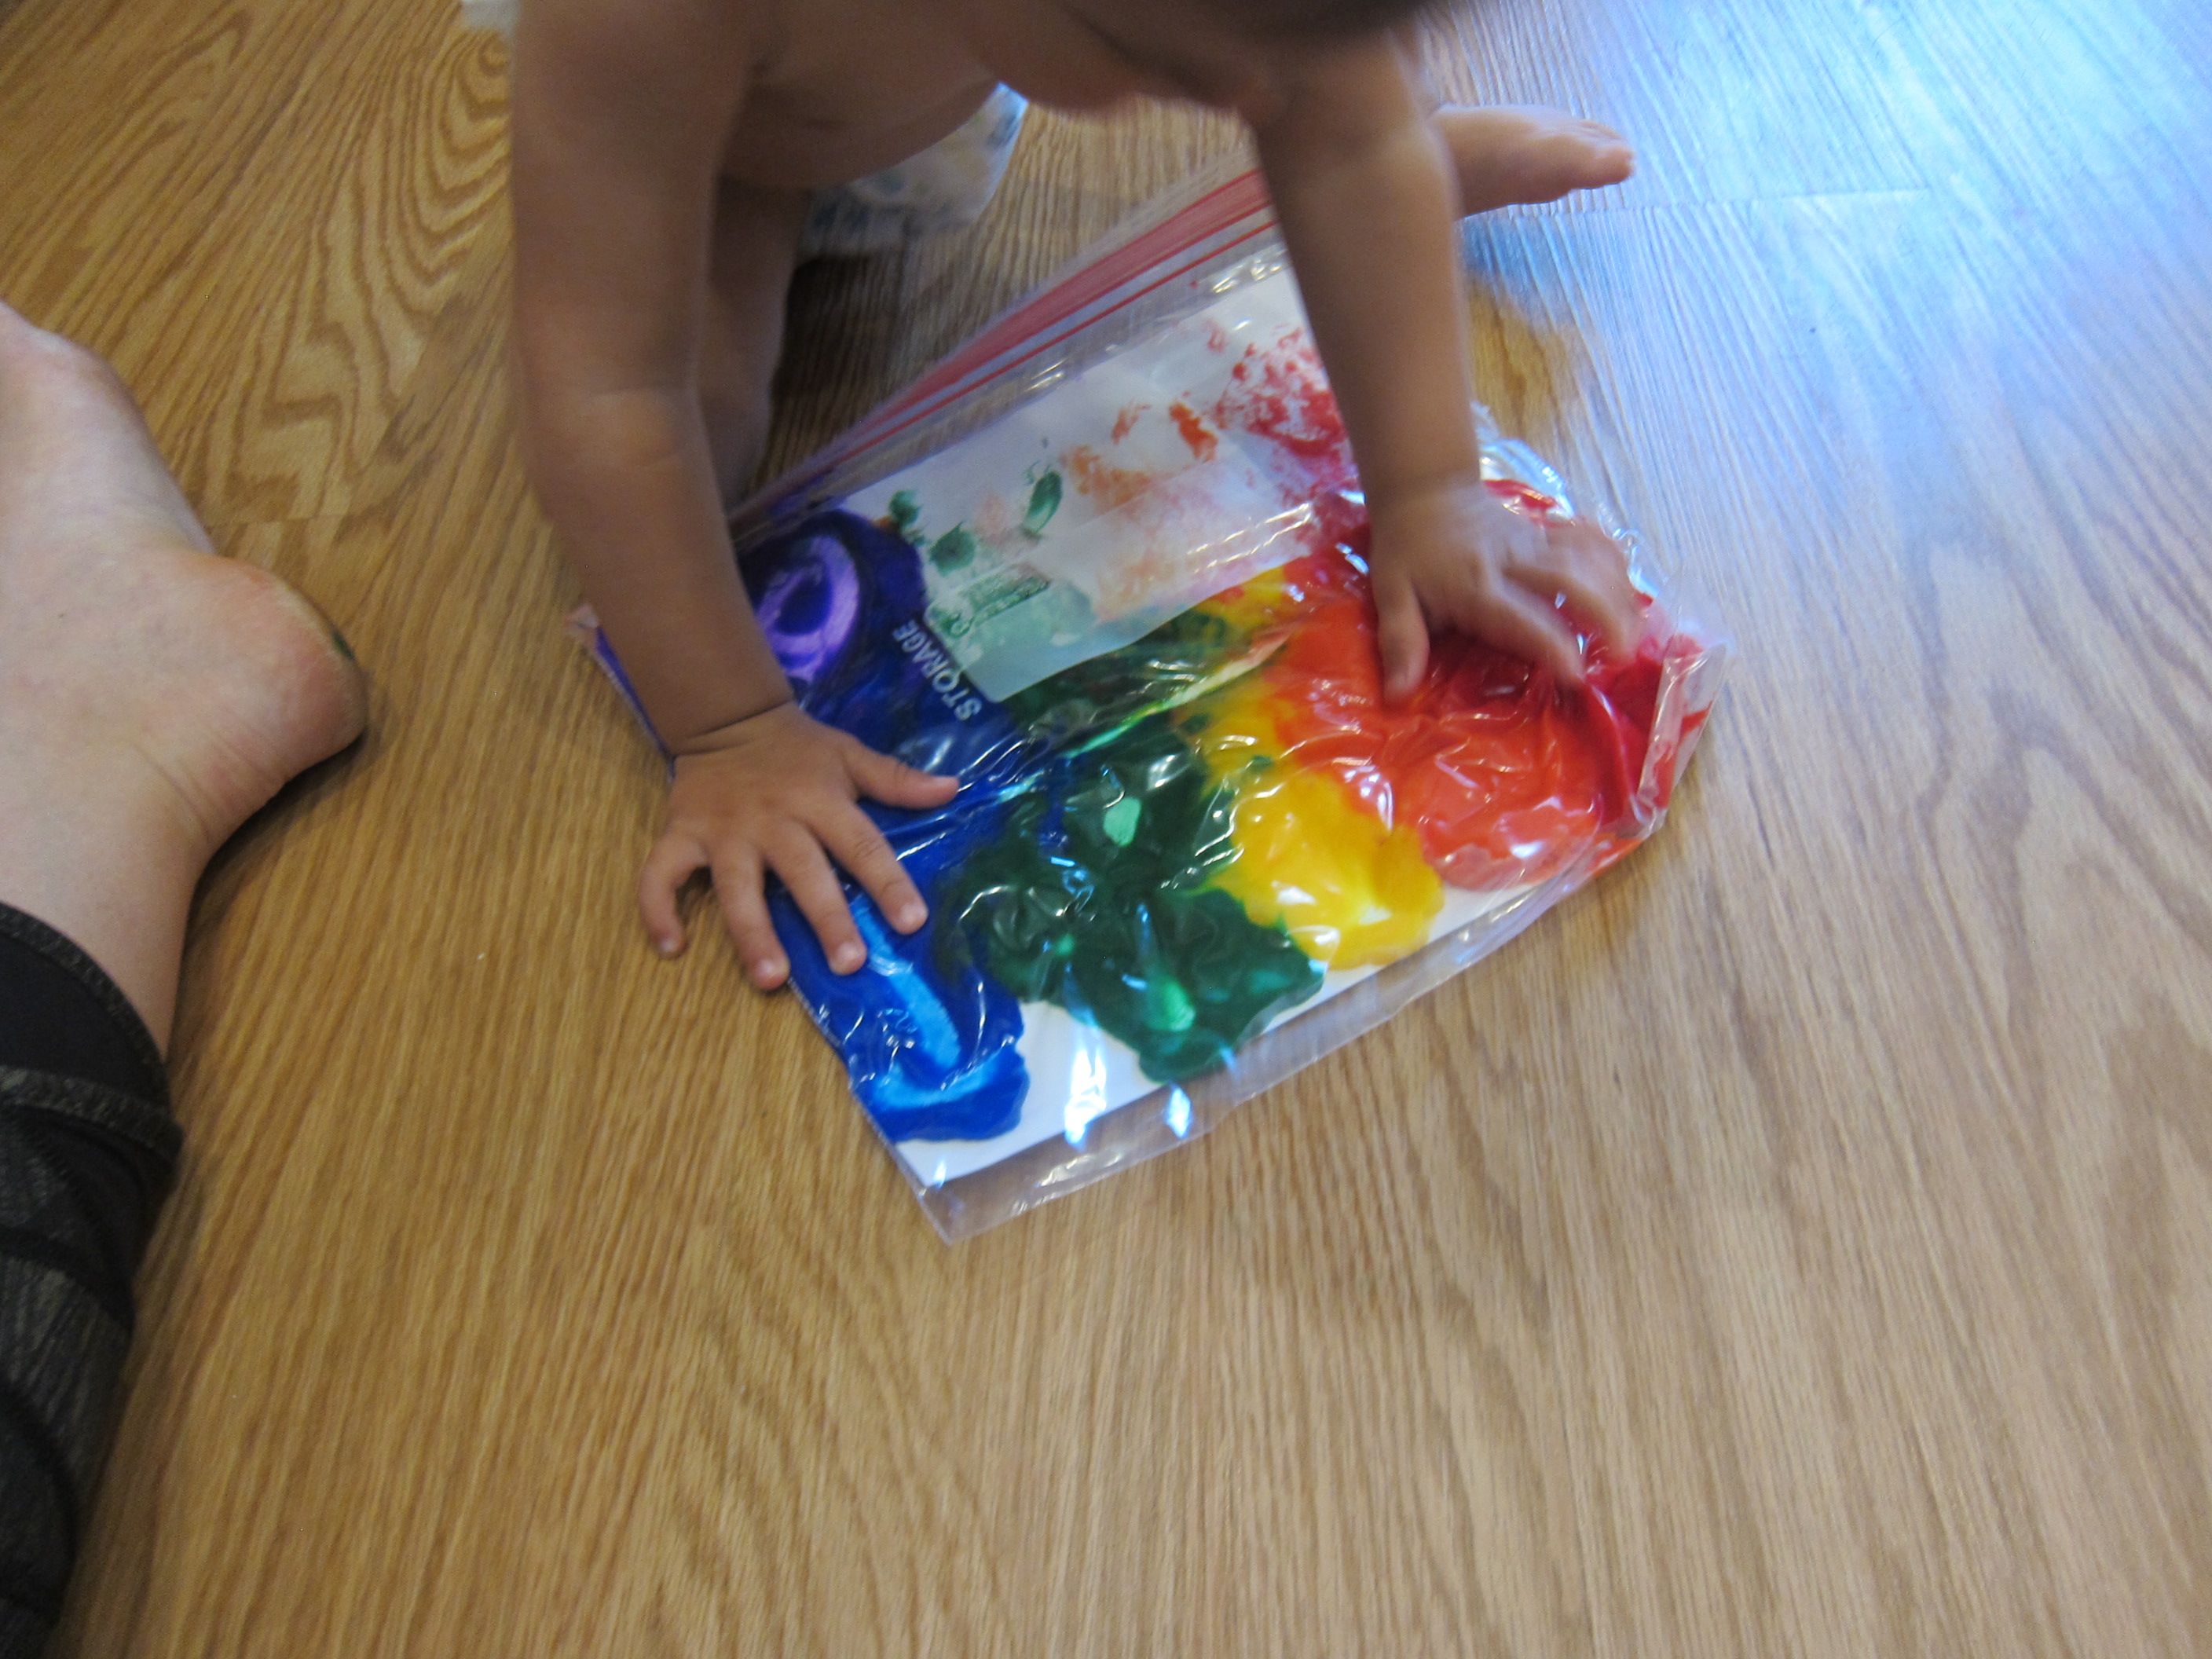
I filled a zip-top bag with about 1 tablespoon of each bead color, then added water so they could soak overnight. If you notice the beads have absorbed all the water, just add a bit more.

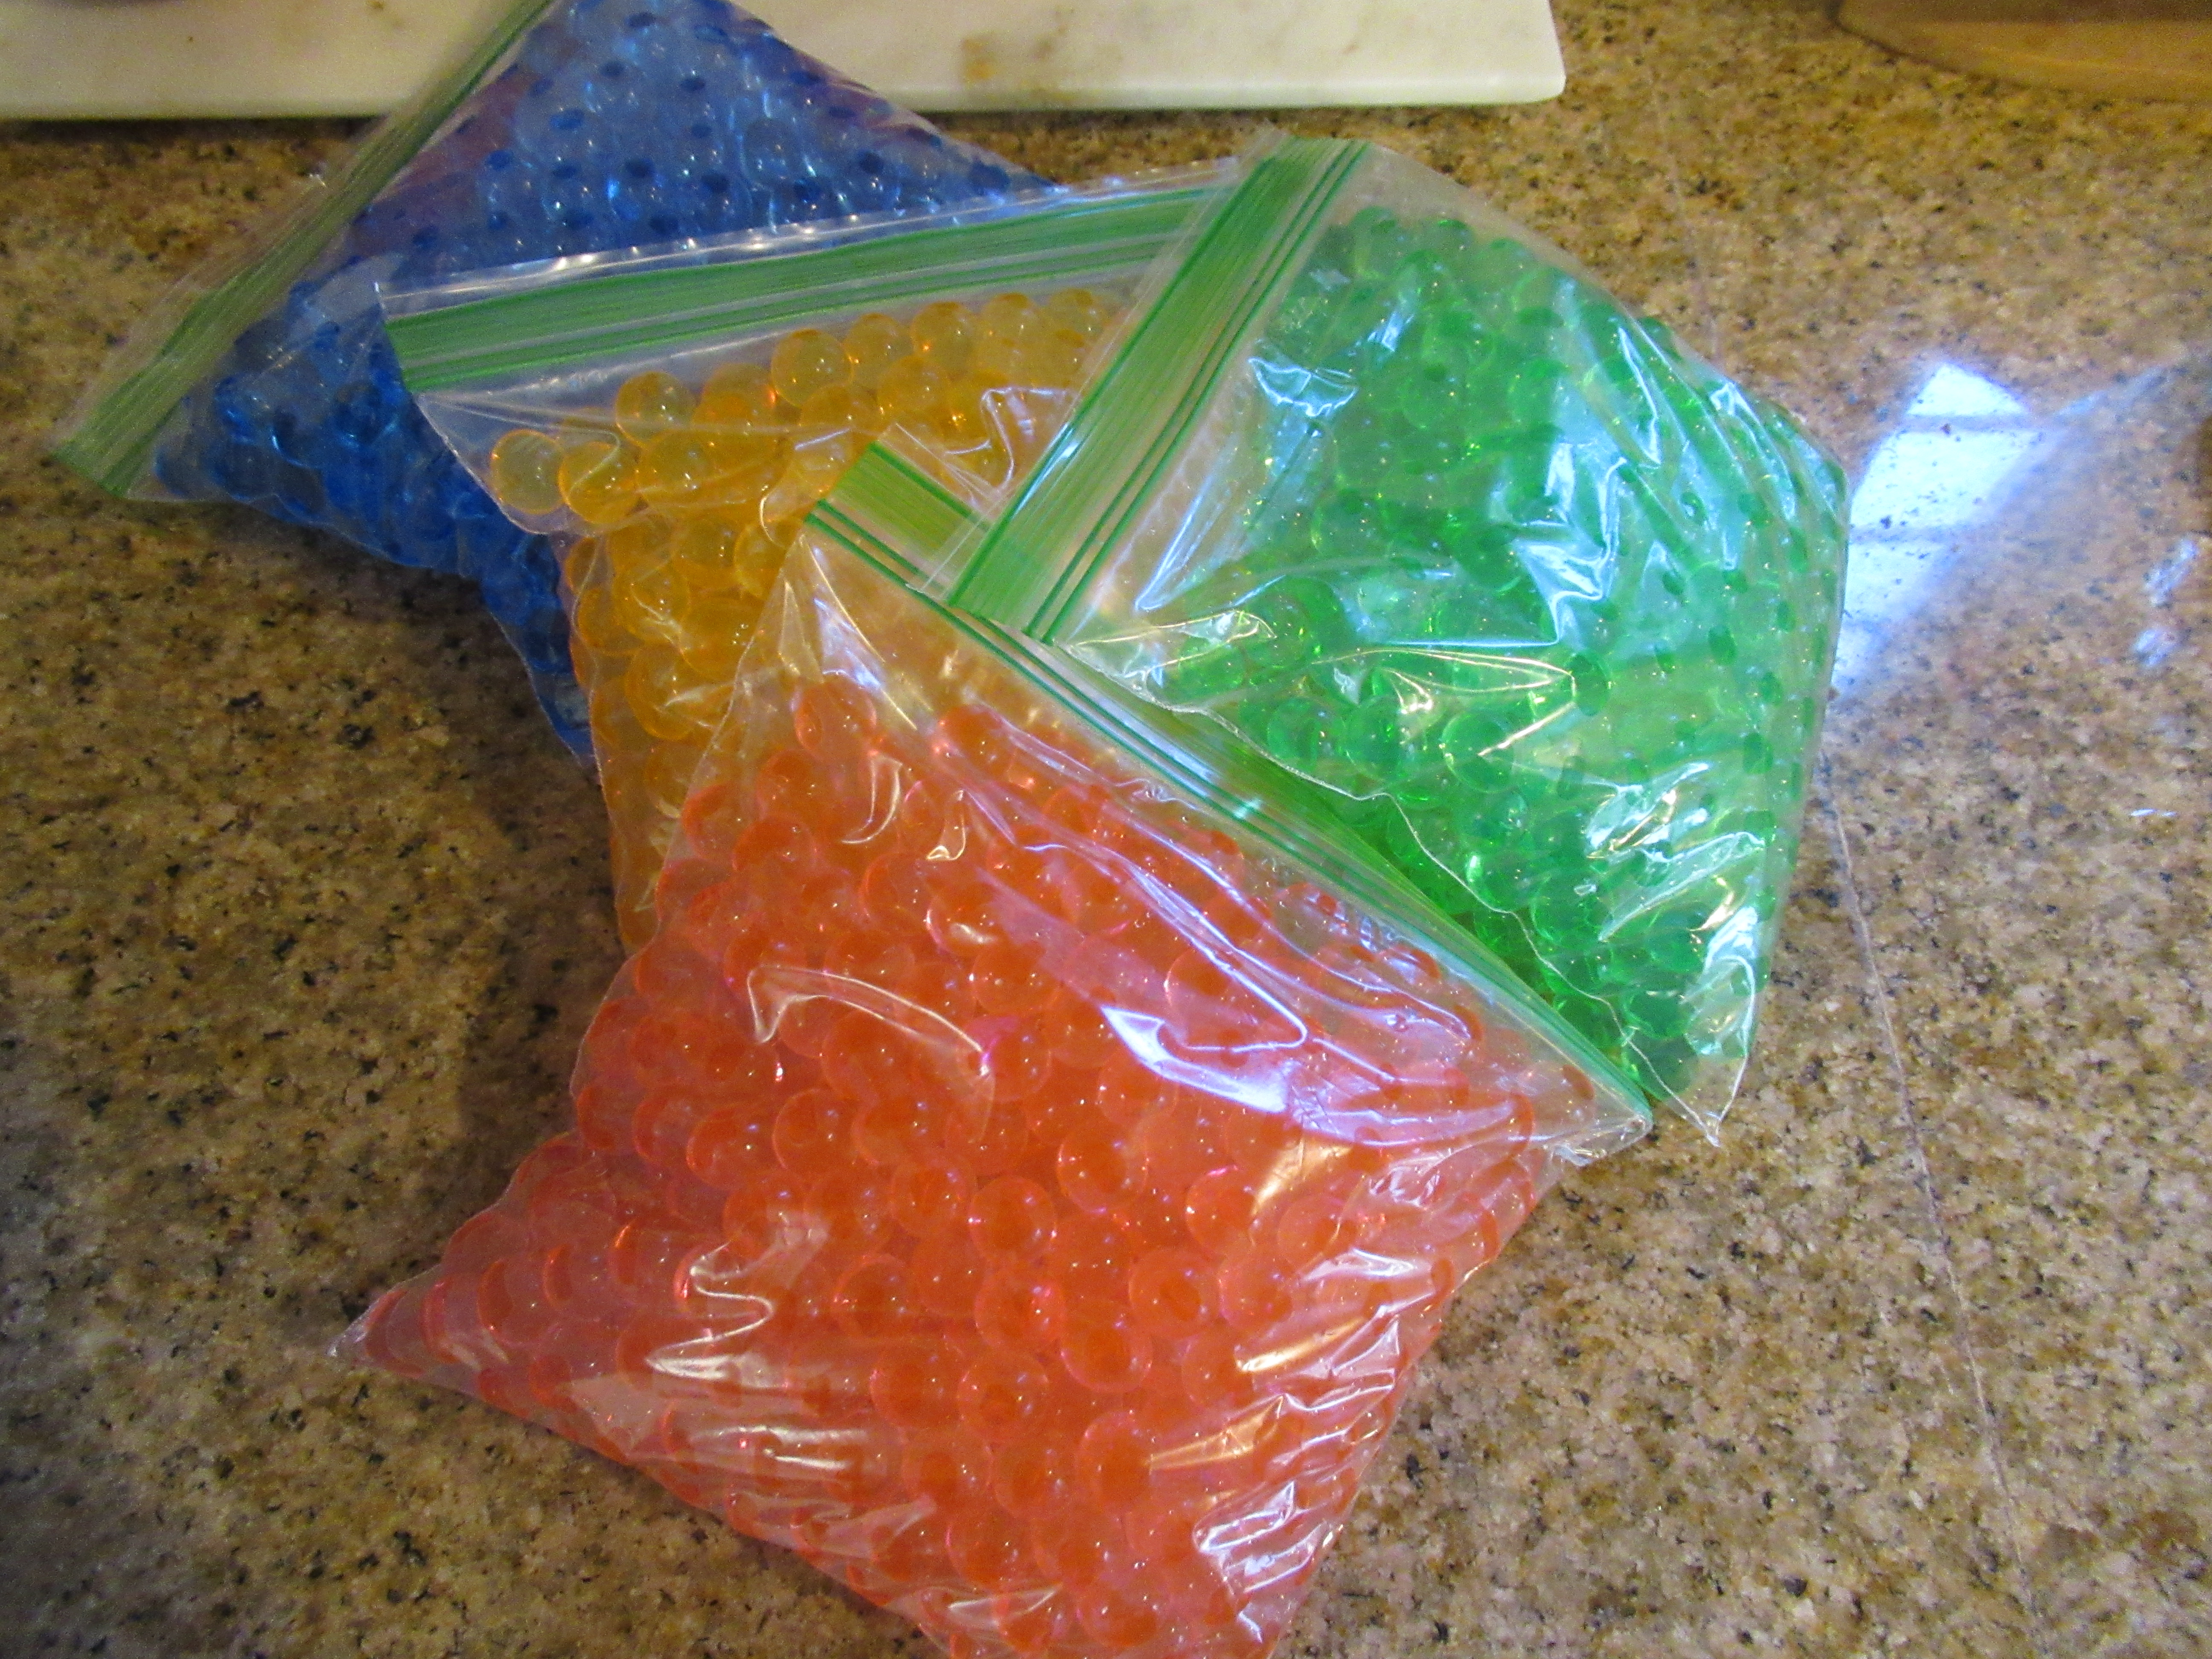
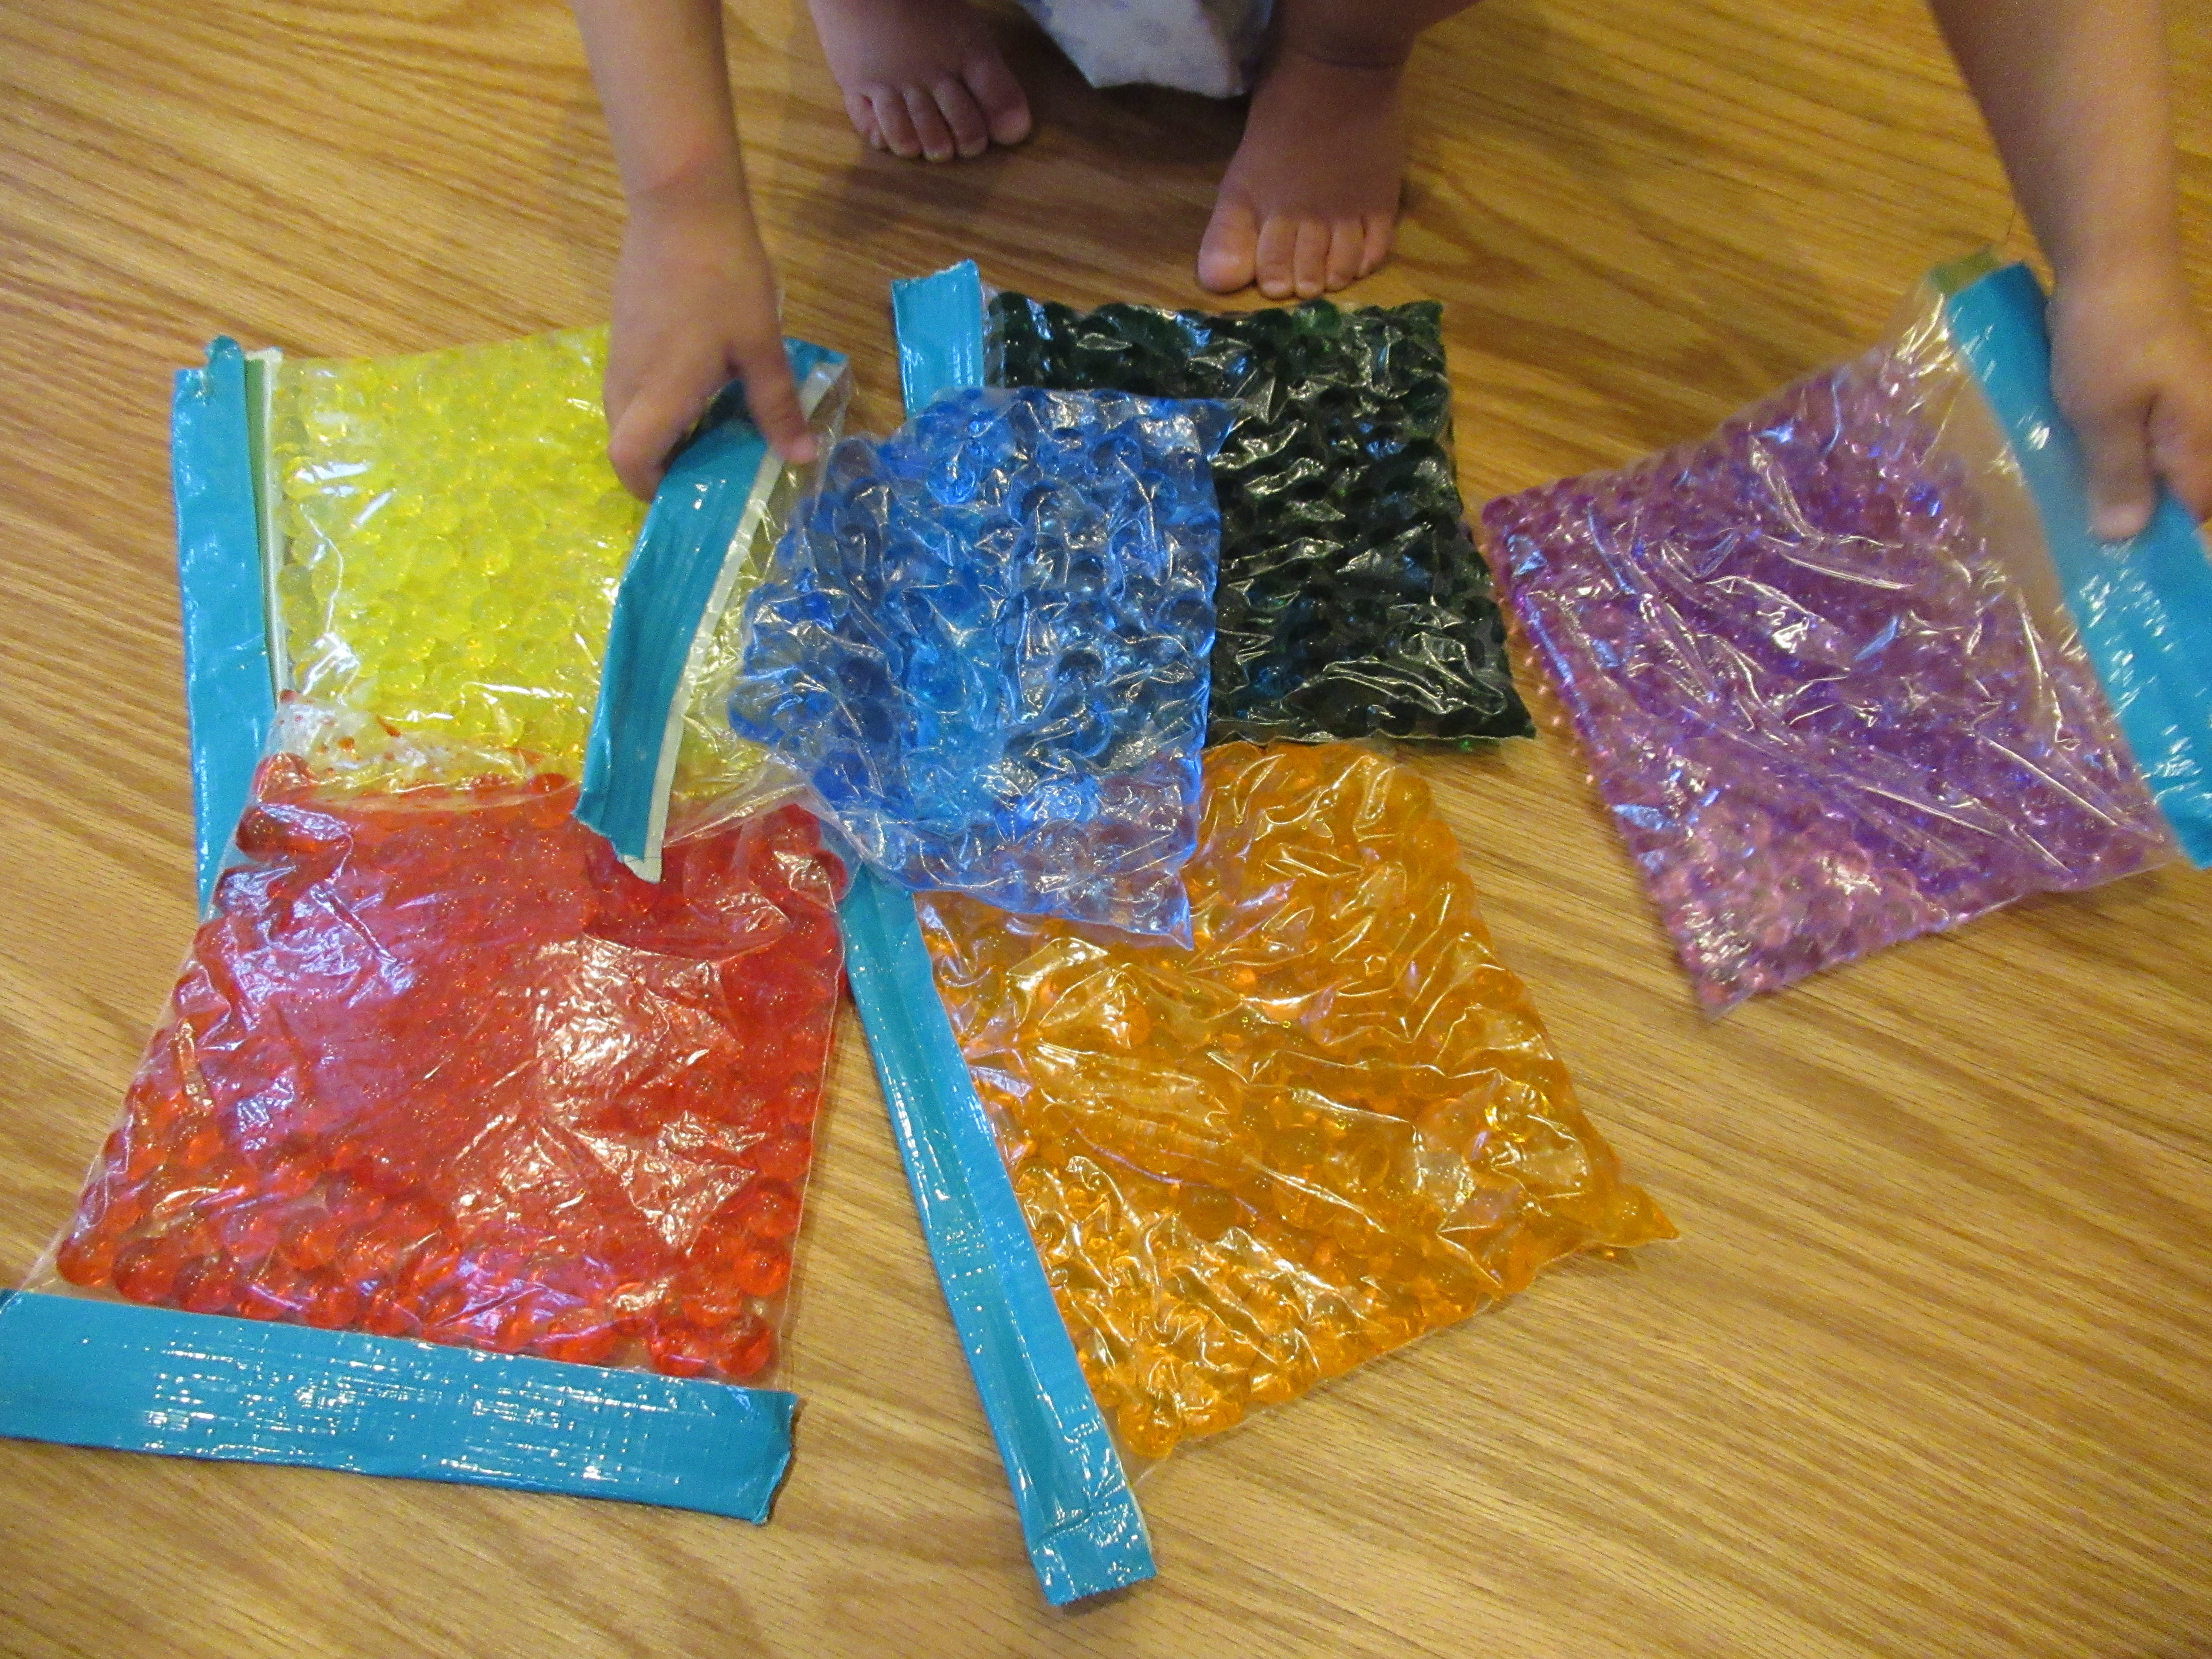
In the morning, the bags were full! I dumped out about half the beads from each to make room, then added a little extra water and tinted it with the appropriate color of food coloring. Seal tightly (it helps to add a strip of duct tape for extra security!) and hand over to your tots.

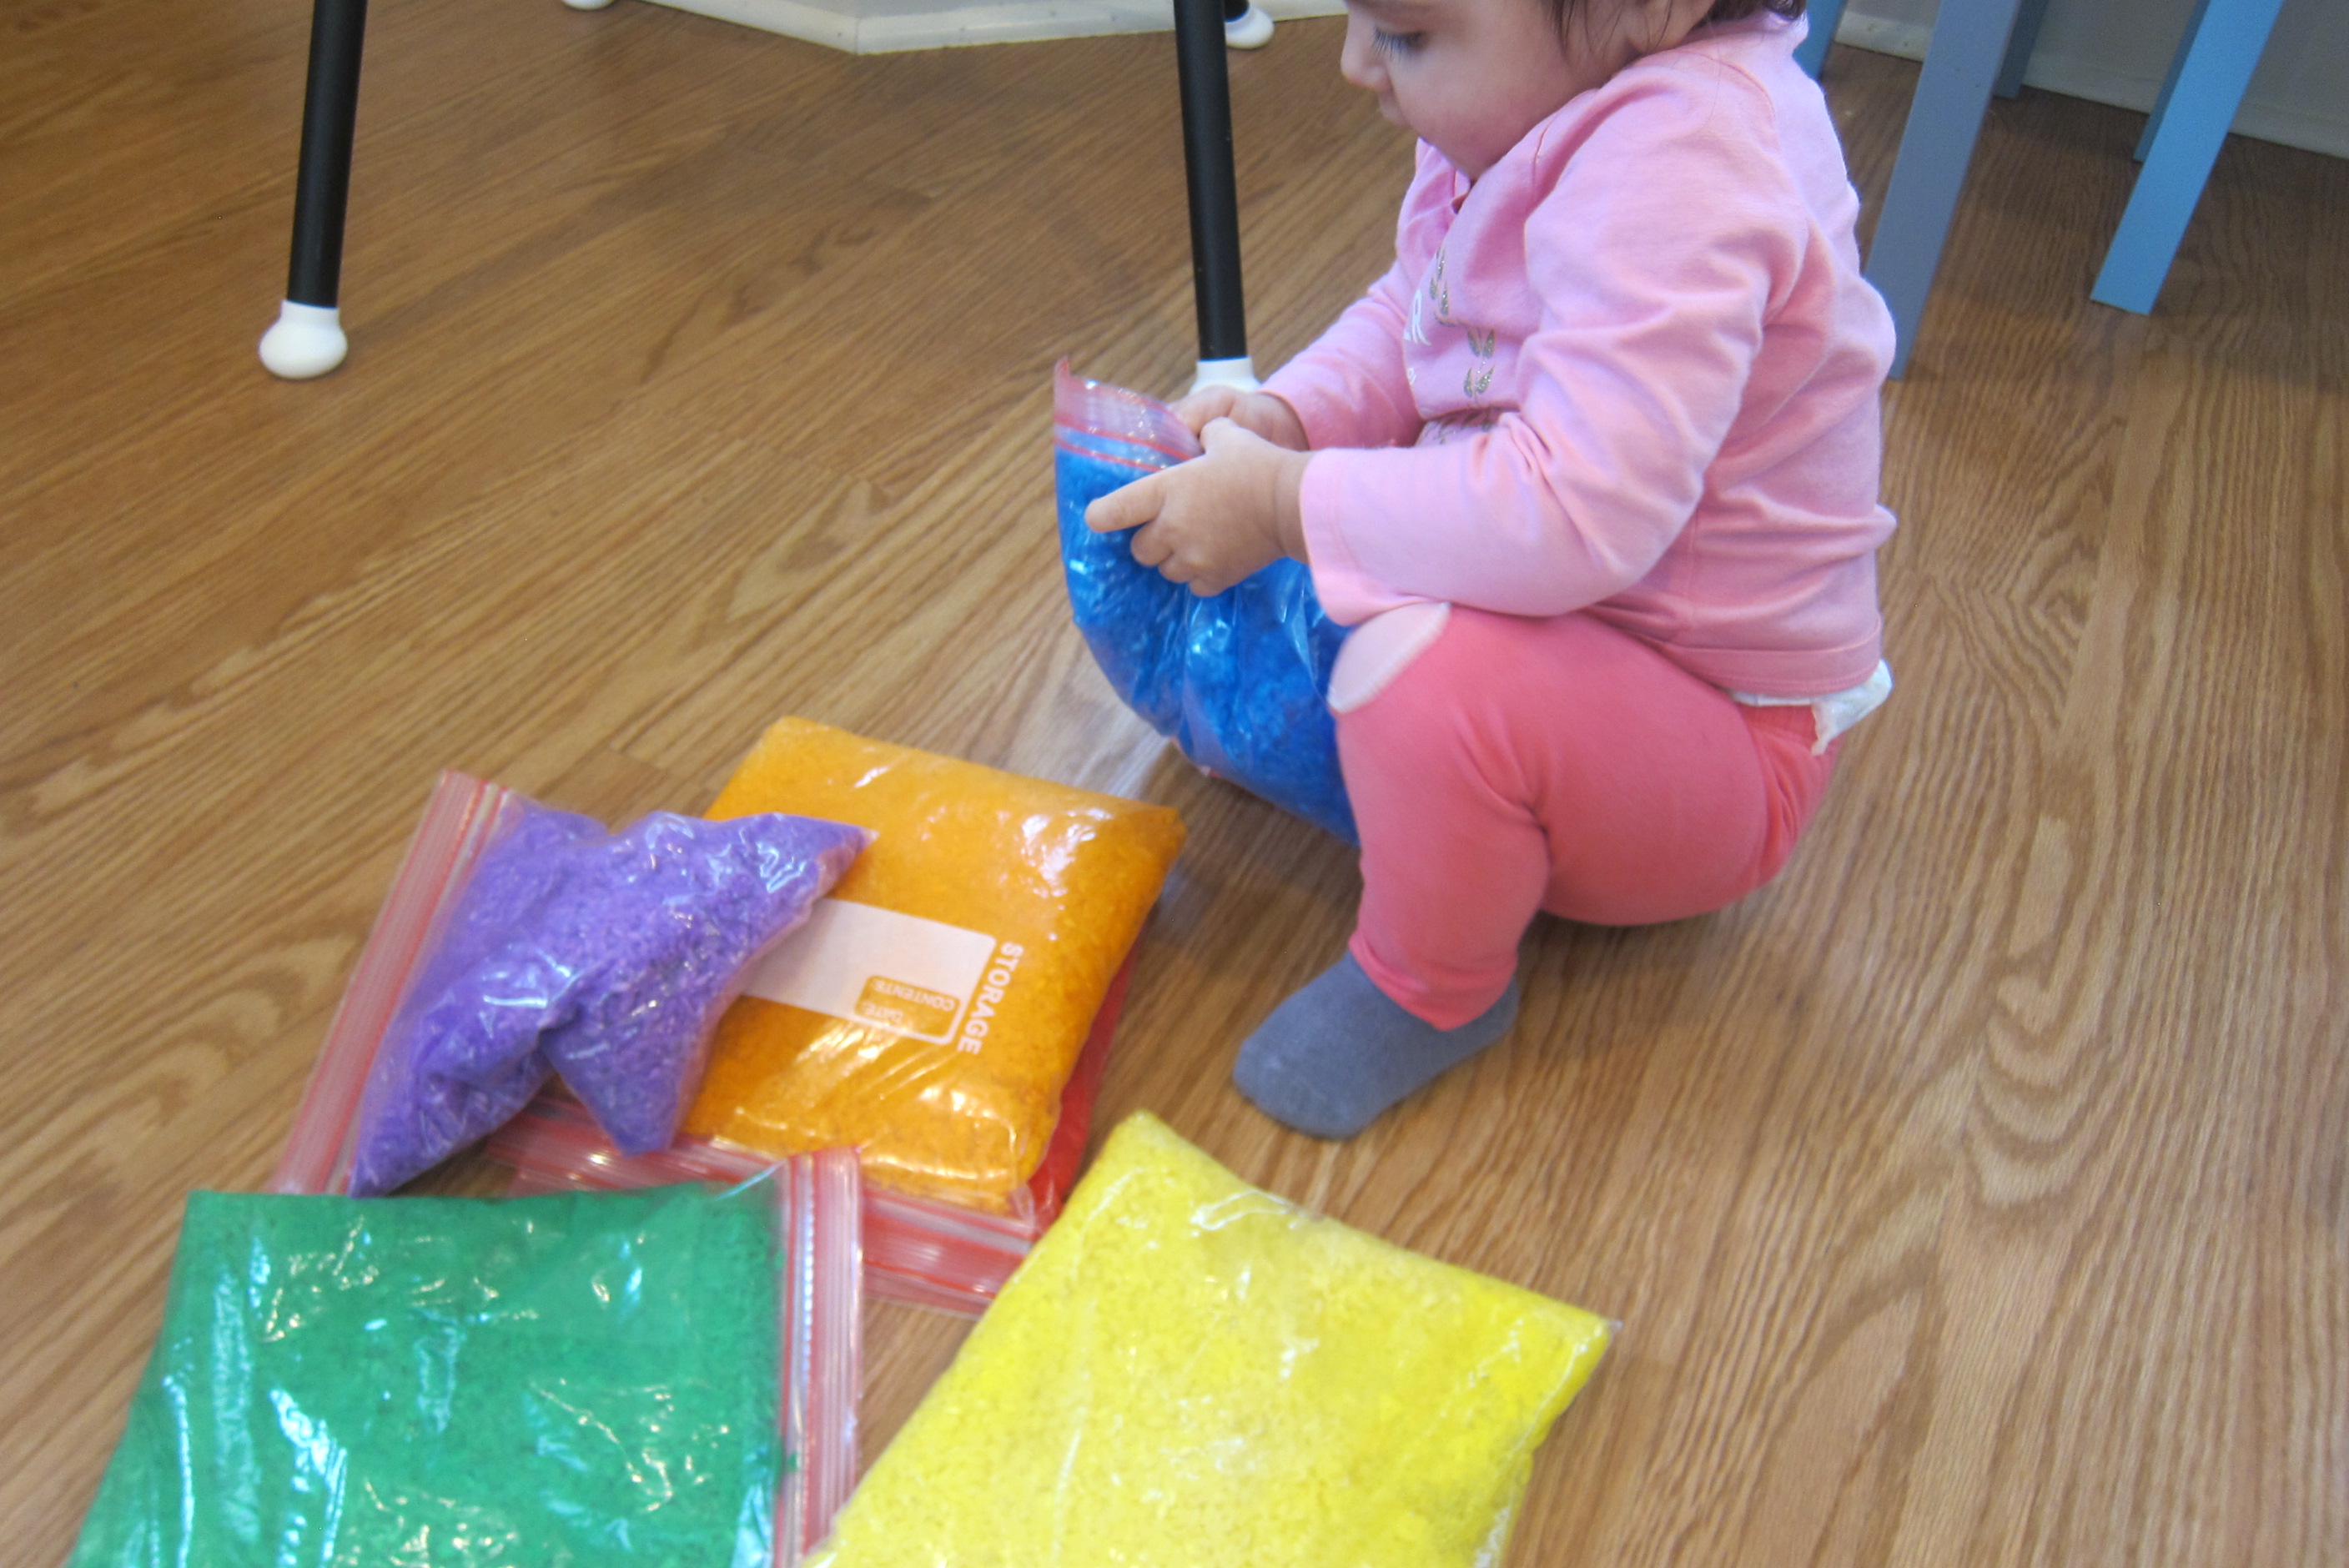
These are great lying flat on the ground so Veronika could see the beads. She loved that she could push the beads through the water inside with her fingers.

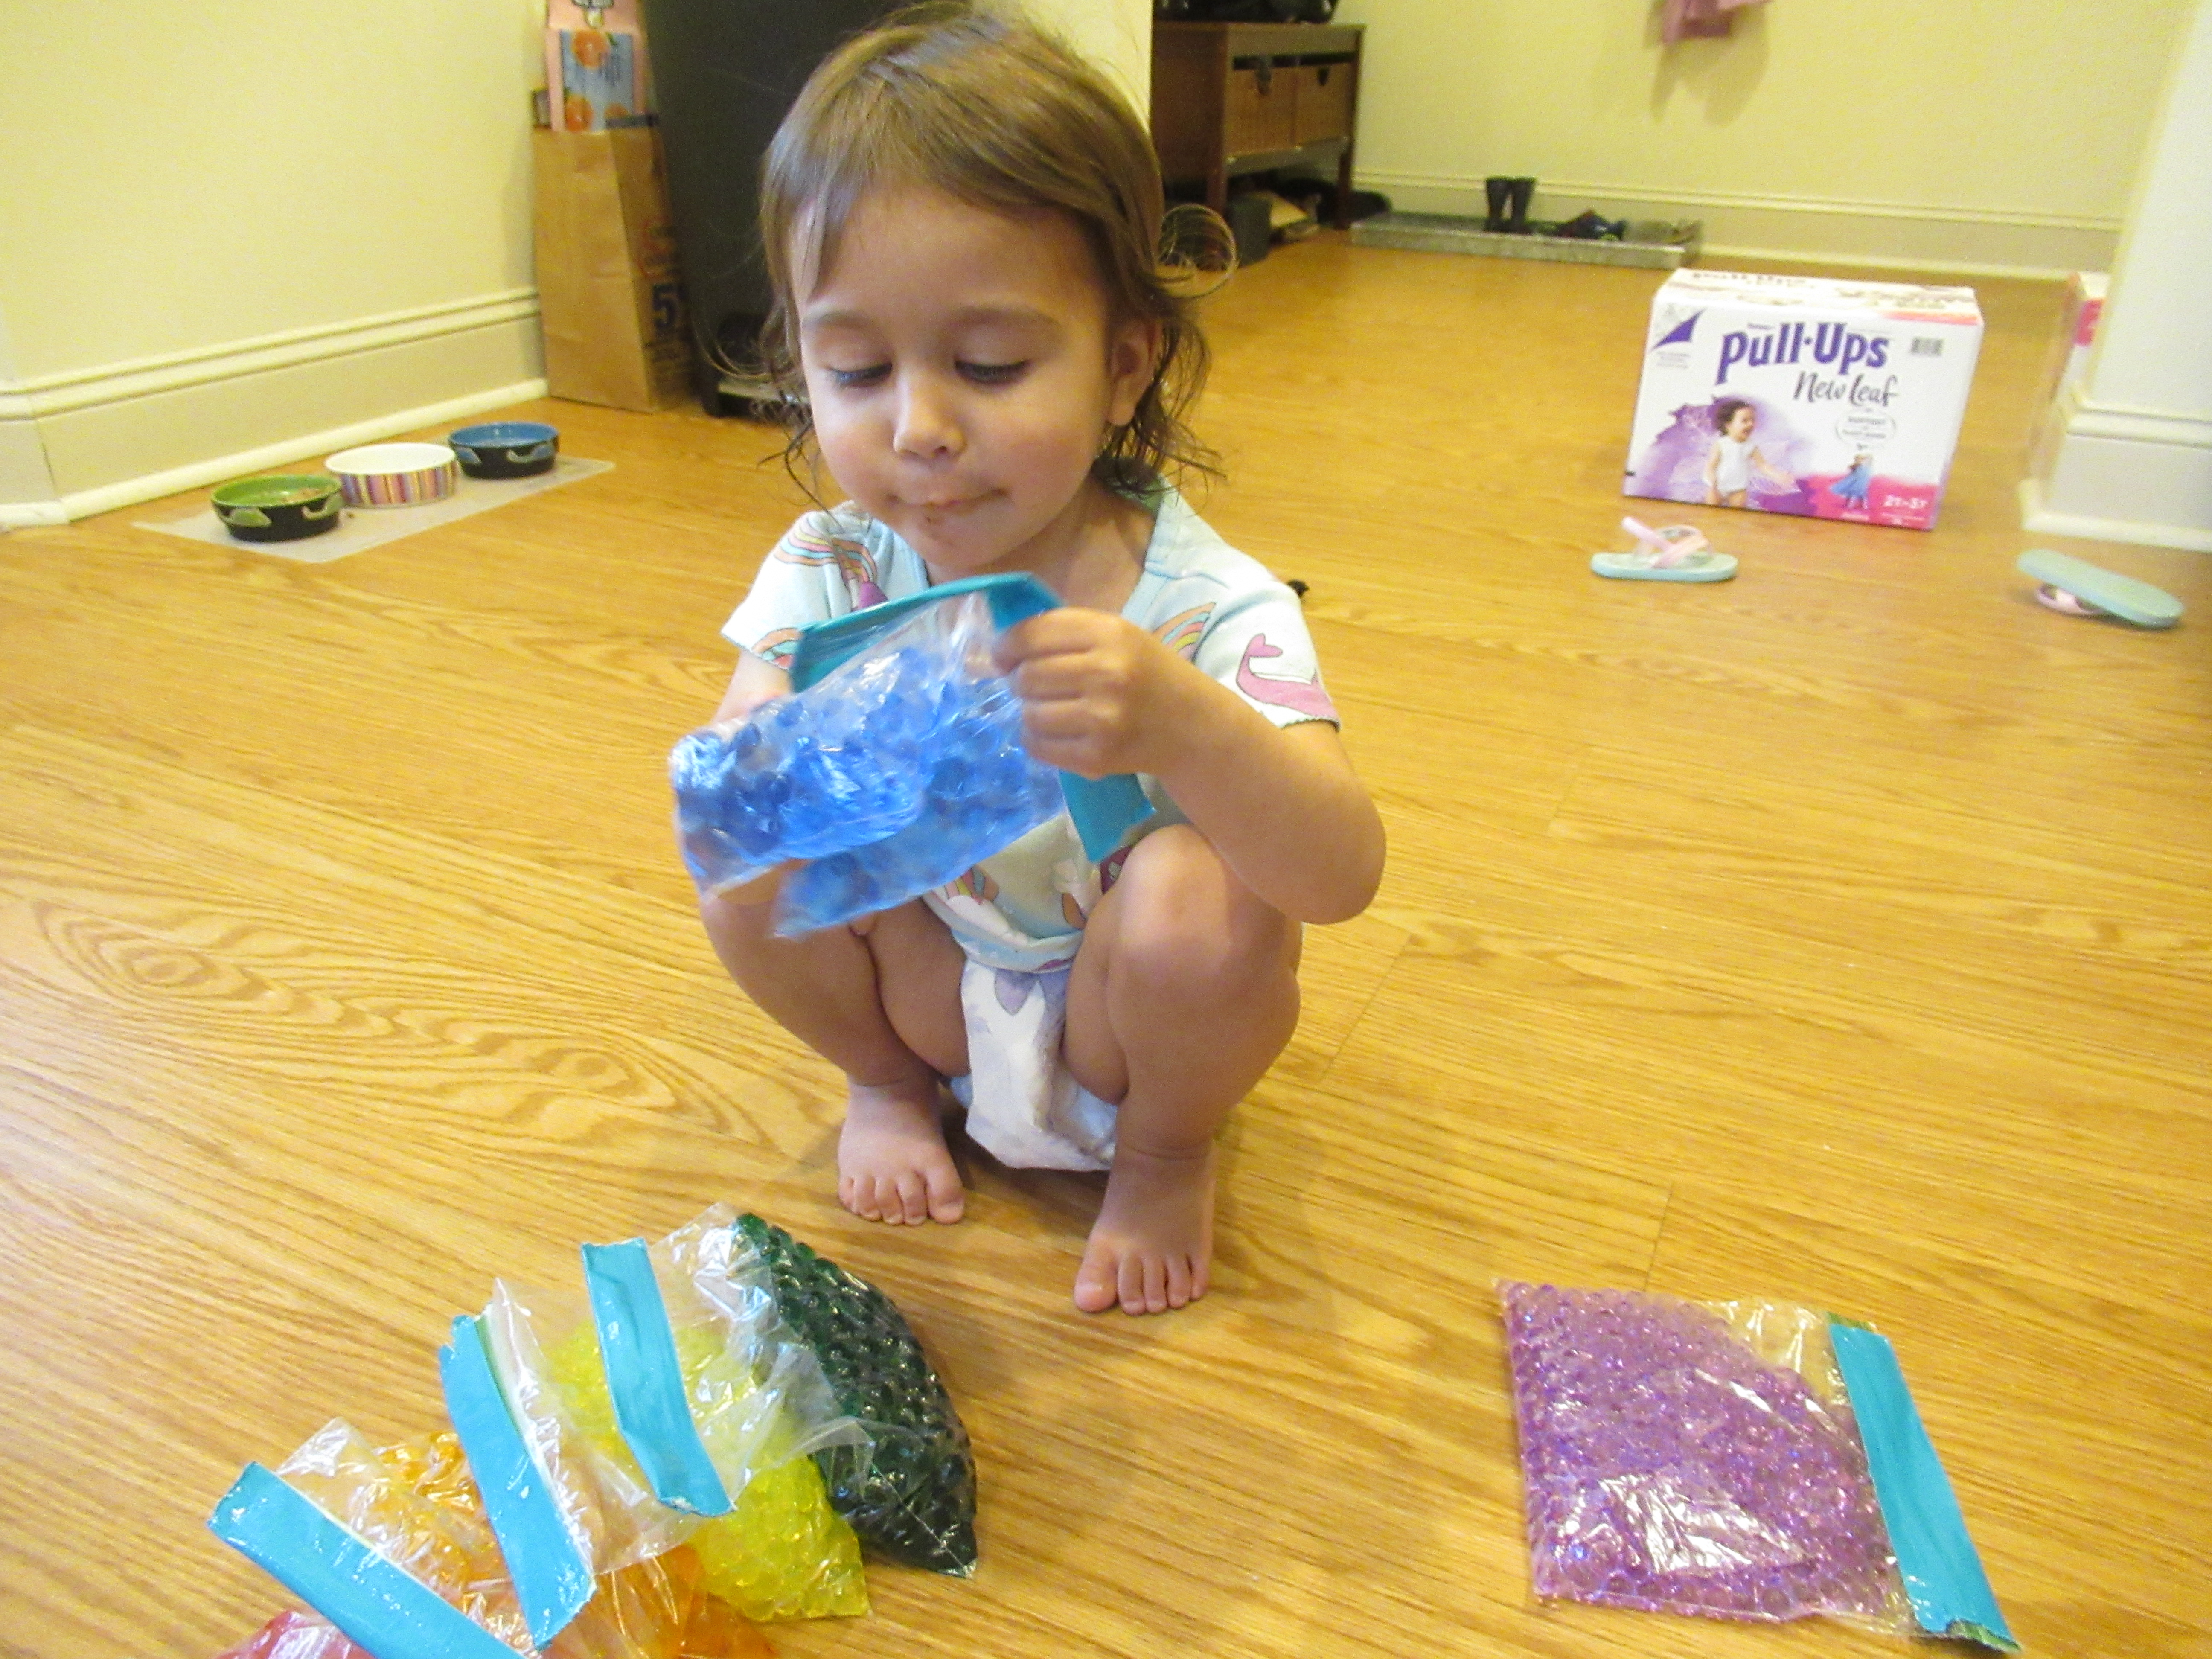
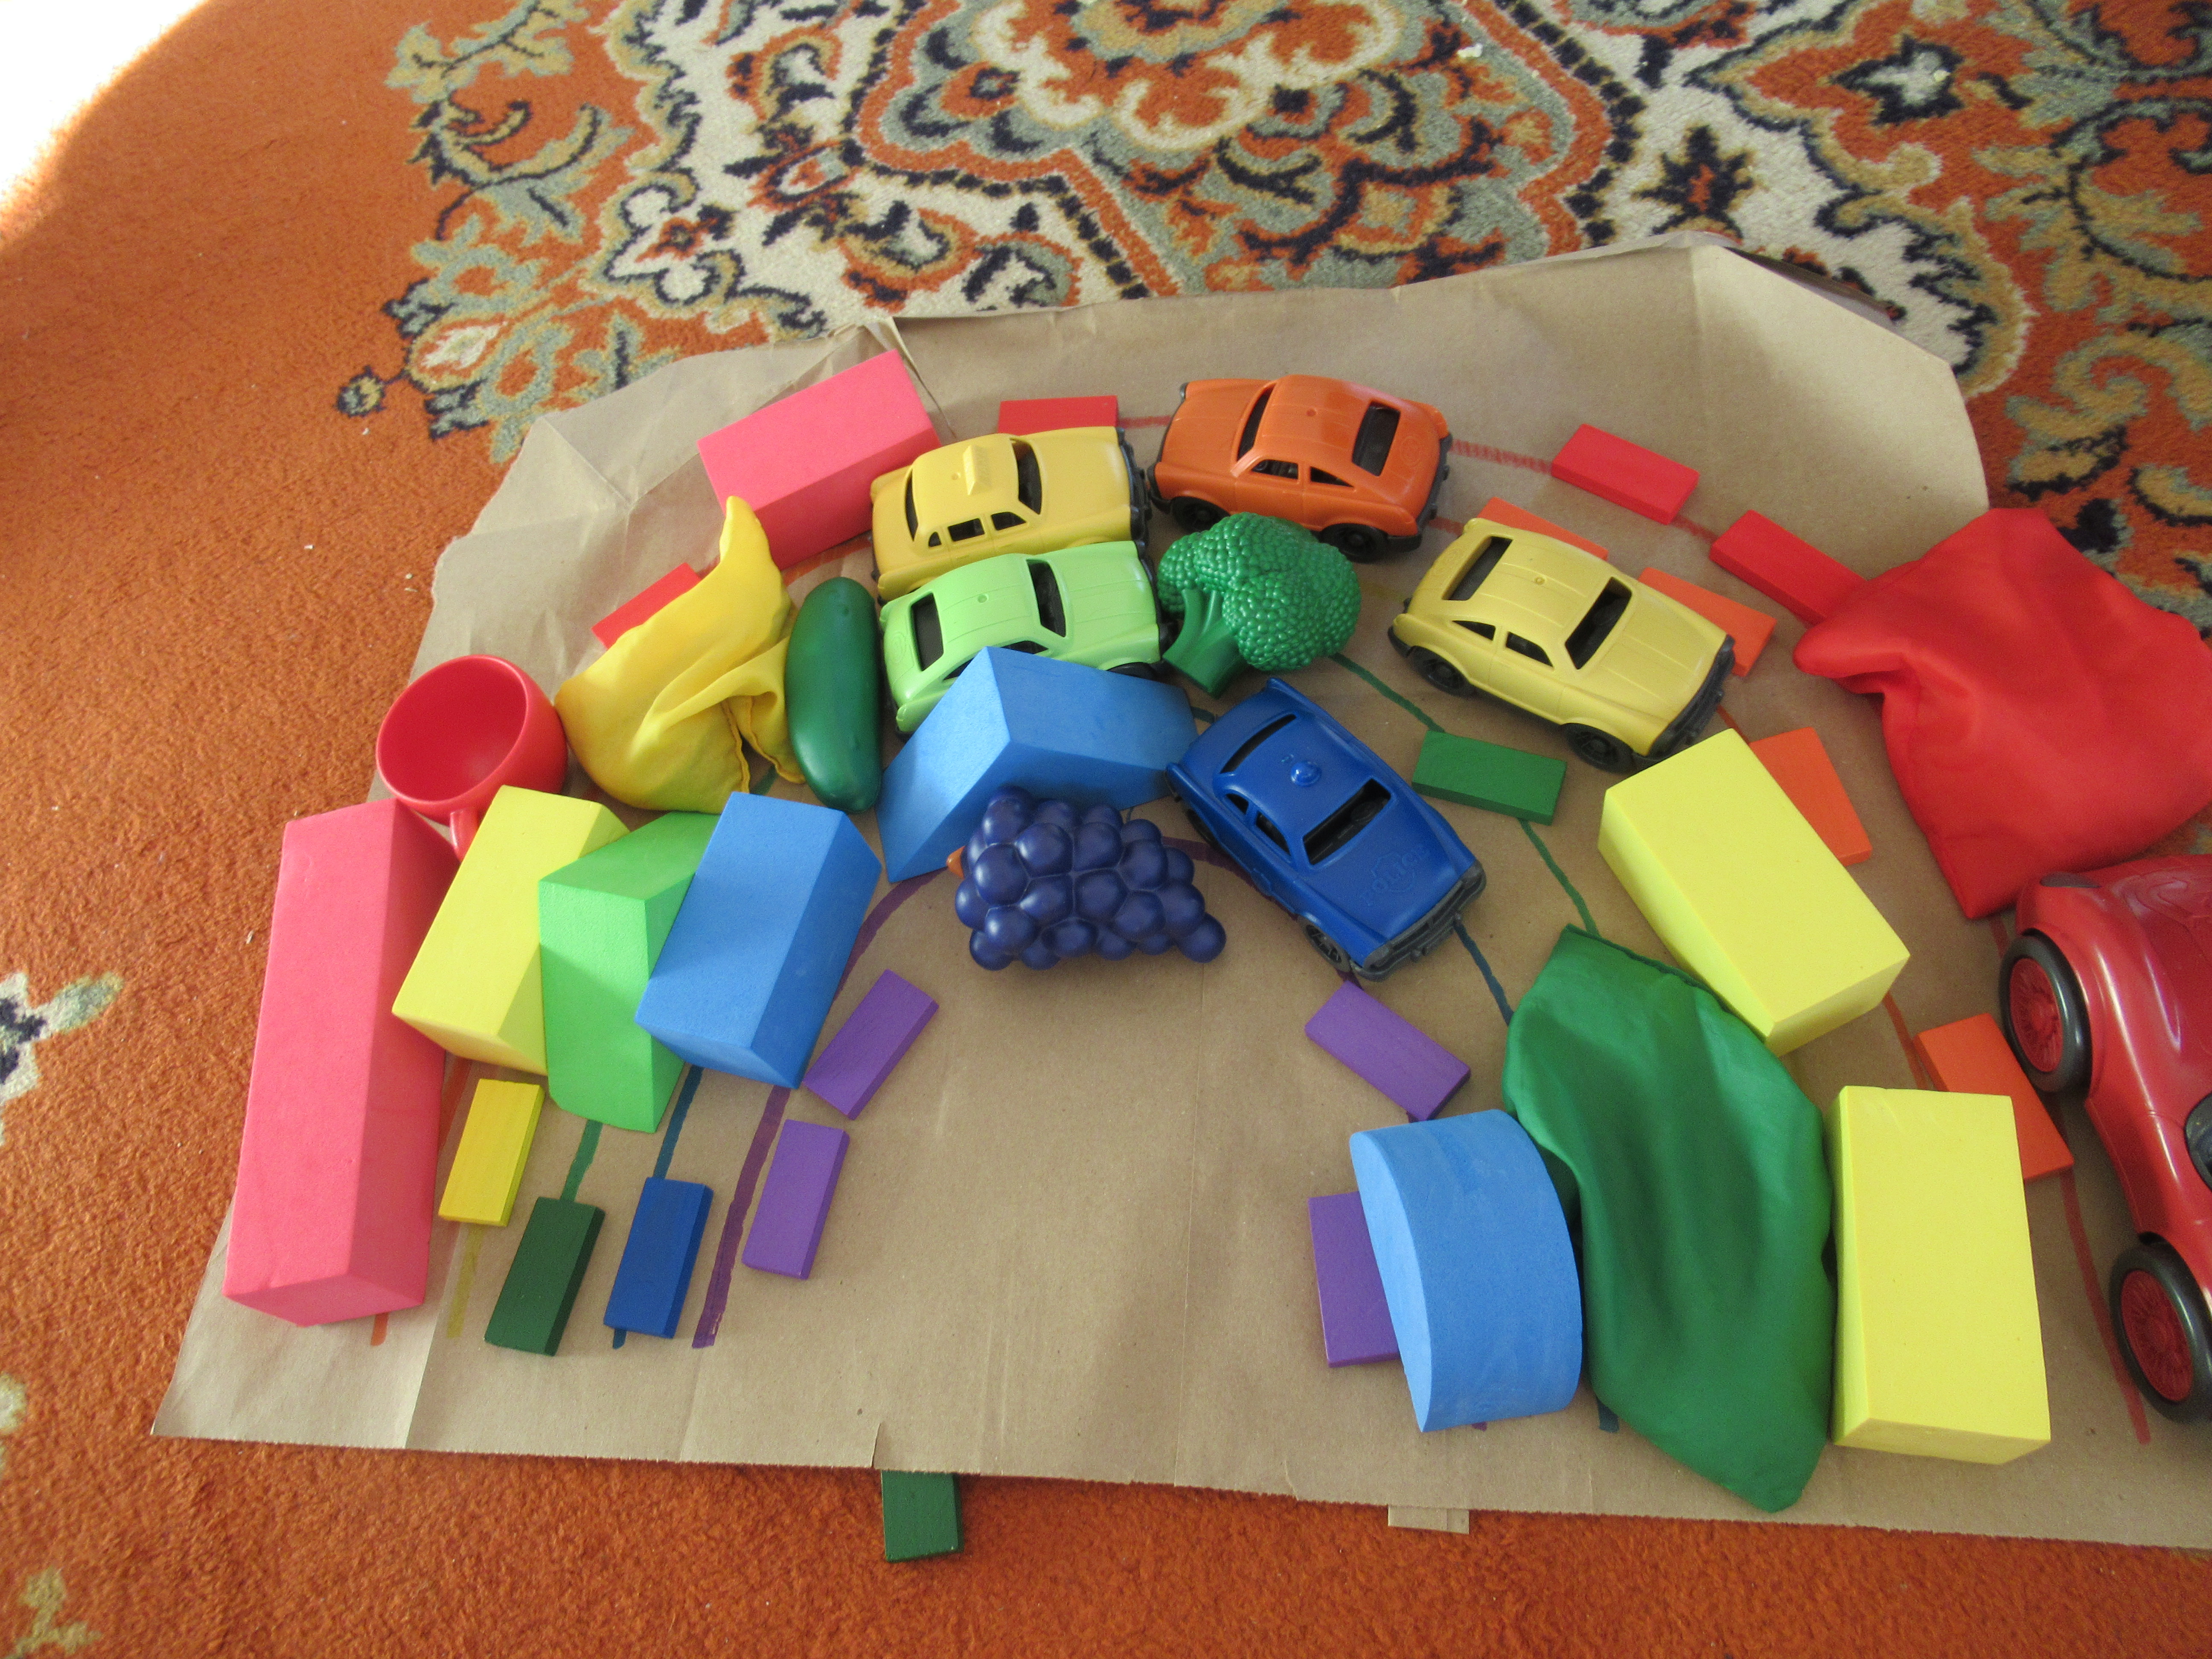
But she also loved picking them up and tossing them! Having the full rainbow is great for teaching ROYGBIV order of course, as well as visually gorgeous.

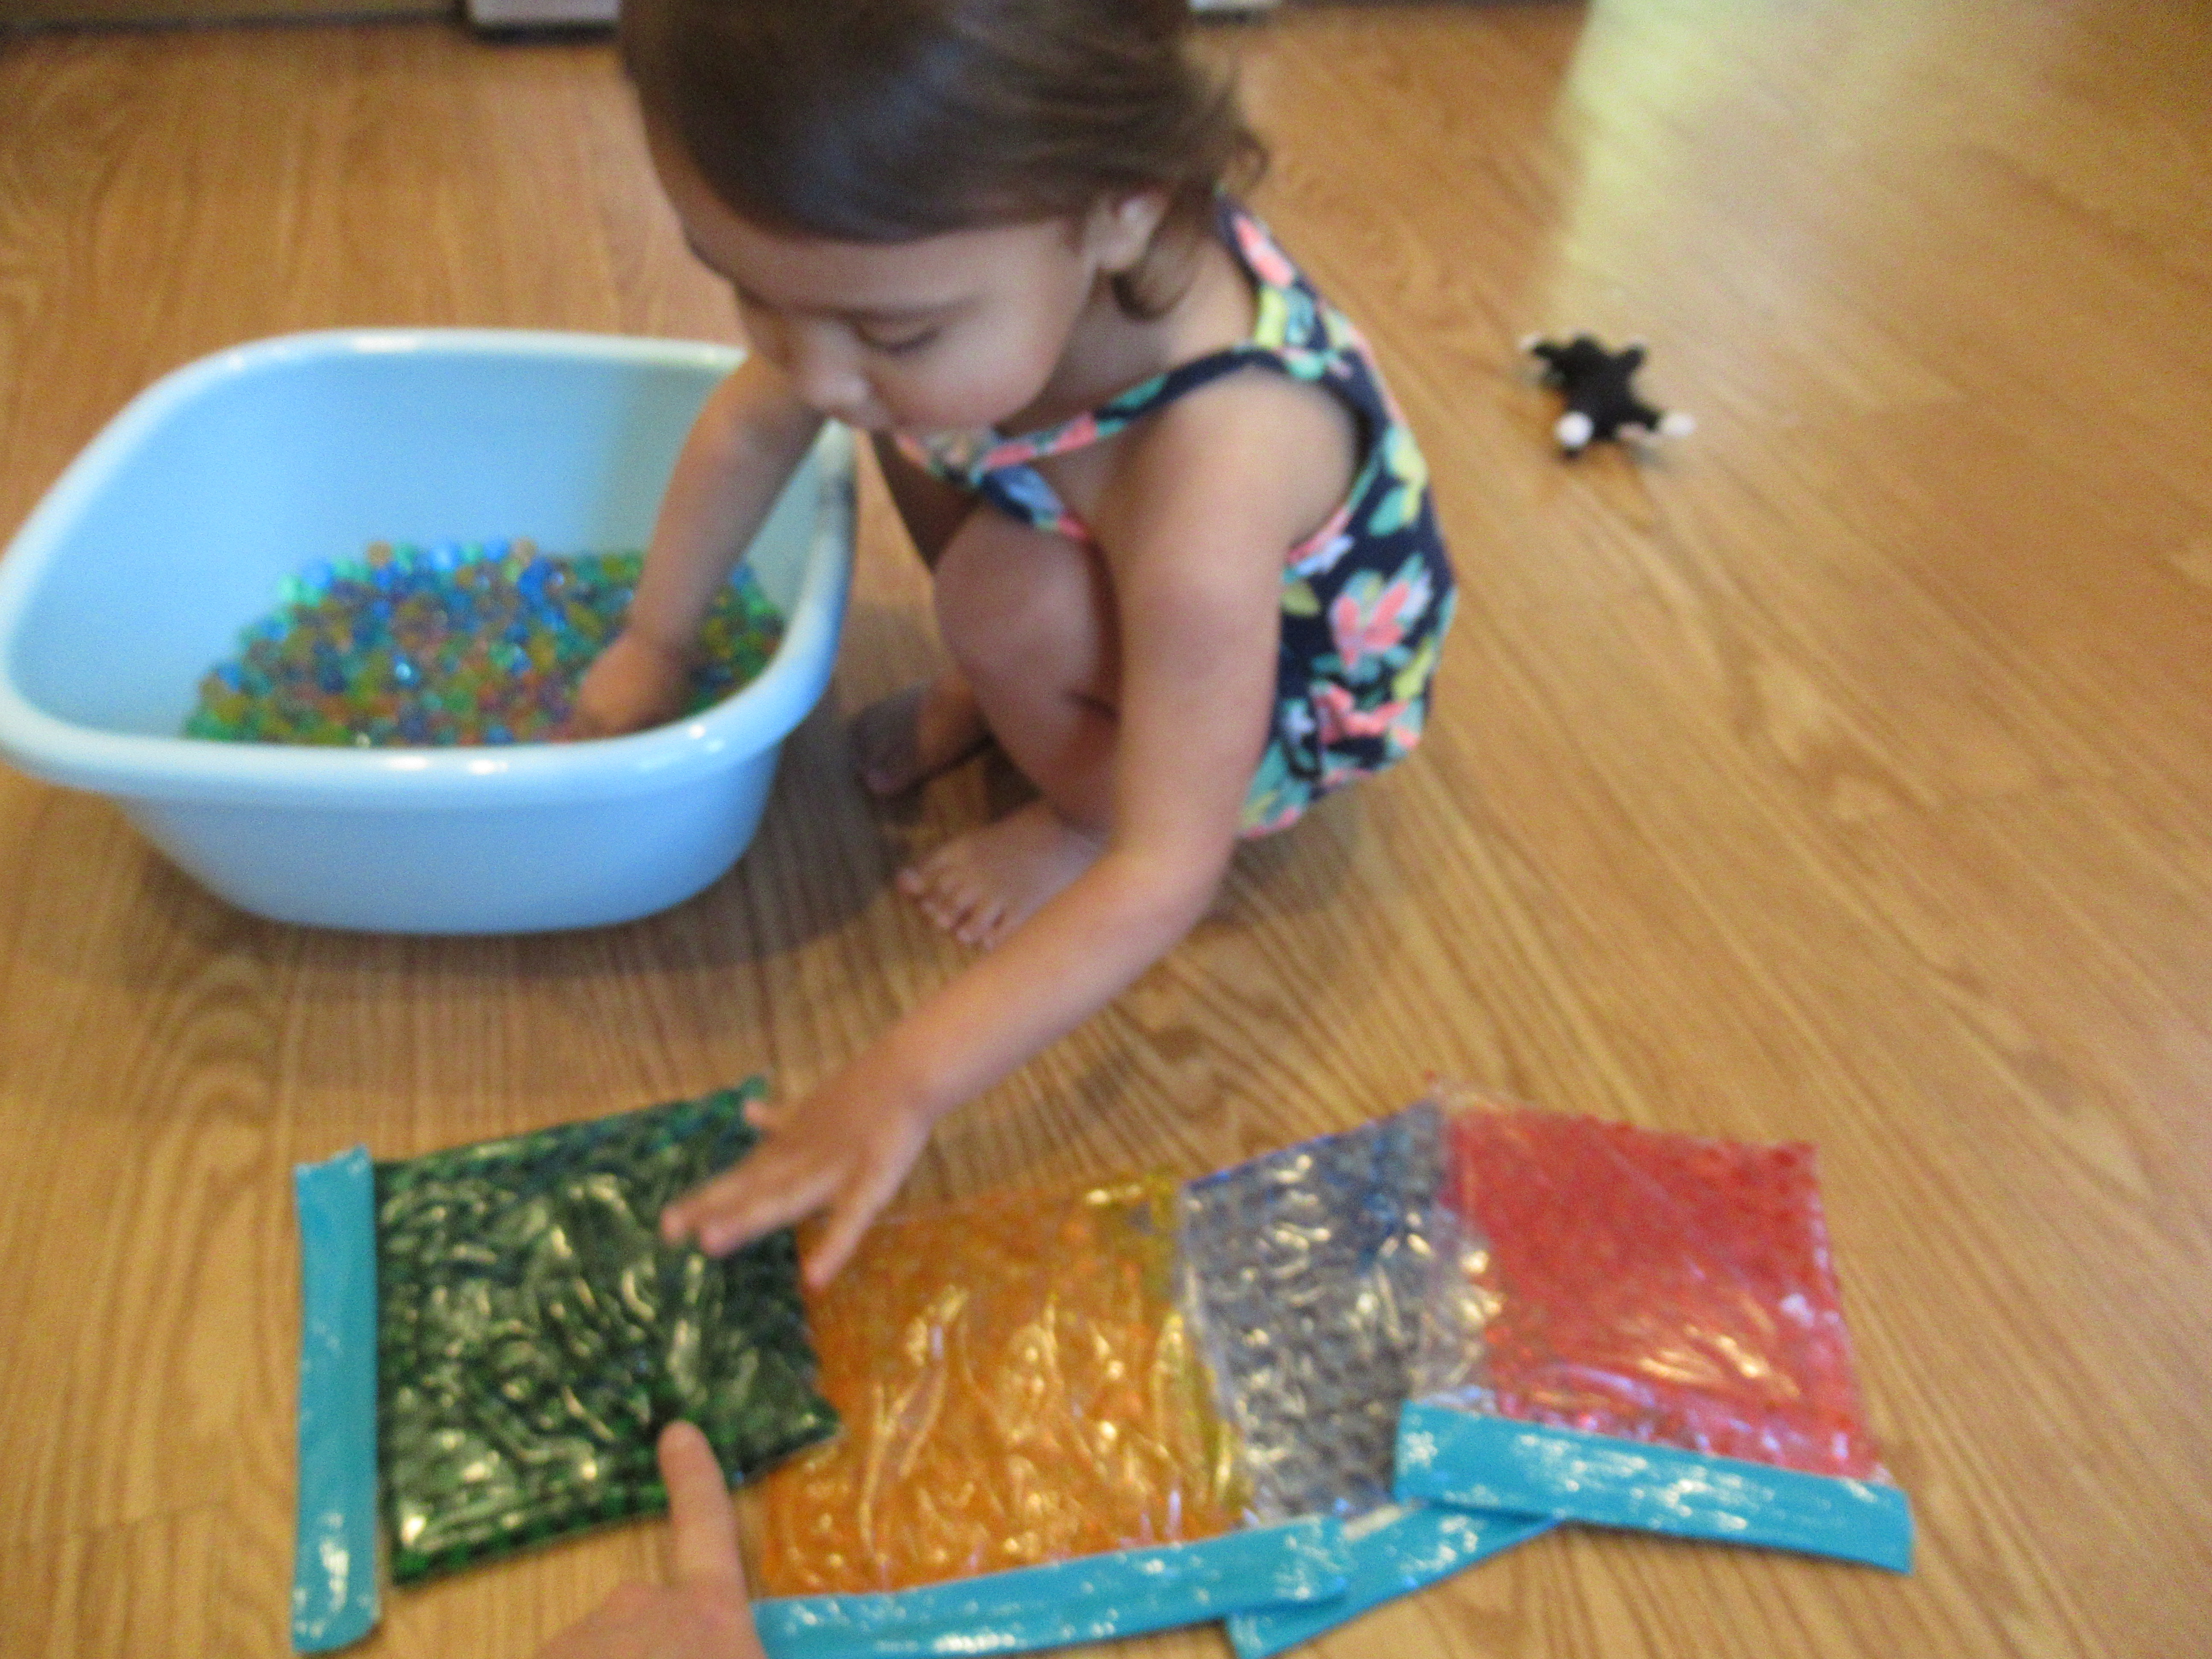
For all that effort to seal the beads up, she did still want to play with some beads out of the bag. So I poured the extras into a wide bin. Pretty soon, toys were swimming through, and big brother Travis needed to join the fun. Luckily, not too many went skittering away!

Rainy Day Recycled Rainbow

Veronika loves rainy days lately, because she’s on the hunt for a rainbow! While we waited for a real one to appear, we made this upcycled version at home, the perfect use for the last few sheets from a pack of construction paper. If you don’t have construction paper, use up any leftover bits of scrapbook or patterned paper from your craft bin. We actually didn’t have any green paper left, so thinking quickly, we scribbled green marker onto white paper.

Tear the paper into pieces (and invite your child to help!), then draw the outline of a rainbow on a large piece of cardboard.

Working with one color at a time, Veronika helped dot glue all along that color, then press down the paper bits that matched.

She loved the process, whether shouting out “gluey gluey!” as we dotted the glue on first, or proudly selecting which paper piece to add. She enjoyed sliding the paper pieces through the glue, too, watching the way this smudged the marker line underneath.

We worked our way up from purple, and she was thrilled when she had to step across the rainbow to work on yellow, orange, and red at the top.

When the rainbow was complete, she wanted to keep going. I gave her a sheet of paper and the remaining paper scraps to design her own rainbow. I loved this toddler-take on the craft!

Pretty soon we’ll head outside to find a real rainbow for the perfect finish to a rainy day.

Rainbow Rice Letter Learning Tray

Rainbow Rice Letter Tray (11)

It’s been all things rainbow in our house this week as we get closer to St. Patrick’s Day. Here was a new spin on an old idea, since we’ve made rainbow rice before, but with some learning thrown in. Today, there were letters hidden in all that rice!

As a reminder, you can make rainbow rice by combining 1 cup white rice, 1 tablespoon white vinegar, and a few drops of food coloring in a zip-top bag, using 1 bag for each color desired. Seal and shake to coat, then pour onto paper plates and let dry overnight.

Rainbow Rice Letter Tray (1)

In the morning, I arranged the colors in rainbow order for Veronika. I then set out two sets of letters. The first was smooth rocks, which I had labeled A through Z with a sharpie.

Rainbow Rice Letter Tray (3)

The second were the pieces of a letter puzzle. I recommend working with only a few letters at a time for a toddler, or you risk wearing out your child’s concentration! As always, a great place to start is the letters of your child’s name, so today I placed the puzzle letters V-I-K-A (Veronika’s nickname) in the rice.

Rainbow Rice Letter Tray (5)

I pulled our each correspondingly lettered rock, and we went hunting for them! “Hmm, where’s k?” Veronika said so seriously, sifting through the rice with a spoon. “Here it is!”

Rainbow Rice Letter Tray (4)

After we had matched these letters, it became more of a free-for-all. She loved putting the rocks in the rice and burying them with the spoon.

Rainbow Rice Letter Tray (10)

Then, as she uncovered each one, we would look over at the puzzle to find the one it matched.

Rainbow Rice Letter Tray (7)

Finally, things turned into regular sensory play, which was just fine. She loved the sound the rice made as we sprinkled it down!

Rainbow Rice Letter Tray (8)

The pastel colors of the rice helped us channel spring, which is less than a week away, a very welcome thought as winter weather continues outside.

Rainbow Rice Letter Tray (6)

Rainbow Sensory Bags

Rainbow Sensory Bag (4)

Mixing paint is such a great way to teach kids about the difference between primary and secondary colors (namely, that you achieve one of the latter by mixing two of the former), and I’m always looking for ways to make the lesson hands on. These hair gel bags make it easy to mix the colors together in a fun and squishy way!

Rainbow Sensory Bag (2)

To start, squirt a little clear hair gel into each of three sandwich-sized zip-top bags. Add the primary colors on either side of the gel, so you have one bag that contains red + yellow, a second that contains yellow+ blue, and a third that contains blue + red.

Rainbow Sensory Bag (1)

Seal tightly and add a strip of duct tape at the top of each for security. Now invite your toddler to squish and mush!

Rainbow Sensory Bag (3)

Veronika was particularly pleased when the red and blue combined to make her favorite color (purple).

Rainbow Sensory Bag (8)

We simply made this about the squishy sensory play today, but see my previous post on primary color storytime for reading suggestions that can go along with it.

Rainbow Sensory Bag (5)

If you have enough paint, you might consider making one bag that contains just red paint + hair gel, one with yellow paint + hair gel, and one with blue paint + hair gel, in which case you’ll wind up with the full rainbow lineup at the end.

Rainbow Toy Scavenger Hunt

Rainbow Toy Scavenger Hunt (4)

Here’s a great color lesson for toddlers that’s interactive and hands-on!

To start, I drew a rainbow with markers on the biggest piece of paper available, in this case an old paper grocery bag that I opened up to lie flat. Ideally I would have made the rainbow even bigger on poster board or butcher paper, but the grocery bag worked in a pinch. This was a fun chance for a little art side-by-side, since Veronika wanted to color, too.

Rainbow Toy Scavenger Hunt (1)

Once the rainbow was complete, it was time to make it 3-D! I curated this activity slightly for Veronika since she’s so young, gathering a variety of toys in easy-to-spot solid colors, and placing them in piles near the rainbow. These included blocks, toy cars, dominoes, plastics fruits and veggies, and bean bags.

Rainbow Toy Scavenger Hunt (2)

Now I asked Veronika to help me fill in the rainbow! She quite quickly grasped the idea, reaching to put items on the line of the same color. Our bumpy rainbow quickly took shape.

Rainbow Toy Scavenger Hunt (5)

Even better, the completed rainbow is likely to invite your child to play solo for some time after, since all those toys are now right at hand!

Rainbow Toy Scavenger Hunt (6)

Older toddlers and preschoolers can make this more of a true hunt, and trot all about the house looking for one color at a time before lining up the items they’ve found on the rainbow lines. But even this sit-down “hunt” was great for my two year old!

Rainbow Toy Scavenger Hunt (3)

Chase the Rainbow

Chase the Rainbow (7)

Here’s a great activity whether your goal is to encourage siblings to work together, or whether you just need to occupy your child the next time you hear: “I’m bored.” Task them with making a rainbow!

I laid out a few blocks to set the kids on the right track, arranging a few of each color in a circle, and then they were off and hunting for other items around the room that fit our rainbow.

Chase the Rainbow (2)

Veronika was so proud when she could add an item to the right color segment of our circle.

Chase the Rainbow (5)

There’s the green pile!

Chase the Rainbow (6)

Big brother Travis was very proud every time he could fill in where we needed a color the most, like a purple cape from the dress-up bin to beef up the purple pile.

Chase the Rainbow (3)

Soon we had a varied group of blocks, cars, animals, dollhouse furniture, and more.

Chase the Rainbow (4)

This was a great way for a toddler to see the various shades of a color, too, as opposed to standard bold primary colors. So go ahead and tell your kids to chase after the rainbow!

Rainbow in a Bag

Rainbow in a Bag (5)

This is a neat, no-mess way for toddlers to paint a full rainbow!

To start, I needed to make a thick goopy paint. Based on a recipe I found online, I combined 1 cup flour, 2 cups water, and 1 tablespoon salt in a saucepan, then cooked over medium-low heat, stirring with a whisk. It didn’t get as thick as I hoped, but stirring in 1 tablespoon cornstarch did the trick.

Rainbow in a Bag (1)

Once thick, I divided the mixture among 6 paper cups and added about 20 drops of liquid watercolor to each, one for each color of the rainbow. Note: If you are worried about staining, use food coloring instead of the watercolor. However, because I knew this project would be sealed in a bag, there would be no chance for Veronika to smear it on her clothes… Or taste it!

Rainbow in a Bag (2)

I placed a piece of thick white paper in a gallon-sized zip-top bag, then arranged the colors in rainbow order across the paper. Because the paint was so sticky, it grew harder to work as I went, so the colors sort of ended up at a diagonal! But this still worked fine; I sealed the bag and handed to Veronika.

Rainbow in a Bag (3)

At first she was frustrated she couldn’t touch the paint, looking at me with disappointment. Oh that toddler glare!

Rainbow in a Bag (7)

But then she realized the paint blobs felt mushy and squishy beneath her hands, and she loved poking around at them.

Rainbow in a Bag (4)

By the end she had smeared the paints in such a way that we had a full rainbow of stripes across the bag.

Rainbow in a Bag (8)
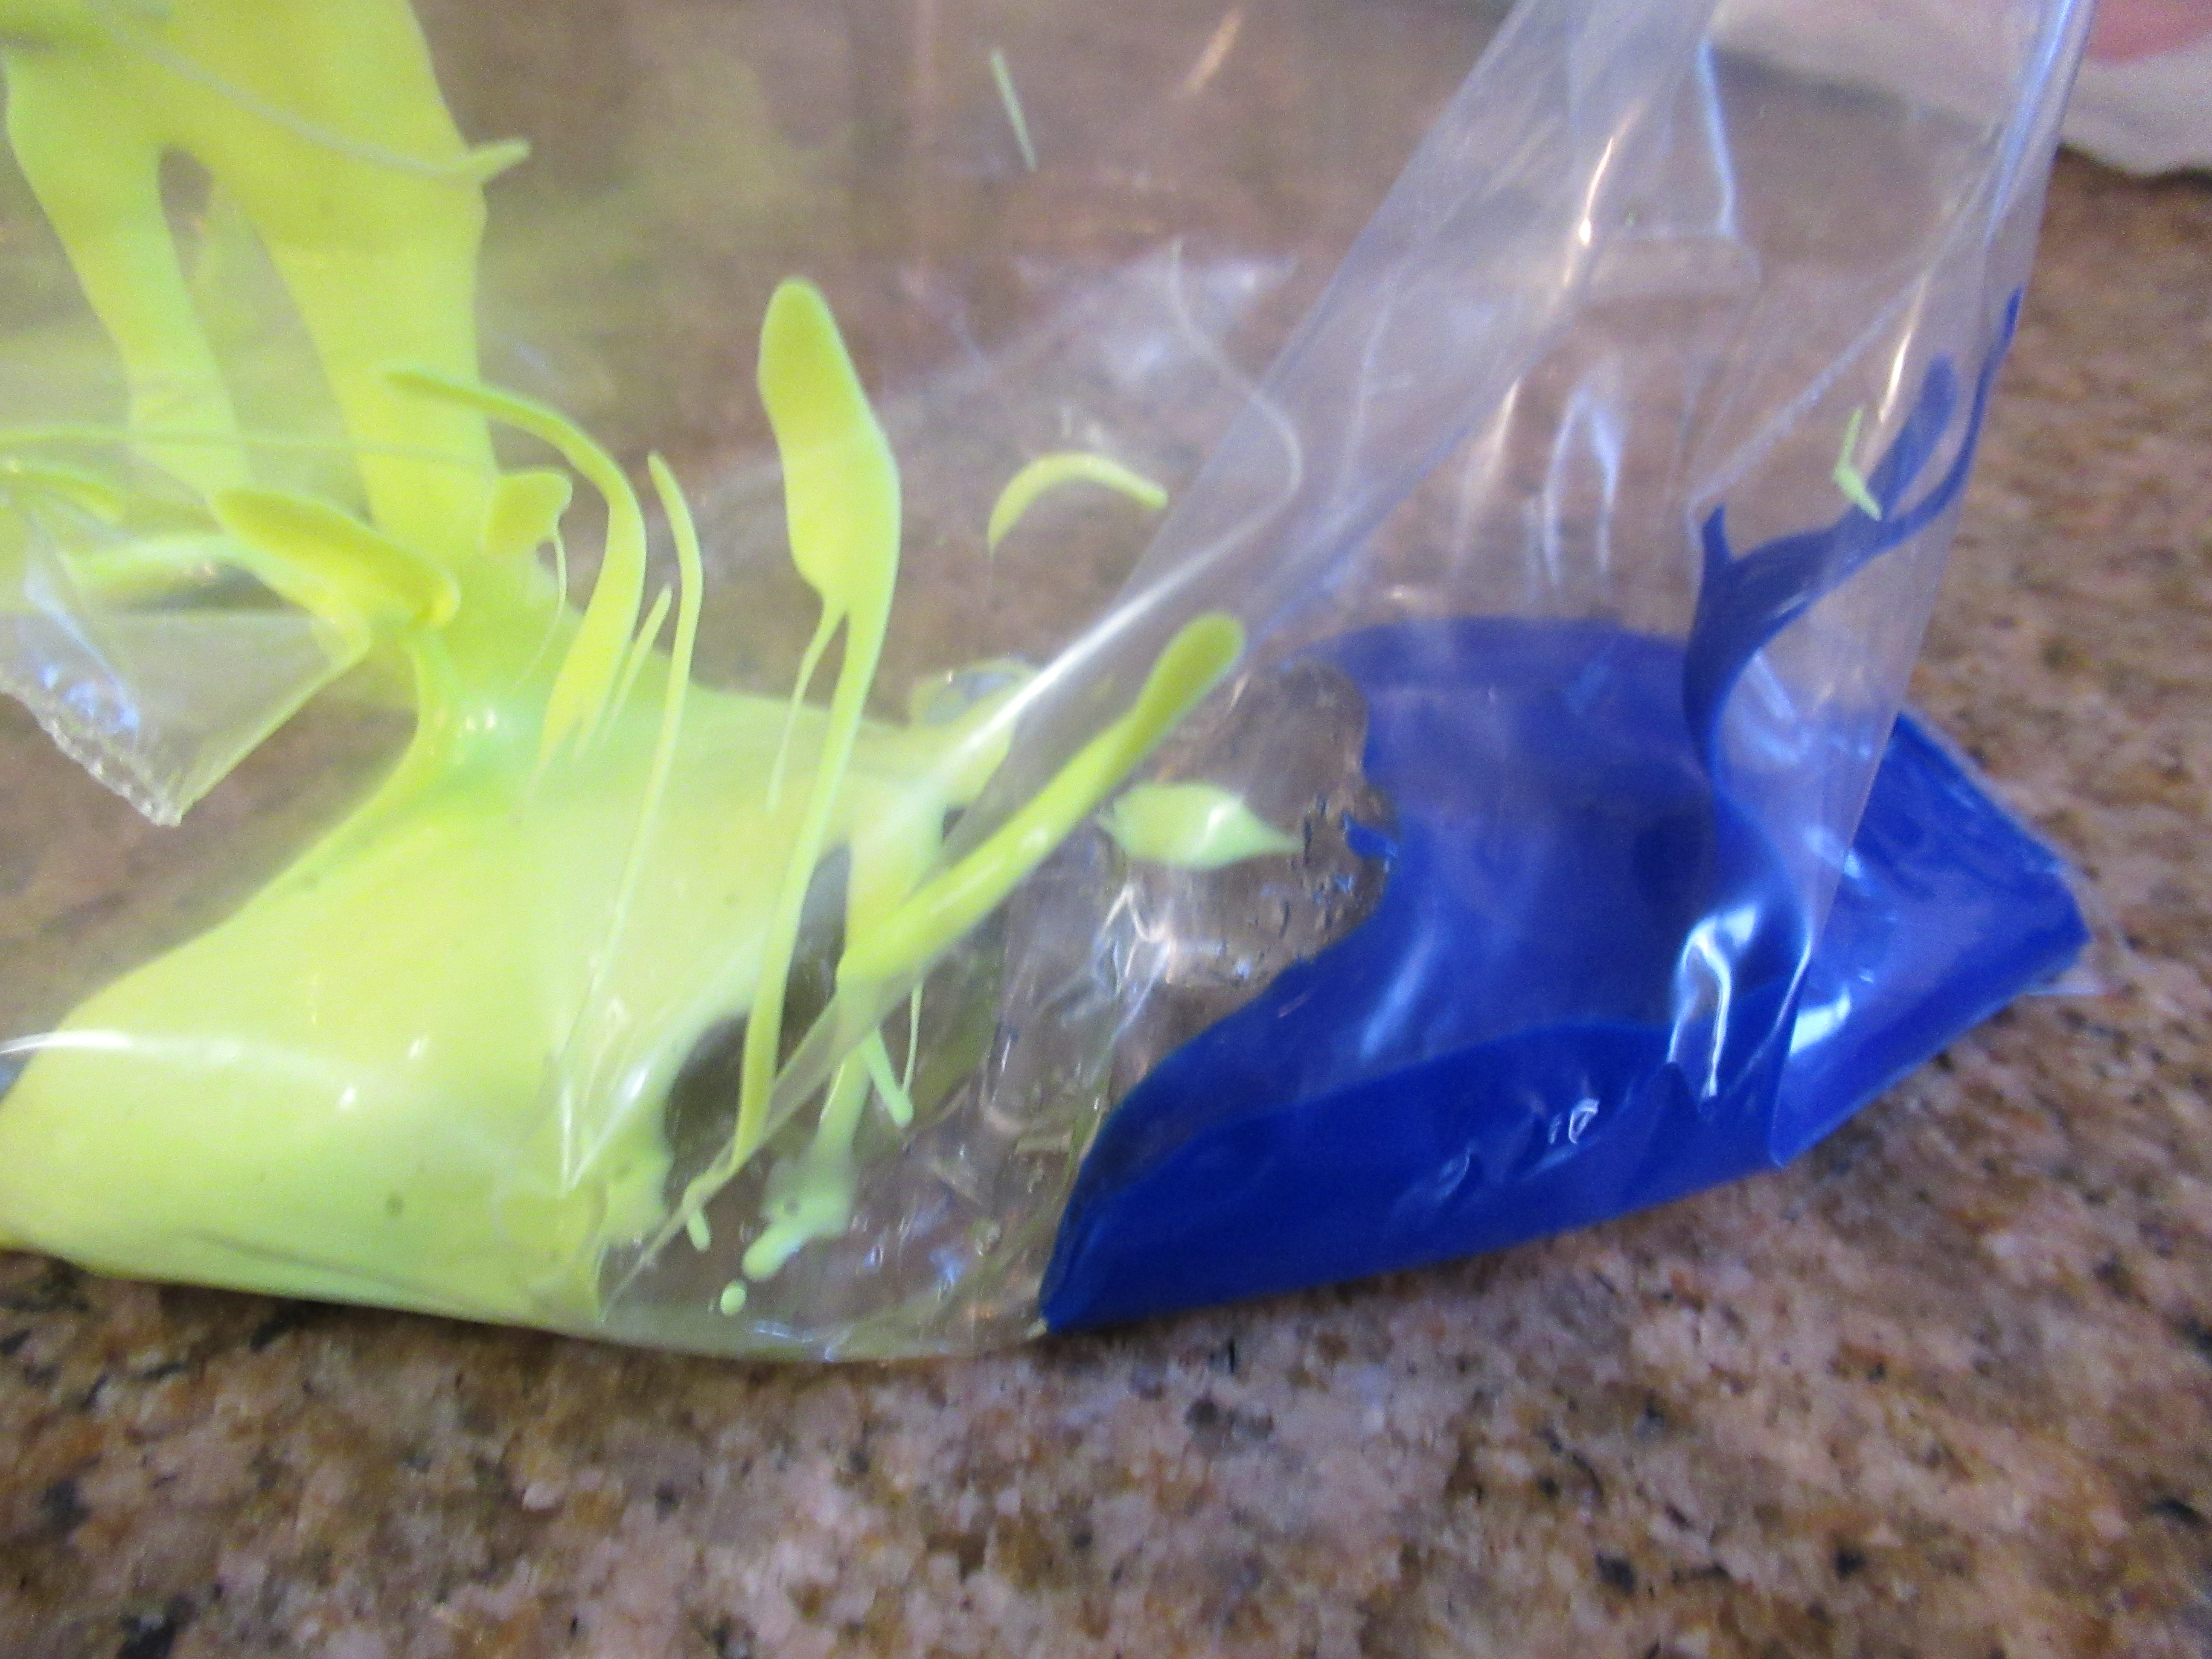
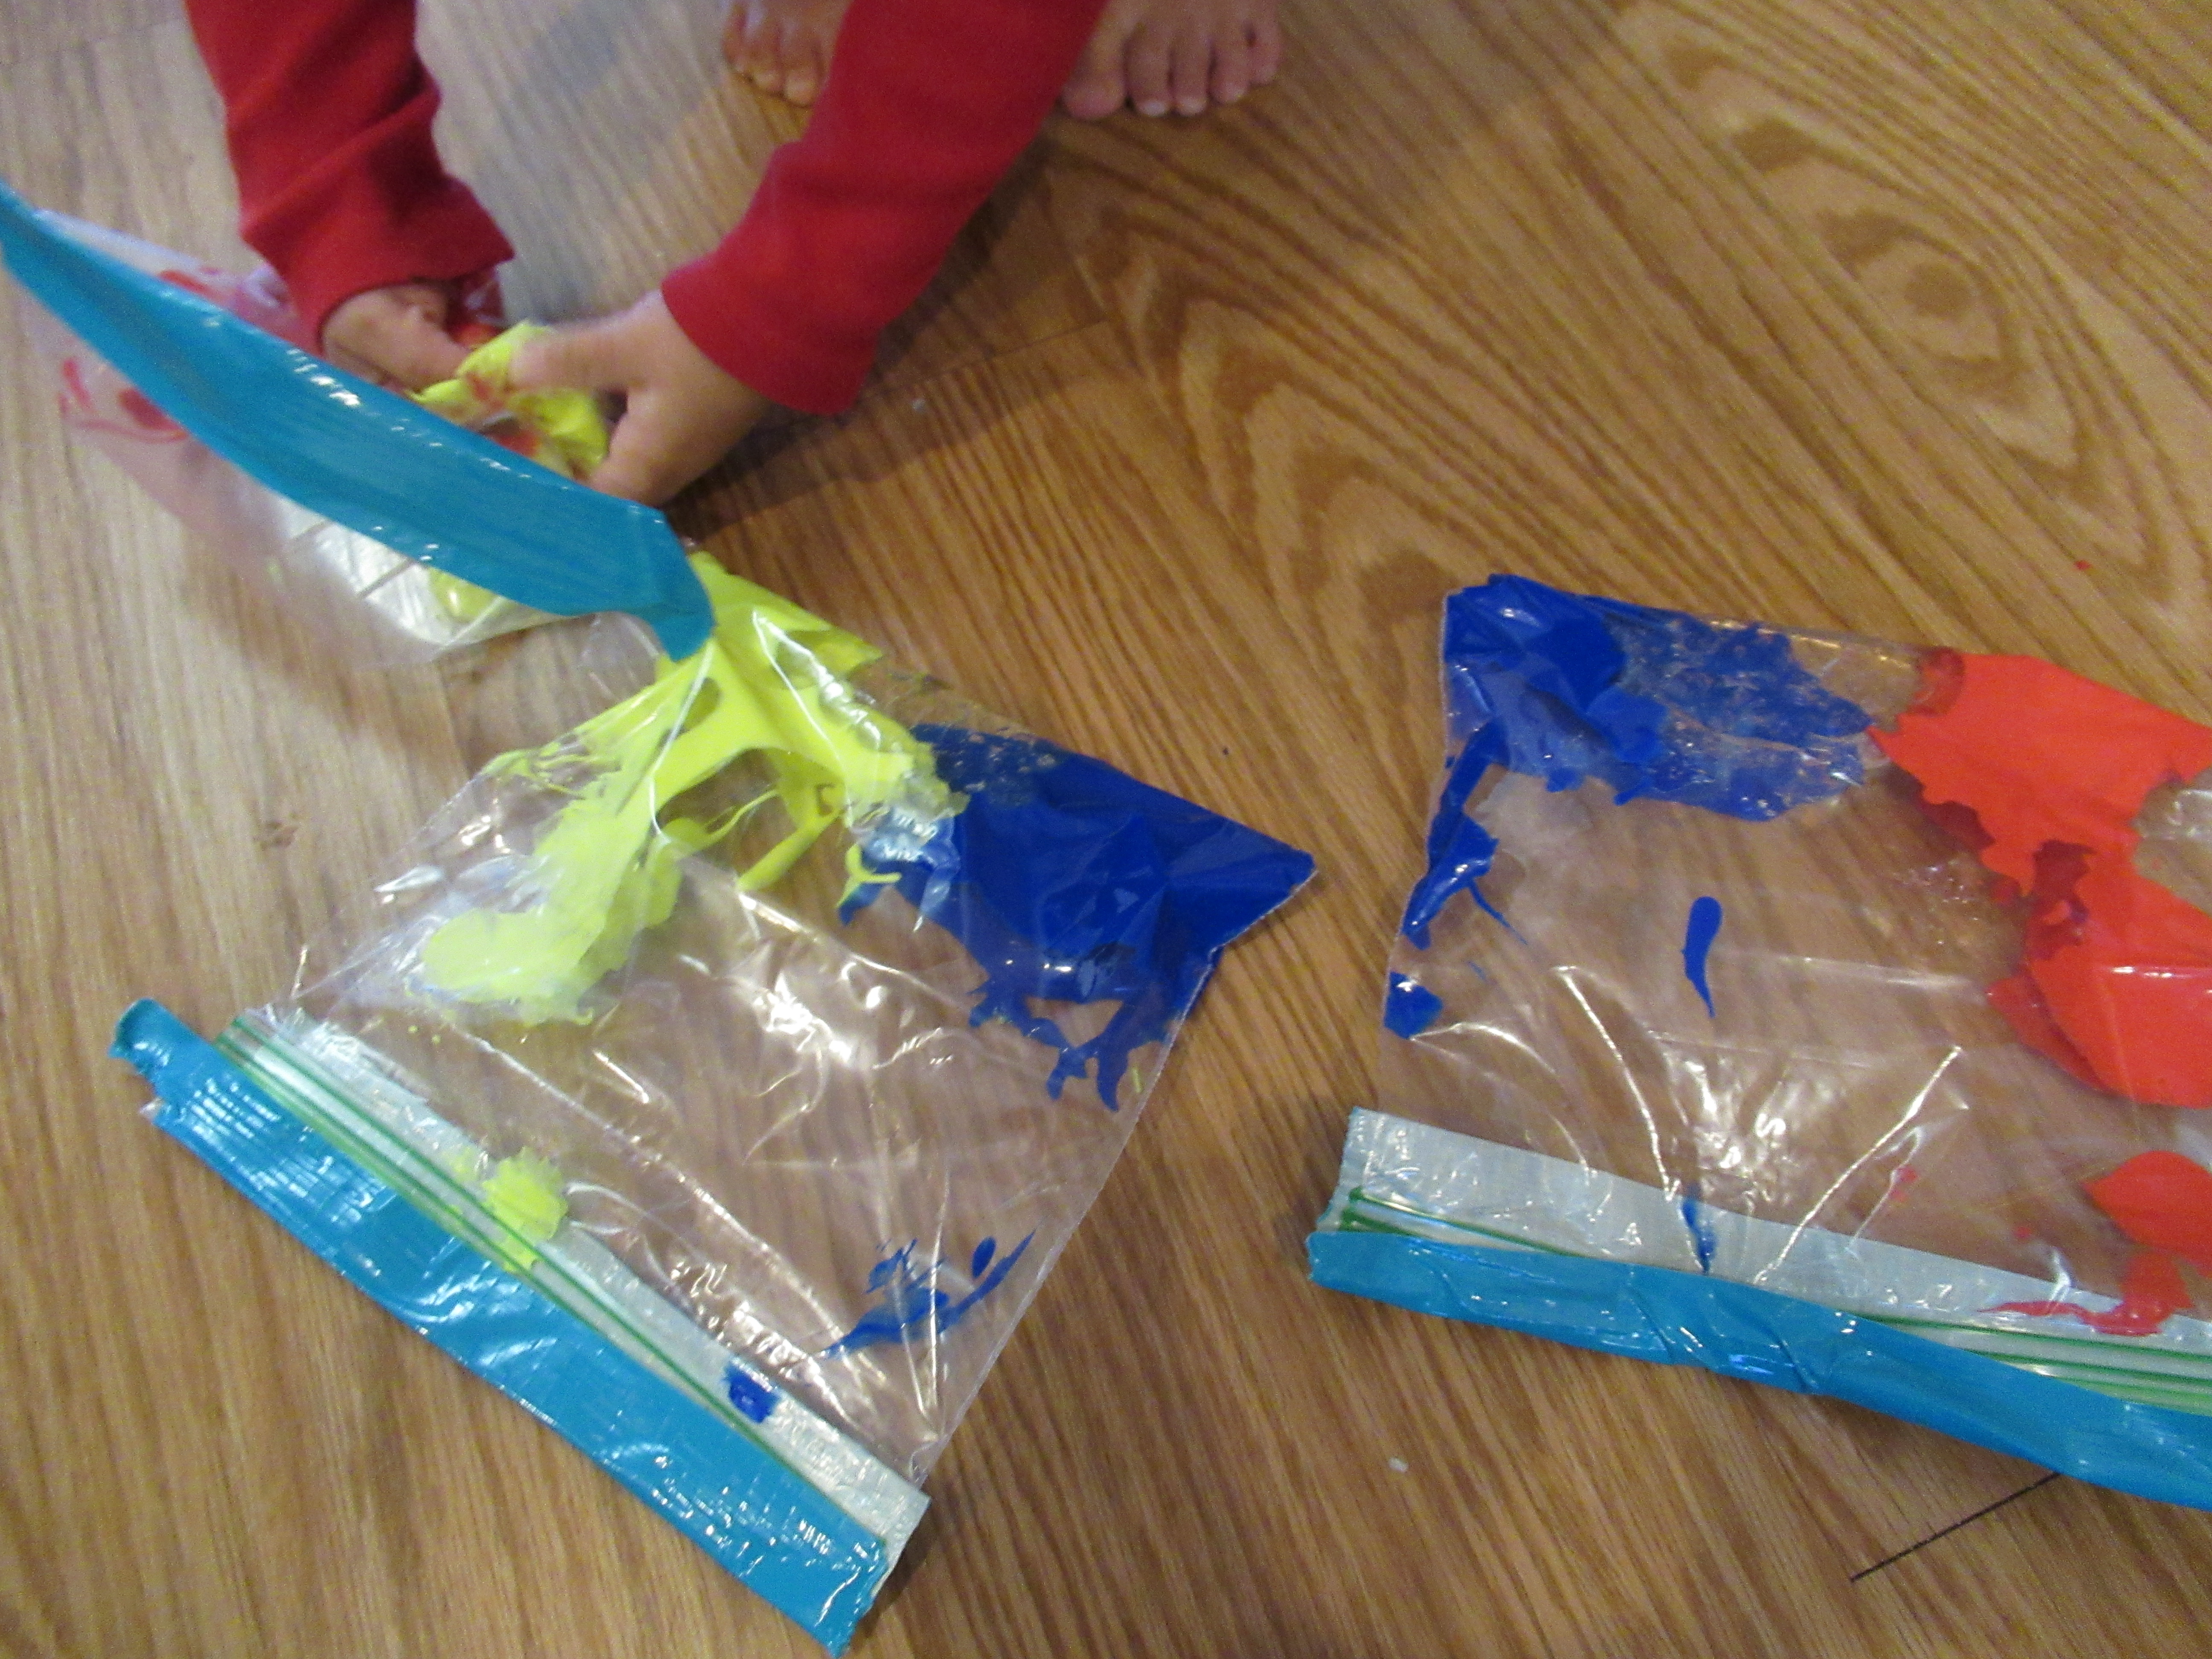
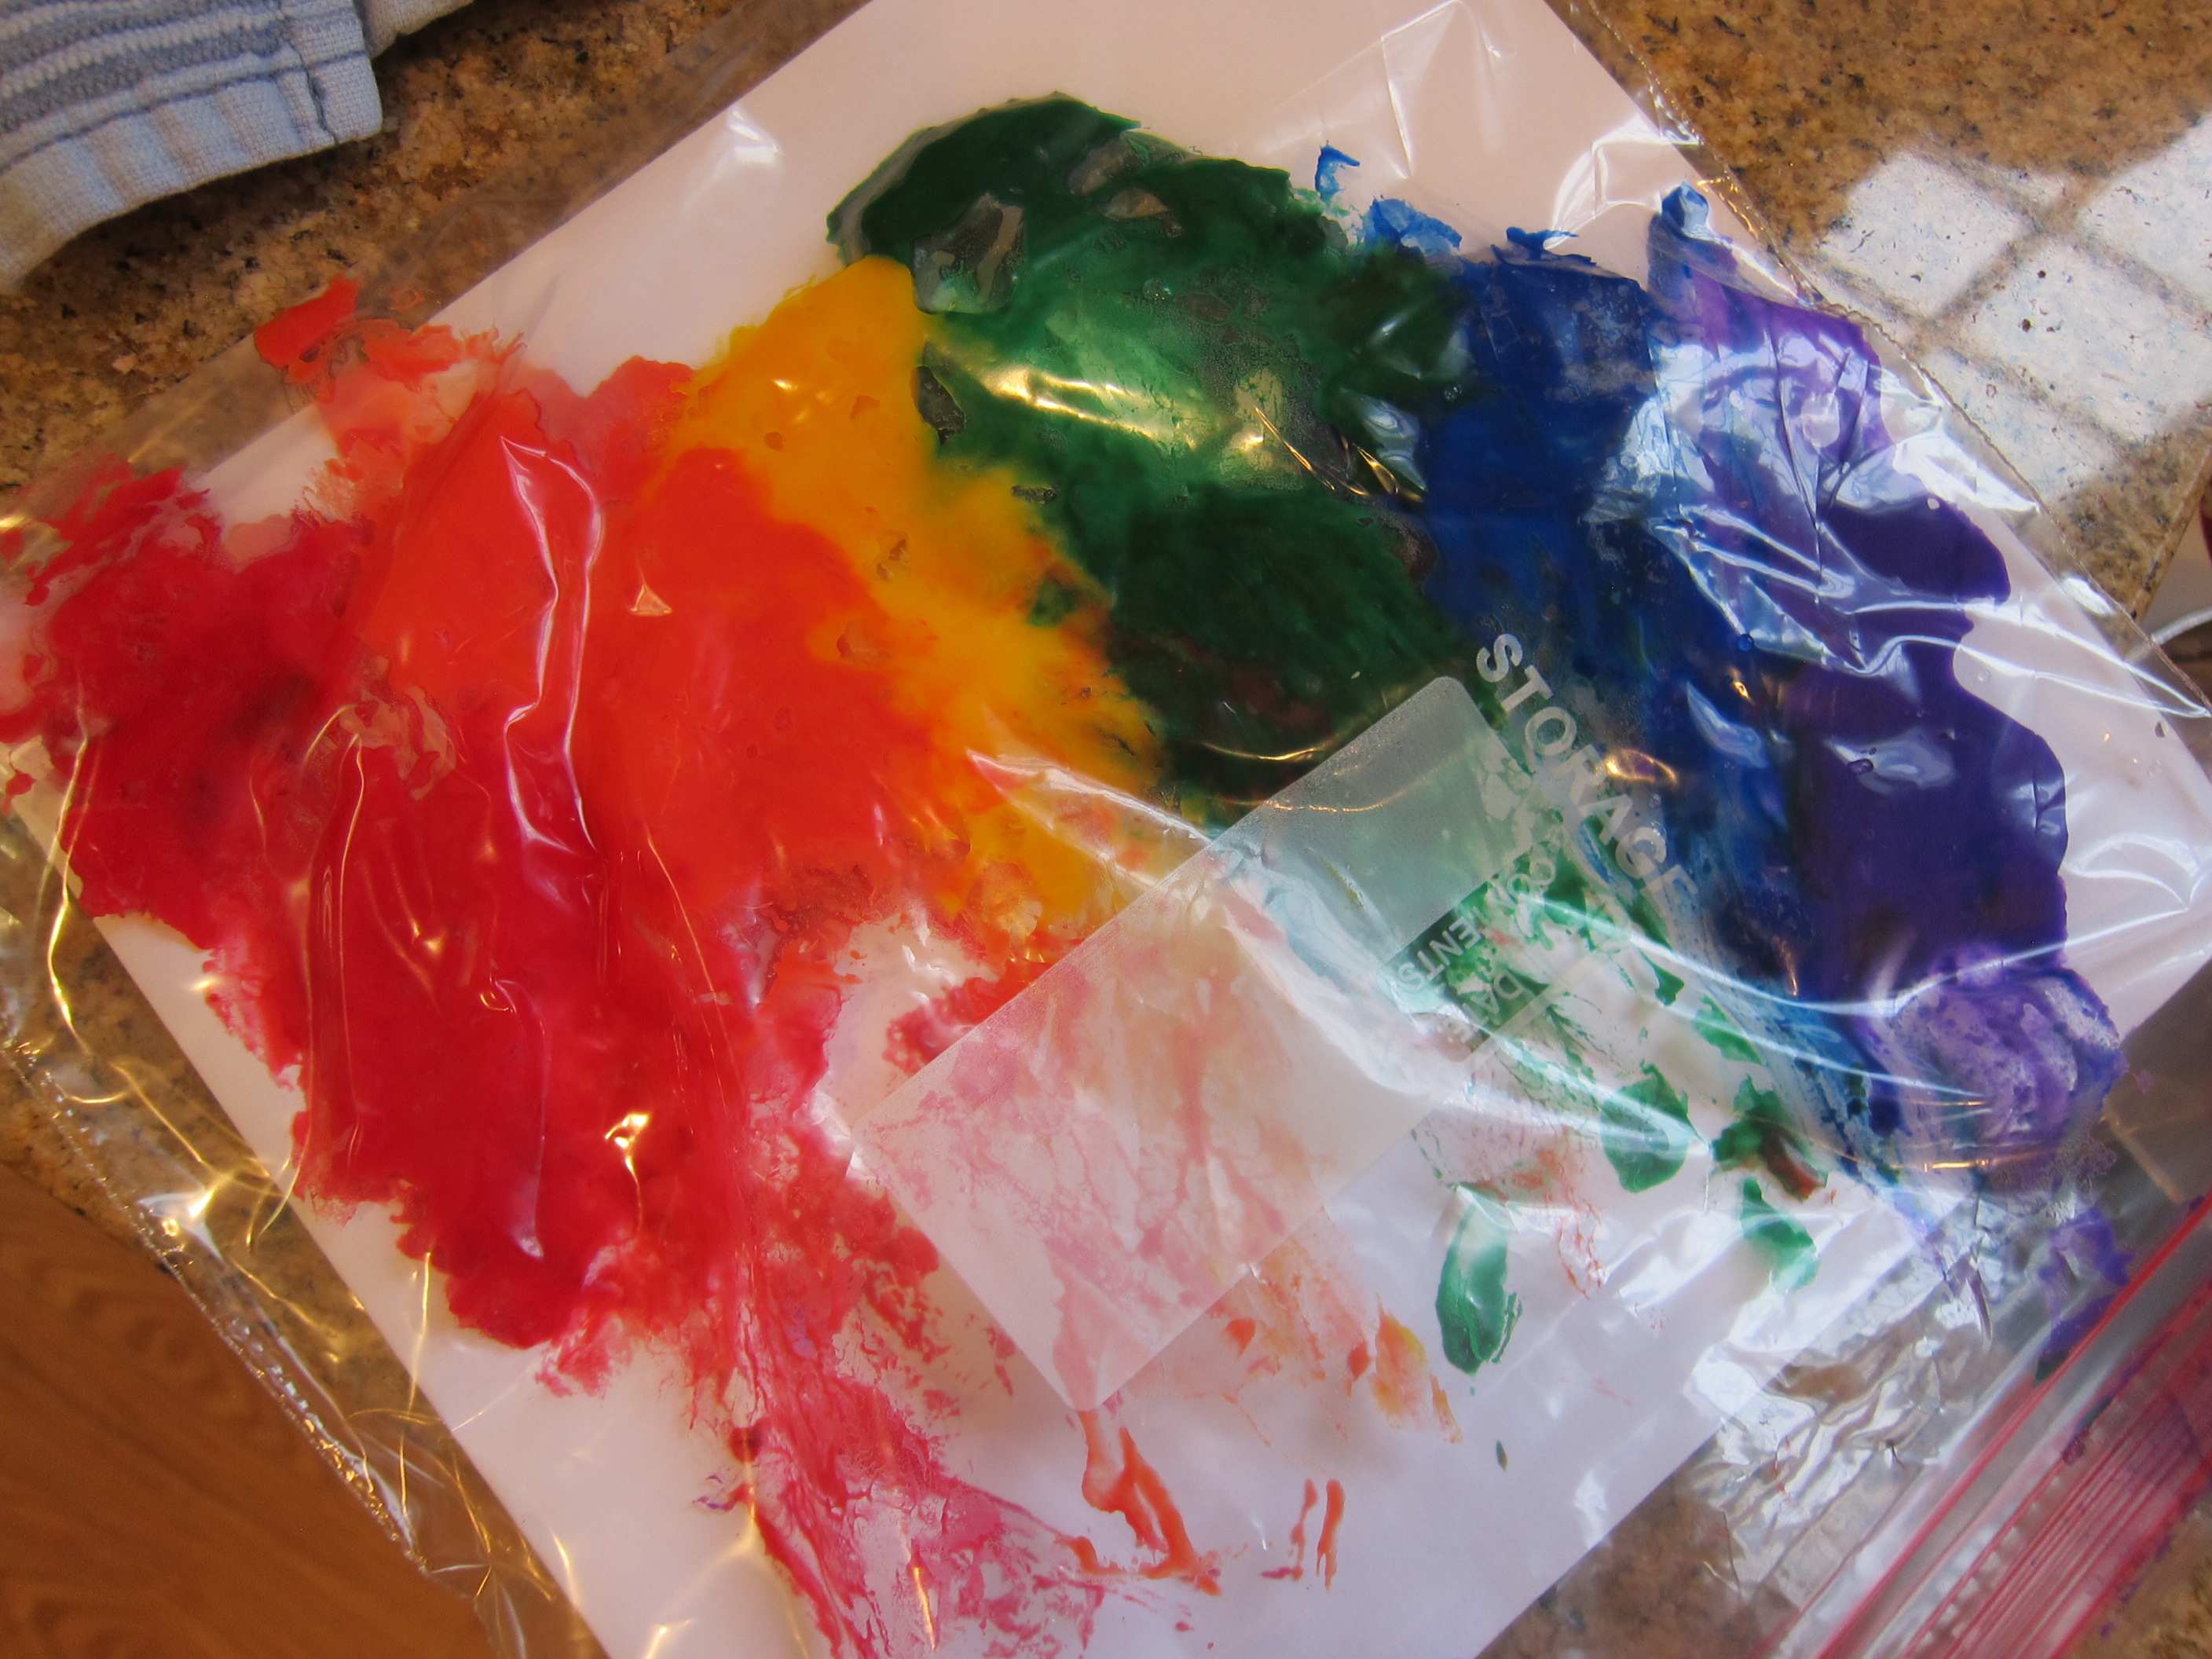
It’s actually too bad that the paint was so goopy, or I would have pulled the white paper out to dry and hang on the fridge. Next time!

Rainbow Salt Tray

Rainbow Salt Tray (9)

Here’s a project I remember doing with Travis when he was a toddler, and the seeming “magic” of it never grows old. I told Veronika that today she was going to paint a rainbow!

To set up, line the bottom of a shallow tray with construction paper, arranging the pieces in rainbow order.

Rainbow Salt Tray (2)

Oddly, our pack of paper doesn’t include purple, so I quickly colored a white piece with purple marker to fix that! Tape down the pieces of paper so they overlap. It’s helpful to use clear tape along all the seams, so salt doesn’t slip in between the sheets in the next step.

Now just cover the paper with a layer of table salt!

Rainbow Salt Tray (3)

I showed Veronika the tray and handed her a paintbrush. “Paint?” she asked. She began swirling the paintbrush through and immediately saw blue.

Rainbow Salt Tray (4)

A huge smile appeared on her face. As she worked, she uncovered all the colors of the rainbow.

Rainbow Salt Tray (5)

Of course she got a little impish and enjoyed sweeping salt out of the box for a time, too.

Rainbow Salt Tray (8)

You can make this educational by drawing big letters or shapes in the salt. (Hint: it might make for good sightword practice if you’re homeschooling a kindergartner, too!).

Rainbow Salt Tray (7)

But mostly Veronika just had fun, seeing what color would magically rise to the surface next as she brushed through each portion of the tray.

Rainbow Salt Tray (6)

You’ll notice that the tray was great fun to sit in, even after we’d dumped the salt!

Rainbow Salt Tray (11)

Rainbow Craft Challenge

Rainbow Challenge (5)

Just in time for St. Patrick’s Day, Travis’s art challenge from Highlights magazine was to make a rainbow using tissue paper, glue, and… anything from the recycling bin!

So of course first we had to dump everything from the bin onto the floor. Travis loved going through the pile, including boxes and tubes and cans that we didn’t ultimately use for the project (some of which became props for his games all afternoon).

Rainbow Challenge (1)

A pizza box was the largest piece of cardboard available so that became our base. We glued down blue tissue paper for a quick background.

Rainbow Challenge (2)

I had bought tissue paper in every color of the rainbow, and assumed we would tear these into tiny pieces. But Travis had other ideas, and I loved watching him twist a sheet of each color into a rope, then glue these in rainbow order.

Rainbow Challenge (3)

A black bottle cap made a pot of gold and white tissue paper glued on to a container lid became a puffy cloud. Clever!

Rainbow Challenge (4)

Here’s hoping we have some extra luck whenSt. Patrick’s Day rolls around next week.

Rainbow Rice Sensory Bags

Rainbow Rice (7)

These easy sensory bags kept my toddler busy for ages… and they look so pretty, too!

If you are playing this game with preschoolers, definitely enlist their help when putting the rice bags together since it’s great scooping practice.

Rainbow Rice (1)

With my 16 month old, though, I did the set-up solo. Here’s my little helper standing by:

Rainbow Rice (3)

Scoop 2 cups rice into each of 6 sandwich-size zip-top bags. Pour a little paint into each in all the colors of the rainbow, using red, orange, yellow, green, blue, and purple. Seal the bag and shake until the rice is completely covered in the paint.

Rainbow Rice (2)

It’s then helpful to open back up and squeeze out as much air as possible before resealing. Now you have a sort of rice “brick” for your child to play with. Repeat for the remaining colors.

Veronika couldn’t wait to come see what it was all about. She stacked them…

Rainbow Rice (10)

…threw them…

Rainbow Rice (9)

…squeezed them…

Rainbow Rice (5)

…and of course tried to open them up (phew, with no success!). In other words, they kept her very busy. There was lots of talking to herself as she played, so she must have had some game going in her head.

Rainbow Rice (4)

For a little learning, I briefly lined the bags up in rainbow order and took the opportunity to sing The Rainbow Song.

Rainbow Rice (6)

You can also pile them in rainbow order, although don’t expect the pile to stay neat for long with a toddler around!