Better Than Water Balloons

My kids love water balloons but there’s lots about these tiny water bombs not to love; the painstaking process of filling each one; how quickly they pop; and all those plastic bits that pose a hazard to animals, just to name a few.

So this summer we’re making “sponge balloons” instead! Okay so they’re not actually balloons, but these sponge bombs are equally icy cold and wet, making them perfect for summer games.

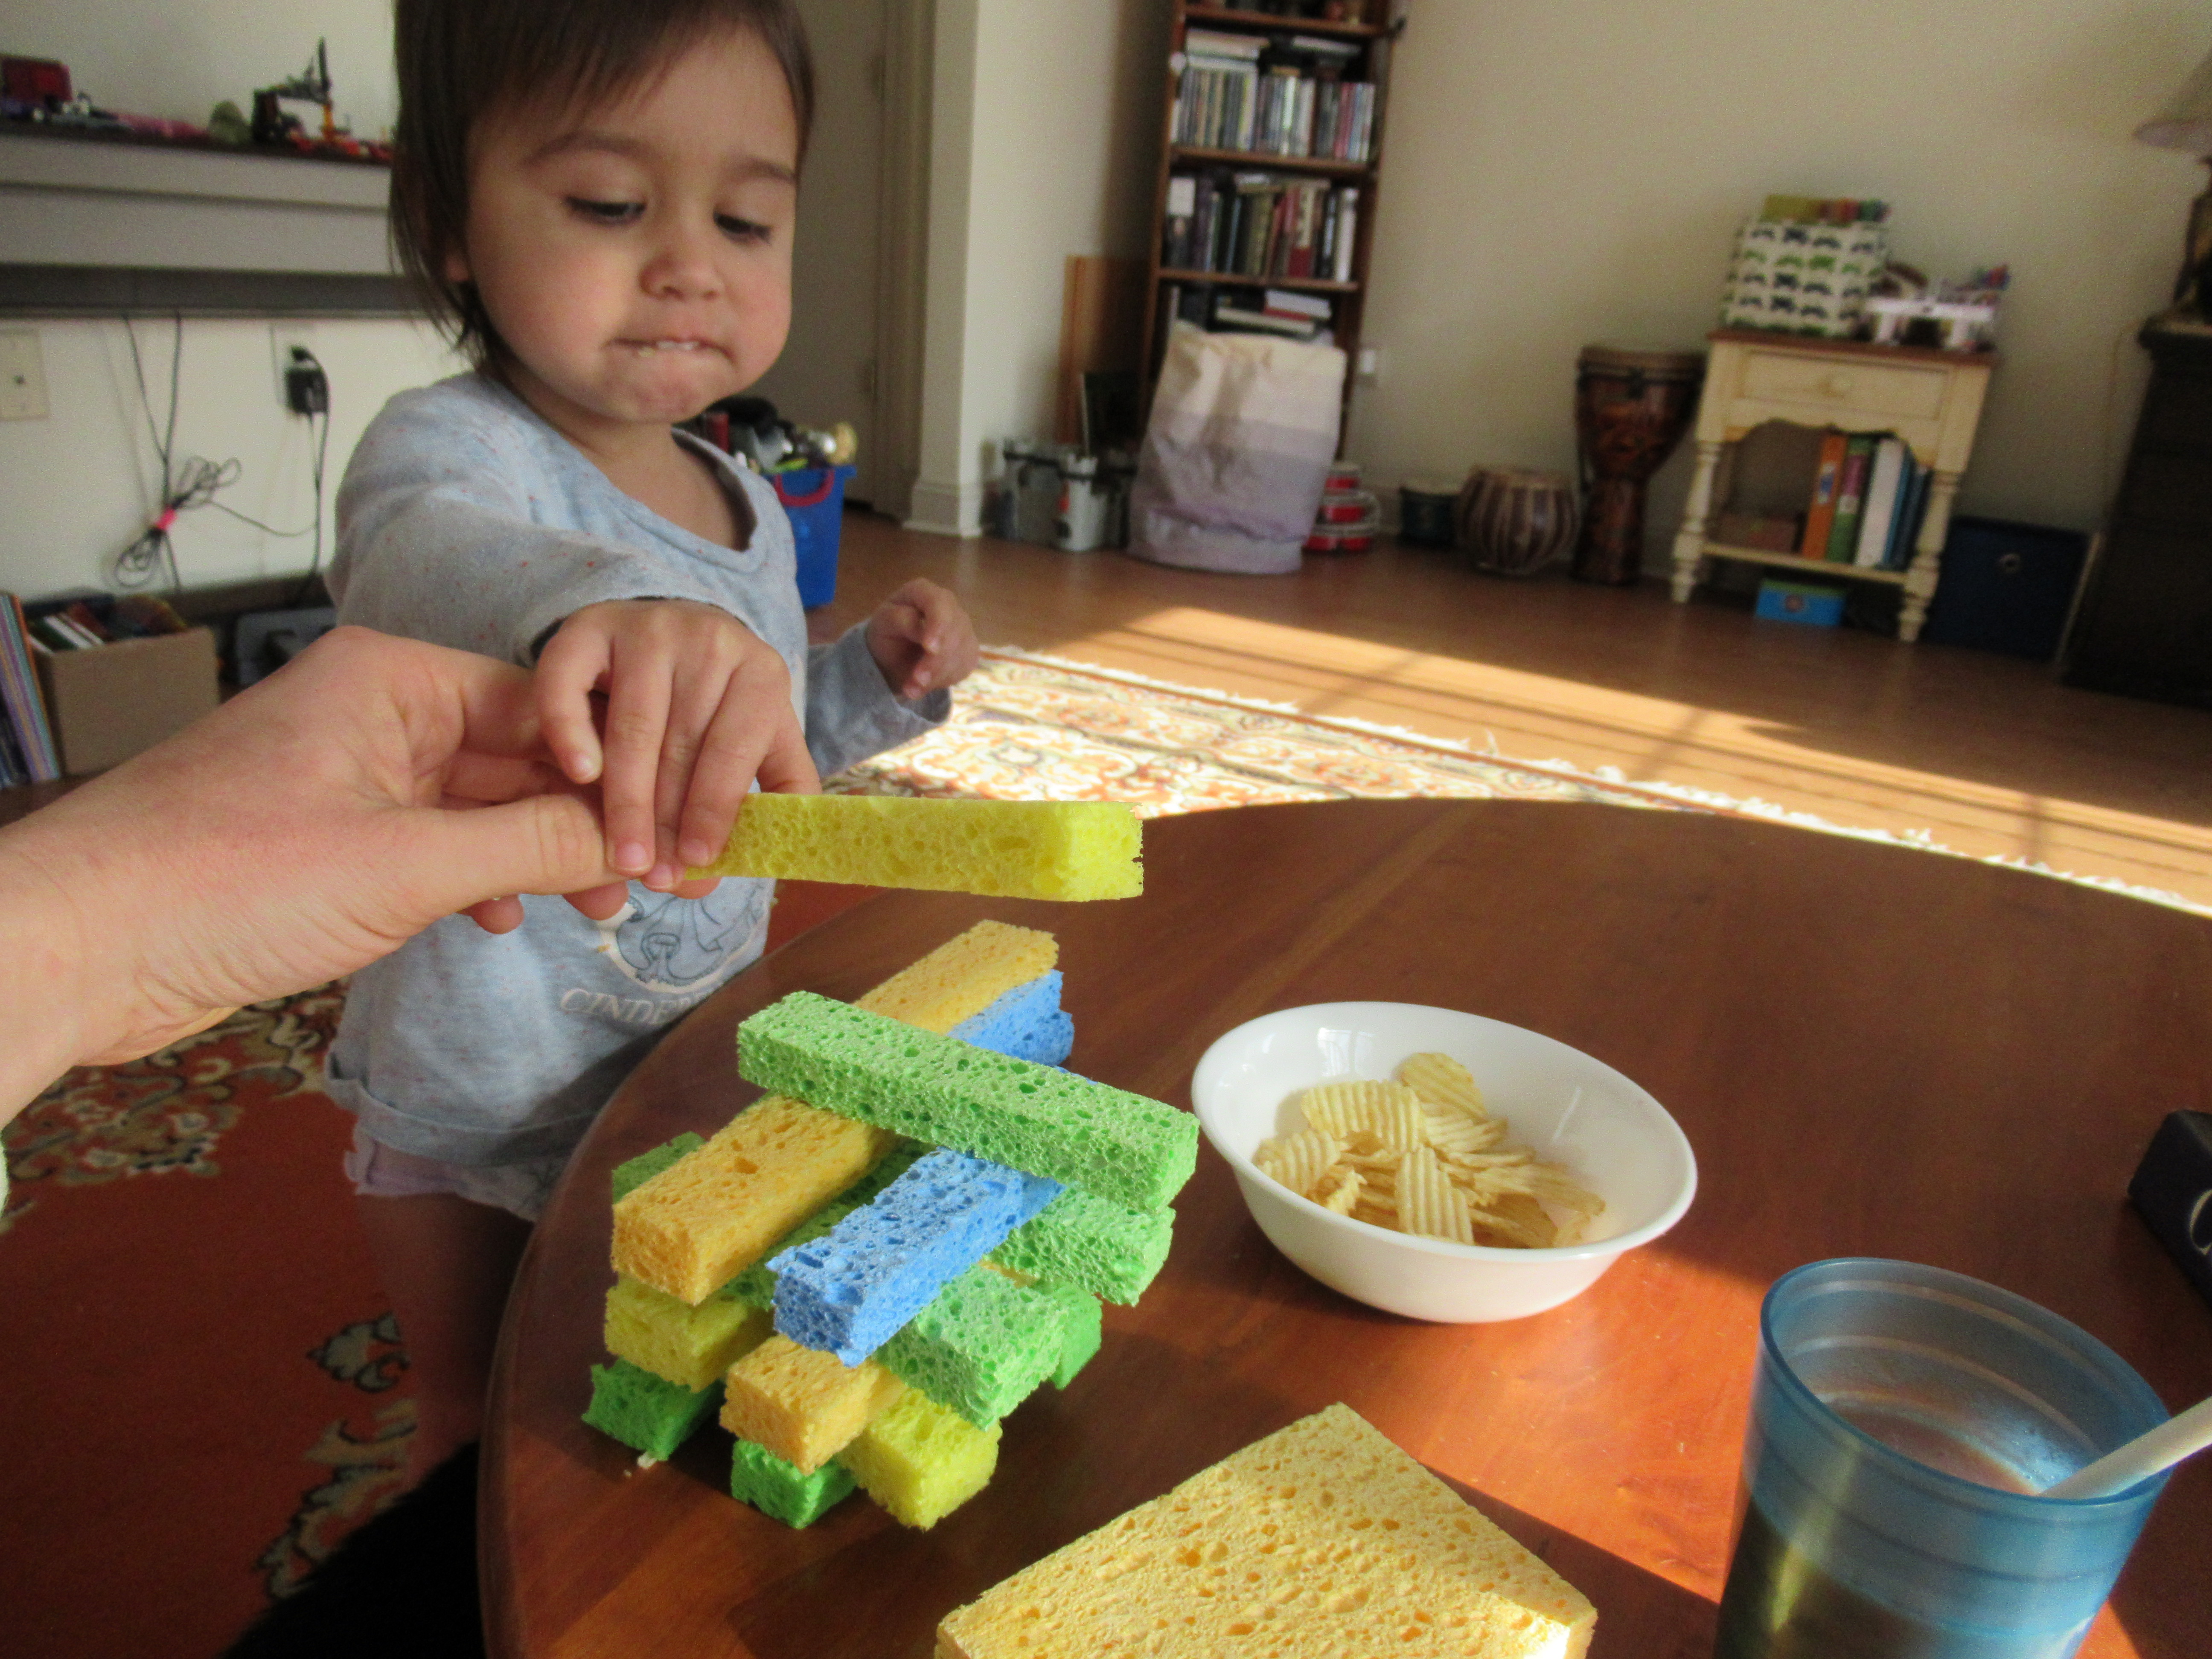
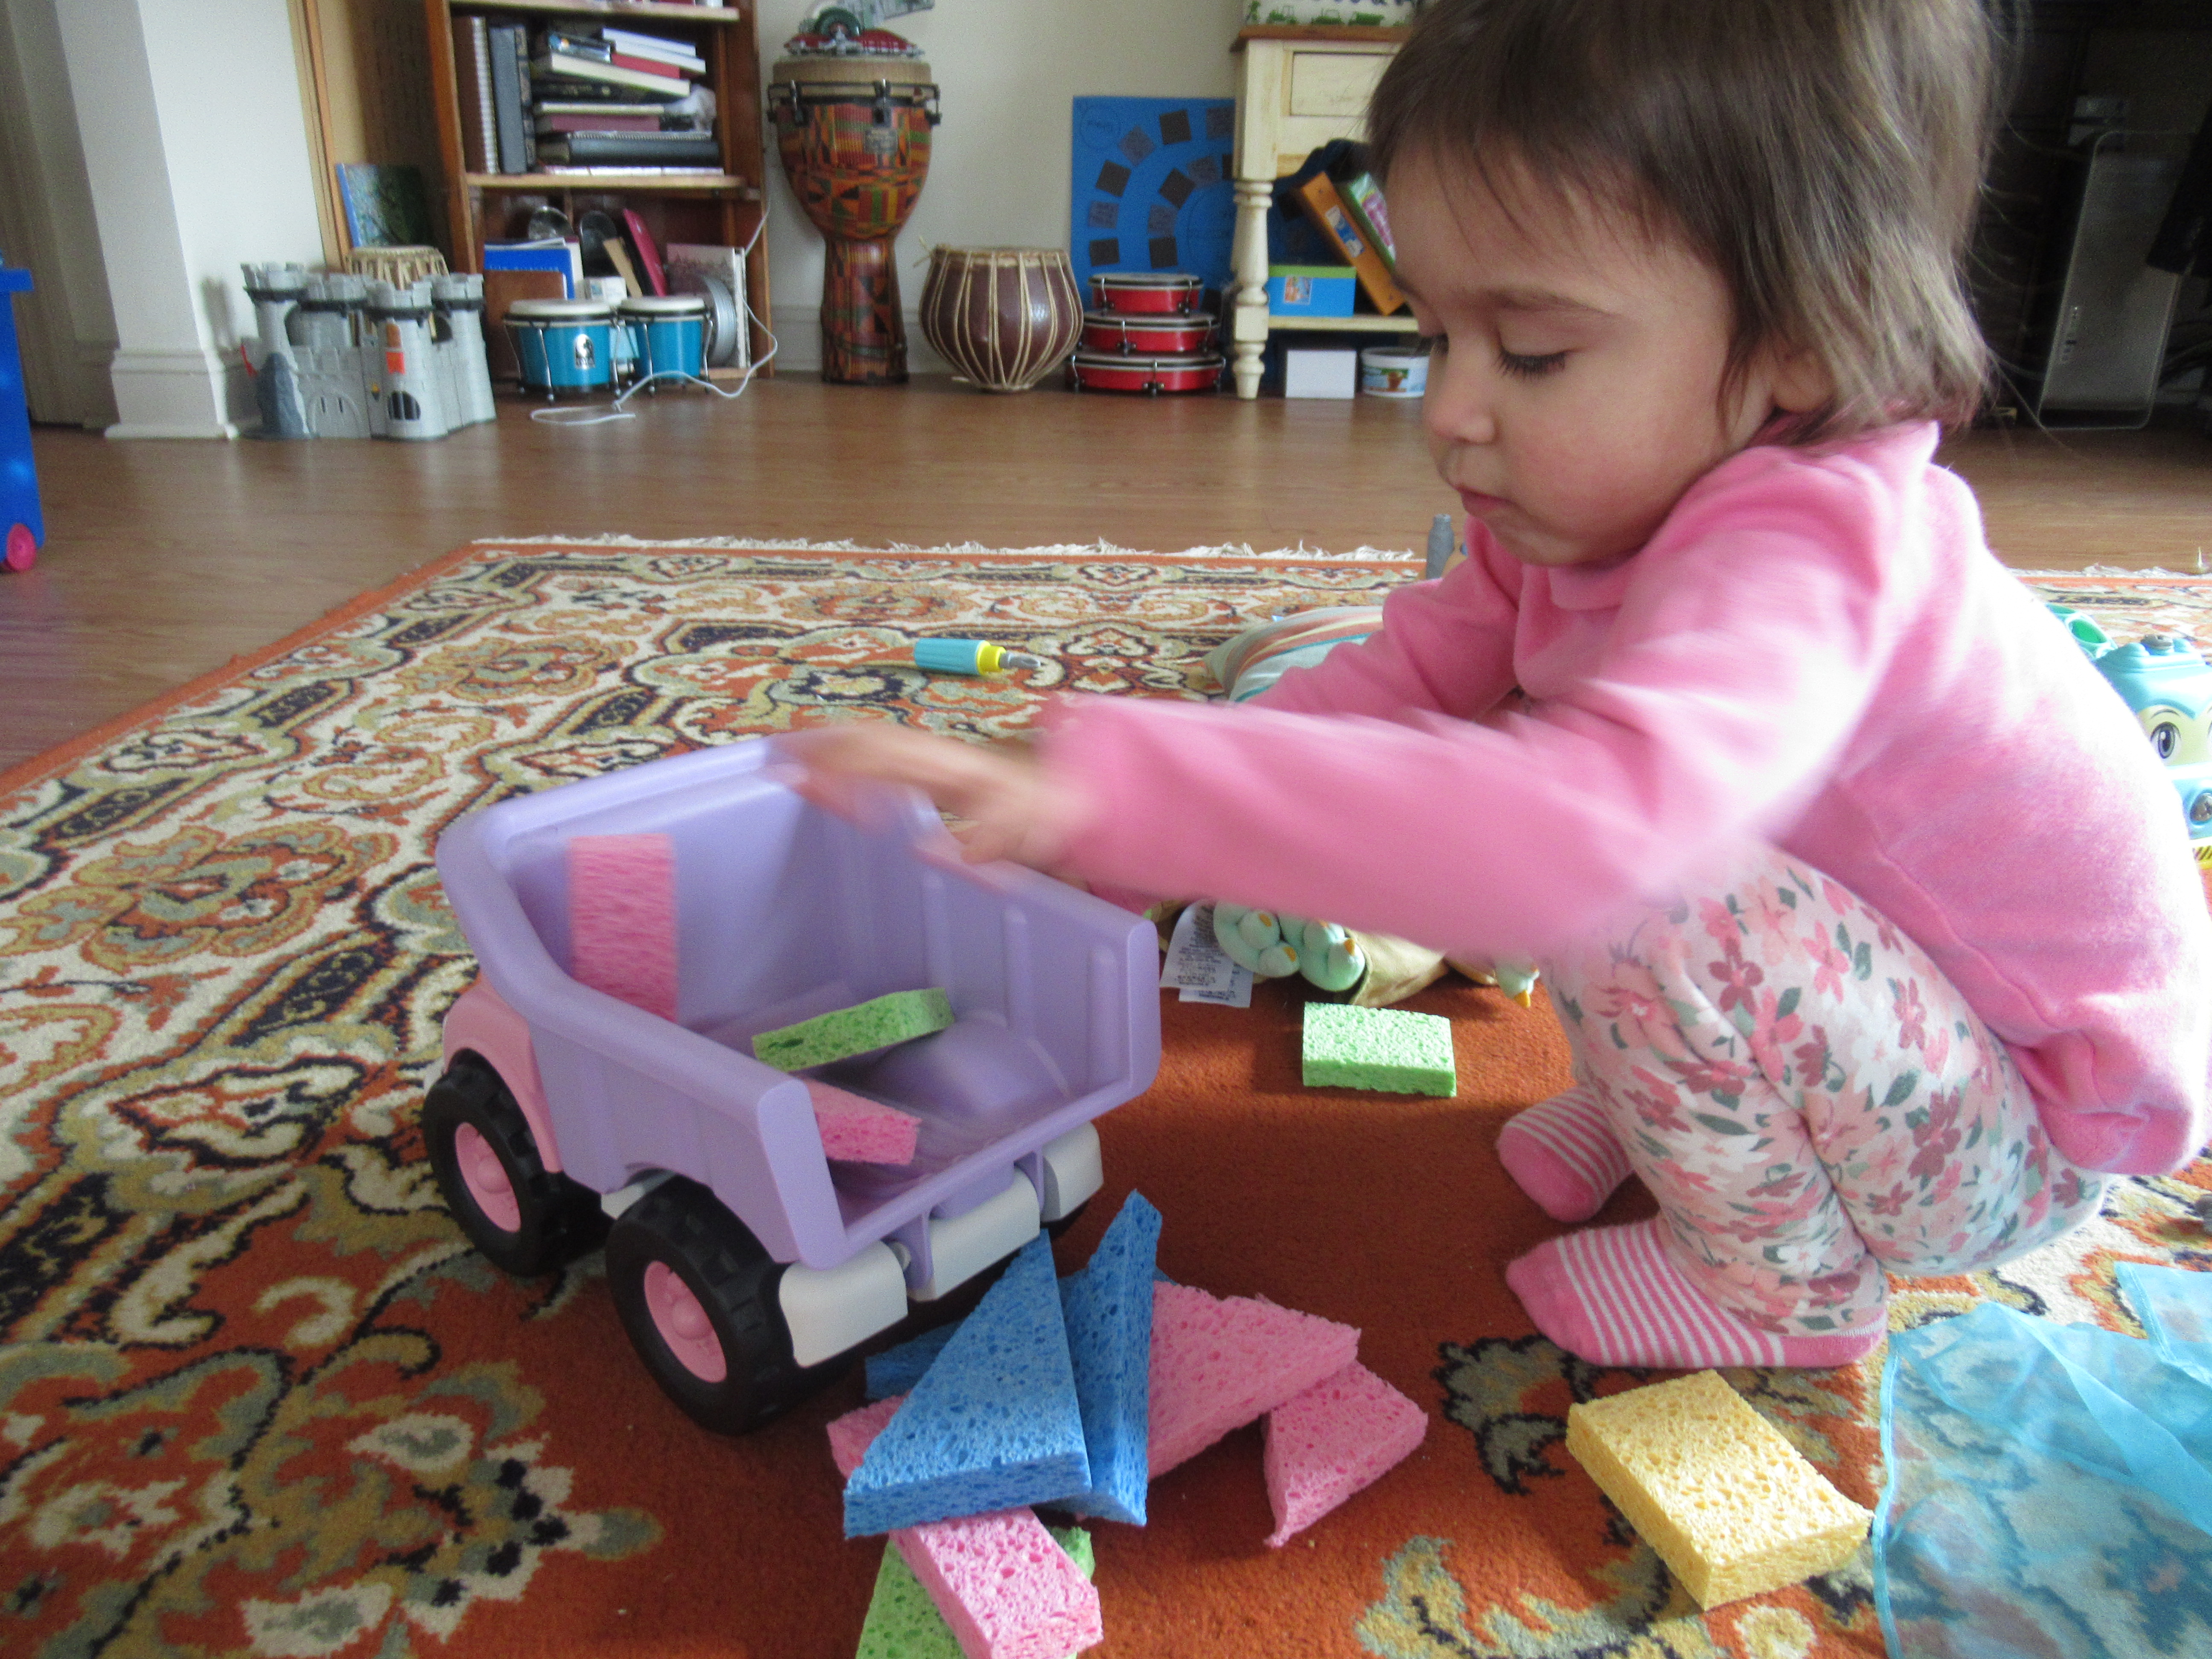
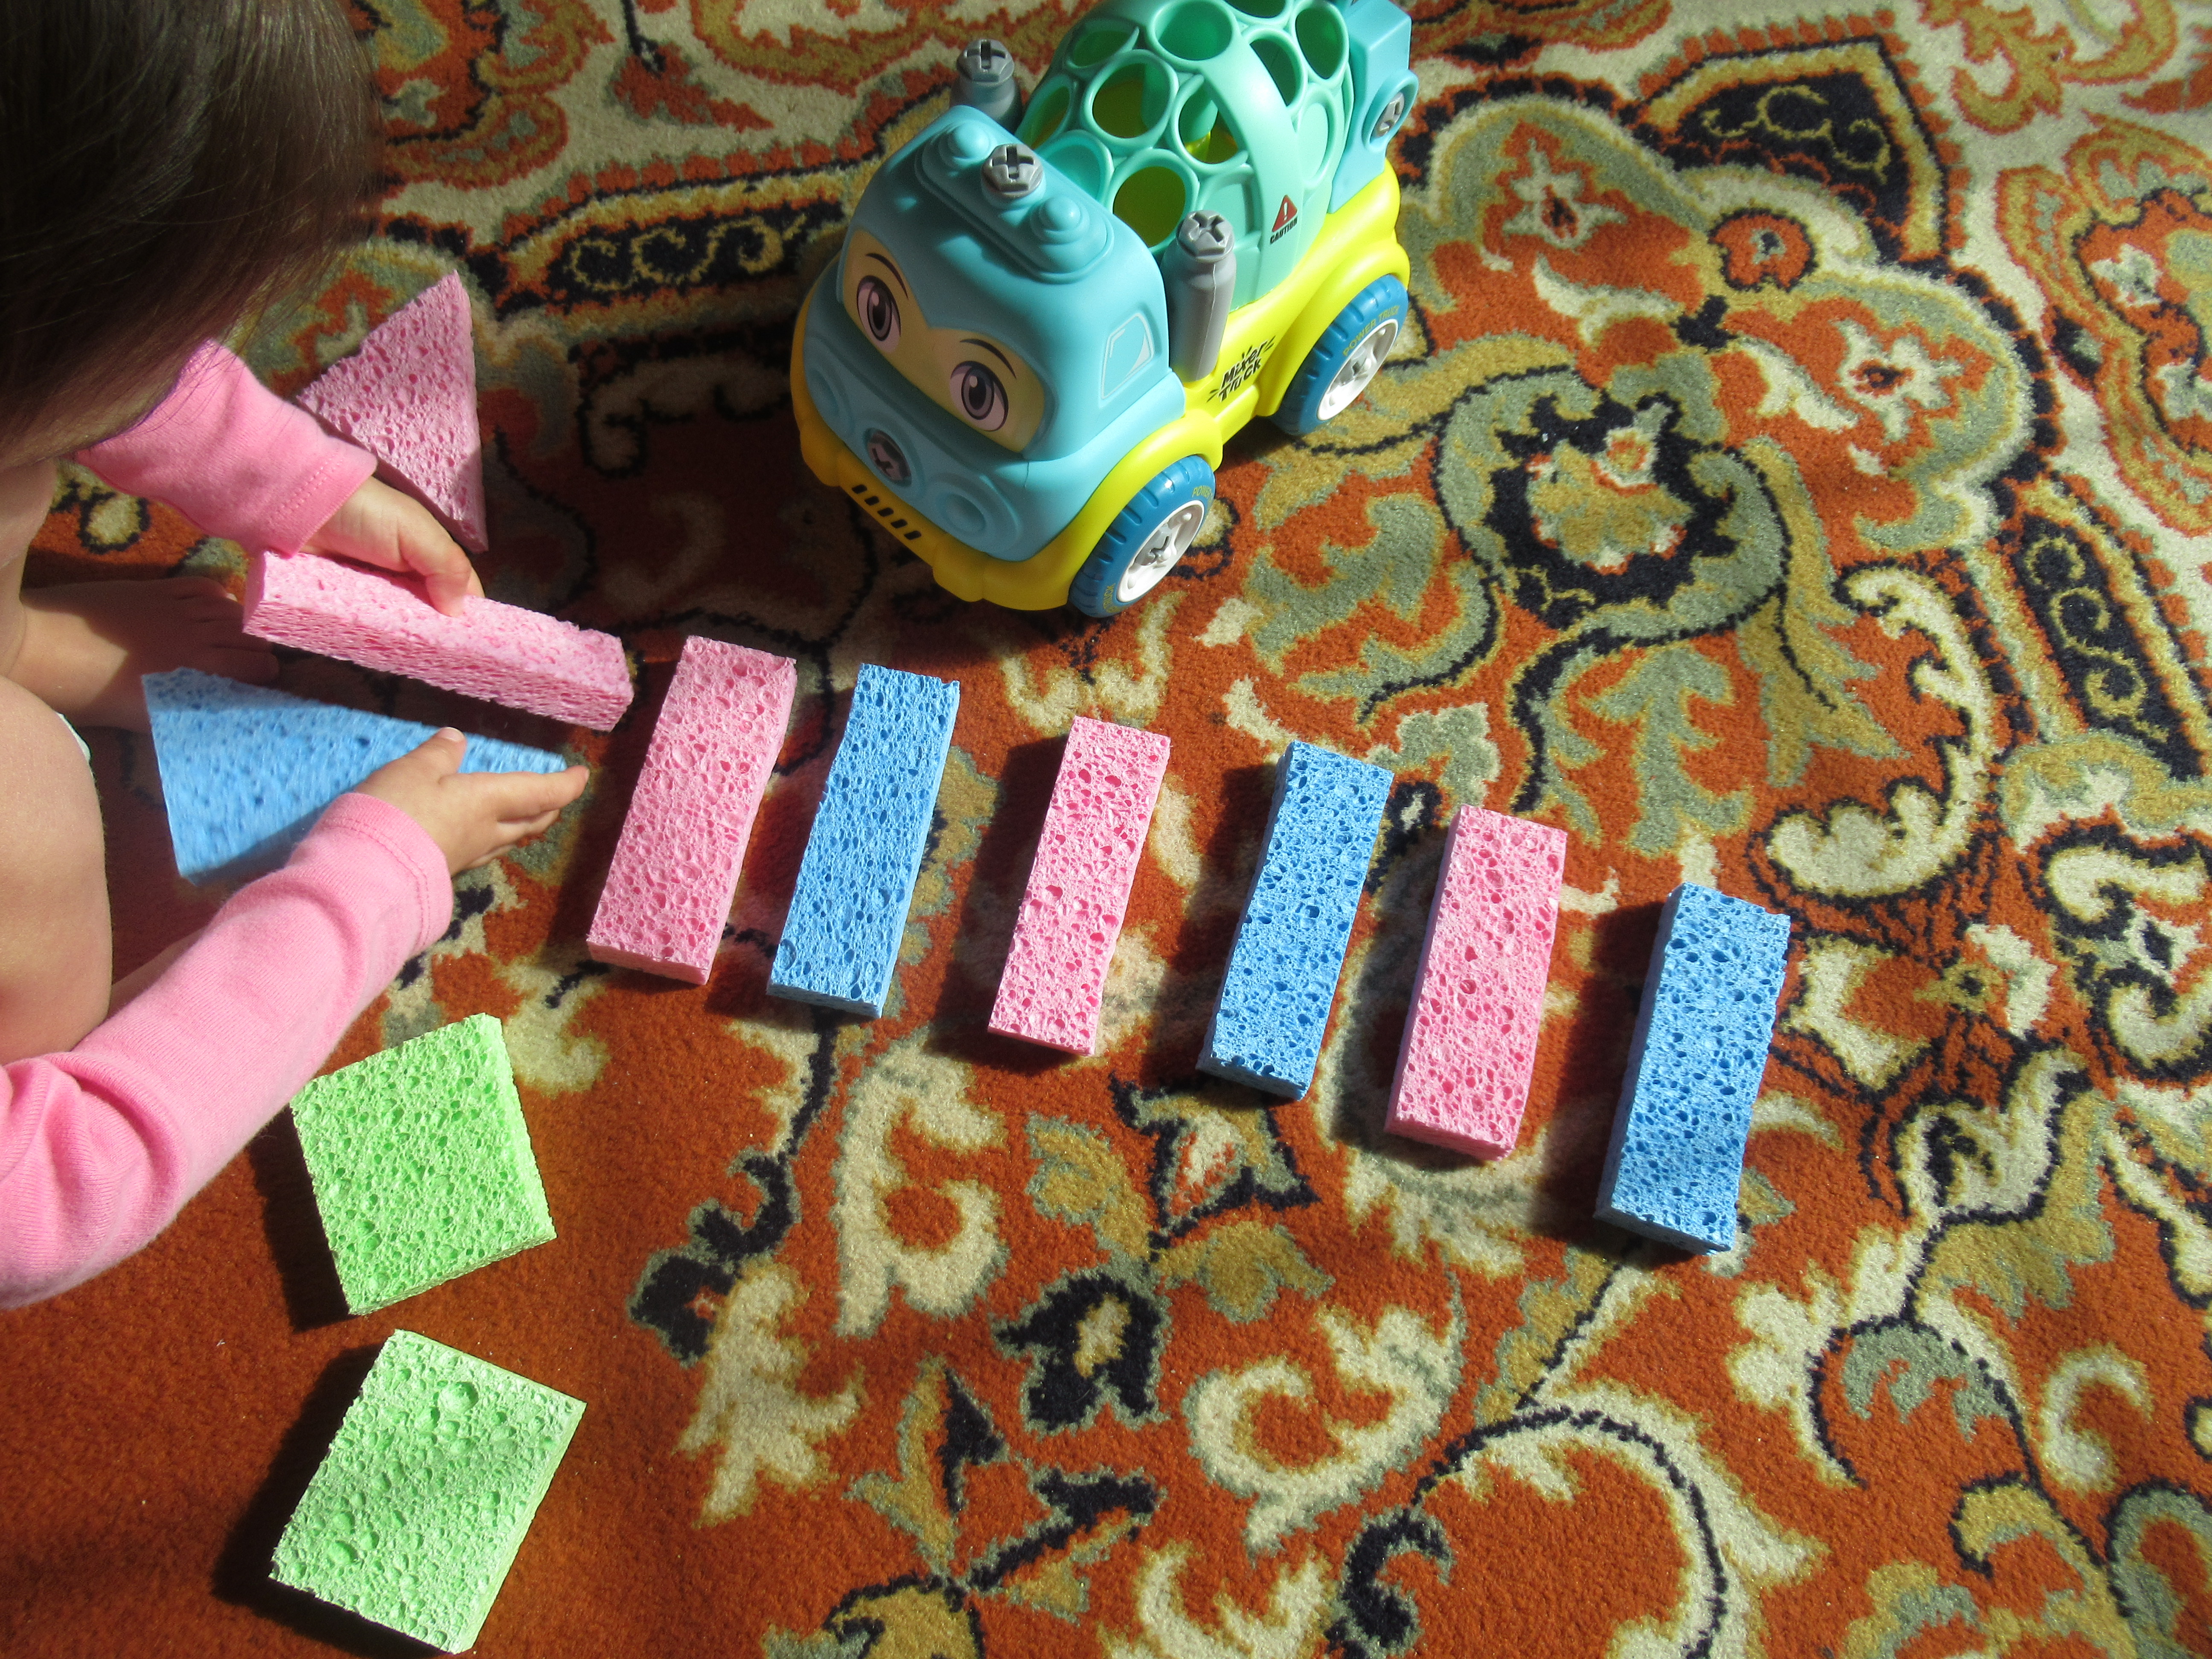
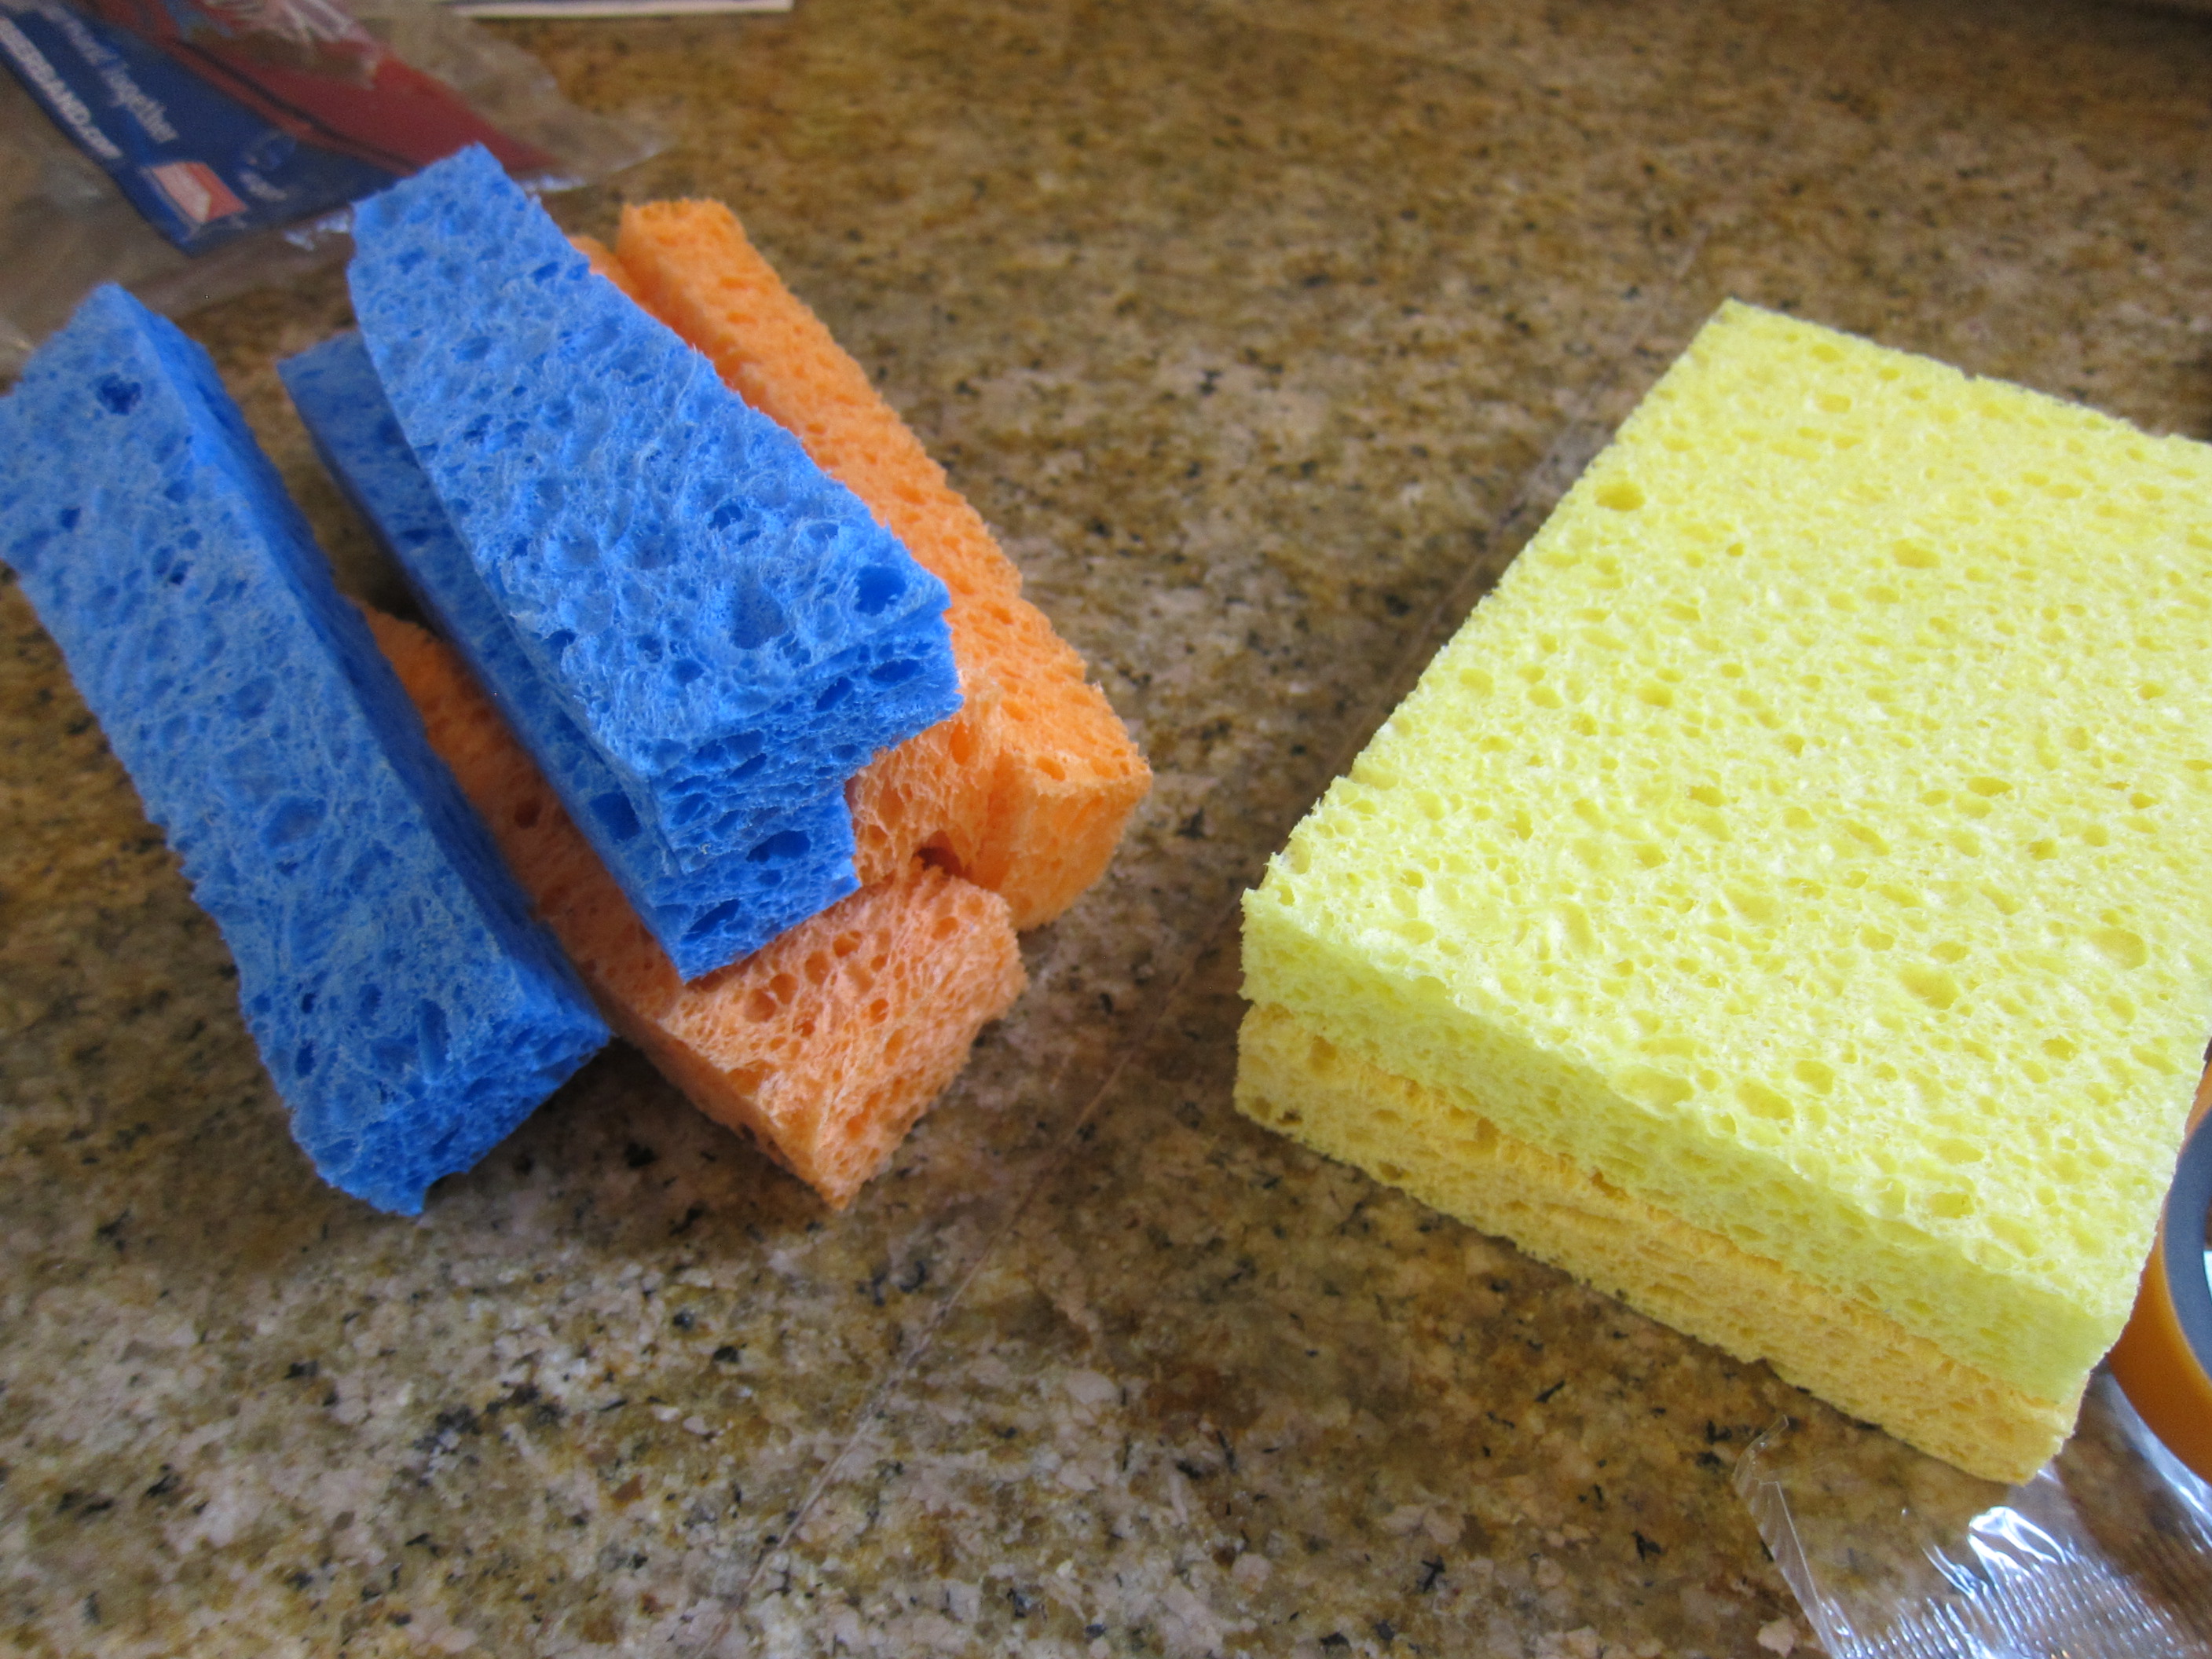
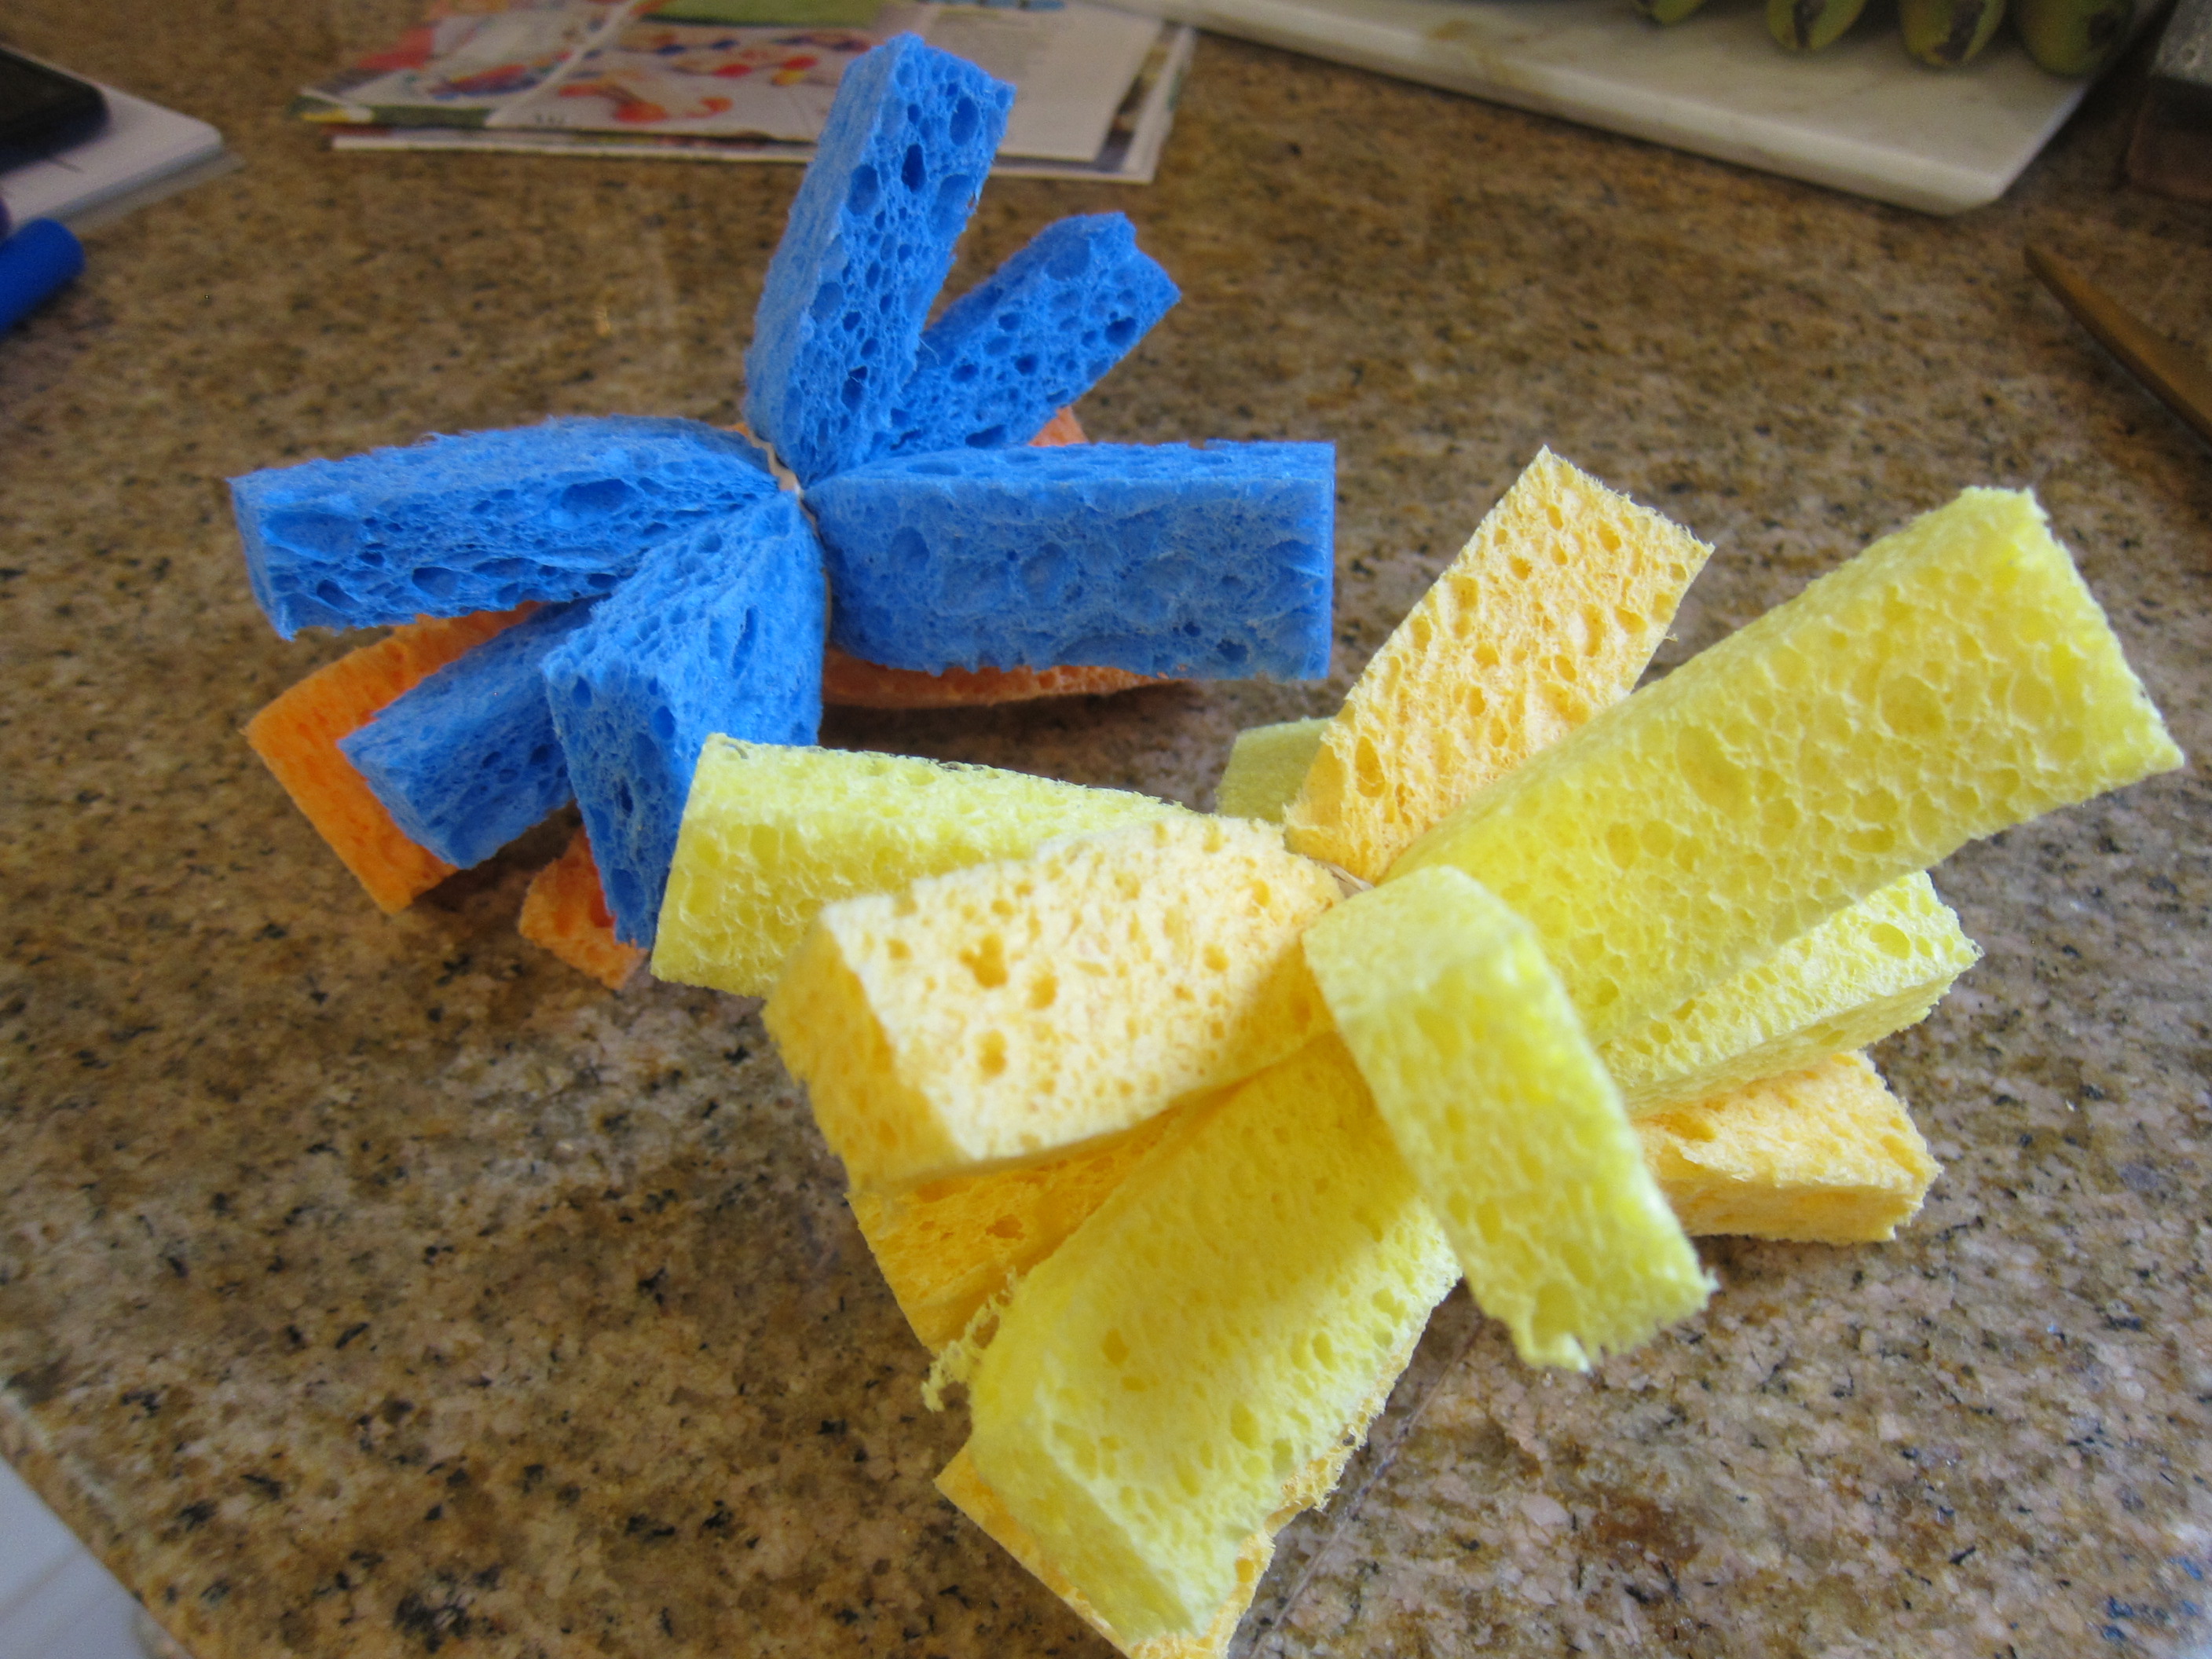
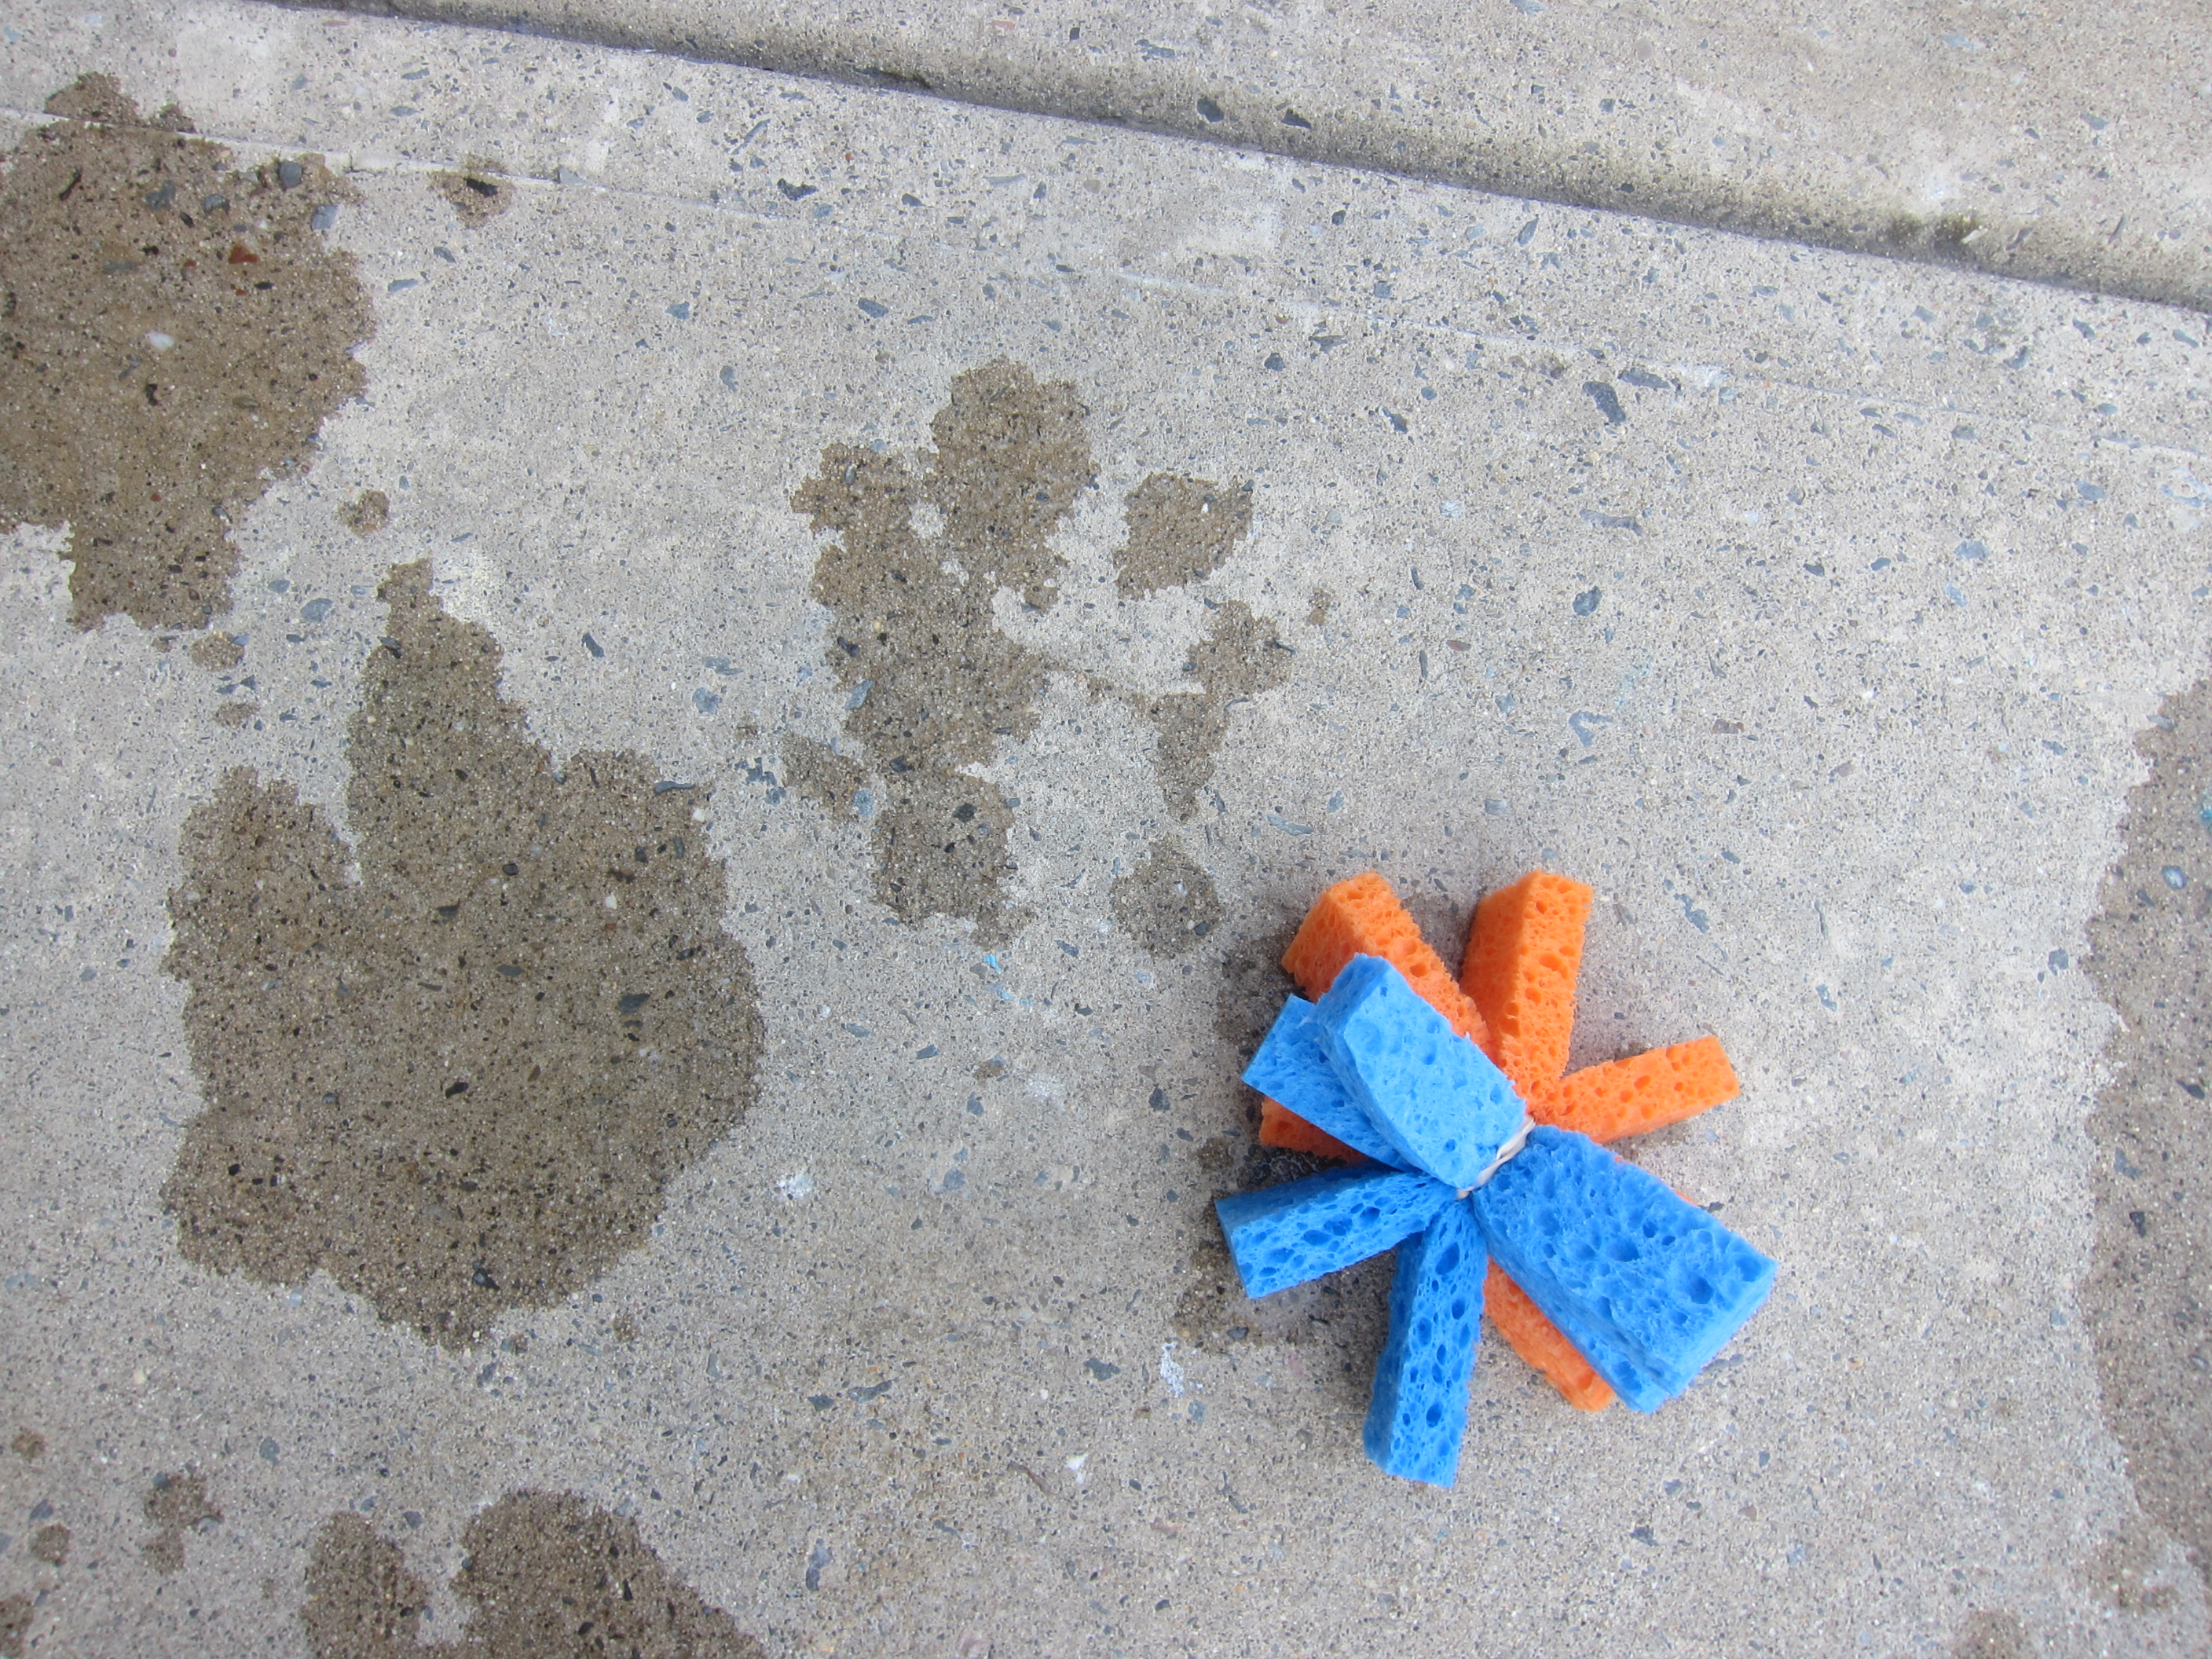
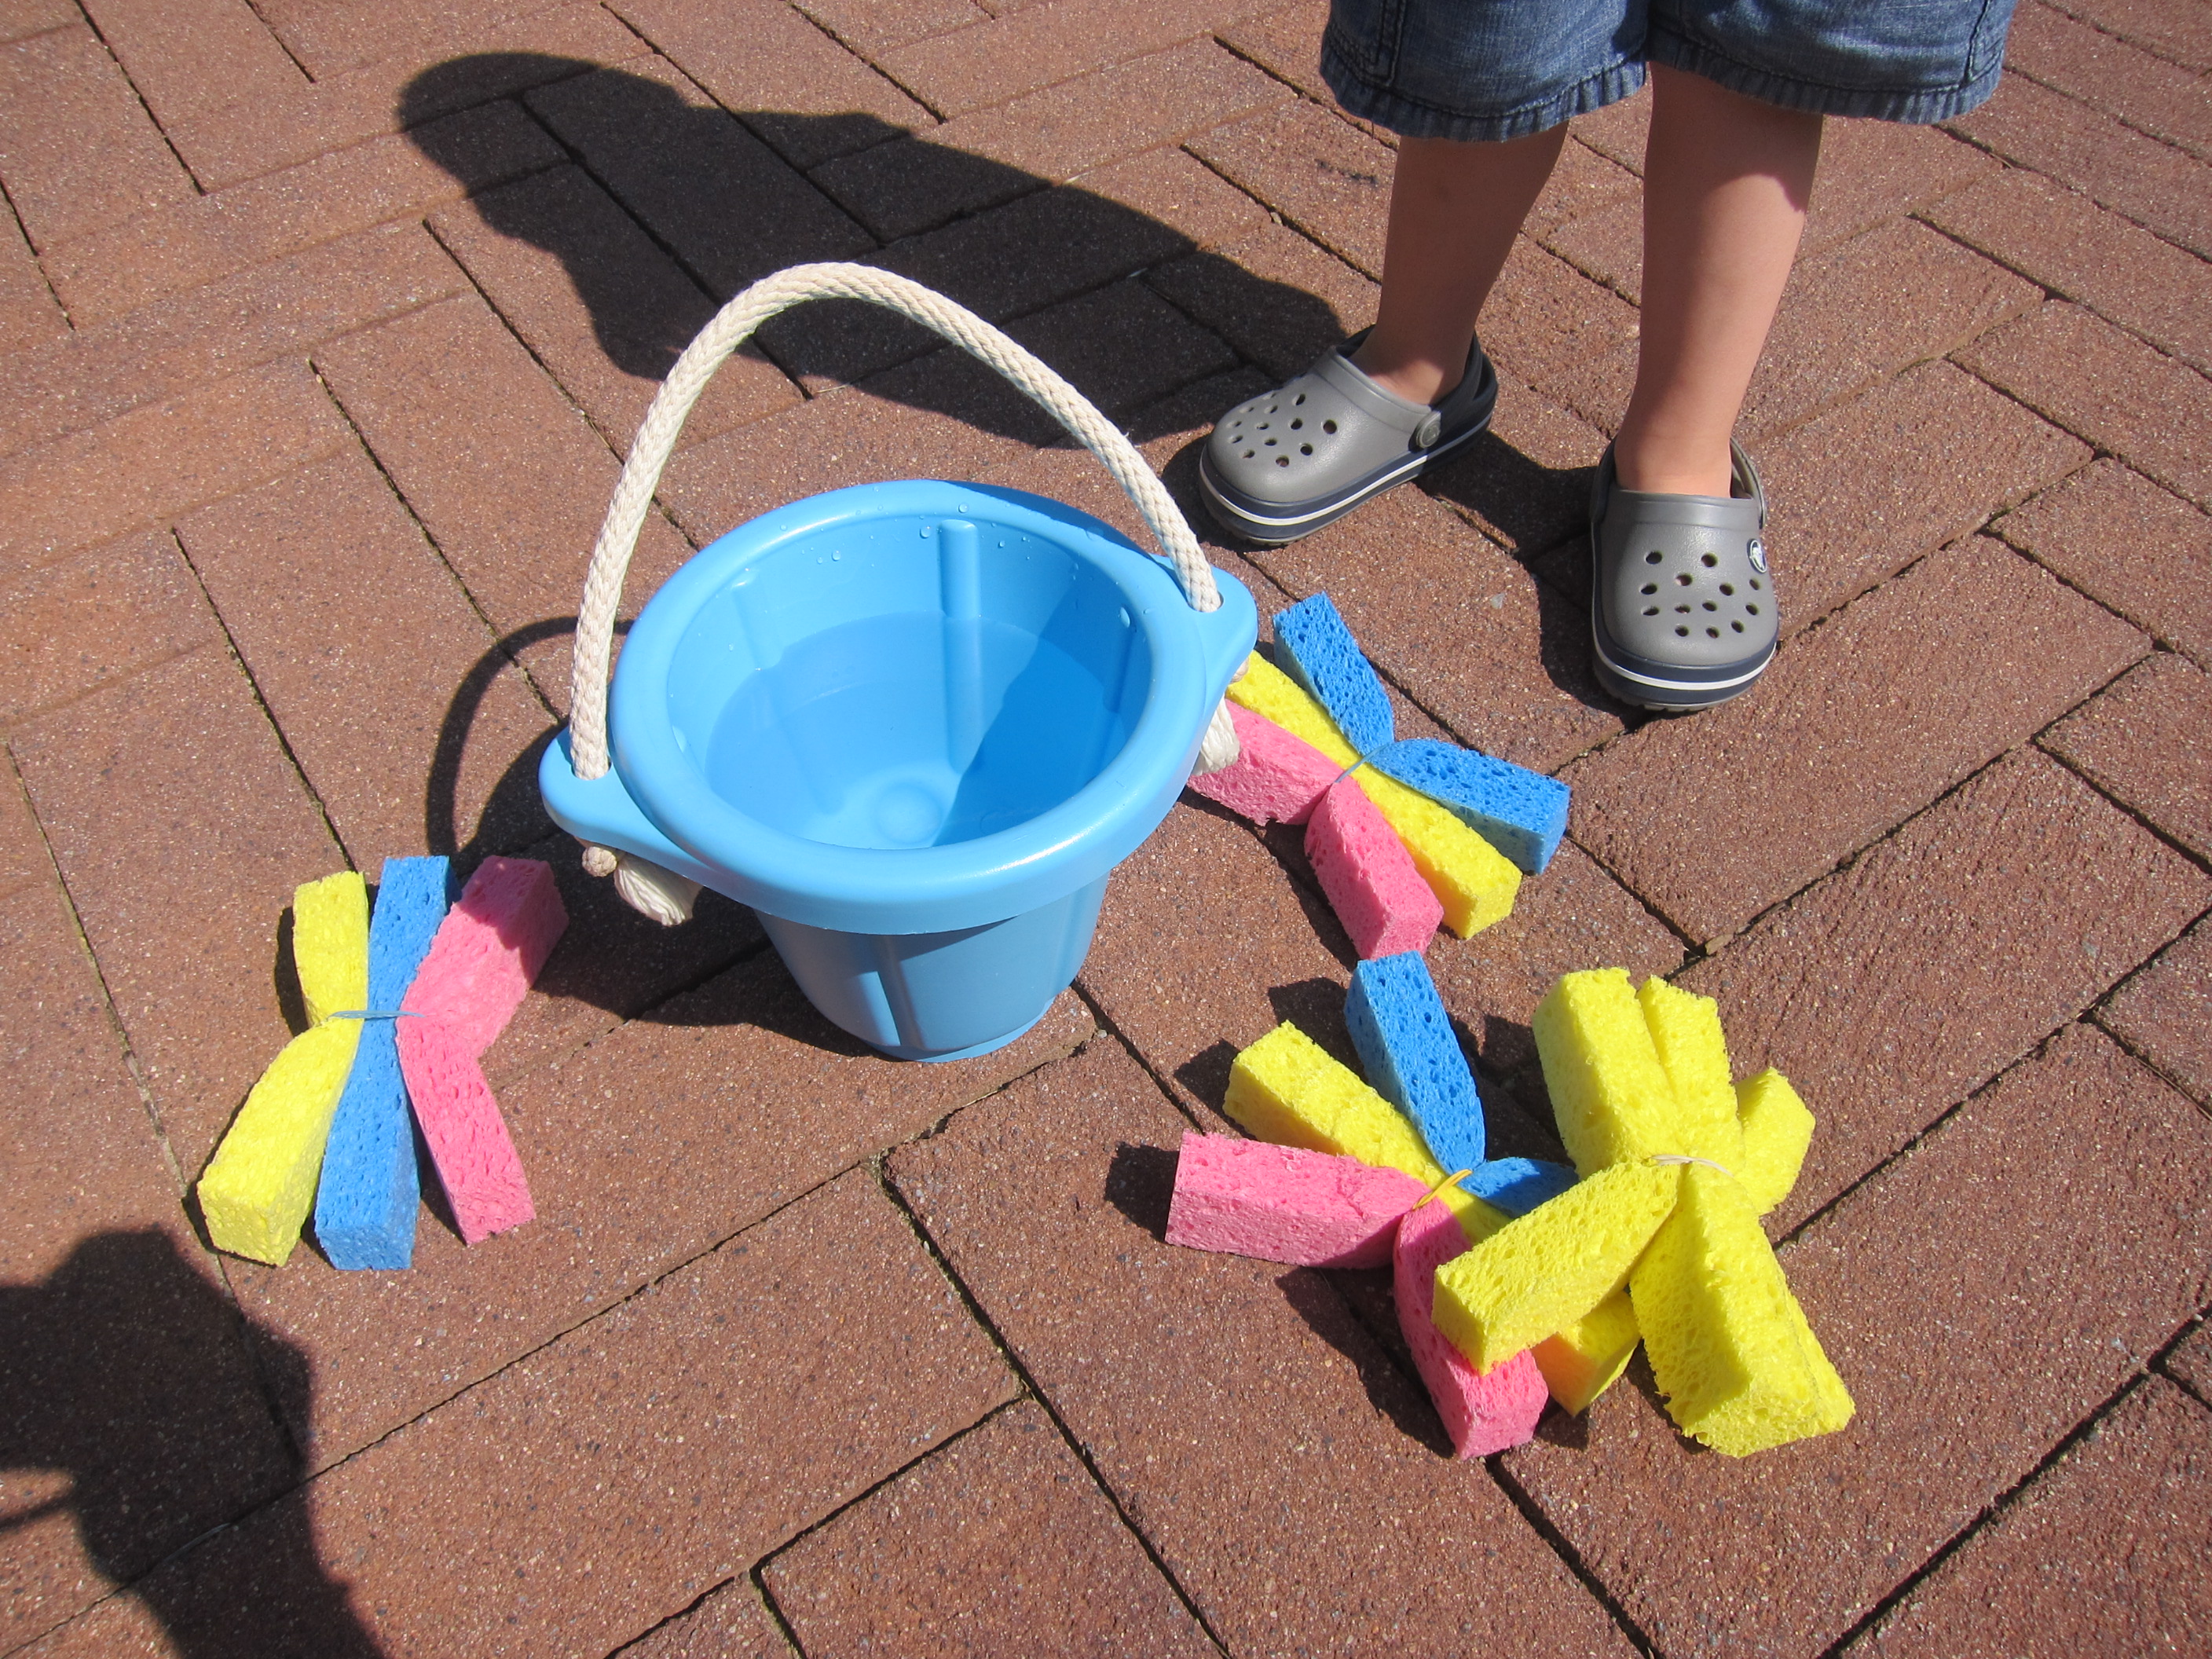
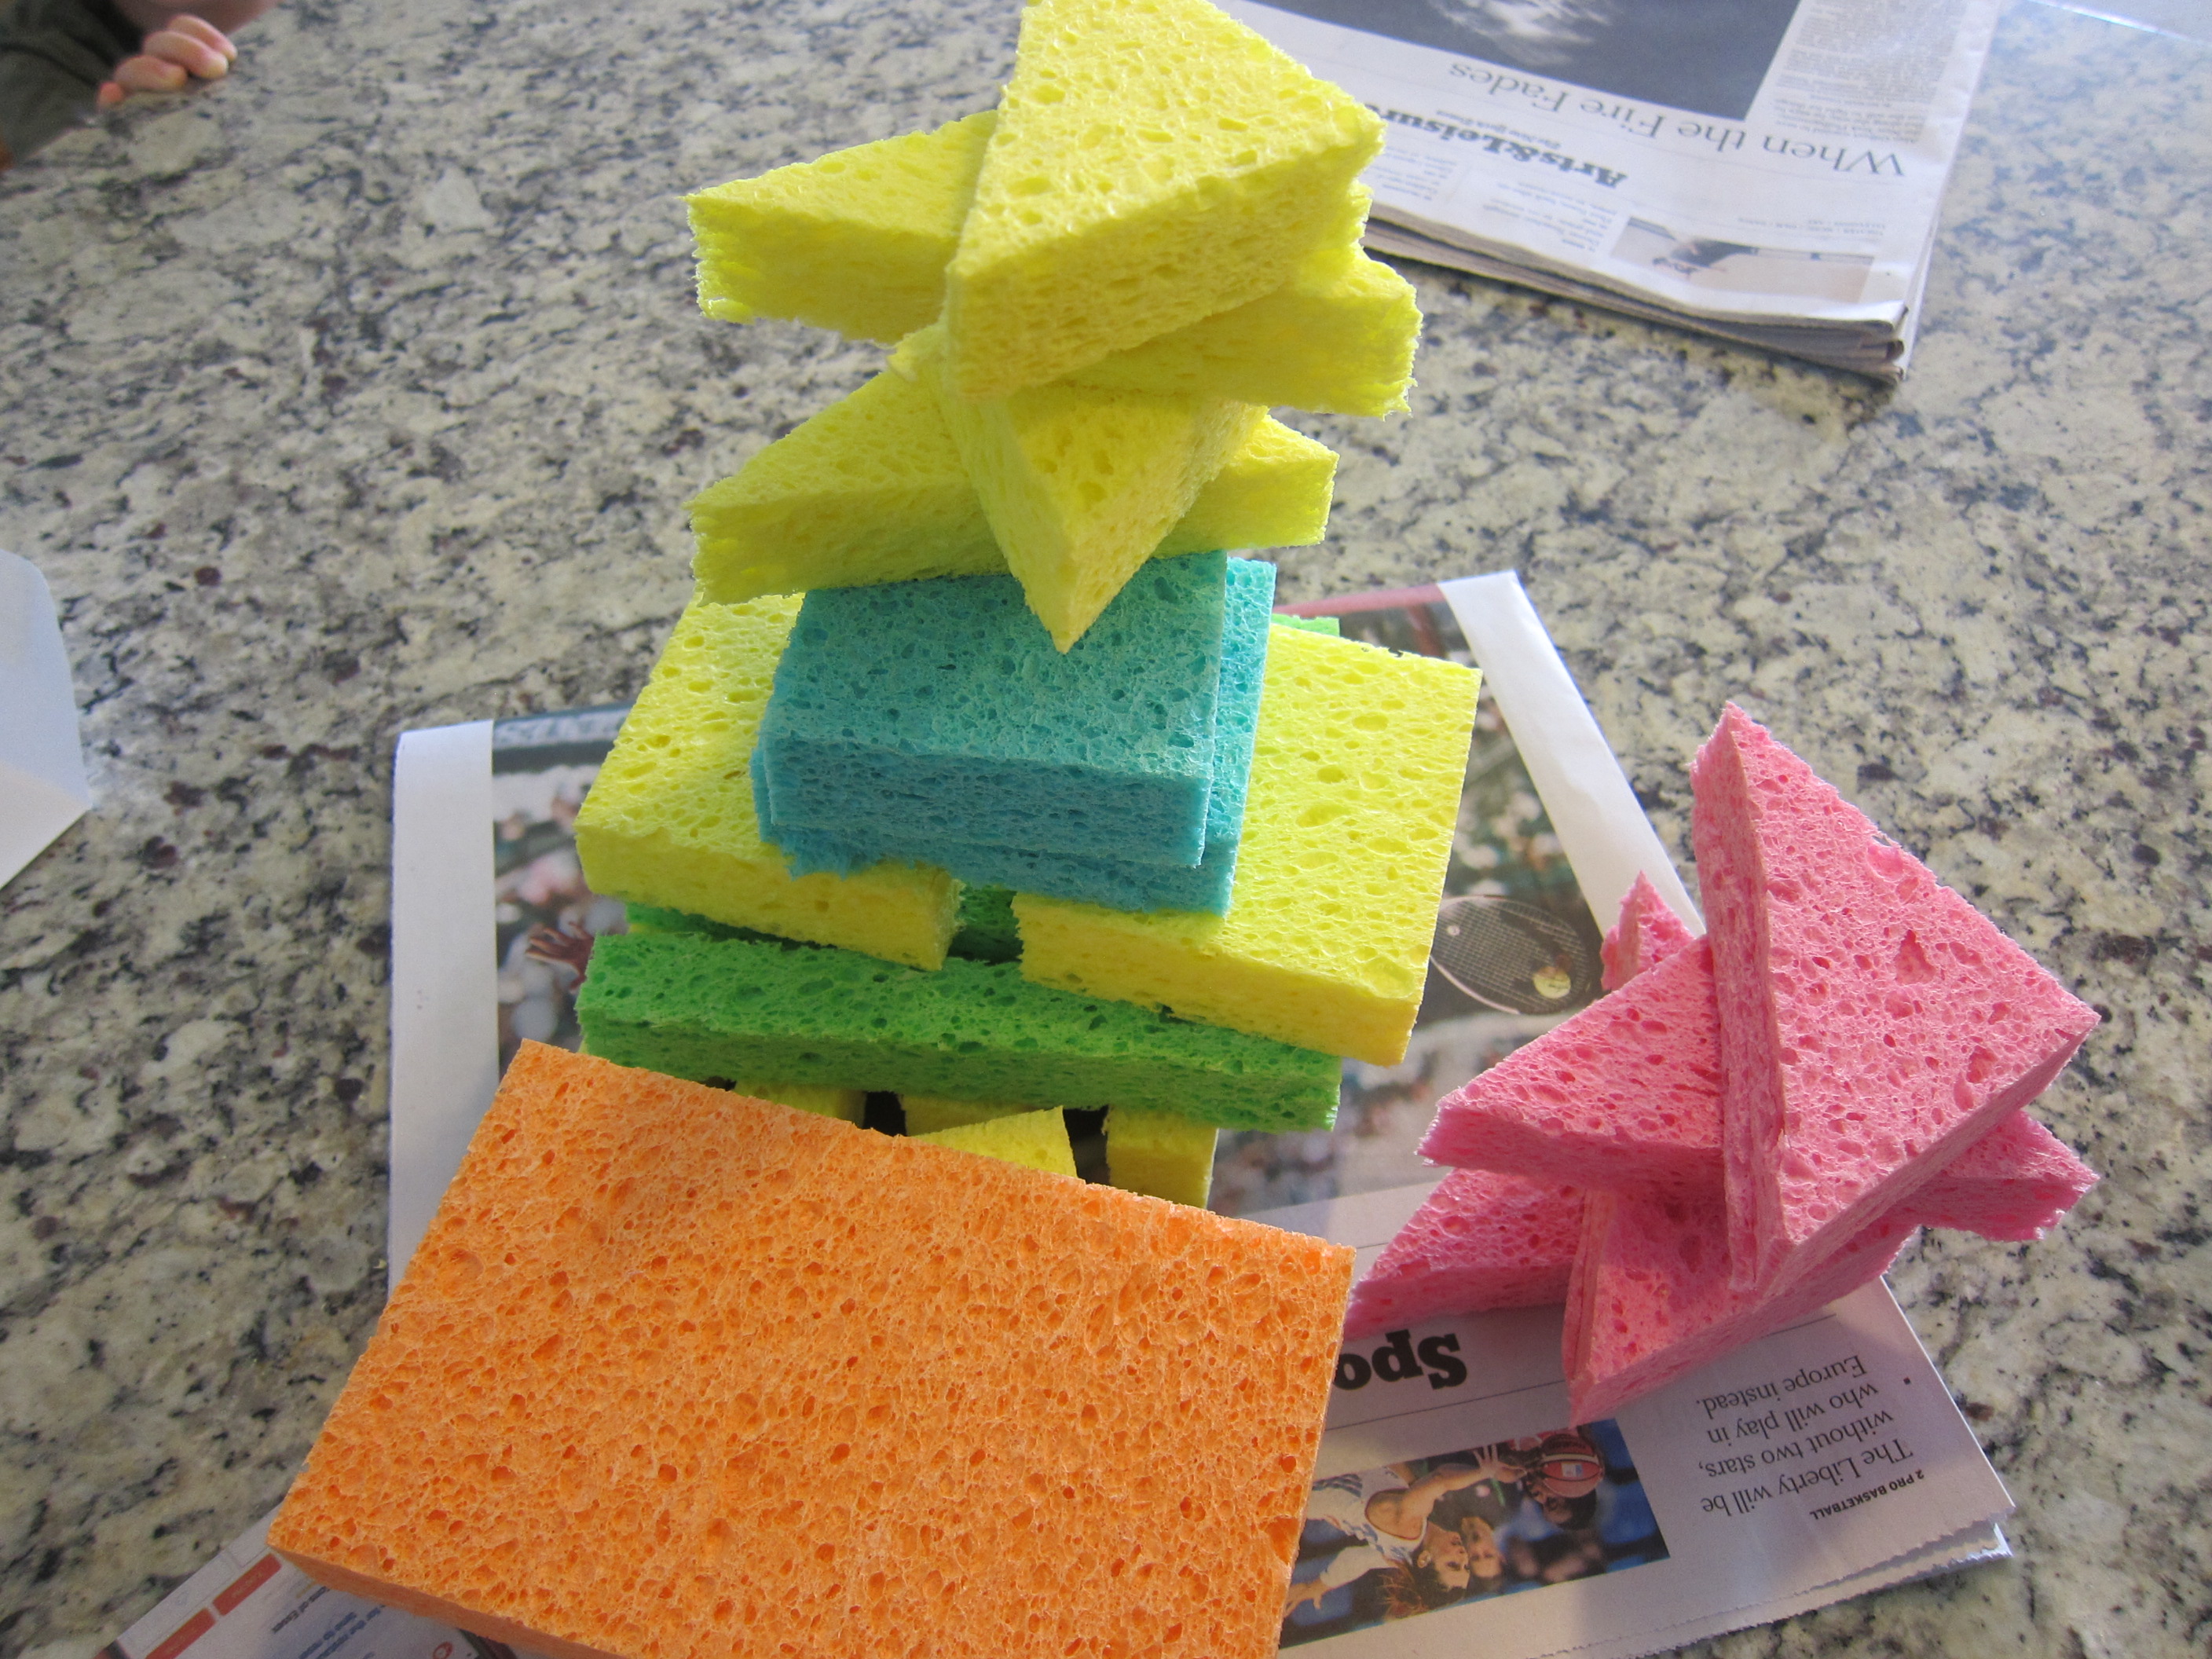
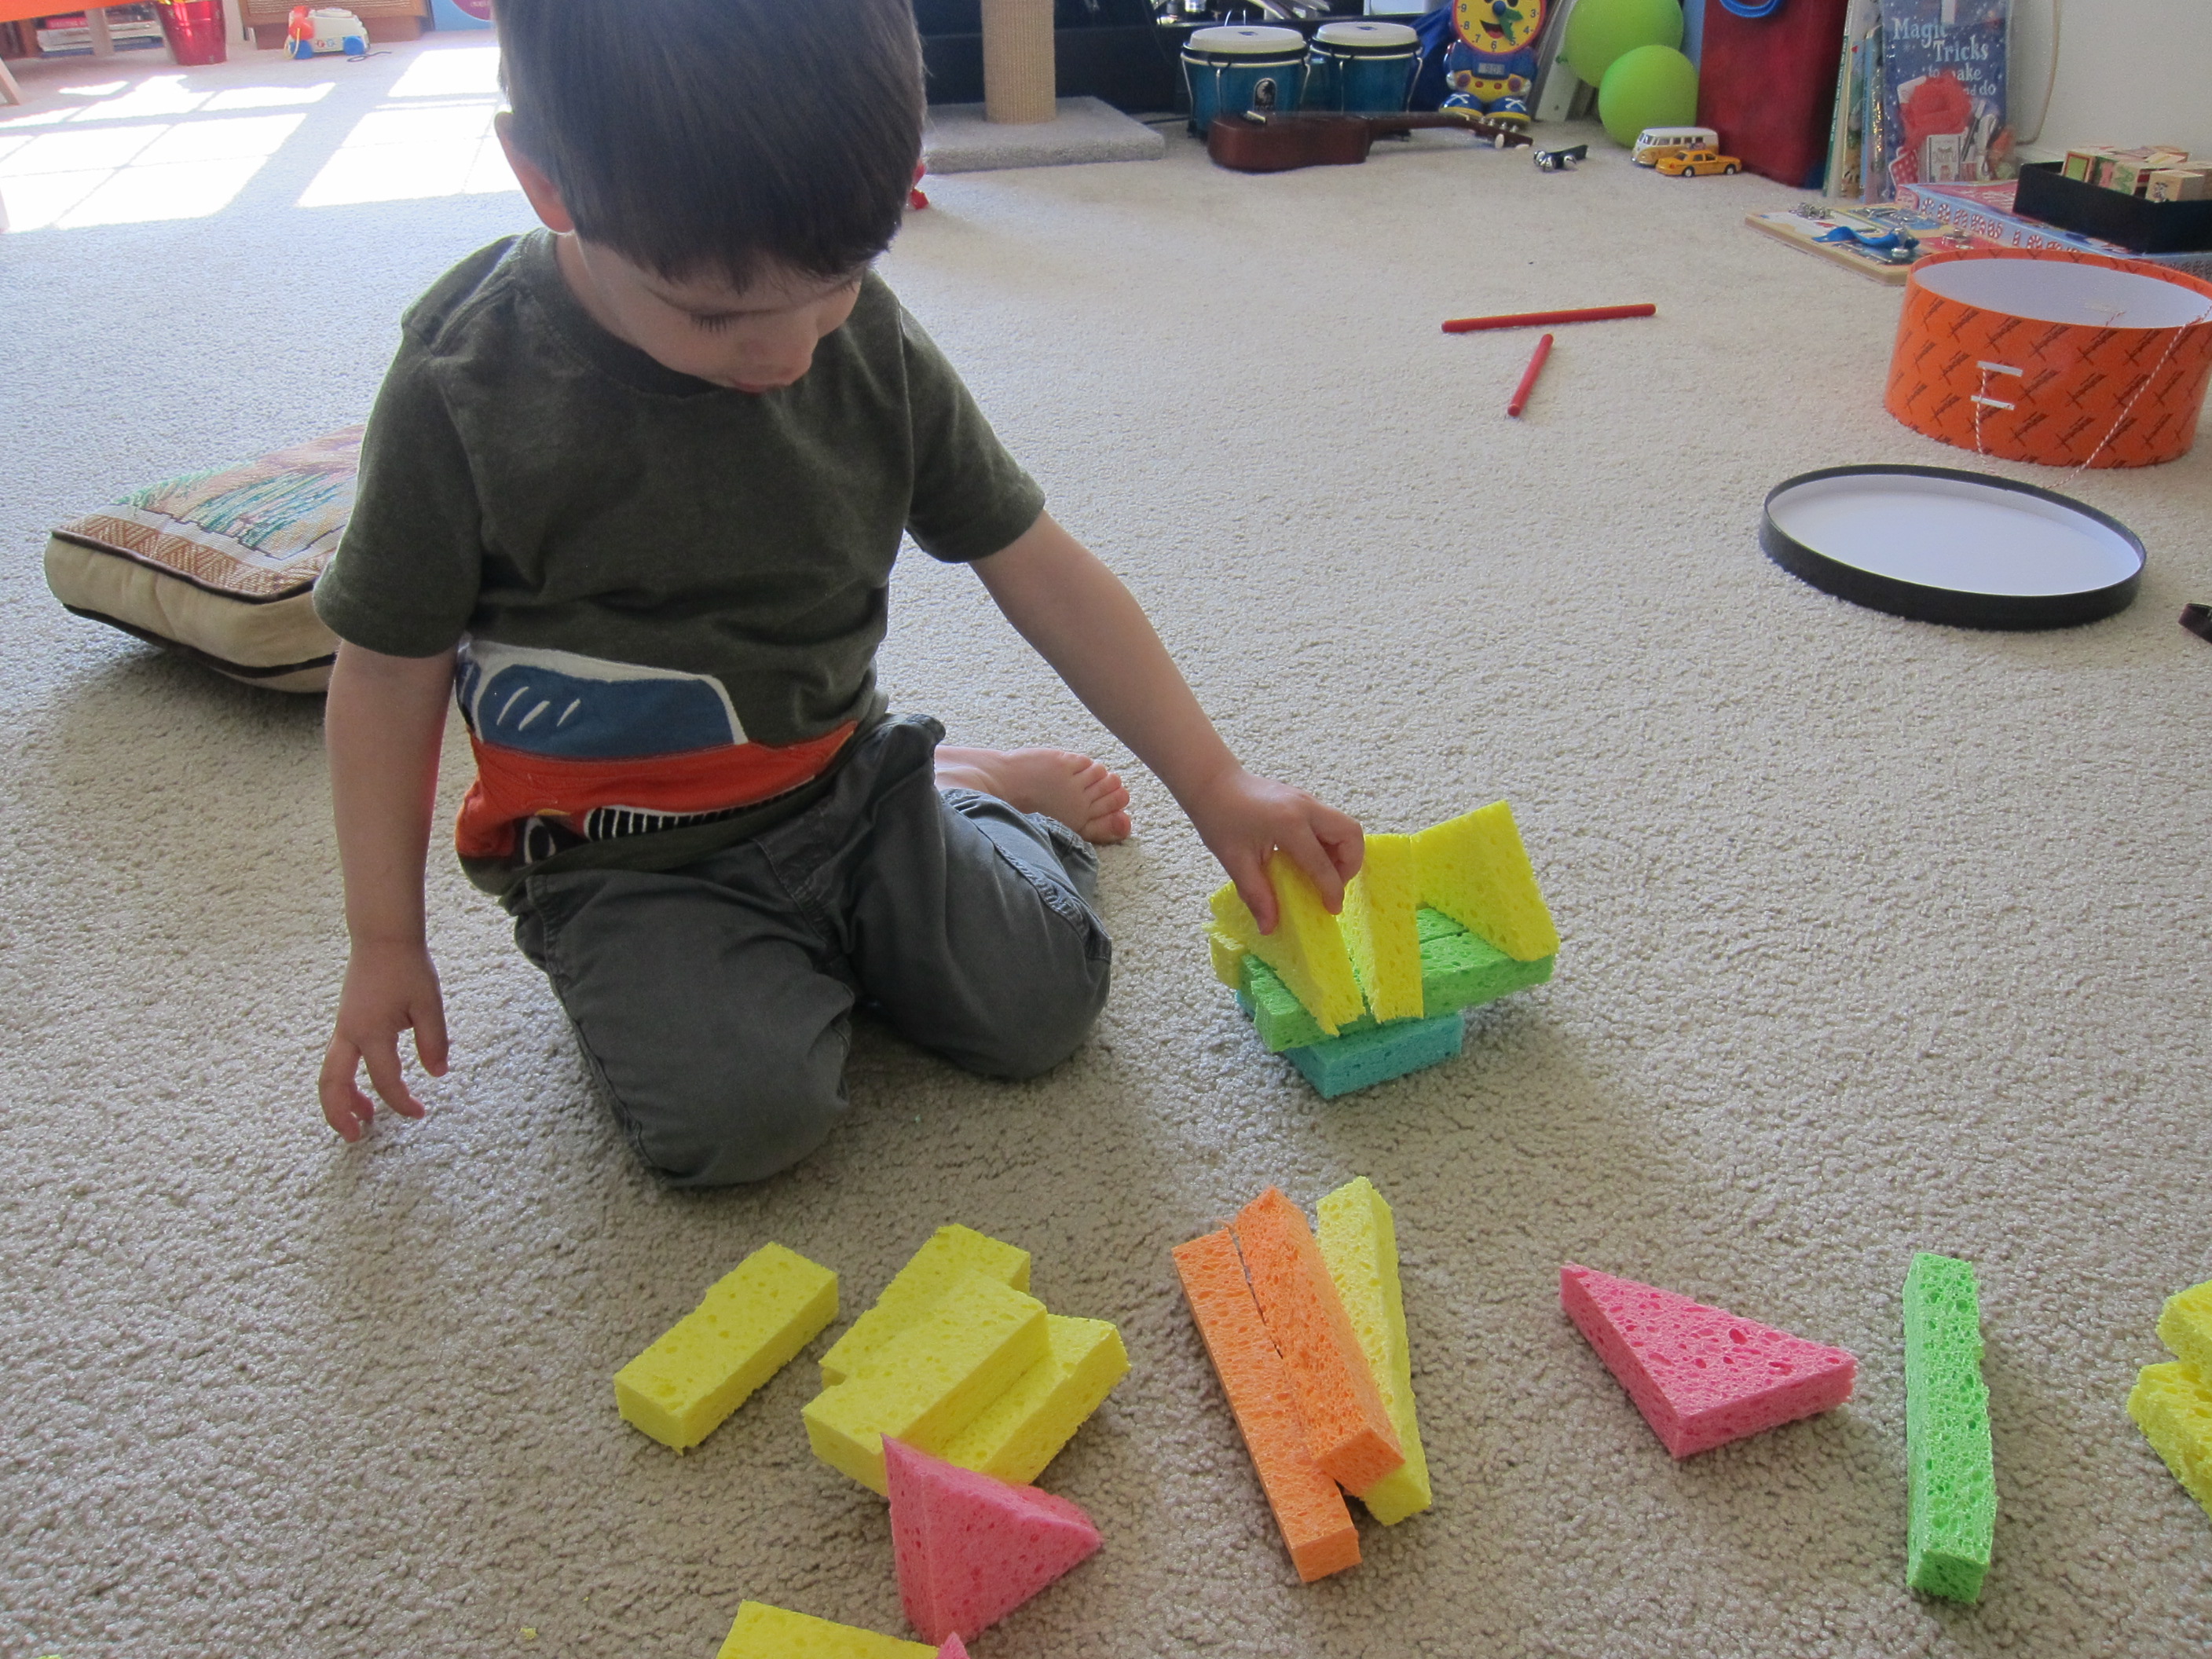
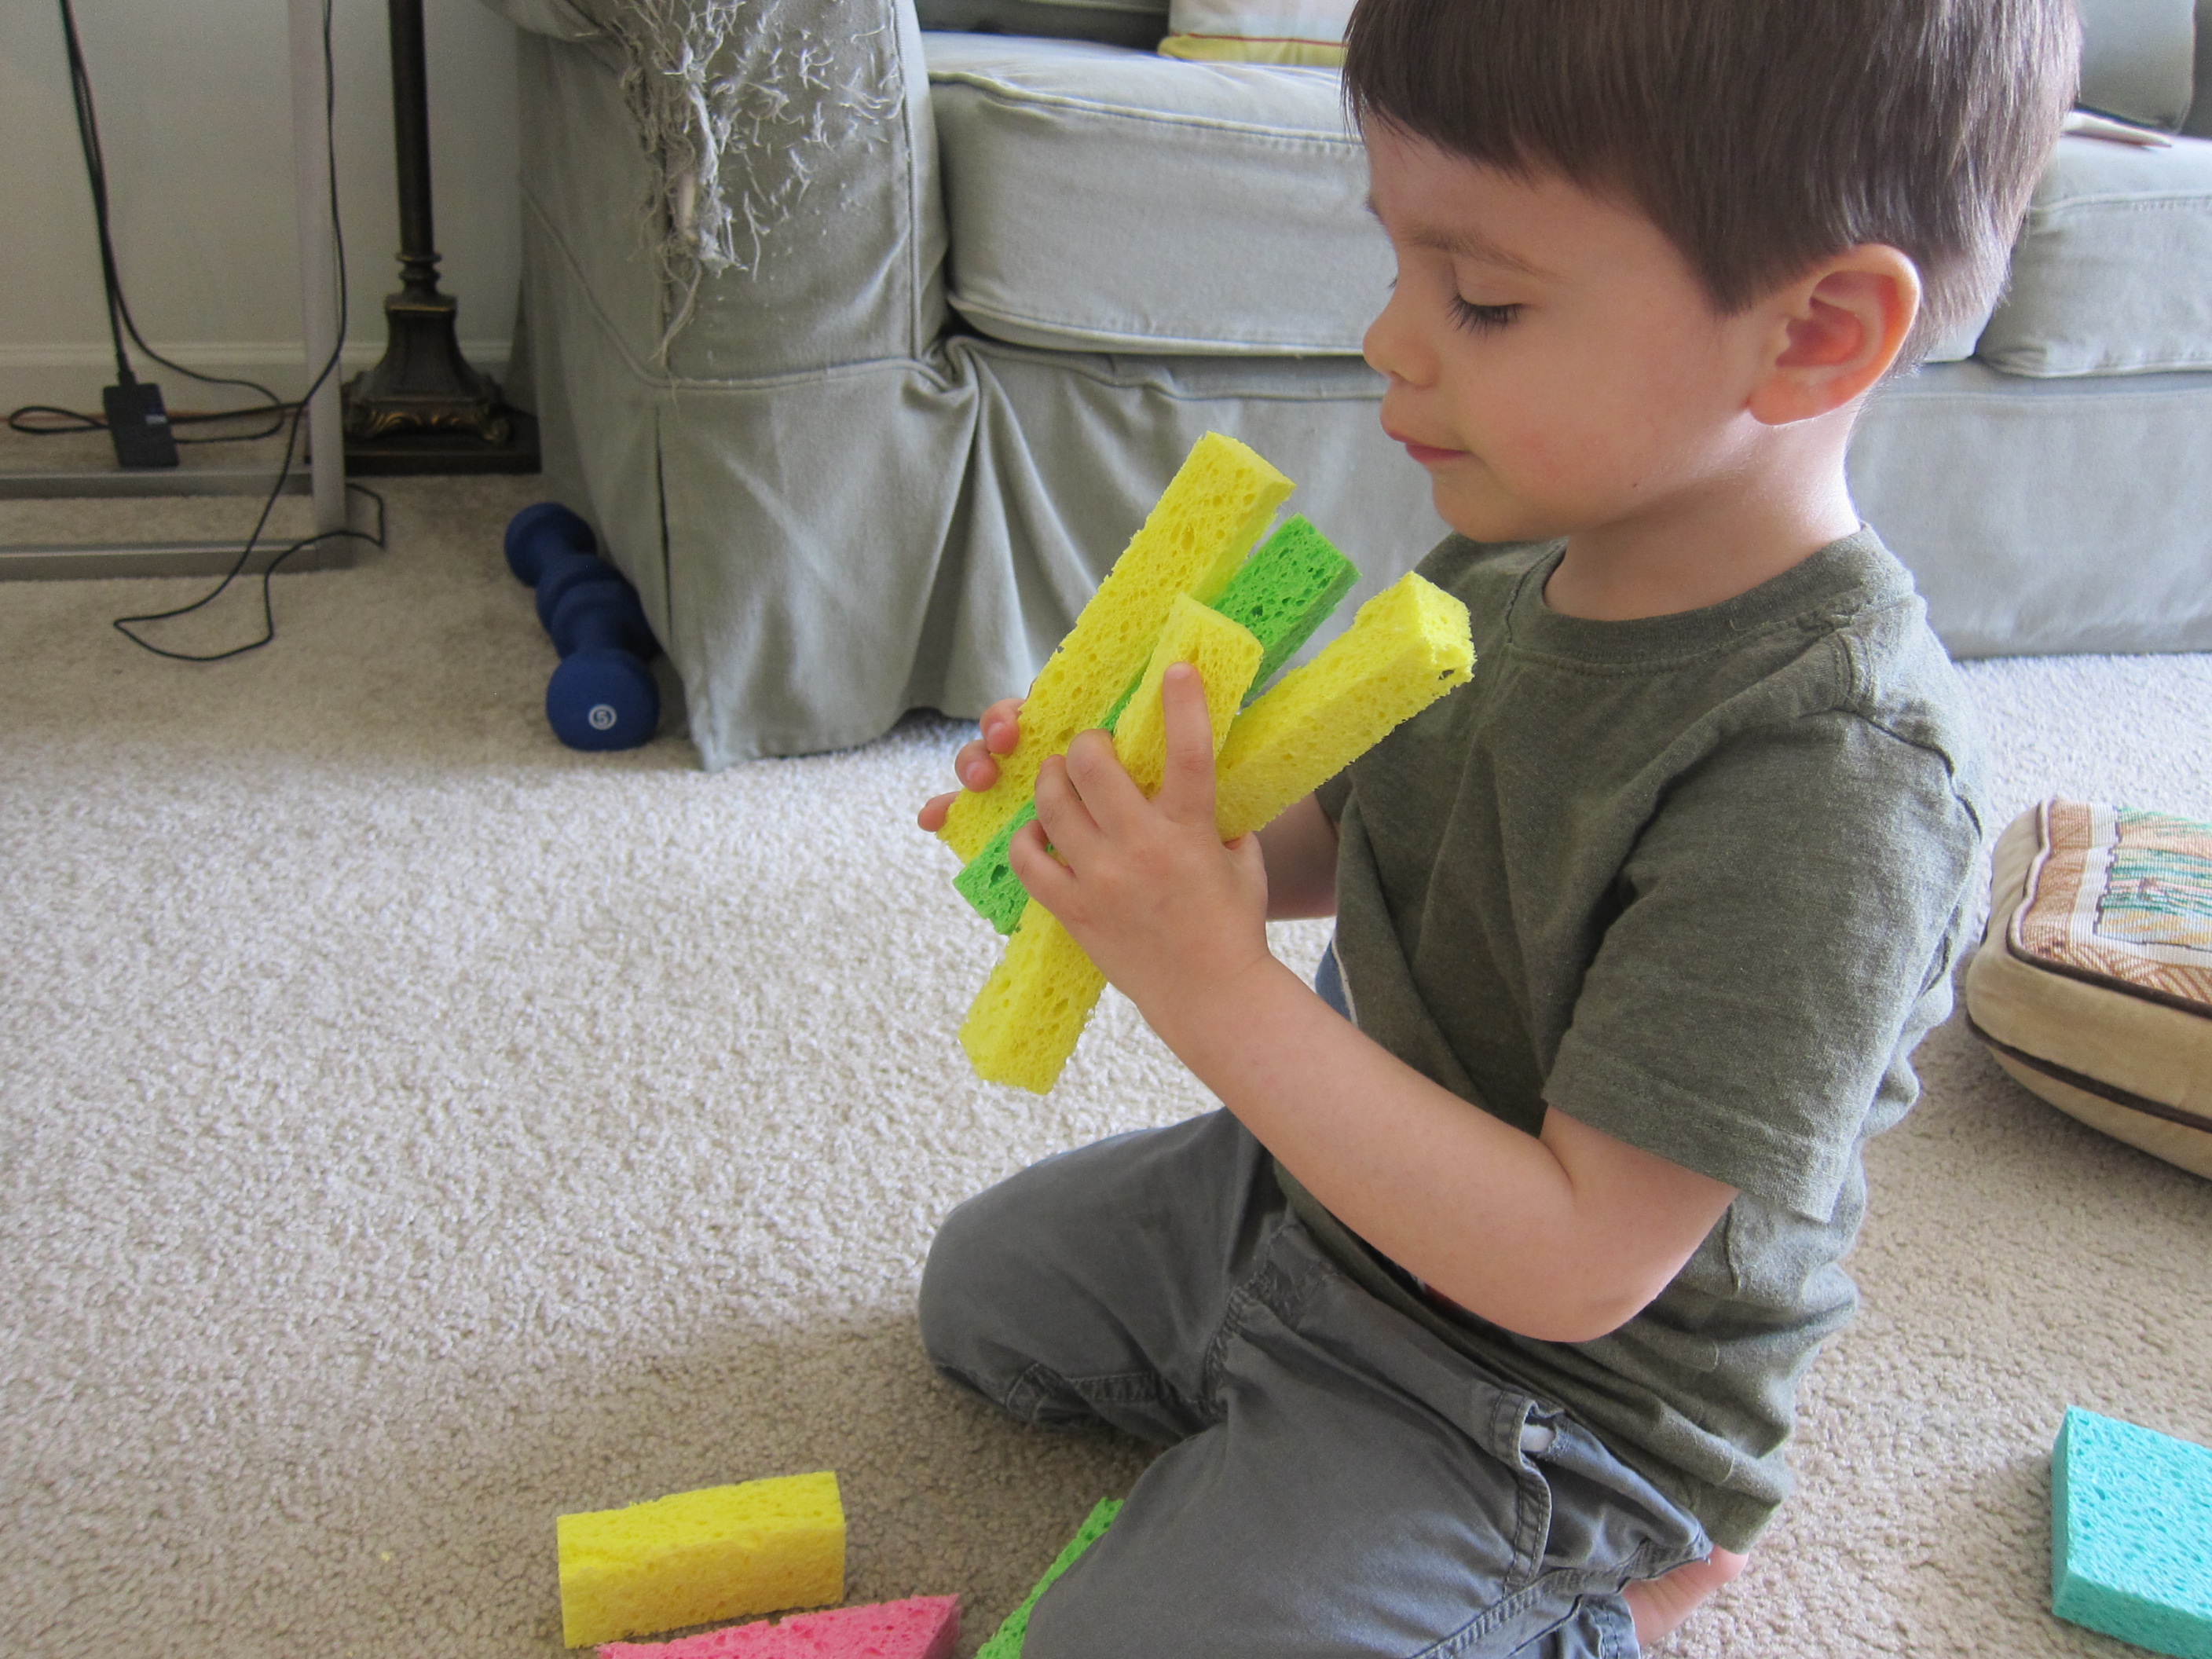
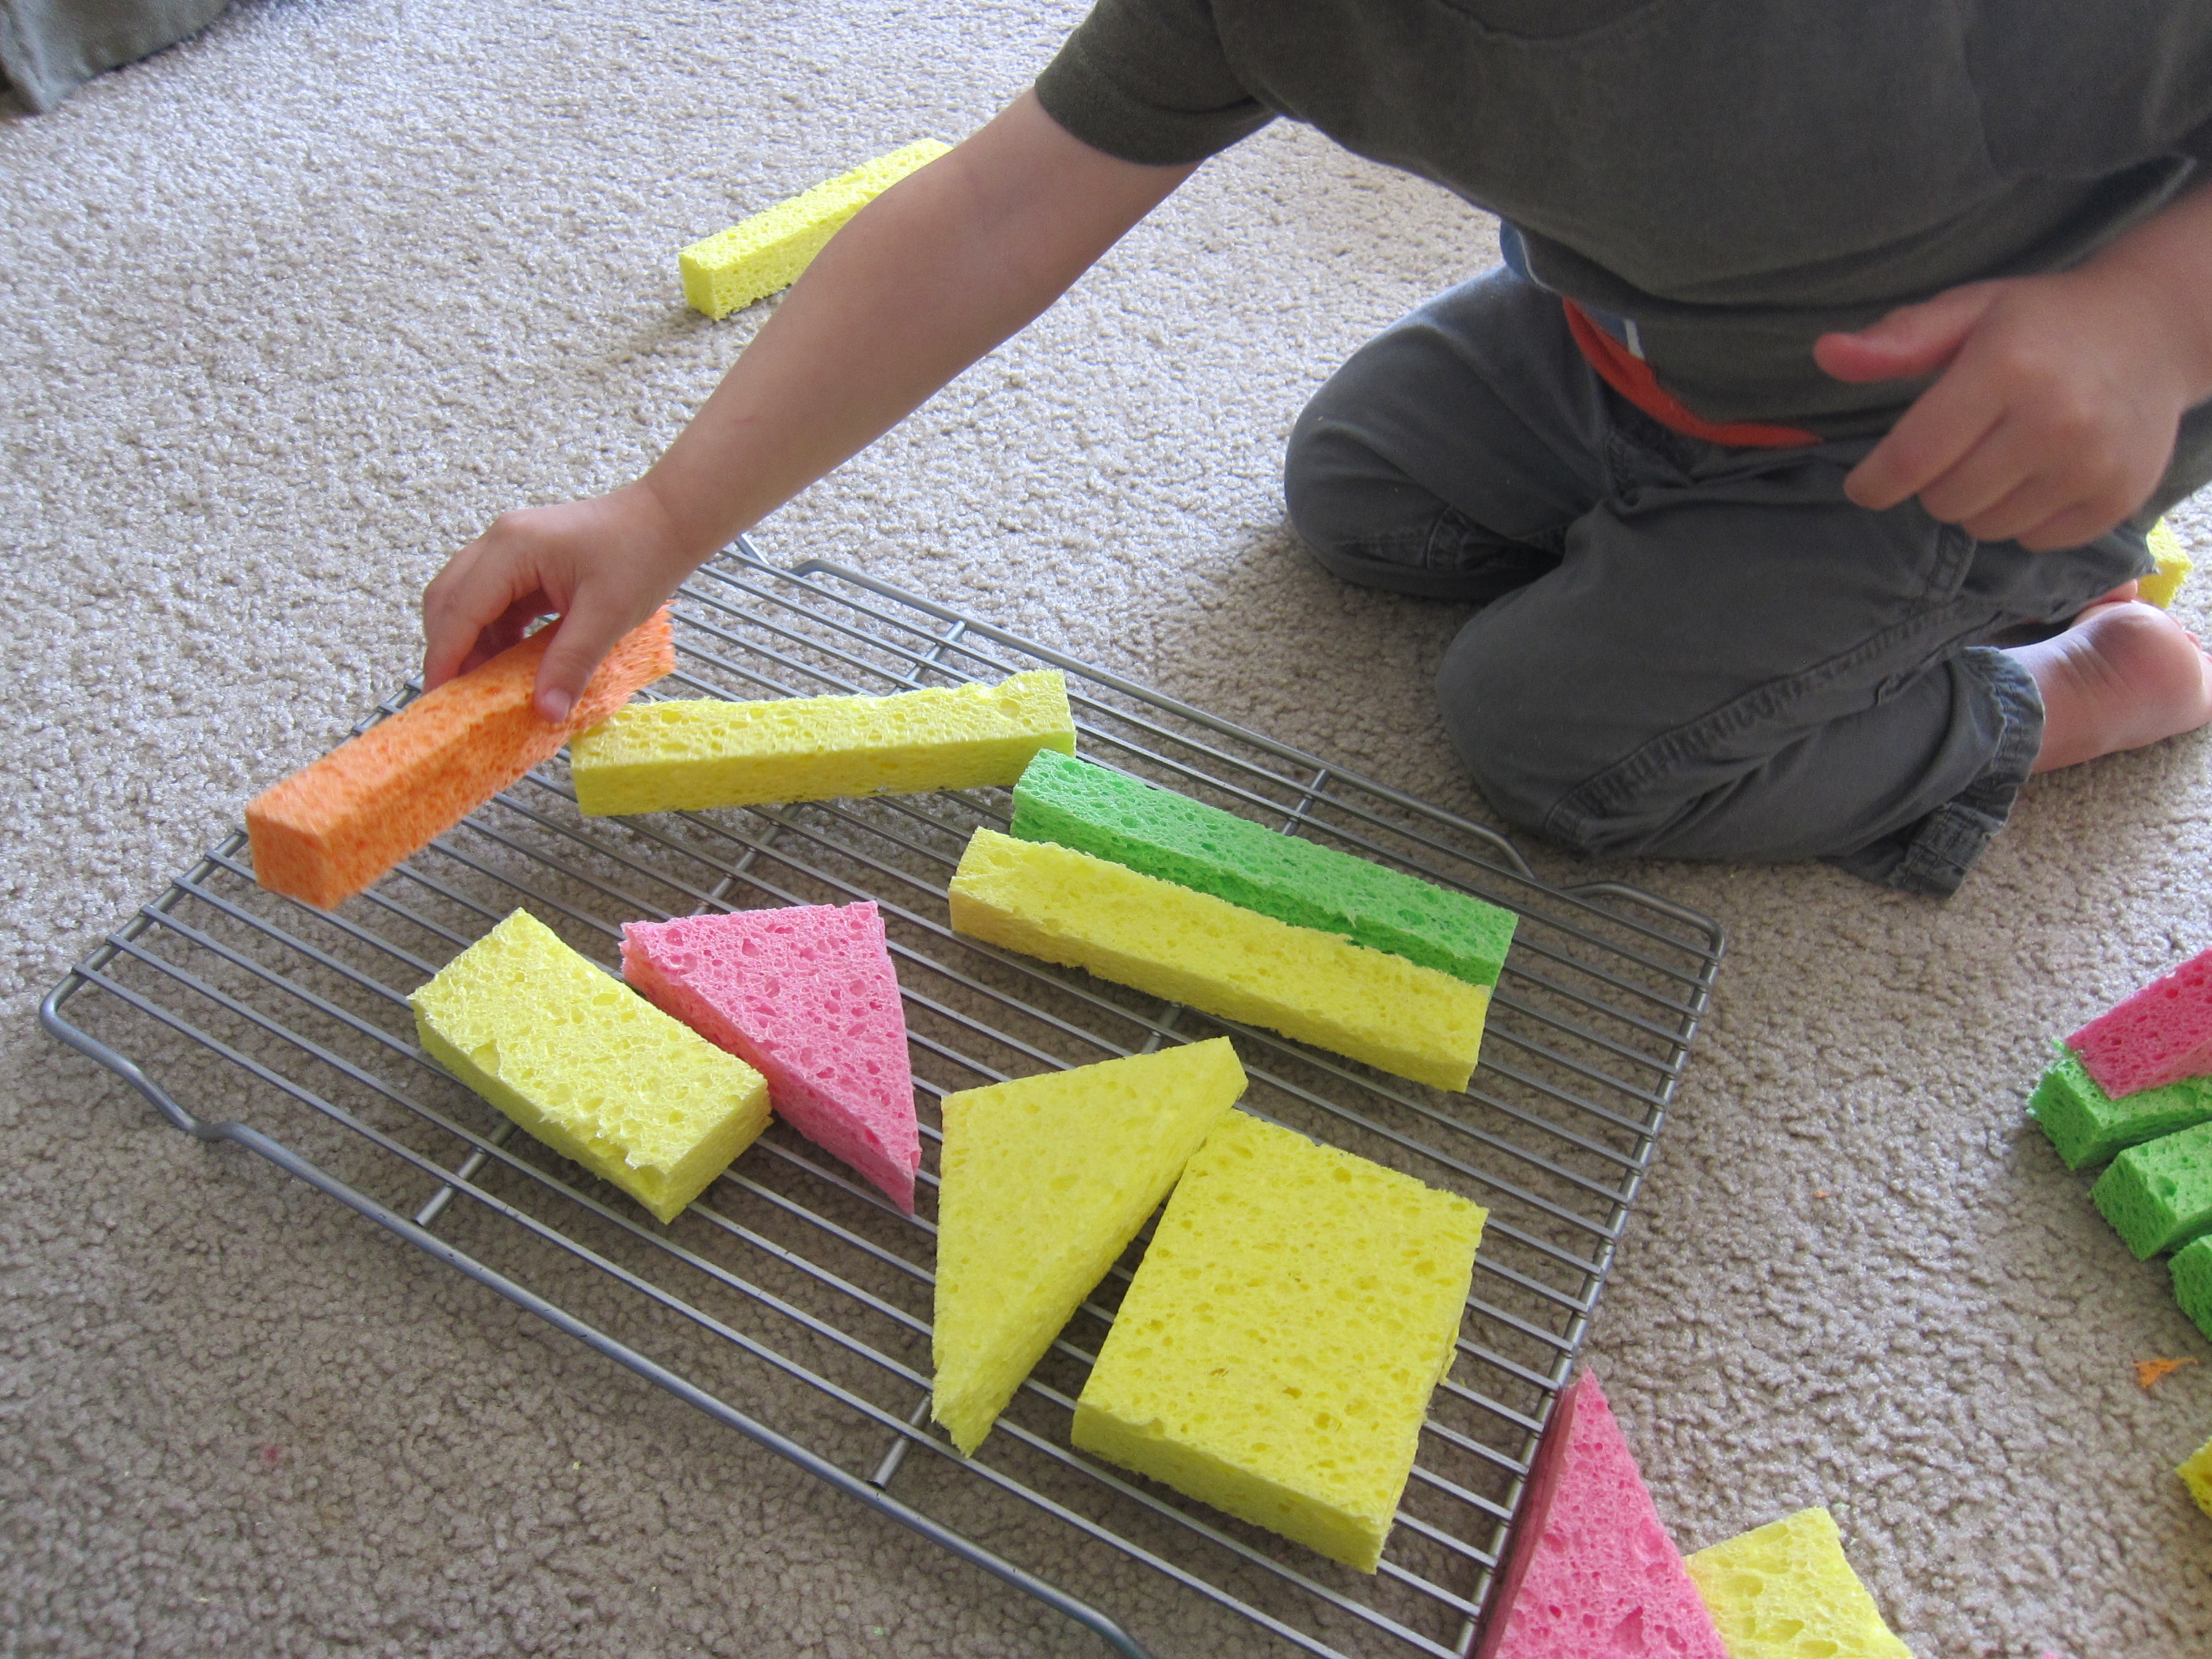
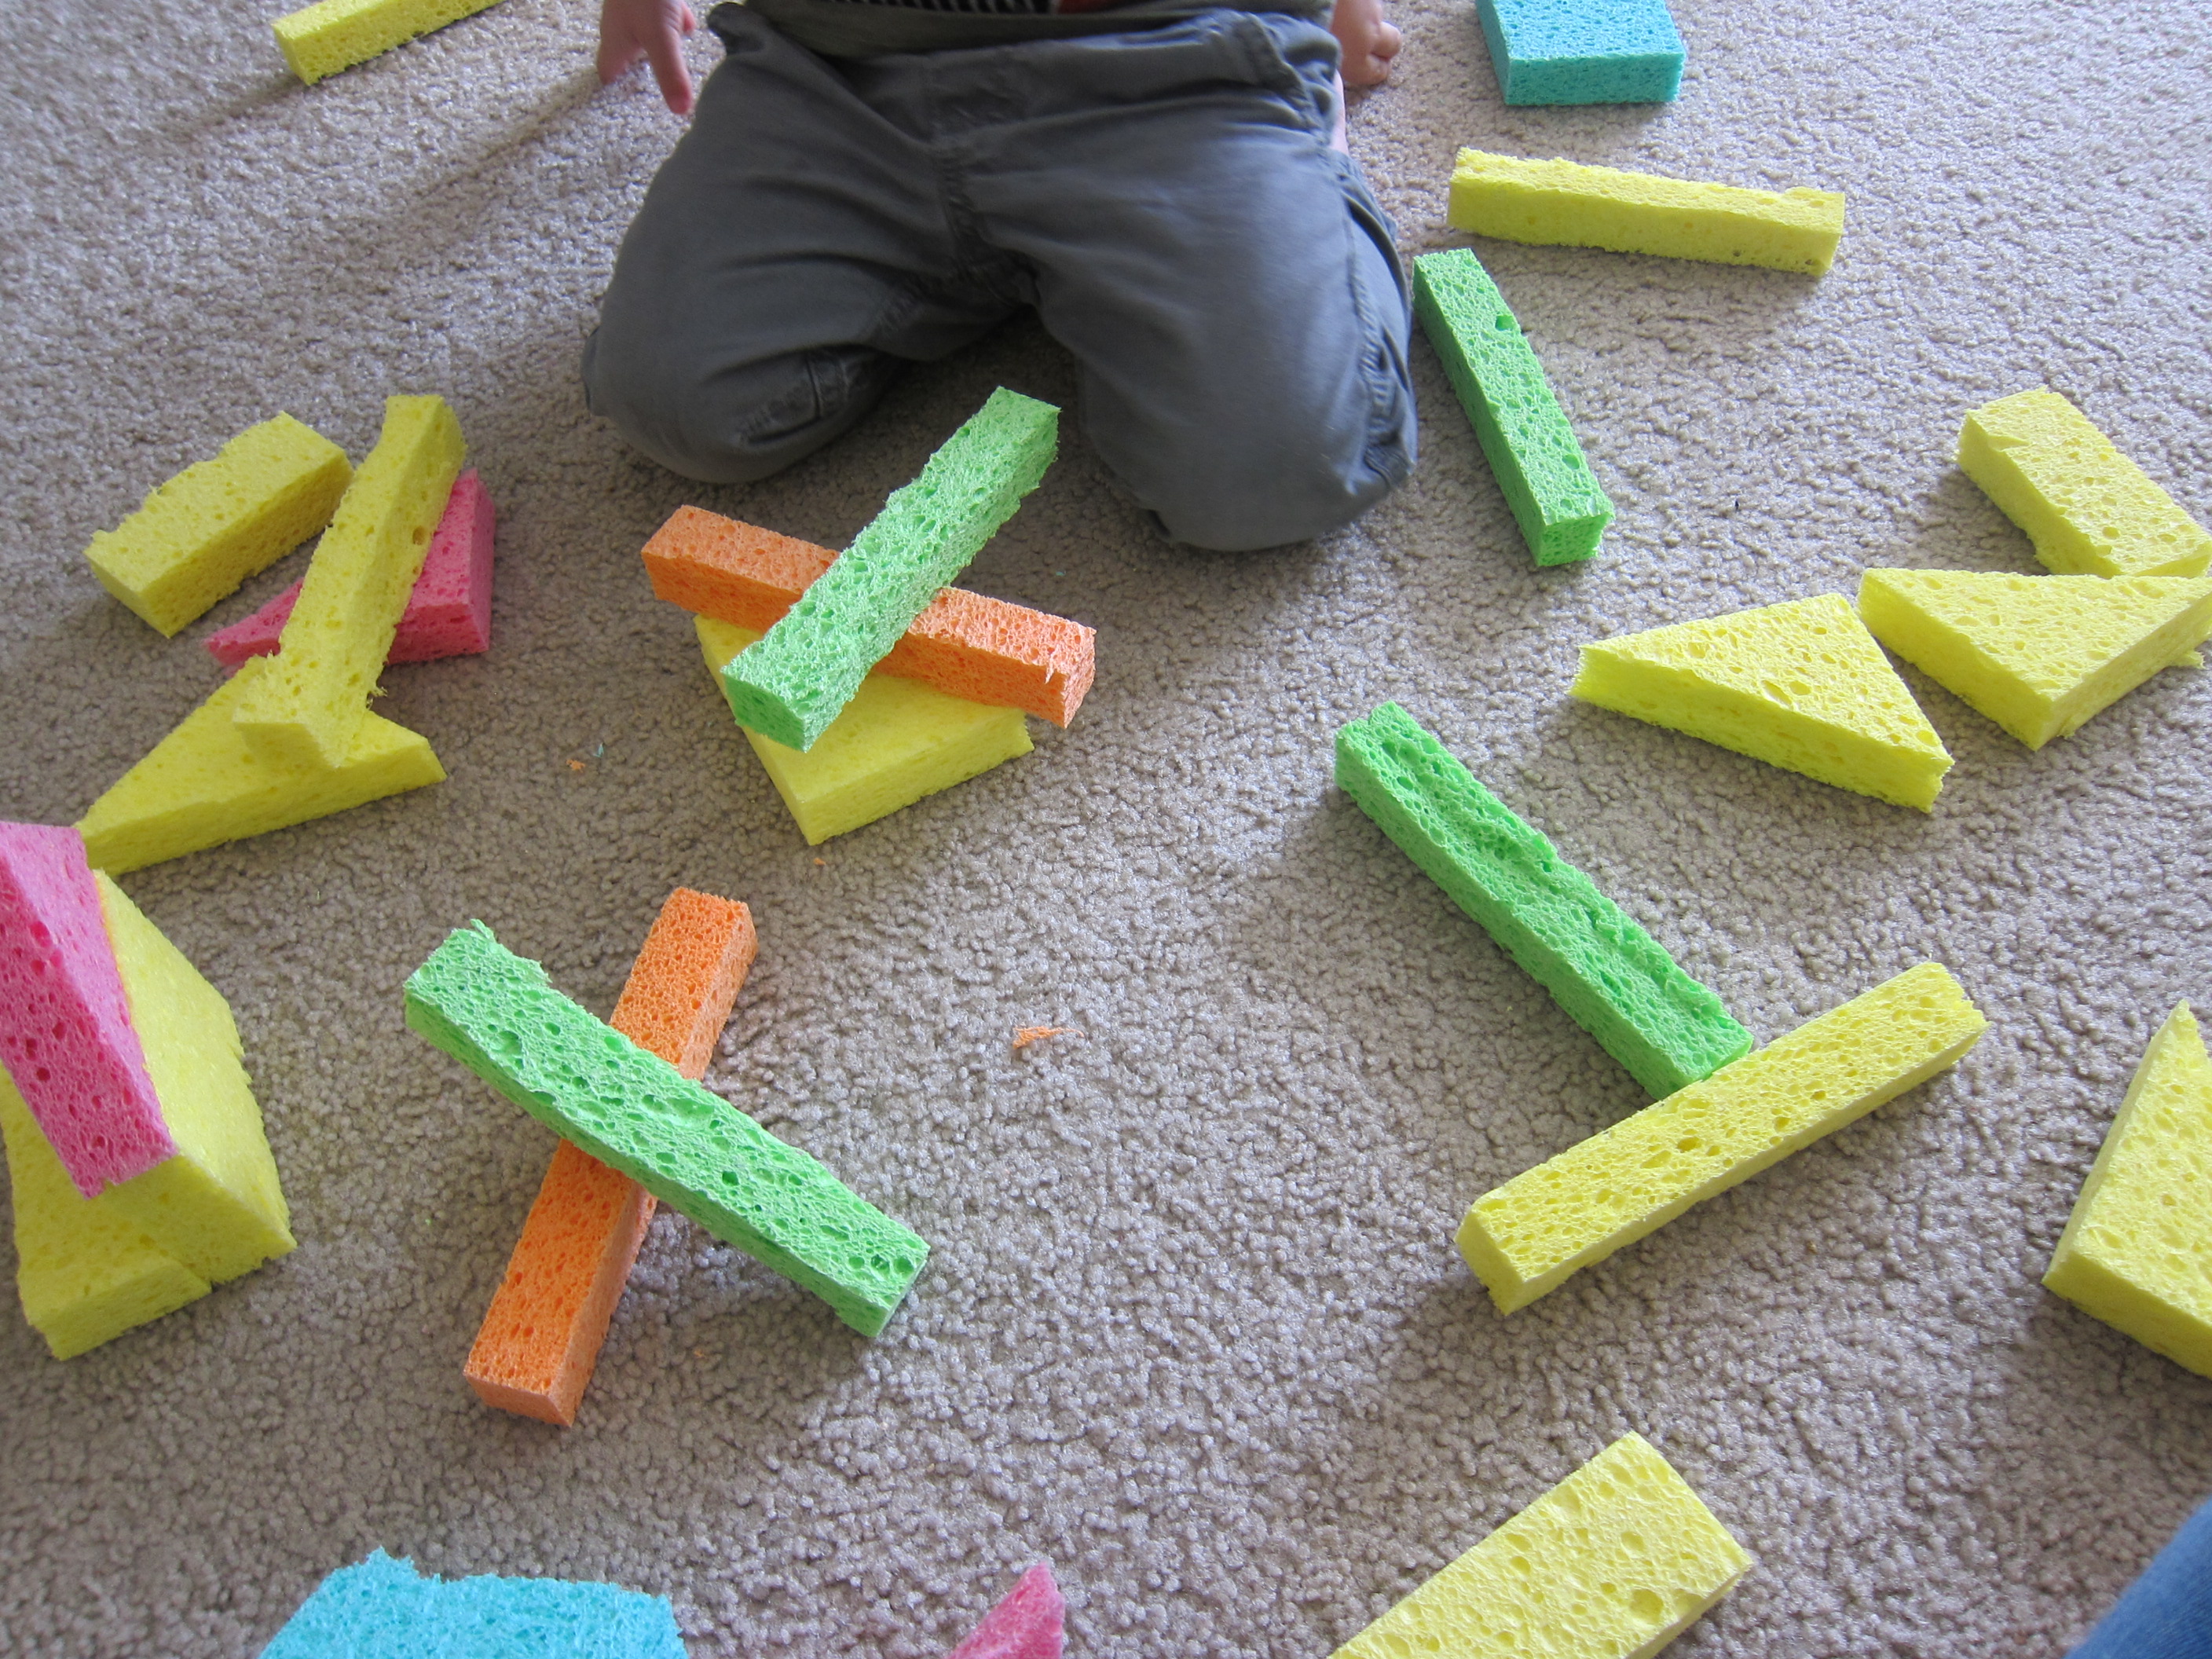
To start, I snipped kitchen sponges into 8 strips each, then secured in the middle with a rubber band. On vacation, a hair elastic worked in a pinch to cinch the strips together, without access to our craft bin. Veronika loved sorting the finished bundles on top of sponges in corresponding colors before we even took them outside to get wet.

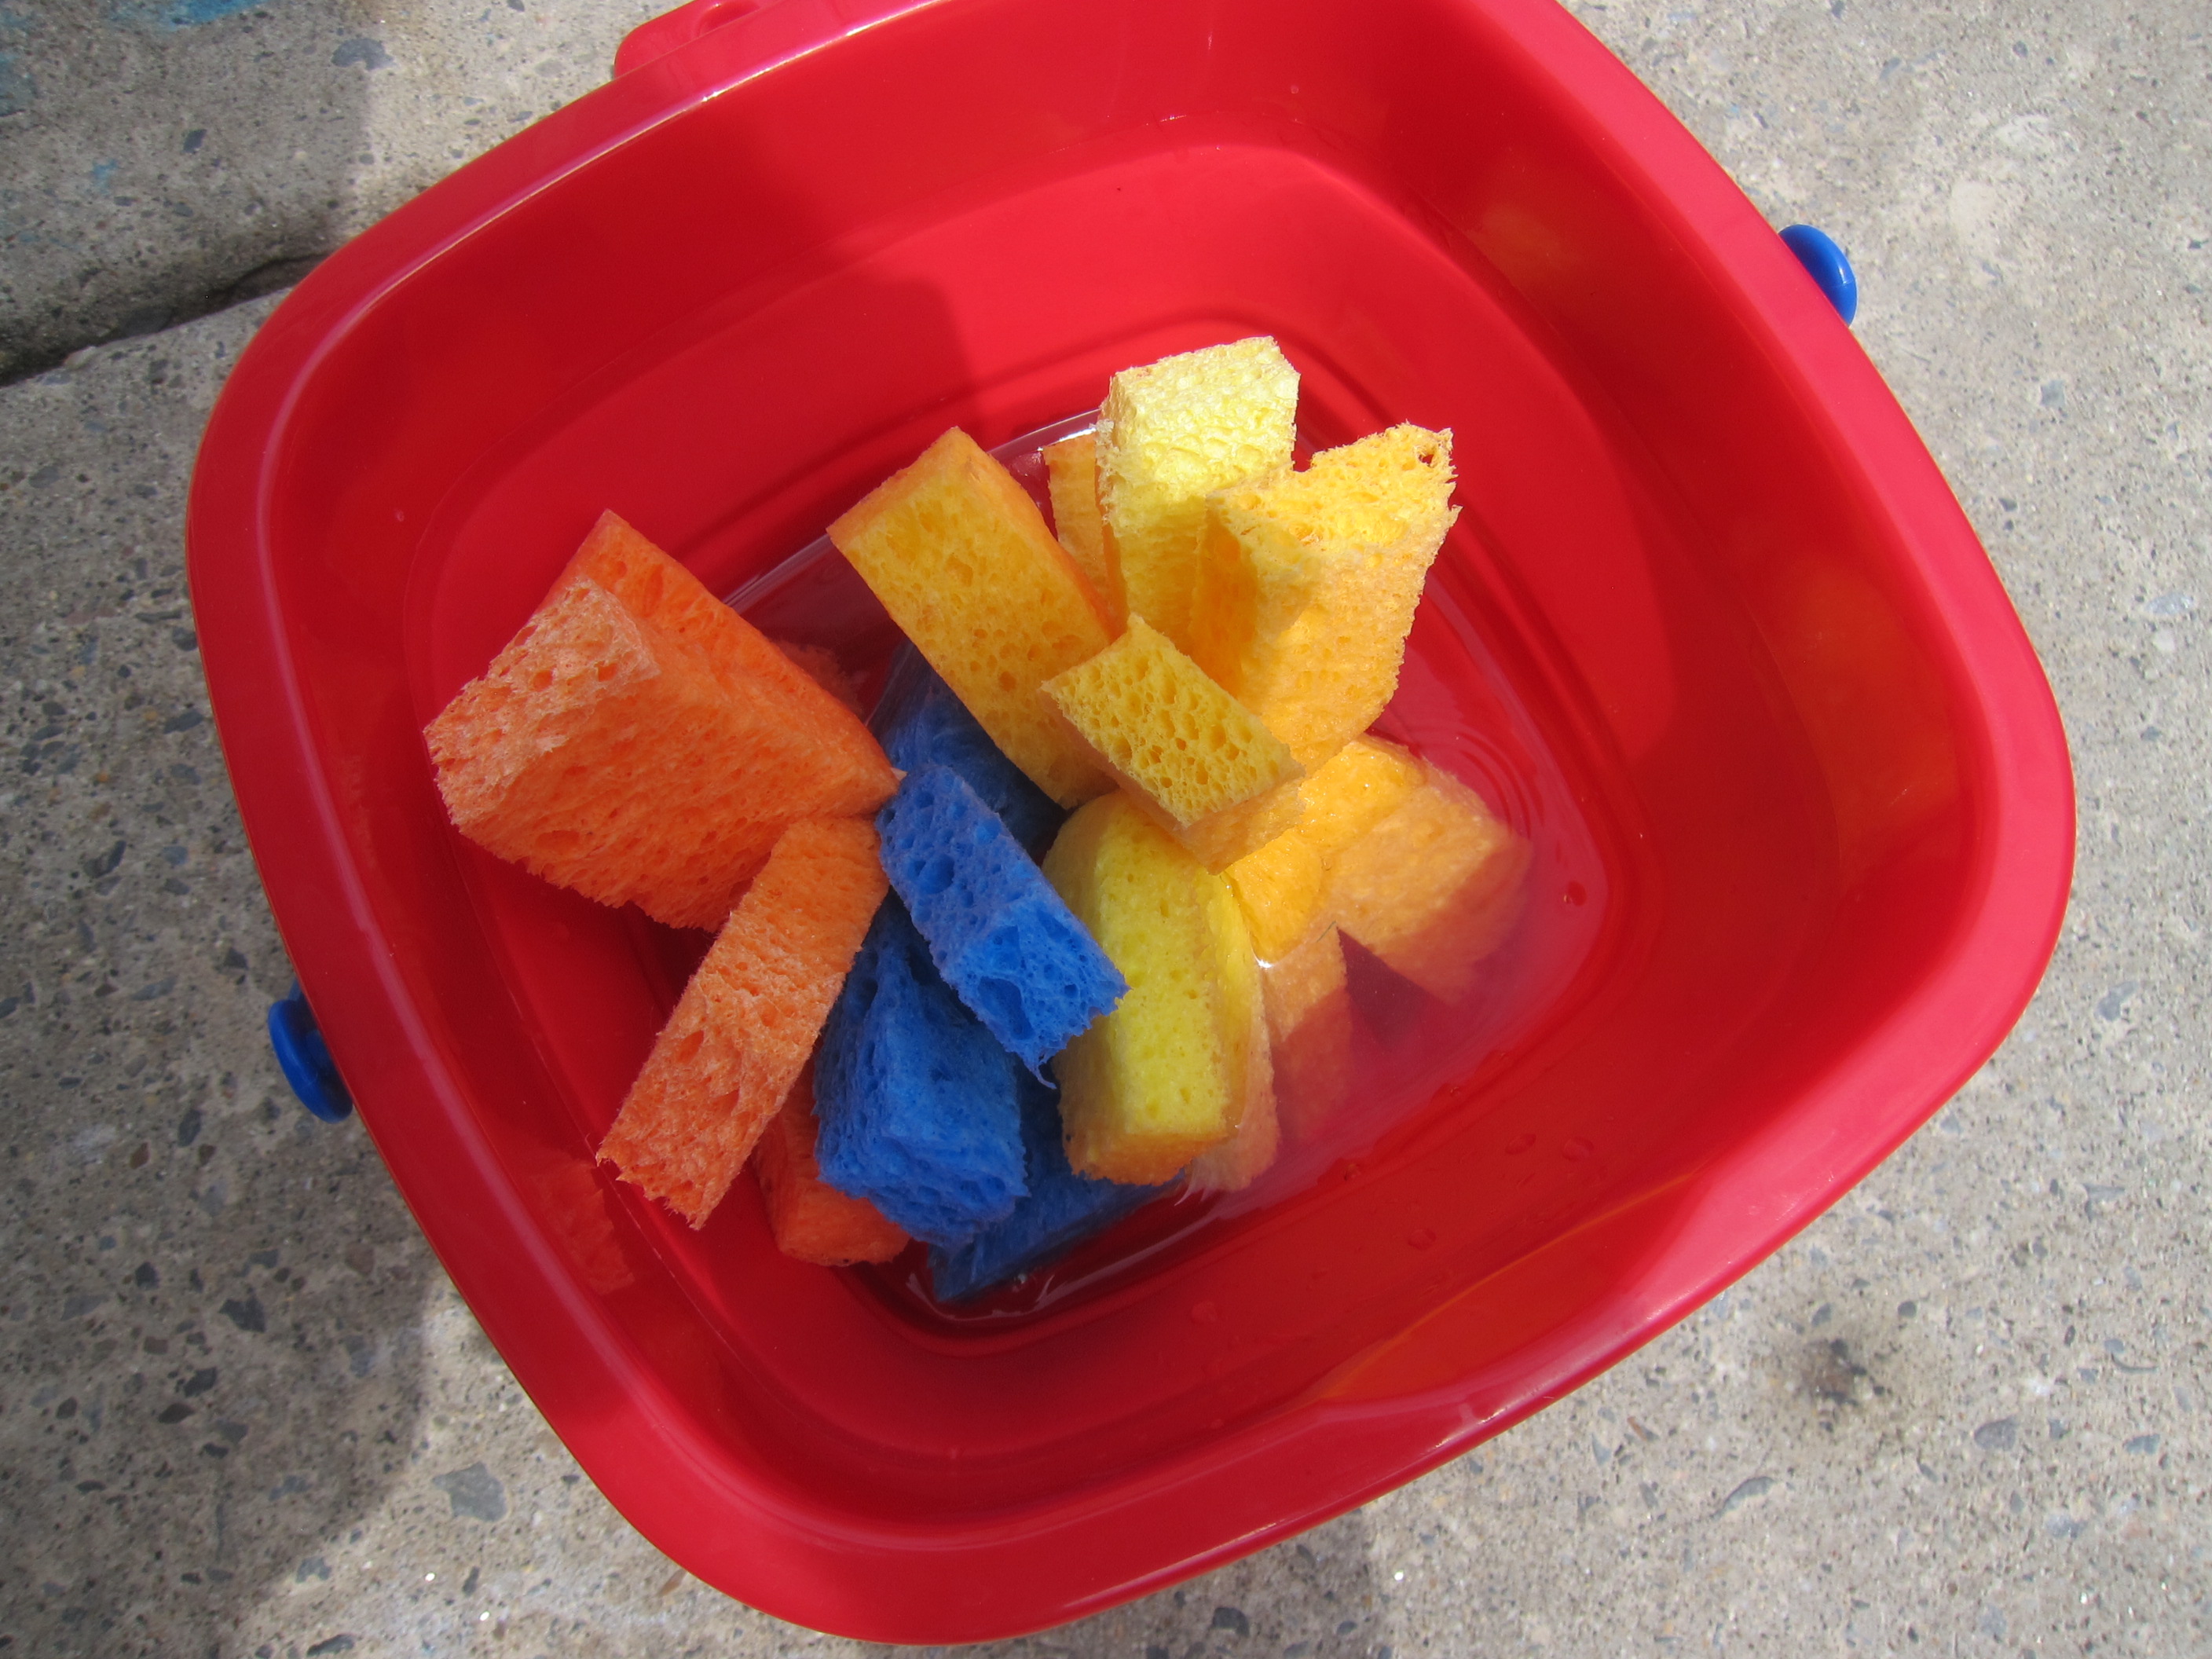
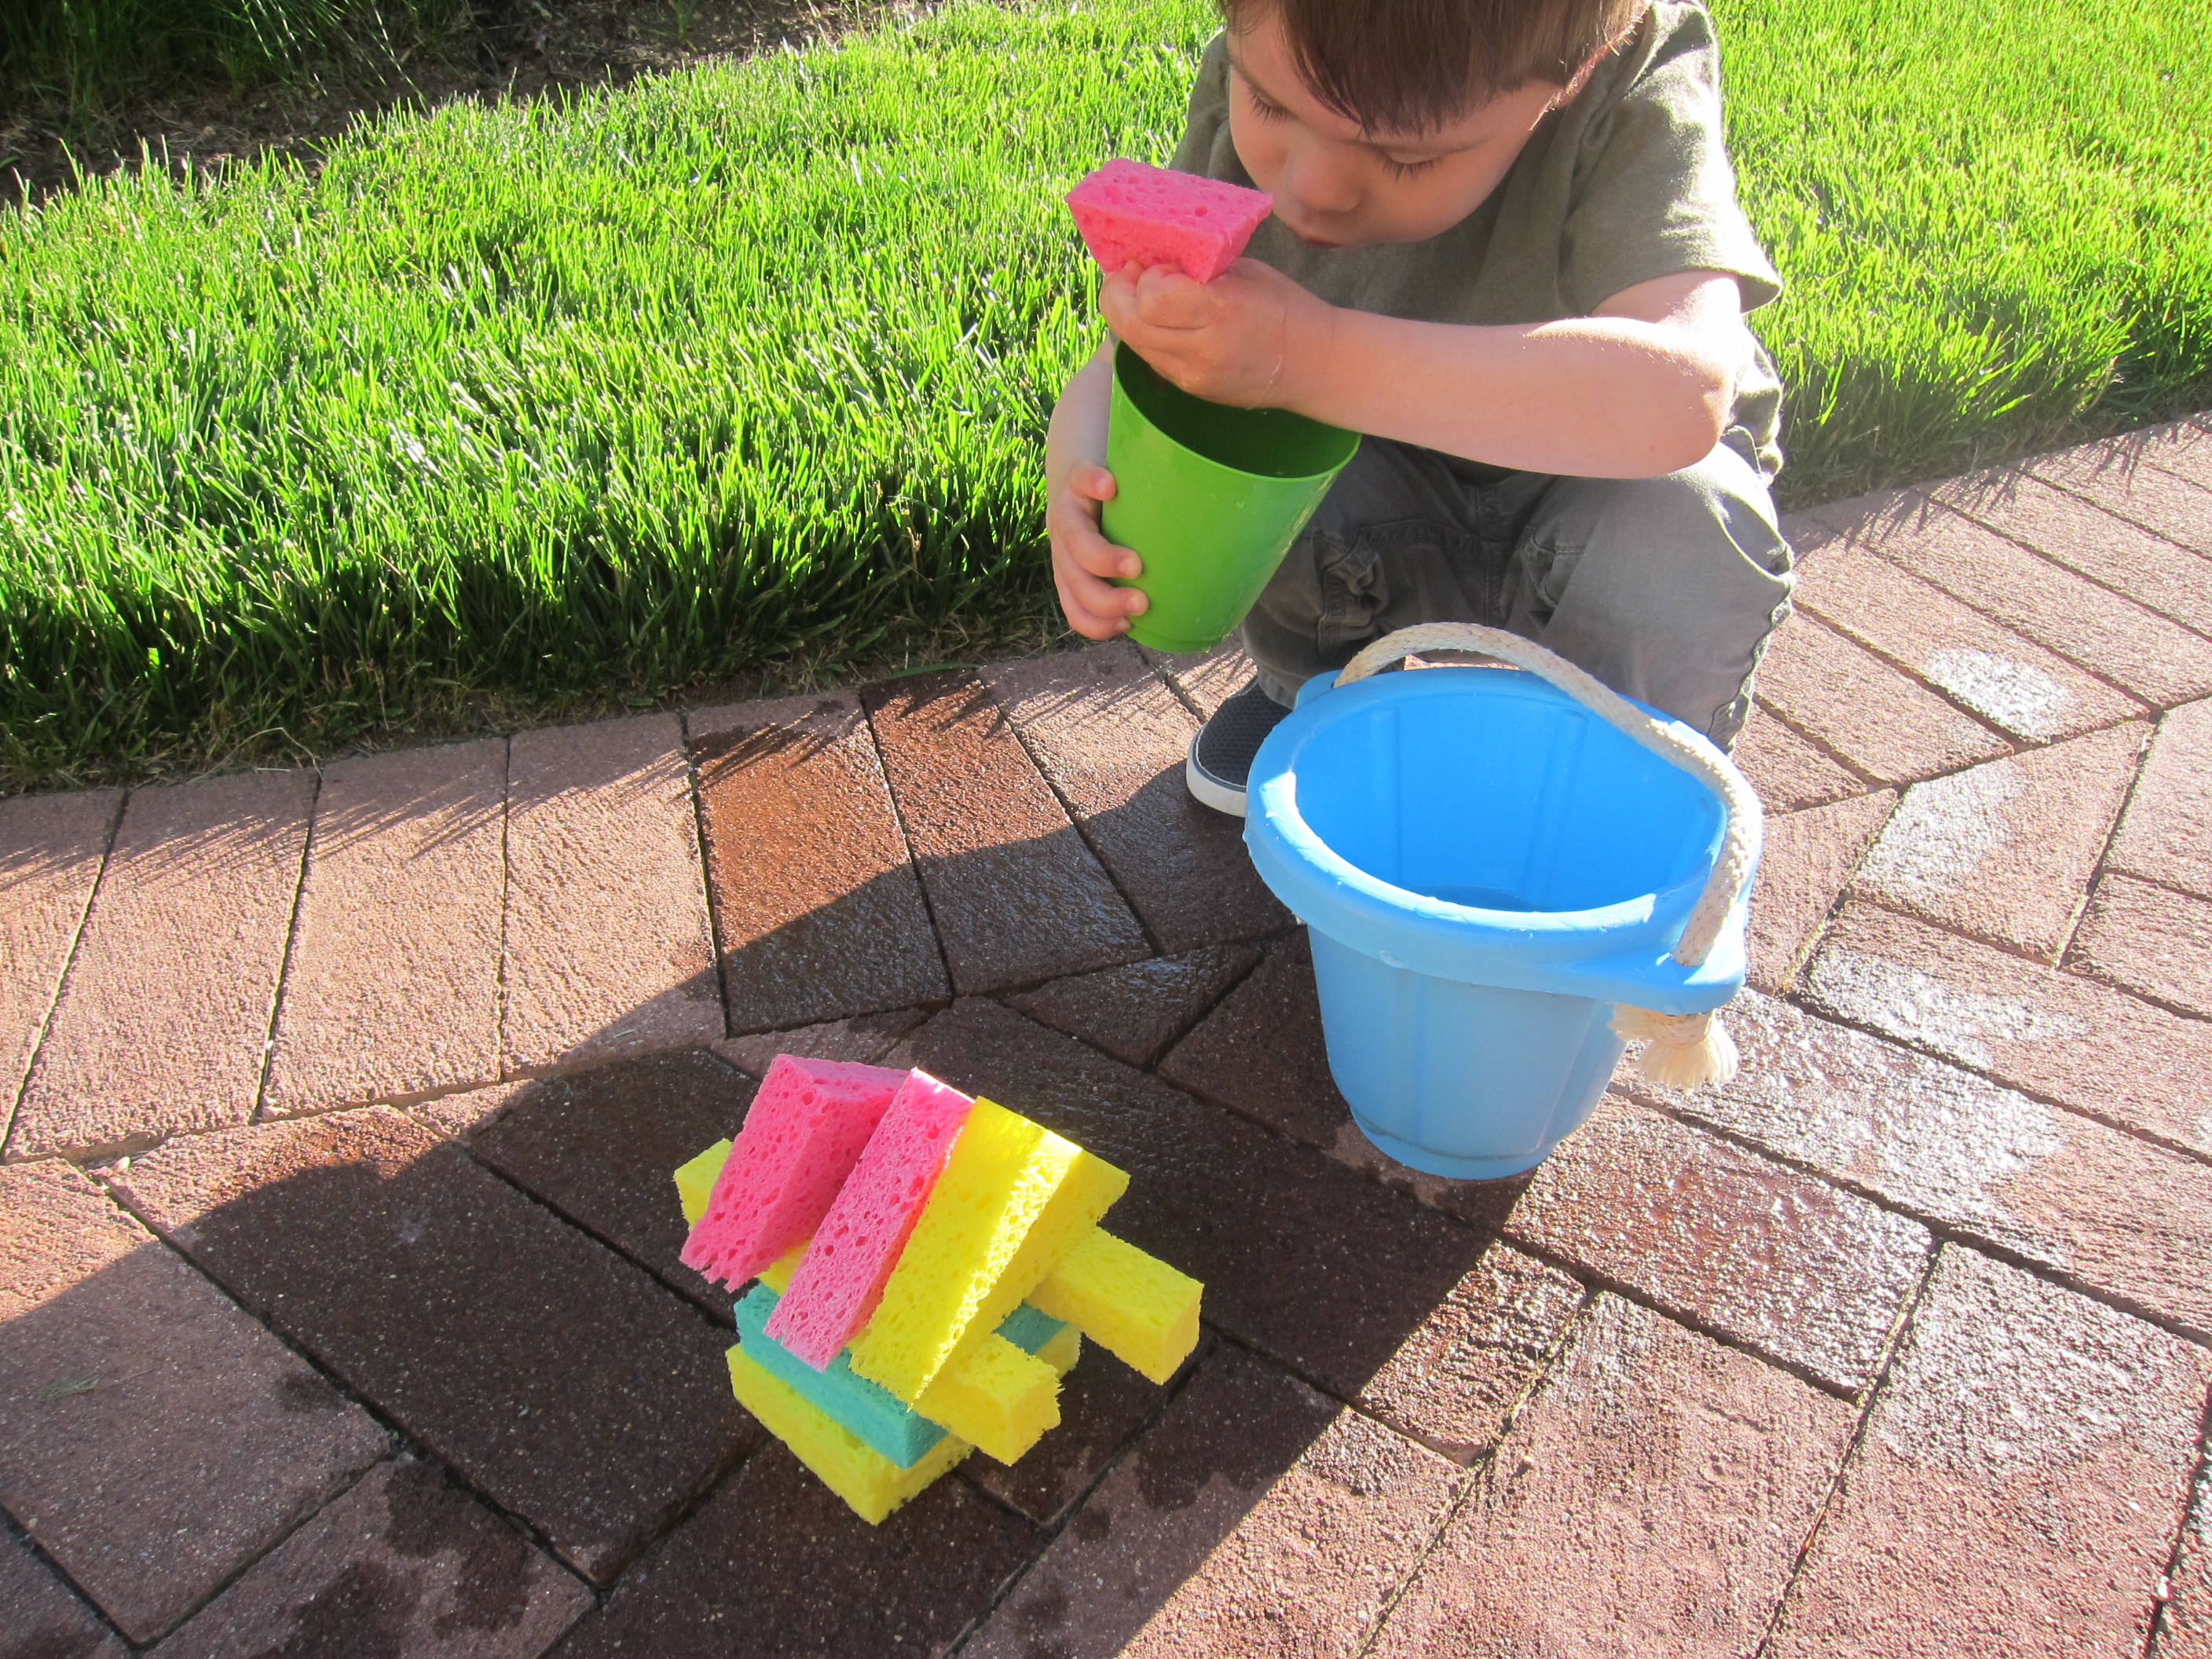
I then set out a bucket of water…

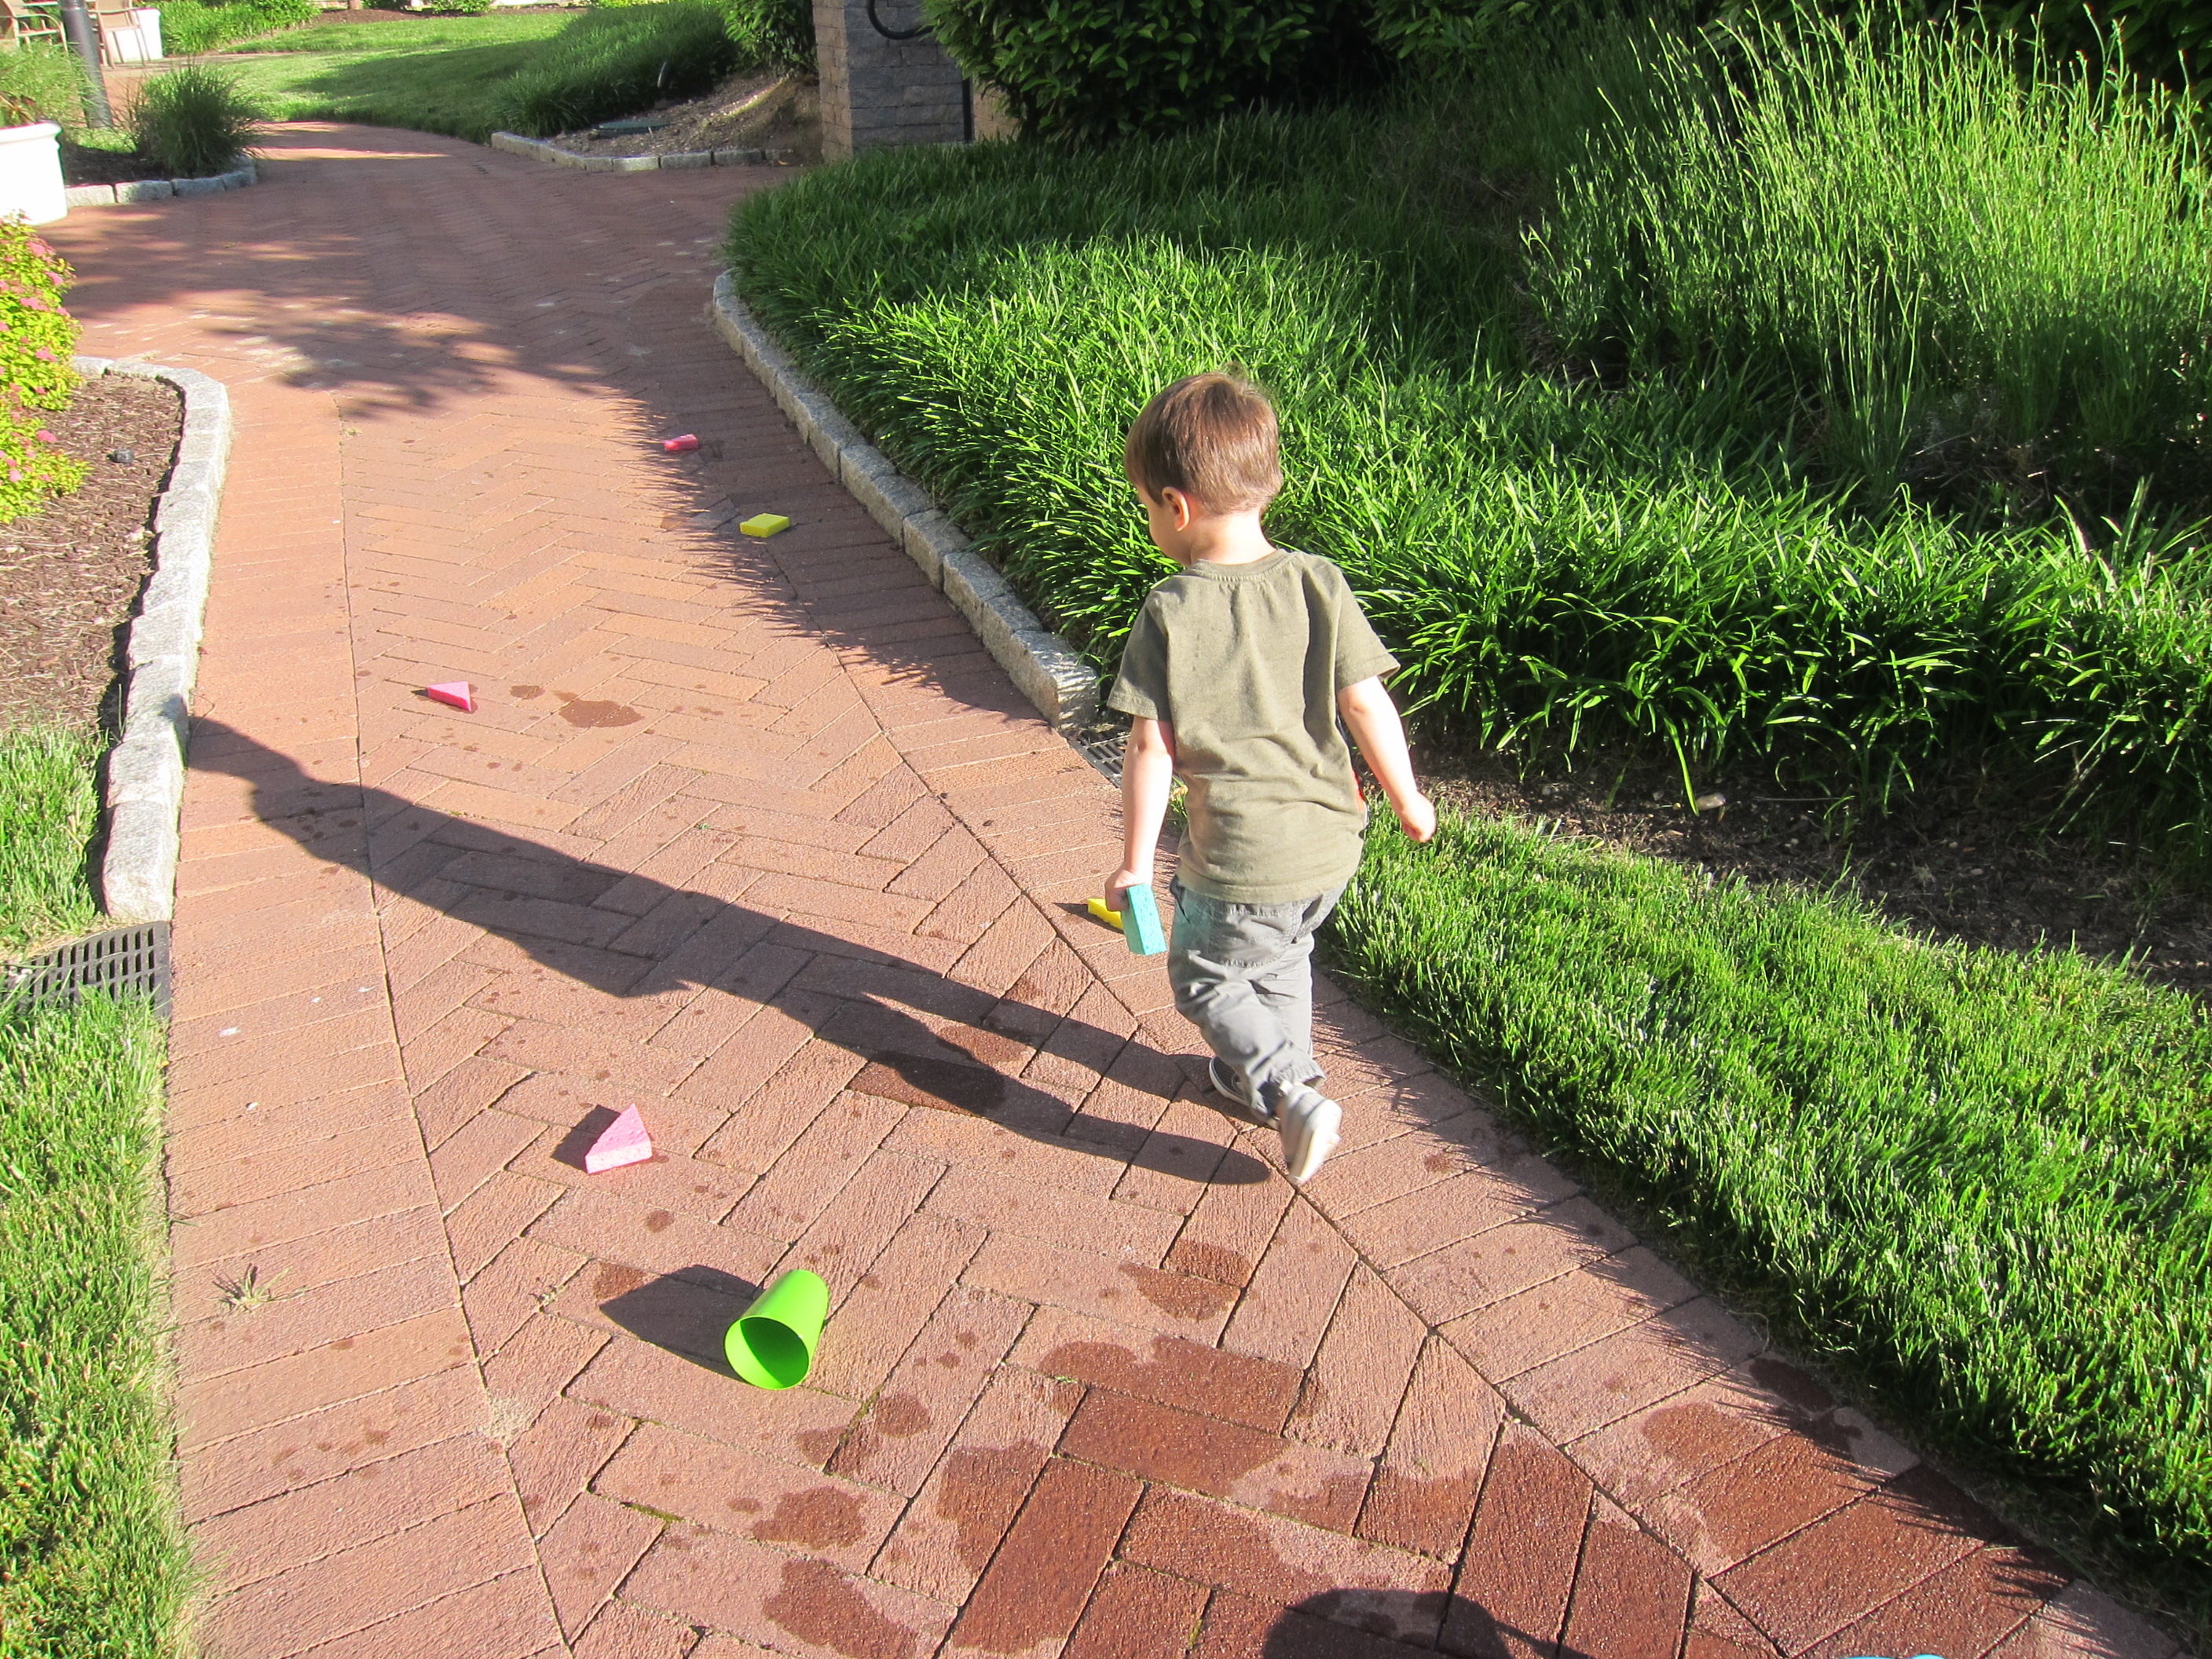
…and it was sponge bombs away!

Travis’s favorite way to play was to see who could get the most sponge bombs into a bucket for target practice.

The bundles are also perfect for an old-fashioned game of Sponge Tag! Thanks to their soft texture and light weight, the sponges are perfect for tossing and tag with even young toddlers.

Sponge Towers and Stamps

Sponge Towers (3)

Large kitchen sponges are easy to buy cheaply and in bulk, so consider stocking up the next time you’re at the store. I love keeping a few in the craft bin because they always come in handy, and not just for watery outdoor summer play.

Veronika and I found two fun ways to play with them this winter afternoon! First, I cut several of the sponges into strips so they made almost a soft foam version of Jenga blocks! I showed her to stack these into layers, and she loved helping add to each strata as our tower grew taller.

Sponge Towers (2)

And of course she loved knocking the sponges over.

Sponge Towers (4)

She also came up with her own way to stack them, simply one strip atop another, and I loved watching her concentration!

Sponge Towers (1)

Note: If building up the Jenga-style towers is too tough for your toddler, you can also make simple shape blocks. Aside from the obvious opportunity to talk about shapes or short by shape, toddlers will no doubt find many uses for these soft (danger-free!) blocks.

Sponge Blocks (2)

They were great fun for hauling around in her dump truck…

Sponge Blocks (4)

…or teaching an early intro to simple patterns, like alternating pink and blue.

Sponge Blocks (5)

When the stacking was done, we still had a few sponges left over so I wanted to use them for more of an artsy craft. Sponges make perfect “stamps” for painting and since we’re so near to Valentine’s Day, I cut them into heart shapes.

Sponge Heart Stamping (2)

These made great prints, and Veronika was especially intrigued with the fact that the color that appeared on the paper wasn’t the yellow or blue of the sponge…

Sponge Heart Stamping (3)

…but red paint! So this accidentally turned into a quick lesson on cause and effect.

Sponge Heart Stamping (4)

Want more ways to play with DIY sponge blocks? Check out what big brother Travis was doing with them 4 years ago!

Sponge Heart Stamping (5)

Sponge Play

Sponge Play (7)

We’re taking advantage of the last few warm mornings for patio play. This game is similar to one we played earlier in the summer, transferring water using only pom poms. Now, Veronika was just enough older to have more success with this version!

I set out two clear bowls, one filled with water and the other empty, along with 3 cheap sponges from the dollar store.

Sponge Play (1)

I asked Veronika what color she wanted for the water, giving her the choice of red, green, or blue. She chose blue!

Sponge Play (10)

I showed her how to dip the sponge in the water, then squeeze it out over the empty bowl to watch the water come out.

Sponge Play (4)

She got the hang of it quite quickly!

Sponge Play (5)

That said, we never transferred all the water because inevitably she wanted to pour it back from the small bowl to the big bowl.

Sponge Play (3)

After she tired of squeezing the sponges, she dumped all the water…

Sponge Play (8)

And loved stomping in it!

Sponge Play (9)

Does your toddler manage to transfer all the water from one bowl to the other? Please share in the comments!

Sponge Play (6)

Sponge-Ball Toss

Sponge Ball Toss (3)

This game is an instant cool-down on a hot day. And you can tailor it easily, depending how wet your kids want to get!

Set-up just requires a few cheap sponges from the dollar store. Stack two together, and cut into 3 strips.

Sponge Ball Toss (1)

Secure the strips in the center with a rubber band, fanning out the edges slightly. Make as many or as few as you want, and head outside the sponges and a bucket of water.

Sponge Ball Toss (2)

First I simply showed the kids that if you soaked the sponges in water and then pressed onto the ground, they left behind fun starburst shapes.

Sponge Ball Toss (7)

Little sister Veronika loved putting them in a bucket of water and squeezing out, delighting in the sensory element of the game.

Sponge Ball Toss (12)

Travis’s favorite way to play was to launch them at the wall!

Sponge Ball Toss (9)

Or squeeze them out like it was raining.

Sponge Ball Toss (11)

Older kids may want to pelt them at each other, which is just fine as long as no one minds getting wet! We kept things gentler with a toddler around, but there was still lots of laughter and tossing.

Sponge Ball Toss (8)

No matter how you play, these sponges are sure to provide cool-down fun.

Sponge Ball Toss (14)

Sponge Bath

Sponge Bath (5)

Veronika recently painted with sponges, and since we had leftovers from the pack, we decided to continue the fun in the water!

A sponge is the perfect cheap toddler bath toy. First there’s the obvious fact that it’s, well, a sponge! It will hold a large amount of water and toddlers love squeezing them out. Veronika delighted in the squishy sound that it made whenever she did this, as well as the bubbles that foamed up if she squeezed them under water.

Sponge Bath (4)

Then there’s the fact that they stick to the side of the tub. It’s almost like playing with big wet stickers!

Sponge Bath (3)

Plus sponges play right into your toddler’s love of cleaning. My tub was sparkly clean by the end of Veronika’s bath!

Sponge Bath (6)

For learning fun, cut the sponges into shapes before adding them to the tub. It can be a bit tough to cut into thick sponges, but luckily Veronika didn’t mind that my circle and heart were a little crooked.

Sponge Bath (2)

We also talked briefly about the different colors, but honestly I mostly sat back and let her play! An extra long bath never hurts.

Sponge Bath (1)


Sponge Printing

Sponge Printing (12)

I recently introduced Veronika to the idea of stamping, by making Duplo prints. Today, we made sponge prints instead!

This was a great activity for outside on the patio, since first we needed to get the sponges wet. I misted them with a spray bottle until saturated, then showed her how to chalk all over the surface of the sponge.

Sponge Printing (4)

Press down firmly on a piece of thick white paper and the mark of the sponge will be left behind. The sponges have a bubbled appearance, with more surface twists and turns than you might expect!

Sponge Printing (1)

Next I cut a few of our sponges into shapes like hearts and plus signs.

Sponge Printing (10)

She liked seeing the various shapes in our prints.

Sponge Printing (6)

Then we discovered that if we used the chalk on wet pavement and then dipped the sponge in the colored water, we ended up with a more saturated print.

Sponge Printing (8)

The wetter the sponge the better the print, so eventually we used a bucket of water to dip instead of the mister bottle.

Sponge Printing (9)

Of course then Veronika just loved dipping the sponges in the bucket and squeezing them out, and lost interest in stamping!

Sponge Printing (11)

But this just fine; it meant this craft was a great way to spend some time making art and simply playing outside.

Sponge Printing (13)

Happy Helper: Floor Mopping

Happy Helper Floor (6)

At around a year and a half, toddlers love to copy everything you do around the house. This makes them the perfect participant for any household chores, but sometimes their “help” can feel more like a hindrance. To wit, Veronika has really wanted to help me mop, but that means dropping toys or brooms into the mop bucket. So today I turned floor mopping into a game to get it out of her system!

I filled a small beach pail with just a little warm water and a few drops of dish soap. Then I gave her a sponge and showed her how to dip it in the water, squeeze out the extra, and start to wash the floor.

Happy Helper Floor (1)

Squeezing excess water is great for muscle development, plus it’s fun to do!

Happy Helper Floor (2)

The idea was to have her work alongside me while I mopped for real, but Veronika had other plans. She upended the bucket, which immediately soaked through her pajamas. Both my kids thought this was hilarious.

Happy Helper Floor (3)

Soon they were eagerly scrubbing the entire kitchen floor – my happy helpers!

Happy Helper Floor (7)

They wanted to play for so long, and when the fun was done, it was immediately upstairs for a change of clothes. And my floor was sparkling!

Happy Helper Floor (5)

Sponge Balls

Sponge Ball (1)

If it’s hot and the kids need a novel way to get wet, look no further than this update on a classic water balloon fight.

Place three different colored sponges in a stack, and cut each sponge into three strips – you’ll end up with three piles that look like a rainbow layer cake. Secure each pile with a rubber band in the middle, and fan out the sponges slightly – now you have sponge balls!

Sponge Ball (2)

Grab a bucket filled with water and go wild.

Sponge Ball (6)

See who can throw their sponge ball the furthest, have fun dipping them into the bucket and squeezing the water out…. or get each other wet with a gentle game of sponge ball tag!

Sponge Ball (3)

Perfect on a hot summer day!

DIY Sponge Blocks

DIY sponge (1)

When it comes to homemade building blocks, these are as easy as they come! Just buy large sponges in bulk (aim to have about 8 to 12 total), and you’re ready for play.

I hadn’t even finished cutting the sponges into shapes (rectangles, squares, and triangles) before Travis noticed them piling up on the counter and demanded we start playing with them.

DIY sponge (2)

The building commenced right away.

DIY sponge (3)

Once the initial novelty of the shapes and texture wore off, it was time to be more imaginative. The sponges soon turned into food.

DIY sponge (4)

Which needed to be grilled of course.

DIY sponge (6)

To take a break from the imaginative play, encourage your toddler or preschooler to make letters with the sponges, or simple patterns by color or shape.

DIY sponge (5)

As the grand finale, we took the sponges outside. They were exceedingly fun to dip into a bucket of water and throw onto the ground.

DIY sponge (9)

We also tested out how much water the sponges could hold, by squeezing them over a cup.

DIY sponge (8)

And you thought sponges were dull as dish water!

Shaving Cream Bakery

shaving-cream-bakery-6

With leftover shaving cream in the can from our shaving cream paint earlier this week, today we turned our kitchen into a shaving cream bakery!

All you need to set up a bake shop for your tot are large kitchen sponges, a few kitchen utensils, and a dose of imagination.

shaving-cream-bakery-2

Travis really enjoyed smearing the shaving cream onto the sponges with a plastic utensil:

shaving-cream-bakery-4

Then I showed him how to layer two sponges together to create a layer cake.

shaving-cream-bakery-5

For an extra realistic effect, I added a drop of red food coloring to sea salt and put it in an old spice shaker, which meant Travis could add sprinkles!

shaving-cream-bakery-1

After he made a couple of “cakes,” he simply enjoyed shaking the sprinkles directly into the tray of shaving cream I had set out, and stirring all that together into a big mess.

shaving-cream-bakery-8

Other than layer cakes, what would you make in your bakery? I’d love to hear about any cupcakes or frosted cookies that your kids create! Please share in the comments.

shaving-cream-bakery-7