Expanding Snowman

Expanding Snowman (12).JPG

We’ve been waiting for a snowy day around here, because snow always lends itself to exciting winter games and science experiments. With leftover Alka-Seltzer tablets on hand, I had plans for exactly how we could use the snow this time around.

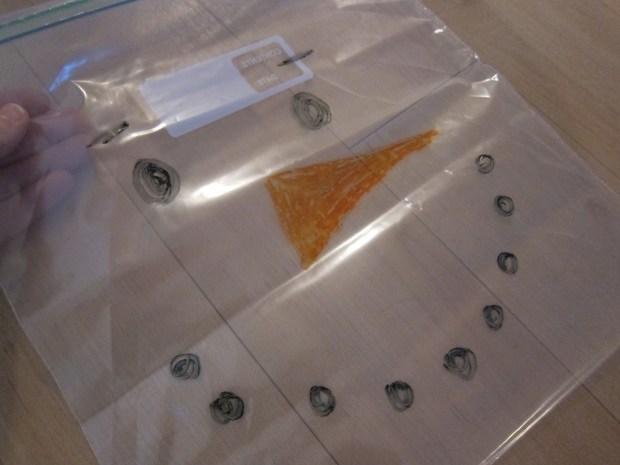
First, I drew a snowman’s face for Travis on a plastic bag. Note to self: next time use a sharpie! We had some inky orange and black hands later on…

Expanding Snowman (1)

Next we needed to collect fresh-fallen snow into our bag. Make sure you fill your bag almost to capacity with snow, or this experiment won’t work. We learned by trial and error!

Expanding Snowman (2)

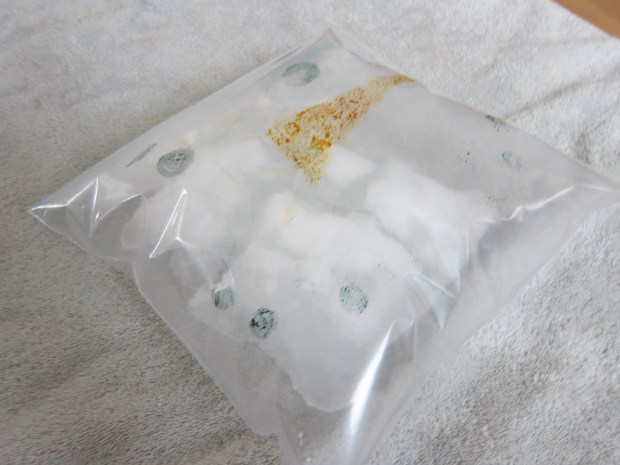
Now drop in two Alka-seltzer tablets and seal the bag. You may want to place it on a towel, just in case the bag bursts…

Expanding Snowman (10)

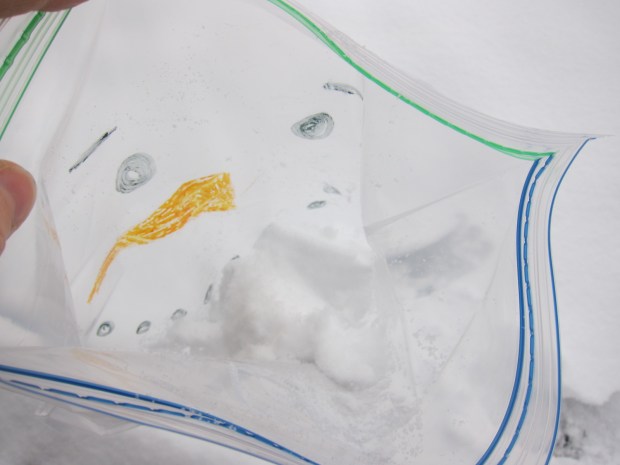
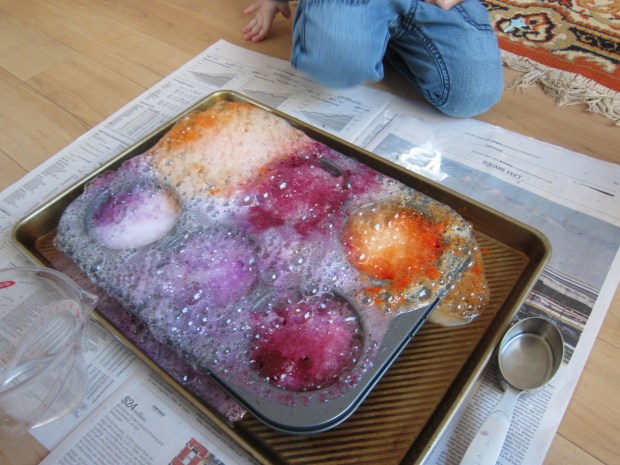
Over the course of about an hour, we checked on the bag. The tablets slowly release gas that will make your snowman puff up more and more and more.

Expanding Snowman (11)

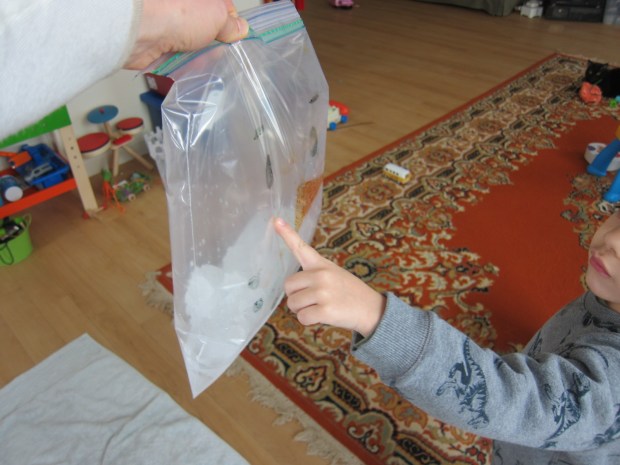
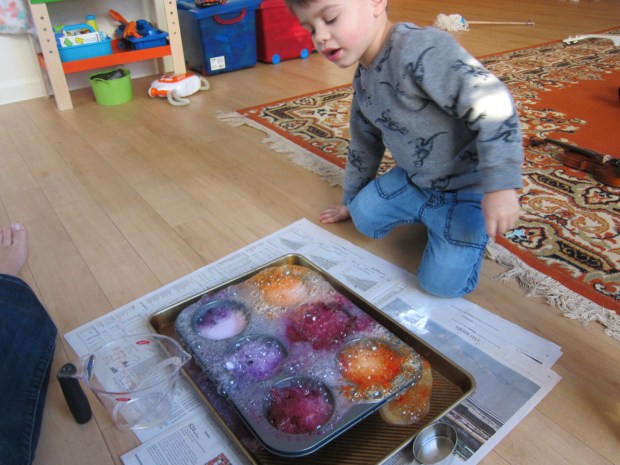
Here’s Travis poking a bag filled mostly with gas and leftover slush by the end.

Expanding Snowman (13)

I think the process would be even better if I had left the bag outside, so the snow didn’t melt simultaneously as the gas expanded – whoops!

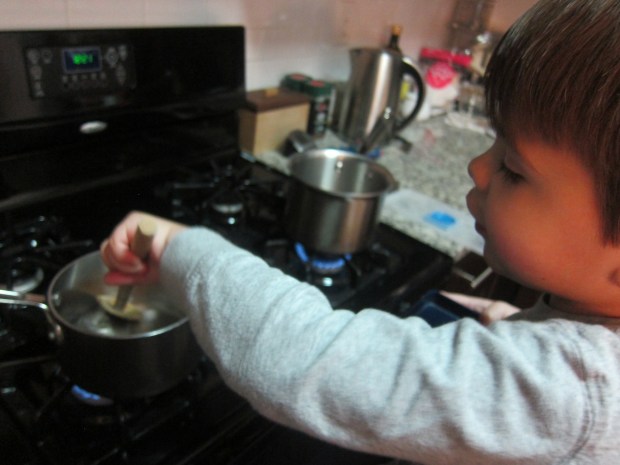
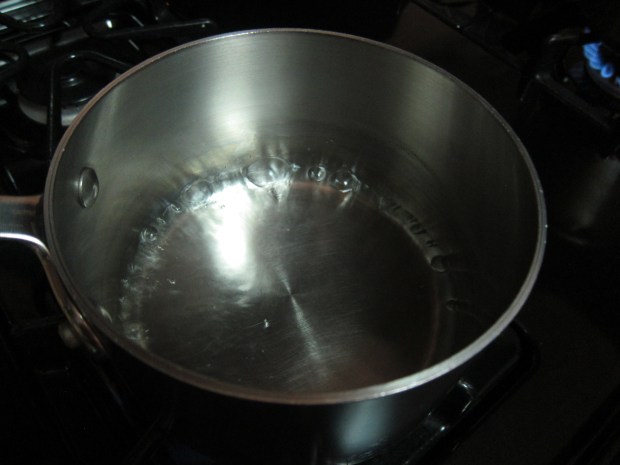
The whole thing takes a while, of course, because the tablets react very slowly with freezing cold water. Because he grew impatient as we waited, I filled a second bag with hot water from the tap and we dropped in a few Alka-Seltzer.

Expanding Snowman (6)

They immediately fizzed and the bag puffed up with gas, and we talked about why the reaction happened so much faster in the heat.

Expanding Snowman (7)

Can’t wait for the next snowfall and the chance for more snowy games! What do you do with your kiddos to take advantage of a snow day? Please share in the comments!

Magnetic Ice Science

Ice Magnet (2)

This easy game is such a neat winter-time twist on magnet play!

To prepare, simply place small magnetic items in the compartments of an ice tray, and cover with water. Think small pieces of pipe cleaner, paper clips, metal rings, and similar small items. Freeze overnight.

Ice Magnet (1)

The next morning, I popped the ice cubes out into a baking dish, and invited Travis to see if he could pick up the frozen ice cubes with strong magnets from our magnet set.

Ice Magnet (3)

The results turned out to be so interesting, and lasted us the better part of a half hour! A few items, where the metal poked through the ice already, worked right away. The paper clips were remarkably strong even through a layer of ice.

Ice Magnet (4)

Travis loved discovering what would stick to his magnet already and what needed a wait, for the ice to melt somewhat.

Ice Magnet (7)

For some additional fun – under close supervision! – prop the baking dish between two stools and run your magnet wands underneath; Travis loved watching the magnets slide as if by magic from his wand under the tray.

Ice Magnet (8)

As we played, it became clear that the pipe cleaners were the real puzzle. The slightest bit of water was enough to get in the way of the thin metal strip inside the fuzzy layer.

Travis was the one who suggested we chisel away at our ice cubes to get to them – the perfect idea!

Ice Magnet (9)

We really had to work for that pipe cleaner; the pieces wouldn’t stick to our wand until only the tiniest shards of ice remained.

Ice Magnet (10)

Success at last! Overall, great icy and scientific fun, and Travis enjoyed playing with the magnetic items and wands even once the ice had melted.

Ice Magnet (11)

Science… Meets Art

Science Meets Art (3)

This project (from our latest High Five issue) exemplifies the STEAM acronym: a little bit of scientific discovery paired with a nifty art creation at the end. You can do both components of the project, or just the science part, or just the art part… but I recommend the whole thing because we enjoyed it from start to finish!

First up, use some science (the S part of STEAM) to make at-home paints. Fill 6 large muffin cups with 1/4 cup baking soda each.

Science Meets Art (1)

Next, add about 15 drops of food coloring to each muffin cup. We only had powdered food coloring at home (from Color Kitchen), so sprinkled about a 1/2 packet of powder per compartment.

Science Meets Art (2)

Now you’re going to quickly pour vinegar into each muffin cup, and watch the colorful explosion!

Science Meets Art (4)

Of course this is similar to many baking soda and vinegar projects we’ve done in the past, talking about how the gas created when the two substances touch makes all that foam and bubbles. But this time, we were left with a new product… paint!

Science Meets Art (5)

Now it was time to use the paint for the A part of STEAM. We painted white coffee filters, and Travis had a blast, mixing colors and stirring each paint very carefully – a petit artiste!

Science Meets Art (7)

Set the filters aside to dry; these are going to be your flower blossoms.

Science Meets Art (8)

As a small gripe, you’re going to have undissolved baking soda left in each paint mixture, which leaves the coffee filters a bit grainy after they dry. I found it helpful to rub off the excess baking soda over the trash can before Travis and I moved on to the final steps of the project.

Meanwhile, make the flower stems by painting jumbo craft sticks green. The only green paint we had in the house was a dot marker, but this worked in a pinch. Let dry.

Science Meets Art (9)

To finish the flowers, wrap each painted filter around a medium-sized Styrofoam ball. Poke one of the green “stems” up through the filter and into the Styrofoam.

Science Meets Art (12)

Glue the tips of the filter together so the ball inside is no longer visible and voila – flowers!

Science Meets Art (11)

We set them in a vase, where we got to enjoy the fruits of our labor: beautiful flowers in the middle of a snowy winter.

Science Meets Art (13)

Thanks High Five!

Science Meets Art (6)

How to Make Pennies Turn Green

Pennies Green (7)

We’re on winter break and the science fun continues! With this easy experiment, you’ll create a simple chemical reaction – and help explain to your kids why the once copper-colored Statue of Liberty is now green!

The project was fun from start to finish because first we had to break into Travis’s piggy bank. This meant using a screwdriver (under careful adult supervision of course). We separated out the pennies from the rest of the coins, making it a quick lesson in currency denominations too.

Pennies Green (1)

Place your pennies in a bowl covered with a paper towel.

Pennies Green (2)

Pour white vinegar into the bowl, making sure the paper towel is completely saturated.

Pennies Green (4)

Now observe! We were surprised when the first penny had green spots after only a few hours.

Pennies Green (6)

The next morning, several of them were quite green!

Pennies Green (8)

I honestly have no idea why some of the pennies turned green and others did not, but here’s what’s happening: The metal copper and the acid in the vinegar react with oxygen, and form a new blue material, called malachite.

Make sure to observe under a magnifying glass, too!

Pennies Green (9).JPG


Dancing Raisins

Dancing Raisins (4)

Well, school’s out for winter break and we’re stuck indoors on a rainy day. What did we do? Science experiments of course!

Don’t be daunted when it comes to science and preschoolers. The goal is not to hammer home the scientific concepts, but rather to introduce tots to the strange, silly, and downright amazing things that happen when substances mix. I love this experiment because it epitomizes the fact. It couldn’t be simpler – all you need is club soda and raisins – but has easy-to-see, immediate, and delightful results.

First, fill a glass (or two) about 2/3 of the way with club soda.

Dancing Raisins (1)

Add about 4 raisins to each glass. Now watch what happens!

Dancing Raisins (2)

We immediately observed that the raisins sank to the bottom of the glass, but were very quickly covered in bubbles.

Dancing Raisins (3)

We only needed to wait a moment before we were rewarded…. with dancing raisins!

Dancing Raisins (5)

They swim up to the top, do a pirouette or two, and then sink back down. The best raisins did this over and over again. (Honestly, I’m not sure why some raisins were more “active” than others, but we definitely had some movers-and-shakers, and a few that just stayed inert).

I asked Travis why he thought the raisins were dancing, and he answered, “The bubbles!” He’s pretty much got it: the carbon-dioxide filled bubbles coat the raisins and rise to the top of the glass like all the bubbles in the water. Once they reach the top and pop, the raisin is released and sinks back down. For kids who can’t see molecules and atoms yet, it’s a neat visual of forces at work.

Of course Travis then needed to see what would happen if we dumped his entire snack pack of raisins into a glass. As you’d expect, the raisins mostly weighed one another down, but those on the top layer still danced for us!

Dancing Raisins (6)

Honestly, you’ll be entertained watching this experiment for quite some time; raisins are adorable dancers.

Dancing Raisins (7)

Note: We tried something similar with Halloween candy in October. What other foods can you make dance in a glass? Rice? Dried pasta? If you experiment further, please share in the comments!


Make a Leak-Proof Bag

Leak Proof (3)

This simple science experiment is sure to produce wide eyes and gasps in everyone from little kids to big grown-ups. Can you really pierce a hole in a bag filled with water, but not produce any leaks? Read on and find out!

First, gather a few sharp pencils, the sharper the better. We gave an extra honing to a few pencils, and set them aside.

Leak Proof (1)

Next, fill a large zip-top plastic bag half way with water, and seal tightly. We did the experiment over the sink just in case.

Leak Proof (2)

I stood Travis up on a stool and told him I could pierce the bag without causing a leak, only half believing it myself.

The pencils slid in surprisingly easily! Bam, three in, and not a drip in sight.

Leak Proof (5)

Travis loved it… and had even more fun pulling the pencils out and watching the fountain that erupts. We had to do the experiment three times it was so much fun.

Leak Proof (4)

Why does it work? It’s all thanks to the power of polymers, long chains of molecules that make up the plastic bag (in this case polyethylene). These molecules seal around the pencils once they are pushed through, preventing any leaks. Remember playing with silly putty as a kid? That’s another example of a polymer. So give your kids a tiny science lesson, and then simply have fun dazzling them. Bonus points if you do this over the floor instead of the sink!


Phoneme Week 3: ST

ST (25)

We started out in the usual way, tracing an S and a T on Usborne’s wipe-clean alphabet cards, and juxtaposing them so Travis could see the two letters together. He liked that the S+T sounds is equivalent to “stuh!”

ST (5)

Phonics Book of the Week: Mole in a Hole. Now wait a second, there’s no ST in that title! This week I had to veer slightly off track since Letter of the Week‘s phoneme curriculum don’t always match up with the titles in Usborne’s Phonics box set. However, Mole in a Hole contained lots of perfect ST words: STick, STart, STone, STore, STuck, and STop. So we did numerous reads, and Travis started to sight read some of these gems.

Guiding Theme: STamp.

ST (2)

We started off playing with all the stamps we own, including alphabet stamps, some with pictures, and animal footprints! Then there is the other kind of stamp – postal stamps! – meaning we played games of post office galore. Travis even got to help pick out real stamps at the post office and use a few at home!

ST (11)

We of course had to truly decorate a letter, stamp it, and mail it.

  • We Read:
  • We Made:
  • We Learned:
    • For science of the week, we used a different ST word – STop! Stop germs, that is. This adorable visual on how quickly germs spread was probably Travis’s favorite activity all week.ST science (1)
    • For math of the week, we also used different ST words – STone and STick to be exact. Use any beautiful finds from a nature walk to create a simple pattern for your child. For example, set out: pinecone, stick, stone, pinecone, stick, stone. Your toddler will have fun deciding what comes next, while playing with his or her treasures!ST math
  • We visited:
    • The post office of course, to really mail a package!
  • We Ate:
    • STew
    • STir -fry
    • STrawberries

Other Words of the Week:

  • Stop: Aside from stopping those germs, we made a red stop sign and a green go (STart) sign and did a freeze dance to music. ST (16)
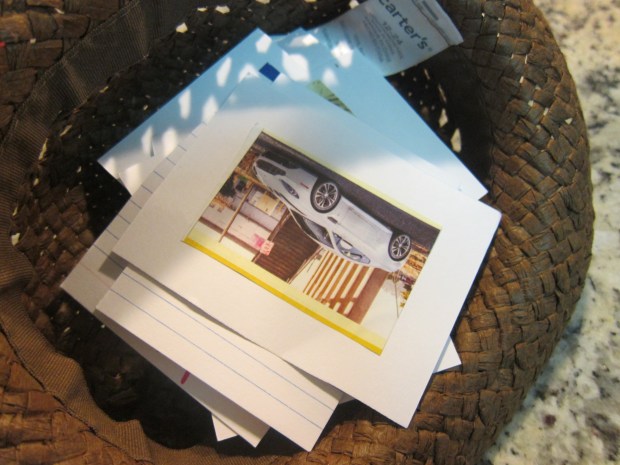
You can also make a stop sign with the word writ large for your child, and set up a town with cars and roads.ST (19)
  • Star: We listened to an old favorite, Twinkle Twinkle Little Star and read about super stars in the Big Book of Stars & Planets. If you’re looking for star crafts, check out some of our oldies-but-goodies like Glitter Star Jars or the Numbered Stars Flashlight Game.
  • Station: We took a quick ride one weekend on our local station line! Of course we also had to listen to Down by the Station, and to read about a different kind of station – a space one that is! – with Shine-a-Light On the Space Station. We capped it all off with a visit to Grand Central Station, where Travis was ecstatic to see buffers, platforms, conductors, and other items he’s learned about in books.station (2).JPG
  • Steam: We played with steam in two ways: First, I ran a hot shower to fog up a mirror for Travis, which he absolutely adored, and let him paint away the steam with a foam paintbrush. ST (13)
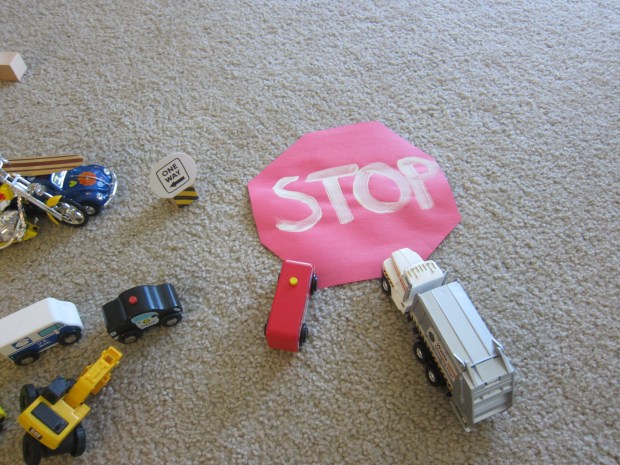
Supervise closely, as you’ll likely need to stand your child on a bathroom counter for this. Then we experimented by watching ice turn first to water and then into steam vapor.Ice Steam (5)
  • Sticker: Play with any and all stickers this week! If you’re looking for a great starter sticker book, those from Usborne are fantastic, with a line of text or explanation on each page, and with available in almost every topic imaginable. Travis completely filled in Building Sites and Nature over the course of our week! ST (7)
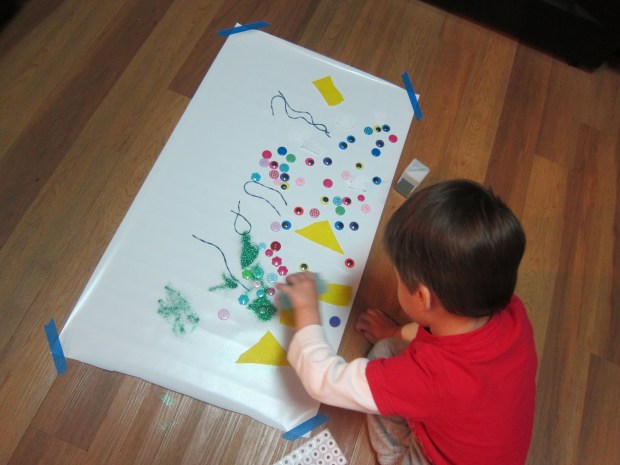
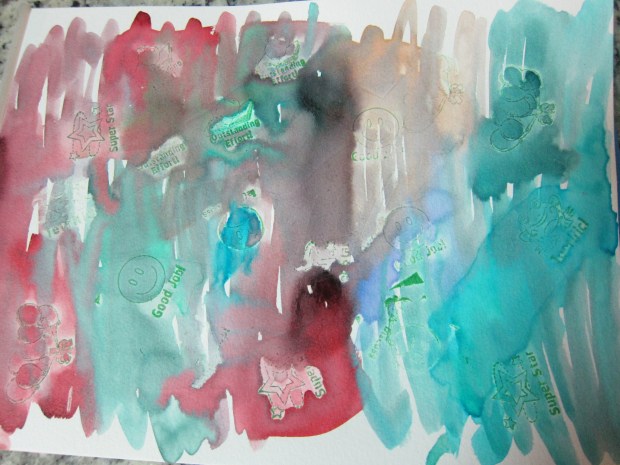
We also toyed around with variations on the word “sticky” by pulling out an old favorite game – a collage of random craft materials on sticky contact paper.ST (21)
  • Still: Need to calm your child down? Emphasize the word still this week! I encouraged Travis to hold still with child’s pose, which is great for relaxing kids prior to nap or bedtime.ST (22)
  • Story: Of course we read stories (including Tell Me a Story), but we also experimented with storytelling this week! First, we made beautiful “story stones”, a great way to teach even pre-readers about the order of words within a story. Then we played two more storytelling games, using fill-in-the-blank style activities.Fill In Story (4)
  • Stone: Don’t be fooled by the word ‘rock’ in several blog posts this week; while Travis and I did these activities, I made sure to use the word STone instead. Projects included a Rock On stone sculpture, storytelling stones, and a campfire made of sticks and stones – don’t forget the make-believe s’mores!ST (23)
  • Stem: Upcycle any stems from a STore-bought bouquet (or those found in nature) with this cute flower picture.Flower Making (4)
  • Store: Finally, head to the store just for fun this week… You don’t even need to buy anything; a mall excursion provides entertainment and atmosphere just from STrolling around. Travis got to ride in a “police cart”, see all the stores, and enjoy the treat of a smoothie (whoops, should have made it a strawberry one!)ST (20)

Ice, Water, Vapor

Ice Steam (2)

It’s been quite some time since I hopped over to Hands on As We Grow, but glad I stumbled upon this experiment and remembered what a treasure trove the site is for games and learning!

Parents, use your discretion before embarking on this activity. Kids will need to stand near a burner and hot pot on the stove. If you think they will reach out, wait until they are older. However, if you’ve started to include them as a little sous-chef in the kitchen and they understand the basics of kitchen safety, they are likely ready for it.

Travis loves playing with ice, and today I told him we’d take ice cubes all the way from frozen to steamy vapor. He was so excited to see how it would happen!

First, have your child help you count ice cubes into two pots. There really was no need to use two, except that it doubled the excitement of watching what happened during the experiment.

Ice Steam (1)

We placed the pots on the stove, where the ice quickly reached the next phase – water! I gave Travis a big wooden spoon to stir with so he could feel the difference between the chunky ice cubes and smooth water.

Ice Steam (3)

Very quickly, our pots started bubbling and we waited for the steam to appear. We had two ice cubes left over, and added them to the pot when it was at its hottest – Travis couldn’t believe how quickly they melted!

Ice Steam (4)

A great intro to states of matter.