Mix ‘n’ Squish Heart Sensory Bags

Mix n Squish Heart (2)

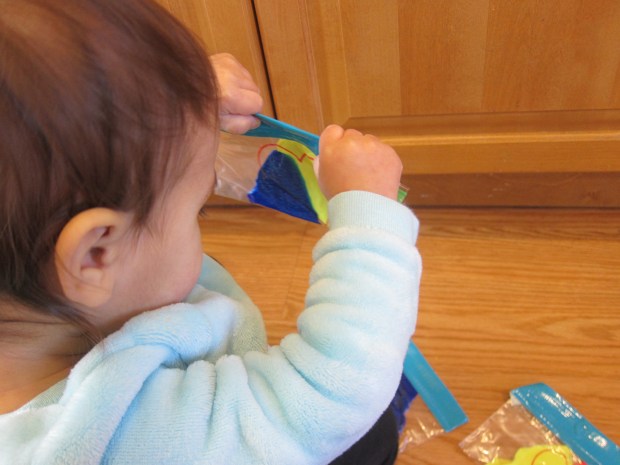
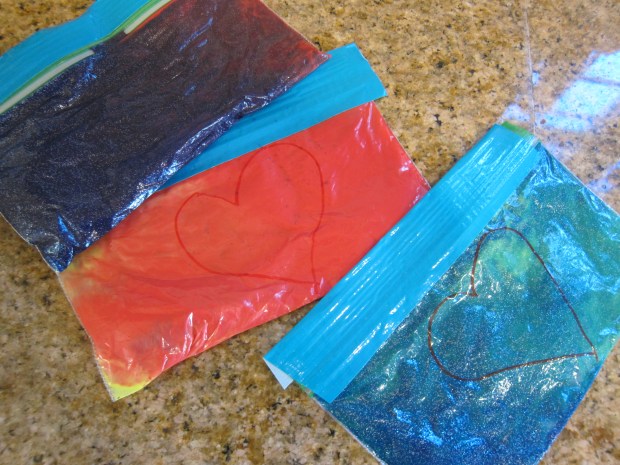
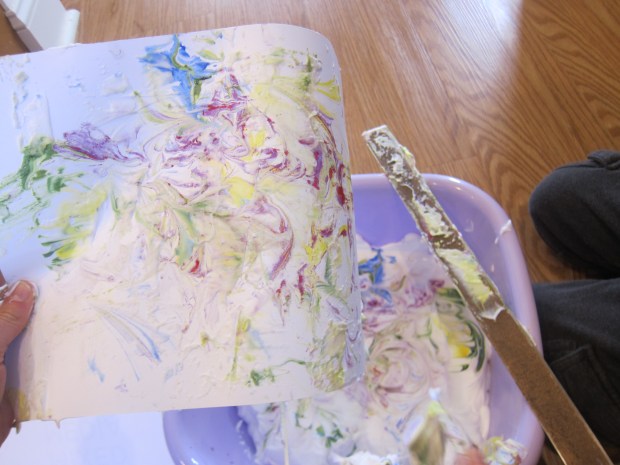
Here’s a Valentine’s heart activity that even the youngest toddlers can enjoy without making a mess These hearts get “painted” inside a zip-top bagQ

There’s a little color mixing lesson thrown in, too, and although toddlers won’t yet grasp the difference between primary and secondary colors, kids are never too young to marvel at how yellow and blue make green, red and blue make purple etc.

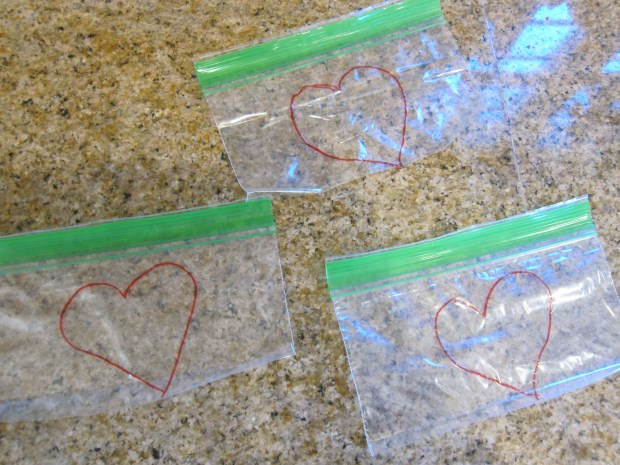
I drew a heart with sharpie on each of three snack-sized zip-top bags. These were the perfect size for little hands, although you could make a large version in gallon-sized zip-top bags.

Mix n Squish Heart (1)

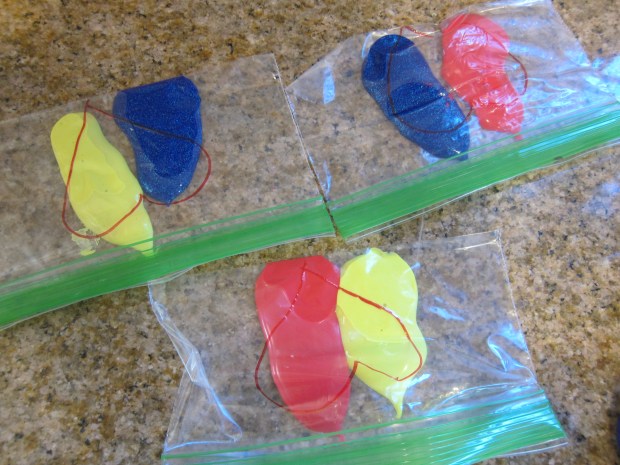
Carefully squeeze two primary colors of paint into each heart. We had one each of the follow:

  • red + yellow
  • yellow+ blue
  • blue + red

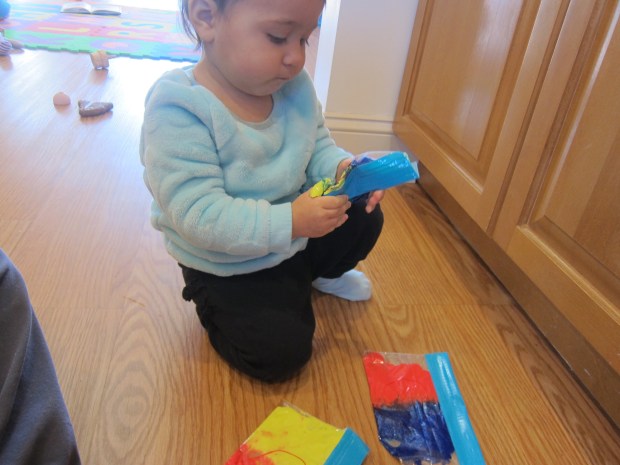
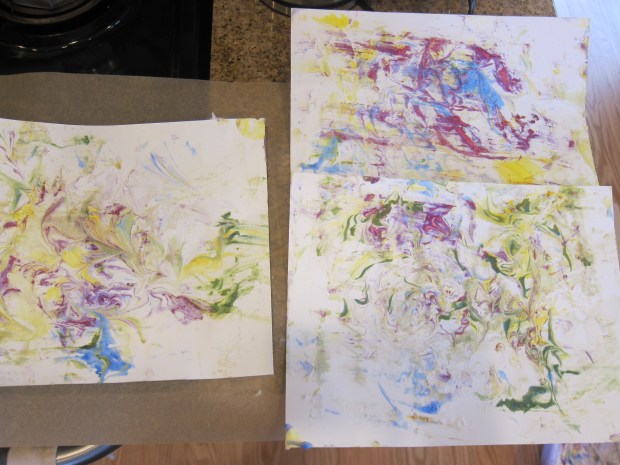
Aim to line these up so that each color fills half the heart. Now it was up to Veronika! She immediately loved squishing the bags in her hands.

Mix n Squish Heart (3)

She most likely didn’t notice the “hearts” she was filling in, but she clearly delighted in the texture and colors.

Mix n Squish Heart (5)

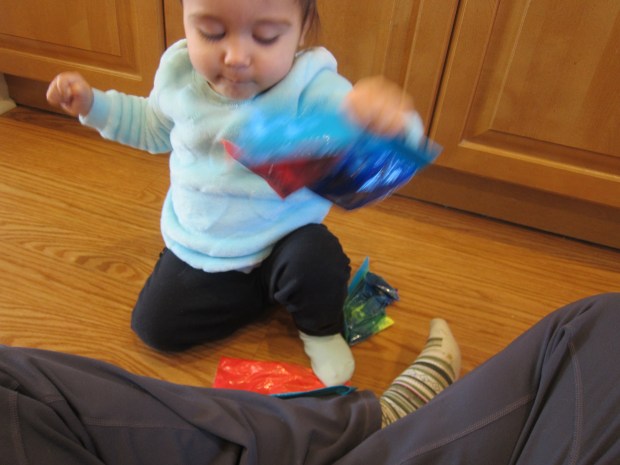
When she tired of the beautiful green she made, it was time to make purple!

Mix n Squish Heart (7)

The red and yellow squished together and resulted in a pretty peach for her to see.

Mix n Squish Heart (9)

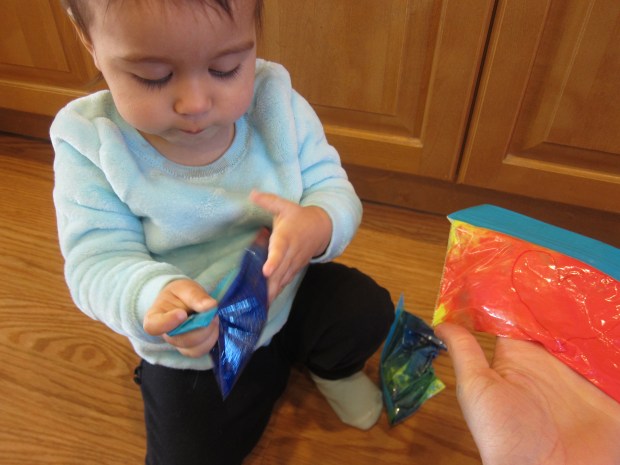
In sum, it’s safe to say that Veronika loved this little Valentine’s Day activity.

Mix n Squish Heart (10)

Valentine’s Day Popcorn Gift

Popcorn Valentine (9)
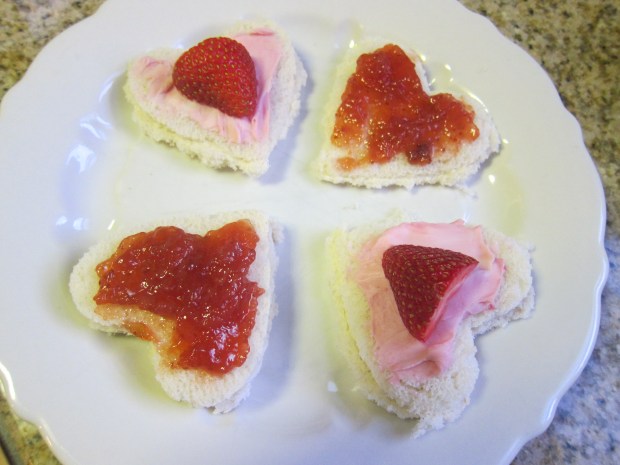
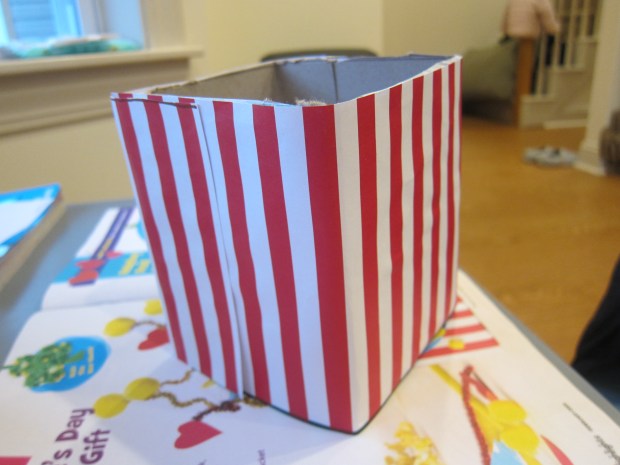
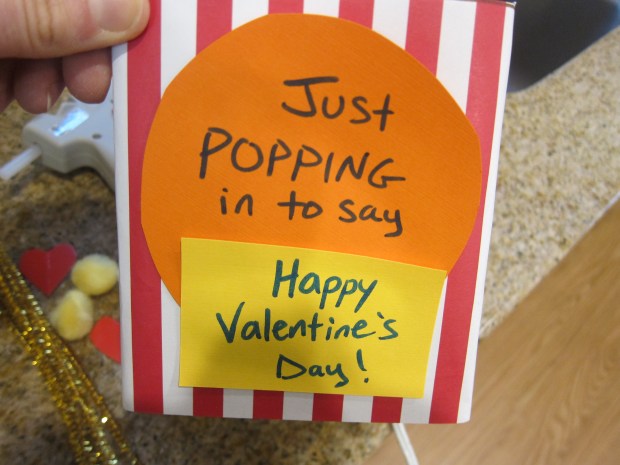
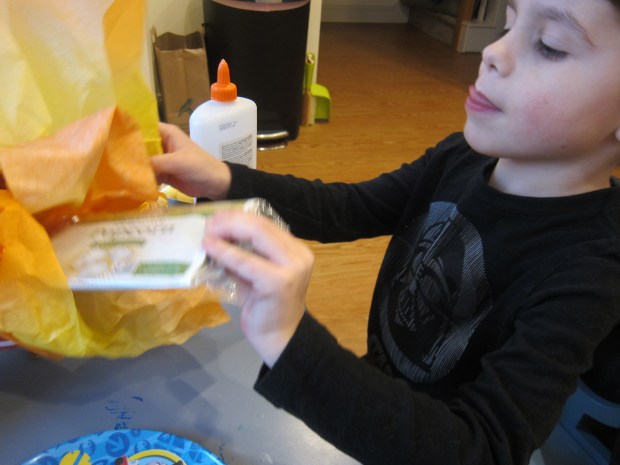
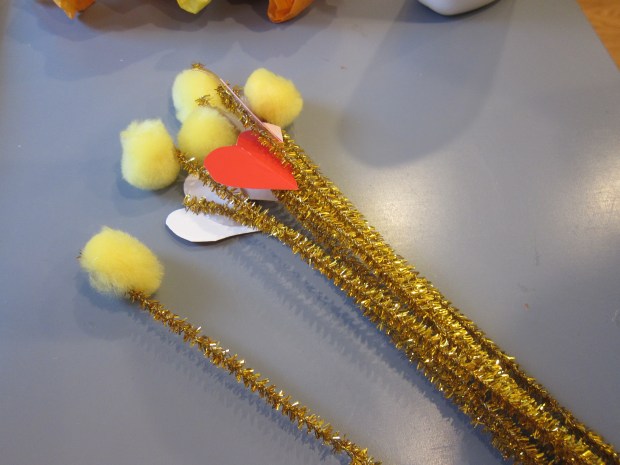
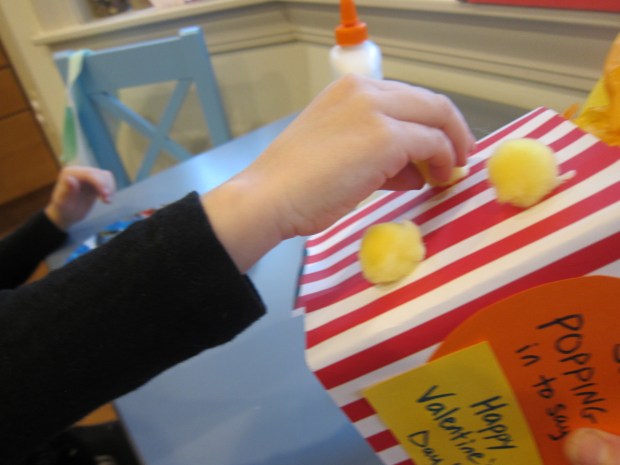
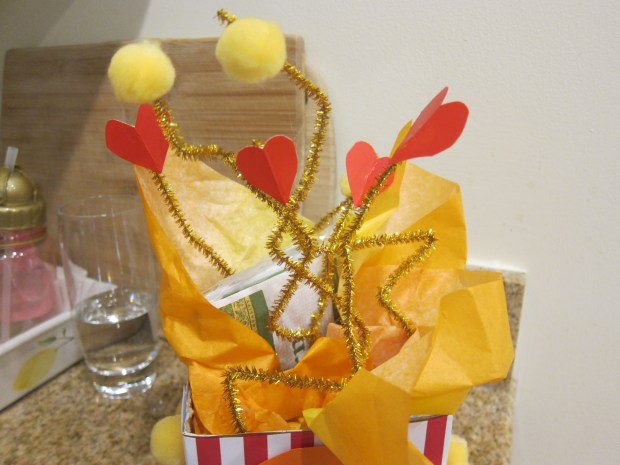
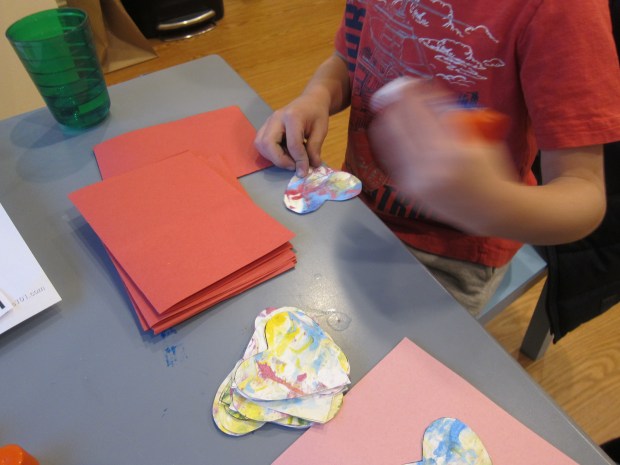
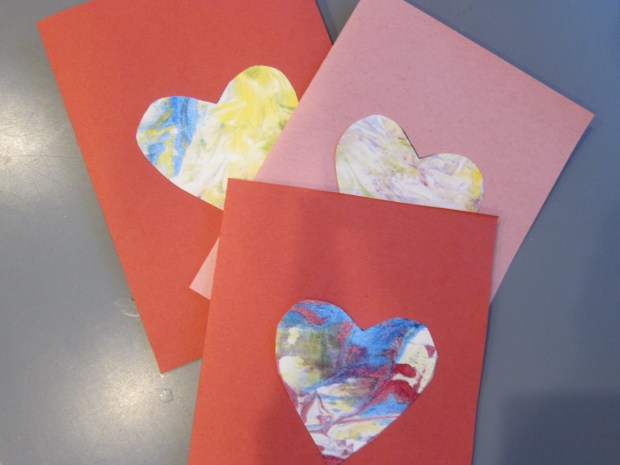
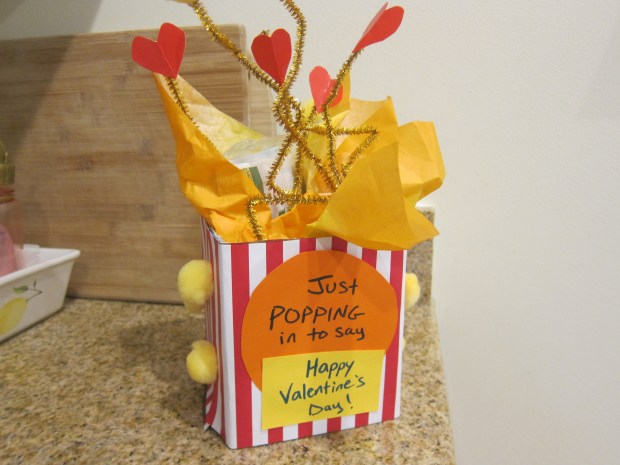
Here’s a novel way for kids to pop in and say they love someone this Valentine’s Day! This rather lengthy project wouldn’t be great for class Valentine’s since it’s big and involved, so save it for someone special like a parent or grandparent.

Popcorn Valentine (1)

To start, Travis helped cut red and white pinstripe craft paper to fit an empty tissue box. Cut the top off the box and use a glue stick to attach the paper around the sides.

Popcorn Valentine (2)

Travis needed grown-up assistance for a few of the decorations. Cut a circle and rectangle from colored cardstock (we chose yellow an dorange), and arrange on the front of the box. We wrote in the message, “Just popping in to say… Happy Valentine’s Day!”

Popcorn Valentine (3)

Next we hot-glued pom poms and cardstock hearts to the tips of sparkly gold pipe cleaners. Stuff a little yellow or orange tissue paper into the box.

Popcorn Valentine (4)

Add a package of microwave popcorn – yum! An I.O.U. for a movie night would be a fun addition!

Popcorn Valentine (5)

Travis helped bend the pipe cleaner decorations and slip them in among the tissue paper.

Popcorn Valentine (6)

Add a few yellow pom poms to the outside of the box as “kernels”, for the finishing touch.

Popcorn Valentine (7)

He was so proud of this and made sure we hid it from daddy’s eyes until Valentine’s Day!

Popcorn Valentine (8)

Valentine’s Day Marbled Messages

Marble Messages (8)

Your kid can wow the class this year with these swirled heart cards. Classmates will love learning that the marbled colors were made with shaving cream paint!

To set up, Travis and I filled a shallow craft bin with a thick layer of shaving cream. Add generous drops of food coloring in multiple colors and stir with a skewer.

Marble Messages (1)

Press a thick piece of white paper firmly onto the surface of the shaving cream.

Marble Messages (2)

Lift up and scrape off the excess shaving cream with the side of a ruler. Travis loved the big blobs of shaving cream this produced!

Marble Messages (3)

Repeat as needed for the desired amount of Valentines. We found we needed to add more food coloring to the shaving cream base after pressing in 3 sheets of paper. Let dry completely.

Marble Messages (5)

Once dry, we traced hearts onto the paper with a cookie cutter and cut out. Cut red and pink construction paper into 8×5-inch rectangles and fold in half. Glue one heart to the cover of each card.

Marble Messages (6)

Don’t forget to write a sweet message inside! Prefer your class Valentines with a little less mess? Check out past ideas for necklaces, bookmarks, and even “tacos“!

Marble Messages (7)

Flower-Power Pendants

Flower Pendants (7)

Kids will love this novel bubble-based painting method. The resulting pendant necklaces are perfect for class Valentines!

To create the bubble paint, fill a short cup with 3 tablespoons dish soap, 1 tablespoon water, and 2 tablespoons paint. In order to make our cups short enough, I snipped the top half from regular 8-ounce paper cups.

Flower Pendants (1)

Use a straw to blow into the mixture and you’ll create colored bubbles that rise to the surface. Press a piece of thick white paper firmly over the top. Repeat with more bubbles and more pressing until you’ve covered the sheet of paper, then let dry.

Flower Pendants (2)

Travis loved that the bubbles toppled over the edge of our cup each time; needless to say, this is a bit of a messy project! We repeated with three different paint colors.

Flower Pendants (3)

Once dry, cut the pages into flower shapes, repeating for the desired amount of Valentines.

Flower Pendants (4)

Punch a hole in each flower and thread with cord (available at craft stores), to complete each necklace.

Flower Pendants (5)

On the back, we wrote the sweet message, “You’re a great bud!”

Flower Pendants (6)

Paper Heart Craft Challenge

Heart Challenge (6)

This month’s craft challenge from Highlights magazine was very open-ended: simply to make something from paper hearts!

I set Travis up with multiple crafting supplies, including poster board to use as a background, pre-cut paper hearts from a Valentine’s Day kit, pink and red construction paper, and red craft foam.

Seeing two hearts touch tip-to-tip helped him get started. He declared that it looked like a fairy! So he glued down these fairy wings, and soon had the idea to add a third heart as the head.

Heart Challenge (2)

I showed him how to fold a piece of construction paper in half and cut along a provided line, which then opened up into a full heart. Neat!

Heart Challenge (1)

Smaller hearts cut from foam became the eyes. We also had little hearts that opened up into a 3-D shape, and these made perfect feet.

Heart Challenge (4)

He was so proud of this little fairy, and the creative juices had just begun flowing.

Heart Challenge (3)

Soon he was gluing small hearts to bigger ones, and drawing hearts free-hand with a marker quite proudly.

Heart Challenge (7)

It’s the first time I’ve seen him draw a heart without tracing along a line – perfect timing for Valentine’s Day!

Heart Challenge alt
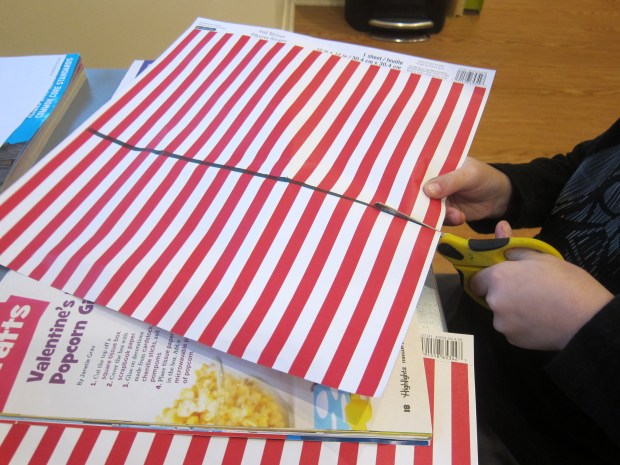
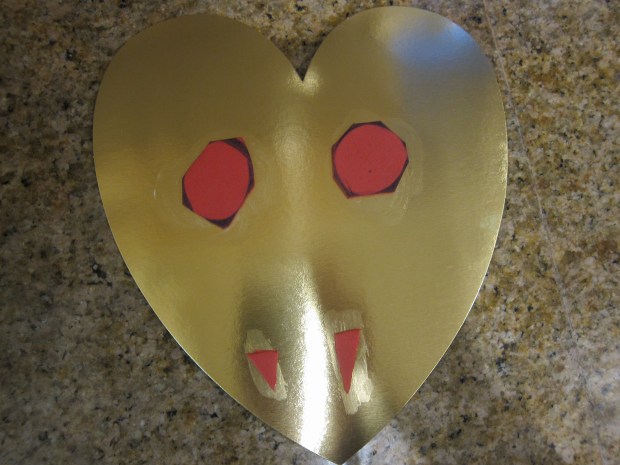
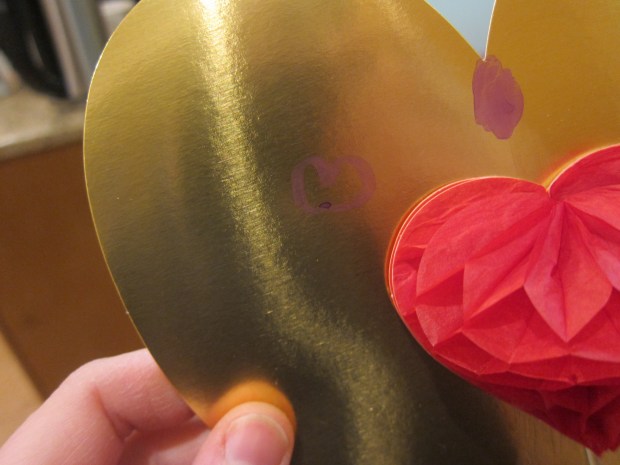
His final creation was a heart-faced vampire with fangs and legs cut from craft foam. This deviated from the initial challenge to craft only from paper hearts, but I was so proud of his creativity!

Heart Challenge (8)

Heart-y Sandwiches

Hearty Sandwich (5)

Start your Valentine’s Day on this sweet note with hearts for breakfast! Or, serve these adorable sandwiches for a Valentine’s Day tea time.

Hearty Sandwich (2)

To start, use a cookie cutter to cut heart shapes from slices of white bread.

Hearty Sandwich (3)

In a bowl, Travis mixed a few drops of red food coloring into Daiya cream cheese; stir until you have a pretty pink.

Hearty Sandwich (1)

We spread half of our hearts with the pink cream cheese (which Travis thought was frosting, so much the better!), and the other half with strawberry jam.

Hearty Sandwich (4)

Serve to someone you love! A great little recipe suggestion from Ranger Rick Jr.

Egg Carton Mini Wreath

Egg Wreath (12)

Full disclosure: Travis and I had hoped to make this adorable wreath around the holidays, but I didn’t have anyone to borrow an empty egg carton from – talk about #veganproblems! We’ve now gladly upcycled one from Travis’s grandma, so why not make it a Valentine’s Day wreath? In fact, depending what colors you choose for the wreath, it could work to adorn your door at almost any holiday.

First, we needed to tear the egg carton into separate compartments. Nothing like ripping things apart to get out some energy on a snow day.

Egg Wreath (2)

Travis then used a pencil to poke a hole through the center of each segment, which might have been even more fun than the ripping!

Egg Wreath (3)

He then threaded all of the compartments onto a long white pipe cleaner (you can choose the color for this based on any holiday, too). He thought it looked like a snake at this point – fun!

Egg Wreath (5)

Once all the segments are threaded, you’ll need to bend the pipe cleaner and space them out evenly until you have your cute little wreath. Secure the two ends of the pipe cleaner together by twisting.

Egg Wreath (6)

We painted our wreath with green watercolor paint. In retrospect, I would paint first, let dry, and then thread them on the pipe cleaner.

Egg Wreath (8)

Once dry, Travis helped glue on little gems, pom poms, buttons, and other red items.

Egg Wreath (9)

We finished our wreath with a little bow. I added a second pipe cleaner that could be the handle, and hung it from our front door.

Egg Wreath (10)

Happy Valentine’s to all our readers!

Egg Wreath (11)


Valentine’s Poetry & Signs

Raddish Valentine (8)

With a clever little template to follow from Raddish Kids, Travis wrote his first poems this Valentine’s Day! I loved guiding him through the project, and the final result makes the perfect Valentine’s gift for a teacher, family member, or friend.

First, we brainstormed a list of three categories: things that were red; things that were blue; and things that were sweet. He had some very definite opinions about what to include i.e. blackberries are bluish purple, not black, so they could go on the list.

Raddish Valentine (4)

What ensued was a sort of Mad Libs game. I read the original poem to him first:

Roses are red,

Violets are blue,

Sugar is sweet,

And so are you.

Using the lists he’d made, we slotted in a new word for each line.

Raddish Valentine (3)

The results were adorably hilarious, and will likely be so different from anything you’d come up with!

Raddish Valentine (5)

Overall, this was a great way to introduce poetry to my four-year-old, and a fun way to make some last-minute Valentine’s cards.

Raddish Valentine (6)

For still more language fun this holiday, teach your kids to sign ‘I love you’ in American Sign Language. Here’s his super excited face working out how to properly make the sign with his fingers!

Raddish Valentine (1)

Travis and I decided this can be our secret way to say the words at school drop off, now.


Sprinkle-of-Love Cake

Sprinkle Love Cake (2).JPG

Moment of truth: This cake didn’t turn out quite as intended, no thanks to a chocolate cake layer that didn’t set right in the pan! So what was originally intended as a two-layer cake with cut-out hearts turned into a single-layer cake with sprinkled hearts on top…But we loved it anyway! Any way you slice it, this is a sweet cake to bake for your Valentine’s this week.

Ingredients:

  • 1 (9-inch round) chocolate cake, cooled
  • 3/4 cup Earth Balance butter, softened
  • 3 cups powdered sugar
  • 1 and 1/2 teaspoons vanilla extract
  • 1 ounce freeze-dried raspberries
  • 2 tablespoons almond milk
  • Sprinkles
  1. Bake the cake ahead of time, whether it’s your favorite recipe from scratch or one made from a vegan mix (such as Cherrybrook Kitchen). Set aside.
  2. Place the butter in a stand mixer and beat until creamy. Slowly add the powdered sugar and beat at low speed until combined. Beat in the vanilla.
  3. Pulse the raspberries in a food processor until finely ground. Fold into the powdered sugar mixture, along with the milk.
  4. Place the cake layer on a plate, and frost with 1/2 cup frosting. Reserve the remaining frosting for another use.
  5. Place a heart-shaped cookie cutter on top of the cake, and gently tap in a layer of sprinkles. Pink or red ones would be ideal, but the organic sprinkles we had on hand were multicolored, which worked in a pinch. Repeat with as many hearts on top as you’d like to make.

Sprinkle Cake alt

Serve with a spoonful of love!

Sprinkle Love Cake (1)

My Punny Valentine Tacos

Taco Bout (9).JPG

It’s the second year that Travis and I are on the hook to produce Valentine’s cards for all his classmates, and we turned once more to Parents magazine. This year, all of the Valentine’s Day cards featured cute puns about food. I asked Travis to pick his favorite, so tacos it was!

First we traced circles onto yellow cardstock. You want the circles to be about 5 inches across, so a DVD makes the perfect item to trace. Travis was so proud that he traced all 20 of the ones we made, his circles getting neater and neater each time.

Taco Bout (2)

Next we folded the circles in half. Be sure to make a nice crease

Taco Bout (4)

Fill one half of the “taco shell” with glue, and press on green shredded paper. Travis was so into this material, since we’ve never used it before. Let dry.

Taco Bout (5)

Our counter was starting to look like a taco stand!

Taco Bout (7)

Once the “lettuce” dried, we add a few red “tomatoes” to each taco – with red heart stickers of course.

Taco Bout (8)

On the front of each taco shell, I wrote out “Taco ’bout a good friend! Love Travis”. Note: You can also write this on the inside of the shell, if preferred.

Travis was so excited about this project, and proud that we had shells, lettuce, and tomatoes in our tacos. We can’t wait to give them to the class!


Taco Bout (10)

What are you making for Valentine’s Day this year? Please share in the comments.