Easy Macaroni and Cheese

Easy Mac

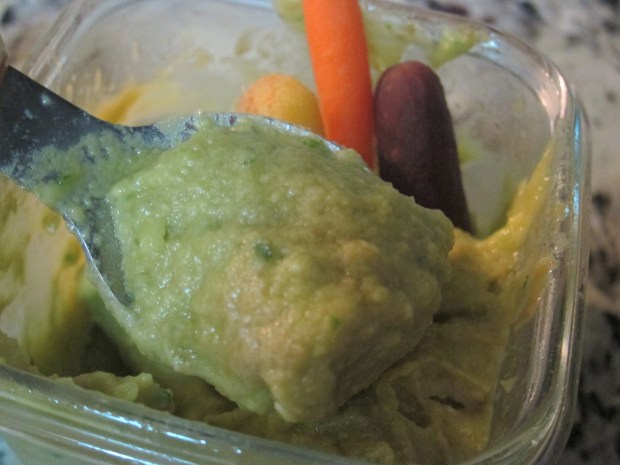
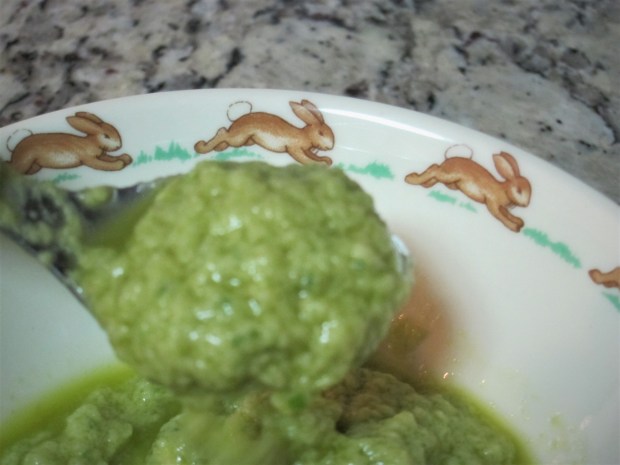
Finally a homemade recipe that captures the texture and flavor of Daiya’s prepared mac and cheese mix, but with ingredients I feel good about! As much as I love Daiya, my son sometimes finds it too sticky or cloying; he gobbled up every bite of this version. Sprinkle with smoked paprika before serving for kids who like a little extra flavor.

Ingredients:

  • 1 and 1/2 cups uncooked elbow macaroni
  • 1 and 1/4 cups hemp milk
  • 1/3 cup nutritional yeast
  • 2 tablespoons white miso
  • 2 tablespoons cornstarch
  • 1/4 teaspoon turmeric
  1. Cook the pasta according to package directions; drain and set aside.
  2. Meanwhile, combine the remaining ingredients in a saucepan. Bring to a boil over medium heat, then reduce heat to low and cook until thickened, stirring frequently.
  3. Add the cheesy sauce to the cooked pasta, and cook over low heat a few minutes to warm through.

Dinosaur Dig Sensory Bin

Dino Dig (4)

We’ve been on a dinosaur kick this past week, which led to this new variation on the sensory bin!

To set up our archaeological dig, I used three kinds of dried beans as the base – pinto beans, black-eyed peas, and white beans. Hide various dinosaur toys or bones in the bottom of a bin, then cover with the beans.

Dino Dig (3)

Next, Travis and I gathered our tools – we needed shovels, rakes, and wooden craft sticks to sift through the layers of “soil”. He was so excited when he unearthed the T-Rex skull!


Dino Dig (2)

We also used test tubes to collect “soil samples” of the beans. Pouring the beans into the narrow tubes took great concentration, and was a nice test for fine motor skills.

Dino Dig (6)

Overall, Travis liked scooping the beans more than he was into the archaeological aspect of the bin, but it was still a great way to extend our play with dinosaur toys at home.

Dino Dig (5)


Dino Eggs

DIno Egg (4)

There are baby dinosaurs hatching in our kitchen! Okay, maybe not really, but this make-it-yourself clay egg recipe was as real as it gets for a toddler.

Half the fun was in gathering the materials, because first we needed dirt! Travis loved helping to shovel in the ground until we’d collected 1 cup.

Dino Egg (2)

At home, we mixed the dirt together with the following:

1 cup flour

1 cup sand

1/2 cup salt

2/3 cup water

Travis loved mixing the ingredients, and especially watching the way the dirt changed color once the flour and salt had been added.

Be careful as you add the water so that you don’t mix in too much – you want the mixture to stick together but not be mushy. I was the one getting my hands dirty for this part, while Travis still stirred with a spoon, but he loved watching!

Dino Egg (3)

Place small toy dinosaurs over a portion of the mixture and cover with more until the dinos are hidden, shaping them roughly into an egg.

If you live some place warm and sunny, dry the eggs outside for 4 or 5 days! We sped things up by baking at 175 degrees F for 4 hours. Travis loved peeking in the oven, where I told him the baby dinos were incubating!

DIno Egg (6)

In the morning, it was time to help our dinos hatch, with a little help from a friend! The outside of the “eggs” was quite hard, so it helped for adults to poke a hole with a chisel first to get the process going.

Dino Egg (7)

From there, the boys were able to use wooden craft sticks to get deeper inside the eggs.

Dino Egg (8)

The clay had stayed softer on the inside, so in the final stage, they could release the baby dinosaurs by hand. What a find!

Dino Egg (10)

After a final rinse in clean water, the baby dinos were ready to play.

Dino Egg (13)

This activity is a must for any dinosaur lover!

Dino Egg (12)


Green Guacamole


Green Guacamole alt

I simplified this recipe from the gorgeous Kids Kitchen recipe pack from Barefoot Books. Nearly every ingredient in this kid-friendly guacamole is green, even the olive oil if you count that it sometimes has a green tinge to it! You can throw in a handful or two of parsley for even more green. And for kids who don’t mind a little heat, add 1 green chili pepper (seeds removed), and call it a Mean Green Guacamole.

Ingredients:

  • 1 large ripe avocado
  • 1 green onion
  • 1 lime
  • 1/4 cup olive oil

Combine all ingredients in a food processor and process until smooth. Let your little bunnies dip in carrot sticks for a color contrast – or more green foods, like cucumbers, broccoli, and green bell pepper.

Green Guacamole

Paint with Your Feet

Paint Feet (4)

We enjoyed tactile foot play earlier in the week with foot sensory bins, and continued the theme yesterday evening. This game would no doubt be even better on a bigger piece of fabric outside on a sunny day, but we made do on a rainy day with the bathroom floor and a plain white t-shirt from the craft store!

First, Travis chose his colors, and we filled a big bin with a generous portion of each.

Paint Feet (2)

I started out painting his foot one color at a time, and then he would stamp on the white shirt.

Paint Feet (3)

After a while, he wanted to paint his feet himself – and then painted his knee as well, to which I could only shrug, ‘why not?’. Then of course he had to try standing in the paint! (Note: hold your child carefully, paint is slippery). I would lift him out and place him on the t-shirt to take a few steps each time before he climbed back in the bin.

Paint Feet (5)

In retrospect, I wish we’d done this to music so he could have danced around, but I still loved our final product.

Paint Feet (6)


Clean Up for Earth!

Clean Up (4)

It’s never too early to teach your children love for this little planet we call home. We set out as a family this Earth Day to pick up trash at a local running trail. Find a park or trail near you on a beautiful day, and your kids will love it… and learn that everyone can help make a difference, no matter how small.

Travis was arguably most excited about the trash bags we carried along and the rubber gloves we got to wear, and headed off very proudly.

Clean Up (2)

Lots of bottle caps and candy wrappers in this neck of the woods!

Clean Up (1)

Whenever we found plastic or metal, we’d point out to Travis that those items don’t belong in the Earth.

Clean Up (3)

It was a beautiful nature excursion to appreciate Earth too, of course – butterflies and ants galore. Travis proudly helped throw our collection into the trash when we had finished.

Once we got home, I made a little pamphlet so we could remember what we had done and invited Travis to draw our adventure inside.

Clean Up (5)

The yellow was his plastic bag…

Clean Up (6)

…and then he told me this blue circle was Earth!

Clean Up (7)


Happy Tooth, Sad Tooth Collage

Happy Tooth (5).JPG

If you have a dentist visit coming up, are trying to get a recalcitrant toddler to brush his or her own teeth, or just want to instill good dental habits early on, this project is adorable and useful!

It starts out with a hunt through magazines for food pictures, which Travis thought was heaps of fun. Use family-friendly magazines like Family Fun, Parents, or Family Circle and you’ll come up with lots of food pictures in no time.

Happy Tooth (1)

We might have gotten a little side-tracked ripping out the rest of the pages for a while…

I cut two teeth shapes from white paper and drew a smile on one and a sad frown on the other before setting both before Travis. We went through our pile of food clippings item by item, and I asked him which tooth he thought it belonged on – the happy or the sad.

Happy Tooth (2)
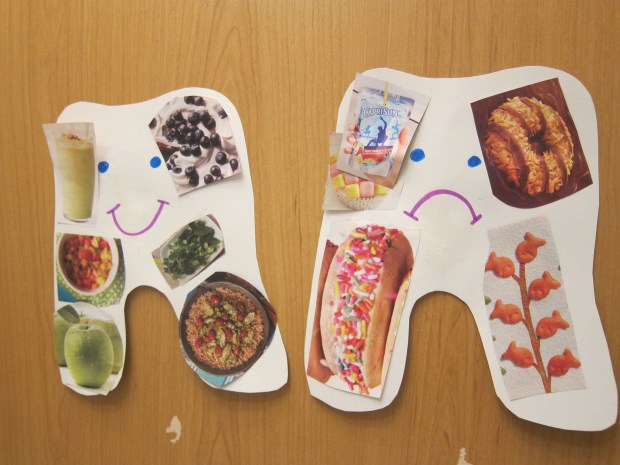
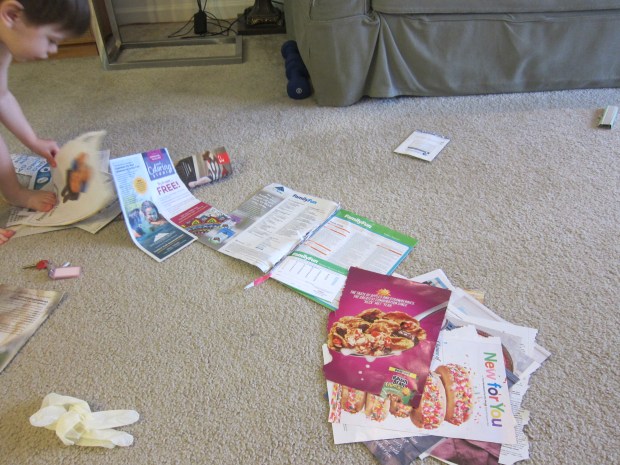
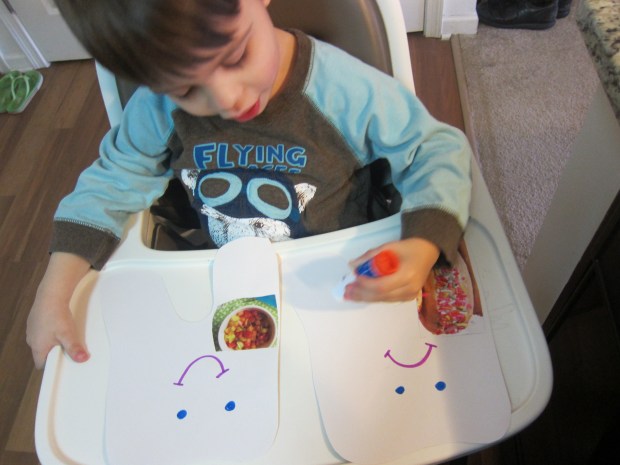
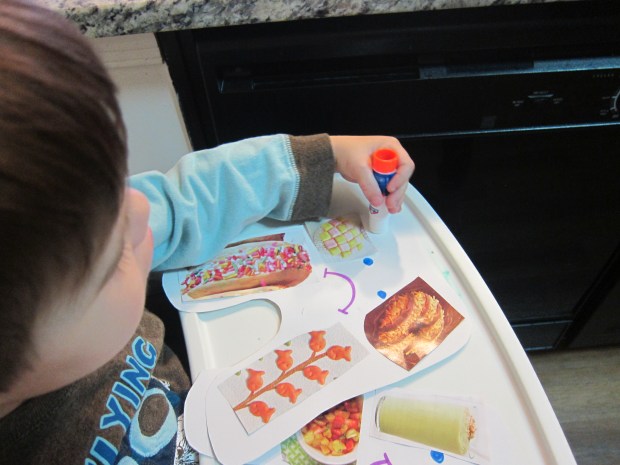
He seemed sheepish about the quiz at first, because we don’t eat much sugar, so I’ve never really had a talk with him about things that are “sad” for your teeth. Needless to say, he thought cookies and pie were happy, and I helped him understand that the things going on the “sad” tooth were the treats to have once in a while, and the ones on the “happy” tooth were the ones we wanted to be eating every day.

Happy Tooth (3)

He got surprisingly into it (not to mention loved using his glue stick!).

Happy Tooth (4)

When we were finished, I hung the teeth up near our bathroom sink; they’ll be a great talking point when we brush from now on!

Beehive Card

Beehive (5)

We’re not the only ones happy to be back outside – the bugs are out in force now that spring is here, too! Travis has been very fascinated by the bees this season, so we decided to welcome spring with this cute project. You can hang it at home, or send it as a lovely card to a friend!

I cut a hive shape from brown construction paper to start, and then Travis went to town with a glue stick.

Beehive (1)

Once the paper was very gluey, we added thick yellow yarn.

Beehive (2)

Then of course we needed bee stickers, which I happened to have from the craft store. Travis didn’t stop until his hive was full of a big bee family.

Beehive (3)

We needed a few flower stickers as the final touch of course!

Beehive (4)

Pumpkin Cheesecake

Pumpkin Cheesecake (2)

We read a bedtime story featuring cheesecake this week… How could I not whip up a version for my son to try at home?

Ingredients:

  • 1 (15-ounce) can pumpkin puree
  • 1 (8-ounce) tub vegan cream cheese
  • 2/3 cup light brown sugar
  • 2 teaspoons cinnamon
  • 1 teaspoon nutmeg
  • 1 teaspoon vanilla extract
  • 2 tablespoons cornstarch
  • Chocolate crust (such as Mi-Del)
  1. Combine the pumpkin and cream cheese in a blender and process until smooth – it helps to let the cream cheese soften at room temperature for about 30 minutes, first.
  2. Add the brown sugar, cinnamon, nutmeg, vanilla, and cornstarch; blend again until completely combined.
  3. Pour the batter into the prepared crust, and bake at 350 degrees F for 45 minutes.
  4. Let stand at room temperature for 2 to 3 hours, then transfer to the fridge and chill at least 10 hours.
  5. You can add vegan whipped cream at serving time, if desired! Divide the cheesecake into 8 or 9 wedges and serve at storytime of course.

Pumpkin Cheesecake (1)

Tissue Paper Globe

Tissue Globes (6)

Our Earth Day fun continued with this very easy tissue paper project. It’s a cute way to celebrate this beautiful planet we call home!

First, encourage your child to trace a circular shape onto the paper you’ll use as a background, which is great fine motor skill practice! Our paper plate was larger than our paper (whoops!) so I did some quick thinking and cut off the outer rim.

Tissue Globes (1)

Then it’s time to cut blue and green tissue paper into squares. Travis still can’t quite master this of course, but he had fun playing at it beside me while I cut up lots of little squares. (Note: No cats were harmed in the making of this project!)

Tissue Globes (2)

I showed Travis how to wad up the paper, dip in glue, and apply to his circular Earth, which was fun for a moment…

Tissue Globes (3)

…but then he quickly decided it was way more fun to use his finger as the glue applicator!

Tissue Globes (4)

I indulged this messy impulse, and added a wad of tissue paper wherever he had made our Earth sticky.

TIssue Globes (5)

Happy Earth Day!