
Just about this time last year, when Travis was two-and-a-half, we made toddler stained glass. Now that he’s three-and-a-half, we’ve grown a bit more sophisticated with our designs! This project introduced a new art medium – puffy paint! – which absolutely delighted Travis.
First, place a piece of contact paper, sticky side down, on a work surface. You’re going to use your puffy paint directly on here, so make sure the contact paper is some place it can dry undisturbed for a while.
I knew Travis wouldn’t be able to draw the exact outline of a house for our stained glass, so I set up two work stations side by side. While I outlined the house, he went wild with other puffy paints on his work surface.
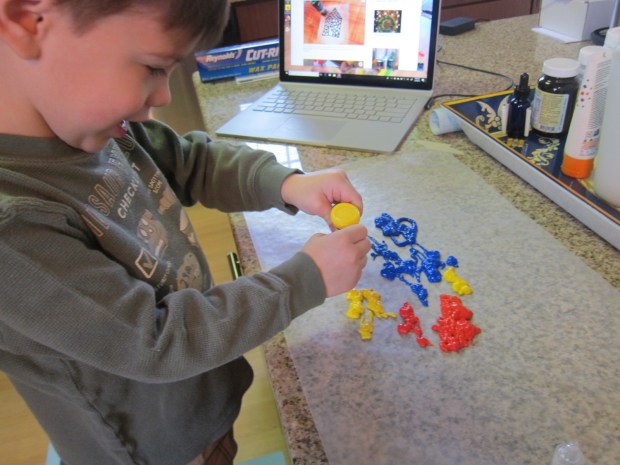
He told me he’d painted a castle, a prince, a king, and the girls visiting (whoops, too much Cinderella!). Meanwhile, he was ecstatic when he realized I had copied the house shape off of a template online. Next time I would make sure to have a large bottle of black puffy paint on hand – I had to switch to green mid-way.

Let your puffy paint dry overnight.
To fill in the panes of our “glass”, we used glitter glue in lots of fun shades.
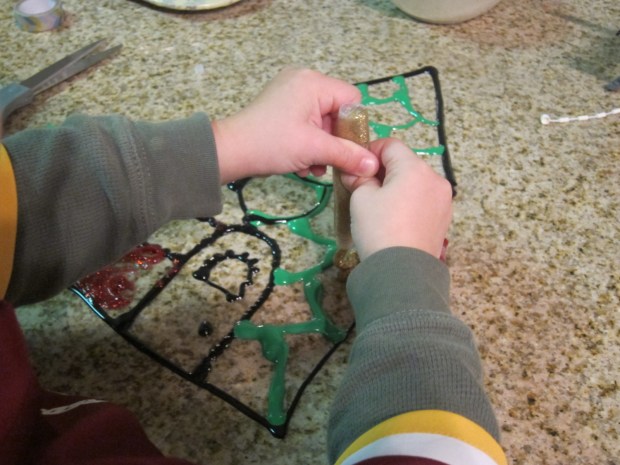
After a bit of trial and error, Travis grew quite adept at keeping the glitter glue between the lines of the puffy paint.

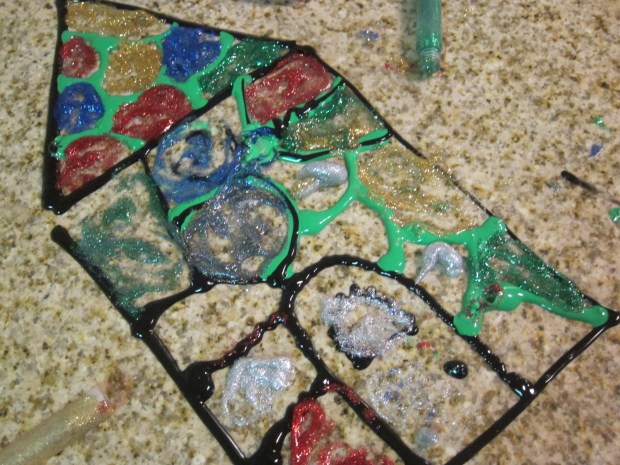
We did run out of puffy paint with a few spaces left to fill, so I mixed up some quick colored glue (glue and any shade of tempera paint). Let dry completely again.
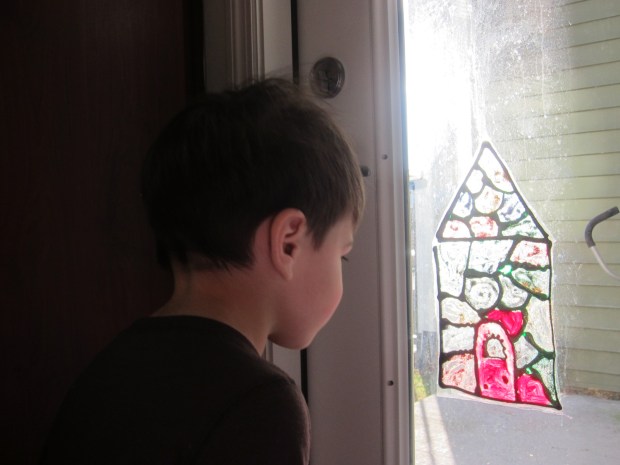
Trim any excess contact paper, and then your stained glass will adhere right to any window.
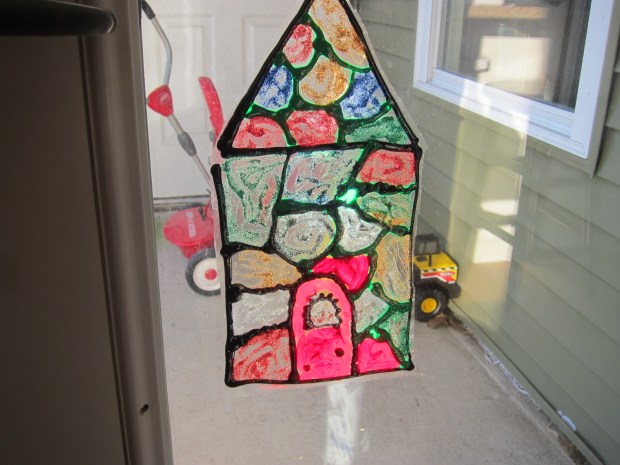
It was so beautiful with the sun shining through!
What other shapes or designs would you make to hang as “stained glass”? We’d love to hear in the comments!

