Textured Talk

Texture Talk (7).JPG

This game is a nice extension of the hand control activity Veronika and I played a few days ago. This time, I was less concerned with her grip, and more interested in using language to describe what she was feeling. You can use the same toys from that activity, or introduce a new set.

I did present her with mostly fresh toys, to keep things interesting. As I handed her each object, I said words about its texture out loud.

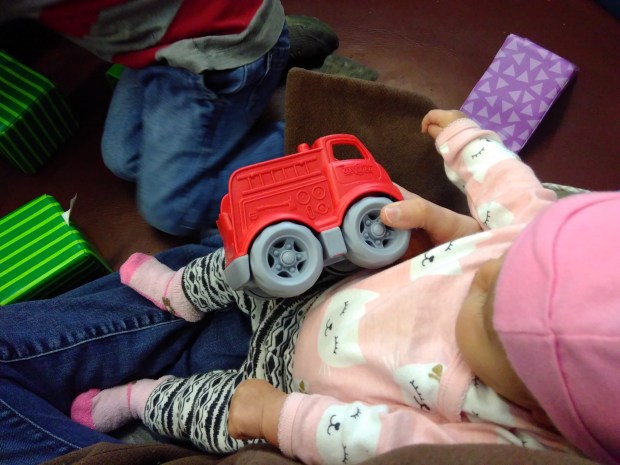
This one is smooth and plastic, Veronika.

Texture Talk (1)

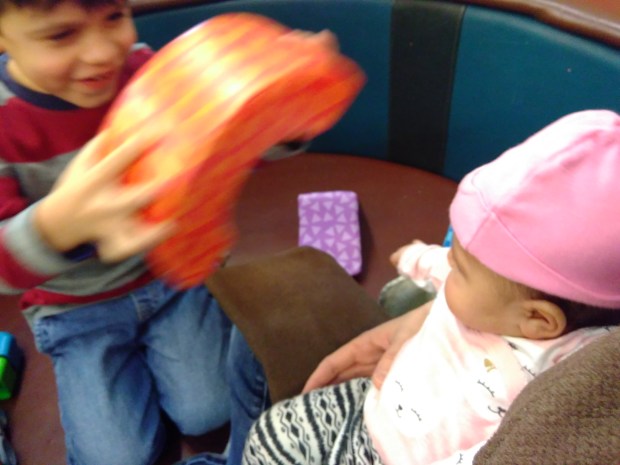
This one is soft and squishy.

Texture Talk (2)

Bumpy was fun!

Texture Talk (3)

It’s definitely okay for your child to move all these items right from hand to mouth. Babies learn a lot about the world through their mouths, so as long as the item is too big to be a choking hazard (use the toilet paper tube test), then it’s safe to hand it to your child.

Texture Talk (4)

Veronika loved testing each one in her hands first, and quickly in the mouth second!

Texture Talk (5)

In sum, this was a nice activity for language and sensory development, plus it was a delight just to watch her happy expressions!

Texture Talk (6)

Self-Portrait

Self-Portrait (9).JPG

Travis is learning to depict objects in his drawings as they are; by this I certainly don’t mean exact replicas, but rather, he’s paying attention to shapes, sizes, and other elements that make up an animal or person instead of just scribbling. I love seeing the little bubble people he sends home from school with stick arms and legs, reminiscent of my own kindergarten drawings!

So today, we decided to make a deliberate self-portrait.

Self-Portrait (1)

To make this exciting and new, I produced a handheld mirror, and asked him to really think about each thing we added to the picture before penciling it in. What shape was his face, I asked. A circle! So we started with a big one.

Self-Portrait (2)

We went feature by feature, and soon had circles for eyes, a triangle for his nose, and a U-shaped mouth.

Self-Portrait (3)

Once he had finished his pencil drawing, I outlined it in black sharpie to make each feature clearer. He loved seeing the picture take shape like this!

Self-Portrait (4)

To color it in, we had another novelty: watercolor paintbrushes that he loved. Simply dip the tip in water, and the color comes out of the brush. You could also use watercolor crayons or pastels, for this project.

Self-Portrait (5)

Travis very proudly added brown hair and brown eyes. He noticed in the mirror that his nose was beige, but decided yellow was the closest color in our pack.

Self Portrait (6)

And a big red smile of course!

Self Portrait (7)

I was so proud watching the care that he put into this project. And the watercolor paintbrushes were such a hit that he spent nearly an hour after making painting after painting, and hung them on our wall as an art gallery.

Self-Portrait (8)

In other words, this project was a huge success.

Self-Portrait (10)

Break Open the Bubbles

Break Out Bubbles (5)

It’s been so long since Travis was in the bubble-loving phase of toddlerhood that I almost forgot about this classic with Veronika! So today, it was time to break out the bubbles.

I sat her up in a comfortable infant seat, and simply started sending them her way.

Break Out Bubbles (3)

She went from slightly confused to amazed!

Break Out Bubbles (4)

Travis remembered the fun and wanted in on the action, too!

Break Out Bubbles (6)

There’s no need for anything grandiose here; at this age, simply letting the bubbles waft down is enough, and will captive your baby. As they get older, get ready for the reaching and popping to begin!

Break Out Bubbles (7)

To continue the fun, we made sure to check out the bubble room at our local children’s museum. Travis was a great helper making huge bubbles for Veronika to marvel at, whether with wands or pulleys.

Break Out Bubbles (2)

Happy bubbling!

Break Out Bubbles (1)


Go to a Children’s Museum

Museum (1)

In my ongoing list of places you can take your baby right from the start, don’t rule out a children’s museum. Now that Veronika has had her first round of shots, I’m less leery of taking her to places like this that are full of other kids (and their germs). That said, do exercise good judgement in places where every kid touches everything; make sure big kids, little kids, and parents wash hands; wipe down any surfaces you’re unsure of; and otherwise, have fun!

You might not think an infant will get much out of a children’s museum, but think again. First, many museums have a designated area just for the littlest of the littles, so that’s where we headed first.

Museum (3)

Veronika had free reign in the “baby bathtub” over big trucks and cars, and big bright blocks. Big brother Travis loved making towers for her!

Museum (2)

Beyond this special space, her eyes were wide and amazed watching the big kids play, whether make-believe…

Museum (4)

…or with bubbles…

Museum (5)

…or with instruments.

Museum (8)

Sound exhibits are especially great for babies, since they will benefit from the experience without needing to manipulate anything. Travis and I had fun showing Veronika around a special sonic exhibit at our local museum.

Museum (7)

In sum, infants get in free, get to see and hear tons of new things, and will profit just from soaking in the atmosphere. What’s your favorite thing about your local children’s museum? Please share in the comments!

Homemade Body Paint

Body Paint (6)

Some kids love face paint the moment they see it, but it took Travis a long time to warm to the idea of having his face painted. A recent fascination with all things superhero and supervillain has gotten him past the hesitation, and I was so proud of him when he dared to have character paint at a recent party. To continue the fun, I suggested we make this  DIY paint at home to amplify his superhero play!

Cooking the paint is half the fun. First, we scooped 1 cup cornstarch into a pot.

Body Paint (1)

We added 4 cups water, 6 tablespoons sugar, and 1 teaspoon salt.

Body Paint (2)

I cooked the mixture over medium heat, whisking frequently, until just before boiling – it will look like pudding. Travis loved watching from a little distance away.

Make sure you let the paint cool completely, at this point!

When it was cool, we divided among cups and added about 4 drops of food coloring to each cup. Travis new exactly which colors he needed for his game.

Body Paint (3)

He didn’t hesitate one whit before painting all up and down his arm. Is that a blue Spiderman I see?

Body Paint (4)

Mommy got to be Green Goblin.

Body Paint (5)

Travis was a bit disappointed that the paint didn’t dry, meaning he couldn’t keep it on an extended time period, but this was still great fun. Next time I think we’d do it right before bath, to fully enjoy a mess before a cleanup. The paint would also be great outside in warm summer weather!