Shape-Sorting Puzzles

Shape Sorters (2)

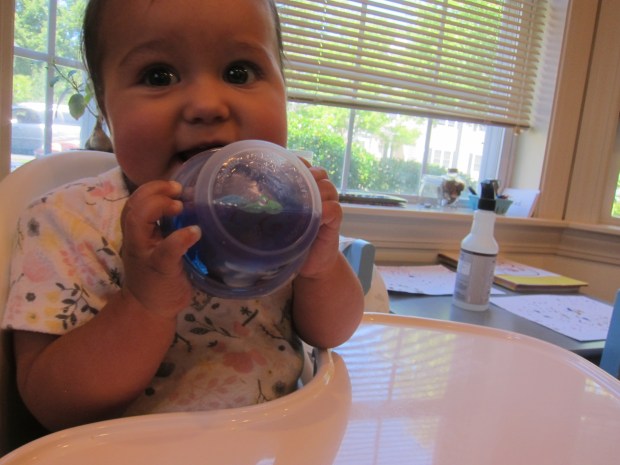
I’ve already introduced Veronika to the notion of “in” and “out” with games when she was younger. Now, at nine months old, it’s the perfect chance to introduce a toy that takes this concept to the next level: shape sorters!

Not only are shape sorters fantastic for (obviously) learning shapes, but they also hone fine motor skills and they are the perfect vessel to continue games of “in and out.” Rather obviously, first all the shapes go in…

Shape Sorters (1)

…then all the shapes come out!

Shape Sorters (6)

Veronika has two shape-sorting puzzles that she loves. The first is a classic bucket with a lid that detaches. Mostly she bangs the shapes against the lid, but she does aim for the holes and gets closer every time. Sometimes I’ll place a square (or circle or triangle) right near its hole so all she has to do is it tap it in.

Shape Sorters (3)

“In!” we say, whenever one lands.

Shape Sorters (5)

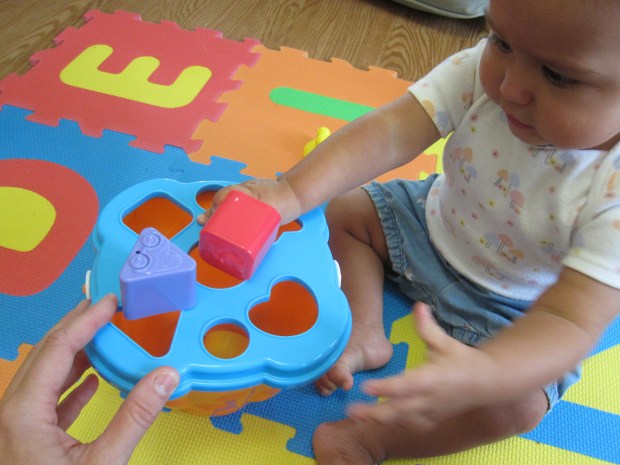
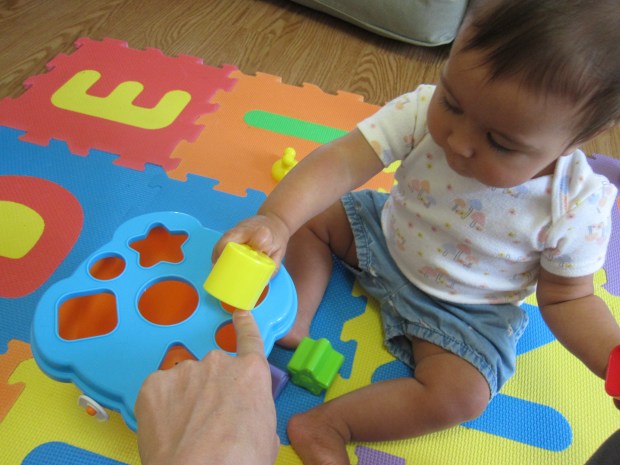
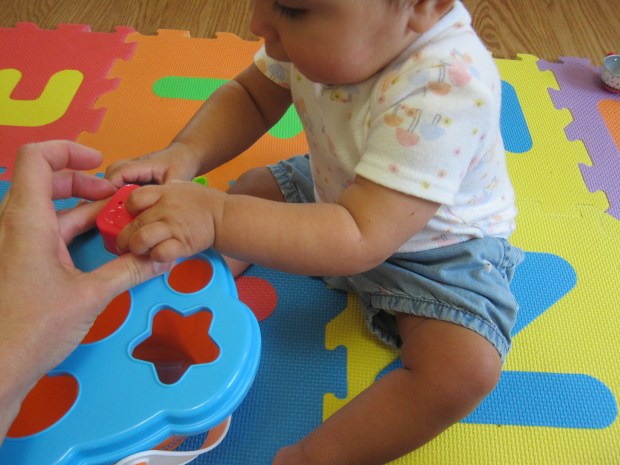
The second shape sorter is a little bus that has three shape slots on top to put them in

Shape Sorters (4)

…and a fun compartment in back that opens up to dump them out.

There are plenty of other ways to focus on “in” and “out” if you don’t have shape sorters. Consider mailing a letter together! Today Veronika helped me put one in to the envelope…

In and Out (1)

…and then in to the mailbox!

In and Out (2).jpg


Letter Detective

Letter Detective (1).JPG

For 26 days, Travis has been playing detective. Letter detective that is!

For the assignment (a neat suggestion from his summer pre-k to kindergarten workbook), I purchased a small glass jar with a lid and set aside a collection of pennies.

Each day, he was tasked with finding one letter of the alphabet. Every time he notices it, a penny goes in the jar. Fair game includes magazines we read, food labels, street signs around town, and more.

When we started with A, he needed lots of prompting, but over the course of the day he spotted 8 As.

Letter Detective (2).JPG

8 pennies in the jar!

Letter Detective (3).JPG

Truth be told, it was hard for Travis to find the letter of the day as we drove; his recognition isn’t fast enough to keep up with the speed of a car. But at-home materials proved more fruitful, and the goal is to count up the pennies at the end and perhaps earn a small reward!


Community Matters

Community Matters (3).jpg

I’ve moved three times since having children, and each time, there are two places in a new town that I head to first: the town library and the town recreation center. Both are a goldmine of information and opportunities – usually free or low cost – for children of all ages. They are also focal points of the community, which can be a great way to connect with other parents, find a way to get involved in the community, or just have a place to go on a rainy day for play.

To wit, Veronika and I have already found a baby yoga class at our new town library, a fantastic chance to connect with babies about her age. Make sure to pick up a local flyer or calendar so you know what’s coming up next: story hour and toddler singalong are both on our list!

Community Matters (1)

Rec centers usually have many options, too, and we’ll be checking out the open gym play for her gross motor skills in the fall and winter.

Community Matters (2)

What’s your favorite baby program in your town? Please share in the comments!

Share the Chores

Swap Chores (1)

If daily tasks around the house feel like drudgery with your baby around, then it’s time to invest in tot-sized versions of some daily household chores. This not only keeps your little one entertained while you work, but will be so darn cute you don’t mind all that drudgery (truly!).

Today, Veronika joined me with her own little “laundry” machine. She loved everything about this; the felt paints and shirt she could put it in and take out of the washer over and over; the door to open and close; the spinning feature on the door that went round and round; the iron to zoom back and forth.

Swap Chores (2)

Plus she had a laundry detergent bottle that could safely go to her lips!

Swap Chores (4)

Meanwhile, I got all the folding done next to my little helper.

Swap Chores (3)

Babies and toddlers love to imitate you and that’s what makes toys like this worth the investment; big brother Travis loved playing mini-me with toy vacuums, toy mops and brooms, toy dish washing sets and more, and Veronika can help with all of these, too, as she gets older. Toy oven sets are also perfect for this in the kitchen.

Swap Chores (5)

Another idea, if you’re feeling bored of your chores, is to swap with your partner for a day or a week. If one of you tends to do one thing and one tends to do the other, consider a temporary switch. Truth be told, I prefer to do the lion’s share around the house, but I challenged myself to tackle a chore I’d normally hand off to my husband: hanging pictures that were idling on the ground still after a recent move. It was unexpectedly fun be the one wielding hammer and nails.

Swap Chores

So mix it up, and perhaps you’ll find a new task to make your own. How do chores get divided up in your house? Please share in the comments!

Coach Whistle

Coach Whistle (8).JPG

The sports coaches at Travis’s camp have whistles… which means Travis needs one too! Well, it turns out that we couldn’t exactly make a whistle sound from this Highlights craft, but it was fun to make and Travis was so proud to wear it around his neck.

First, cut a strip of paper that is 1 inch wide and 9 inches long. I love letting Travis help with a ruler for sneaky “math” practice.

Coach Whistle (1)

Cut out the strip and cover in duct tape; we used a colorful blue. Cut a u-shaped notch in one end.

Coach Whistle (2)

Grown-up step: Hot glue two juice lids to the opposite end from the U.

Coach Whistle (3)

Roll up, continuing to glue, until there’s only a 1/4-inch gap open between the lids and tape. Fold back the U so it overlaps this gap. I knew we needed to get this exactly right for a true whistling sound, but because we were working in those quick minutes before camp, I had to sort of fudge it.

Coach Whistle (4)

Snip the end of the tape so there is an opening to blow into.

Coach Whistle (5)

Attach a pony bead to the back of the whistle with hot glue, and thread through yarn to go around your “coach’s” neck.

Coach Whistle (6)

As I mentioned, Travis did more of a hoot hoot into the whistle, and didn’t get a true whistle sound, but he loved it and proudly showed it off to camp counselors.

Coach Whistle (9)

Picnic Scene Craft Challenge

Picnic Challenge (6)

Travis loves the open-ended craft challenge he finds in his Highlights magazine every month, having crafted robots and camping tents in the past, among others. Today, we wanted to make a picnic scene using nothing more than colored paper, cotton balls, and paint.

I loved the little method that Travis came up with. First he needed a paper base, and he chose green grass. We glued down a separate square of colored paper for the blanket.

Everything else in the little scene was made of cotton balls, which he dipped into paint and then glued on!

Picnic Challenge (1)

It definitely was a five-year-old’s take on a challenge for kids as big as age 12, but I loved watching his process. There was green cotton ball grass:

Picnic Challenge (3)

Orange cotton ball food:

Picnic Challenge (2)

And pink cotton ball people! He then made some black cotton ball ants.

Picnic Challenge (4)

He loved carefully pouring the paint onto each cotton ball before gluing them down, and enjoyed it so much that he wanted to make a second version. This time his pink person dined on yellow lemonade.

Picnic Challenge (5)

Dropping Objects

Dropping Objects (9).JPG

Impish Veronika has discovered the joy of dropping objects and making mama pick them back up again; this is actually an important skill, both for her motor skills and for object permanence (and for sense of humor!). Whether from the highchair…

Dropping Objects (11)

or from the grocery cart…

Dropping Game (14)

…she is a little imp about it these days.

Dropping Game (13)

You can use baby’s enjoyment of this game to your advantage with at-home dropping games!

First, I sat with Veronika in front of a bin of toys that needed cleaning up and showed her how to drop one in.

Dropping Objects (6)

Say a cheerful “oopsie!” or “dropsie!” with each toy that lands, to up the entertainment factor.

Dropping Objects (7)

Pretty soon she was cleaning up all her toys without knowing it.

Dropping Objects (8)

You can also do this game with socks in front of a low dresser drawer.

Dropping Objects (2)

Okay, Veronika isn’t really helping me put away the laundry, but she loved watching me drop in the socks, or trying it herself.

Dropping Objects (3)

The drawer wasn’t the right height for her to play by herself, so I set her up with an open box to continue the fun.

Dropping Objects (10)

Perhaps if you play this enough, your little one will tire of it and you can end round after round of highchair dropsie.

Dropping Objects (12)

Or maybe not!

Pick Which Bowl

Pick Which Bowl (4).JPG

Here’s a little challenge for your baby if you want to keep him or her entertained the next time they sit in a highchair.

I let Veronika see a few pieces of banana (cut into safe pieces) and placed them on her tray.

Pick Which Bowl (1)

Note: Any other soft fruit would work just as well here, like soft ripe peaches or apricots. Cover the fruit pieces with one bowl and place a second bowl next to it. Ideally, I would have liked my bowls to match but certainly Veronika didn’t seem to mind the mismatch.

Encourage your baby to find the fruit and pick up the bowl it’s hiding under.

Pick Which Bowl (3)

If the fruit was underneath, I made a big show of it and celebrated with a hearty cheer.

Pick Which Bowl (2)

Arguably Veronika was more interested in the bowls themselves than in the fruit she discovered, but it still made for a fun little game as I prepped dinner. It certainly kept her hands busy!

Pick Which Bowl (5)

If your child seems excited about it, play with three bowls to make it more challenging.


Safe to Explore

Safe to Explore (6)

Well, Veronika is a crawler! Her big brother skipped this milestone (which, in fact, doctors don’t refer to as a milestone, since so many kids skip it), so a nine-month-old on the move is new to me! Here are a few baby-proofing tricks I’ve uncovered in just a few days to make sure Veronika can safely explore!

  • Cover all electrical outlets with safety covers. Yes, these might be annoying when I have to remove one to vacuum a room or plug in an appliance, but the alternative is far worse.Safe to Explore (7)
  • Make sure all rugs are slip-proof.
  • Keep medicines or cleaning supplies out of reach or in cabinets with safety locks. I quickly moved our paint bin into a cabinet, too, after Veronika decided it was her favorite thing to head towards in the playroom.
  • Keep all toys small enough to choke on out of reach. Since we don’t have a baby gate large enough to divide the playroom from the living room, big brother helped me create “pillowville.” Safe to Explore (2)
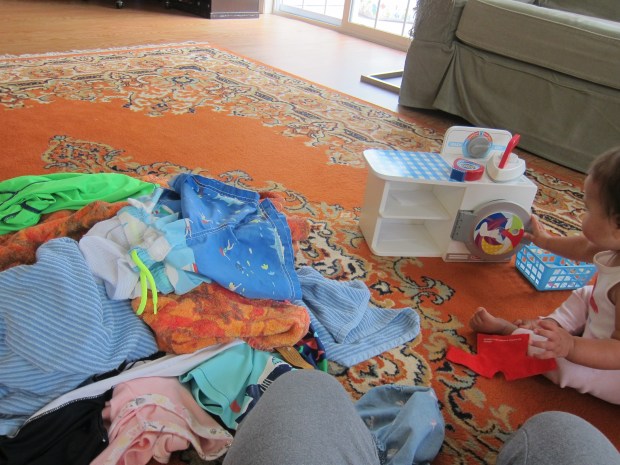
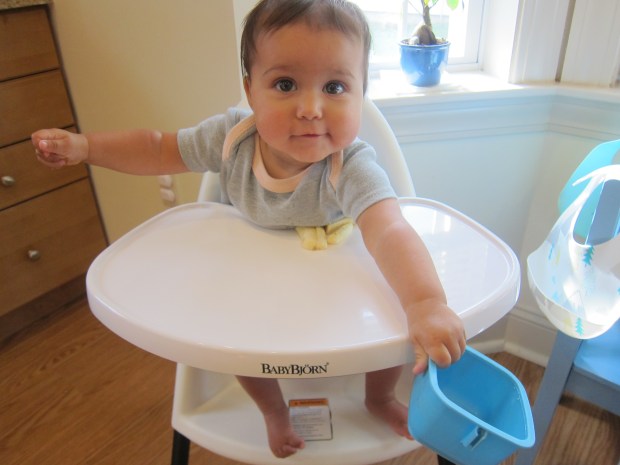
Veronika stays on one side with baby-safe toys and all the big boy stuff (Legos, Playmobil) lives on the other side of the divide. Make sure to box up small toys at the end of each day to be safe.Safe to Explore (3)
  • Use wall anchors to stabilize furniture that can tip, like bookshelves or stand lamps.Safe to Explore (8)
  • Check for breakable objects that baby can tug down from shelves or windowsills. If need be, remove to an area the baby can’t reach.Safe to Explore (1)
  • Get down low and look at the room from your baby’s vantage point. I hadn’t realized how obvious my computer cord was until at her eye-level. You can use cord-wrapping devices for all the pesky cords that come with modern life, or move those objects to a different room. Safe to Explore (4)
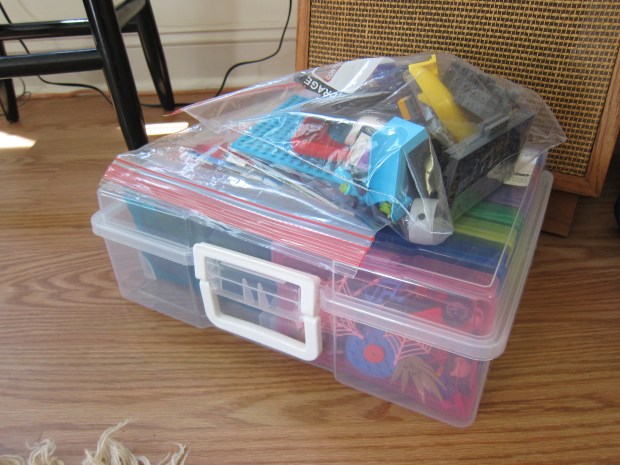
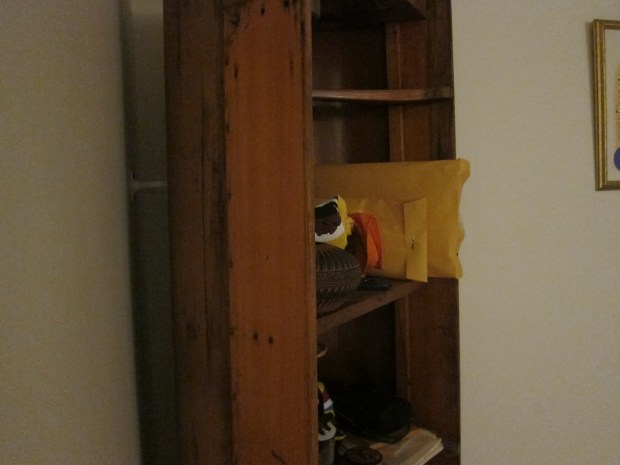
Looks like the computer will have to move to another spot!Safe to Explore (5)

As always, it’s a good idea to have standard first-aid items in one place, if not in a kit, and to know infant CPR. Keep emergency numbers like poison control stored in your phone so you’re never looking them up in a panic (that’s 800-222-1222 FYI).

Stay safe, and enjoy the crawling stage!


Ocean Bottle

Ocean Sensory (8)

After a recent bottle sailboat craft with Travis, I had a few small seashells left over – much to small to hand to a nine-month-old who puts everything in her mouth. I knew immediately that I could make her a baby-safe version of big brother’s boat by sealing her shells inside an ocean sensory bottle!

My original intention was to use a bottle for the craft, but the small toy fish I included were too large to fit through the opening. Small Tupperware containers worked in a pinch, and probably were easier for her to handle anyway.

Whatever container you use, fill it about 2/3 full with water. Add small seashells and plastic fish to make an “ocean.”

Ocean Sensory (1)

As Veronika watched, I tinted the water blue with food coloring. This is a magical change for a baby to watch, so make sure he or she doesn’t miss it!

Ocean Sensory (2)

Secure the lid on the bottle or container tightly, and hand over the “ocean”. Veronika loved shaking this and seeing the fish swim.

Ocean Sensory (4)

As well as tasting it of course.

Ocean Sensory (3)

Or turning it upside down.

Ocean Sensory (5)

The taller bottle (with just shells) was a fun way to show her “waves”; I tilted it back and forth and she could watch the shells move about and then settle.

Ocean Sensory (7)

In sum, a fun ocean sensory experience even on a summer day when we can’t get to the beach!

Update: I later added little pieces of tinfoil (twisted to look a bit like “fish”) to the bottle.

Ocean Bottle alt.JPG

She loved watching them swim around.

Ocean Sensory (9)