BLT Sandwich Wrap

BLT Wrap (2)

You can’t go wrong with a classic BLT sandwich filling. Wrap it up in a tortilla for a novel spin.

Ingredients:

  • 1 flour tortilla
  • 2 slices cooked Lightlife bacon
  • 1/4 cup chopped green leaf lettuce
  • 2 tomato slices
  • 1 tablespoon non-dairy ranch dressing
  1. Arrange the bacon, lettuce, and tomato slices down the middle of a warmed tortilla.
  2. Drizzle with the ranch, then wrap up and cut in half to serve.

Repeat as needed for extra sandwiches!

BLT Wrap (1)

Advertisement

Autumn Sensory Bottles

Autumn Sensory Bottles (5)

I confess that none of the following bottles turned out exactly the way I hoped! But with a little improvisation, I created three autumn-themed sensory bottles for Veronika that she quite enjoyed.

For all three, you’ll need to start with a clean and dry plastic water bottle, with the lid.

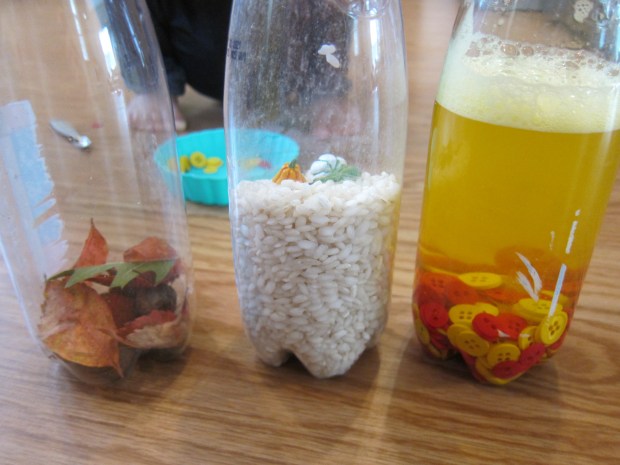
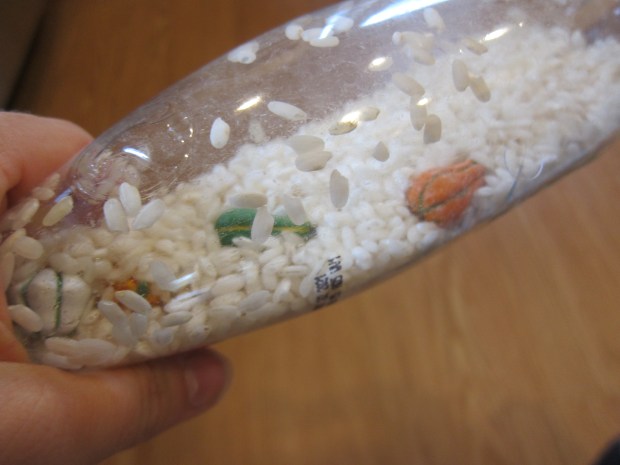
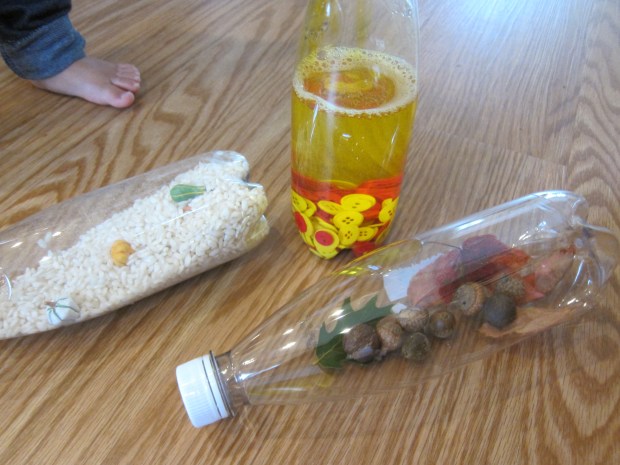
I poured white rice into the first, and then sprinkled in a few hidden autumn “treasures”, like miniature gourds.

Autumn Sensory Bottles (1)

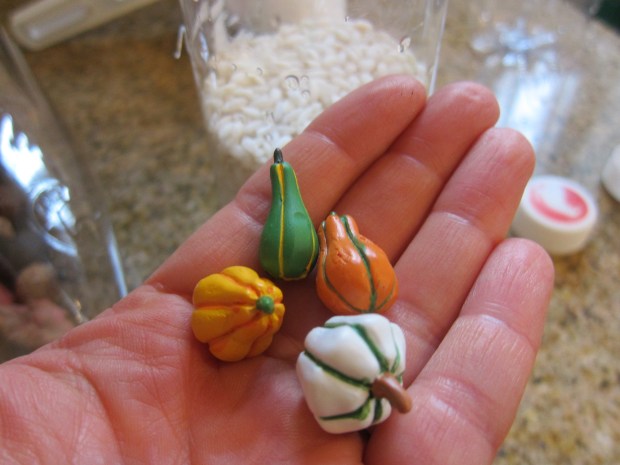
She could shake this one, which made the rice hide the gourds, then turn it until she found them. She loved playing peek-a-boo with them! I had hoped to include other fall tidbits like mini scarecrows and pumpkins, but she seemed perfectly happy with this scaled-back version.

Autumn Sensory Bottles (2)

For the second version, I filled the bottle with water and tinted it an autumnal yellow with a little food coloring. I originally intended to add leaf-shaped confetti to this one, but couldn’t find any at the store. Instead, I simply added red and yellow buttons.

Autumn Sensory Bottles (4)

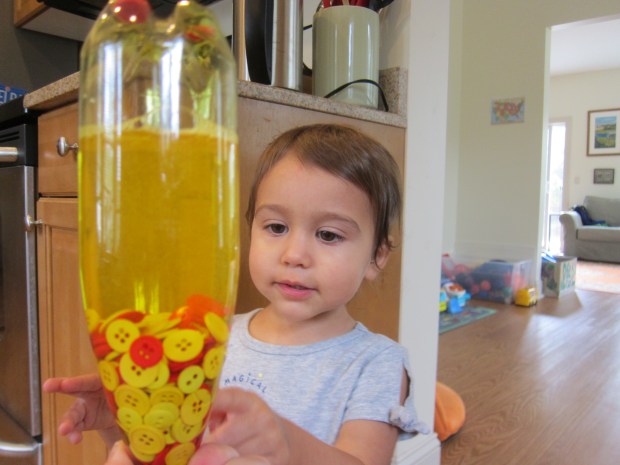
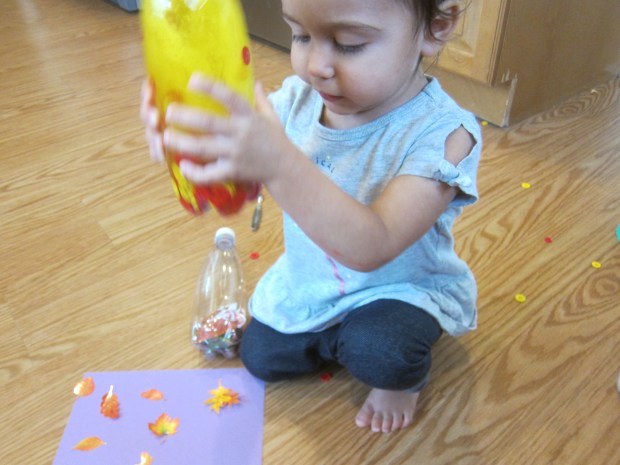
These fascinated Veronika, so it worked out well! She loved shaking this one and watching the buttons settle, or turning it this way and that.

Autumn Sensory Bottles (8)

For the final version, I had originally hoped to add silk leaves. Again, no dice. But what’s better than silk leaves? The real thing!

Autumn Sensory Bottles (7)

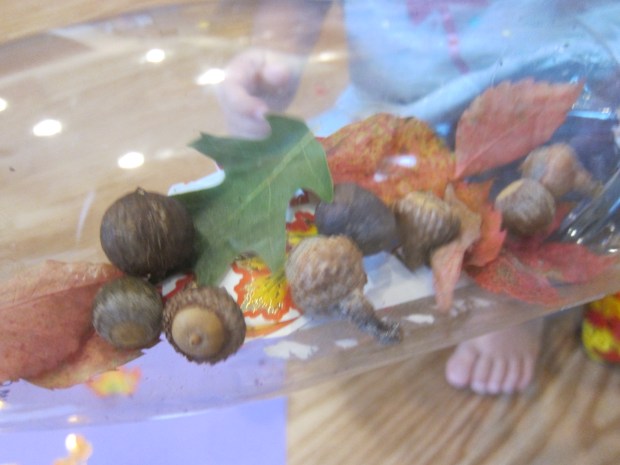
We added handfuls of small leaves we had found on a recent walk along with a few acorns (real ones!) for sensory sound. The bottle turned out so pretty.

Autumn Sensory Bottles (11)

This one was light as a feather and made fantastic clicking noises.

Autumn Sensory Bottles (3)

She spent some time with all three of them, but the button-and-water version was clearly her favorite. In fact, she then wanted extra buttons to hold, since she was frustrated she couldn’t screw the lids off.

Autumn Sensory Bottles (10)

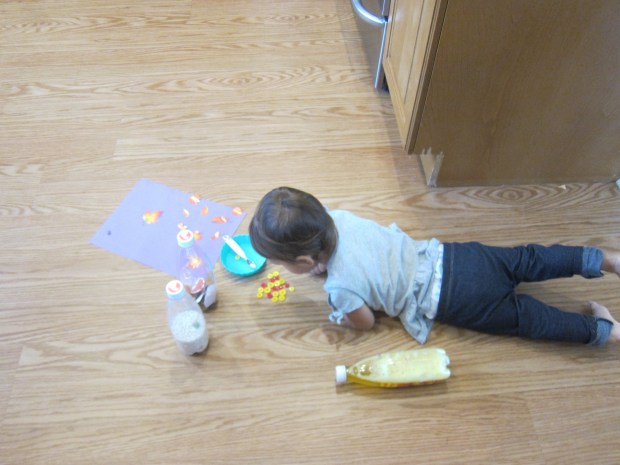
Between the buttons and the bottles, she kept quite busy with this activity!

Black Bean Indoor Sandbox

Black Bean Sandbox (1)

Perhaps I should have held off on this particular indoor sandbox for a couple of days until October is officially here. But when I spotted my bulk bag of dried black beans, the color instantly made me think of all the Halloween decor I just stocked up on. So it was a spooky indoor sandbox a few days early!

I poured the beans into a shallow tray and added a few Halloween items that lent themselves well to sensory play. These included cupcake liners (with spiderweb and black-and-orange print designs), as well as felt skeleton figures.

Black Bean Sandbox (2)

First her attention went to the little skeletons, and she loved putting them in the cupcake liners, or burying them under the beans and then digging them back up again (spooky!).

Black Bean Sandbox (5)

She could also use the cupcake liners for scooping and pouring, which was great for fine motor skills.

Black Bean Sandbox (3)

She spent quite some time transferring beans back and forth this way.

Black Bean Sandbox (4)

I had planned just to let her use her hands, but she requested a spoon to scoop through, too.

Black Bean Sandbox (7)

Then to my surprise, she first sat in the beans…

Black Bean Sandbox (8)

…and then stood right up in them! This gave her the giggles.

Black Bean Sandbox (9)

In sum, the bin was a great one for keeping her busy and for introducing the upcoming holiday!

Black Bean Sandbox (6)

Fall Tree Art

Fall Tree Art (10)

This art project is on the messy side, but it’s a great way for even little toddlers to paint fall foliage!

To start, cut a piece of watercolor paper (or similar thick paper) in half lengthwise, so you have two rectangles.

Next, cut strips of yarn and arrange over one of your rectangles. The more the yarn loops and curls the neater an effect you’ll achieve. That said, I had to work quickly before curious Veronika pulled up all the pieces of yarn I was laying down!

Fall Tree Art (1)

I set out red, orange, and yellow paint, and Veronika immediately wanted to open them all. Carefully, we poured a blob of each color over the yarn. Again, I had to work quickly and only managed one blob of each color; be more deliberate and dot a few blobs of each for a more marbled effect.

Fall Tree Art (2)

Place the remaining rectangle of paper on top of the yarn, making sure one end of each yarn piece is sticking out. I showed Veronika how to pull on these ends; they were like little worms she could tug at.

Fall Tree Art (3)

Lift up the top sheet of paper and reveal all the fall colors!

Fall Tree Art (7)

Veronika, I confess, was decidedly unimpressed. She decided it was a lot more fun to dump out extra orange paint and then smear her hands through it.

Fall Tree Art (4)

To add to the mess, she loved running the paint-covered strands of yarn through her orange hands.

Fall Tree Art (6)

But she had a blast, and I loved watching her enjoy this part of the art process!

Fall Tree Art (5)

Meanwhile, once the original paintings had dried, I added a brown trunk to each with marker to complete our fall trees.

Fall Tree Art (8)

These will look so pretty up in the playroom for the rest of the season!

Fall Tree Art (9)