Bendy Straw Experiments

Floating Ball (4)

I have a pack of bendy straws at home, and this morning Travis and I used them in 3 experiments! Try one or all three, and see which is your family’s favorite.

Pom-Pom Popper:

For the first, poke a small hole in a dixie cup. If your cup is paper, kids can punch through with a pencil tip. We had plastic cups so I used a craft knife to make the slit.

Pom Pom Popper (1)

Cut the tip from a bendy straw just before the bend. Insert the bent end into the cup’s hole and tape on.

Pom Pom Popper (2)

Place a pom-pom in the cup and blow. Some good lung power can really make these jump!

Pom Pom Popper (5)

Travis was so proud when he was able to do it.

Floating Ball:

The next experiment was similar, but we got a little craftier. Cut circles from colored construction paper, and cut a slit in each to the center. Fold up into cones, securing with tape.

Floating Ball (2)

Snip a small hole in the tip of each cone and insert the bent part of a bendy straw; tape on for extra security.

For extra fun, make them monster mouth cones! We cut out teeth and eyes from additional colored paper and taped on the features. If you want a cleaner look, use glue to attach, but Travis was eager to get to the next step of making the monster eat a silver ball!

Floating Ball (3)

Crumple up a small piece of aluminum foil and place just over the opening of the straw. Huff into the other end and your ball will pop and spin and dance just where the monster can’t eat it.

Floating Ball (5)

Bubble Valve:

The final experiment was the simplest, but still fun. Cut a tiny slit in the top of an uninflated balloon, just large enough for a straw to fit. Insert the bottom end of a bendy straw. If your hole is a little too large, ideally get a new balloon and start again. This was the last balloon in the house, though, so I taped over a small gap between balloon and straw.

Balloon Valve (1)

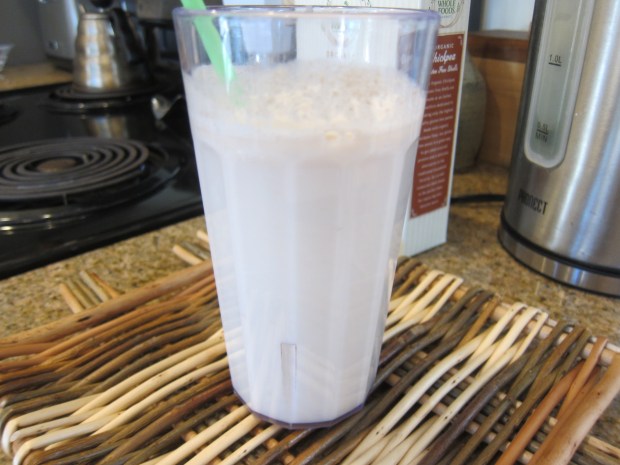
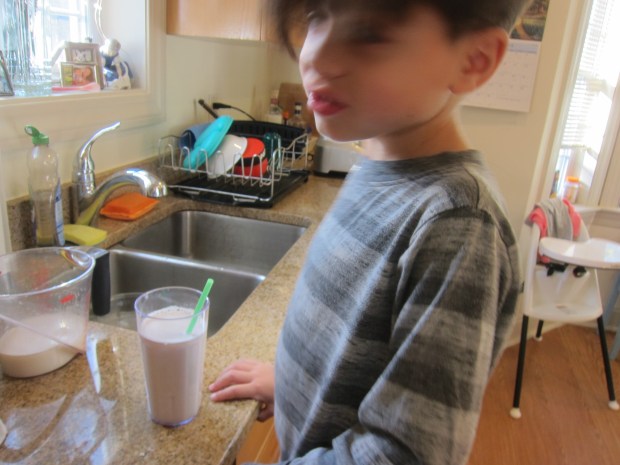
Insert into a clear glass of water, then blow into the straw to make bubbles. Try and suck up to get a drink through the straw, too, which is much harder!

Balloon Valve (3)

Travis loved that he was able to do this one, too.

Balloon Valve (2)

Advertisement

Make Your Own Oat Milk

Homemade Oat Milk (6)

As an extension to his Lunchtime Love recipes from Raddish Kids, Travis was excited to learn how to make his own oat milk today!

The idea here was to show a child how food goes from raw ingredients to finished product. Of course we had to skip the growing and harvesting of the oats, but we came home from the store with a bag of organic rolled oats that certainly didn’t look like milk yet.

Homemade Oat Milk (1)

We first watched a few how-tos online to see if we could make the best oat milk possible. Tips include using the coldest water possible and blending for the least amount of time possible. Armed with that knowledge, Travis combined the following in a blender:

4 cups cold water

1 cup rolled oats

1 teaspoon vanilla extract

Skip the vanilla if you don’t want the milk sweetened. We ran the blender for about 30 seconds.

Homemade Oat Milk (2)

Travis was ecstatic that now it was white like milk!

Homemade Oat Milk (3)

I don’t have cheesecloth, so the best we could do was strain it through a fine-mesh sieve. He immediately needed a big glass and a straw. Little sister wanted a taste, too!

Homemade Oat Milk (5)

Well, he turned to me and said, “Actually… it’s not that good.”

Homemade Oat Milk (4)

Bonus points for honesty! I guess we’ll stick to almond milk as a family. But now Travis is determined that we should make a homemade batch. Thanks Raddish!

School Milk Flipbook

Milk Flipbook (6)

Travis helped make several lunches this month thanks to his Raddish Kids Lunchtime Love crate, a perfect theme for back-to-school in September. We finished up with this lesson plan.

To start, we played “I’m going on a picnic” to get thinking about different foods in a lunchbox, particularly those that travel well. A basket of toy food as prompts helped initially, but Travis was bored after a few rounds of back-and-forth. Instead, we turned to the web for the next part of the lesson.

Milk Flipbook (1)

Raddish provided links for a read-aloud about how common lunch foods get on the plate. Because the book was heavy on dairy, we also watched vegan-friendly videos about almond milk and soy milk.

Milk Flipbook (2)

Next Travis got to be an author! The assignment was to make a flipbook about the journey of an almond from the tree to the carton at the store. I encouraged him to put on his imaginative cap and pretend the story was from the point of view of the almond, although this was a bit of a stretch for my first grader.

Milk Flipbook (4)

He concentrated more on just drawing the pictures, and I added words.

Milk Flipbook (5)

There were also fun videos to watch on school lunches around the world. Big kids can extend the lesson much further, here, perhaps by designing an international menu for their school cafeteria

For a hands-on extension, we returned to an old favorite: growing new vegetables from kitchen scraps. This works fantastically with green onions, so after we used a bunch from the store, we placed the bulbs in a small dish of fresh water. You should see new growth by morning!

Regrow Food Scraps

Finally, Travis was in charge of designing his own perfect after-school snack in Raddish’s Create-a-Snack Challenge. I showed him the list of possible ingredients, and he selected: hummus, cheese slices, tortillas, strawberries, and tomatoes. The possibilities were growing already.

Snack Challenge (1)

After a trip to the store, he created the following: Hummus-Cheese-Tortilla Bites.

Snack Challenge (2)

I loved watching him turn into a little chef as we layered hummus on small squares of tortilla, topped each with a piece of Violife cheddar, and then topped that off with tomato.

Snack Challenge (4)

He got fancy and added strawberries to a few. An interesting flavor combination!

Snack Challenge (3)

I haven’t seen him enjoy snack so much in ages, so this was a great activity on the part of Raddish.

Paper Bag Blocks

Paper Bag Blocks (14)

My original intent with this project was to make BIG blocks for Veronika from large grocery store paper bags. I decided the idea was rather impractical, since I would need lots of newspaper to stuff them all, and almost never buy a hard copy of the paper anymore.

Instead, armed with lots of paper lunch bags, I opted for this smaller-scale version.

To make each block, fold over the top third or so of the bag to create a mark; this is the line that you will fill up to. Crumple up pieces of an old magazine and stuff into the bags. Fold that top third edge over and tape shut.

Paper Bag Blocks (4)

Okay, so these blocks don’t come out perfectly square and are almost more like little pillows or balls, perhaps, than blocks. But in short order we had a whole pile.

Paper Bag Blocks (5)

Veronika first loved picking up big handfuls and tossing them.

Paper Bag Blocks (7)

You can also enlist your toddler to be the decorator, using marker or crayon to color on the blocks.

Paper Bag Blocks (9)

Because she knew I had stuffed them full of magazine pages, she occasionally decided it was more fun to rip one open and pull the pages out.

Paper Bag Blocks (10)

Next we tried to build her a little “brick house”. You can expand on this idea and make garages for toy cars or little houses for dolls. If you have enough, line them up like the sides of a maze or tunnel and encourage your toddler to crawl through!

Paper Bag Blocks (13)

But as mentioned, Veronika’s favorite thing to do with them was to scoop up huge armfuls and toss them. She nicknamed them “bikers” (she’s into bicycles lately!) and ran over to show them to me with pride.

Paper Bag Blocks (15)

Over the weekend, I did put together one giant version for her. For this one, fold the top third of a grocery store bag over, then fill with crumpled newspaper to the line. Fold over that top third and secure with heavy tape like masking tape or packing tape.

Paper Bag Blocks alt

Your toddler will feel so strong carrying around his or her huge me-sized block! 

Paper Bag Blocks final

Where Is It?

Where Is It (1)

In addition to kitting Veronika out with goodies for the car, I’ve been adding games to our drives that require no props or planning. A favorite has quickly become a game of ‘Where is It?’

Every time we came to a stop, or slow enough that Veronika can take time to spot items out the window, I ask, “Where is the [fill-in-the-blank]?”

Name whatever you see, and let your toddler proudly point away. This game helps toddlers feel engaged and important on a ride, instead of, well, just along for the ride!

I try to ask her for things I know she loves, like bicycles (a big favorite), vans, and pick-up trucks.

Where Is It (2)

But you can also name less-familiar items to help build vocabulary.

Where is It alt

There are things we regularly pass on our route each day, like a herd of cows in a field. I always make sure to ask, “Where are the cows today?” Adding routine and familiarity to a drive can be particularly helpful for a toddler.

What items does your child spot each day? Please share favorites in the comments!