Wave Bottle, Inside and Outside

Many toddlers are fascinated by wave bottles and sensory bags, and yet Veronika always just wants to get her hands on the items inside the jar or bag, rather than merely to observe. So today I did a bit of a test, first making a wave bottle in the bottle and then putting those same items out of the bottle, to see which she liked better. The verdict was quite clear, so read on!

To start, we set up a classic wave bottle. Add water to an empty plastic water bottle until it’s about two-thirds of the way full. Veronika helped squirt in a few drops of blue food coloring, but even already she wanted to pick up the bottle for pouring and transferring. I had to hold her back!

I showed her a few trinkets we could put inside; we made one version with beads and one with small pom poms, and then we added wiggle eyes to both. Now, fill each bottle the rest of the way with vegetable oil, and seal the cap on with hot glue.

Of course the fun is meant to be in watching the items wave back and forth, especially how globs of oil will move through the water since the two substances don’t mix. The wiggle eyes, in particular, pop right to the top of the bottle no matter how you shake it, which is fun to watch.

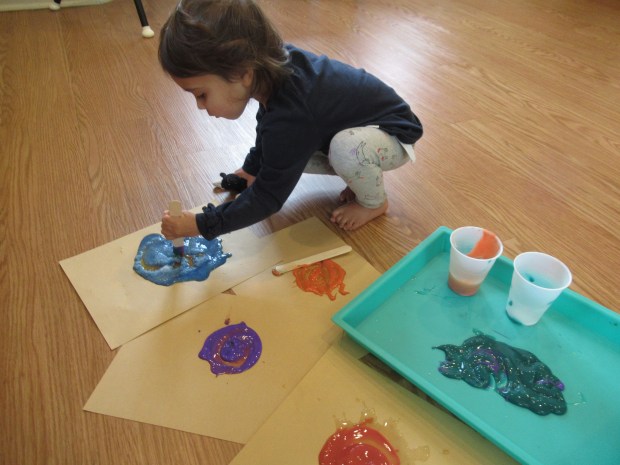
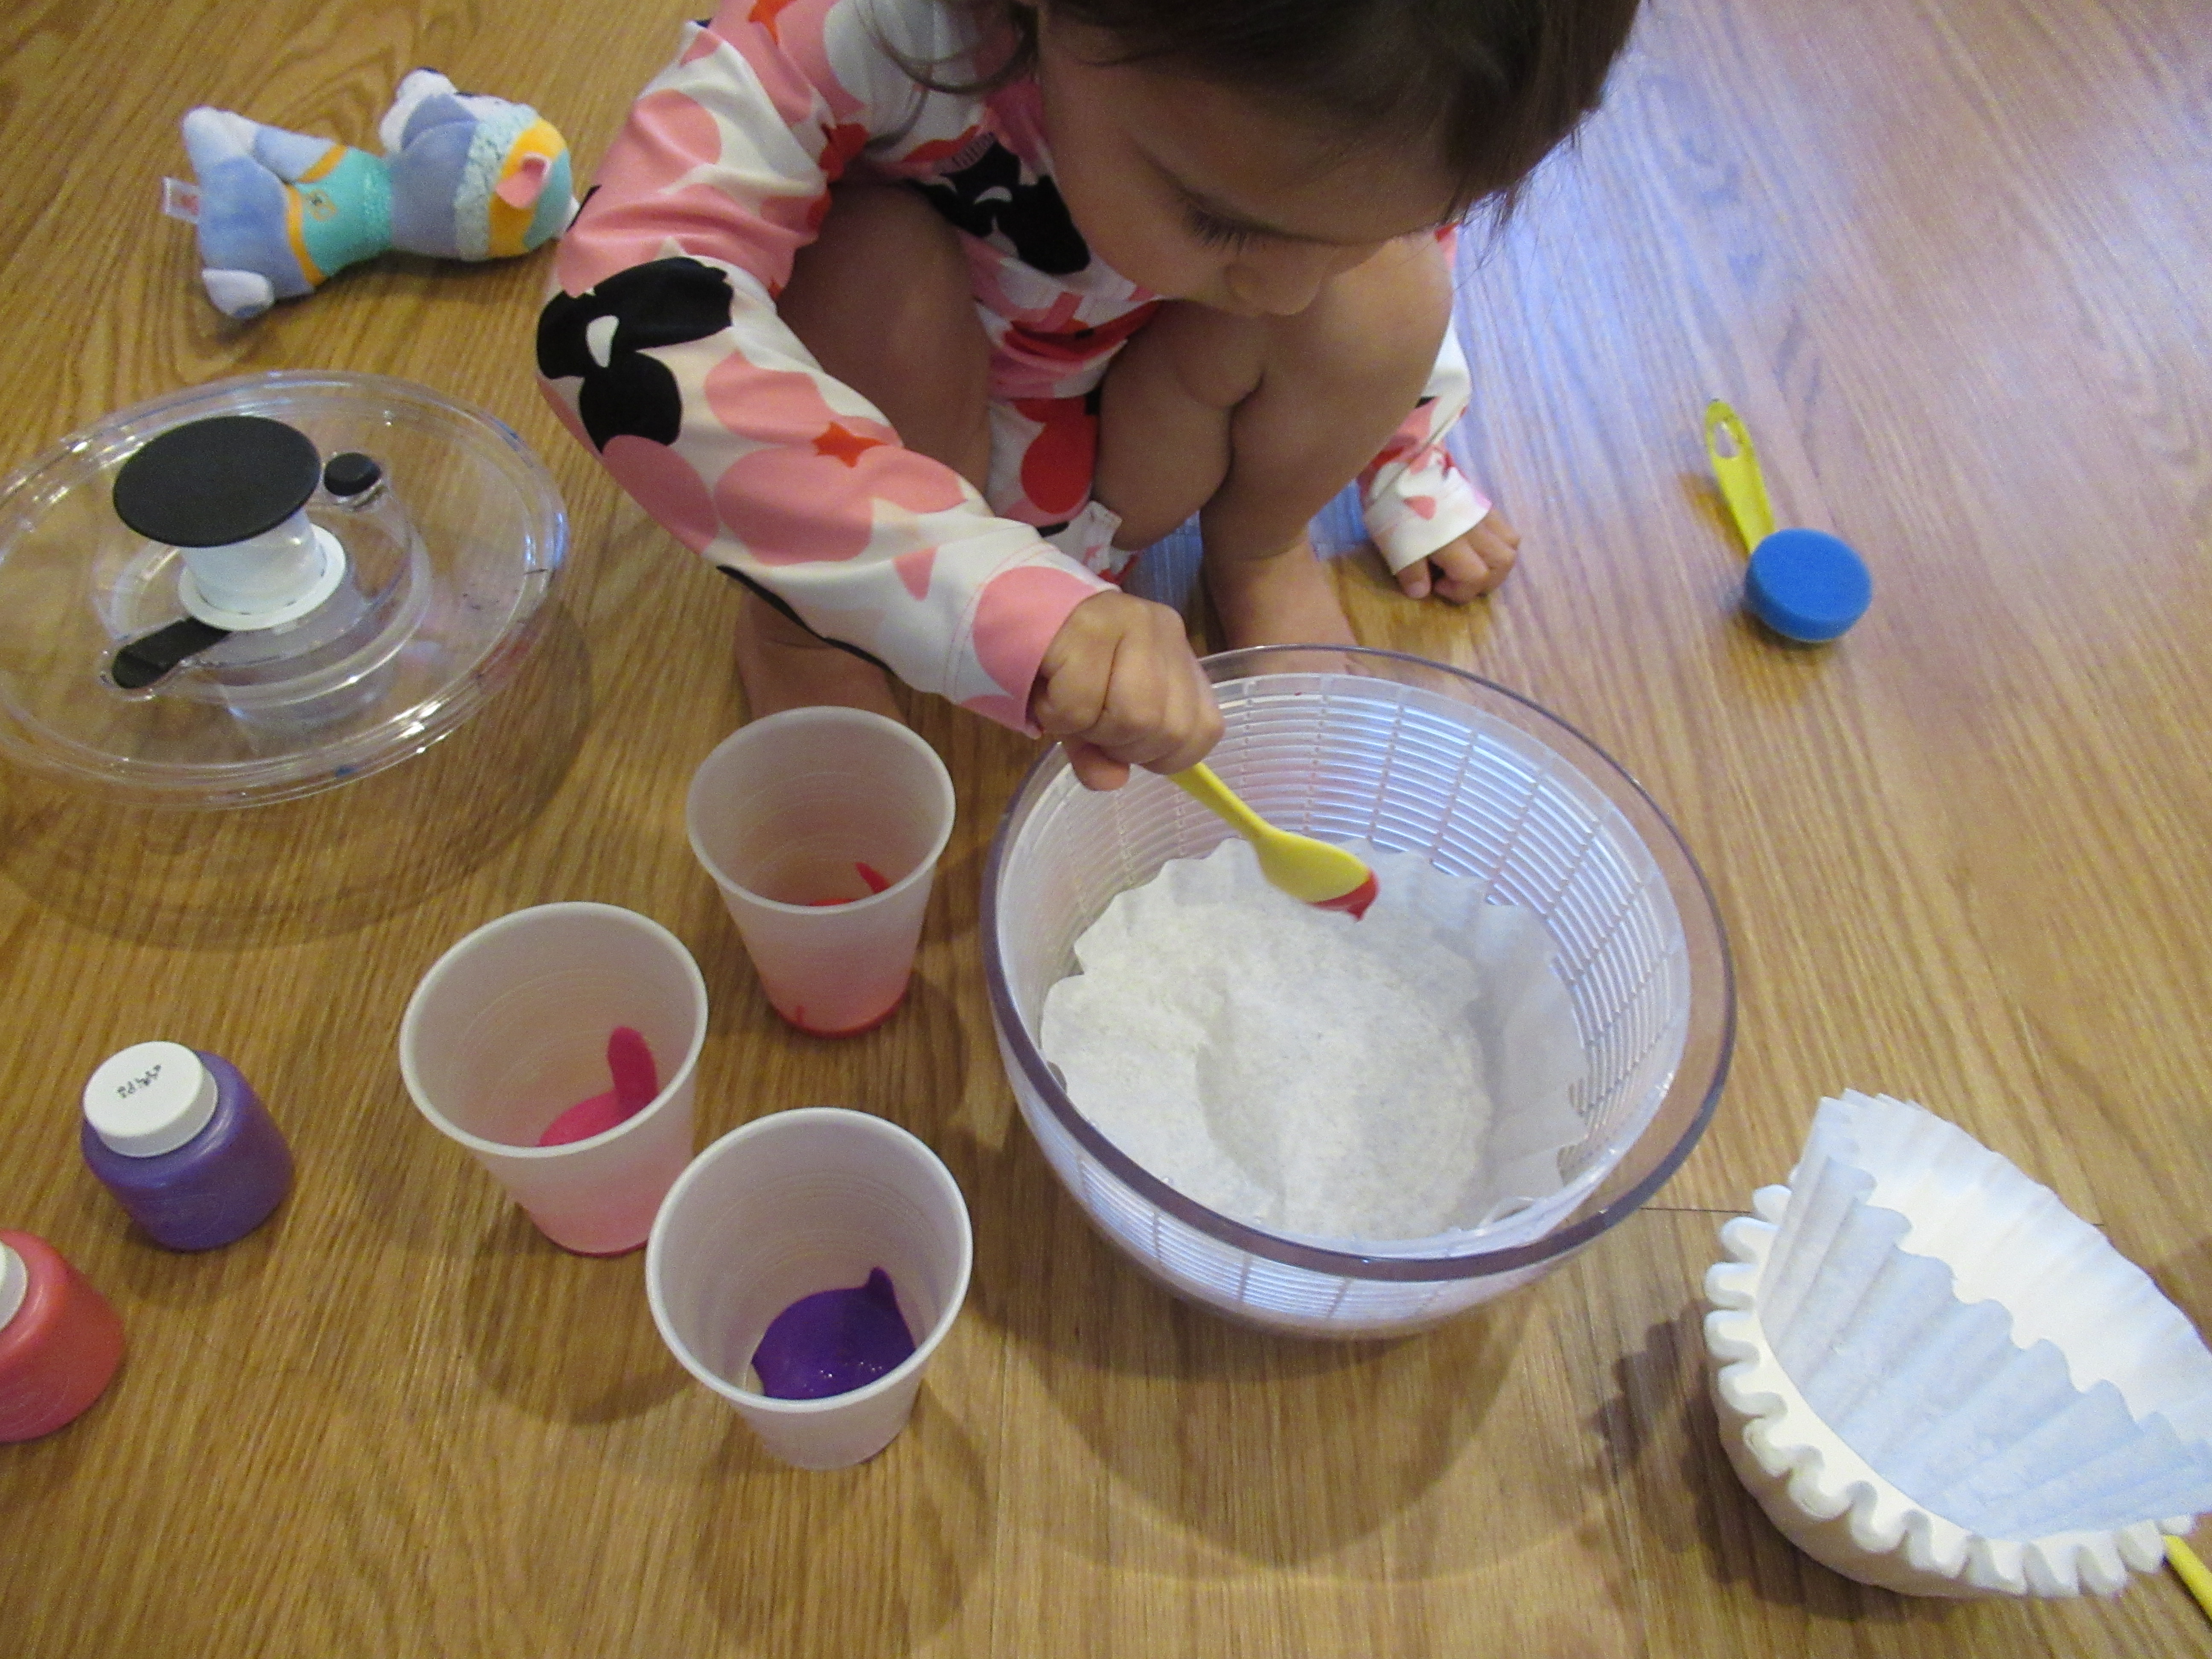
But did this hold Veronika’s interest? No! She immediately wanted hands on all the little trinkets we’d inserted into the bottles. So next we set up an “open” wave bottle. First, we placed the pom poms, beads, and wiggle eyes into the bottom of a craft bin and then she carefully poured in water from a clean bottle.

Then she squeezed in the blue food coloring when I wasn’t even looking!

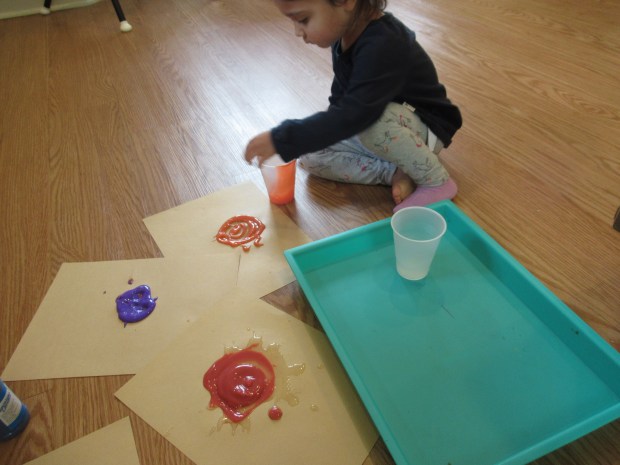
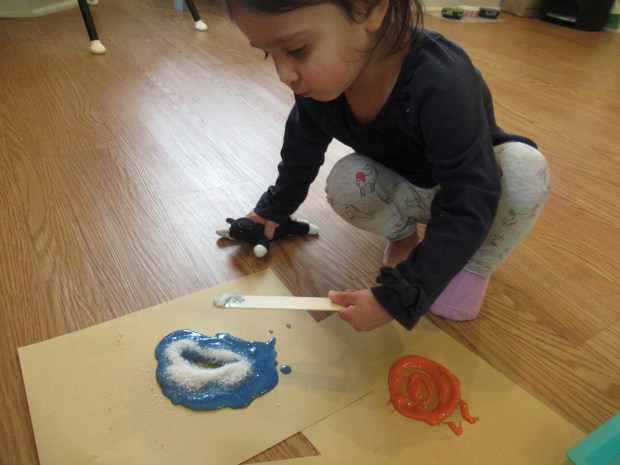
She loved stirring through, as well as selecting an item and picking it out by hand, for example with all the wiggle eyes.

The verdict was clear: The closed bottle interested her for less than ten seconds, whereas she spent almost half an hour with her open “wave”.

Which version does your toddler prefer? Please share in the comments!

Block Printing

Veronika has been uncharacteristically hesitant to get her hands messy lately, so today I made chunky stamps she could paint with instead, no risk of painted fingers!

To start, I used hot glue to attach a strip of textured ribbon onto old wooden blocks. Any raised ribbon or rickrack would work well for this particular purpose.

I then poured a little paint into a shallow plate, and set it out with the “stamps” and thick paper.

Veronika loved the colors, and experimented with dipping the blocks in the paint and pressing down.

Our blocks tended to make muddled prints at first, but as the paint thinned out, the texture of the ribbon would become ever more apparent.

This led to such a nice variety of shapes and prints for her to explore on her paper!

I think the results would have been even better with rickrack. If you make your blocks with rickrack, we’d love to hear how it goes in the comments!

Pom Pom Target Practice

Pom Pom Target (4)

Learning to huff down through a straw is a great skill for kids to master. It’s the first step towards blowing bubbles, tooting into a flute, and so much more. To help hone the skill, we practice today on pom poms, and threw in a target for good measure!

To set up, I taped two squares on the floor with masking tape, one smaller one inside a larger.

Pom Pom Target (1)

Veronika was quite intrigued when she saw the set up with the straws, and for a while was mainly interested in the straws themselves, practicing her huffing skills.

Pom Pom Target (2)

Then I showed her how to aim the straw at a pom pom, which would send it skittering towards the middle. We got silly down on our tummies as we took aim.

Pom Pom Target (3)

It was hard for her to move the pom poms very far, but she giggled for each one I sent skittering. For a little extra hand-eye-coordination, I set a plastic container in the center, and she started tossing the pom poms in. “Plop!” she said, as she dropped each one.

Pom Pom Target (5)

Then she would dump the bin and start over! Whether huffing through a straw or tossing with hands, this game is a great way to hone a toddler’s target skills.

Pom Pom Target (6)

Fingerpainting Fun

Fingerpainting (5)

Equipped with a new set of fingerpaints, Veronika tested a whole variety of methods to use them today!

Of course fingerpaints are always fun, even if all you do is dollop a blob of paint onto thick paper and let your toddler go to town. But for some novelty, we tried the following. First, I chilled one color in the fridge (purple) and briefly warmed a second color (orange) in the microwave, for about 10 seconds.

Fingerpainting (1)

Now she could dip in her fingers, alternating between the warm and the cold for a neat sensory element to the painting!

Fingerpainting (2)

Next, I dribbled some water onto a sheet of paper, then added fingerpaint (this time red). The water makes the paint seize up into little blobs, swirl around, and act in all sorts of funny ways. The slippery sliding definitely adds to the enjoyment!

Fingerpainting (6)

I poured out another color (blue) and this time poured a little salt on top. This makes the paint not only have a different texture, but also gives it a bit of sparkle. Veronika particularly loved this variation, preferring to smear it around with a craft stick instead of her fingers.

Fingerpainting (3)

Finally, we poured some paint (green) directly onto a craft tray. This thick paint was just begging to be swirled through, and we mixed in other colors too. When she was done, I pressed a sheet of paper on top, then lifted up to reveal a neat print.

Fingerpainting (7)

For something slightly more artistic, we made a fingerpaint pineapple! On a plate, we mixed a few neon colors (yellow, blue, and orange) for a tropical vibe. I showed Veronika how to dip her thumb in, then press it at intervals on paper to form a pineapple shape. Needless to say, her toddler version didn’t come out as a recognizable pineapple, but she loved looking at my mommy version. We added green fronds on top with our thumbs, too.

Fingerpainting (9)

If all that isn’t enough fingerpaint exploration, don’t forget your toddler can always paint right on the windows.

Fingerpainting (10)

Springtime Coffee Filter Art


With some leftover coffee filters in our craft bin, Veronika was able to make two lovely crafts today, both of which felt just right for springtime!

The first was a riff on classic butterfly art. Big brother Travis recently made a version involving lots of fine motor skills… All well and good for big kids, but I kept this toddler version simpler. First, Veronika covered the white filters with dot markers. Dot dot dot!

Once they were mostly covered, I handed over a spritz bottle for her favorite part. Veronika loved spritzing and watching the colors run together. Make sure to saturate completely, then set aside to dry.

Meanwhile, we painted old-fashioned clothespins for the butterfly bodies. I thought purple and yellow would be nice springtime colors, but hadn’t bargained on her mixing them together. The color ended up a bit muddied, as a result, but they were still pretty. Set those aside to dry as well.

To assemble, carefully slide a coffee filter onto each clothespin, scrunching as you go, then fan out the wings. What a pretty flutter of butterflies!

The second project was a bit more involved: coffee filter flowers! This time, we started with spin art, an old favorite. Place one filter in the bottom of a salad spinner and dribble a little paint on with a plastic spoon. We used a mix of purple, pink, and red paints.

Close the lid and let the spinner spin! Veronika loved being charge of making the spinner go and then stop with the brake button.

Lift up for the lovely reveal! We repeated to make four flowers, then set these aside to dry.

To help mold them into the shape of flower petals, we used this neat trick from Hands on as We Grow: press each filter over an empty soda can, then spray with liquid starch. Although not an item I’d normally use for a craft, it worked quite nicely.

Let dry, then glue down onto a construction paper background. We painted craft sticks green for flower stems and added a few green button leaves and a pom pom in the center of each.

April showers brought May flowers!

Paint Pen

Veronika loves the way dot markers fit into her hand, but sometimes grows frustrated when she wants to sweep them across paper (more like a brush) than dot them. Here’s a quick hack for a “paint pen” to use instead, based on a suggestion from the Toddler’s Busy Book.

The book actually suggests prying the top off an empty roll-on deodorant tube, and filling it with paint that can be squeezed out. Our version was a little simpler. Instead, I set out thick white paper and a few paper plates filled with paint, then gave Veronika the empty deodorant tube. All she had to do was dip and roll!

She liked that she could make fun lines with this, and she also loved mixing colors by dipping the tip in several different paint plates before rolling across the paper.

And wouldn’t you know, after all that the kids decided to finish off these paintings with dots from actual dot markers! All in all, this was a novel suggestion with a pretty result.

Food-Coloring Painted Cards

FOod Color Painting (8)

This novel painting method makes a lovely piece of art. You can either mount the artwork on the wall for display, or use them like we did for Mother’s Day cards!

To start, I filled a few plastic cups with a little water, then added about 5 drops of food coloring to each, resulting in rich, bold colors.

Food Color Painting (1)

Set these “paints” out for your toddler, along with two novel “canvases” for painting: paper towels and coffee filters.

Food Color Painting (2)

The colors bleed through the tissue of these papers in such beautiful ways. Veronika loved mixing the colors, too, which meant our bright primary colors soon turned to new shades.

Food Color Painting (4)

We decided we liked the result on the paper towels better than on the coffee filters, so once the color had dried, I glued these onto construction paper backgrounds.

Food Color Painting(6)

Add a note for your recipient, and it’s ready to send. We’re wishing a happy Mother’s Day to all the moms out there!

Playdough Cars

I’d been saving up a variety of household items for a while with this project in mind, all of which meant this morning I could delight Veronika with a full town for her to drive playdough cars through. This project can easily be tailored to multiple ages; older kids can be a part of some or all of the set-up, depending on their age, while the youngest tots will simply enjoy playing in the result!

To start, I drew roads on black construction paper, adding white crayon for the dividing lines, and taped them down as a ring road around our coffee table.

Next, green tissue paper went in the center as the grass. I then stuffed additional sheets of tissue paper into the tops of empty paper towel tubes and toilet paper tubes, for trees of varying heights.

For little people, simply draw smiley faces on clothespins.

Now our little town just needed cars! Veronika helped shape play dough into long ovals, and then we added “wheels”, which were a variety of juice and soy milk caps I’d been saving up.

She loved chugging these along the road.

And also loved putting little people inside for a car ride.

Uh oh, traffic jam!

This little make-believe neighborhood was so easy to put together, and yet such a delight!

Little Passports: Spain

Travis was off to Spain with Little Passports this month, eagerly cracking open the envelope from “Sam and Sofia,” pinpointing the country on the map and adding his suitcase sticker.

In terms of our unboxing review, though, the booklet this month was tough. It included tricky tasks like a crossword and a grid to copy a Picasso painting, both of which were beyond his 1st grade level. Travis did help tally up treats from a Spanish market on another page, but overall seemed a bit overwhelmed by the booklet.

Souvenir:

On the other hand, the souvenir was a mosaic art sticker kit, based on the mosaics of Antoni Gaudi, and I’ve never seen Travis so into an art project! He insisted on completing the lizard shape he chose, meticulously working his way through the color-coded foam stickers.

He was relentless until every square was filled!

Further Activities:

Based on Little Passport’s blog, it looks like the Spain package used to include a craft for felt tomatoes, to mimic the annual La Tomatina festival. We cut circles of red felt, topped them with a tablespoon of dry lentils (dry rice would work too), and hot-glued a second circle of felt on top for a quick version.

Take aim at each other with your fake tomatoes, and watch them splat!

We also wanted to further explore Picasso, so made a quick craft that was a riff on his painting La Punchinello.

Cut out semicircles for heads and triangles for the bodies, arms, and legs, then arrange on construction paper and glue down. Travis added facial features with colored pencil to complete his funny little clown!

The recommended add-on for this kit was the Barcelona: City Trails guide book, filled with facts and info about the city. Instead of purchasing it, we checked out a copy from the local library! Of course, throw on some flamenco music to listen to during all of the above, and you’ll have loads of Spanish ambiance in your home.

Recipe:

We couldn’t leave Spain without trying tapas, of course. You can make this dish part of a larger spread, with items like Spanish olives or sliced vegan chorizo, for a complete meal.

Ingredients:

  • 6 red potatoes
  • 1/4 cup olive oil
  • 1 teaspoon salt
  • 2 tablespoons vegan mayonnaise
  • 1 teaspoon paprika
  • 1/8 teaspoon garlic powder
  • 2 tablespoons water
  1. Cut the potatoes into bite-sized pieces and place in a large bowl. Drizzle with the olive oil, stirring to coat.
  2. Spoon the potatoes onto a baking sheet lined with foil and sprinkle evenly with the salt. Roast at 375 degrees F for 30 minutes.
  3. In a large bowl, whisk together the mayonnaise, paprika, garlic powder, and water. Add the potatoes and toss to coat. We decided these were best served warm!

Vegan Fish Tacos

Use the fishless filets from Gardein (or other favorite vegan seafood of choice) for this fun spin on taco night. If you want to up the heat, add 1 seeded and chopped jalapeno pepper to the sauce.

Ingredients:

  • 1/2 cup non-dairy sour cream
  • 1/2 cup vegan mayonnaise
  • 1/2 teaspoon dried dill
  • 1/2 teaspoon dried oregano
  • 1/4 teaspoon salt
  • 2 limes, divided
  • 1 (10-ounce) package vegan fish
  • 1 (10-ounce) package coleslaw mix
  • 8 corn tortillas
  1. To prepare the sauce, whisk together the sour cream, mayonnaise, dill, oregano, salt, and juice from 1 lime in a bowl. Set aside.
  2. Arrange the vegan fish in a baking dish and squeeze with the juice of the remaining lime. Bake at 425 degrees F for 20 minutes, turning halfway through. Cool slightly and then cut into bite-sized pieces.
  3. Meanwhile, heat the coleslaw mix in a skillet over medium-high heat to desired tenderness. Toss the wilted coleslaw with the sauce.
  4. To assemble, warm the tortillas according to package directions. Arrange the fish and coleslaw mixture over each tortilla to taste, then fold up and serve!