Beach in Your Sandbox

Beach In Your Sandbox (3)

Although this indoor sandbox wasn’t quite as big a hit as recent ones, a make-believe beach still provided fun morning entertainment before we could head off to the real thing!

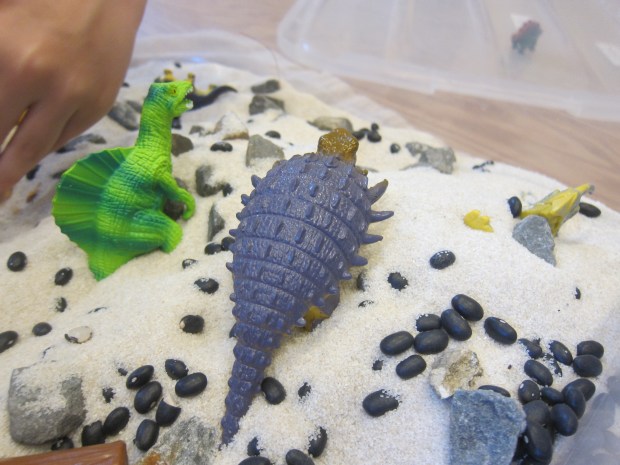
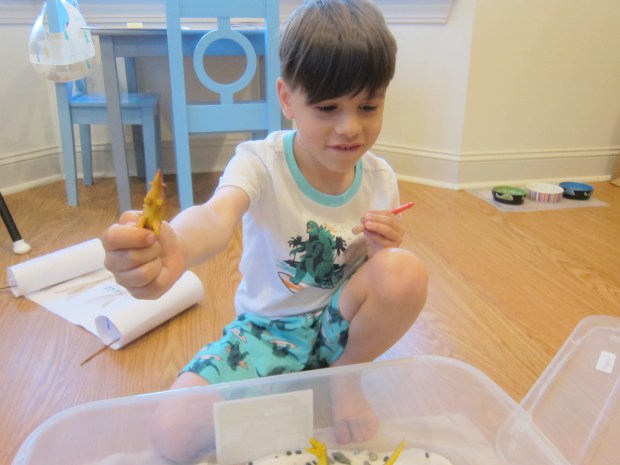
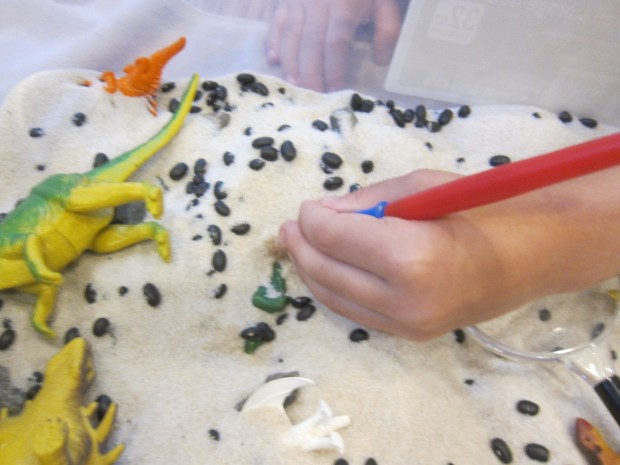
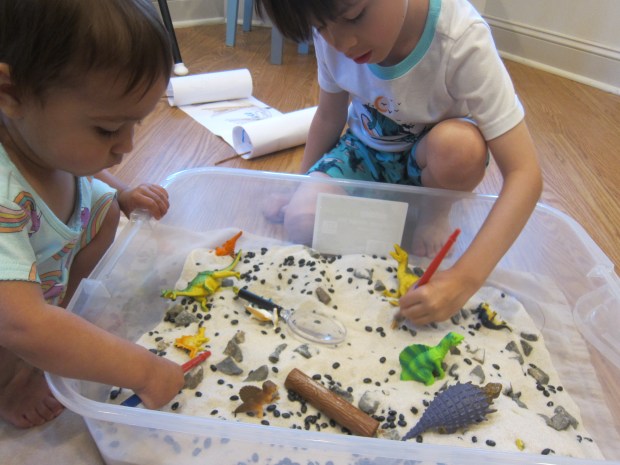
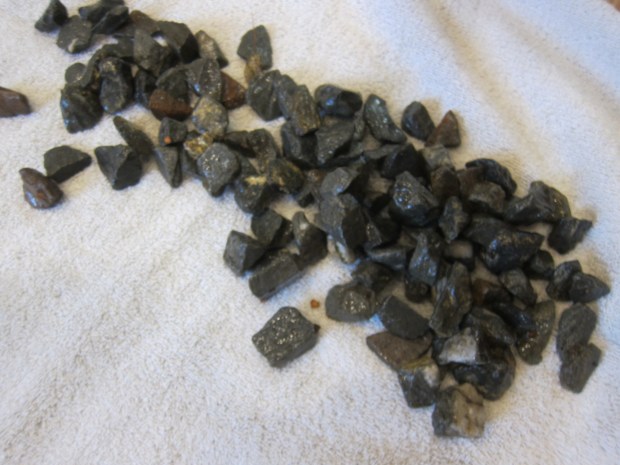
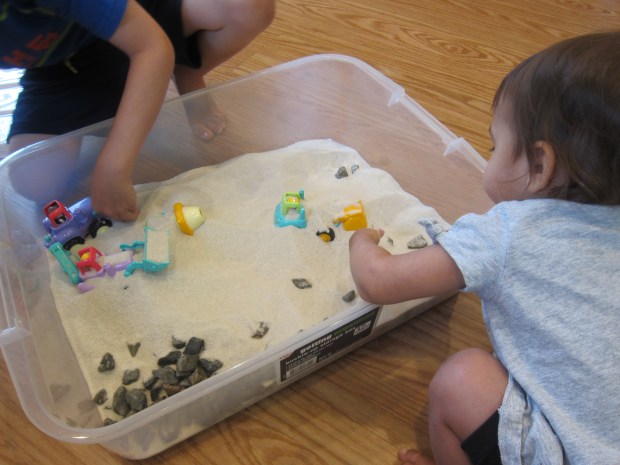
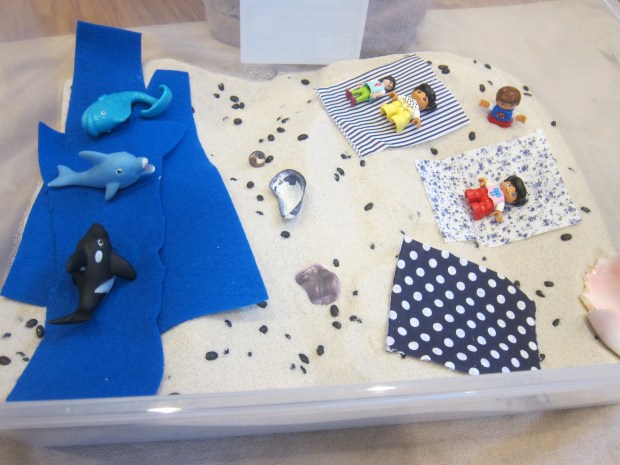
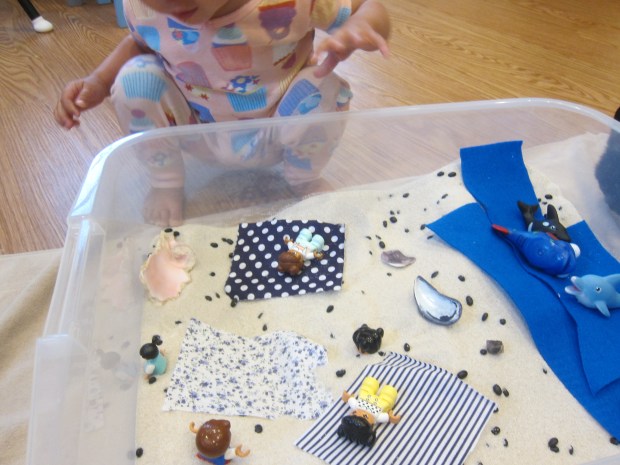
For set up, I filled a large storage bin with sand. (Note: The stray pieces of black bean were leftover from a dinosaur dig, but the kids decided that now they were “seashells”).

Beach In Your Sandbox (1)

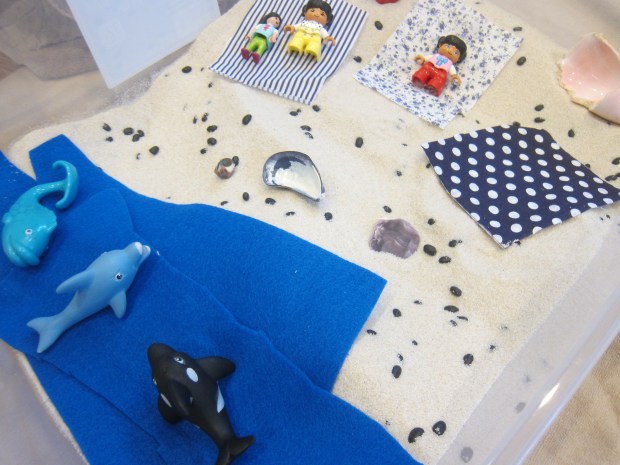
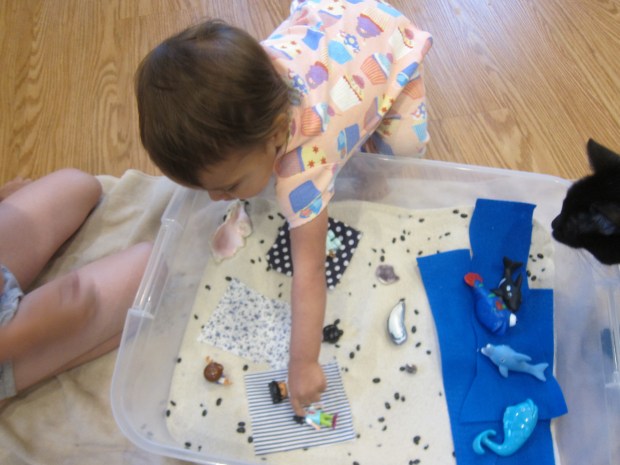
Then add whatever beach-y elements you have on hand. I used blue felt for water with a few plastic sea creatures swimming on top; fabric scraps for beach towels, topped with a few Duplo figures; and a few real sea shells. If you have tiny drink umbrellas, they would be perfect as beach umbrellas!

Beach In Your Sandbox (2)

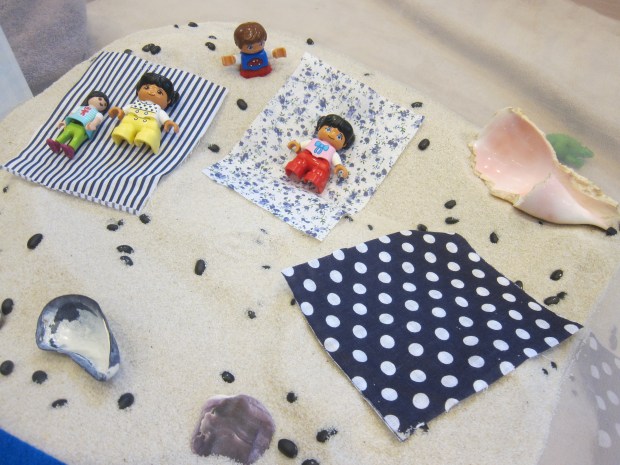
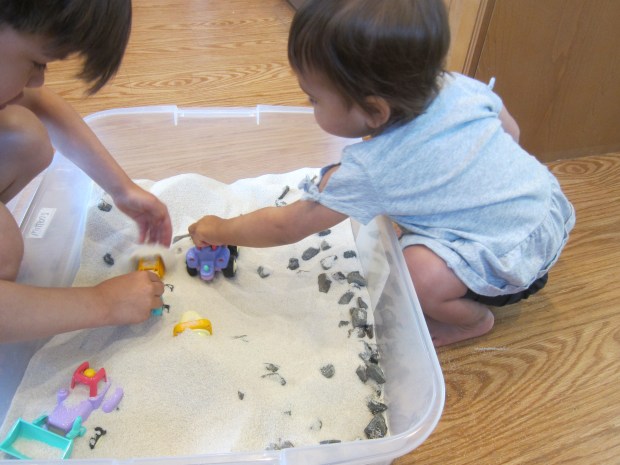
Veronika’s favorite part about this sandbox were the people figures. She liked walking them through the sand or lying them down to be “cozy” on their beach blankets.

Beach In Your Sandbox (6)

Big brother Travis liked burying them in the sand!

Beach In Your Sandbox (5)

The kids begged for me to add real water. In retrospect I wish I hadn’t since it made clean-up harder (wet sand is more of a pain than dry sand), but I indulged them. I made a moat along one side of the bin lined with the blue felt and poured in water.

Beach In Your Sandbox (8)

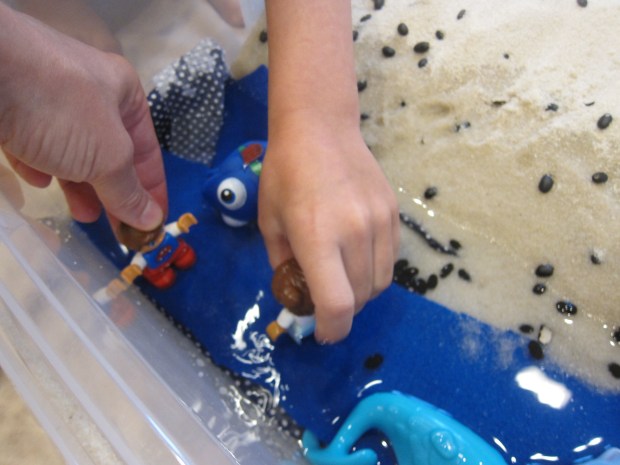
Now the people and sea creatures could go for a swim! It was fun to see the kids smiles when they made their toys splash about.

Beach In Your Sandbox (9)

Glow Bottle Bowling

Glow Bottle Bowling (6)

Long summer nights are tailor-made for staying up late, and I love finding activities to heighten the excitement. So on the heels of a few other glow-in-the-dark sports, tonight it was time to go bowling!

During the day, we decorated empty plastic water bottles with colorful tape. You could also use paint markers, but Travis preferred just to use the tape. He loved making diagonal stripes on his!

Glow Bottle Bowling (1)

After dark, we activated glow sticks and dropped one in each bottle.

Glow Bottle Bowling (2)

Line up in bowling formation, then take aim with bean bags! You can use regular bean bags, or glowing ones leftover from a bean bag toss.

Glow Bottle Bowling (3)

Travis loved it so much he insisted on multiple rounds. We played several variations, like lining them up in different ways or sliding the bean bags along the floor instead of throwing them.

Glow Bottle Bowling (4)

I think we’ll need a new set of glow sticks so we can play again tomorrow night!

Glow Bottle Bowling (5)

If your kids are older and want a greater challenge, fill the bottles with water to make them harder targets.

Dinosaur Dig Sandbox

Dinosaur Sandbox (10)

Yesterday the kids were construction workers in the sand, today they were archaeologists on a dig!

For this version of an at-home sandbox, I added a few new elements to a big storage bin already filled with sand and small pebbles from outside. I added dried black beans for texture (perhaps these were fossils, or chunks of cooled lava from the dinosaurs demise!). Then I buried plastic dinosaur toys. You could also use plastic dinosaur skulls or bones, if you have toy parts like this.

Dinosaur Sandbox (1)

Finally, for my budding paleontologists, I added paint brushes to gently brush away the sand from their finds, and a magnifying glass.

Dinosaur Sandbox (6)

Both my kids loved it, each in their age-appropriate way! Veronika just loved all the sensory elements, including running the paintbrush through the sand.

Dinosaur Sandbox (8)

She also enjoyed the dinosaurs for play, roaring and marching them through the sand.

Dinosaur Sandbox (4)

“Ooh! Dinosaur!” she said, peering through the magnifying glass.

Dinosaur Sandbox (7)

Big brother Travis understood the imaginative element of being on a “dig” much better.

Dinosaur Sandbox (2)

He loved carefully using the paintbrush’s bristles to unearth dinosaurs, then named them (“This is the badabasaurus”) before moving them over to a “museum” on the side.

Dinosaur Sandbox (9)

The sandbox bin kept them entertained for ages!

Dinosaur Sandbox (3)

Cover your storage bin with the lid when you’re done and it’s ready to pull out soon for more adventures.

Dinosaur Sandbox (5)

Sunflower Seed Butter Cookies

Sunflower Seed Butter Cookies (1)

With a leftover jar of sunflower seed butter in the pantry, I threw together these protein-packed cookies.

Ingredients:

  • 1 and 2/3 cups flour
  • 1 teaspoon baking powder, divided
  • 1/2 teaspoon baking soda
  • 1/4 teaspoon salt
  • 1/2 cup applesauce
  • 1 cup sunflower seed butter
  • 1/4 cup canola oil
  • 2/3 cup brown sugar
  • 1/2 cup maple syrup
  1. In a bowl, combine the flour, 1/2 teaspoon baking powder, baking soda, and salt. Set aside.
  2. In a large bowl, whisk together the applesauce and remaining 1/2 teaspoon baking powder. Add the sunflower seed butter, canola oil, brown sugar, and maple syrup.
  3. Add the wet ingredients to the dry ingredients, stirring until combined.
  4. Drop the dough by spoonfuls onto baking sheets, 12 cookies per sheet. Bake at 350 degrees F for 12 minutes.

Sunflower Seed Butter Cookies (2)

Leaf Masks

Leaf Mask (5)

If your toddler has recently collected leaves on a nature walk, here’s a simple way to turn them into a costume for make-believe: make a leaf mask!

I cut a paper plate in half and held it up to Veronika’s face so I could mark the location of her eyes and nose.

Leaf Mask (1)

Cut out eye holes, then snip two sides of a triangle where the nose is (this will help it sit better on your child’s face). Next, Veronika helped glue down the leaves we had collected. She loved painting on the glue with a paint brush while I arranged the leaves in overlapping rows as best I could. If you prefer less mess, you can attach the leaves with tape, too.

Leaf Mask (2)

Once the glue dried, I punched a hole on each side, and added string.

Leaf Mask (3)

Tie around your child’s face and let their imagination do the work from here! Veronika immediately began humming Darth Vader’s theme song and doing his deep raspy breathing.

Leaf Mask (4)

Clearly this was a Star Wars mask in her view! But perhaps your toddler will pretend to be a woodland fairy, or a tree, or anything else that fires up the imagination.

Leaf Mask (7)

One way or another, this is a beautiful way to tie together a nature walk with a little bit of arts and crafts.

Leaf Mask (6)


Air Science

Air Science (4)

Having recently prepared a recipe reliant on air to cook (a.k.a. a recipe that needs a leavener), today Travis played around with two different kinds of leaveners to see which worked its magic faster.

In one empty water bottle, combine 1 cup warm water, 1 packet active yeast, and 1 teaspoon sugar. Put on the lid and shake, then remove the lid and place an uninflated balloon over the opening. Set a timer for 20 minutes.

Air Science (1)

Meanwhile, fill a second empty water bottle with 1/2 cup water and 1 cup white vinegar. Working quickly, add 1/4 cup baking soda. Add a balloon as fast as you can over the top of the bottle; it will immediately inflate with air.

Air Science (2)

This was fantastic fun for Travis, since the second bottle will be exploding a volcano of vinegar as you attach the balloon.

Air Science (3)

The results were immediately obvious; baking soda acts much faster than yeast. In fact, our yeast balloon took longer than the 20 minutes we had set on the timer, but after about an hour the balloon was beginning to inflate.

IMG_0001

I explained to Travis that this was part of the difference between a slow (yeast) bread and a quick bread (like banana bread), which comes together must faster. Now he understood why!

Air Science (5)

Stayed tuned for more elemental food science soon!

Paint Chip Scavenger Hunt

Paint Chip Scavenger (10)

We’ve played with paint chips outside on color hunts outside, but never used them inside before! This activity was a great one to pull out today the second that Travis declared, “I’m bored!”

I told him I had a hunt for him since we’ve been learning about pirates and treasure hunts lately. I have a pile of paint chips from the hardware store, so I punched holes in the corner of each and secured five together with a rubber band. Could he find an exact match for each of the five?

Paint Chip Scavenger (1)

Some were easy, and he proudly held up his sample right away. Ta da!

Paint Chip Scavenger (5)

Some I challenged him when the color didn’t seem close enough. Was that really the right shade of red? He hunted on until he had it right.

Paint Chip Scavenger (8)

When he’d finished the first five, he immediately wanted another 5-pack of colors!

Paint Chip Scavenger (7)

I gave him trickier shades this time.

Paint Chip Scavenger (3)

We really had to ponder when it came to a certain pink.

Paint Chip Scavenger (4)

But wouldn’t you know, when he placed his final chip down on the table at the end, he looked over at his plate and it was a perfect match!

Paint Chip Scavenger (6)

We’ll definitely play more rounds of this game in the future. You can also make it a race to see who finishes their 5-pack first, if two or more kids are playing.

Paint Chip Scavenger (9)

Glowing Bean Bag Toss

Glow Bean Bag Toss (14)

After playing a glow-in-the-dark Frisbee game recently, tonight it was time for glow-in-the-dark bean bags!

This kiddie-version of Cornhole can be played in daylight, too. First, I taped a cardboard box securely with duct tape along the top and bottom, and then used an X-acto knife to cut it in half along a diagonal.

Glow Bean Bag Toss (1)

Cut a hole in the center of each. These will be your target boards. Travis was in charge of decorating them! We used colorful washi tape to make patterns and designs.

Glow Bean Bag Toss (3)

Of course little sister wanted to help, too.

Glow Bean Bag Toss (4)

The bean bags were a bit tricky to make. Cut snack-size zip-top bags into an octagon shape, and then use more decorative tape to cover them and seal the edges. Leave an opening at the top. Fill with dried beans, then add more washi tape along the top. Time to toss!

Glow Bean Bag Toss (6)

We scored 1 point for any bags that landed on the board, 3 points if it went in the hole.

Glow Bean Bag Toss (9)

We upped the ante and kept moving further back from the board with each round. Travis was a natural!

Glow Bean Bag Toss (10)

Once it grew dark, it was time to make it all glow. We cracked glow sticks to activate them and taped them along the sides of the box targets.

Glow Bean Bag Toss (12)

Then we added small glow sticks to a few more bean bags, adding them in with the beans before sealing shut.

Glow Bean Bag Toss (11)

Travis wanted to play so many rounds that bedtime ended up being a little delayed! But that’s exactly what summer nights are for.

Glow Bean Bag Toss (13)

Sandbox Construction Site

Sandbox 1 (2)

I’ve put together small “construction sites” for Veronika before (and for big brother Travis, too, when he was younger), but when a huge bag of play sand arrived today, I knew we had to set up the biggest version yet!

You could do this activity outside in a real sandbox, too, if you have one at home or a neighborhood playground.

We also wanted to collect little rocks for our site and headed outside with a bucket. I poured the sand into a large storage bin and added the rocks along one side. We then added Veronika’s construction vehicles.

Sandbox 1 (1)

The trucks were soon very busy!

Sandbox 1 (3)

Veronika sprinkled sand into the dump truck.

Sandbox 1 (6)

She loved using the front loader to push rocks around.

Sandbox 1 (4)

And then there was just lots of driving trucks around and burying rocks in the sand!

Sandbox 1 (5)

Needless to say, the rocks didn’t stay gathered along one side for long. Older toddlers may want to be more deliberate with their “building”, though, gathering rocks in one place, or building them up into structures.

Sandbox 1 (7)

Travis definitely needed in on this one. His favorite part was burying trucks in the sand, to be unearthed in a big rescue.

Sandbox 1 (9)

The high sides of the storage bin even meant that all the sand stayed in the box!

Sandbox 1 (10)

And the lid meant we didn’t have to clean-up, but could simply cover the box and set it aside for next time. One thing’s for sure: We’ll be pulling this one out again soon.

Sandbox 1 (11)

Scarf Scuffle

Scarf Scuffle (3)

Toddler’s love scarves, and of course you can always turn to go-to activities like dancing with them, or tossing them in the air to watch them float down, or crumpling them up into a tiny ball that pops open. But today, we headed outside with scarves to engage Veronika’s imagination a little, too!

Scarf Scuffle (1)

What could she be with her scarf? First up, we were fluttering birds and butterflies. She loved flapping and tweeting as she pranced around the patio this way.

Scarf Scuffle (4)

How about a flower growing? We pretended we were flowers stretching high towards the sun, the scarves rising up above our head. Pretending to be a leaf would work, too, fluttering down instead!

Scarf Scuffle (2)

Her favorite was when I wrapped one around her waist (this girl loves dress-up!), and told her she was a ballerina. She danced…

Scarf Scuffle (6)

…and twirled…

Scarf Scuffle (7)

…and went up on tippy-toe!

Scarf Scuffle (5)

What a wonderful way to imagine and play. Are there any favorite scarf games in your house? Please share in the comments!