Ice-Cream Snowballs

Ice Cream Snowballs (7)

The weather hit an unseasonable 75 degrees F today, so we celebrated with homemade ice cream!

This project was a fantastic (edible!) addendum to Travis’s recent exploration of crystallization. To start, fill a large zip-top plastic bag about halfway with ice. Add 6 tablespoons coarse salt.

Ice Cream Snowballs (1)

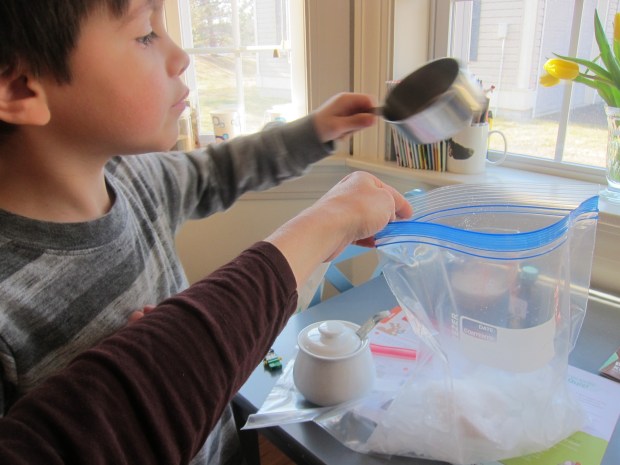
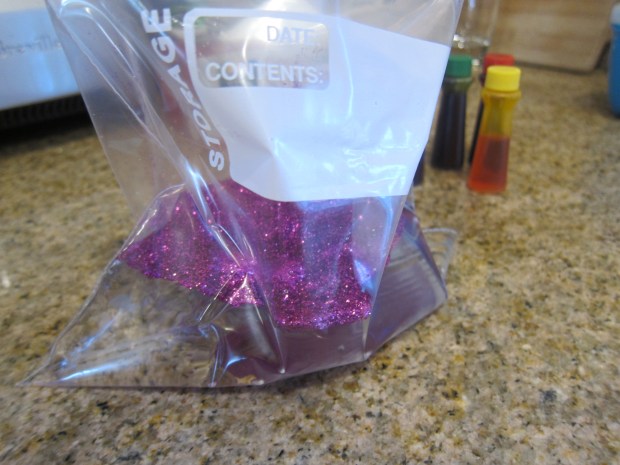
In a sandwich-sized zip-top bag, combine 1/2 cup plain non-dairy creamer, 1 tablespoon sugar, and 1/2 teaspoon vanilla extract. Seal tightly.

Ice Cream Snowballs (2)

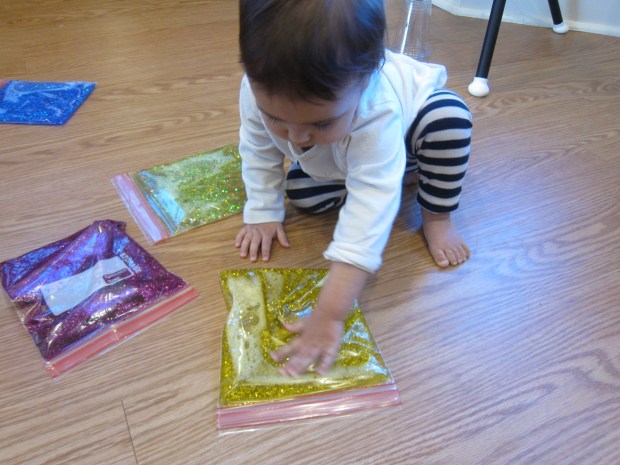
Place the creamer mixture in the larger bag, making sure it’s covered by the ice cubes. Now shake!

Ice Cream Snowballs (3)

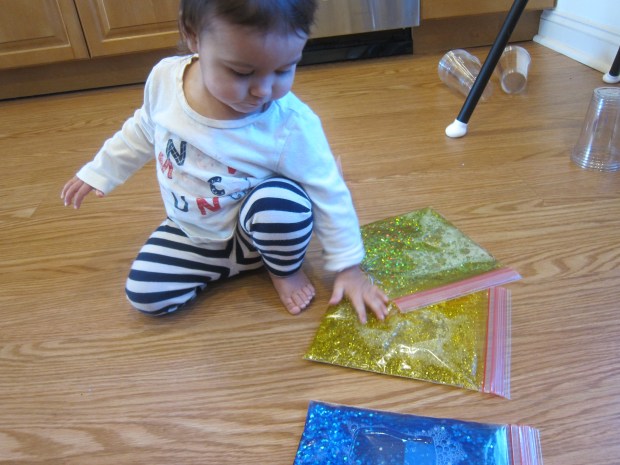
Travis and I took turns, as the recommended shake time was 7 minutes.

Ice Cream Snowballs (4)

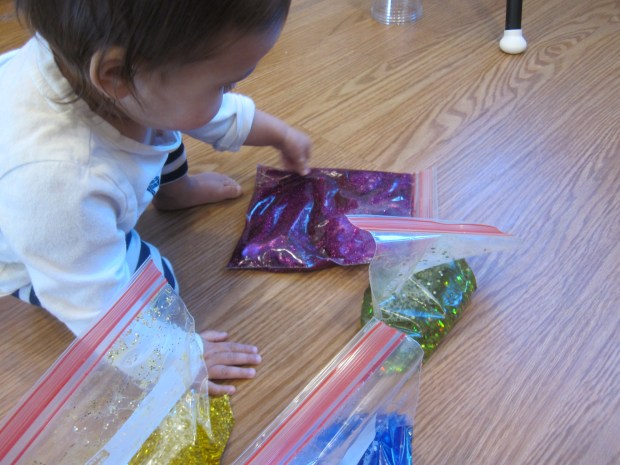
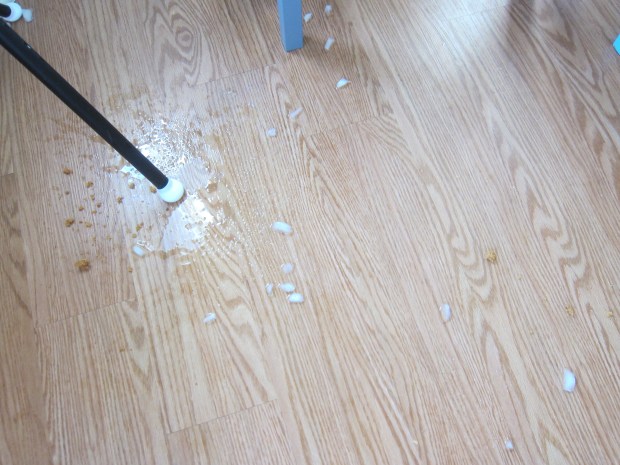
Whoops, a spill at about the 4 minute mark! But we were undaunted and kept going.

Ice Cream Snowballs (5)

At 5 minutes, we declared our ice cream done (and our arms exhausted).

Ice Cream Snowballs (6)

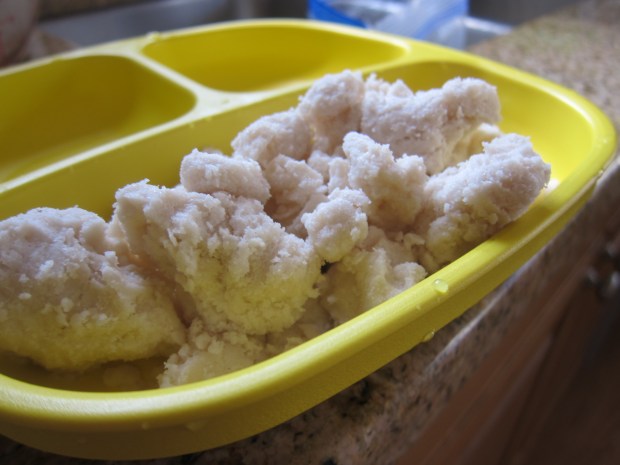
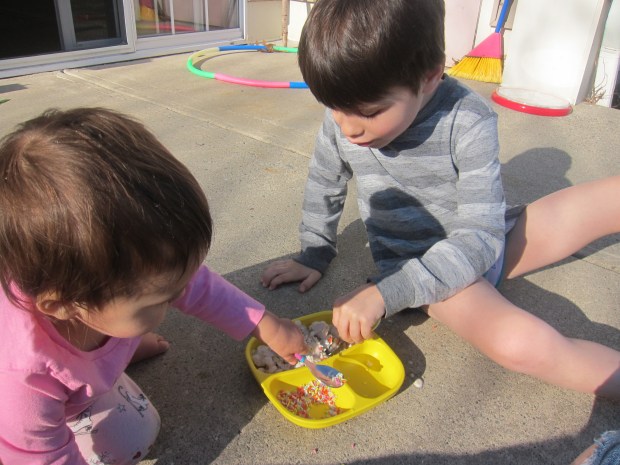
The ice cream turned out amazing! It looked crumbly at first, but after a few minutes it softened up just enough and was just like store-bought ice cream. Rainbow sprinkles were a must of course.

Ice Cream Snowballs (8)

Wow, ice cream on the back patio in March!

Ice Cream Snowballs (9)

What a treat this was for the kids.

Ice Cream Snowballs (10)

Noodle Knowledge

Noodle Knowledge (2)

Travis’s latest Raddish Kids included this cute lesson, a chance to learn more about noodles and pasta – and the difference between them!

To start things off, I set out a station where he could explore a wide variety of pasta shapes and sizes.  Our array included: rotini, cavatappi, spaghetti, elbow macaroni, small shells, and penne.

Noodle Knowledge (3)

I challenged him to talk about the differences and similarities that he noticed. Some were long (spaghetti), some were short (cavatappi). Some were straight (penne), some were curly (rigatoni), etc.

Noodle Knowledge (8)

This is a fun chance to introduce your kids to the idea of a Venn diagram, showing how categories can overlap. Older kids, especially, might enjoy drawing detailed diagrams, although we kept ours simple.

Noodle Knowledge (7)

Once the exploration was done, we set up a game! Travis’s goal was to match up each pasta shape with its name, using yarn to connect them. This was also great for sight-reading!

Noodle Knowledge (6)

He was so into it that he wanted to snack on cooked spaghetti. This made for the perfect nosh while we watched a few suggested videos that delved deeper into the history of pasta.

Noodle Knowledge (5)

Make sure to check out a world map for a visual of key countries, like China and Italy.

Noodle Knowledge (4)

We had to finish with fun stories, of course. Raddish suggested The Great Pasta Escape by Miranda Paul and Noodle Magic by Roseanne Greenfield Thong, among others.

Noodle Knowledge (1)

I was surprised to see no mention of Strega Nona, the most classic spaghetti story I can think of, so we added that in. Afterwards, both kids wanted to play “Strega Nona” with a magic pot and leftover dry spaghetti, which was perhaps the best part of the whole lesson.

Noodle Knowledge (9)

Rainbow Jello Sensory Play

Rainbow Jello (5)

I originally intended this as a sensory project for Veronika, but it turned out that my kindergartner loved it just as much; it was a nice reminder that even though he’s into battling Star Wars Lego figures, he’s still a little boy at heart.

First you’ll need to make jel dessert in all colors of the rainbow. Regular jell-o is available in every color, but not the vegan brands. I can find vegan jel dessert in red, orange, and yellow, but for the other colors, I use clear jel dessert and add food coloring.

Rainbow Jello (1)

Prepare all the colors, then set in the fridge until firm. (Note: the green never did firm up, which may have been because I used too much food coloring and made it too watery. As a result, our sensory play had a variety of textures).

Rainbow Jello (2)

Spoon the jel desserts onto a tray in rainbow order. It won’t stay this way for long…

Rainbow Jello (4)

I placed the tray over a few towels and stripped Veronika down to a diaper – no worry about sticky clothes here – then let her loose with spoons and spatulas. She immediately got started!

Rainbow Jello (8)

As mentioned, big brother Travis wanted an equal share of this project. He couldn’t wait for a jello snack.

Rainbow Jello (7)

And just to play!

Rainbow Jello (6)

Soon the kids were scooping and stirring and mushing. They layered rainbow “cakes” and stirred up rainbow “soup”. “Soup!” Veronika proudly repeated back when Travis used the word.  There were lots of fun vocab words to use, like soupy and lumpy and blobby and wobbly.

Rainbow Jello (9)

Plus: “Yummy!” she said, whenever she got a little taste. A perfect way to fill over 30 minutes of play.

Rainbow Jello (10)

Frozen Candy Cups

Peanut Butter Cups (8)

My family thinks these homemade peanut butter cups are better than the store-bought kind, and I’m pretty sure your family will agree!

Ingredients:

  • 3/4 cup non-dairy chocolate chips
  • 2 tablespoons + 2 teaspoons coconut oil, divided
  • 1 cup creamy peanut butter
  • 4 teaspoons strawberry jam
  1. Combine the chocolate chips and 2 teaspoons coconut oil in a small microwave-safe bowl. Microwave for 1 minute; stir, then return to the microwave for 30 seconds, or until melted. Spoon about 1 tablespoon chocolate mixture into the bottom of 8 muffin liners. Place in the freezer for 10 minutes.
  2. Combine the peanut butter and remaining 2 tablespoons coconut oil in a separate bowl. Spoon over the frozen chocolate, about 2 tablespoons per muffin liner.
  3. Dollop 1/2 teaspoon jam on each serving, and swirl with a toothpick. Freeze at least an additional 30 minutes before serving.Peanut Butter Cups (7)
  4. Serve frozen or the peanut butter will lose its shape.

Peanut Butter Cups (6)

Restaurant Games


Restaurant Games (var)

Dining out with a toddler is a lot harder than dining out with baby. While babies might be content to coo from a stroller and watch the world go by, not so your toddler! Here are a few favorite games I’ve found to keep Veronika occupied.

Drawing Games: Restaurants often provide paper and crayons… but good luck with that paper staying on the table. Now, I carry a roll of masking tape in my purse. Tape the paper down, and your toddler won’t be able to rip up his or her masterpiece!

Restaurant Games (bis)

Hide a Hand: Hide a small item in one hand. Let your toddler see it, but then close both fists. Today, for example, Veronika loved finding a piece of chalk over and over, grinning with delight no matter how many times I switched it back and forth between my hands.


Restaurant Games (3)

Hide-and-Seek: This is a classic of course. Hide a small object (a quarter works well) in an easy to spot location, and let your toddler be the seeker.

Restaurant Games (6)

Ta da! She found it under the menu.

Count Together: Finally, don’t forget about counting. Veronika already chimes along to “One, two, three…” and although she might not grasp what those words convey, kids can learn to parrot up to ten easily.  So count out sugar packets, crayons, single-serve creamers, or whatever else is on the table!

Restaurant Games (alt)

Today Veronika loved counting pieces of chalk into an empty plastic cup.

Restaurant Games (5)

And of course, it doesn’t hurt if you happen to be at an establishment so cool that the table itself is a chalkboard and there is a basket full of dinosaurs to play with!

Restaurant Games (7)

Do you have a favorite restaurant game with your toddler? Please share in the comments!

Glowing Creepy Crawly Sensory Bag

Glow Bag (4)

I used a black light and glow-in-the-dark spiders for this novel sensory bag. I thought Veronika would be very into the glowing bugs, but it turns out the black light was too interesting and distracting! I had read online that tonic water glows under black light. It was hard to tell if this was actually true, but the project was still fun!

To set up, combine 1 bottle of hair gel (use clear or yellow) and about 1/4 cup tonic water in a large zip-top bag.

Glow Bag (1)

Seal and mix, then open the bag back up to add your “creepy” stuff. I had glow-in-the-dark spiders, as well as a few googly eyes from the craft bin.

Glow Bag (2)

Seal the bag, then place on the ground and turn out the lights. Turn on your black light and watch it glow!

Glow Bag (3)

When the black light was on, the hair gel mixture was most evident. If we turned it off, the glow of the spiders became more apparent.

Glow Bag (6)

Veronika loved poking at the eyes and bugs with a finger, and generally just squishing her hands all over it.

Glow Bag (5)

But as mentioned, the black light was very distracting, so I’m going to think of ways to make a glowing sensory bag that doesn’t involve the light. Stay tuned!

Glitter Water Blob Sensory Bags

Glitter Blob Bag (3)

Veronika has been having so much fun with sensory bags lately. What’s better than a rainbow array of bags to play with? Rainbow bags with glitter and bubbles inside!

To make these glittery bags, fill sandwich-sized zip-top bags about one-third of the way with water. Now add food coloring and glitter.

Glitter Blob Bag (1)

They will look best if the glitter and food color are in the same family; so for example I used a purplish glitter in the red bag, gold in the yellow bag, and silver for the blue and green.

Glitter Blob Bag (2)

Seal the bags (tightly!) and place where your toddler can come discover them.

Glitter Blob Bag (5)

Veronika first just loved squishing her hands on them and watching all that glitter and water move about.  She seemed especially intrigued by the red one.

Glitter Blob Bag (7)

Then we stood them upright so she could lift the bags and grip in two hands, which was good glittery fun. We talked about how sparkly they were!

Glitter Blob Bag (10)

If you lay one bag over the other, as with blue and yellow, you get a color-mixing effect, too, although this was a bit lost on her.

Glitter Blob Bag (4)

The most fun was when we shook the bags and produced bubbles inside – sometimes huge! – which she then chased around with a finger.

Glitter Blob Bag (11)

These easily kept her busy for about a half hour, a big hit.

Glitter Blob Bag (12)


Playing with Cups

Plastic Cups (3)

Let’s face it: sometimes a toddler can be in the way. Whether you’re helping an older sibling with a project or trying to get chores done, sometimes those little hands just need to be kept busy!

The easiest hack ever? Give them plastic cups to play with. Do you need to add anything to the cups? Nope, that’s it; just plastic cups!

Plastic Cups (1)

I handed Veronika this stack of clear cups when originally she wanted in on a messy project with big brother. But the moment she saw the cups on the floor, she was hooked.

Plastic Cups (4)

She sat surrounded by a pile of them and stacked them. Sometimes she stacked them upside down, and sometimes facing up (nesting).

Plastic Cups (2)

Sometimes one faced down and one faced up. Then she could topple them over.

Plastic Cups (8)

After a while, she had fun kicking and rolling them, and chasing after them. She even discovered that they made neat reflections when held in front of the shiny dishwasher.

Plastic Cups (5)

I may just give her cups to play with every day. We’ll have to try some in colored plastic for future variation!

Plastic Cups (7)

What’s your favorite toddler toy hack? Please share in the comments!

Melting Race

Melting Race (5)

Here’s a clear way for even kindergartners to learn about how temperature affects states of matter: have a “race” between two toys trapped in ice, and see which one emerges first!

Before heading off to school, Travis selected two toys that fit into paper cups. We filled the cups with water and placed them in the freezer. By the time he got home, the toys were trapped in giant ice cubes. Oh no! Peel off the paper cups, and place the resulting ice blocks in larger plastic cups.

Melting Race (2)

We filled these cups with water, one cold, and one warm (don’t use hot or the race will be over too quickly!). Travis was proudly in charge of pouring the cold water.

Melting Race (3)

He hypothesized that the warm cup would melt the ice faster, and the results were immediately evident. Within a few minutes, the front wheels of the truck were already out of the ice. “It’s coming free!” he exclaimed.

Melting Race (4)

About 15 minutes later, the car was completely free. Meanwhile the poor dinosaur was still in ice for hours, only breaking free at bedtime.

Melting Race (6)

Creamy Cauliflower Soup

Creamy Cauliflower SOup

This soup is full of good-for-you tidbits like cauliflower and potatoes and toddlers will love the creamy consistency.

Ingredients:

  • 1 tablespoon olive oil
  • 1 small onion, chopped
  • 3 Yukon gold potatoes, peeled and chopped
  • 1 head cauliflower, chopped
  • 4 cups vegetable broth
  • 2 tablespoons nutritional yeast
  • 1 bay leaf
  • 1 cup plain non-dairy yogurt
  1. Heat the olive oil in a large saucepan over medium heat. Add the onion and saute for 3 minutes.
  2. Stir in the potatoes, cauliflower, vegetable broth, nutritional yeast, bay leaf, and yogurt. Bring to a boil, then reduce heat and simmer for 30 minutes until the vegetables are very tender.
  3. Remove the bay leaf, then mash with a potato masher until the soup is chunky. If your kids prefer a smoother soup, transfer to a blender and puree instead.