DIY Sundial

DIY Sundial (7)Of the various ways Travis and I have made a sundial, this was by far easiest for him to keep up with – and the prettiest! Thanks to a vacation day off from school, we were consistent about popping out every hour, too. The secret? Play dough.

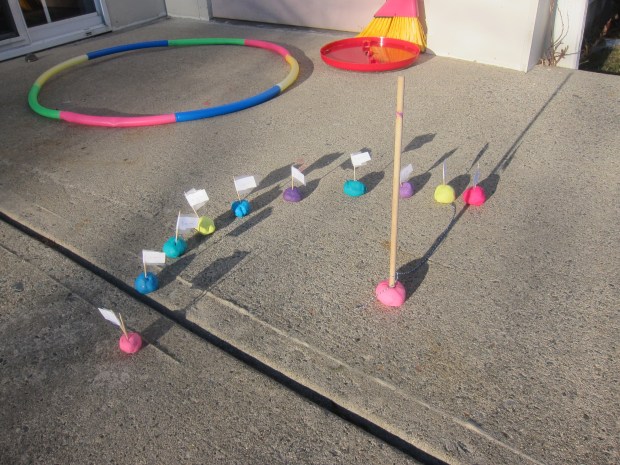
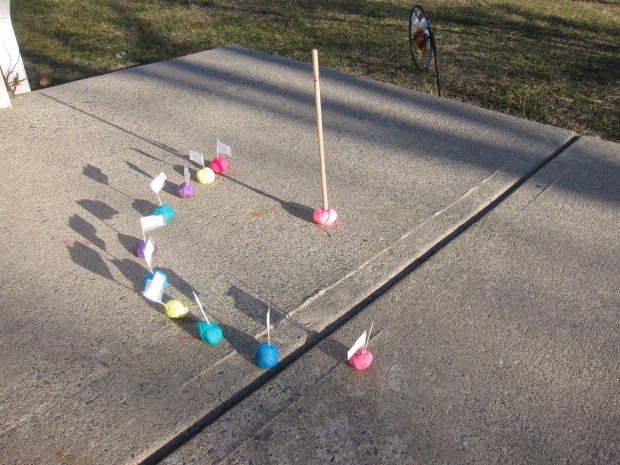
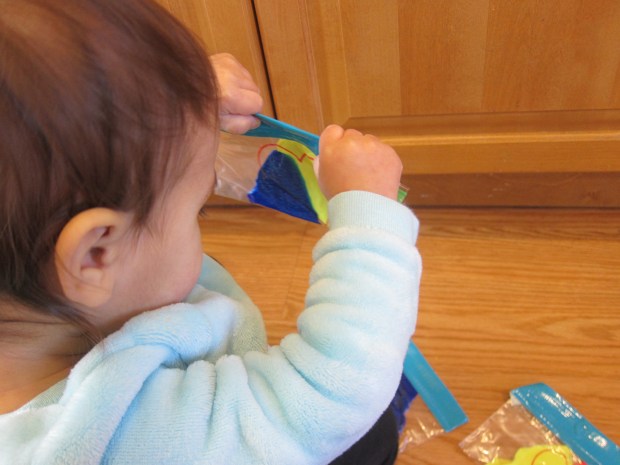
To start, we pushed a wooden dowel in a big blob of play dough. Press the play dough firmly onto an outdoor patio or similar surface. Stretch a line of string for accuracy along the shadow that the dowel casts, and set down a second blob of play dough.

DIY Sundial (2)

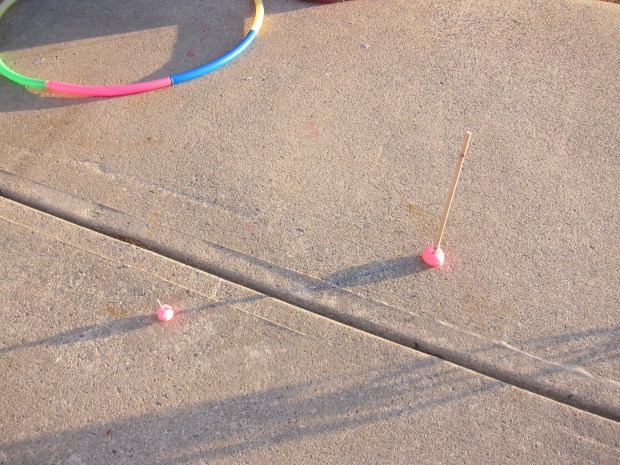
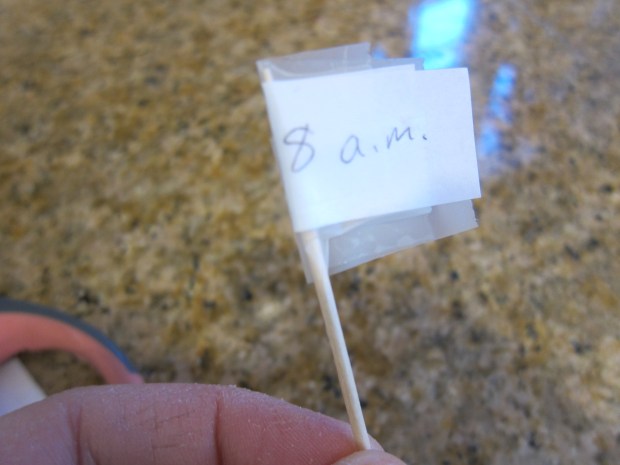
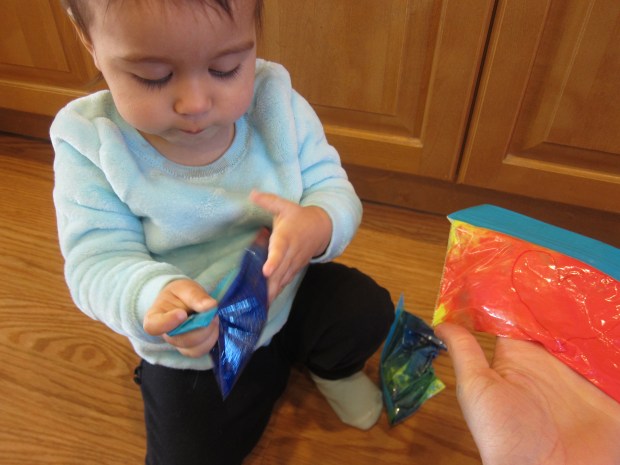
We started at 7 a.m., so marked this off as the first hour: Insert a toothpick, numbered with the time of day. (Note: you can make these “flags” much more elegant than ours, which were just taped-on strips of paper labeled with the hours from 7 to 4 p.m.).

DIY Sundial (3)

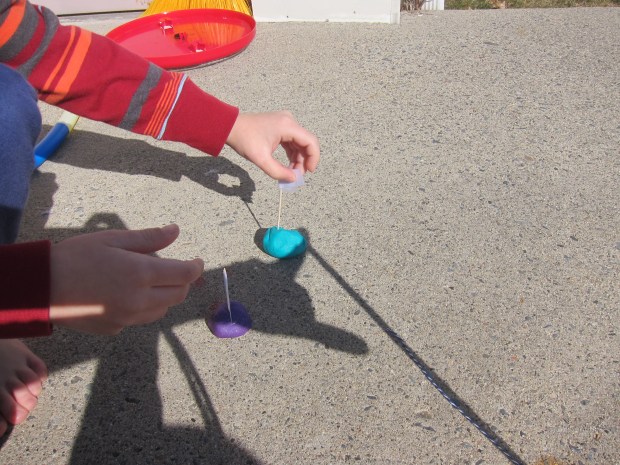
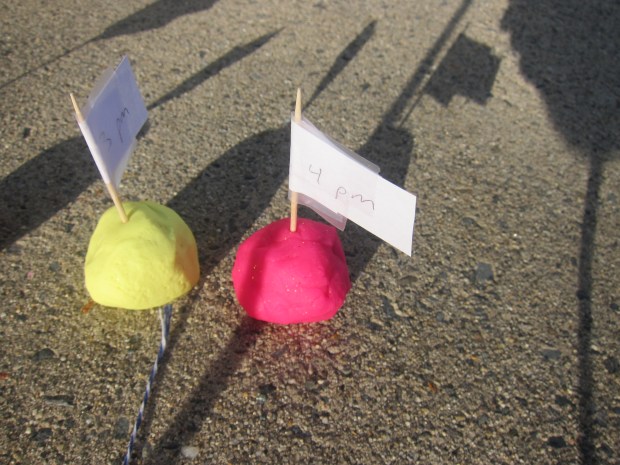
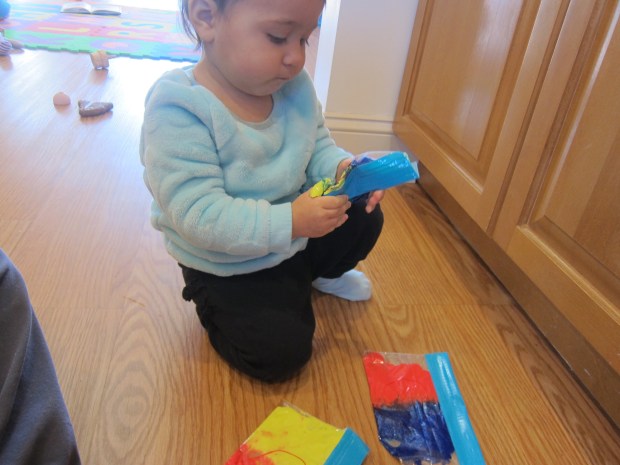
Being as accurate as we could, we dashed out around each hour over the course of this sunny day and set down a new blob of play dough and new toothpick flag. The colors looked great as they accumulated over the course of the day!

DIY Sundial (5)

We lost out winter sun after 4, so that was the final point of our clock.

DIY Sundial (8)

But Travis was wowed seeing this visual arc of how the sun had traveled. Definitely the best sundial he’s made yet.

DIY Sundial (6)

Spinach Tomato Scramble

Spinach Tomato Scramble a

Make this hearty tofu scramble for breakfast or dinner. Either way it’s a crowd-pleaser!

Ingredients:

  • 1 (1 pound) package firm tofu
  • 1/4 cup almond milk
  • 1/4 teaspoon curry powder
  • 1 teaspoon olive oil
  • 1/2 cup frozen spinach, thawed
  • 1/2 cup chopped tomato
  • 1/2 cup shredded Daiya mozzarella
  1. Combine the tofu, milk, and turmeric in a bowl and mash with a fork until the mixture looks like scrambled eggs.
  2. Heat the olive oil in a large skillet over medium heat. Add the tofu mixture and cook for about 3 to 5 minutes, until the liquid has mostly evaporated.
  3. Stir in the spinach, tomatoes, and cheese, and cook a final few minutes until heated through.

Spinach Tomato Scramble b

For variation, you can use 1/2 cup mild salsa in place of the fresh tomatoes. You can also substitute collard greens or kale for the spinach.

Spinach Scramble alt

Note: because of the watery salsa, I omitted the almond milk in this second version, and I think the kids liked it better!

Go to a Boat Show

Go to Boat Show (6)

It’s been quite a while since we did a “field trip” with Veronika, but today we had the opportunity to take her to her first boat show!

Don’t shy away from crowded places like these with a toddler in tow. My best advice: bring a small stroller, not the bulkier kind that goes with a travel system. This allows for storage of diaper bags and lunch bags and coats without making it tough to navigate the crowds. Then hit the show! Just the vantage point from above was exciting.

Go to Boat Show (3)

Once inside the show, there is so much about boats for little hands to love. Wheels to turn and buttons to press..

Go to Boat Show (8)

…soft seats to scamper over, and hidden berths below decks to explore.

Go to Boat Show(4)

Pontoon-style boats were a favorite; from a parent’s point of view, these are great because there are no tricky stairs or ladders to navigate.

Go to Boat Show (7)

Boat shows often feature hands-on activities for kids, too. Veronika loved watching the older children splashing in kids-only paddle boats!

Go to Boat Show (1)

Next she got to paint a wooden boat to take home.

Go to Boat Show (2)

In sum, the event was a splash!

Go to Boat Show (5)

Not Your Average Paper Clock

Paper Plate Clock (4)

It may be true that analog clocks are gong the way of cursive writing and the dodo bird, but I still hope to teach Travis the valuable skill of telling analog time. This paper plate clock is the best way I’ve found yet to visualize hours and minutes!

Most of the prep is grown-up work. If you have two different colored paper plates, simply use those, one atop the other. I solved the problem of having only white plates by coloring the rims with crayon, yellow for the hours and orange for the minutes.

Paper Plate Clock (1)

Hot glue the hour plate on top of the minute plate, making sure to glue only the center of the plates, not the rims.

Number the hours, and then cut the rims of the plate so each hour becomes a flap. You might want to make sure you’re numbering at more even intervals than I did in a hurry – whoops!

Paper Plate Clock (2)

Now lift back each hour flap and write the corresponding minute on the bottom plate. I cut out two hands in corresponding colors of cardstock, yellow for the hour and orange for the minute. Insert these into the center of the clock and attach with a brad.

It was time for a time telling lesson!

Paper Plate Clock (3)

Travis loved how intuitive this clock was! First we practiced skip counting by fives, just to familiarize him with how the minutes would read around the bottom rim.

Paper Plate Clock (5)

Then we had a few practice rounds. Once he latched on to how the yellow hand lined up with the yellow plate and orange with orange, he could answer almost any “pop quiz” I gave him.

Paper Plate Clock (6)

At various points throughout the day, I asked him to read our analog clock on the wall.

Paper Plate Clock (7)

“1, 10,” he said, but I reminded him: “Lift up the 10 and see what’s underneath!”

Aha! “1:50,” he said proudly. I can see how this will be an incredibly useful teaching tool.


Ball in Balloon

Ball in Balloon (3)

Take your toddler’s balloon play to the next level with one single addition: rubber golf balls! These small bouncy balls will make the balloons move in unexepected ways, delighting your little one with a new surprise at each moment.

First, I showed Veronika the two materials we needed. I stretched out the balloon necks dramatically (which will help the balls fit inside) and bounced the balls a few times, in order to set up the playful moment.

Ball in Balloon (1)

Next, I inserted one ball into each balloon.

Ball in Balloon (2)

See-through balloons might have had a better effect so she could actually see them rolling around inside, but opaque balloons were still enjoyable! First I shook it, so Veronika could hear the ball inside.

Ball in Balloon (7)

Then I tossed it forward. Instead of floating gently as she might have expected, it wibble-wobbled back and forth and came to the ground quickly.

She needed to hug them…

Ball in Balloon (8)

…bounce them…

Ball in Balloon (6)

…chase them…

Ball in Balloon (5)

… and hold them by the tied-off knot to shake them. What a great morning of balloon fun!

Ball in Balloon (4)

Vikings

VIkings (3)

A lesson that came with Travis’s Swedish recipes from Raddish Kids aimed to debunk stereotypes about the Vikings, and to help kids understand stereotypes in general. Travis knows next to nothing about the Vikings, so the lesson was a bit lost on him! Still, I tailored the lesson plan for my kindergartner, and here’s what he learned:

Start out with a question, asking your kids what comes to mind when they think of the Vikings. Your kids might draw this, or write about it, or act it out. Travis listed a few ideas, based solely on his knowledge of Thor in the Avengers cartoons.

VIkings (1)

I praised his observations, but told him that today we were going to look beyond the stereotypes, which we defined as “a fixed belief about a particular group of people”. It was time to find out more!

He listened attentively to a few library books, including National Geographic’s Everything Vikings and What a Viking! by Mick Manning. We then watched an informative 10 minute clip with lots of details and a fun quiz.

Travis could see now that there was more to the Vikings than the warrior stereotype, though to be fair this was still his favorite aspect of the culture! We looked at a map to trace some of the routes the Vikings took.

VIkings (2)

Now it was time to create a Job Positing for a Viking using his new knowledge. Because Travis loves to color, I gave him two computer images and asked him to pinpoint which was the stereotype. He was correct, although this horned-helmeted version was the one he preferred to color for his ad!

VIkings (4)

Still, now his job posting included other aspects, like needing to be a farmer and shipbuilder. There is lots within the lesson plan, too, about the role of women and children, and a provided worksheet for older kids to jot down new vocabulary they have learned. If your kids are into it, continue the lesson further have them research Viking Runes, too!


Mix ‘n’ Squish Heart Sensory Bags

Mix n Squish Heart (2)

Here’s a Valentine’s heart activity that even the youngest toddlers can enjoy without making a mess These hearts get “painted” inside a zip-top bagQ

There’s a little color mixing lesson thrown in, too, and although toddlers won’t yet grasp the difference between primary and secondary colors, kids are never too young to marvel at how yellow and blue make green, red and blue make purple etc.

I drew a heart with sharpie on each of three snack-sized zip-top bags. These were the perfect size for little hands, although you could make a large version in gallon-sized zip-top bags.

Mix n Squish Heart (1)

Carefully squeeze two primary colors of paint into each heart. We had one each of the follow:

  • red + yellow
  • yellow+ blue
  • blue + red

Aim to line these up so that each color fills half the heart. Now it was up to Veronika! She immediately loved squishing the bags in her hands.

Mix n Squish Heart (3)

She most likely didn’t notice the “hearts” she was filling in, but she clearly delighted in the texture and colors.

Mix n Squish Heart (5)

When she tired of the beautiful green she made, it was time to make purple!

Mix n Squish Heart (7)

The red and yellow squished together and resulted in a pretty peach for her to see.

Mix n Squish Heart (9)

In sum, it’s safe to say that Veronika loved this little Valentine’s Day activity.

Mix n Squish Heart (10)

Blowing Games

Blowing Games (8)

Teaching your child to blow helps strengthen the lips and tongue which in turn helps with language and speech. Although Veronika was on the young side for the activities we did today, it was nice to lay a foundation for these oral-motor skills.

First, I used a toy horn to give a few short toot toots! The immediate response was giggles of course.

Blowing Games (1)

Then it was her turn to try. She lifted the horn to her mouth, and although she couldn’t produce a sound, she gave a little puff of air. She was definitely trying!

Next up: party blowers! Leftover ones from birthday parties make for fantastic blowing practice.

Blowing Games (2)

I showed her to make one pop open, a delight both visually and audibly. Again, there were lots of little huffs of imitation.

Blowing Games (5)

Get silly and blow one against your toddler’s tummy for some ticklish fun.

Blowing Games (4)

Of course the most classic game of all to teach blowing is just to pull out the bubbles. Instead of blowing them yourself, encourage your toddler to dip the wand and then huff.

Blowing Games (7)

At fifteen months Veronika isn’t quite there yet, but these blowing games were all about exploration.

Blowing Games (6)

When did your child learn to blow a horn or party blower? Please share in the comments!

Broccoli with Meatless Crumbles & Rigatoni

Broccoli Rigatoni a

This hearty recipe makes enough for the whole family, one of those rare gems that pleases kids and adults equally.

Ingredients:

  • 1 pound rigatoni pasta
  • 8 ounces meatless crumbles (such as Gardein)
  • 3 tablespoons olive oil
  • 1 tablespoon Earth Balance butter
  • 4 minced garlic cloves
  • 2 cups broccoli florets
  • 1 cup water
  • 1 vegetable bouillon cube
  • 1 cup chopped fresh basil
  • 1/4 cup chopped fresh parsley
  • Non-dairy Parmesan cheese sprinkles
  1. Cook the pasta according to package directions; drain and set aside in a large bowl.
  2. Meanwhile, cook the meatless crumbles in a skillet for about 5 minutes, until browned. Transfer to the bowl with the pasta.
  3. Heat the olive oil and butter in a large skillet over medium heat. Add the garlic and cook for about 3 minutes.
  4. Add the broccoli, water, and bouillon cube; simmer for 8 minutes, or until the broccoli is very tender. In the last minute, stir in the basil and parsley.
  5. Add the broccoli mixture to the pasta mixture, and stir to combine.

We like this topped with the Parmesan shreds from Follow Your Heart!

Broccoli Rigatoni b

Valentine’s Day Popcorn Gift

Popcorn Valentine (9)
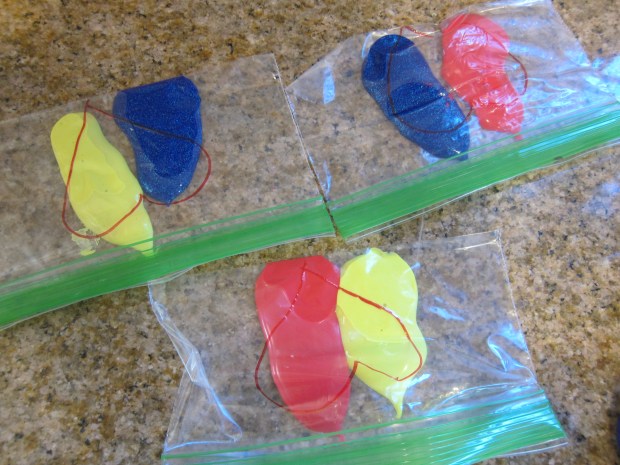
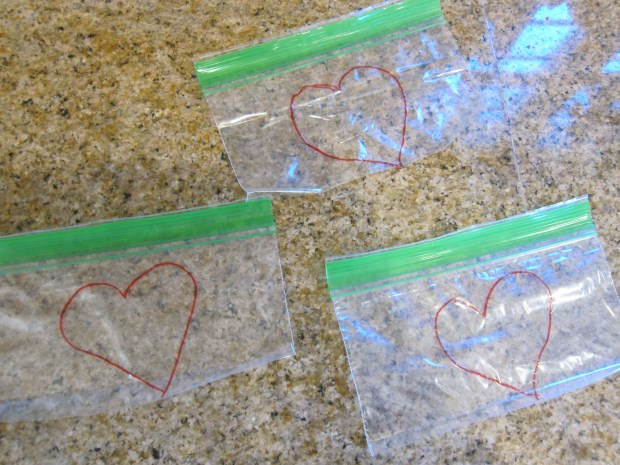
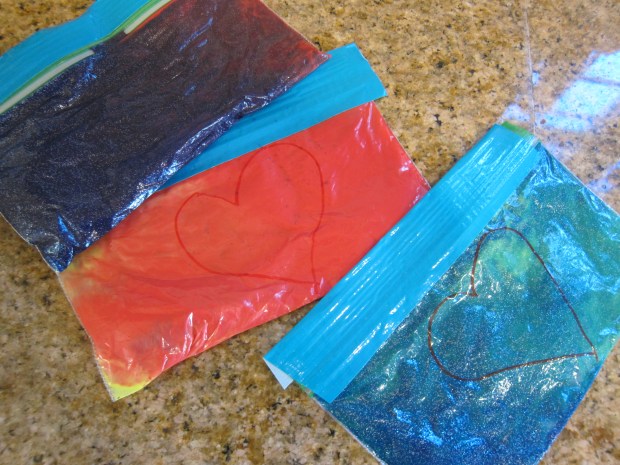
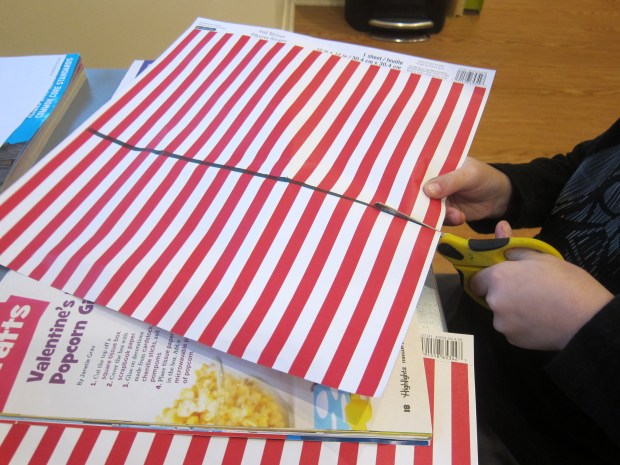
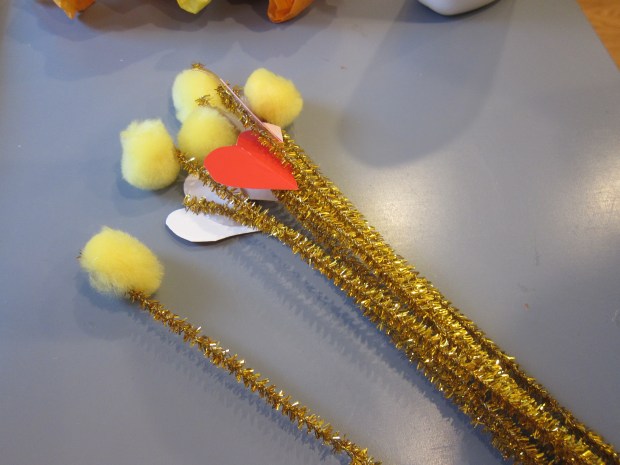
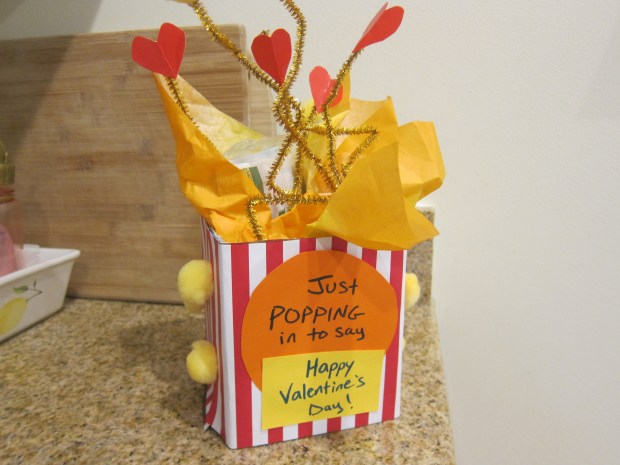
Here’s a novel way for kids to pop in and say they love someone this Valentine’s Day! This rather lengthy project wouldn’t be great for class Valentine’s since it’s big and involved, so save it for someone special like a parent or grandparent.

Popcorn Valentine (1)

To start, Travis helped cut red and white pinstripe craft paper to fit an empty tissue box. Cut the top off the box and use a glue stick to attach the paper around the sides.

Popcorn Valentine (2)

Travis needed grown-up assistance for a few of the decorations. Cut a circle and rectangle from colored cardstock (we chose yellow an dorange), and arrange on the front of the box. We wrote in the message, “Just popping in to say… Happy Valentine’s Day!”

Popcorn Valentine (3)

Next we hot-glued pom poms and cardstock hearts to the tips of sparkly gold pipe cleaners. Stuff a little yellow or orange tissue paper into the box.

Popcorn Valentine (4)

Add a package of microwave popcorn – yum! An I.O.U. for a movie night would be a fun addition!

Popcorn Valentine (5)

Travis helped bend the pipe cleaner decorations and slip them in among the tissue paper.

Popcorn Valentine (6)

Add a few yellow pom poms to the outside of the box as “kernels”, for the finishing touch.

Popcorn Valentine (7)

He was so proud of this and made sure we hid it from daddy’s eyes until Valentine’s Day!

Popcorn Valentine (8)