Baby Aerobics

Aerobics (3).JPG

Veronika is graduating… from baby stretching to baby aerobics, that is! We changed up the exercises a little bit today. By now she’s not so curled up in a ball like a scrunchy newborn, and it’s time to show her other ways her limbs can move.

First, simply hold the hands gently and lift the arms up and down. Cup the feet and do the same with the legs.

Aerobics (1)

While holding the feet up, you can also move the legs apart and then back in together, then lower back to the floor. Veronika seemed surprised by this motion, but also seemed to enjoy it!

Aerobics (2)

Next, lift the hands, and make little circles with the arms. Repeat with the legs, holding the feet gently. As we circled the limbs, I sang Baa Baa Black Sheep to help keep her calm and soothed.

Aerobics (4)

Finally, I pedaled her legs like a bicycle game – I can’t help singing Queen’s Bicycle Race whenever I do this one!

This last is especially good for when Veronika has gas. I also lifted her legs just until her bottom was off the floor, and pushed her knees into the chest, a great way to relieve that troublesome infant gas. Do this just a few times, and you’ll be rewarded by a big baby smile.

Aerobics (5)

Embossed Metal Coins

Embossed Coins (7)

Wrapping up some pirate fun, today Travis and I made treasure.

To make the coins, I traced two sizes of circles onto cardstock, and cut out.

Embossed Coins (1)

This project can be as involved as your patience is willing to make it. If you have the time and inclination, go ahead and make piles of coins! This is a more viable option if your kids are old enough to cut out the circles themselves. I confess we only had about 10 coins, but that was more than enough for my little pirate.

I asked Travis what image should go on the coins, and he suggested bugs.

Embossed Coins (2)

We did a large “beetle” on the bigger coins, and a dollar sign on the smaller.

Embossed Coins (3)

Go over your designs with hot glue. Once it cooled, Travis loved feeling the bumpy effect.

Embossed Coins (4)

Now wrap in foil, pressing so the image comes through.

Embossed Coins (5)

Our pictures weren’t quite as clear as we hoped, but still neat to feel.

Embossed Coins (6)

For the final step, we needed gold coins, of course. A little gold paint, some time to dry, and it was time for a treasure hunt.

Embossed Coins (9)

I hid them around for Travis to find, and he loved collecting them in a treasure chest.

Embossed Coins (10)

Even better, he loved hiding them from me!

Visual Stimulation

Visual Stim (6).JPG

The counterpart to tactile stimulation is visual stimulation, and today we took ample time to appreciate Veronika’s playgym!

If you don’t have a mat like this for baby, I highly recommend one. Tactile, visual, a soft resting place when you need to get chores done, a spot for tummy time… What doesn’t a playgym do?

Ours is safari-themed, and still perfect four years after Travis used it. As babies can now see more than just black and white (think bright colors like red, green, and blue) the toys help stimulate the vision.

Visual Stim (1)

Each of the safari animals that hang on ours has a different purpose. Rhino plays a little ditty when squeezed.

Visual Stim (2)

Giraffe is crinkly, and crocodile rings like a bell.

Visual Stim (4)

The turtle doubles as a mirror for baby to see their face.

Visual Stim (3)

You can also add other toys inside, but I recommend keeping it simple, so as not to overwhelm baby. Veronika adores lying in hers.

Visual Stim (5)

What playgym do you like best? Please share in the comments!

A Little Flea Went Walking (and Other Fingerplays)

Little Flea (2).JPG

Fingerplays are such a delight for babies; they provide tactile stimulation, rhyming words, sing-song voices, surprises, and more.

Today I learned a new one for Veronika, and we both loved it! The words and actions are easy as can be. Simply walk your fingers around baby’s tummy as you say:

A little flea went walking

To see what he could see

But all that he could see…

…was baby’s little tummy!

Tickle your baby on this last line of course.

Little Flea (1)

Some other favorites that we love include the following.

Circle baby’s palm as you say:

Round and round the garden with my teddy bear.

Now walk fingers up the arm:

One step, two step, tickle him under there!

End with a tickle under the chin or armpit.

You can also do the classic Old Macdonald Had a Farm. This one is more auditory, but we have a great glove that allows me to act it out.

Little Flea (5)

She loves staring at the animals, and this is great for engaging big siblings, who know the answer to each animal sound.

Little Flea (6)

Finally, we love Where is Thumbkin. If you don’t know this classic, here are the words:

Where is thumbkin, where is thumbkin?

Here I am, Here I am.

How are you today sir? Very well I thank you.

Run away, run away.

Little Flea (4)

Repeat for each finger, naming them in turn, and bring out from behind your back so the thumbs (etc.) on each hand talk to each other. I also like to rub Veronika’s finger at the beginning of each verse, so she feels her Thumbkin, Pointer, and so on.

Little Flea (3)

Swirly Ornaments Crate

Swirly Ornament (8).JPG

Kiwi Company occasionally puts out special holiday-themed crates, and we’ve been holding on to this one since last December! Reading the title on the box, I imagined the final product would be ornaments with beautiful swirls. Little did we know the method to make the ornaments was swirly, too!

Travis was so excited seeing the three plastic globe ornaments, since we had just set up our tree. Add two of the provided watercolors (in primary colors) to each globe for a quick lesson in color mixing. You’ll be able to make one orange, one green, and one purple ornament. Next squirt in a drop of the glittery silver paint.

Swirly Ornament (1)

Add a marble, and get swirling! As you swirl, the marble will help the paint coat the entire globe.

Swirly Ornament (3)

As a parental aside, this was very precarious proposition with a four-year-old. Of all the Koala projects we’ve ever done, this was by far the messiest! It was quite hard for Travis to swirl enough to coat the inside of the ornament without also spilling paint, so step in if you need to.

He loved the drying method that came next though; upend the ornament over a provided paper cup. The marble and any excess paint will fall out.

Swirly Ornament (2)

We set ours aside to dry for about an hour.

Swirly Ornament (4)

Ideally, flip the ornaments at this point and allow to dry on the inside, too, overnight. Travis was too impatient though and wanted to pop in the provided corks and seal them up!

Swirly Ornament (5)

To finish each ornament, we wrapped a sparkly pipe cleaner around the neck.

Swirly Ornament (6)

Add a silver ribbon (a great chance to practice tying a bow), then thread a provided bell onto the pipe cleaner. Hook the end.

Swirly Ornament (7)

Now it’s ready to hang on your tree!

Swirly Ornament (9)

The kit also suggested gifting the ornaments (just slip on a gift tag and it’s ready to go)…

Swirly Ornament var

…or attaching one to your stocking as a sparkly decoration.

Swirly Ornament alt

Let the holiday season begin!

Swirly Ornament (10)


Stop and Watch

Stop and Watch (3)

It’s hard to believe, but here we are with Veronika a full month old already.

“Look at how she’s looking at you!” marveled the woman at the toy store when I stopped in today, and I peeked down at my little girl in her stroller. Indeed, her wide-open eyes were laser-focused on me; I get to be a celebrity a little longer.

It was a good reminder to take the day and just pause: to take stock, to stop and look closely at her, and to see how much she’s changed in one month already.

If you do the same, simply stop and watch your baby for a little while. I placed Veronika down on her cricket blanket and just watched.

The eyes are more alert.

Stop and Watch (5)

The expressions are more varied.

Stop and Watch (1)

The hand gestures are more deliberate.

Stop and Watch (2)

And of course the snuggles and time together are still just as wonderful.

Stop and Watch (4)

What is your baby’s behavior like at the one-month milestone? I’d love to hear in the comments!

Juice Box Pirate Ship and Flags

Juice Boat (6).JPG

This is likely the last of the boats Travis and I will make for a while, but a few lemonade juice boxes in the fridge made us decide to construct one last version before we put our pirate games to rest!

First, enjoy a juice box of course.

Juice Boat (2)

Once it’s empty, I recommend taping over the hole where the straw was, to avoid juice leaking out (or your boat filling with water in the tub).

Pierce two holes in the top of the juice box for the masts (grown-up step!).

You can use the juice box straw for the mast, but we found that thicker, regular plastic straws were sturdier. Snip these into thirds, and use two of the pieces for this project.

Juice Boat (4)

Travis loved snipping the straws so much, I had to redirect him for the rest of the boat!

Juice Boat (3)

Decorate a piece of paper with markers or stickers to make your sail, then cut into a triangle shape.

Juice Boat (1)

Tape onto the two masts, and you’re ready to set sail on the seven seas.

Juice Boat (5)

These are perfect little boats for bathtime, although they won’t hold up very long – the paper sails especially are only good for a short while.

Juice Boat (7)

Travis decided the paper sail was too flimsy. We had leftover pirate stickers, so decorated a big piece of red foam instead.

Pirate Flags (2)

Although not attached to the ship, he loved doing this, and waving it around. You could even teach a bit of the history behind pirate flags, often flown to scare merchant ships so they could take them over without ever having to fight.

Pretty scary!

Pirate Flags (4)


Fruit Boats

Fruit Boat (3).JPG

Origami boats might be fun to play with, but fruit boats are even bettert\ to eat! After a busy school day, Travis helped me create these adorable boats for snacktime.

First, cut a whole cantaloupe into wedges. Travis asked at first if it was mango – it’s amazing how we forget that kids can be disconnected from food, when it’s served to them already cut up. He loved discovering that the big fruit in front of us was his favorite melon.

Fruit Boat (1)

Put a toothpick in each wedge, and add watermelon pieces as the sails.

Fruit Boat (2)

For the pirate, cut a circular piece of banana as the head. Cut the banana lengthwise into pieces for the torso and arms. Use toothpicks to stick your pirate man together, and then another toothpick to affix him to the boat. We made a boat and pirate for Daddy, too!

Fruit Boat (5)

Travis loved it, and delighted in pulling apart the pirate ship piece by piece. There goes your hull, matey!

Fruit Boat (6)

A super cute and fun snack for pirate lovers.

Fruit Boat (4)


Apple Art for Tummy Time

Apple Tummy (5)

This is an adorable black-and-white art project you can use to enhance baby’s tummy time – and big sibs might want to get in on the craft, too!

First, I cut an apple in half, and painted the halves with a thick coat of black paint.

Apple Tummy (1)

Press the apples onto sturdy white paper. I made a row of three apples per page.

Apple Tummy (3)

To vary the image, you can also paint in full apples with little stems.

Apple Tummy (2)

I invited Travis to have a go at making a print, too, and we came up with this more abstract version:

Apple Tummy (4)

For Veronika’s tummy time, we folded the papers in half so they could stand upright, and surrounded her with a little apple forest. These are great for pointing too, and talking about the image.

Apple Tummy (6)

We also sang “One little, two little, three little apples…” etc. to the tune of Ten Little Indians. You could also make up stories about apples!

Apple Tummy (7)

What is your baby looking at for tummy time? Please share in the comments!

Safe & Sound Cricket Crate

Cricket Crate (1)

I’ve been documenting Travis’s subscription to Koala Crate for 2 and 1/2 years now, and it’s time for Veronika to have her very own subscription journey! I purchased the company’s three-month newborn pack Cricket Crate before she was even born, so excited was I to begin the journey.

That said, it looks like Cricket may have been discontinued, and replaced by Tadpole Crate for newborns to two-year-olds… so stay tuned! But in the meantime, I cracked open Veronika’s first of the three Crickets in honor of her one month birthday, and was delighted by the items inside.

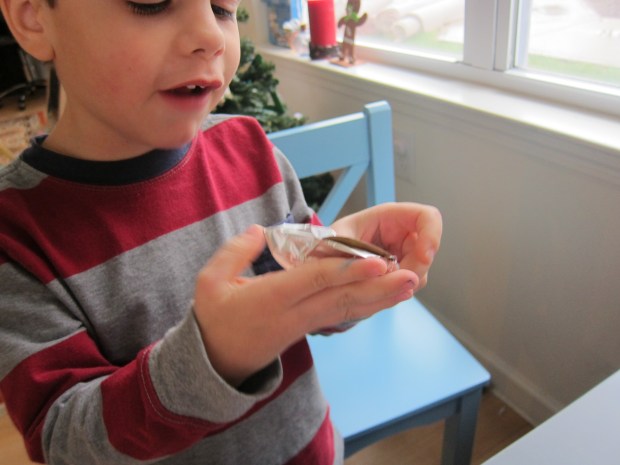
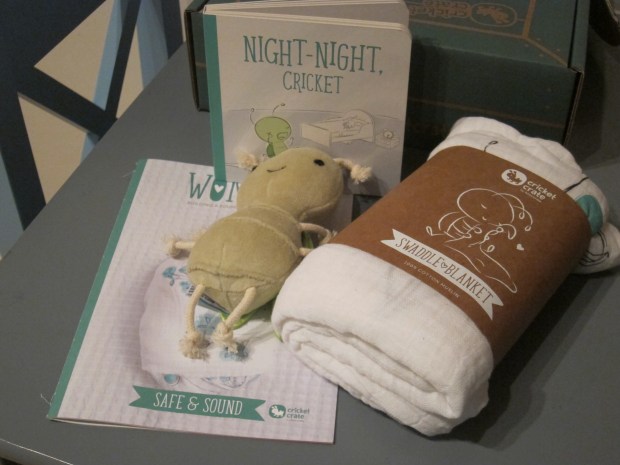
First, I’ll cover what the kit contained. Item one was a stuffed cricket (of course!) with different materials in the limbs, body, and wings, for maximum tactile sensation.

Cricket Crate (18)

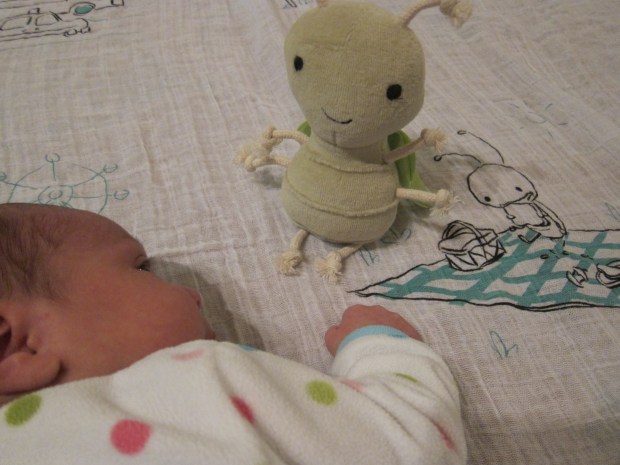
There was also an adorable board book, Night Night Cricket, with simple good night text and find-it items for your child as he or she gets bigger (right now I just pointed these out to Veronika).

Cricket Crate (3)

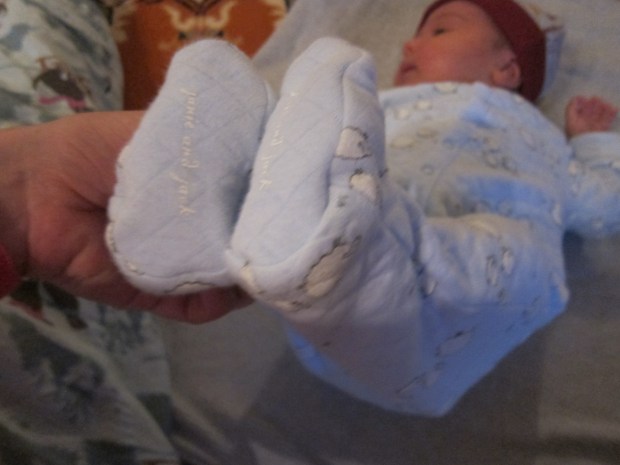
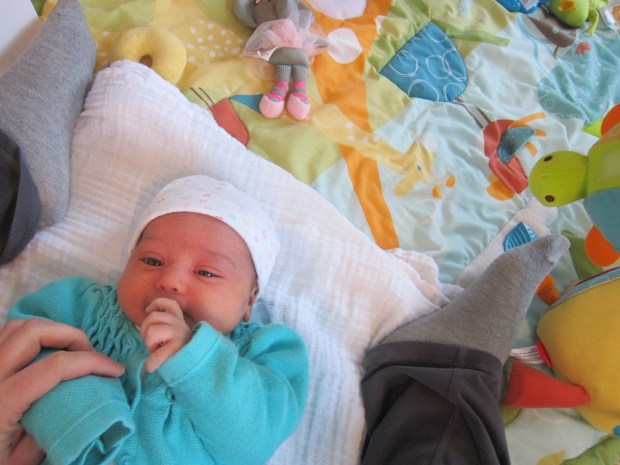
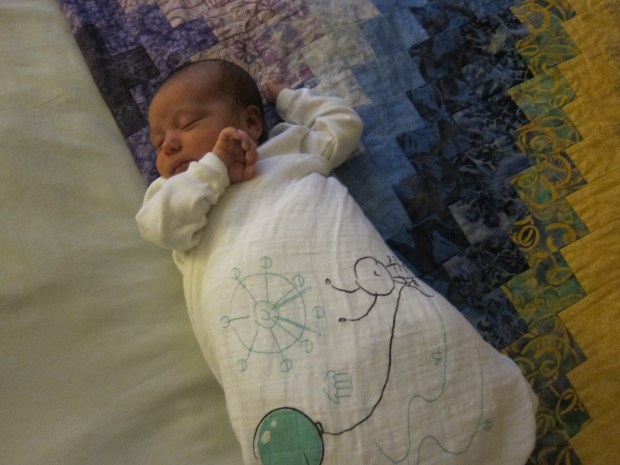
Next up was the swaddle – which turned out to be way more than a swaddle. I’ve only had this blanket in my hands for a few days, and already my thought is: how did I make it through the first month of her life without it?

The Wonder magazine includes a helpful page with a step-by-step to swaddling correctly (hint: start by folding the cloth into a triangle, not a rectangle shape). The cloth can be used this way until the baby is old enough to have objects in the crib or stroller more as a lovey.

Cricket Crate (15)

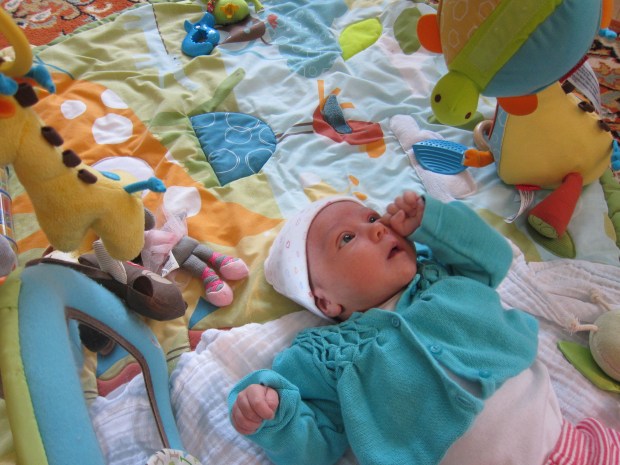
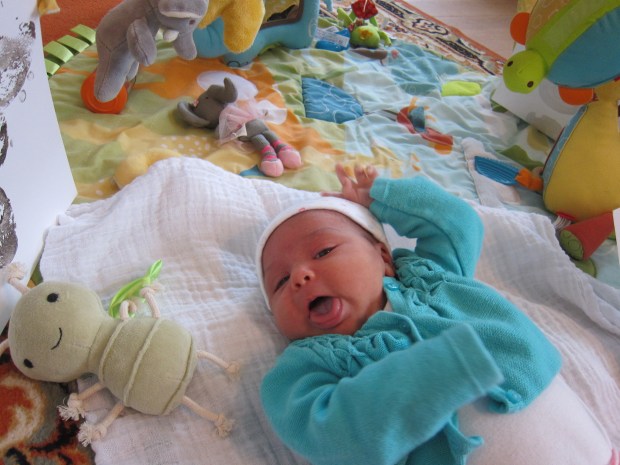
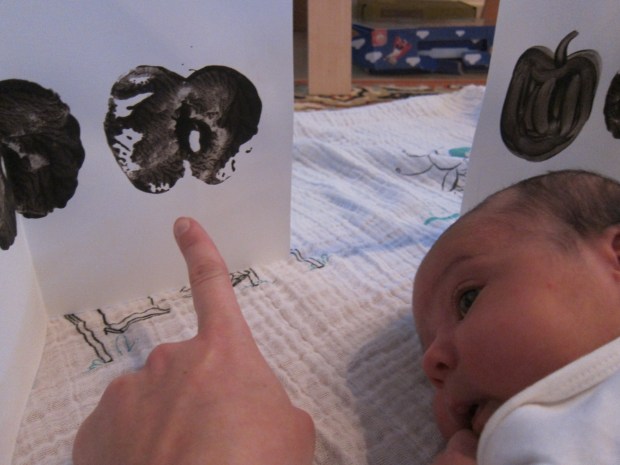
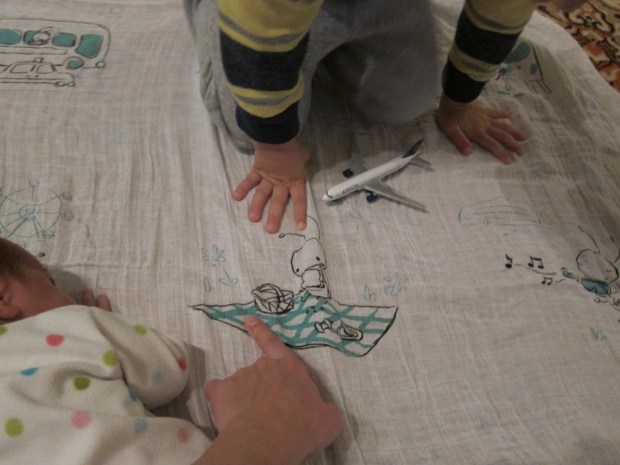
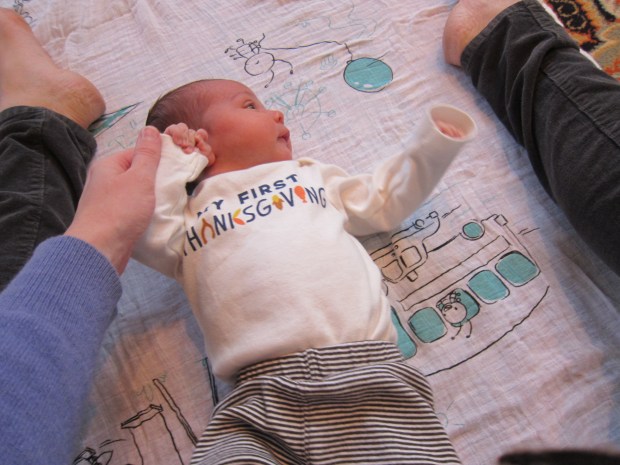
Next, use it as a storytime blanket. Because it depicts images of our little Cricket friend, it’s perfect for tummy time.

Cricket Crate (6)

Veronika lay down as I talked about the images, and all the activities Cricket was getting up to. We did this with her propped against my lap, too.

Cricket Crate (16)

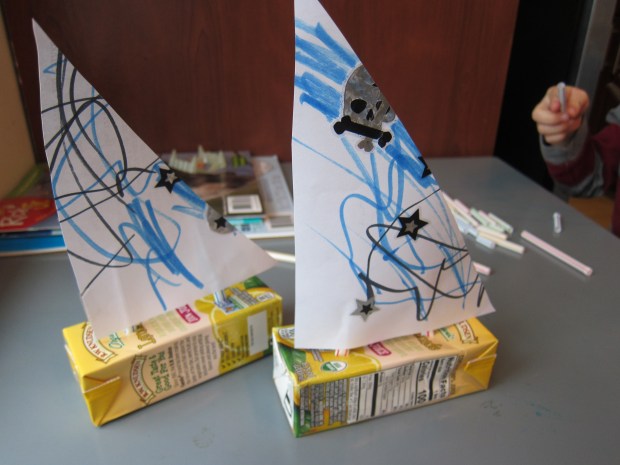
Travis helped narrate the story… Perfect for big sibs who can’t read yet!

Cricket Crate (17)

On a practical level, we also tested the blanket as a stroller cover…

Cricket Crate (10)

…and a carrier cover on a windy day, keeping the wind and sun out of her face.

Cricket Crate (11)

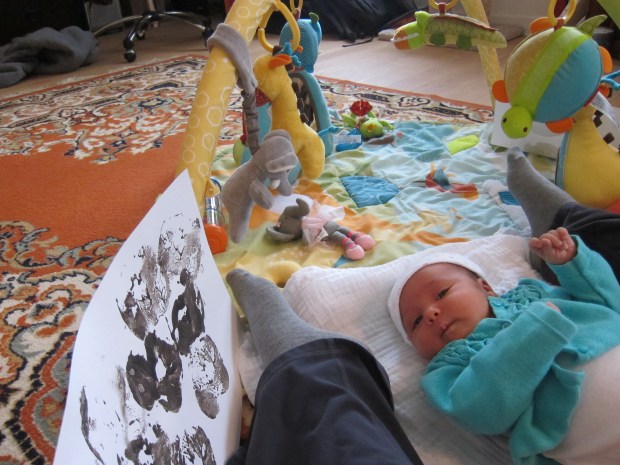
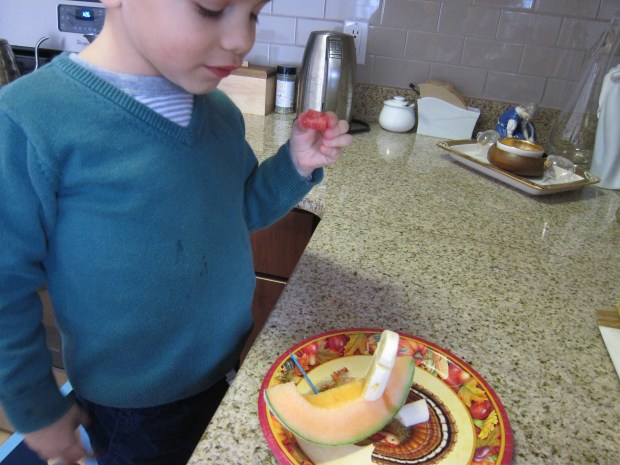
Finally, it’s perfect for those times when you want to place baby on the ground, but the surface needs covering. It’s now my go-to for the baby massage I try to give her a few times a week.

Cricket Crate (12)

A day at the spa!

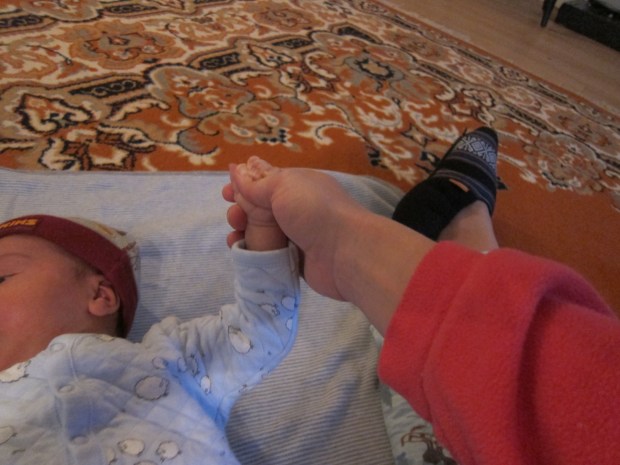
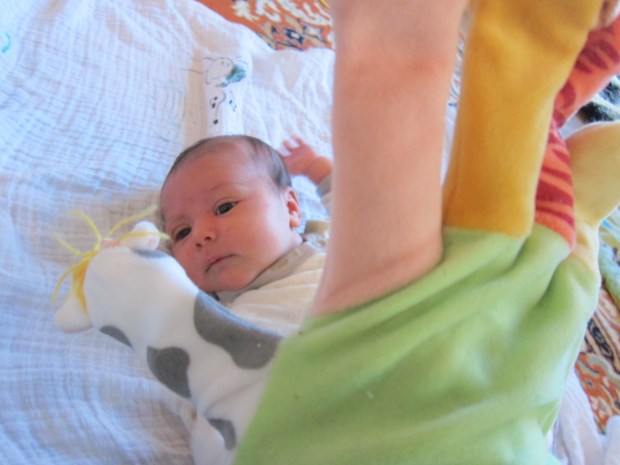
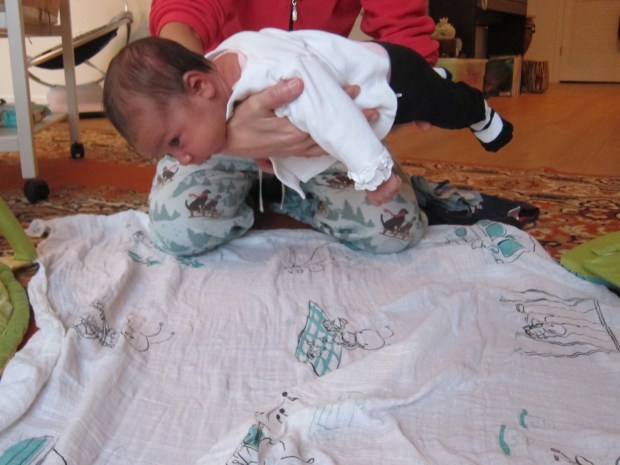
Wonder magazine included other ways to make your baby feel safe and taken care of. Most interesting was “flying.” This was a new one for me, not a move I ever tried with Travis. Supporting Veronika under the tummy, I lifted her over the blanket for a little airplane ride, alternating gentle up and down movements with side to side. She stayed remarkably calm and seemed to like it! Photo credit to big brother since I needed two hands for this one.

Cricket Crate (19)

We also danced, a great way to get baby used to rhythm. You can change baby’s position (up on the shoulder versus in the crook of your arms), and freeze for a few beats now and then.

Cricket Crate (14)

I also used the blanket as a prompt for singing. The image of Cricket on the bus had us singing along to Wheels on the Bus, and acting out the versus with her arms and legs.

Cricket Crate (8)

The obvious difference between this and a Koala Crate is that Wonder magazine is very much aimed at the parent, not the child. It’s quite text-heavy, and included tips on building a relationship with your newborn, advice on sleep, and tips from a pediatrician for when your baby cries.

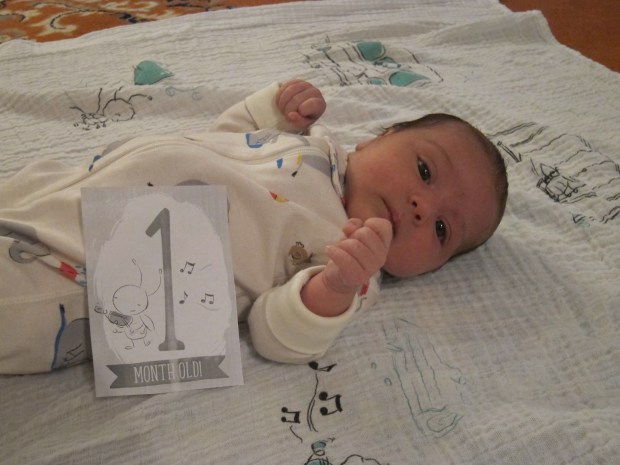
An online link from the crate led to additional parental resources, including adorable printables for “milestone stickers”. Just in time for Veronika’s one month!

one month (2)

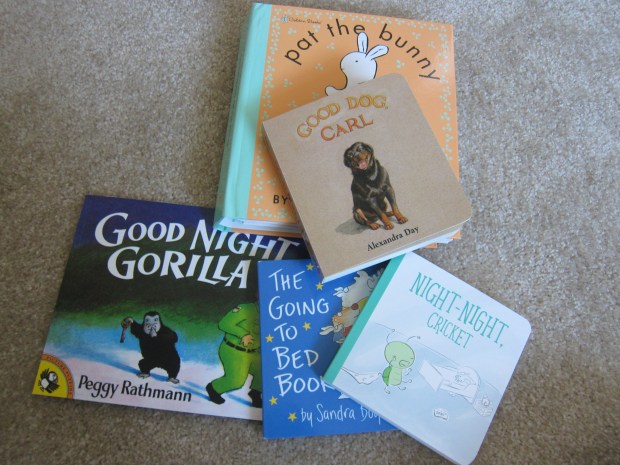
Finally, the website included suggestions for further reading. We added to our library:

Goodnight Gorilla

Good Dog, Carl

Pat the Bunny

and The Going to Bed Book

Cricket Crate alt

Excited to unpack the second box of the newborn set soon!