Seashell Friends

Seashell Friends (5)

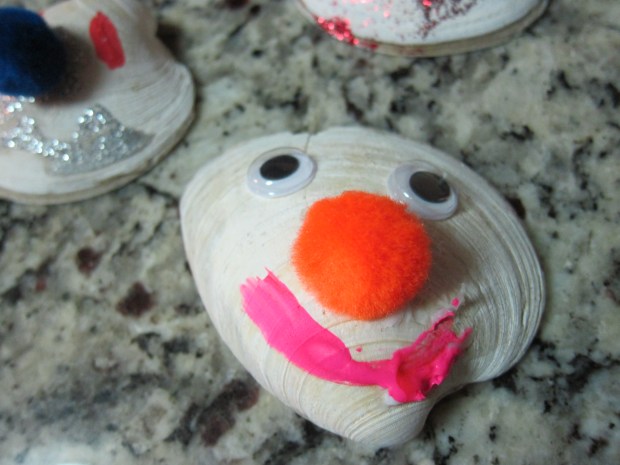
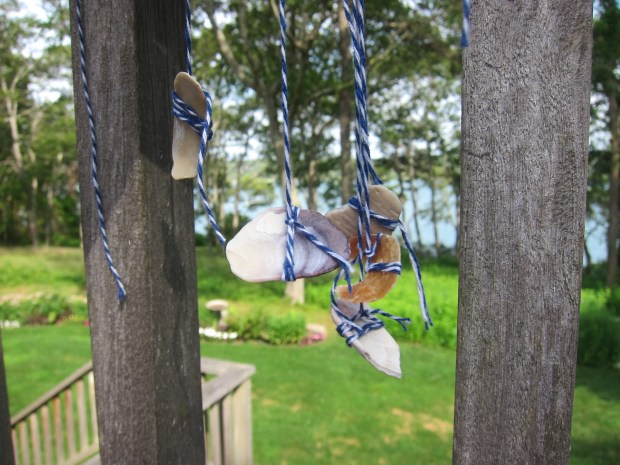
After a week at the beach, we’ve come home with treasures galore to turn into crafts! Some of our best clam shells were the perfect base for making these little “friends”, and now they are a fantastic reminder of the summer fun we had at the shore.

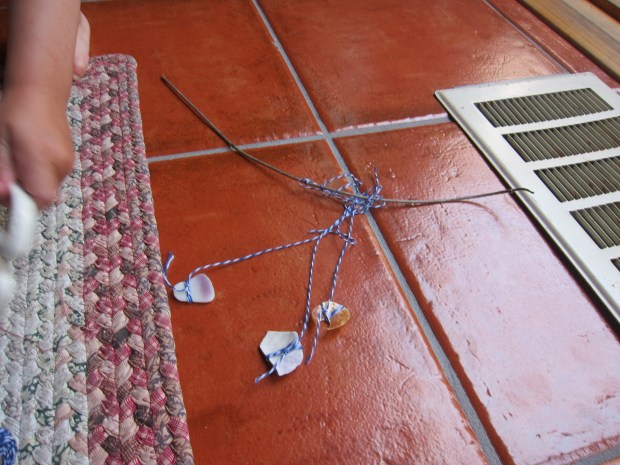
Start with any relatively flat, whole shell as your base – clams worked great, but we tried a mussel shell that we’d found as well.

Seashell Friends (2)

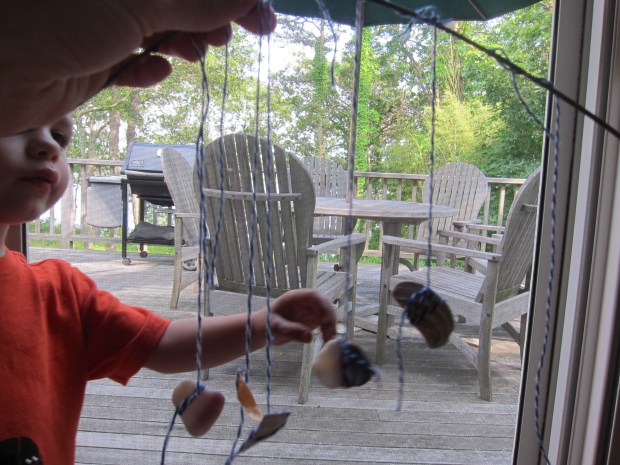
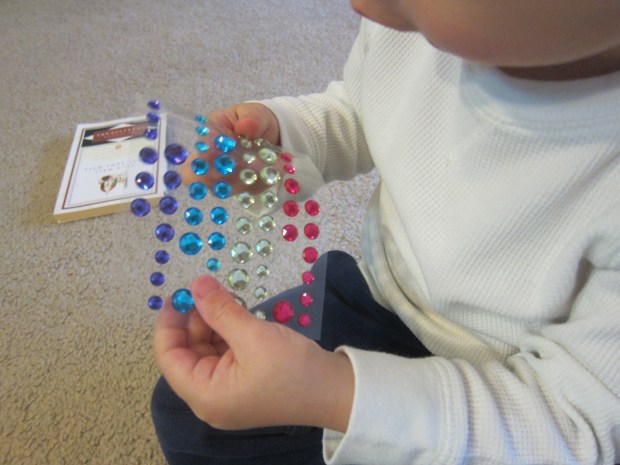
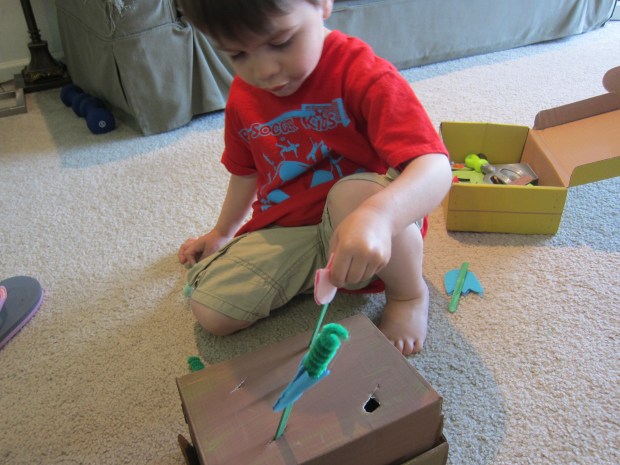
After a week away, Travis couldn’t wait to get his hands into our craft bin, meaning this was a before-breakfast undertaking!

Seashell Friends (1)

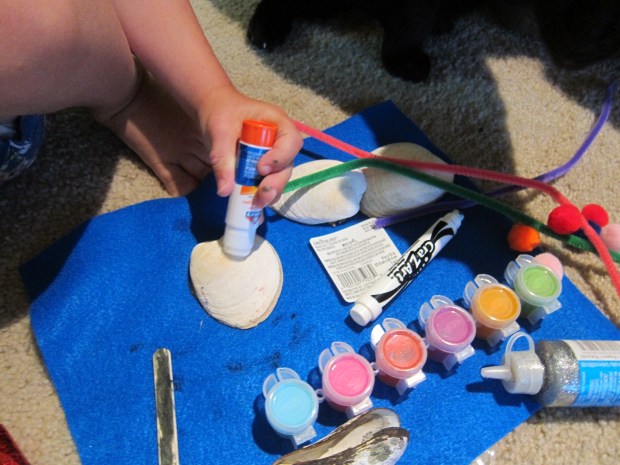
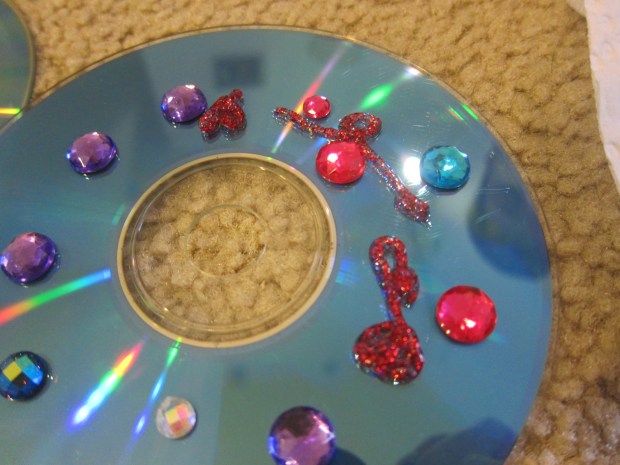
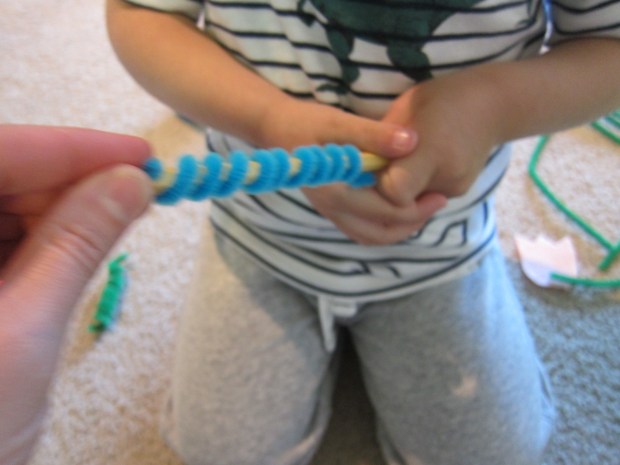
Use anything in your craft box to make silly, friendly faces on the shells – I thought pipe cleaners or ribbon would make great smiles, but Travis had more fun adding mouths in sparkly glitter glue and paint.

Seashell Friends (4)

Pom poms made adorable noses, and googly eyes were the perfect finishing touch.

Seashell Friends (6)


Spread Your Wings

Butterfly Wings alt

Butterflies are everywhere this time of year, whether flitting past us on the beach, at the playground, or in the nearest batch of pretty garden flowers. If your little one wants to bring home the butterfly beauty, try out this creative suggestion from High Five magazine.

To start, grown-ups need to cut a butterfly wing shape from a large piece of cardboard.

Butterfly Wings (1)

To make our wings shiny, we covered them first in strips of aluminum foil – this part was a huge hit, since Travis loves the way foil looks and feels. Plus glue is always fun!

Butterfly Wings (3)

Once the glue dried, it was time to decorate our aluminum foil. Use anything crafty you have, including markers and paints.

Butterfly Wings (4)

Butterfly stickers added a whimsical touch.

Butterfly Wings (5)

To attach the wings to your little butterfly, punch holes in the middle where the wings meet. Thread string through the holes, and then tie over your child’s shoulders.

Butterfly Wings var

Time to flutter away!

Butterfly Wings


Red, White, and Blue Nachos

Red Nacho (4).JPG

My favorite way to bring the colors of the American flag into our home on Independence Day is by concocting something in the kitchen! If savory nachos aren’t your freedom fare of choice, try flags for breakfast or a sweet flag-colored sundae instead. However you celebrate today, Happy 4th of July!

Ingredients:

  • 6 ounces blue tortilla chips
  • 1 cup salsa
  • 1 cup shredded Daiya mozzarella
  • Chopped tomatoes
  • Sliced olives
  • Black beans
  1. Let your little chef spread the tortilla chips in an even layer on the bottom of a 13×9-inch baking sheet.Red Nacho (1)
  2. Spoon the salsa evenly over the chips. (Note: rotating the baking sheet was very helpful so Travis could reach the chips evenly).
  3. Sprinkle the cheese evenly on top.Red Nacho (2)
  4. Adults: Broil the nachos for 3 minutes.

We added extra toppings of chopped tomatoes, sliced black olives, and black beans to turn the nachos into a full meal, but you can stick with the trio of read white and blue ingredients if you prefer!

Red Nacho (3)

Red, White, and Blueberry Sundae Cups

Red White Sundae (4).JPG

Get in the 4th of July spirit with this star-spangled dessert! If you want to go for something a little more gourmet, try pureeing the blueberries with a bit of water, cornstarch and extra sugar for a syrup on top instead, but we just liked our sundaes with fresh red and blue fruit!

Ingredients:

  • 1 tablespoon sugar
  • 1/2 teaspoon ground cinnamon
  • 2 (10-inch) flour tortillas
  • 1 tablespoon canola oil
  • Non-Dairy vanilla ice cream
  • Fresh blueberries
  • Fresh strawberries, sliced

Red White Sundae (1)

  1. In a small bowl, combine the sugar and cinnamon; set aside.
  2. Use a 4-inch round cookie cutter or glass to cut 3 circles from each tortilla. Brush the tortilla rounds evenly with the oil and sprinkle with the cinnamon-sugar mixture.
  3. Press the tortilla circles into six cups of a muffin tin, and bake at 375 degrees F for 10 minutes. Let cool slightly.
  4. To assemble each sundae, scoop non-dairy vanilla ice cream of your choice into each tortilla cup. Top liberally with strawberries and blueberries!

Red White Sundae (3)

Quinoa Tacos

Quinoa Tacos (1)

If you’re looking for a way to mix up taco night, this just-spicy-enough quinoa-filled version fits the bill!

Ingredients:

  • 1 cup quinoa
  • 1 (1-ounce) packet taco seasoning mix
  • 1 tablespoon olive oil
  • 1 red onion
  • 2 red bell peppers
  • ¼ teaspoon salt, divided
  • ¼ teaspoon black pepper, divided
  • 1 avocado
  • ¼ cup non-dairy sour cream
  • 1 tablespoon fresh-squeezed lime juice
  • 12 (6-inch) corn tortillas
  • Shredded lettuce
  • Fresh cilantro leaves (for garnish)
  1. To prepare the quinoa, place in a saucepan with 2 cups water and the taco seasoning; bring to a boil, then cover, reduce heat, and simmer for 15 minutes. Uncover and cook a final 5 minutes, until the liquid is absorbed.
  2. Meanwhile, heat the olive oil in a large skillet over medium heat. Halve and slice the red onion and cut the bell peppers into strips. Add to the skillet, along with 1/8 teaspoon salt and 1/8 teaspoon black pepper; saute for 12 minutes, until lightly charred.
  3. Halve, peel, and pit the avocado. Mash the flesh in a bowl with the sour cream, lime juice, and remaining 1/8 teaspoon salt and 1/8 teaspoon black pepper. (Note: You can also do this step in a food processor).
  4. Warm the tortillas, and top each with the avocado sauce, quinoa, vegetables, lettuce, and cilantro.

Quinoa Tacos (2)

Beach Memento Wind Chime

Beach Wind Chime (4).JPG

If your summer plans take you to the beach, bring a bit of the beach home with you with this neat project!

The first step of course is finding your treasures, so the next time you head to the beach, bring a shovel and pail; take a walk in the sand to comb through for the prettiest finds. We only found small pieces of shell at this particular beach, but they were a gorgeous assortment of colors – purples and whites and even gold!

Beach Wind Chime (1)

At home, find a sturdy stick and use twine to wind around your treasures, and then knot onto the stick. Travis loved “helping” with the winding and knotting.

Beach Wind Chime (2)

Once we had our treasures dangling in a row, we hung them outside where they could click and clack against each other.

Beach Wind Chime (3)

A super windy day made this project even better!

Beach Wind Chime (5)

Tree Jewels

Tree Jewels (7)

Here’s the perfect upcycling project for all your old CDs. This pretty and easy craft will make any tree sparkle.

Travis adores gem stickers, so I simply provided him with a few sheets of them and a pile of old blank CDs. He didn’t even pause before going to town.

Tree Jewels (4)

If you want to get more craft-y, you could glue on sequins as well, but we stuck with the sticky-back gems.

Tree Jewels (3)

We added a little bit of glitter glue as a final sparkling touch!

Tree Jewels (5)

Now find the perfect tree to hang them!

Tree Jewels (6)

If you save these for the winter, they would look fantastic on bare winter branches, or a Christmas tree.

Tree Jewels (2)

Blueberry-Marshmallow Monogram Shake

Blueberry Monogram (2)

A milkshake that sneaks in a little summertime learning? Yes please!

To assemble, cut several vegan mini marshmallows (such as Dandies) in half with a sharp knife. Adhere the sticky sides of the marshmallows to the inside of a clear glass in the shape of your child’s first initial, repeating for as many children as will be having servings!

Travis was so delighted when he saw a glass with a big T for Travis!

Blueberry Monogram (5)

In a blender, combine 1 and 1/2 cups blueberries, 1/2 cup non-dairy milk, 2 and 1/2 cups non-dairy vanilla ice cream, 1 tablespoon orange juice, and 1/4 teaspoon ground cinnamon; blend until smooth.

Pour the mixture carefully into glasses and make sure each child gets the correctly monogrammed cup!

Blueberry Monogram (4)

Tissue Paper Night-Lights

Tissue Night-Light (6)

This is such a beautiful craft for any child afraid of shadows in their room at night. Not only will they feel the pride of having put it together, but the result is comforting and beautiful!

First we needed to tear multiple colors of tissue paper into small pieces. Any excuse to rip through tissue paper is welcome in this house!

Tissue Night-Light (1)

Once we had a pile of scraps, we mixed together glue with a splash of water in a cup.

Tissue Night-Light (2)

Travis loved painting every inch of our mason jar with the glue mixture – so much so that he wanted me to layer on the tissue paper while he continued to add more glue. He wasn’t content until every inch was covered!

Tissue Night-Light (4)

We set our mason jar aside to dry, and by naptime, it was ready!

Tissue Night-Light (5)

Use any battery-operated tea light, and place inside the jar. Travis loved taking the tea light in and out and screwing on the lid, testing the nightlight in several parts of his room until he found his favorite. What a success!

Tissue Night-Light (7)

Planting Felt Flowers

Felt Flowers (7)

Our recent Garden crate from Koala Crate had us excited about flowers, so we put together a second make-believe gardening activity.

Preparation was largely a grown-up job for this one: Cut flower shapes from felt (use a template, so they are all the same size) and glue two pieces of felt together for each flower, leaving an opening at both the top and bottom.

Felt Flowers (4)

For the stems, we painted craft sticks green – these could then be inserted into the bottom opening of each flower.

Travis’s favorite part of the set up were the pipe cleaners we used for the flower stigmas. Twist each pipe cleaner around a pencil until it is a tight coil – these were a delight to play with even before we inserted them into the top opening of each flower.

Felt Flowers (2)

Now we just needed a garden; we painted an old shoebox brown and let it dry before I cut small slits in the top with a sharp knife.

Felt Flowers (5)

Planting time!

Felt Flowers (6)